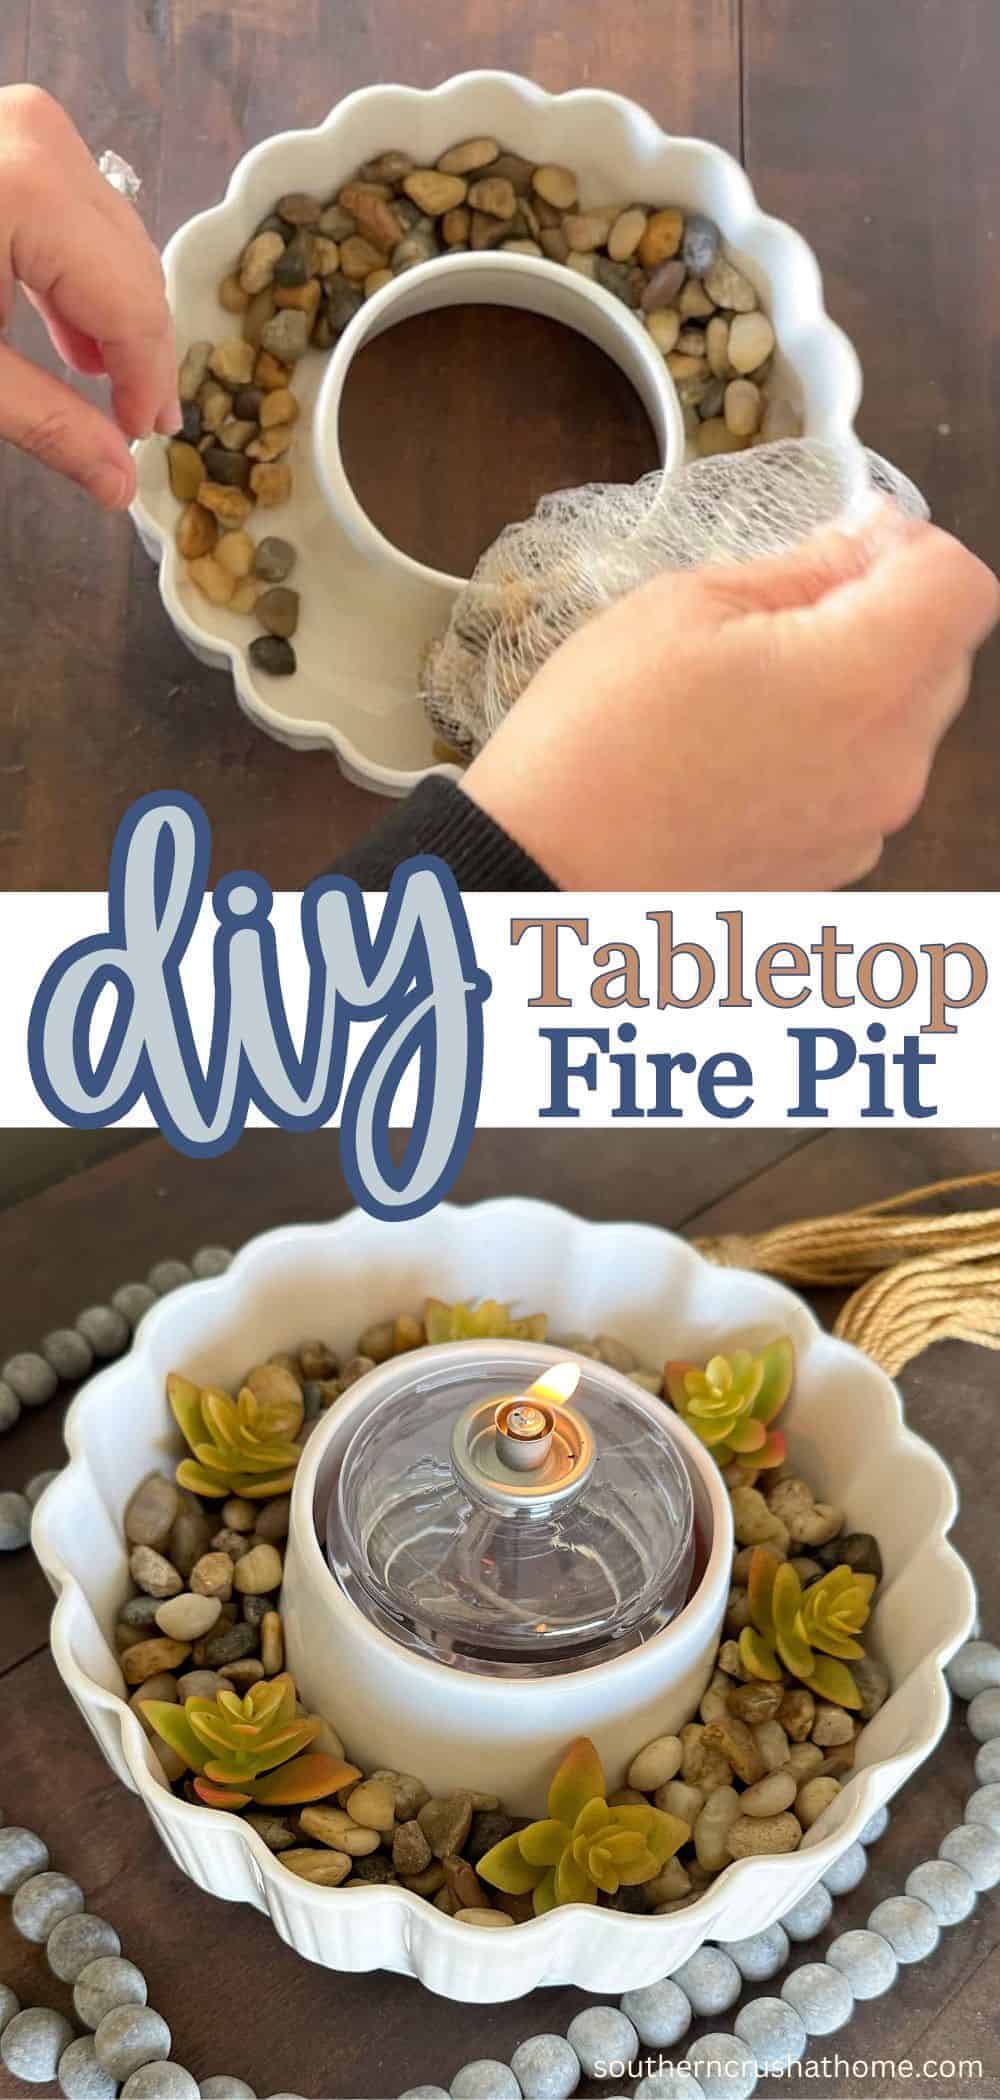
How to Make a DIY Table Top Fire Pit
Creating a DIY table top fire pit bowl is a fun and stylish way to add a cozy, warm ambiance to your outdoor spaces.
Whether you’re looking to enjoy a quiet evening on the patio or want a unique centerpiece for outside gatherings, a DIY table top fire pit can be a perfect addition.
PIN this for later!
This guide will walk you through the steps to make your own safe and chic tabletop fire pit using easy-to-find materials.
This blog post contains affiliate links. The opinions are wholly my own from my own experience. I may earn a small commission from clicks through to the websites that end in a purchase.
Materials You’ll Need are LINKED HERE:
- Ceramic Bowl or Planter: Choose a non-flammable, sturdy container that suits your aesthetic. This will serve as the base of your fire pit.
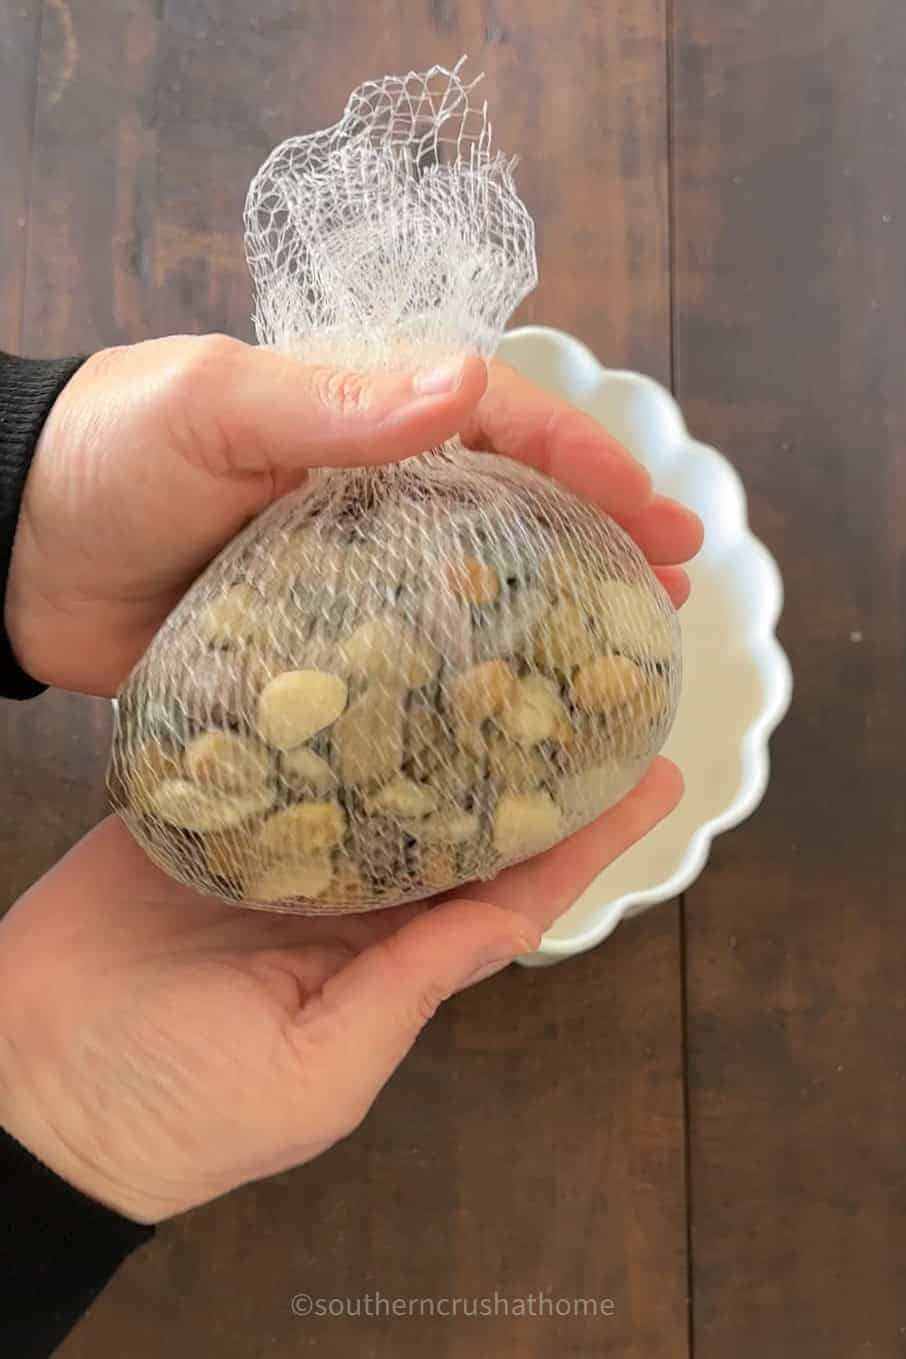
- River Rocks or Fire Glass: To fill around the gel canister and enhance the appearance of your fire pit.
- Decorative Embellishments: Depending on the depth of your bowl, this can be a variety of things. I used faux succulents.
- Long lasting candle: These are safe for use in indoor and outdoor settings and can be found at most hardware stores. FIND IT HERE.
- Long Lighter: For safely lighting the candle or gel fuel.
Step-by-Step Table Top Fire Pit Tutorial:
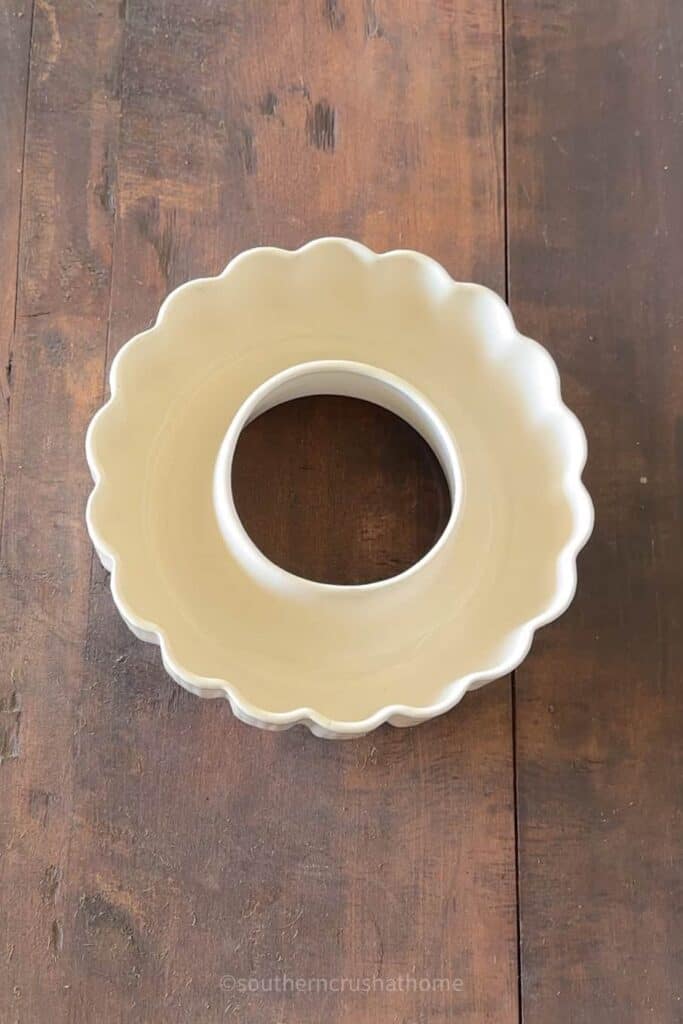
Step 1: Select Your Container
The first step in creating your table top fire pit is to select the right container. A ceramic bowl or planter works well because it’s usually sturdy and resistant to heat. Ensure it’s at least 6 inches deep to safely house the gel fuel canisters and leave room for the decorative layer of rocks or glass.
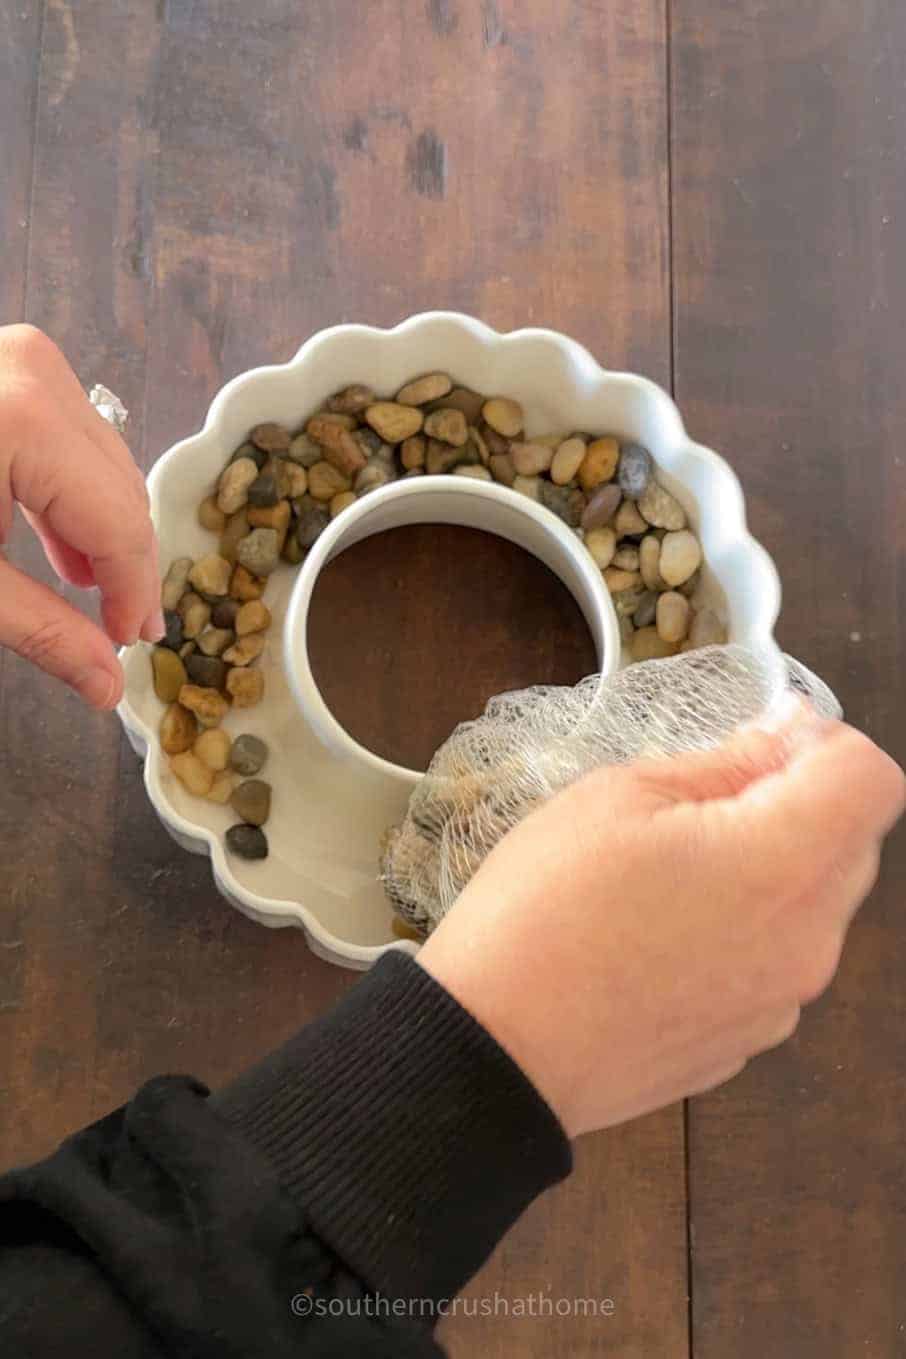
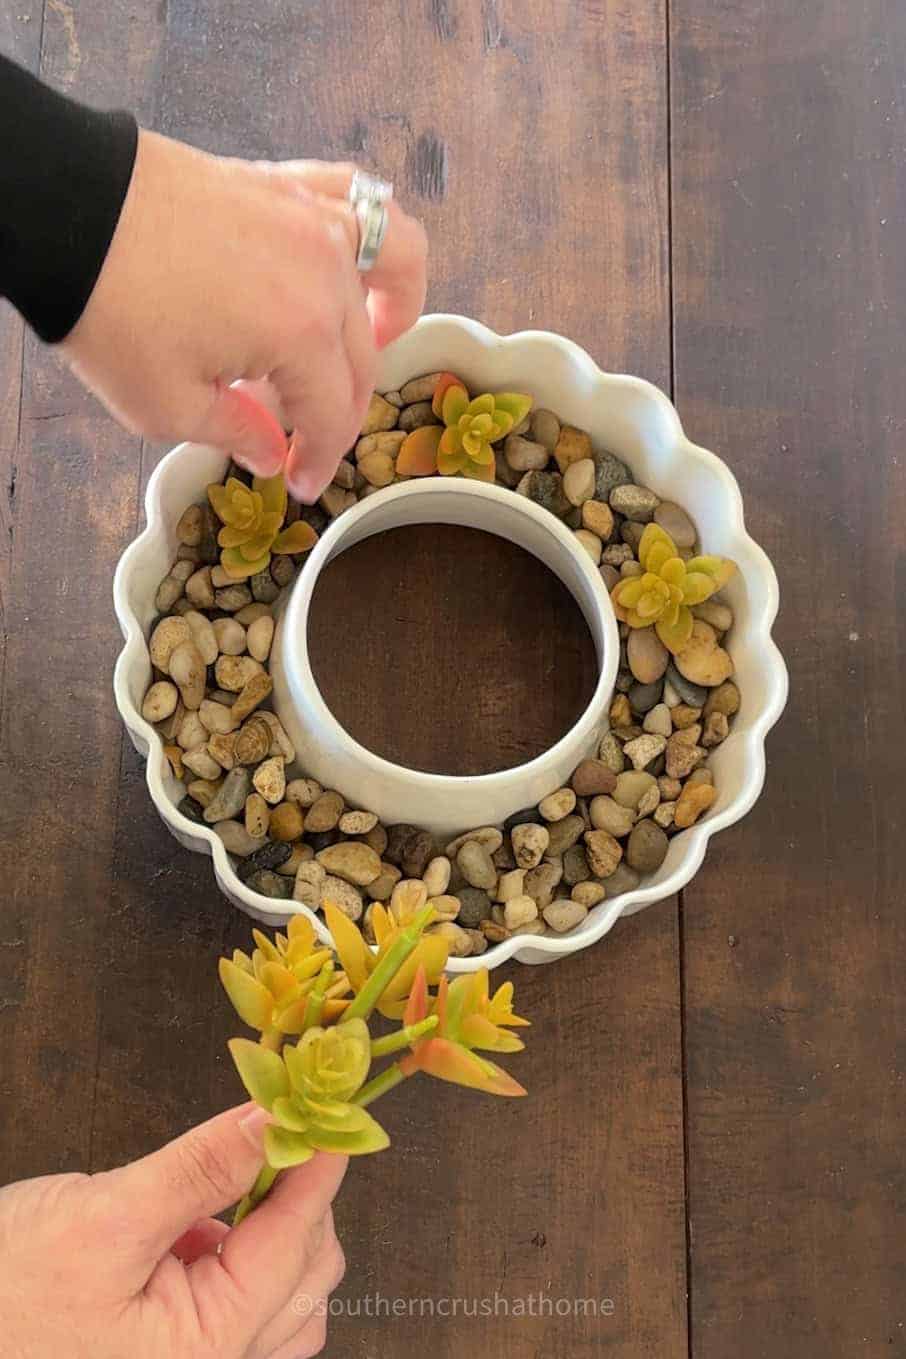
Step 2: Add River Rocks
Begin by filling the space around the edges with river rocks or fire glass. Sea glass would be pretty as well!
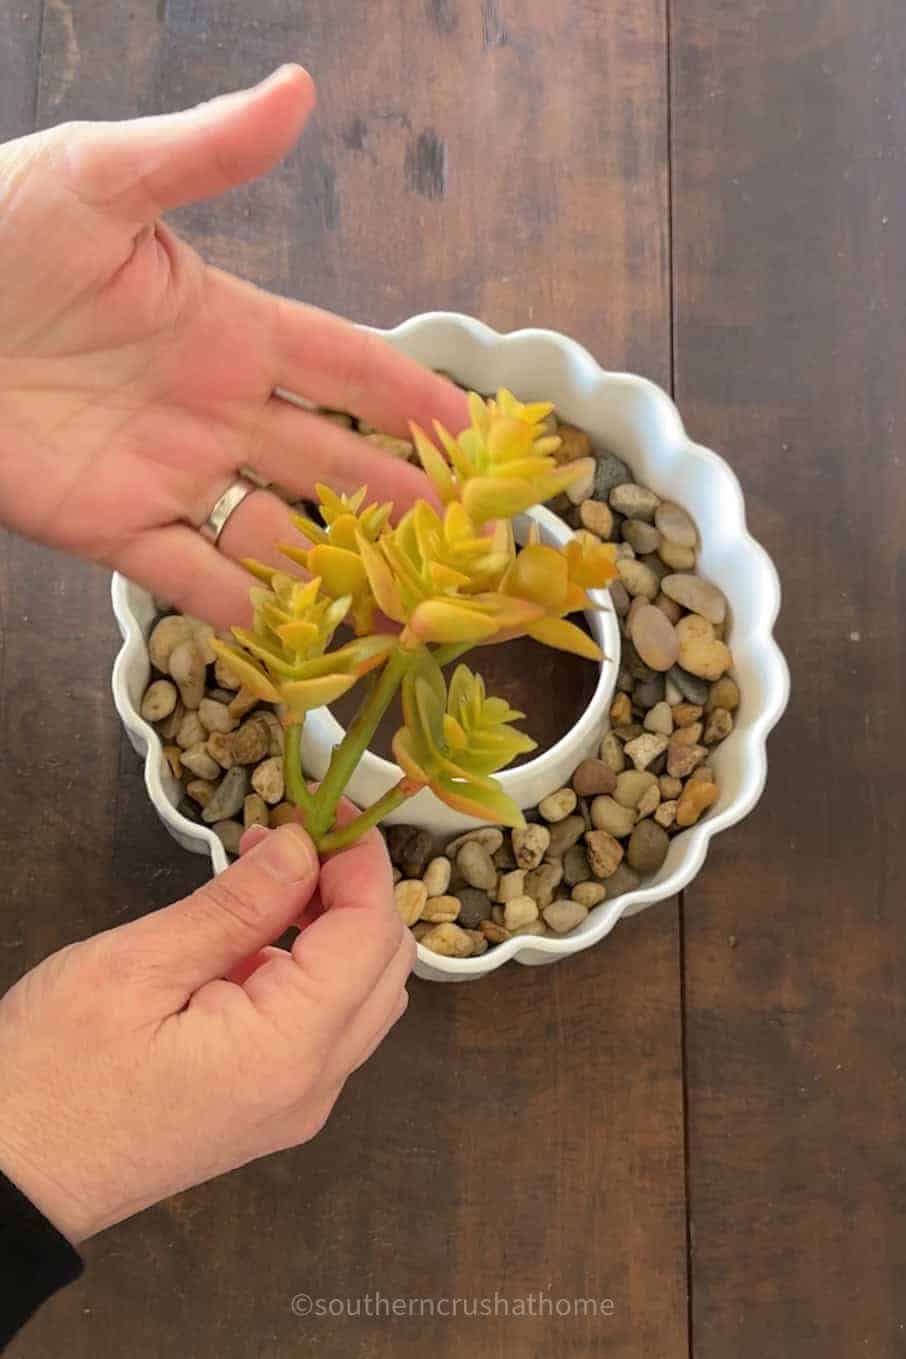
Step 3: Decorate with Faux Succulents
Once the rocks are in place, begin to fill the space around them with faux succulents or another colorful addition. These create a more pleasing aesthetic and are just fun to change out.
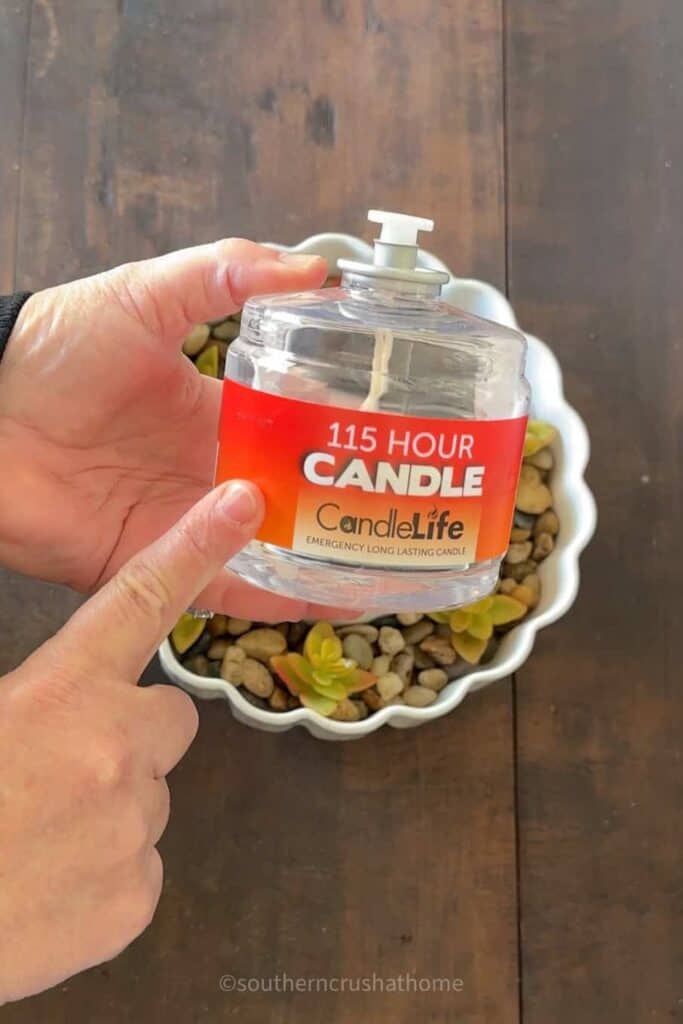
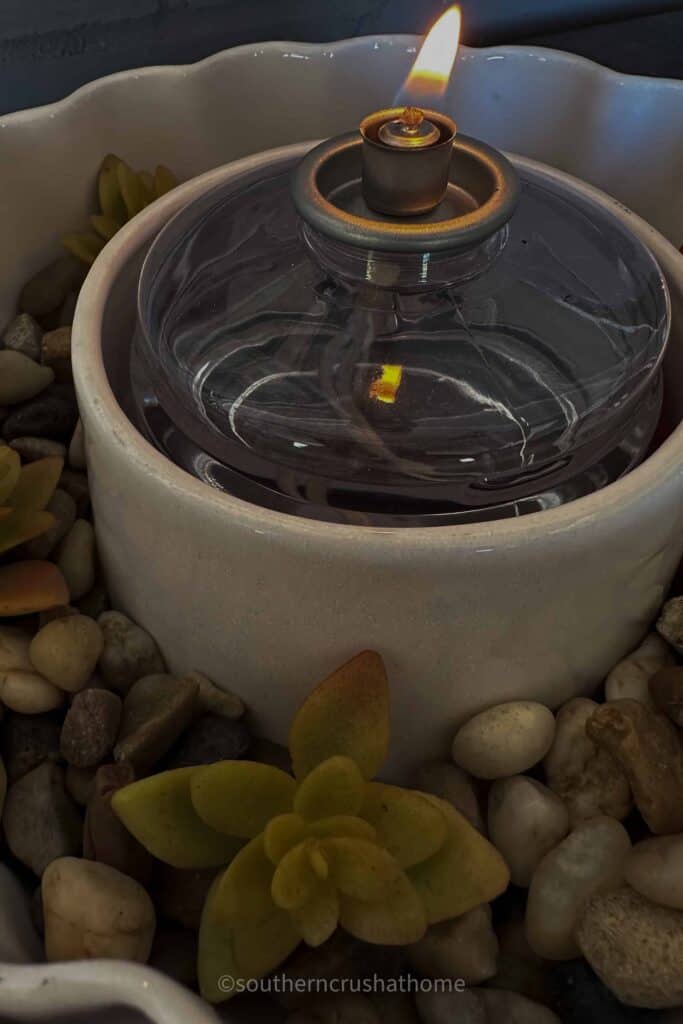
Step 4: Place the Candle or Gel Fuel Canister
Remove the top of the wick cover or open the gel fuel canister and place it securely in the center of your ceramic ring.
I love this CandleLife emergency long lasting candle becuase it lasts for 115 hours so it’s also handy for emergencies!
*If you do not have a center to your container, be sure to nestle the candle into the rocks and allow plenty of space for any decorative items to be clear of the flame.
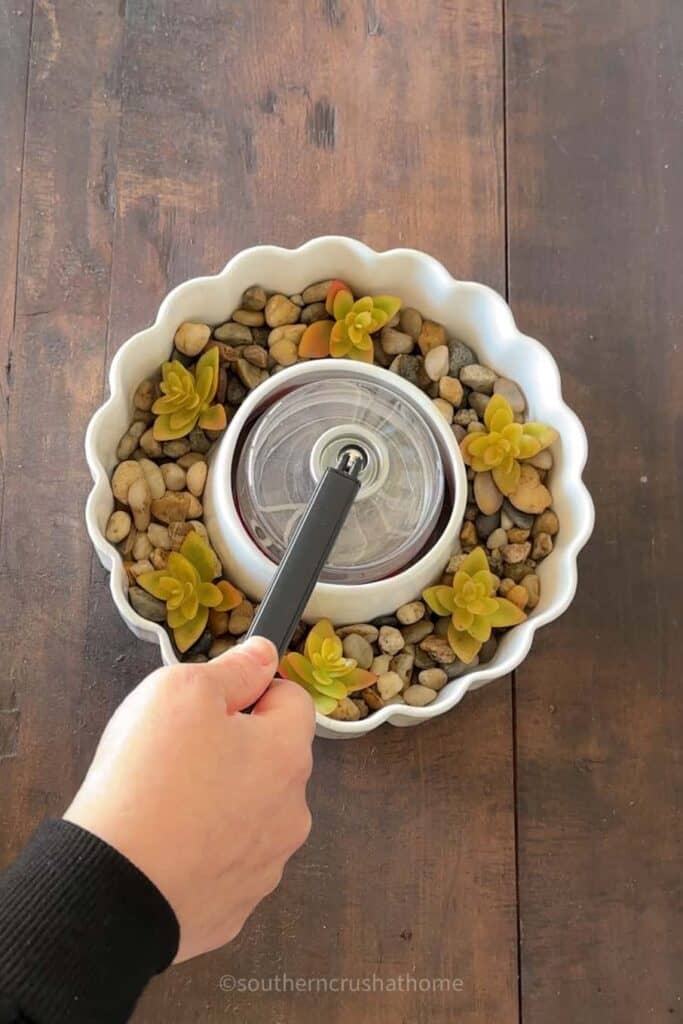
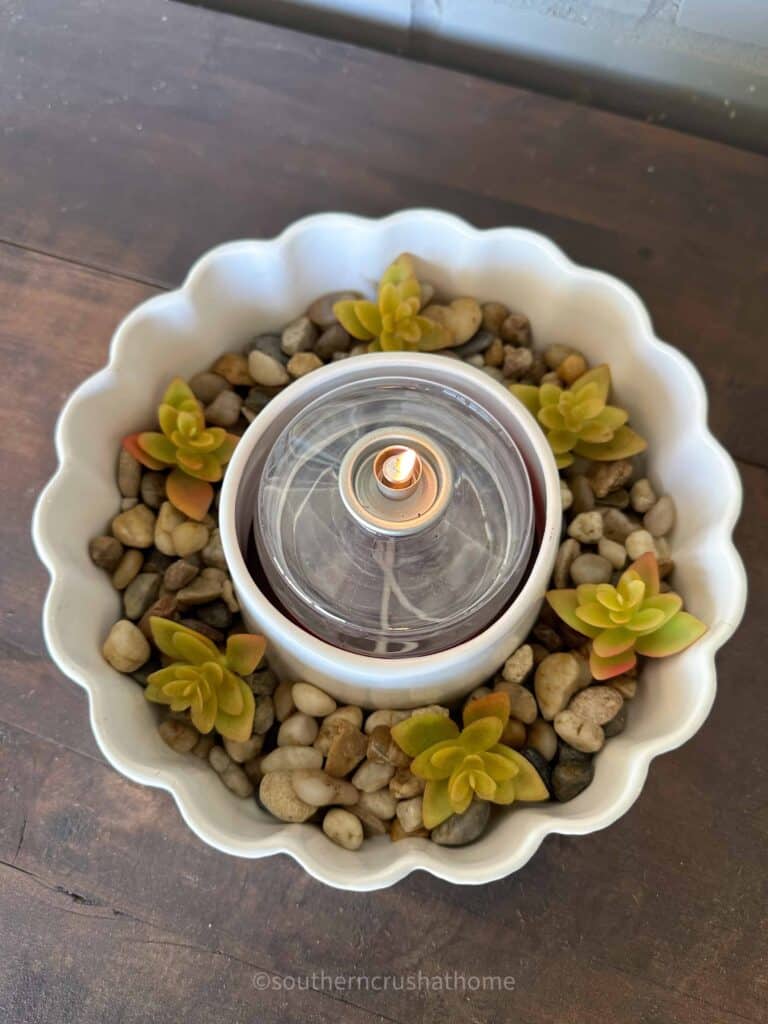
Step 5: Light Your Fire Pit
Using a long lighter, carefully ignite the candle or gel fuel. The flame will remain confined to the center but will provide a warm, glowing fire that adds ambiance without the smoke and ash of traditional wood fires.
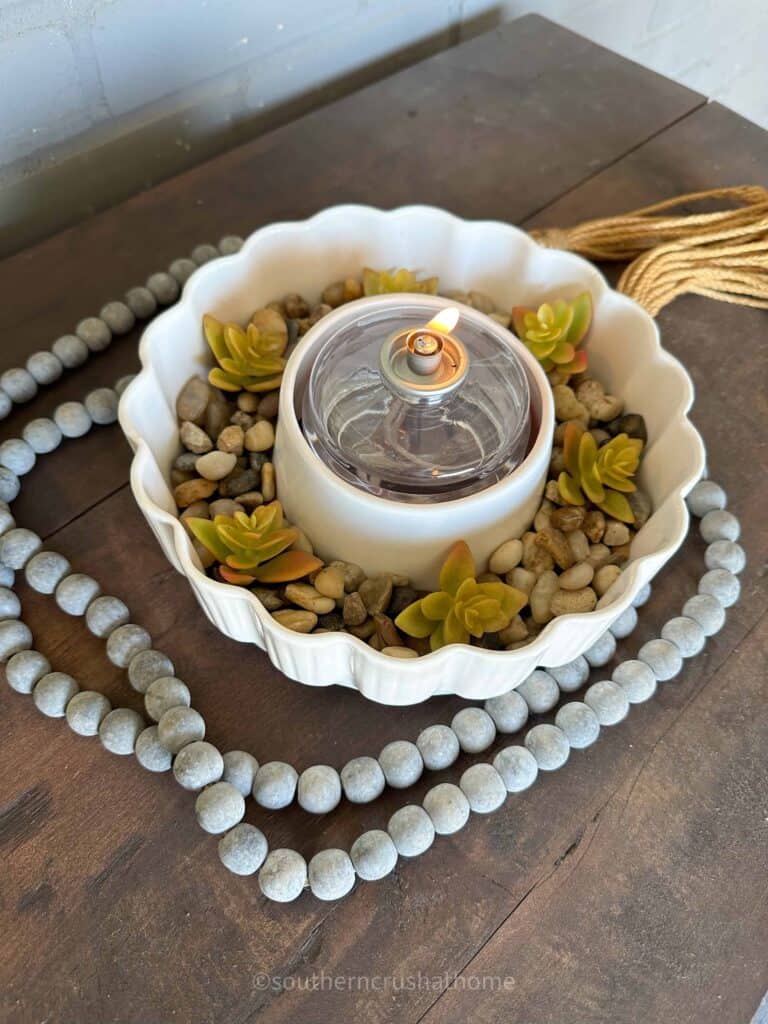
Step 6: Enjoy Your Tabletop Fire Pit
Now that your fire pit is assembled and lit, it’s time to enjoy the fruits of your labor. Always monitor the fire pit while in use and keep flammable materials away from the flame.
Safety Tips for Table Top Firepits:
- Never leave the fire pit unattended while lit.
- Keep a fire extinguisher or a bucket of sand nearby in case of emergencies.
- Do not use the fire pit in windy conditions to avoid accidental spreading of the flame.
A DIY table top fire pit is a surprisingly simple project that can provide a significant enhancement to your home’s ambiance.
It’s perfect for those chilly evenings when you just want to relax by the fire and enjoy the outdoors.
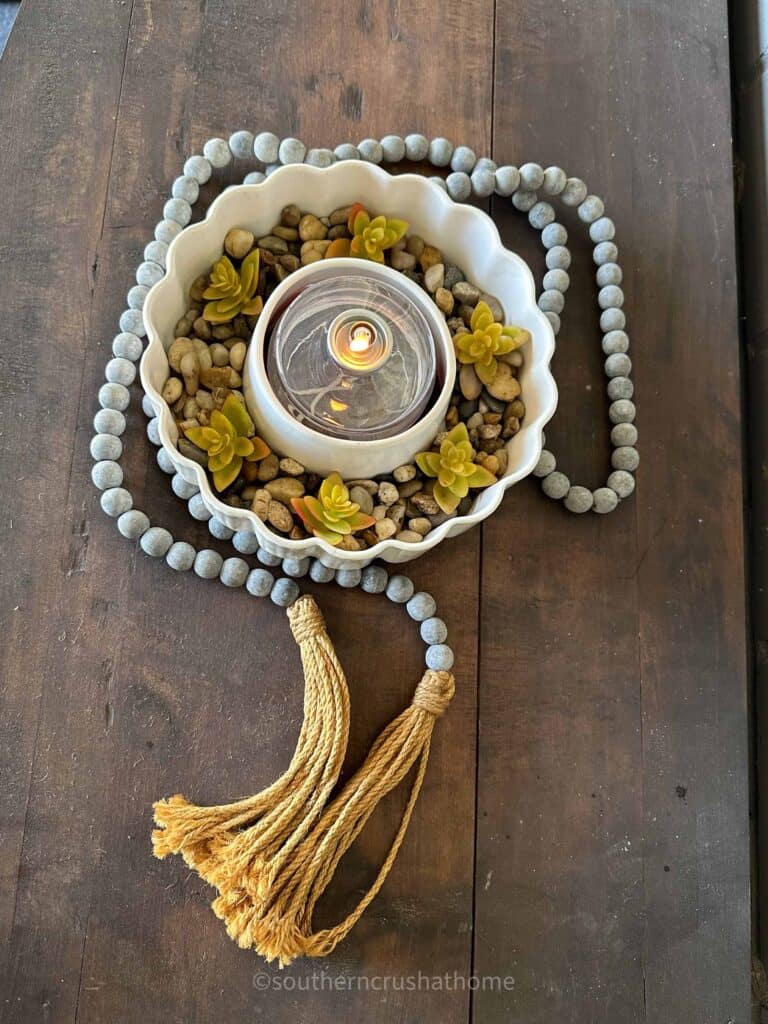
Plus, it makes a fantastic conversation piece for guests, all while being a cost-effective alternative to commercial models.
Enjoy crafting your own fire pit and the many cozy nights ahead.