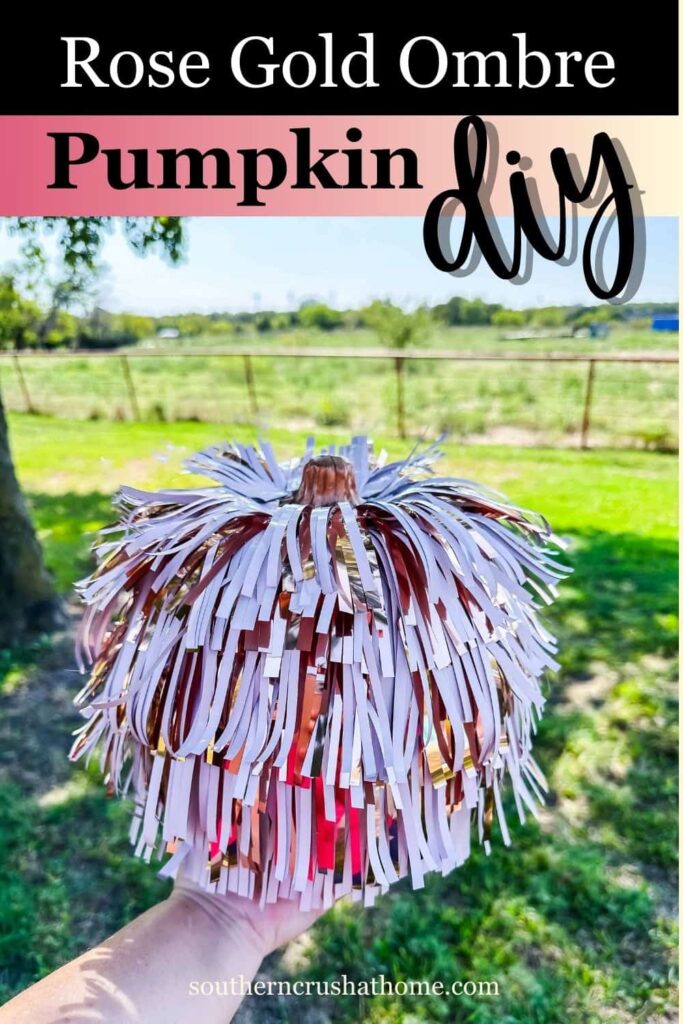
Rose Gold Ombre Pumpkin DIY Fall Decor
Looking for a stylish, modern way to decorate your pumpkins this fall? Try this Rose Gold Ombre Pumpkin DIY using mylar fringe in beautiful pink and gold tones!
PIN this for later!
This unique, no-carve pumpkin decorating idea adds a touch of glam to your seasonal decor with minimal effort. Whether you’re decorating for Halloween or simply want a fresh fall centerpiece, this ombre pumpkin will bring a pop of color and shine to any room.
In this tutorial, I’ll show you how to use mylar fringe and some tape to create a stunning ombre effect on your pumpkin, with a sleek gold stem to complete the look.
It’s a quick and easy project, perfect for anyone who loves fall decor but wants to skip the mess of traditional pumpkin carving.
This blog post contains affiliate links. The opinions are wholly my own from my own experience. I may earn a small commission from clicks through to the websites that end in a purchase.
Supplies You’ll Need for an Ombre Pumpkin:
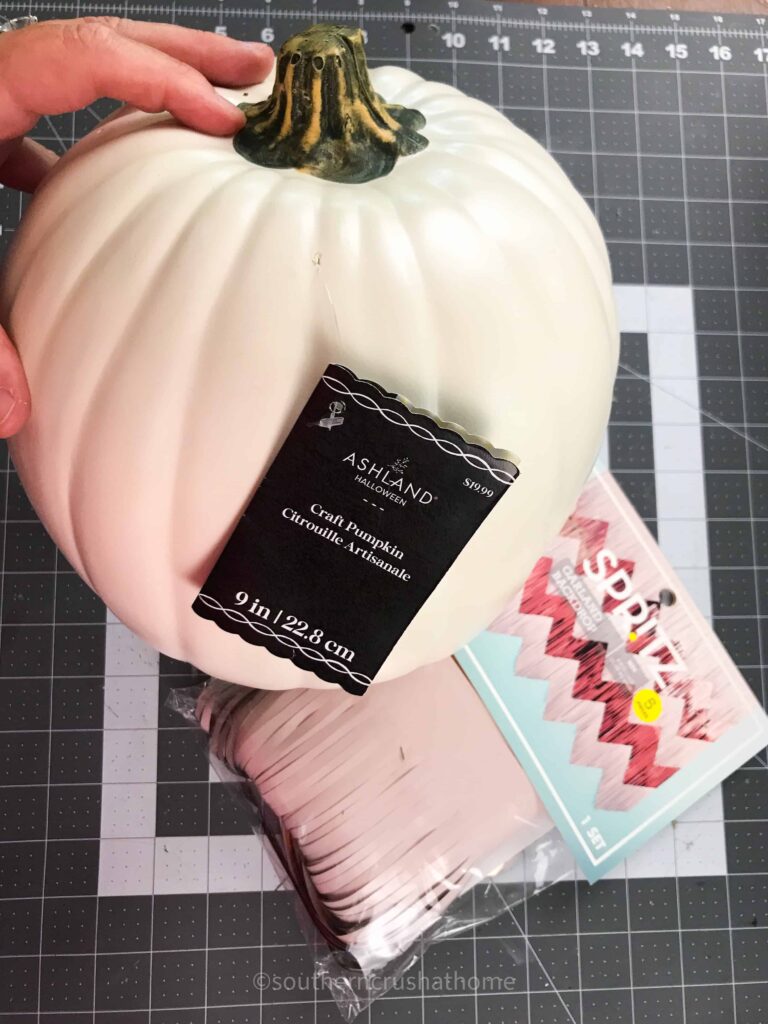
- Faux or real pumpkin
- Mylar fringe (pink and gold tones from Target)
- Tape or adhesive strips
- Low Temp Glue Gun
- Gold paint or gold spray paint (for the stem)
- Scissors
Step-by-Step Tutorial: How to Make an Ombre Pumpkin with Mylar Fringe
Step 1: Prep Your Pumpkin
Start with a clean pumpkin, whether it’s real or faux. If you’re using a faux pumpkin, wipe it down to remove any dust or debris. This will help the tape and mylar fringe stick better.
Next, if the stem isn’t already gold, use gold paint or gold spray paint to give the stem a shiny, polished look. Set the pumpkin aside and let the stem dry completely before adding the fringe.
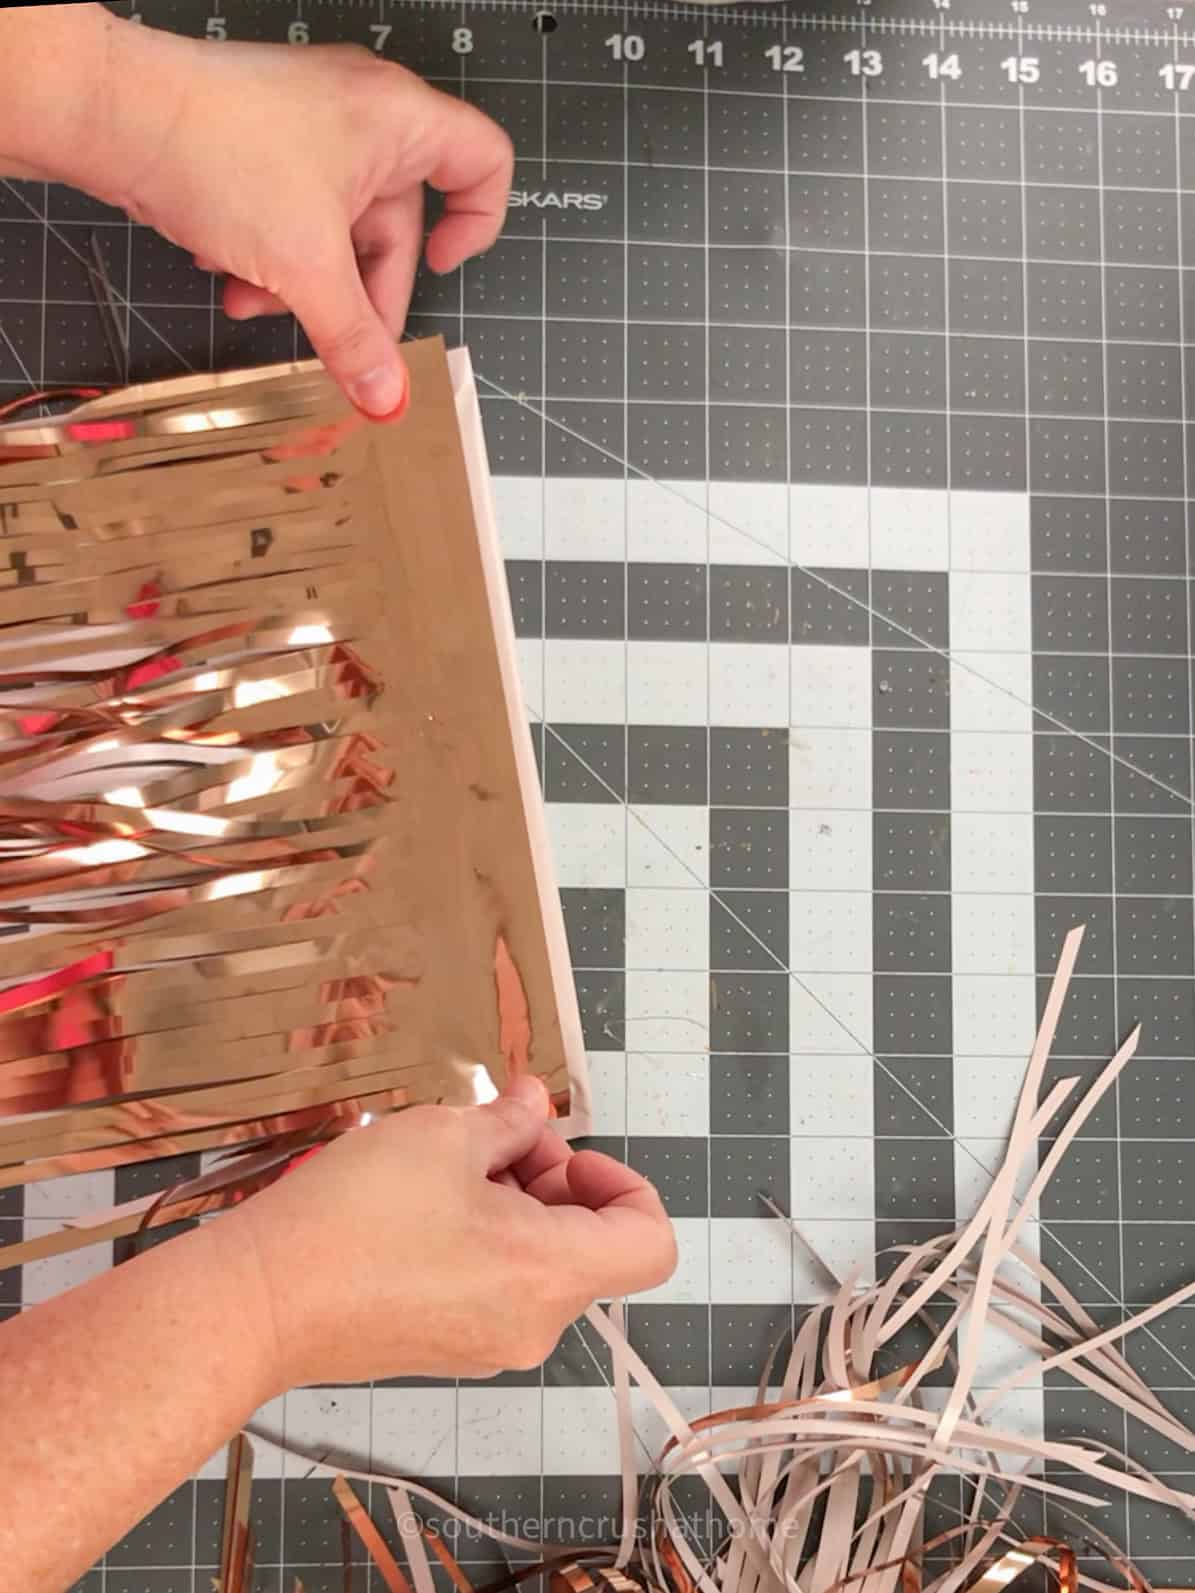
Step 2: Cut the Mylar Fringe into Strips
Take your mylar fringe in pink and gold tones and cut it into strips. You’ll want to cut each strip to wrap around the pumpkin and then about 3-4 inches in length.
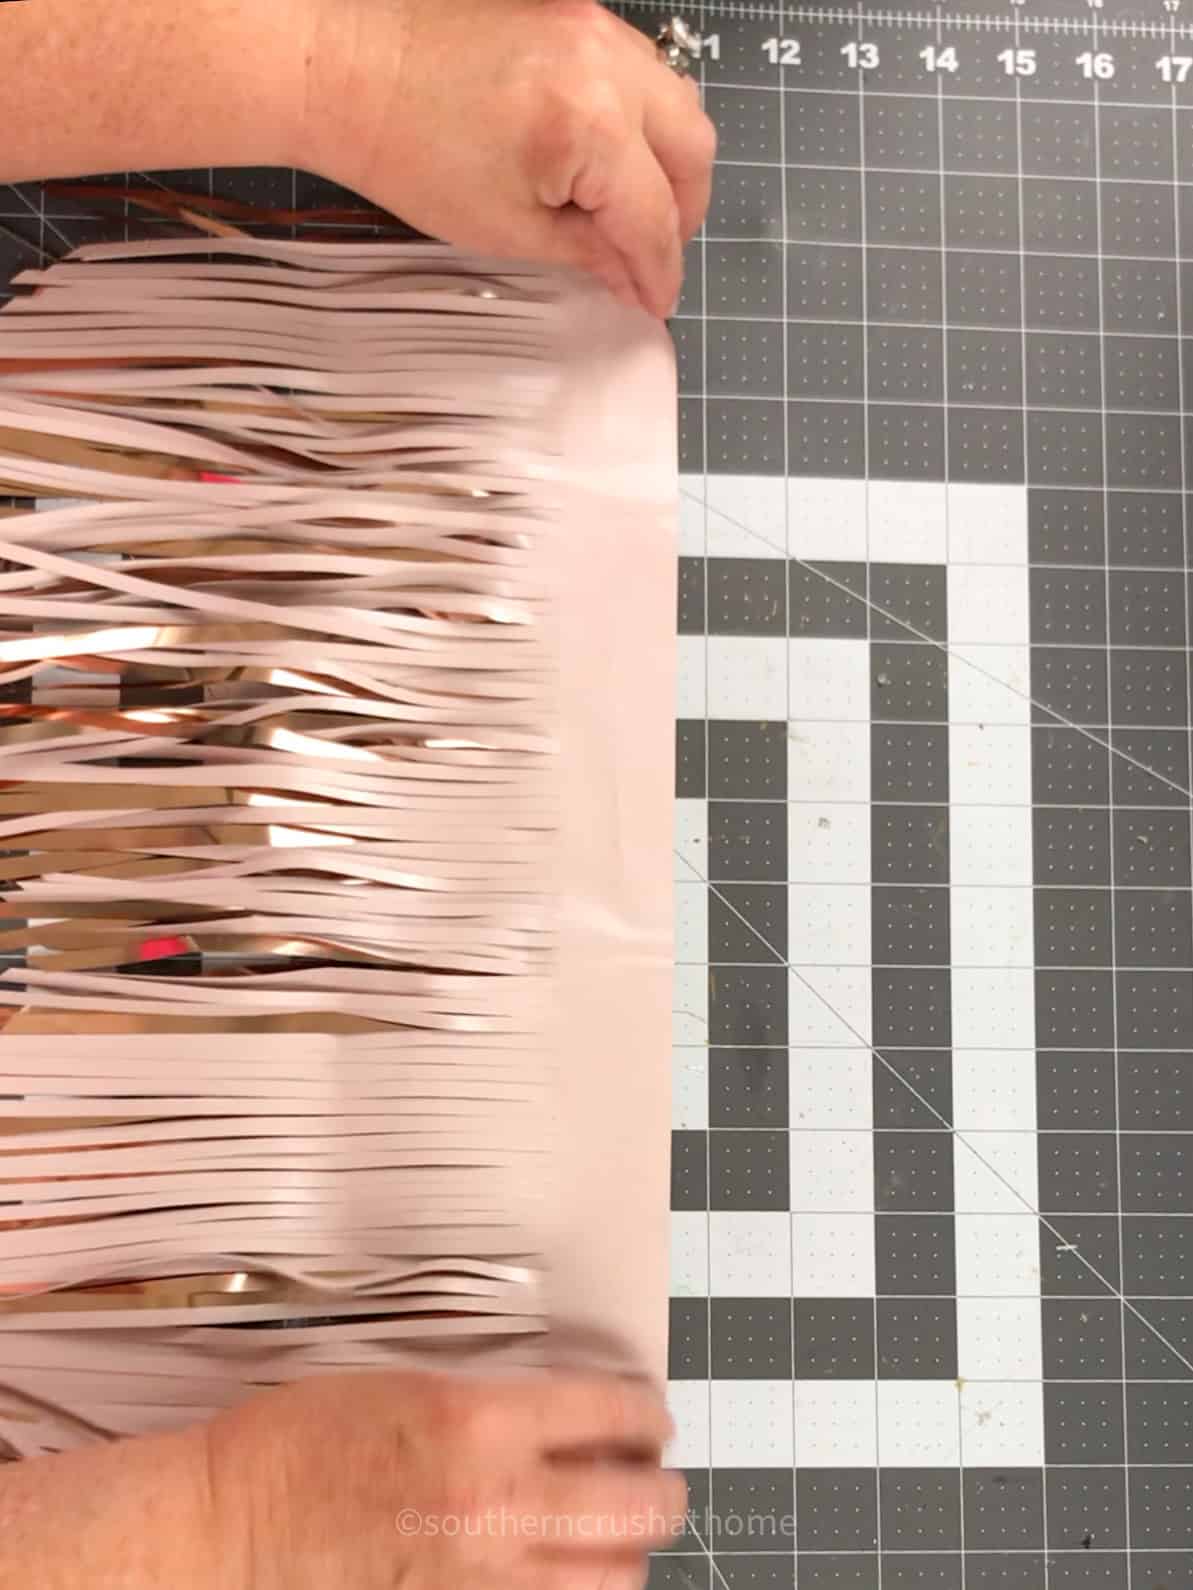
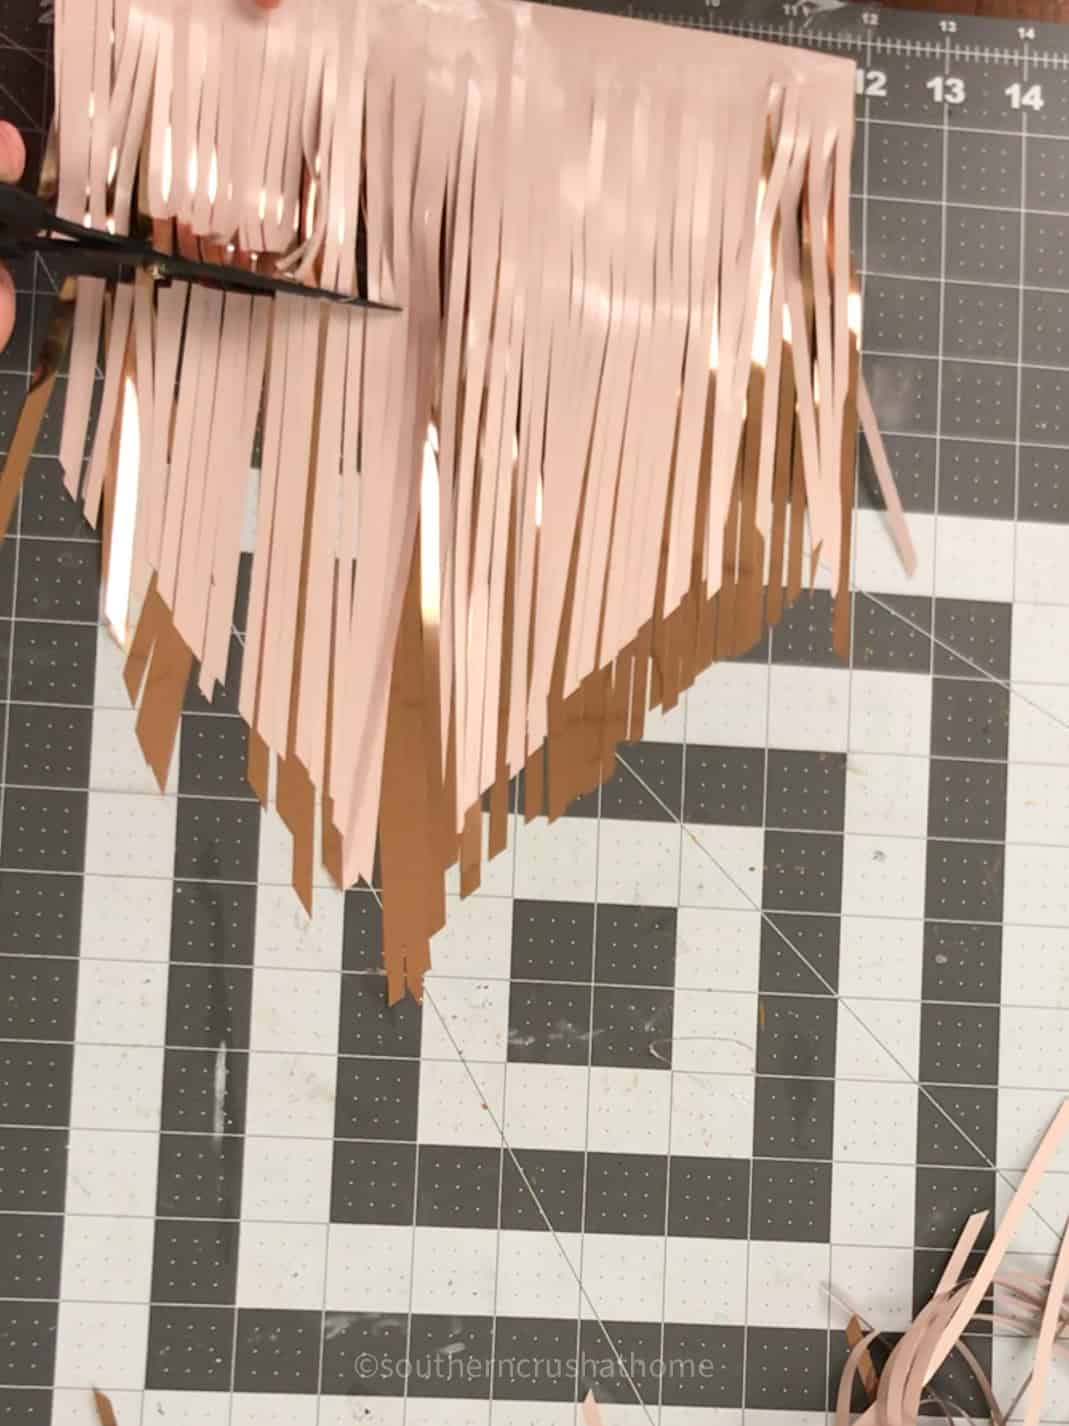
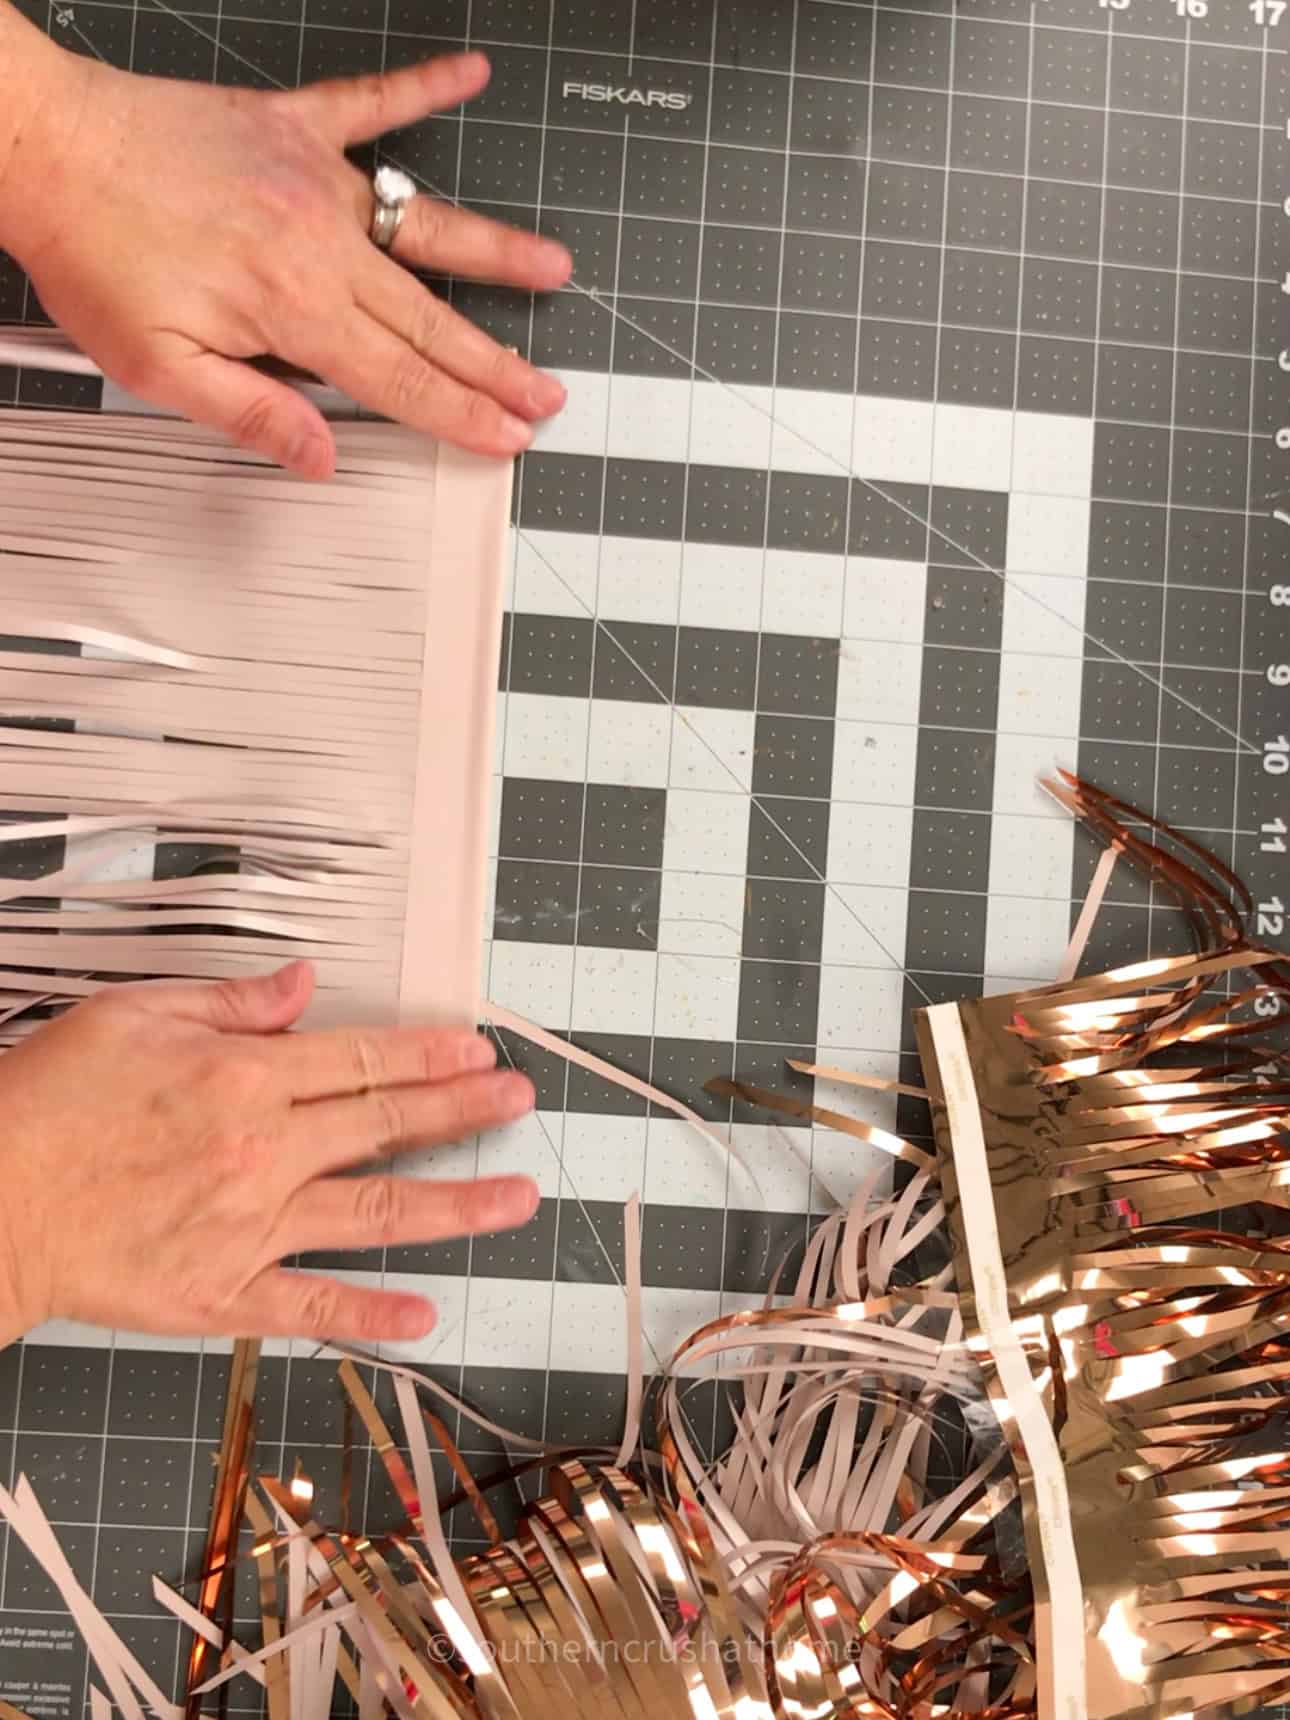
The idea is to create an ombre effect by layering the colors from bottom to top, so cut enough strips to cover the entire pumpkin.
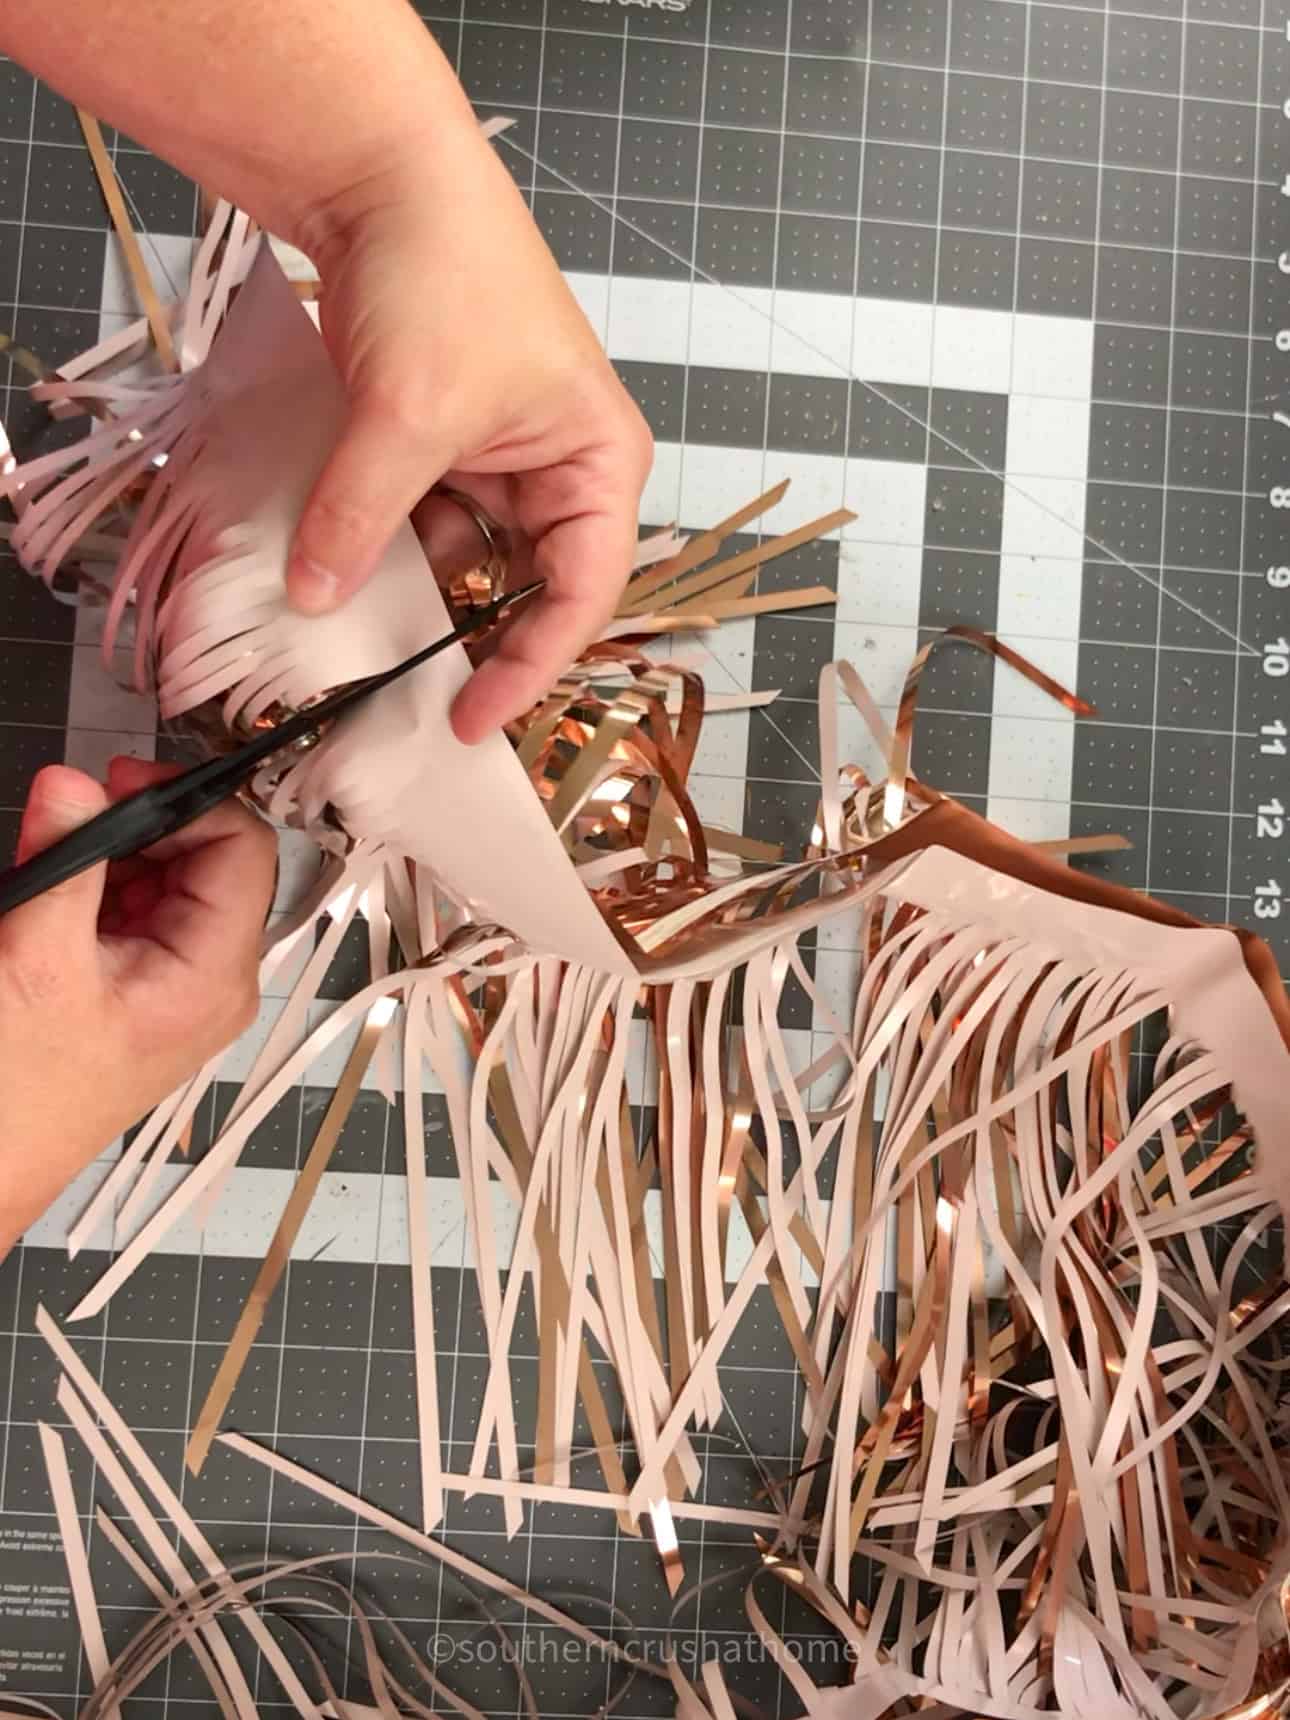
Step 3: Start Layering the Fringe
Using hot glue, start gluing the mylar fringe around the pumpkin in sections. Begin at the bottom (I made the mistake of starting at the top) of the pumpkin wrapping the fringe around the base and securing it with hot glue.
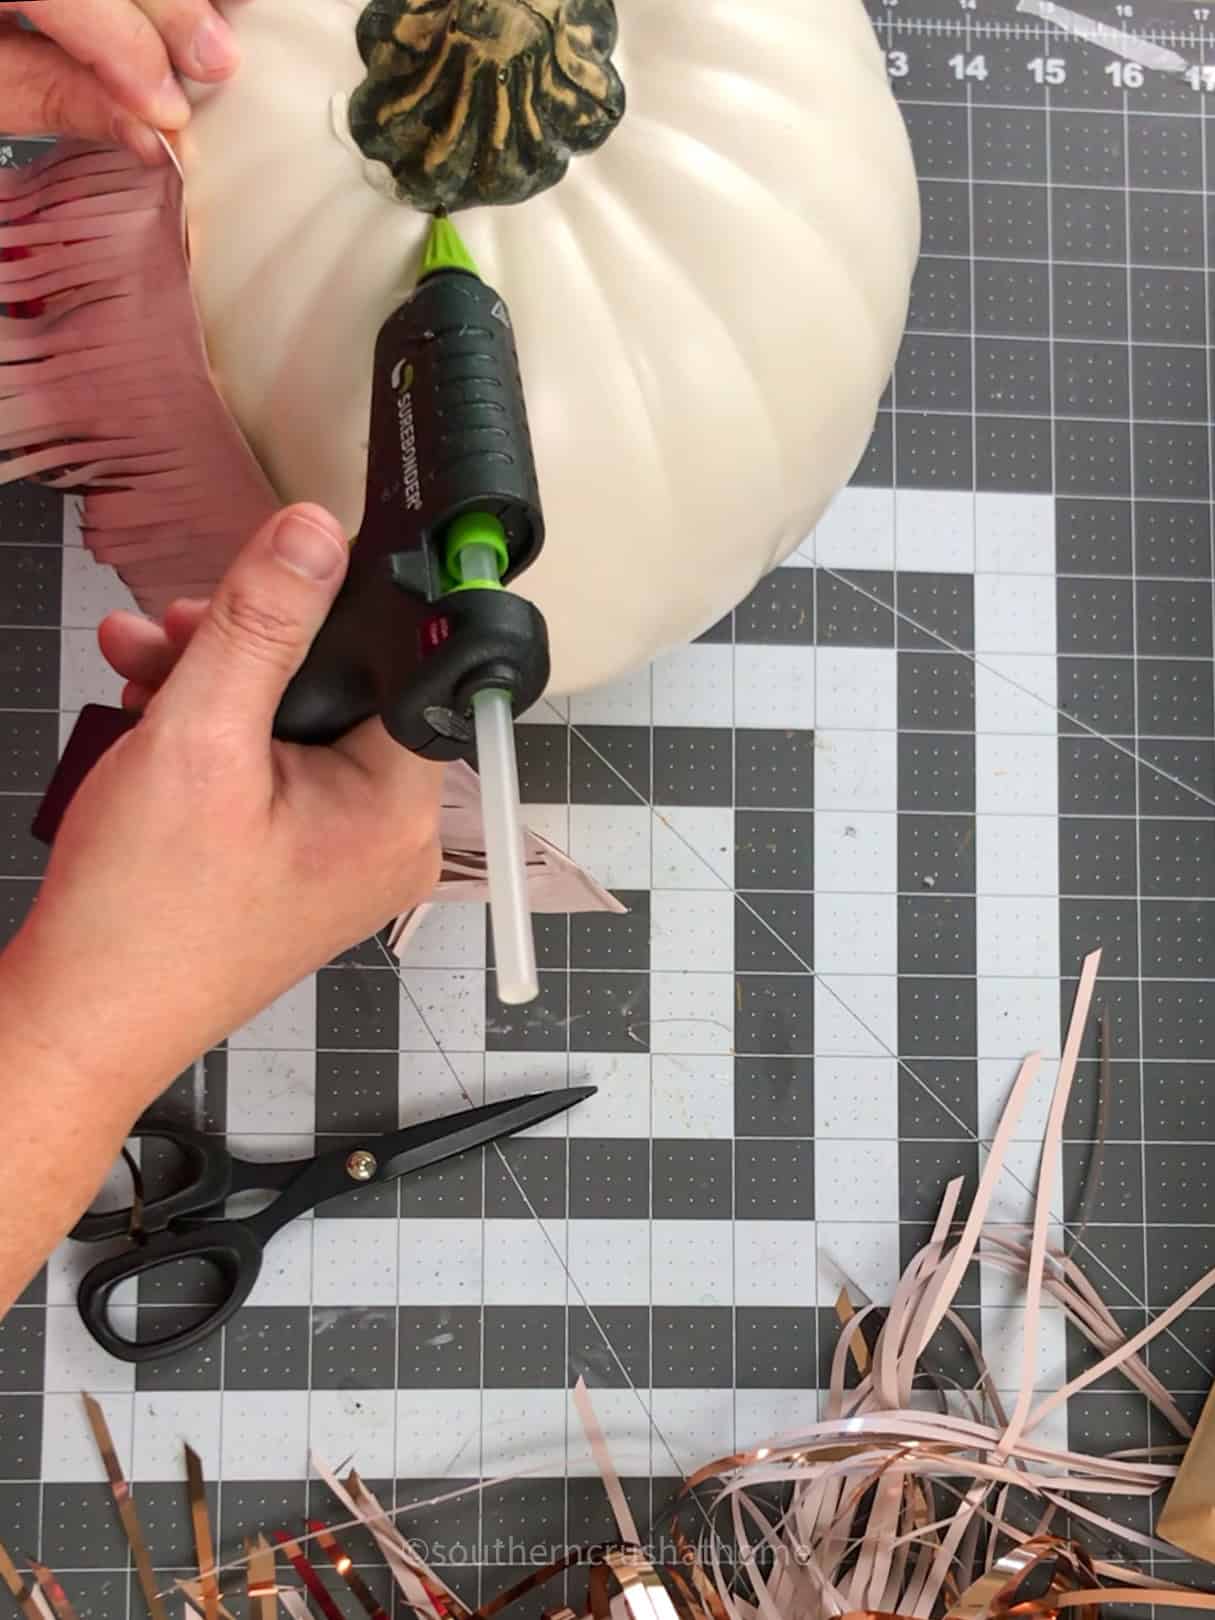
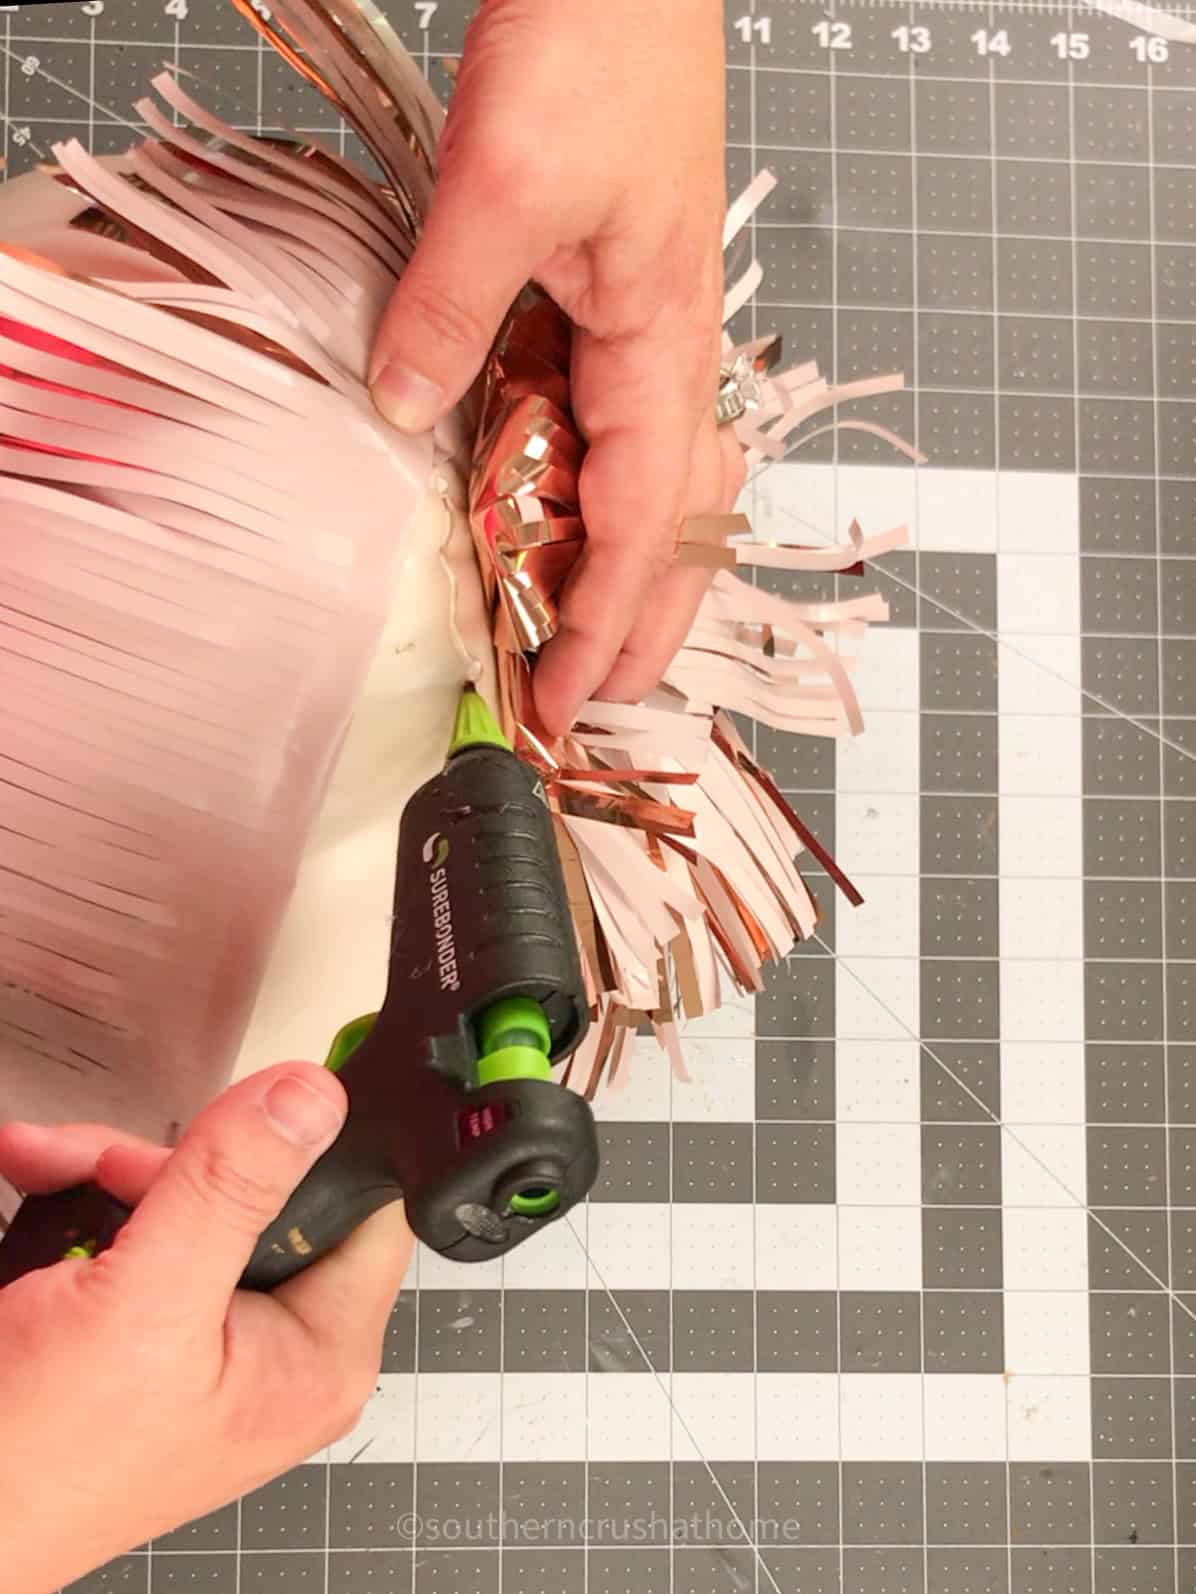
Once the first layer is complete continue moving up the pumpkin. Continue gluing the fringe in rows, overlapping the strips slightly to create a smooth gradient effect.
- Tip: Make sure each layer of fringe completely covers the the row beneath it for a seamless look.
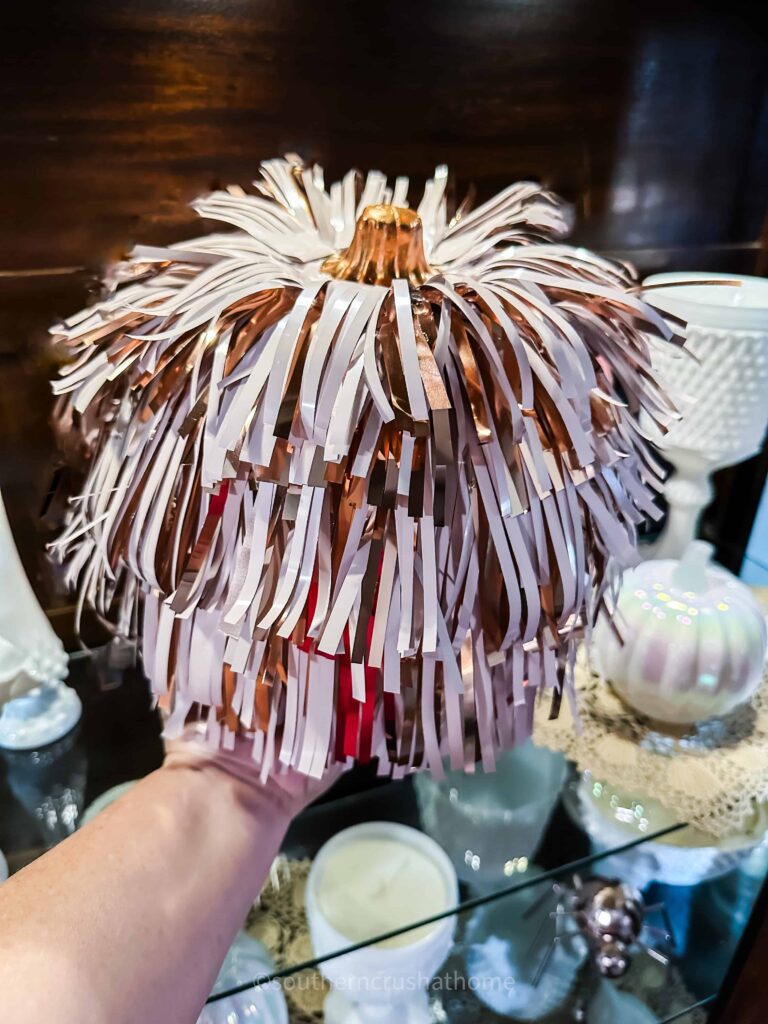
Step 4: Complete the Ombre Look
As you reach the top of the pumpkin secure the fringe just below the stem. The contrast between the bright mylar fringe and the gold stem will give the pumpkin a beautiful, finished look.
If any fringe strips seem loose or uneven, you can use small pieces of tape to adjust them or trim the edges with scissors for a clean finish.
Step 5: Style Your Ombre Pumpkin
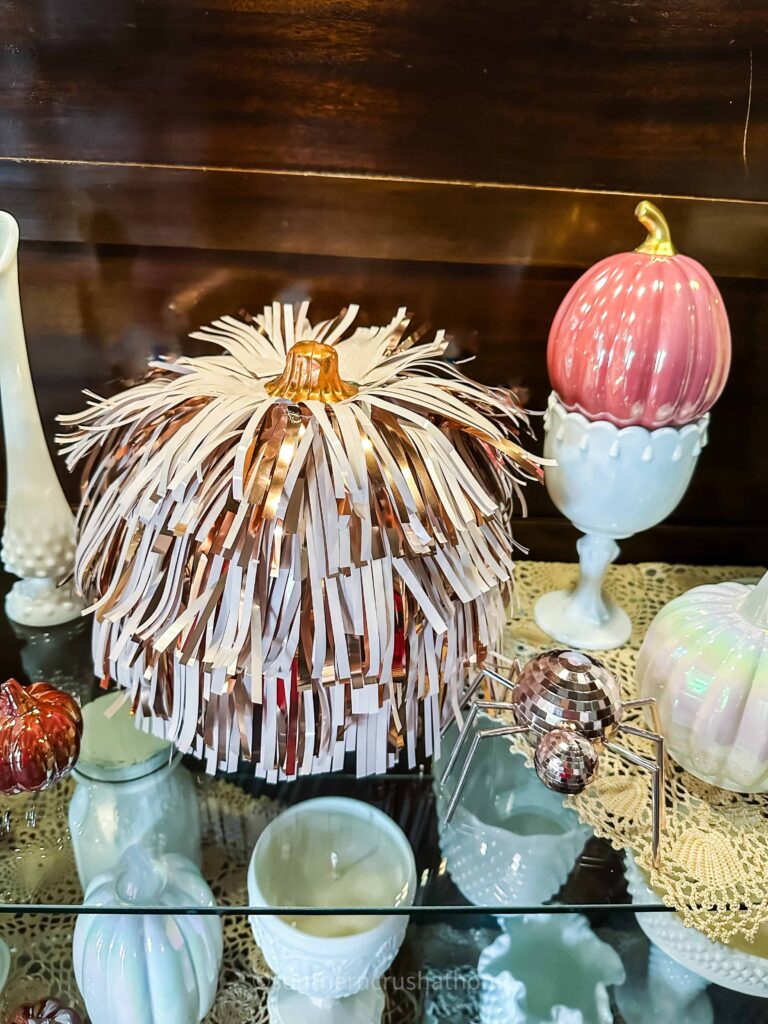
Your ombre pumpkin is now ready to shine! Place it on your mantel, as a centerpiece on your dining table, or alongside your other fall decor for a unique and eye-catching display.
I added mine to the China hutch in my dining room.
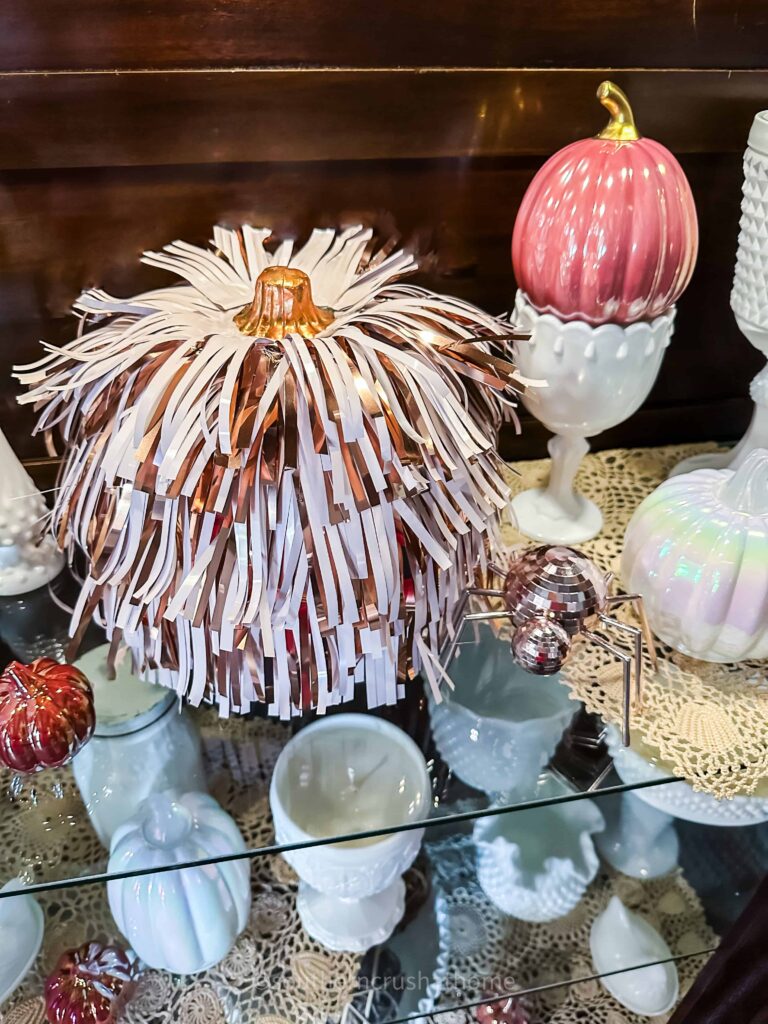
The mix of pink and gold tones adds a modern, glam vibe to your typical fall setup, making this pumpkin a perfect piece for anyone who loves a little sparkle in their decor.
Why This DIY Ombre Pumpkin is Perfect for Fall
This no-carve pumpkin decorating idea is not only easy but also incredibly stylish. Using mylar fringe adds texture, color, and a little bit of shine to your pumpkin, giving it a high-end, modern look without the mess of traditional pumpkin carving.
Plus, the ombre effect brings in a soft, gradual color transition that’s perfect for fall decor. And with the gold stem as a finishing touch, this pumpkin is all about chic, minimal effort but maximum impact.
This Rose Gold Ombre Pumpkin DIY using mylar fringe is the perfect project if you’re looking for a unique, elegant twist on pumpkin decorating.
It’s a fun and easy way to bring some glamour into your fall decor, all while skipping the hassle of carving. With just a few materials and under an hour of crafting, you’ll have a stunning pumpkin that’s sure to catch everyone’s eye this season.
So grab your mylar fringe, some tape, and a pumpkin, and get ready to create a one-of-a-kind ombre pumpkin that will brighten up your fall decorations!
Happy crafting! 🎃