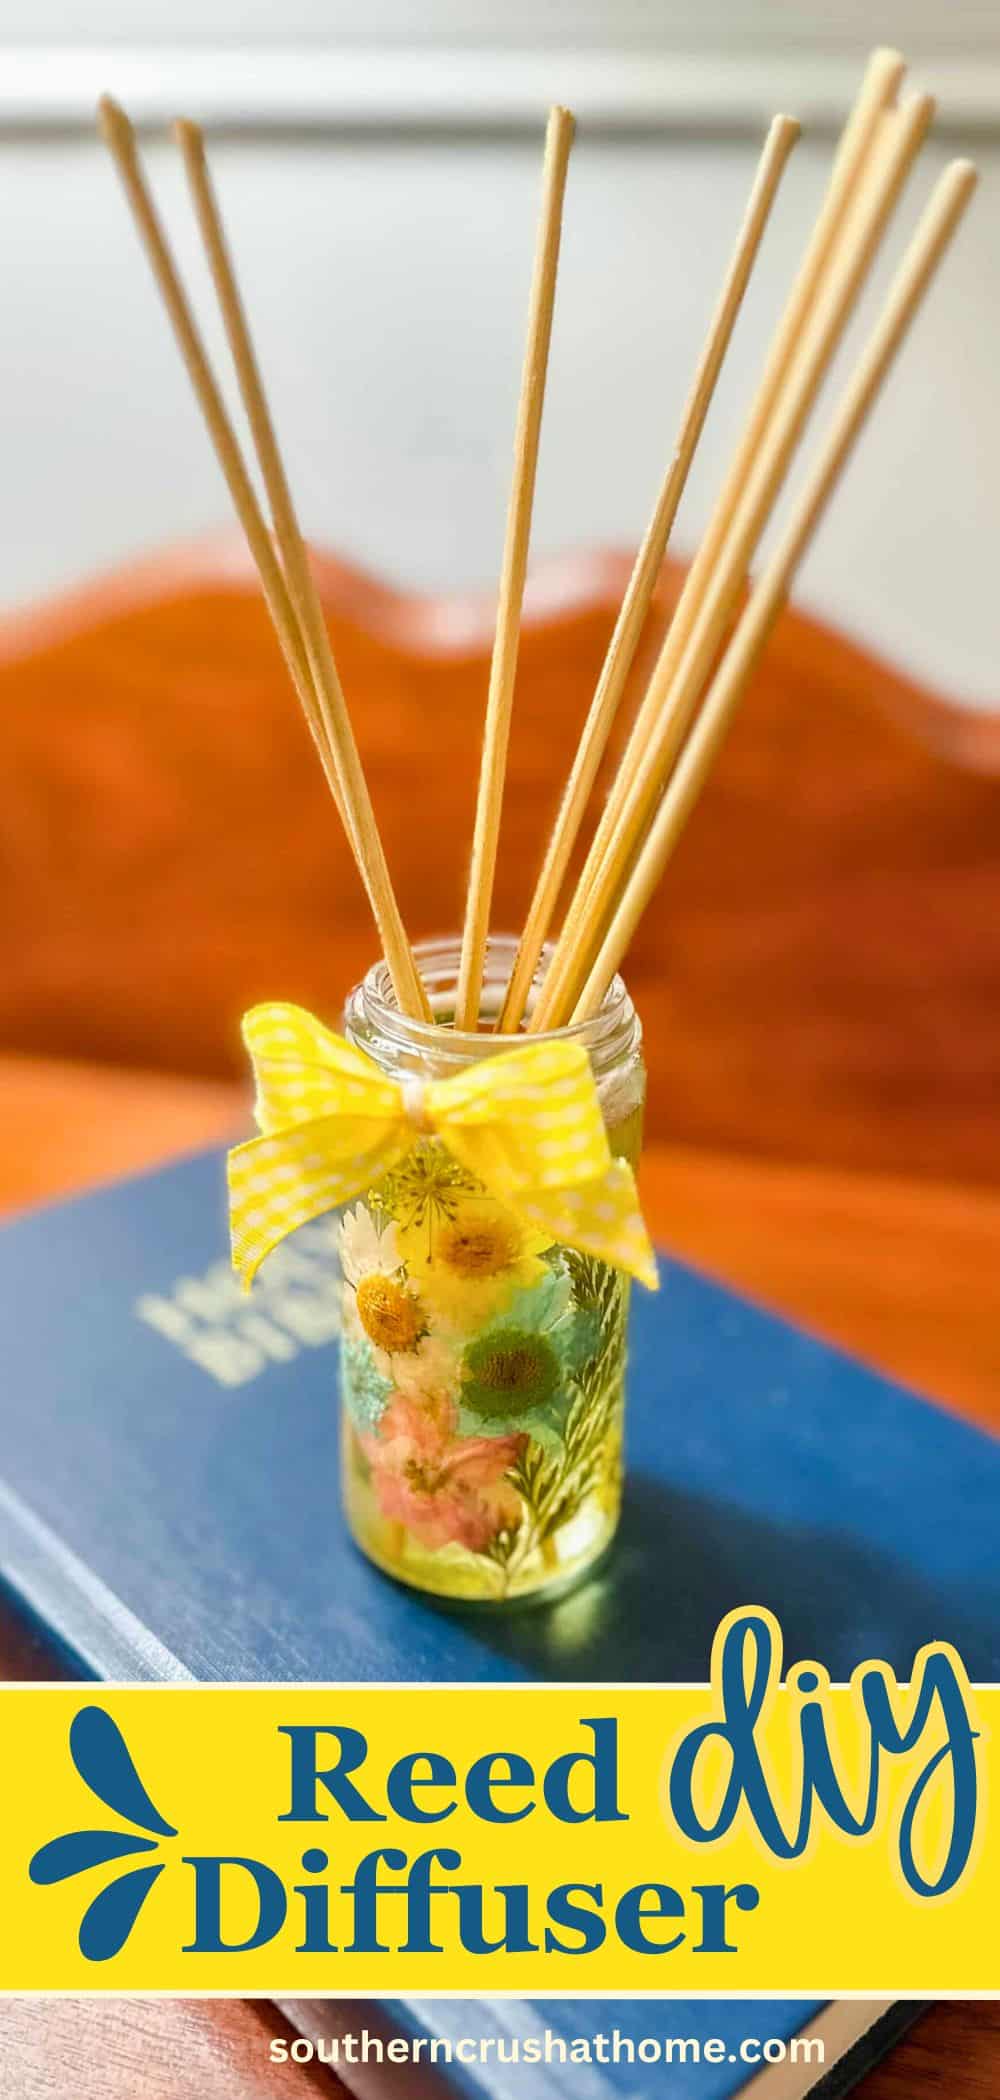
Easy DIY Reed Diffuser Tutorial: Make Your Home Smell Amazing
Creating a cozy and inviting atmosphere at home is easier than you think, especially with a homemade DIY reed diffuser. Not only is this project simple and fun, but it also allows you to customize your own scent and decorative style.
PIN this for later!
Oh, and these make fantastic gifts!
Let me show you how to make a DIY reed diffuser using some budget-friendly materials and a bit of creativity.
This blog post contains affiliate links. The opinions are wholly my own from my own experience. I may earn a small commission from clicks through to the websites that end in a purchase.
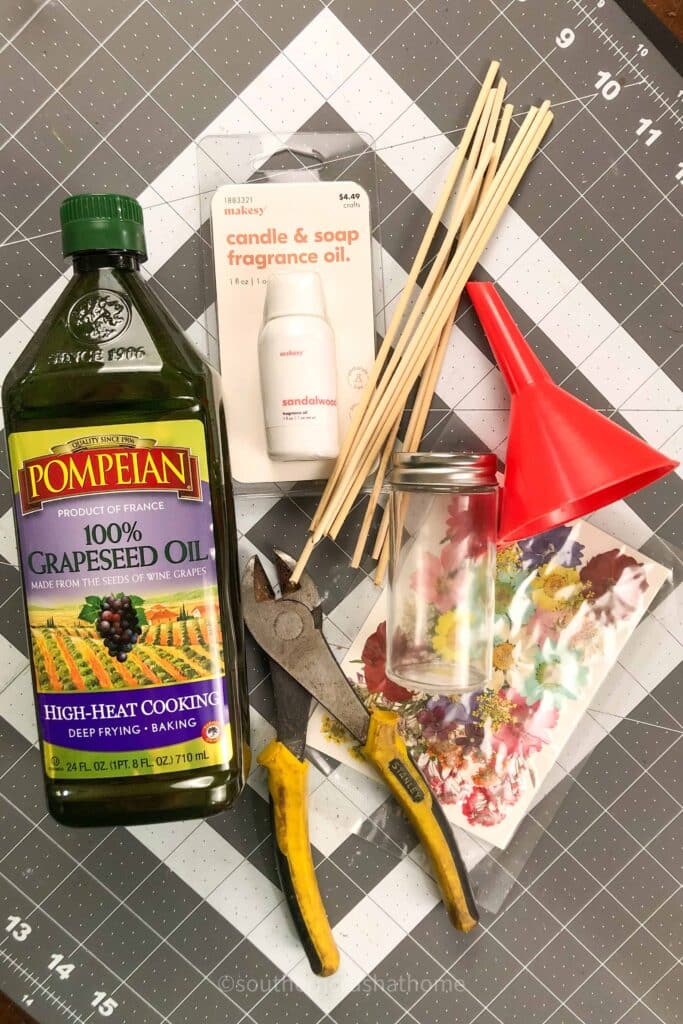
What You'll Need to Make a Reed Diffuser
- Glass jar or bottle (a glass salt or pepper shaker from Dollar Tree are an option)
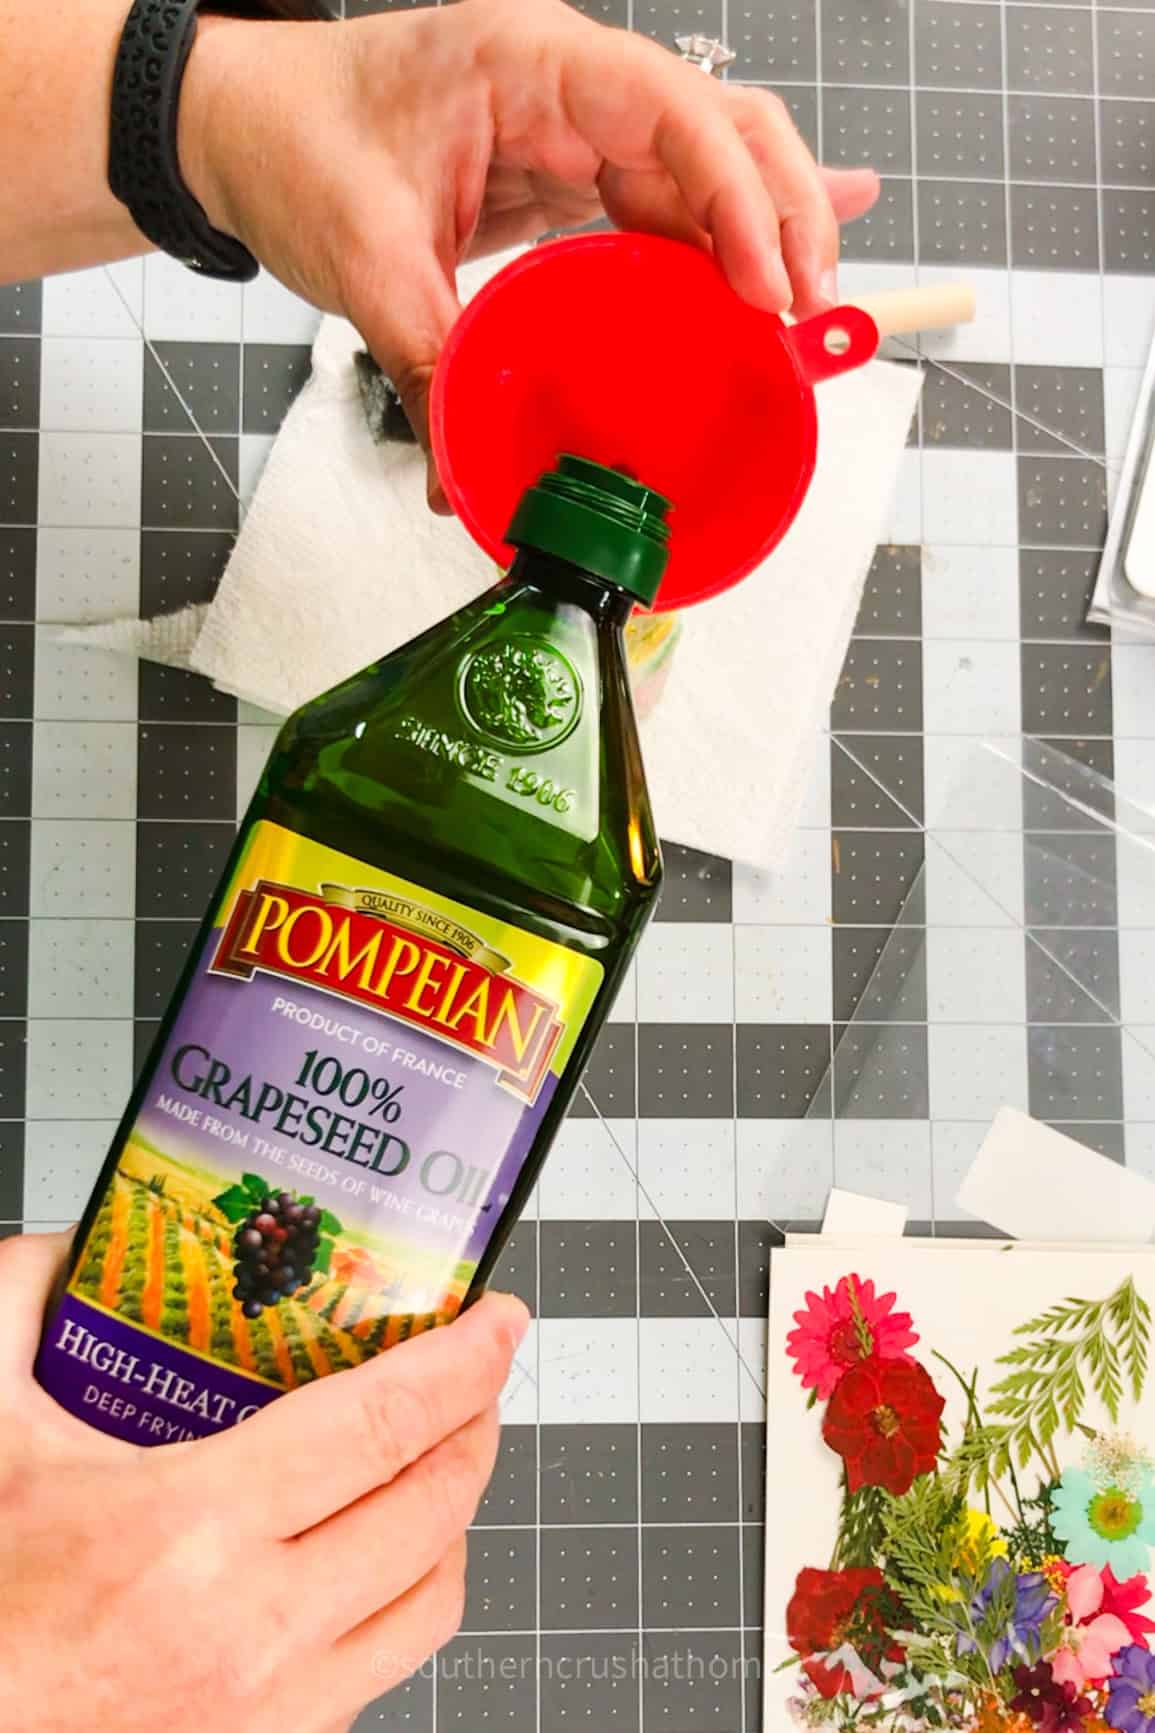
- Grapeseed oil (or any carrier oil–see list below)
- Reed diffuser sticks (or rattan sticks from a craft store)
- Essential oils (I used a sandalwood fragrance)
- Wire cutter
- Optional: Glossy Mod Podge
- Optional: Pressed and dried wildflowers
ALL OF THE SUPPLIES ARE LINKED HERE IN MY AMAZON FOR YOU!
Step-by-Step Tutorial for Making a DIY Reed Diffuser
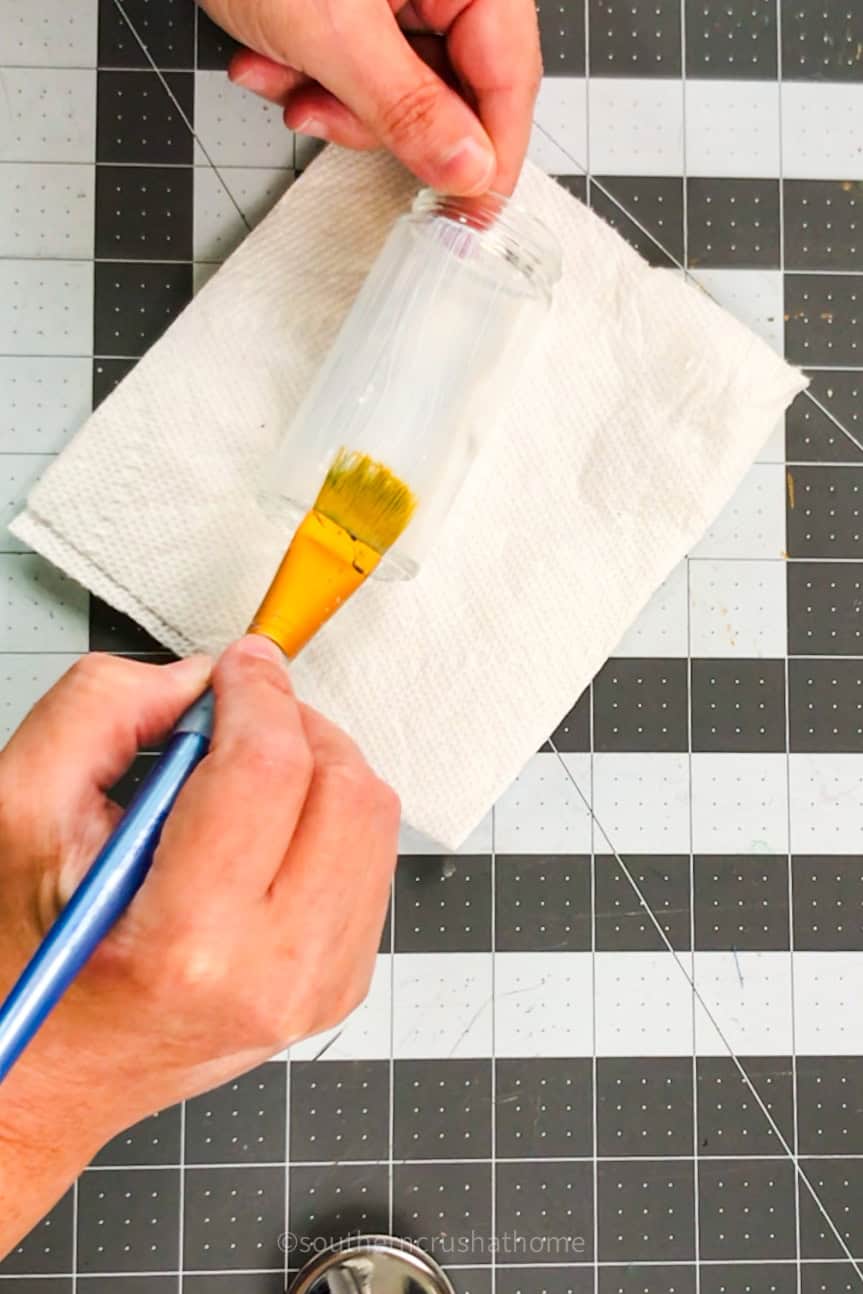
Step 1: Decorate the Jar
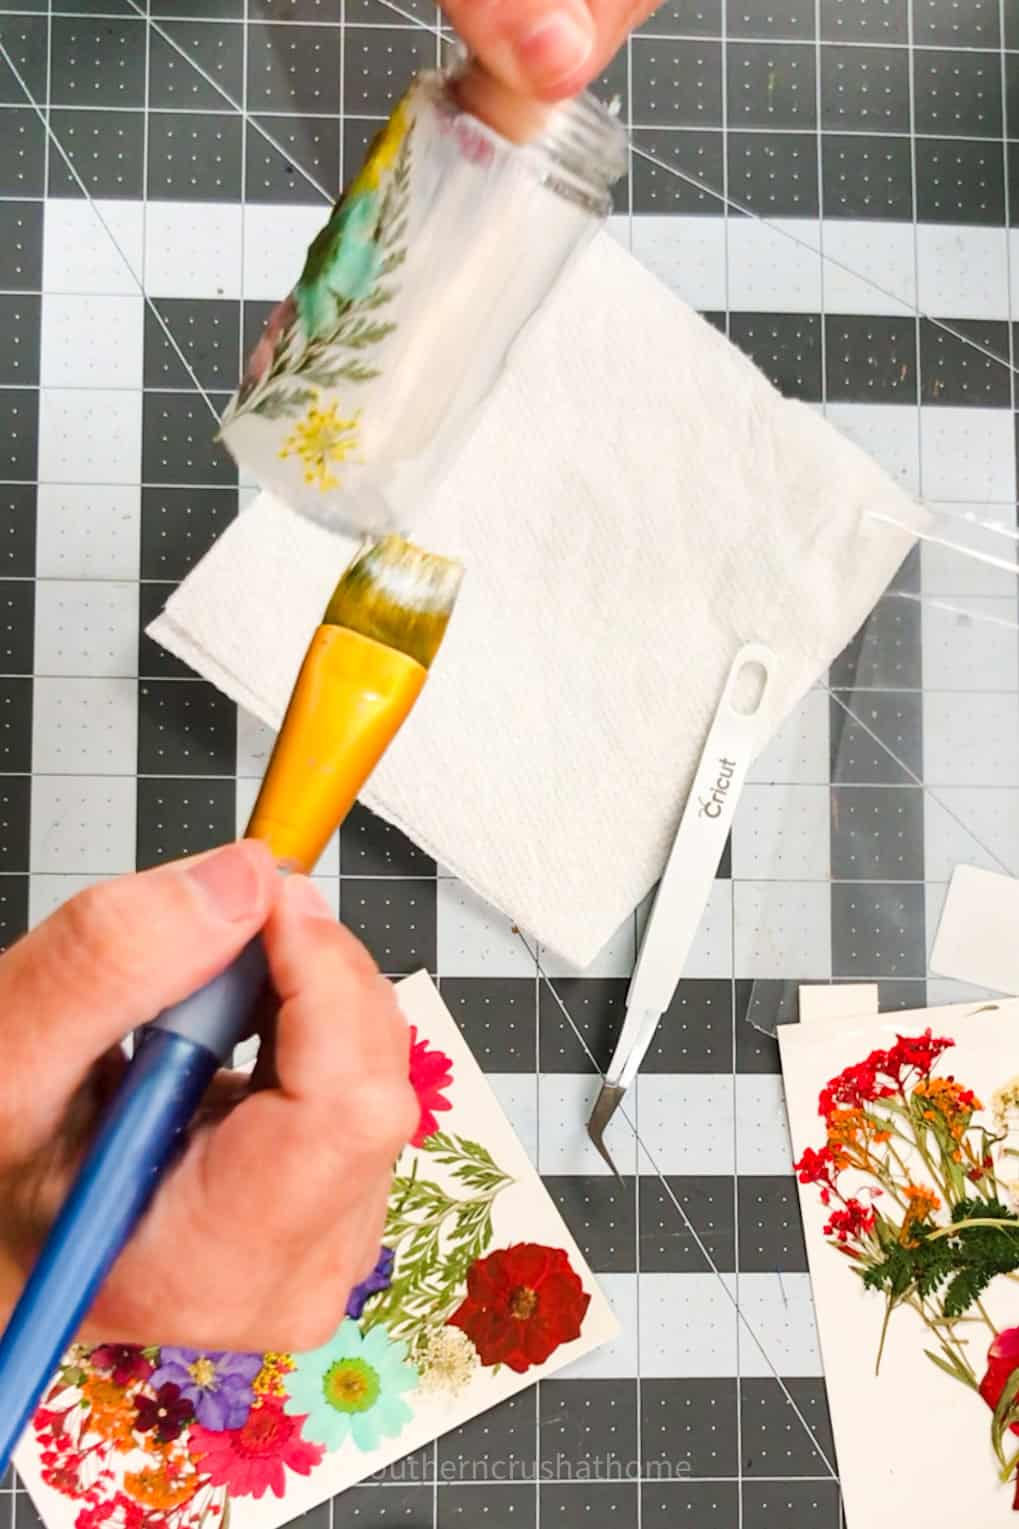
Start by decorating your glass jar or bottle. I used pressed and dried wildflowers, which I applied to the jar using glossy Mod Podge.
- Apply Mod Podge: Use a brush to apply a thin layer of glossy Mod Podge to the jar.
- Add Flowers: Gently press the dried wildflowers onto the jar. Arrange them in a pleasing pattern.
- Seal the Flowers: Apply another layer of Mod Podge over the flowers to seal them in place. Allow the jar to dry completely.
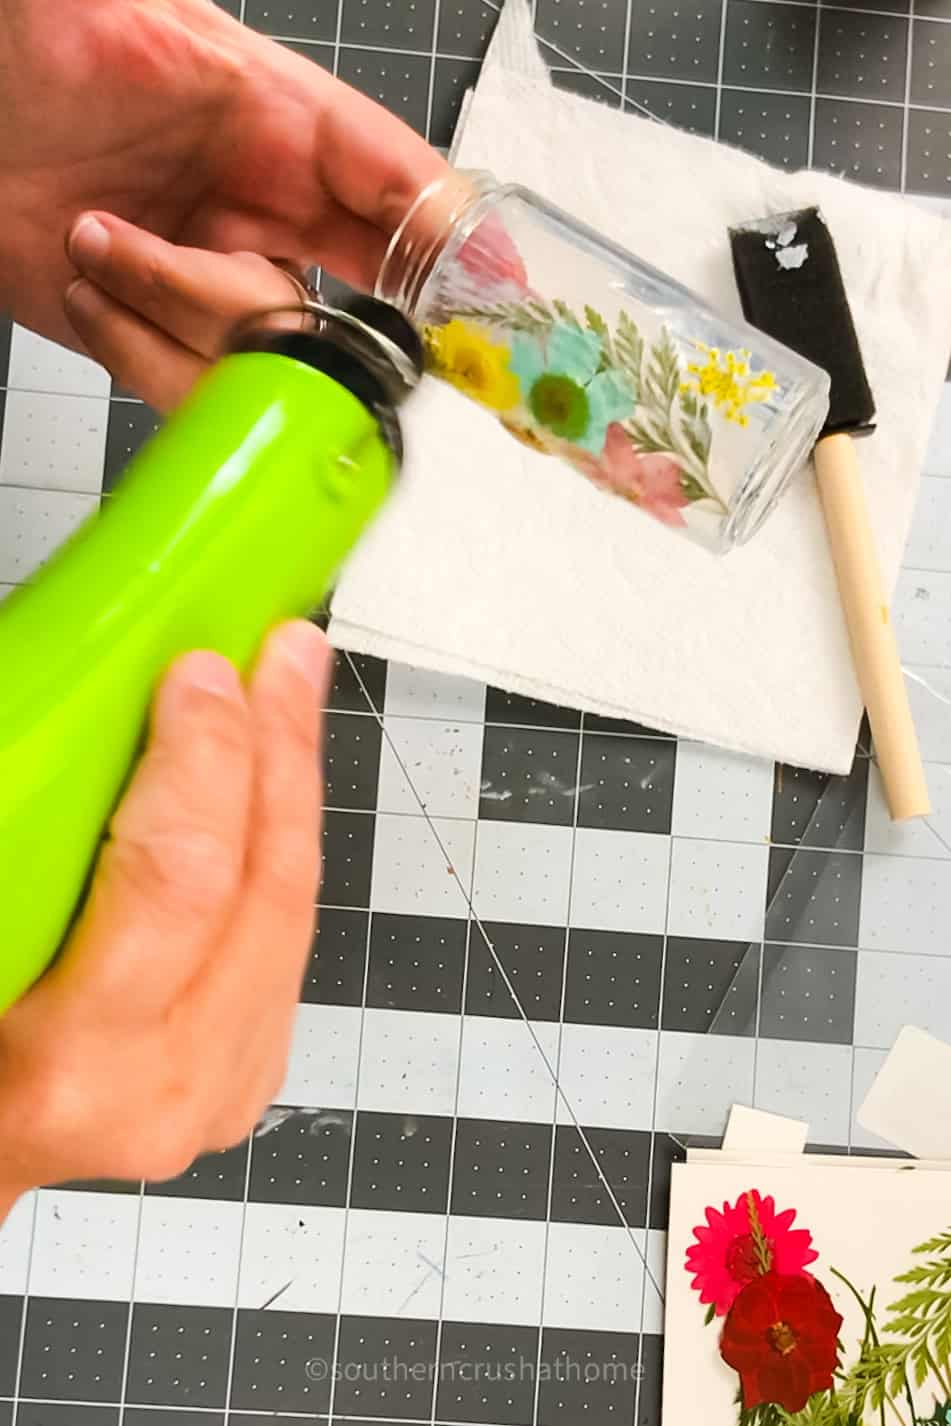
- Dry the Mod Podge: Using a heat tool to speed up the process, dry the mod podge to create a glossy finish.
ALL OF THE SUPPLIES ARE LINKED HERE IN MY AMAZON FOR YOU!
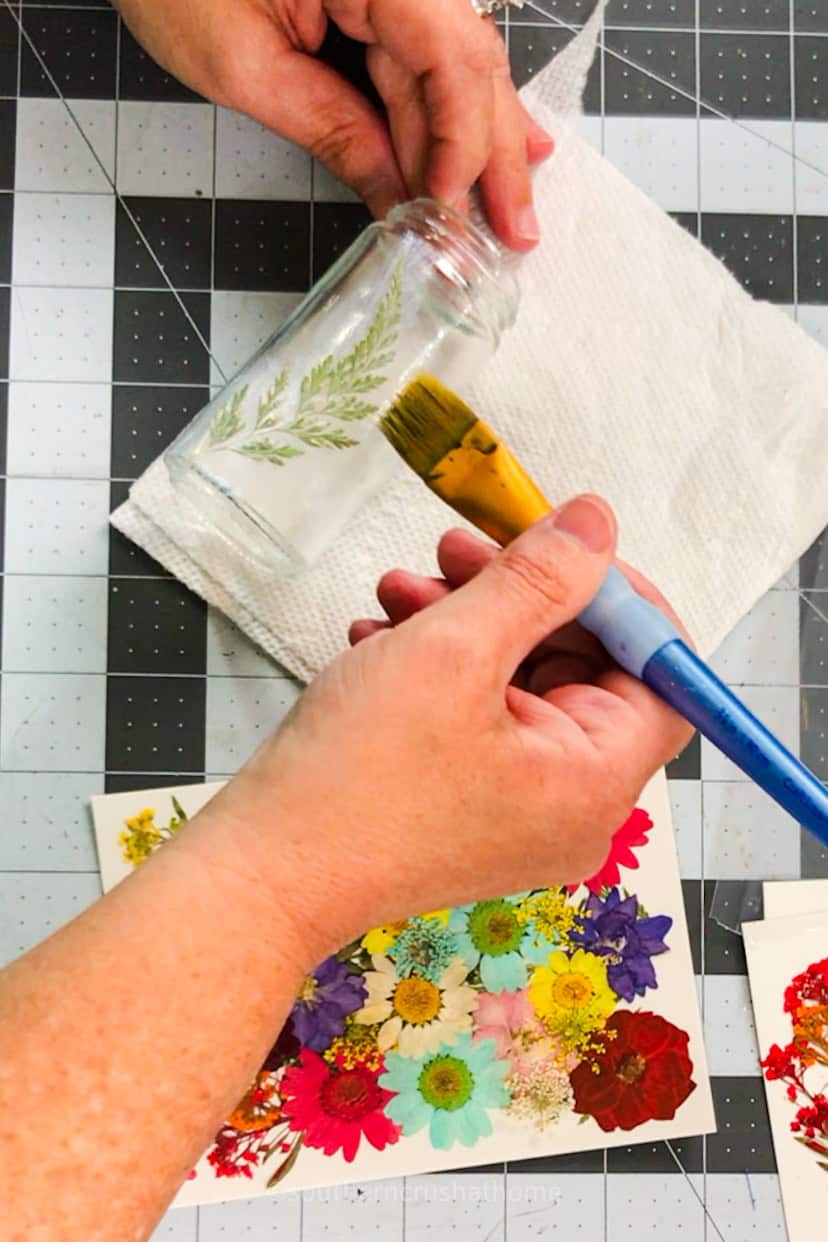
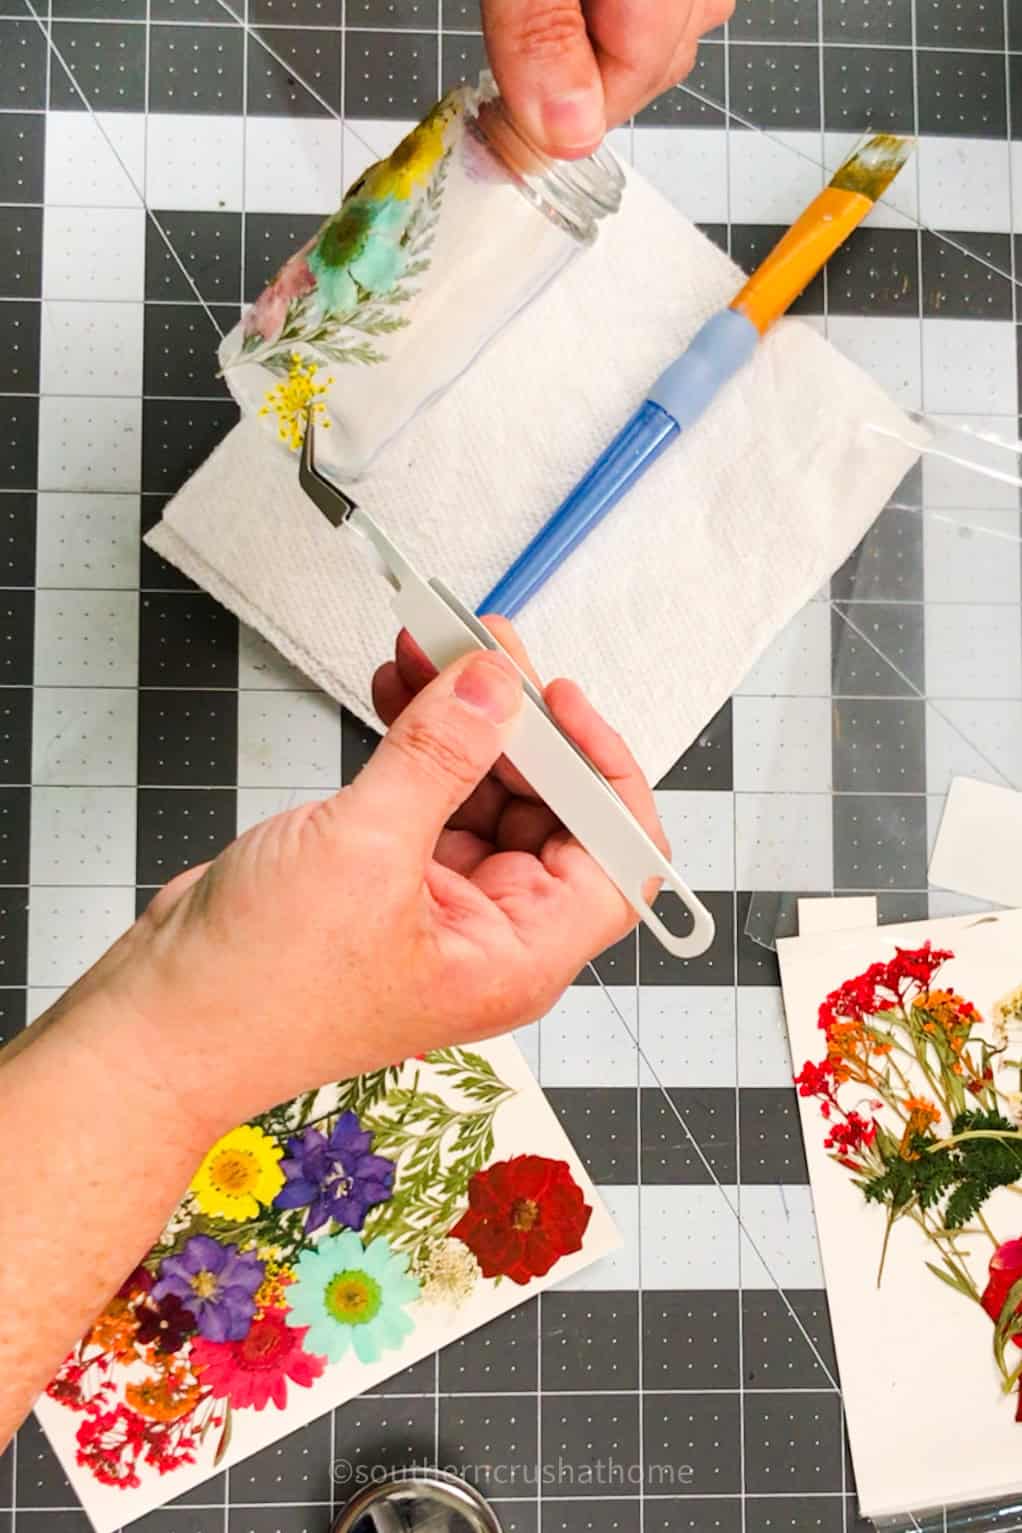
Pro Tip: Use a pair of tweezer to handle the delicate dried flowers to separate them and place them strategically on your container without tearing or ripping them in the process.
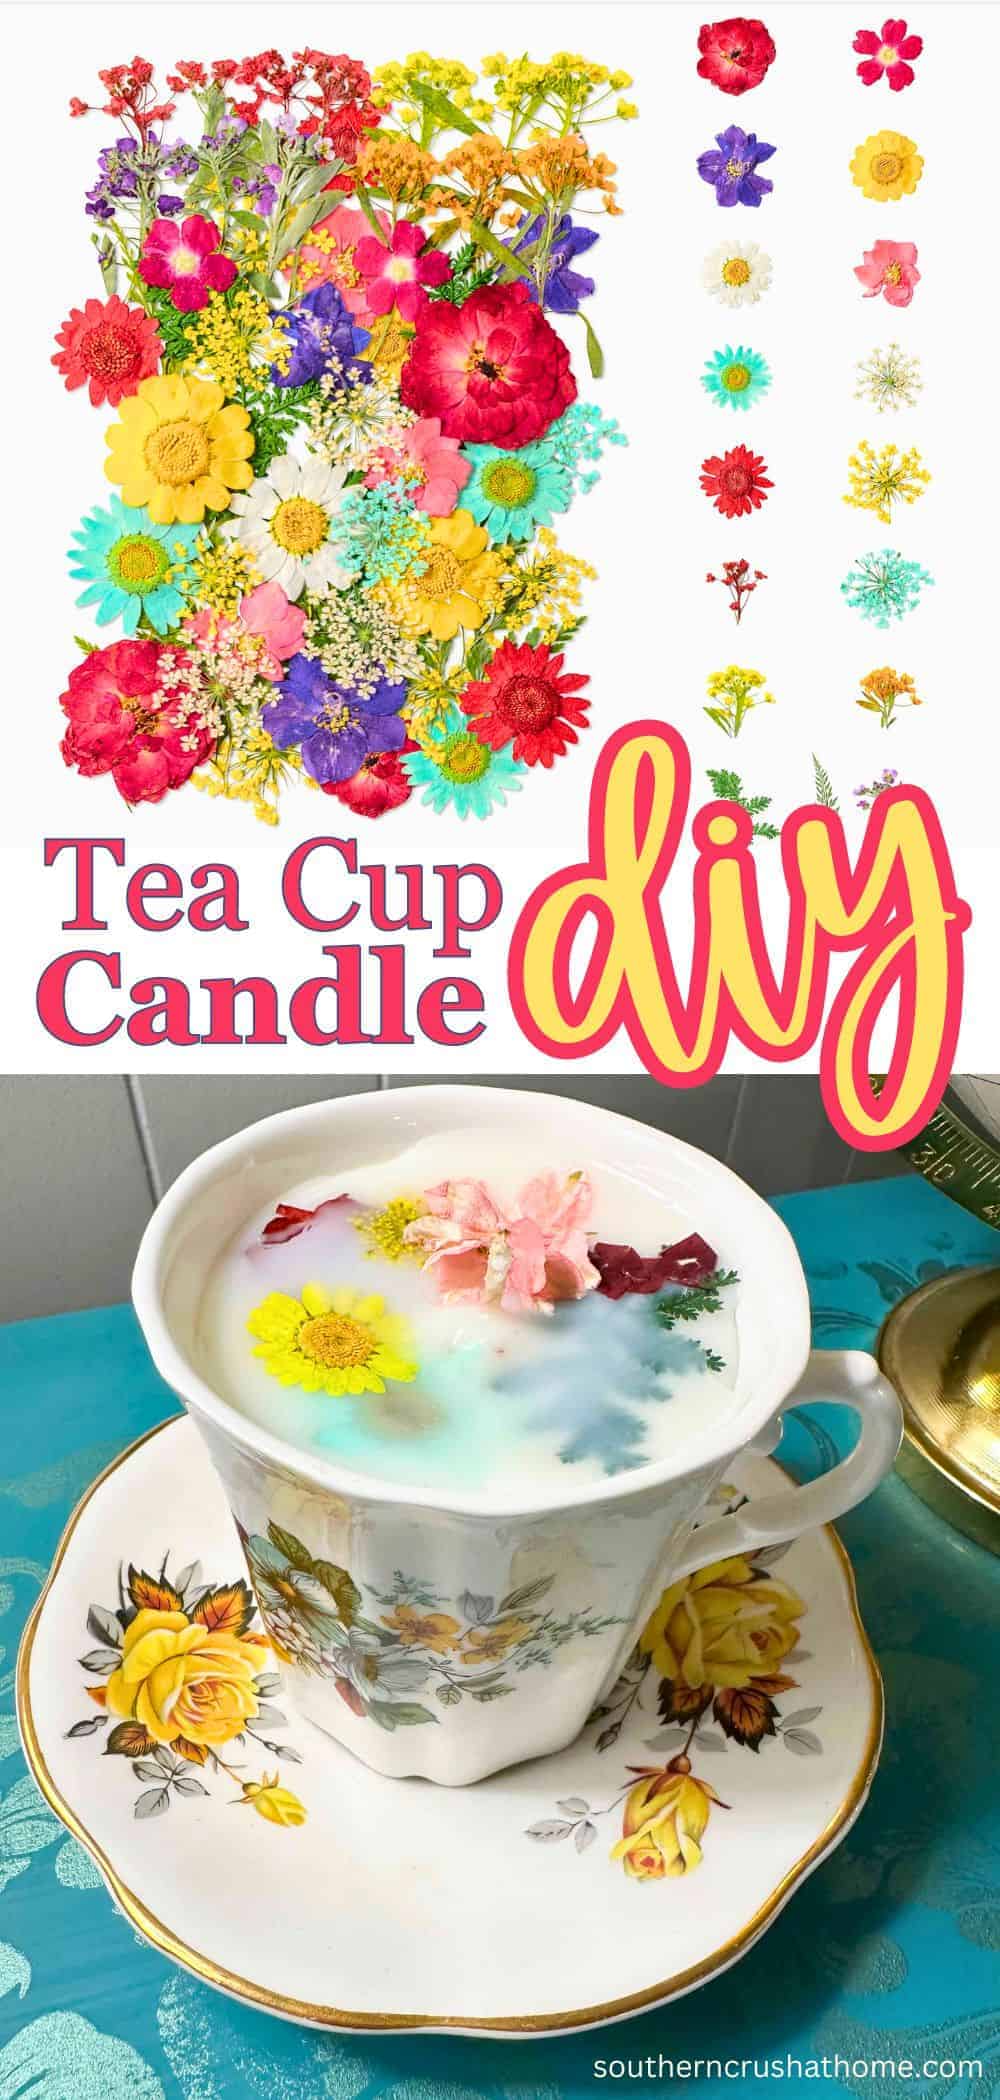
Adding the dried flowers not only adds a beautiful, personalized touch but also ties in with other DIY crafts I've done using dried flowers, such as tea cup candles, bookmarks, and tags.
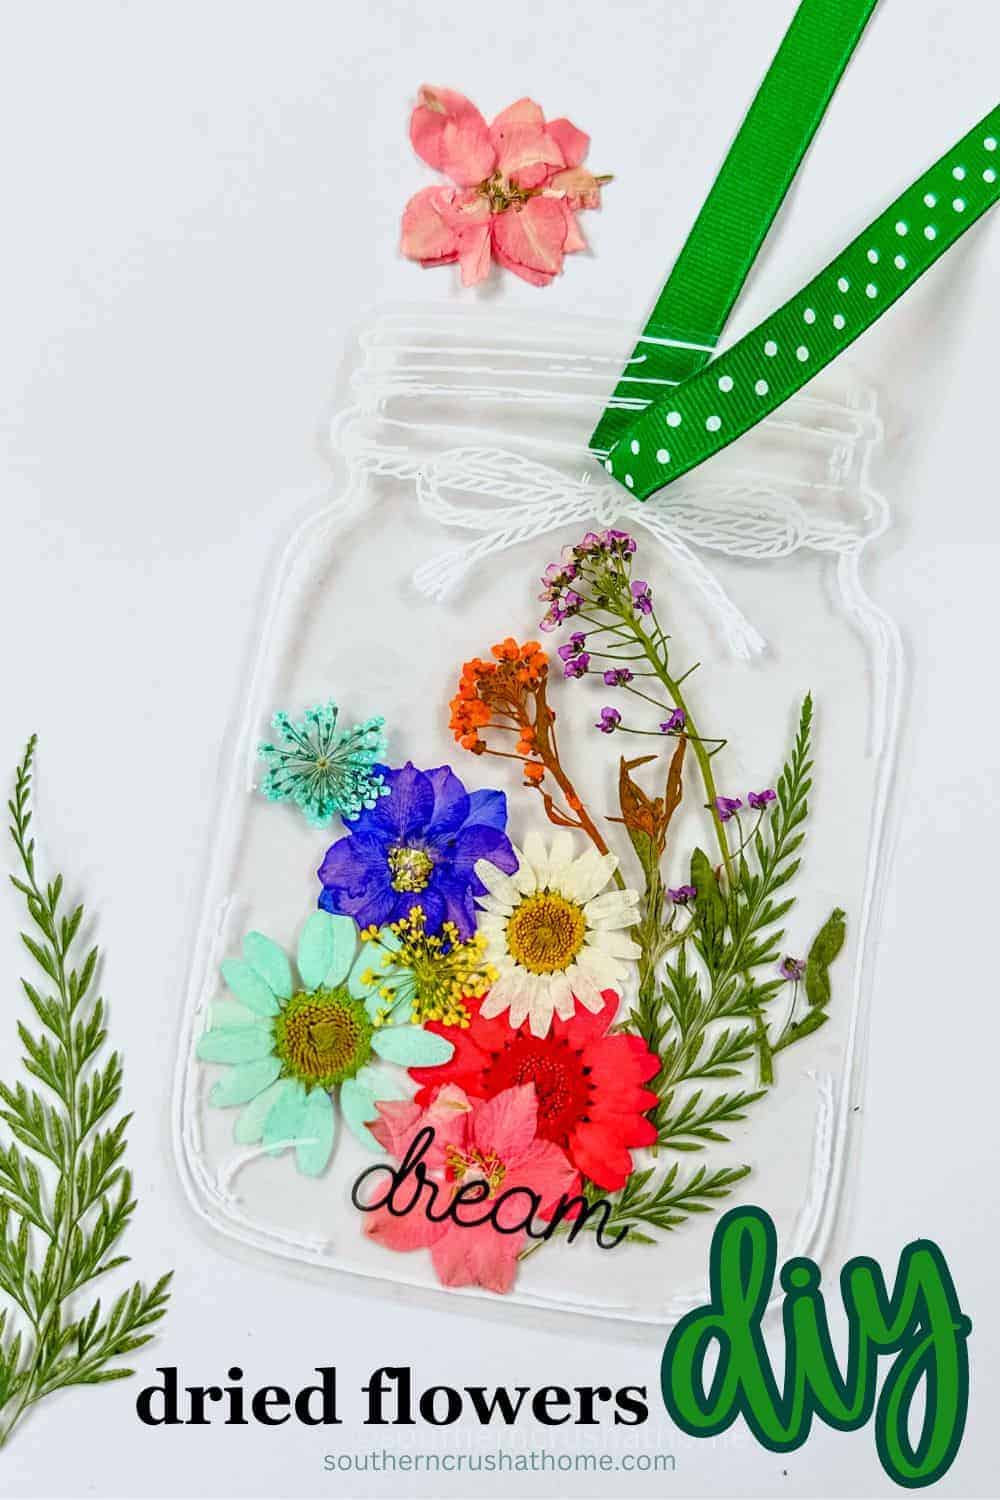
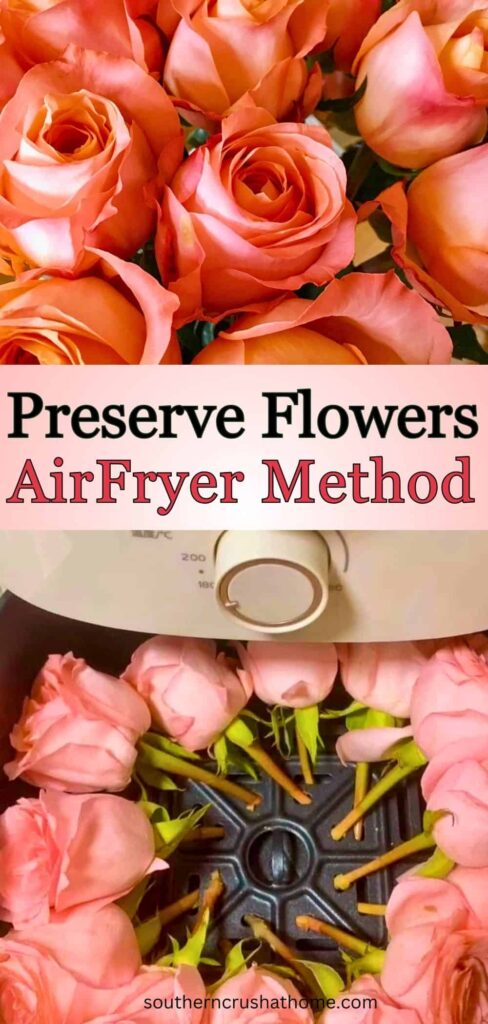
If you’re new to preserving flowers, check out my post on how to preserve flowers using the air fryer method.
Step 2: Prepare the Reed Diffuser Oil
For the base of your reed diffuser oil, you’ll need a carrier oil. Carrier oils help to dilute the essential oils and enable them to be absorbed by the reed sticks.
Carrier Oils:
- Grapeseed oil (what I used)
- Sweet almond oil
- Fractionated coconut oil
- Safflower oil
- Measure the Oil: Pour your chosen carrier oil to fill about 2/3 of your glass container
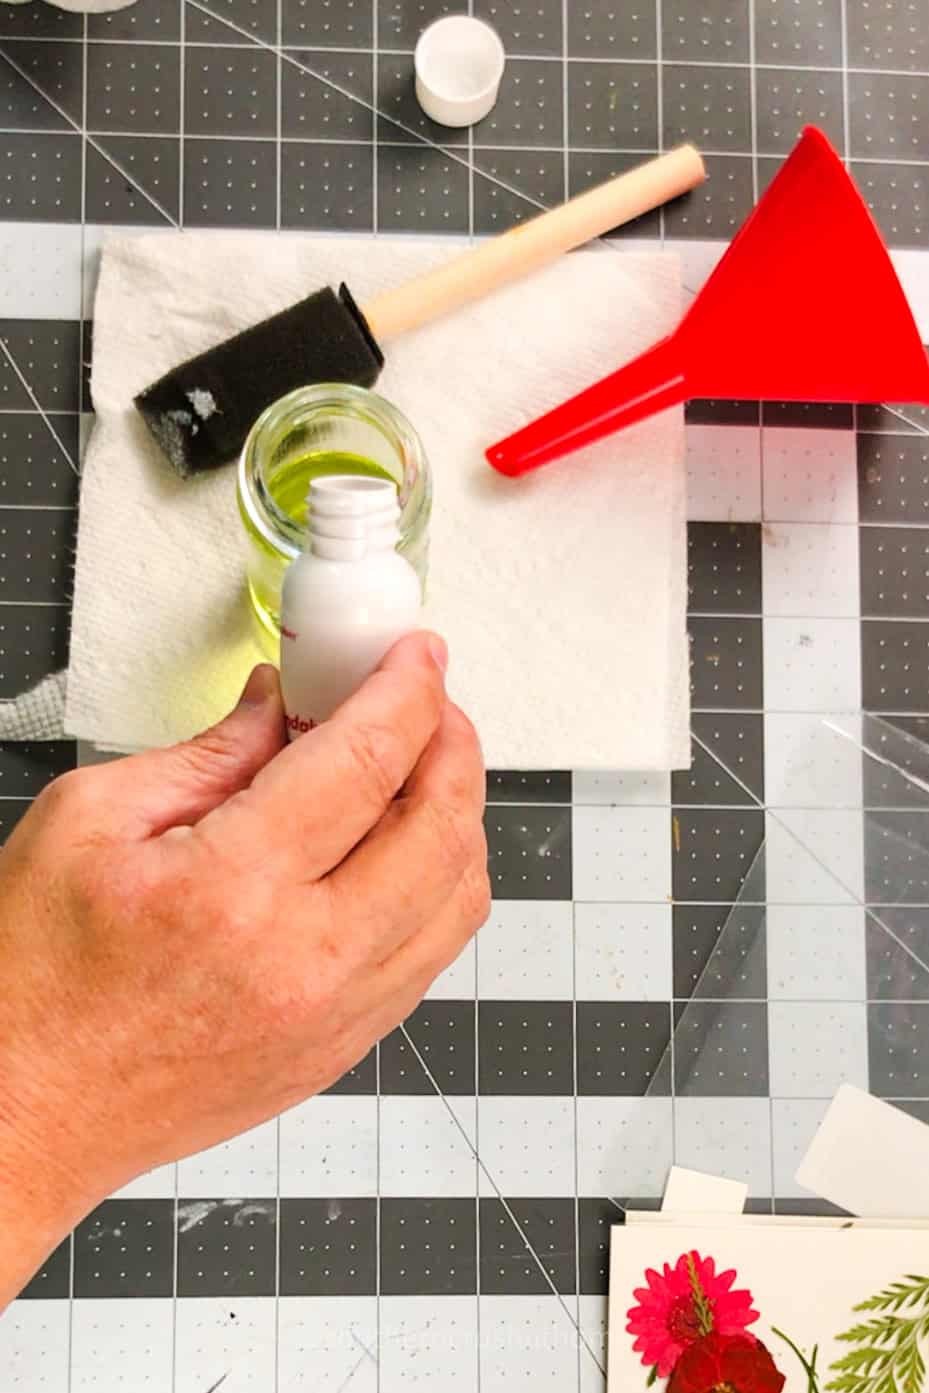
- Add Essential Oils: Add 20-30 drops of your favorite essential oil to the carrier oil. I used sandalwood fragrance essential oil for a warm, earthy scent.
Essential Oils Ideas:
- Lavender
- Eucalyptus
- Lemon
- Peppermint
- Rosemary
- Tea Tree
- Jasmine
Mix Well: Stir the oils together until they are well combined.
ALL OF THE SUPPLIES ARE LINKED HERE IN MY AMAZON FOR YOU!
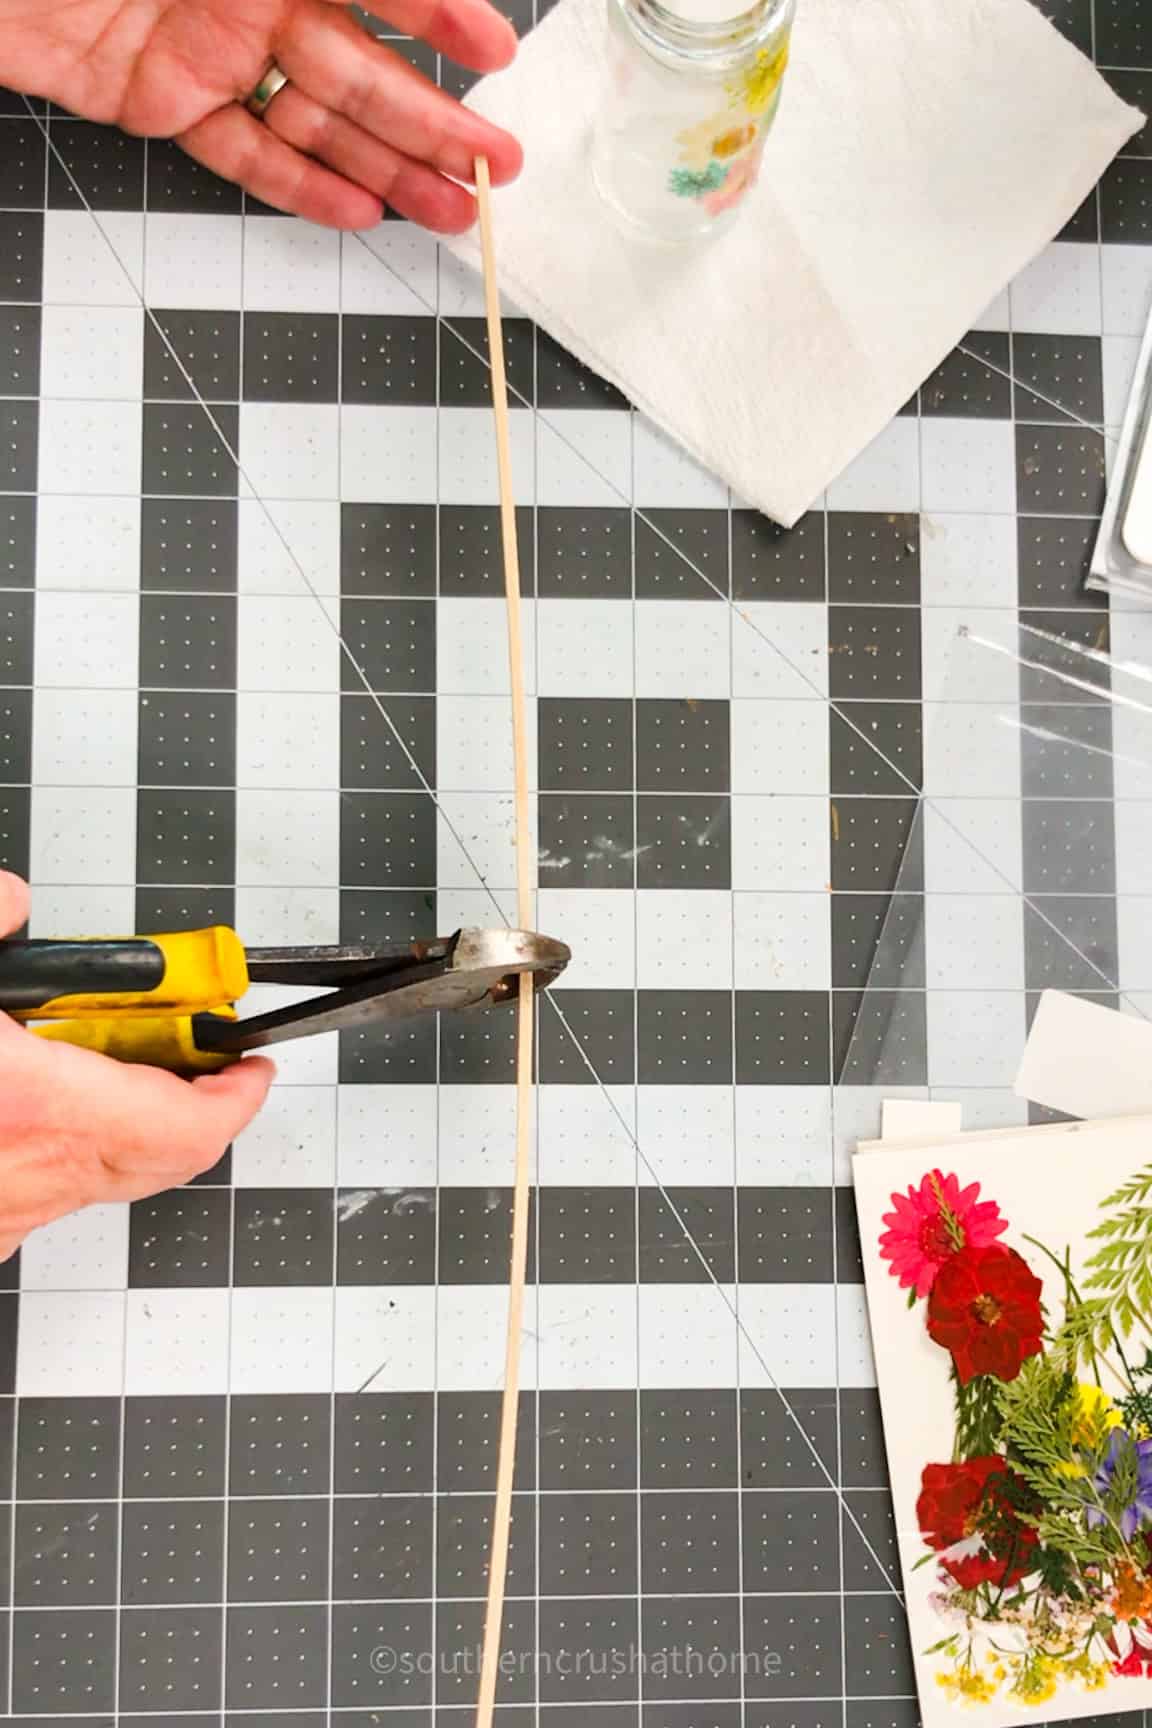
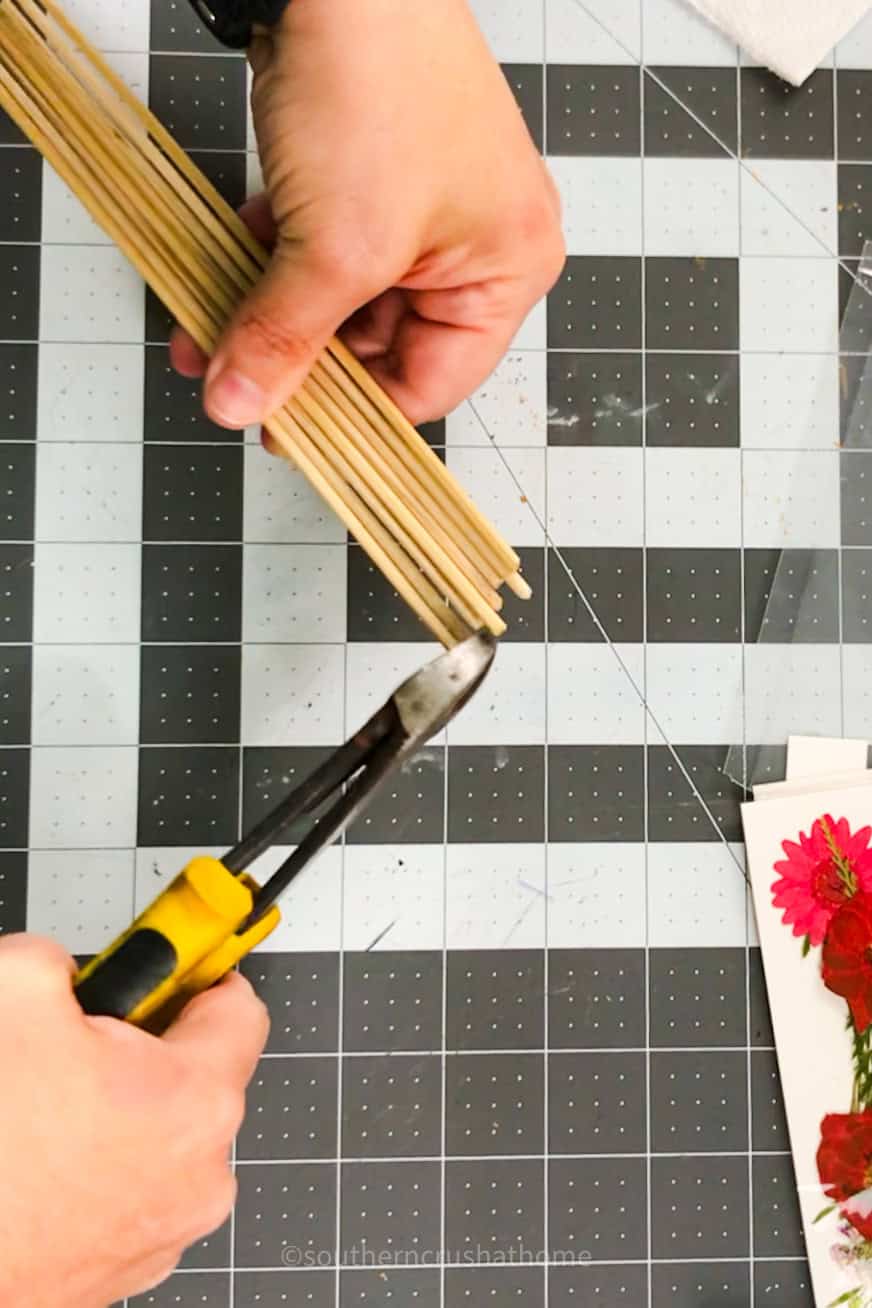
Step 3: Trim the Reed Sticks
Reed diffuser sticks are typically around 10-12 inches long. For this project, I trimmed them down to 8 inches using a wire cutter to better fit the size of my jar.
- Measure and Mark: Measure the desired length of 8 inches and mark the sticks.
- Cut the Sticks: Use the wire cutter to trim the sticks to size.
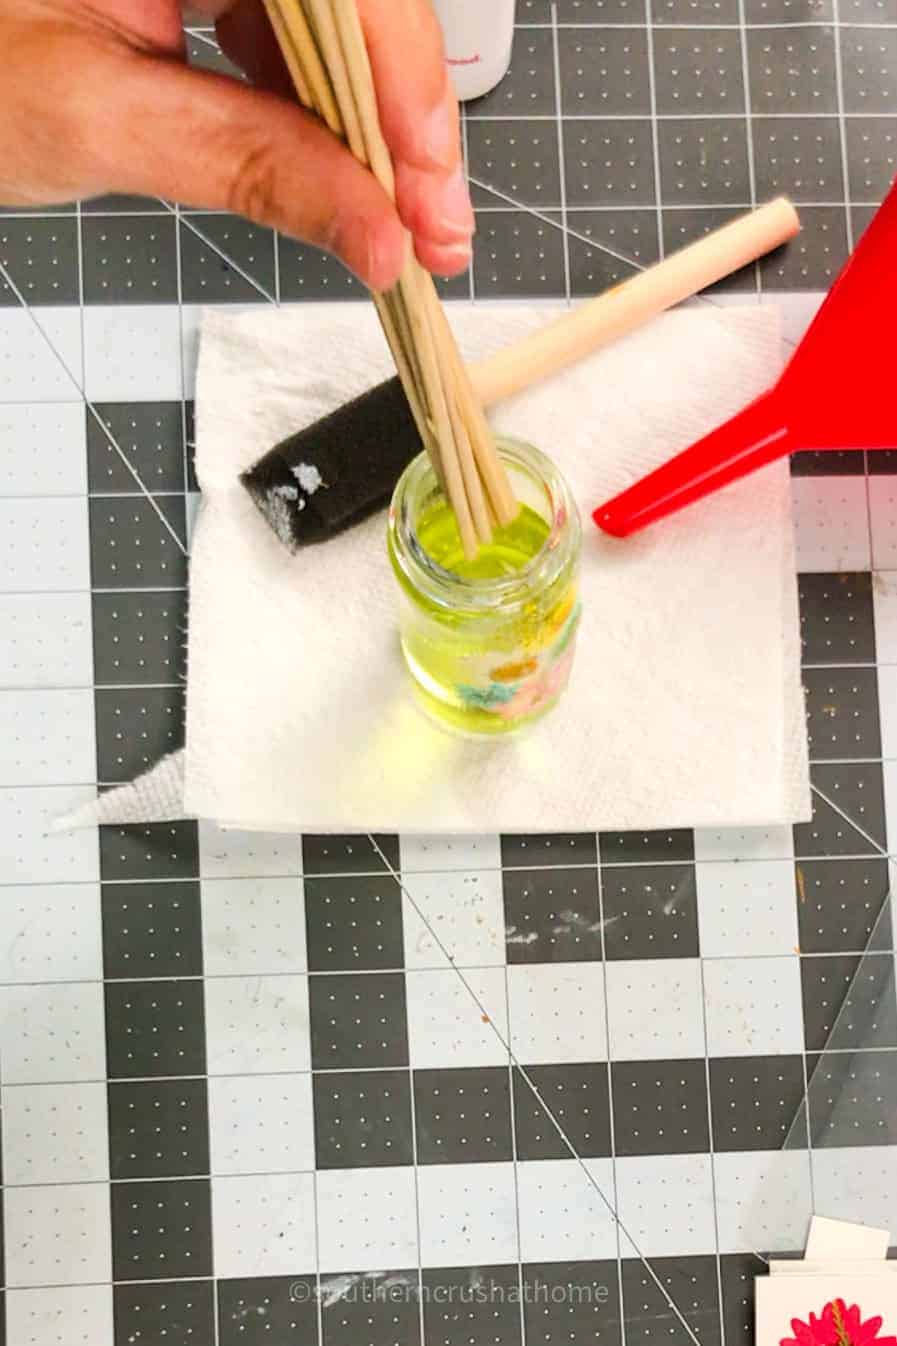
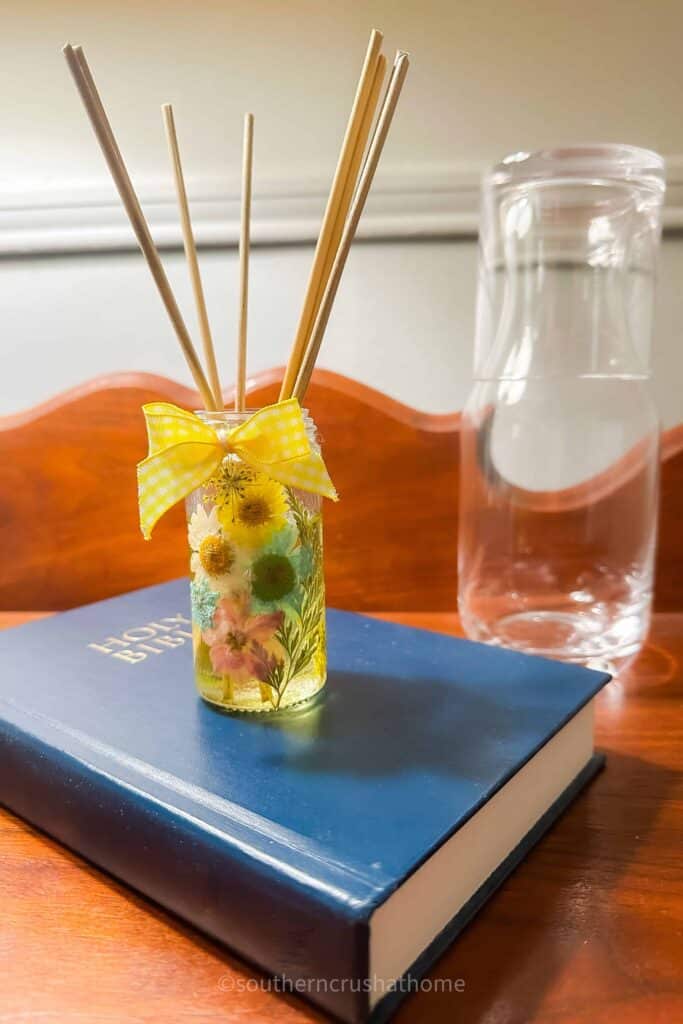
Step 4: Assemble the Reed Diffuser
- Pour the Oil: Carefully pour the mixed oils into your decorated jar. (I used a plastic funnel to avoid a mess.)
- Insert the Sticks: Place the reed sticks into the jar, ensuring that they are spread out and not bunched together. The sticks will absorb the oil and diffuse the fragrance into the air.
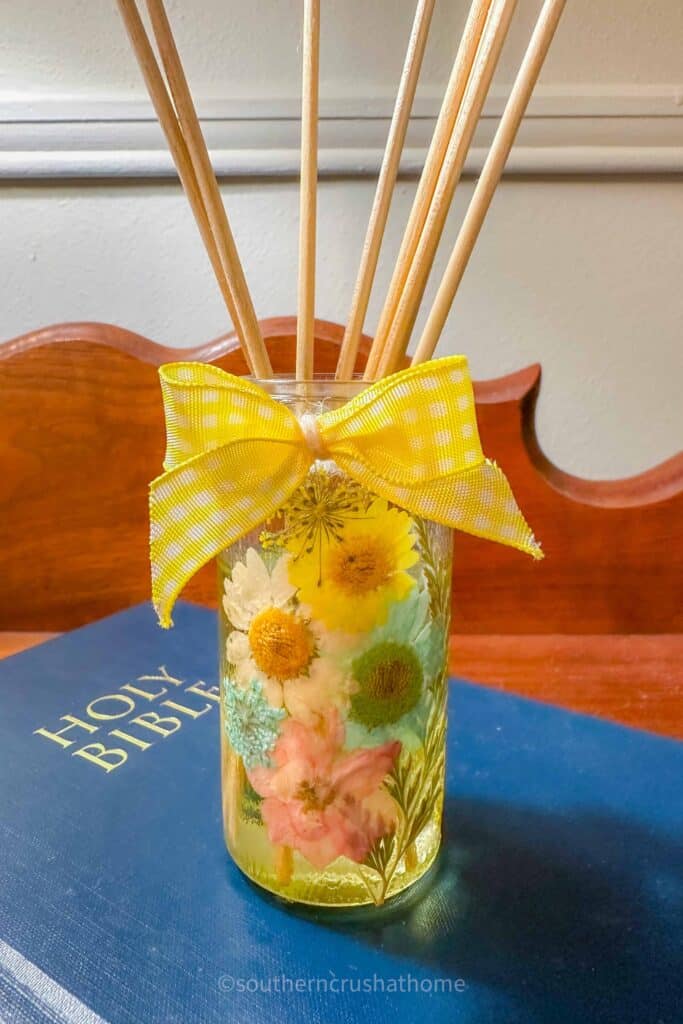
- Optional: I chose to tie a small bow to my reed diffuser.
Using Your Reed Diffuser
To get the best results from your reed diffuser, here are a few tips:
- Flip the Sticks: Every few days, flip the sticks to refresh the scent. This helps to keep the fragrance strong and consistent.
- Refill as Needed: When the oil level gets low, simply refill the jar with more carrier oil and essential oils.
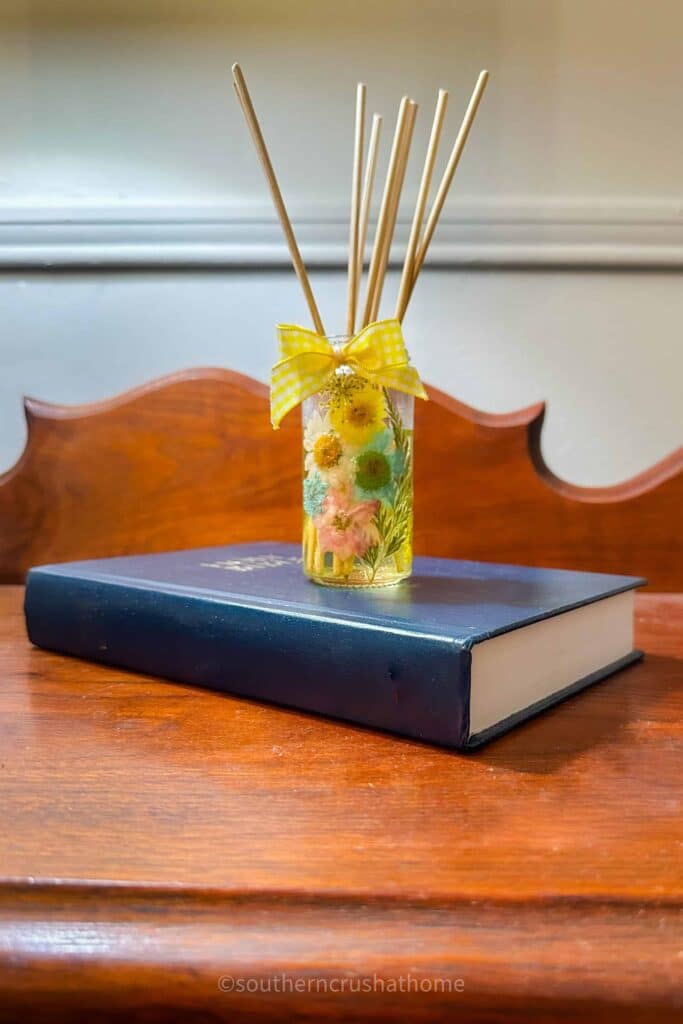
- Placement: Place your reed diffuser in a high-traffic area where air circulates well, such as a hallway or living room. Mine is on a nightstand in my guest bedroom.
Benefits of a DIY Reed Diffuser
- Customizable: You can choose your favorite scents and decorate the jar to match your home decor.
- Cost-Effective: Making your own reed diffuser is more affordable than buying pre-made ones, and you can refill it as needed.
- Eco-Friendly: Using natural essential oils and reusing glass jars is better for the environment.
Creating a DIY reed diffuser is a fun and rewarding project that adds a touch of personalized fragrance to your home.
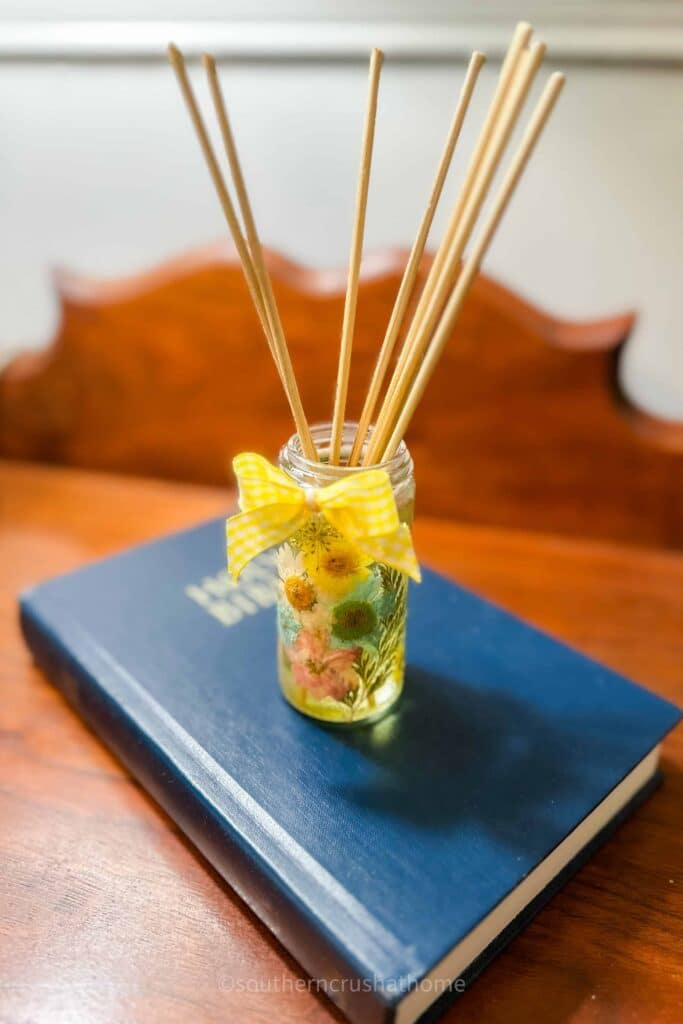
With just a few materials and some creative touches, you can make a beautiful and functional piece that not only smells great but also looks lovely in any room.
Don’t forget to check out my other DIY projects using pressed and dried wildflowers, such as tea cup candles, bookmarks, and tags, as well as my post on how to preserve flowers using the air fryer method.
Happy crafting, and enjoy your new reed diffuser!