How to Make a Paper Rose Valentine Wreath
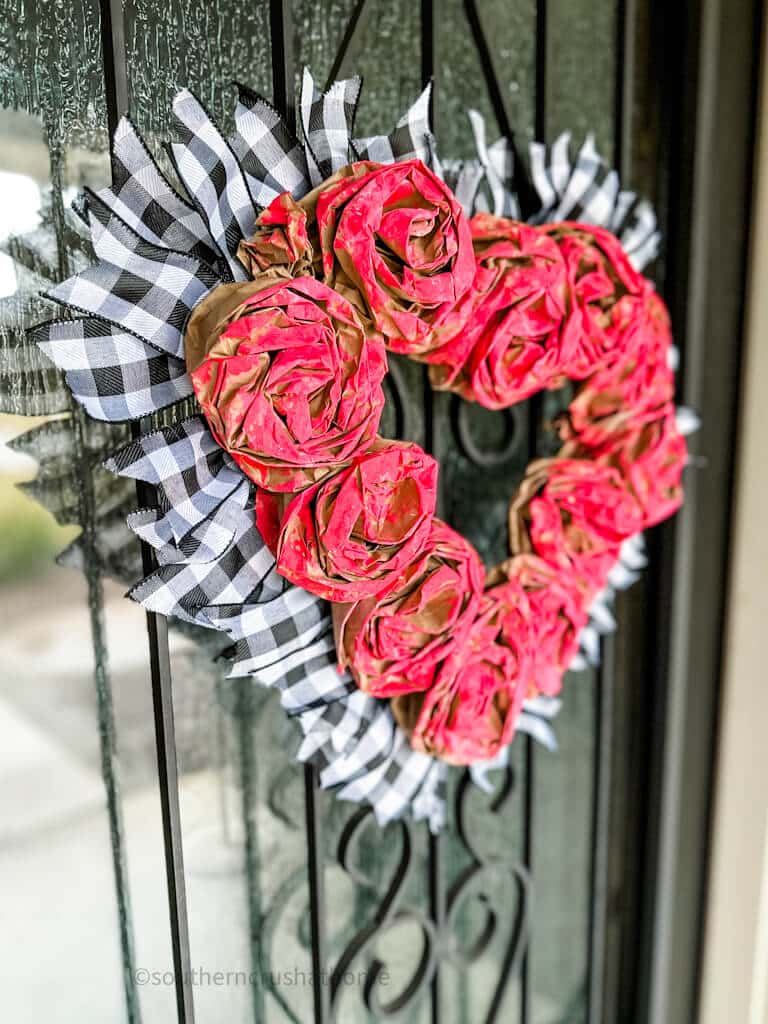
It’s come to my attention that no one needs another complicated DIY project. That is why I cannot wait to show you how to make a paper rose Valentine wreath! This is hands down the easiest, eye-catching paper rose wreath to make. Using just brown paper lunch bags and a basic heart-shaped wreath frame, you can create an inexpensive yet elegant piece that will be the envy of your friends and family.
This blog post contains affiliate links. The opinions are wholly my own from my own experience. I may earn a small commission from clicks through to the websites that end in a purchase.
In case you missed it, I shared these similar but completely different heart-shaped Valentine’s wreaths a few years ago.
In case you’re curious, I shared these Valentine’s posts I think you’ll enjoy as well!
- When is Valentines Day in 2023 and Why Do We Celebrate it?
- Last Minute Valentine’s Day Gifts You Can Find on Amazon
Supplies Needed for Heart Wreath
- 14″ Heart-shaped Wreath Frame (Dollar Tree or Amazon)
- 12 Brown Paper Lunch Bags or any color
- Hot Glue Gun
- Chip Brush
- Acrylic Paints in any color(s)
- 18 pieces- 2″ wide ribbon cut 6″ long
- Heat Gun Tool optional
All Supplies Needed to Make This Project Can Be Found HERE.
How to Make Paper Roses
Who knew these paper roses were just waiting to reveal themselves from a simple brown bag like the ones we used to take our lunch to school in? See how easy they are to assemble below.
YouTube Video Tutorial
If you prefer, you can watch a full video tutorial HERE on my YouTube channel!
Step One
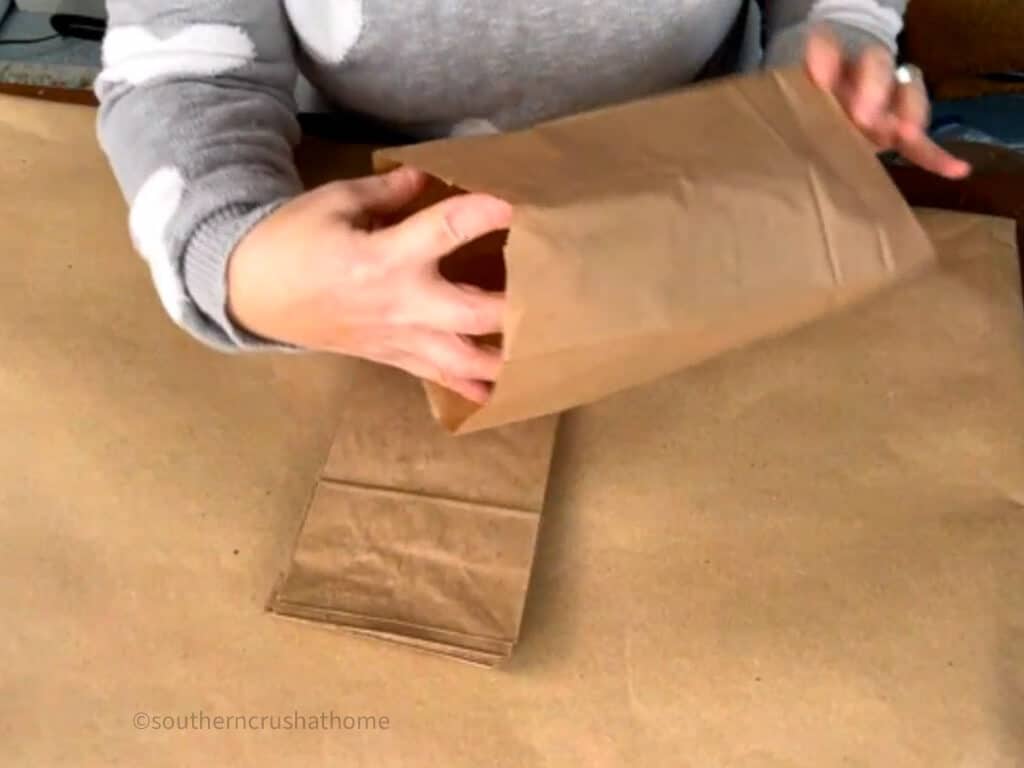
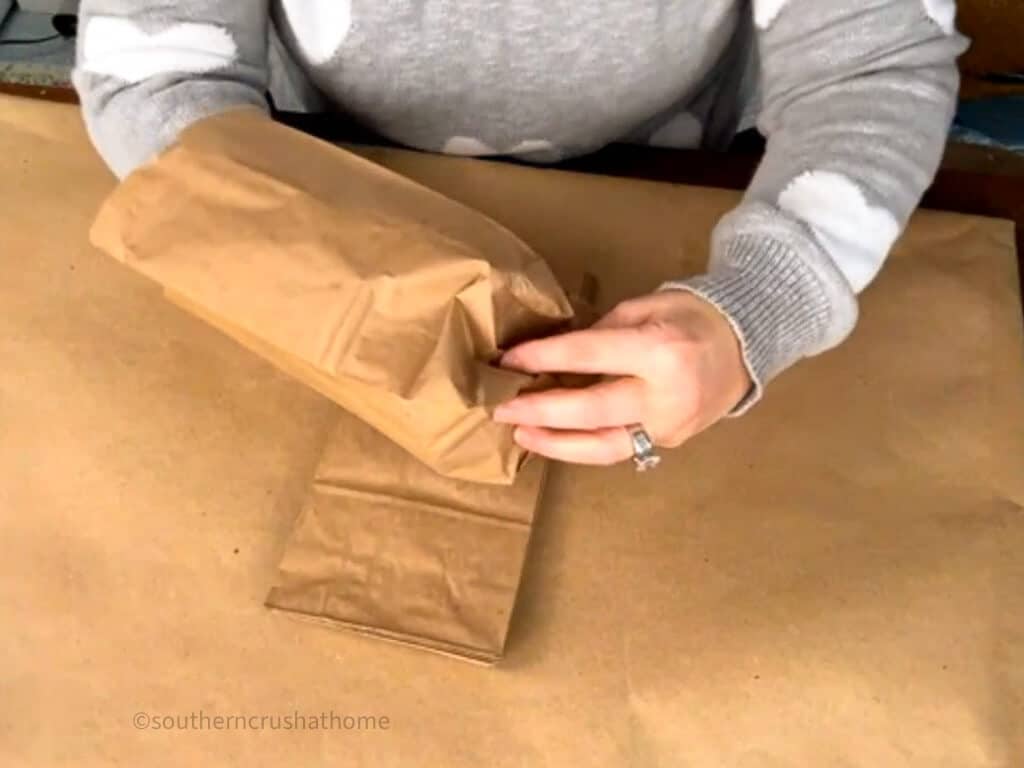
Open up a single brown paper bag from the inside. Place your hand inside with your fingers open.
Step Two
Using your other hand, grab the outside bottom portion of the paper sack and gently pinch it. (This will be the center of your rose)
Step Three
Using your inside hand, begin twisting and wrapping the bag around the outside hand in a circular motion until the entire bag is used.
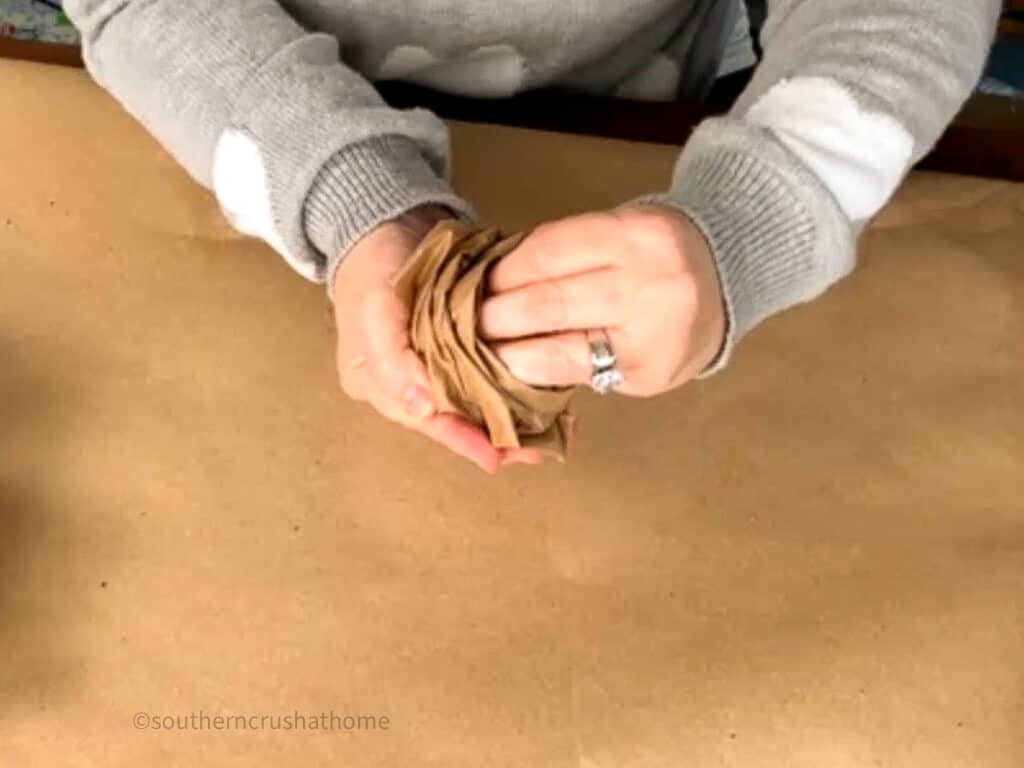
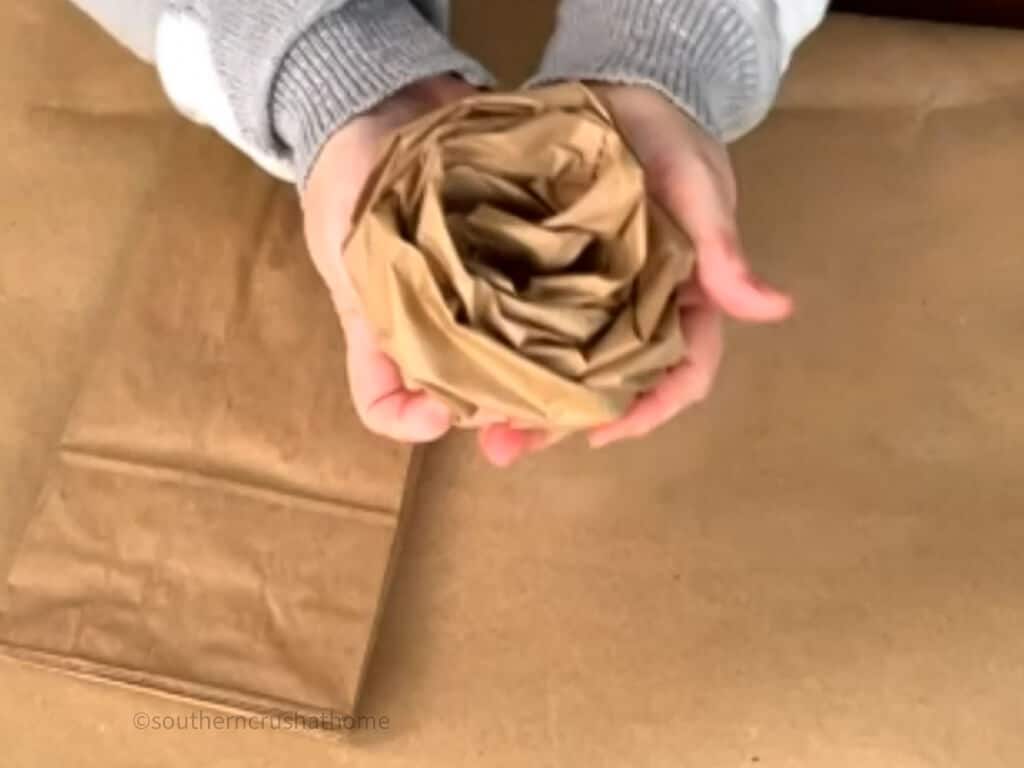
The end result will be this beautiful yet simple rose flower design.
How to Assemble the Wreath
Step One
Make sure to protect your space from the hot glue by putting down kraft paper or cardboard underneath your crafting area.
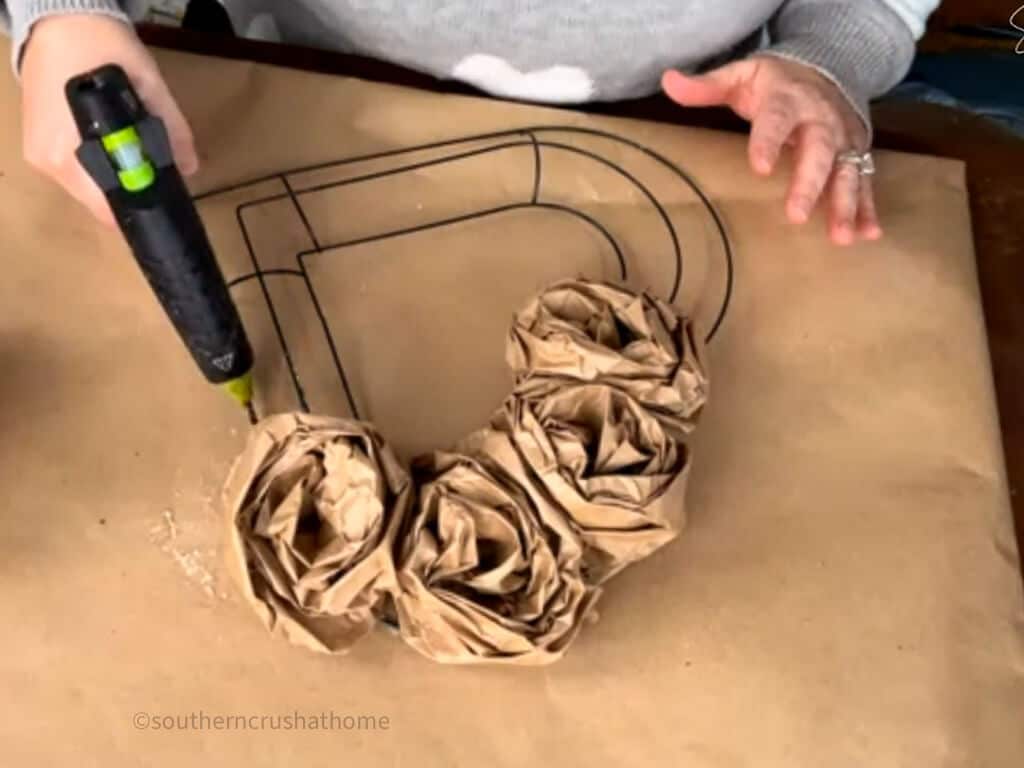
Using the hot glue gun add a small bead of hot glue on top of a small portion of the heart wreath frame at a time.
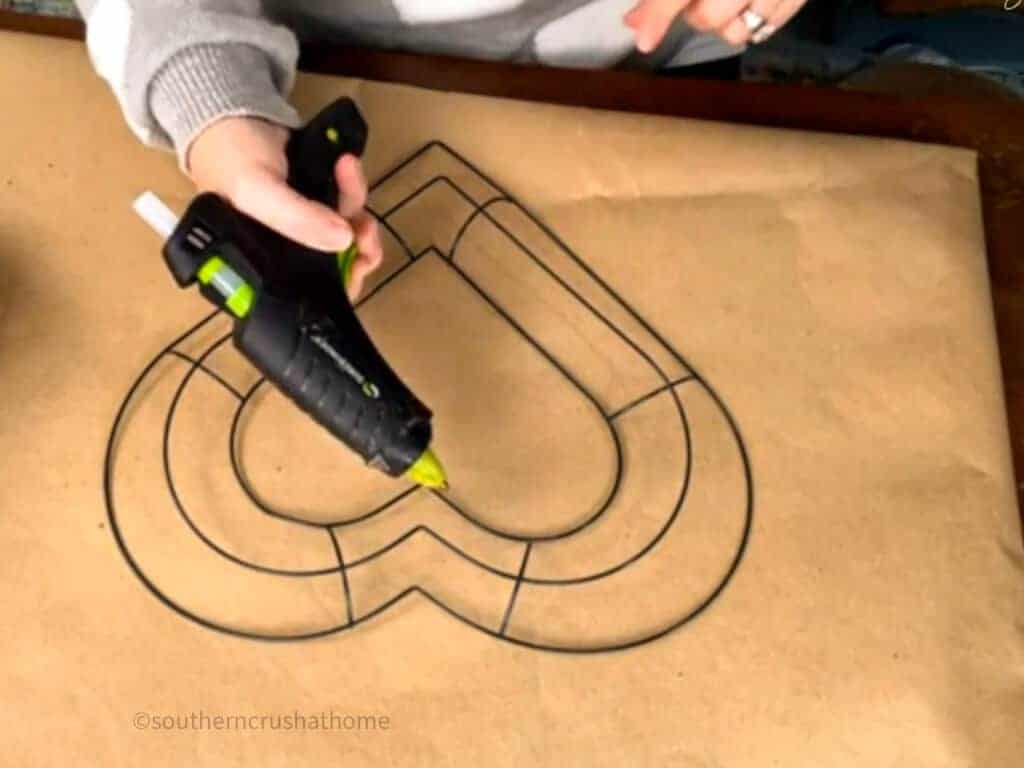
Adhere the paper bag roses one at a time in the shape of the wreath frame. Keep in mind the shape of your frame and do your best to position them accordingly.
Step Two
Now that your wreath is covered in roses, you have the option to add a bit of color using paint. Take a chip brush and acrylic paint in the color of your choice and dab it into the nooks and crannies of each paper rose.
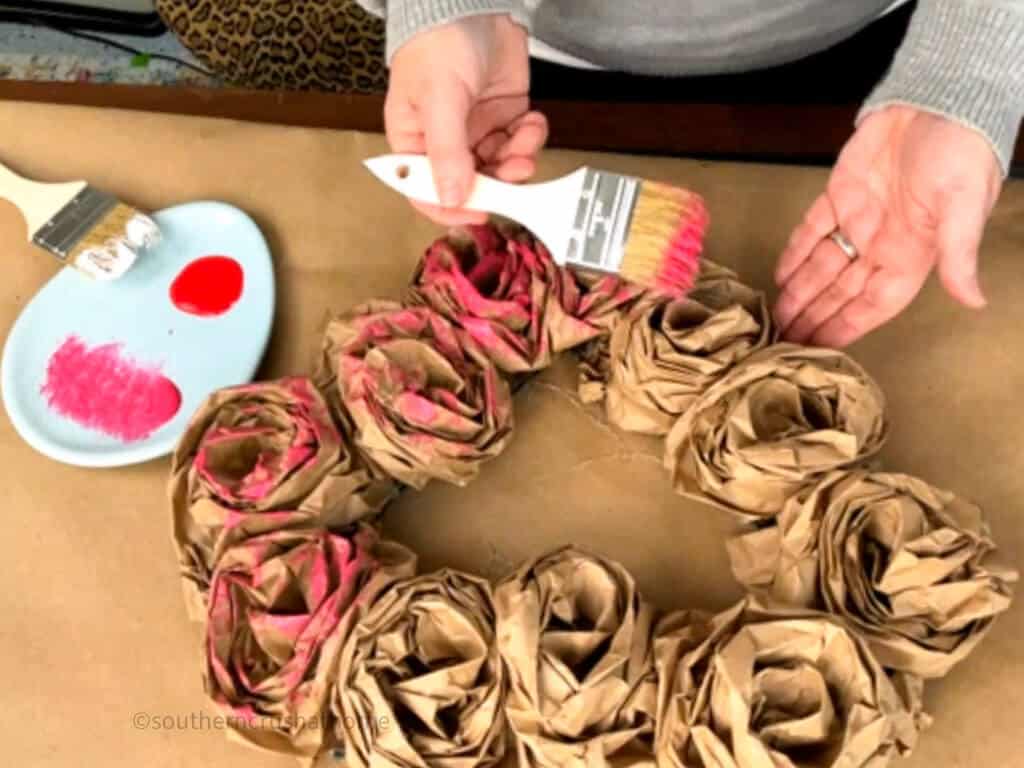
Allow the paint to dry or use a small heat gun tool to speed up the drying process. I love this one!
Step Three
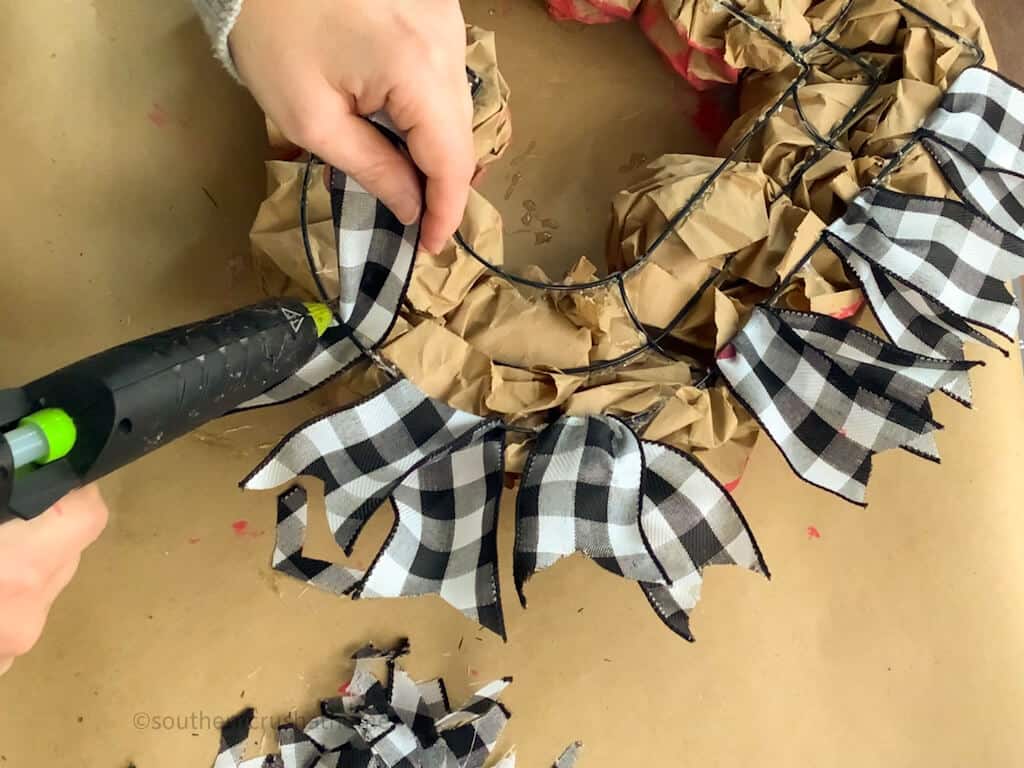
This part of the wreath is optional as well, but I love how it creates an extra layer of fun! Taking your 2″ wide ribbon cut 18 pieces 6″ inches in length and then “dovetail” each piece.
Using hot glue attach each strip of ribbon to the outside section of the wreath frame in a crisscross “Y” shape to create a border.
That’s it! Hang your paper rose Valentine wreath on your front door for all to see!
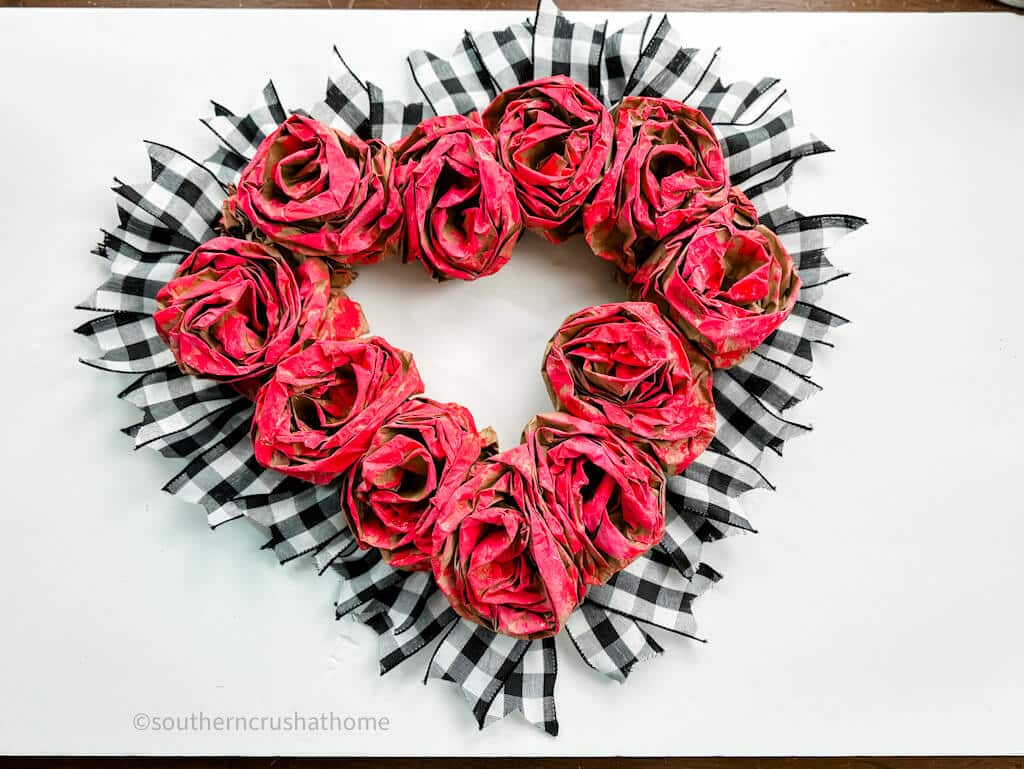
Oh and be shocked at how easy and fun it was to create something from brown paper lunch bags! You’ll be addicted to making these paper flowers, I promise!
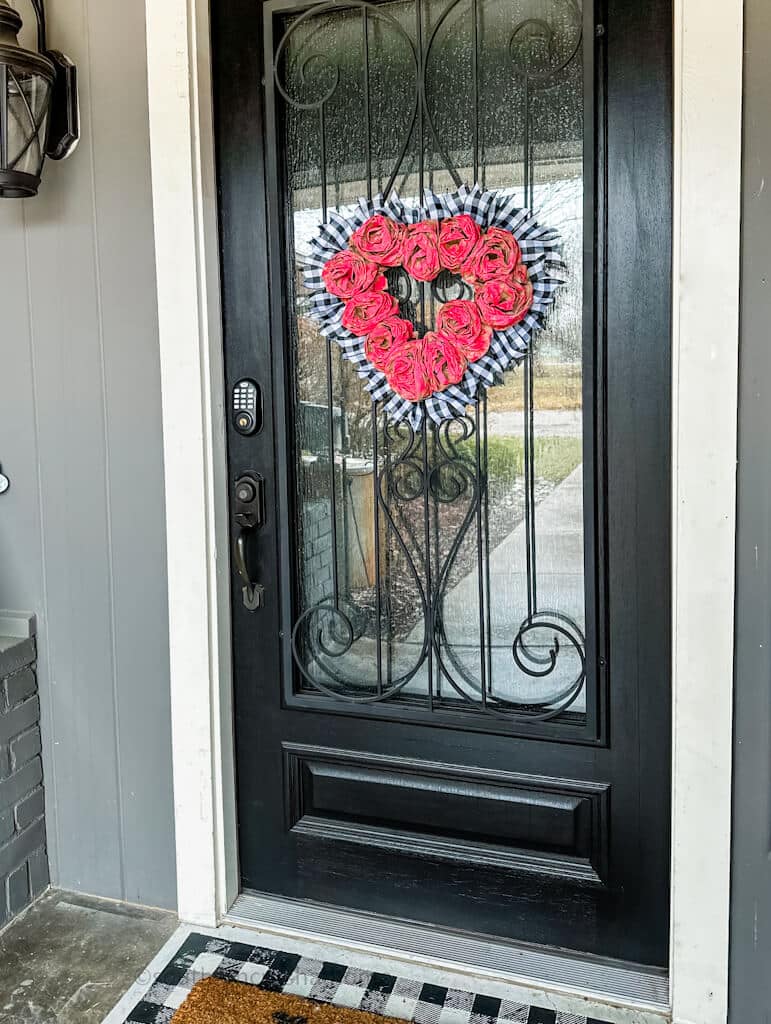
How to Display a Paper Rose Valentine Wreath
Once you’ve completed your wreath, you’ll definitely be ready to show it off! There are so many ways to display a pretty holiday wreath. Here are a few ideas to get you started.
- Front Door Decor
- Holiday Table Centerpiece
- Front of Kitchen Cabinets
- Gallery Wall
- In or on a Hutch
- Fireplace Mantle
- Bar Cart or Beverage Center
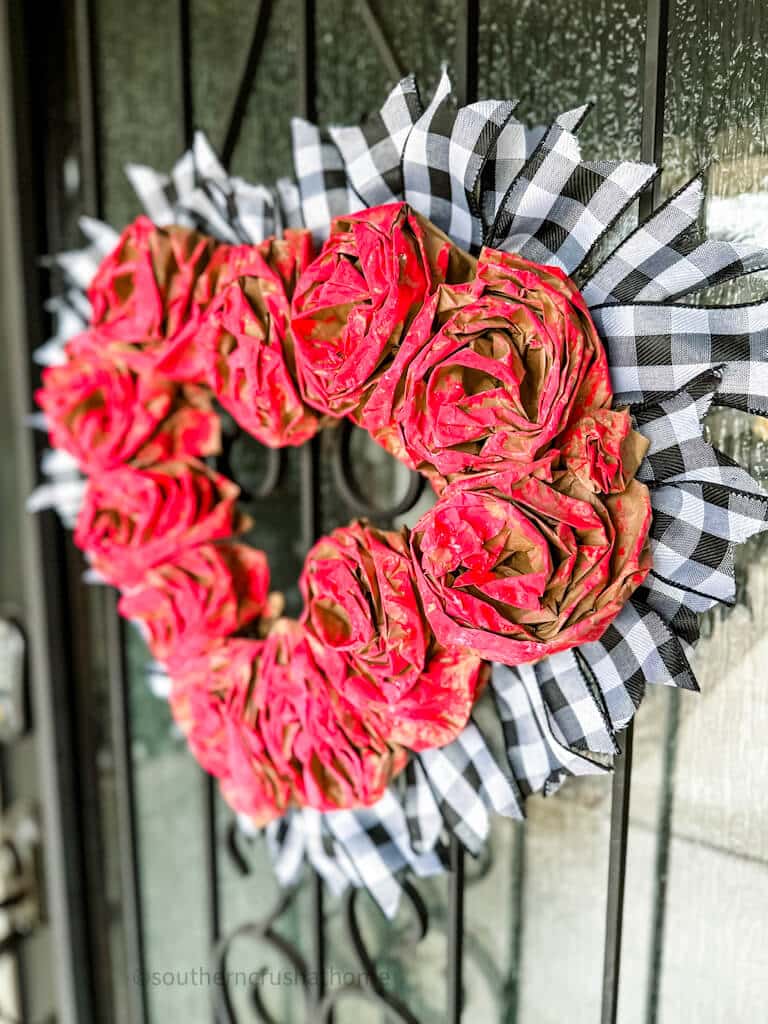
Variations of This Valentine’s Wreath
You can also switch up this idea a bit with the following variation ideas.
- Add glitter to the roses
- Use metallic paint to make the roses pop
- Start with a different frame shape
- Use alternating ribbons
- Try different-sized paper bags
- Give colored bags a try
What do you think of these twists on this craft? What are some of your ideas?
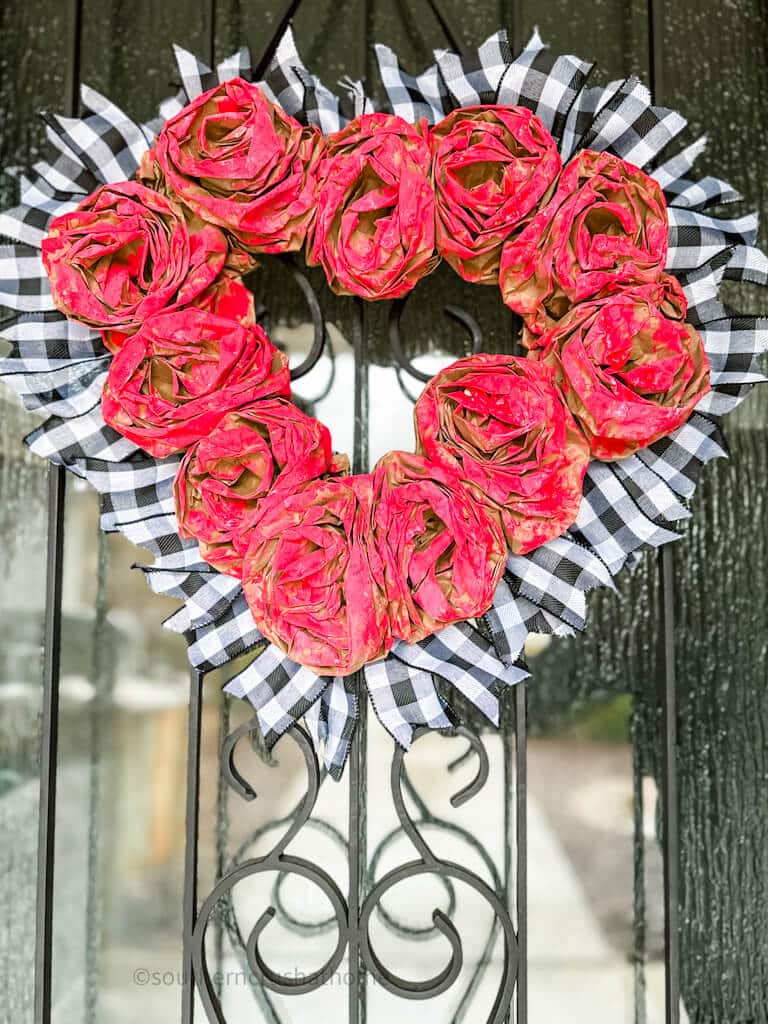
Are you decorating for a festive Valentine’s Day? Forget store-bought wreaths – why not get creative and craft yourself something that will be sure to capture everyone’s attention this season.
This Paper Rose Valentine Wreath puts a creative twist on traditional holiday décor while adding a touch of love and charm! You’ll have a beautiful DIY piece hanging up in no time that will last long after the holiday. With just minimal supplies needed, it couldn’t be easier to make your own heart wreath that is perfect for making your home feel even more special than usual.
I cannot wait for you to try this easy-yet-effective Valentine’s decoration idea. Let me know how it goes in the comments below pretty please!
Be sure to PIN this for later!
How to Make a Paper Rose Valentine Wreath
Equipment
- heat tool
Materials
- 1 14" Heart-shaped Wreath Frame Dollar Tree or Amazon
- 12 Brown Paper Lunch Bags or any color
- Chip Brush
- Acrylic Paints in any color s
- 18 strips- 2" wide ribbon cut 6" long
Instructions
- Open up a single brown paper bag from the inside. Place your hand inside with your fingers open.
- Using your other hand, grab the outside bottom portion of the paper sack and gently pinch it. (This will be the center of your rose)
- Using your inside hand, begin twisting and wrapping the bag around the outside hand in a circular motion until the entire bag is used. The end result will be this beautiful yet simple rose flower design.
- Make sure to protect your space from the hot glue by putting down kraft paper or cardboard underneath your crafting area.
- Using the hot glue gun add a small bead of hot glue on top of a small portion of the heart wreath frame at a time.
- Adhere the paper bag roses one at a time in the shape of the wreath frame. Keep in mind the shape of your frame and do your best to position them accordingly.
- Now that your wreath is covered in roses, you have the option to add a bit of color using paint. Take a chip brush and acrylic paint in the color of your choice and dab it into the nooks and crannies of each paper rose.
- Allow the paint to dry or use a small heat gun tool to speed up the drying process. I love this one!
- This part of the wreath is optional as well, but I love how it creates an extra layer of fun! Taking your 2″ wide ribbon cut 18 pieces 6″ inches in length and then “dovetail” each piece.
- Using hot glue attach each strip of ribbon to the outside section of the wreath frame in a crisscross “Y” shape to create a border.


