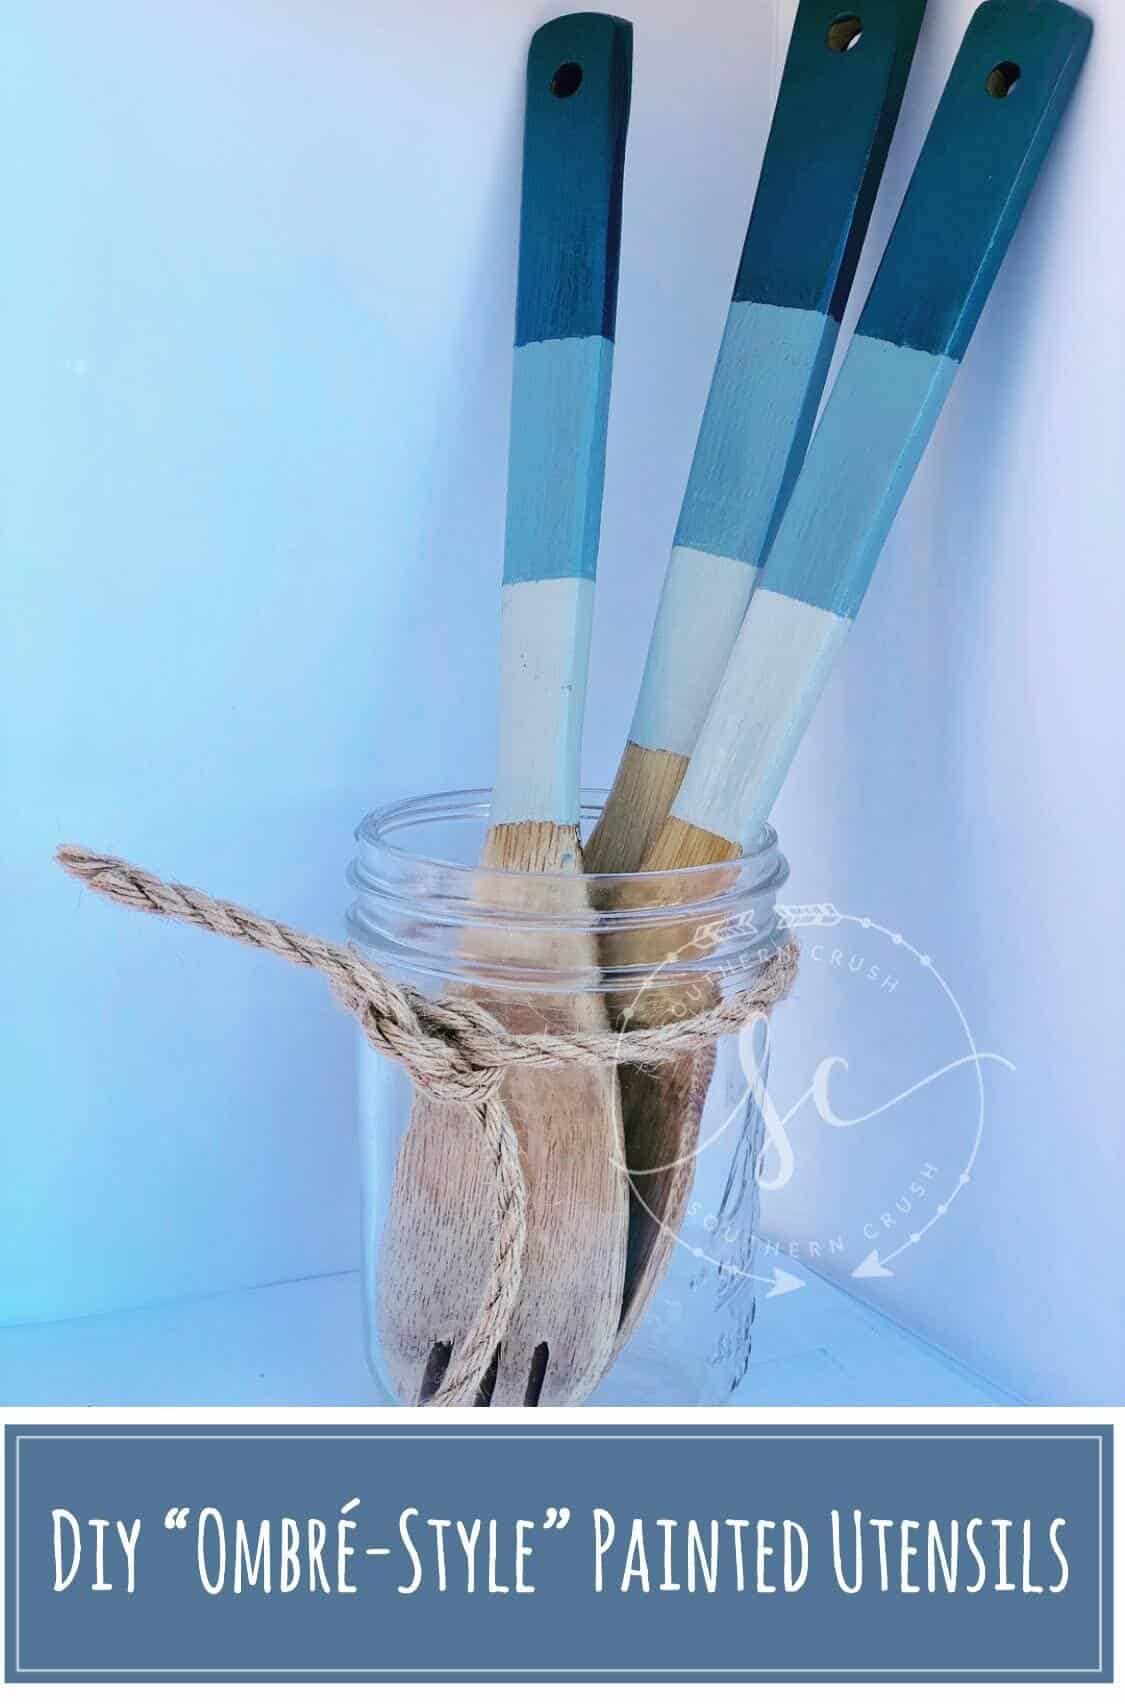
DIY Painted Utensils
Often, the new year brings excitement, anticipation, and joy. Other times, it can be overwhelming and actually bring on a case of the “blues”. Diving into a deep blue ocean of fun projects can be a great mood booster! These DIY Painted Utensils was one super easy and fun project!
>>>BE SURE TO PIN THIS FOR LATER!<<<
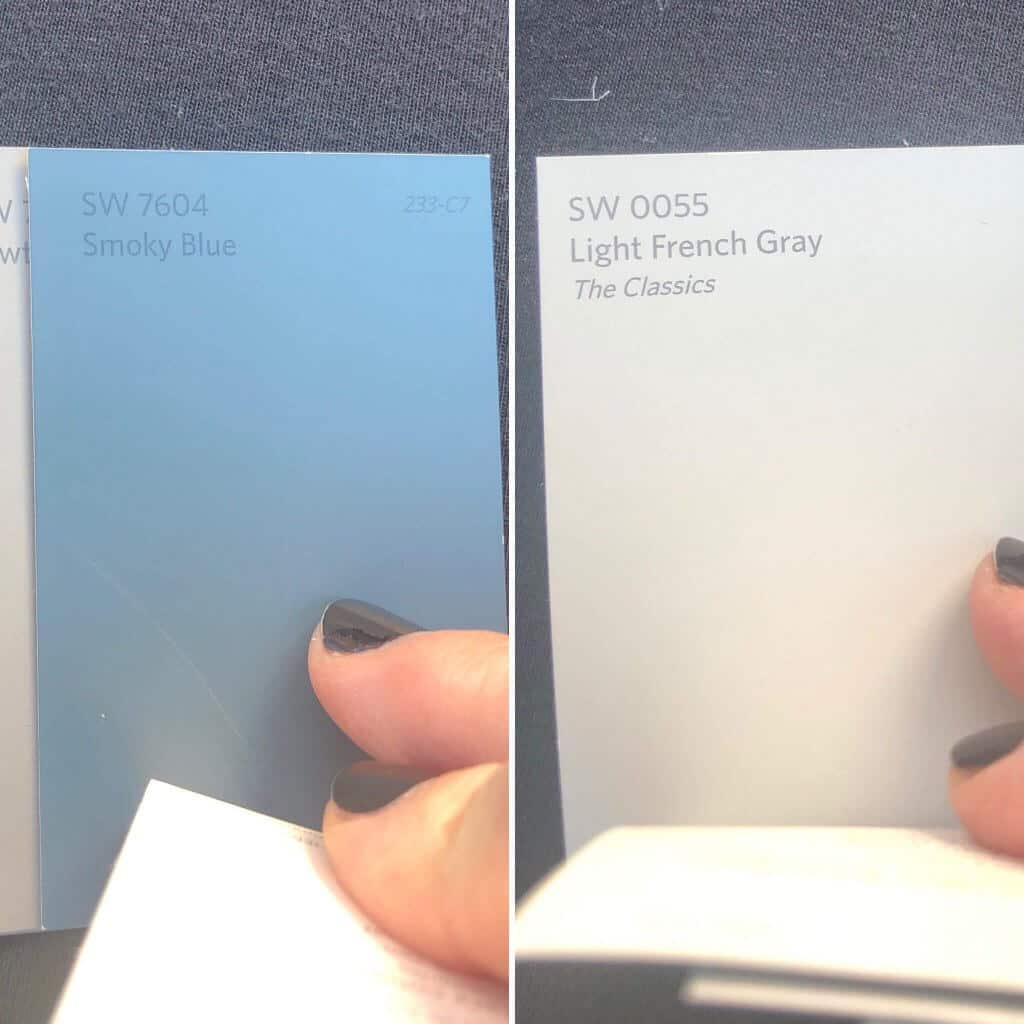
After I termed this project “ombré painted utensils”, my teenage daughter was quick to let me know that it really isn’t ombré —what she forgot to ask me was, do I care? (Just kidding) Technically, she was correct as ombré literally means the gradual “blending” of one color hue to another, typically light to dark. Well, at least I got the light to dark part right!“Blue looks good on the sky”… I am often reminded of the blues with Keith Urban’s song “Blue Ain’t Your Color”… but really any color will do for this easy diy project! This time, I just happened to go with blue and gray in order to use the paint I had on hand —repurposed from my oh so recent home renovation! It was a combination of the Sherwin Williams Light French Gray and Smoky Blue!
DIY PAINTED UTENSIL Supplies
As is the case with most projects, it’s best to get all of your materials in front of you in advance. Here is a link to just about every thing I used for this project. >>> DIY Ombre Utensil Project Materials

STEP BY STEP INSTRUCTIONS FOR PAINTING UTENSILS
FIRST
Start by wrapping the blue painters tape just below the rounded portion of the utensil, making sure to keep it straight and tight. Next, add a second piece of tape a couple of inches below the first one to delineate your colors (unless you decide to truly make it ombré affect, in which case, you should freehand this). At this point, go ahead and apply your lightest color then allow it to dry completely before removing the tape. >>>Don’t make my mistake and remove it to hastily ripping off the fresh paint!
SECOND
Now, this is a trick to avoid any paint bleeding and helps make the lines completely straight on any paint project… take a piece of tape and apply it just over the light color you just painted, allowing just a hair<<< (you know what I mean) of the paint to peek through. Apply a thin layer of the same exact light color over the portion sticking out of the tape. This will create a the perfect “barrier” between the first color and the second color leaving a straight line. Let that dry completely.
THIRD
At this point, (while you’re waiting) go ahead and combine your lightest and darkest color to make a medium-tonedcolor for the middle, this is the best way to get a good, true match that blends well. Then add a second piece of tape to your utensil handle a couple more inches down before applying the second color second darkest color. Wait for it to dry, (Geesh! All this waiting—insert eye roll) remove both pieces of tape, and repeat the process for the last section of the utensil using your darkest color.
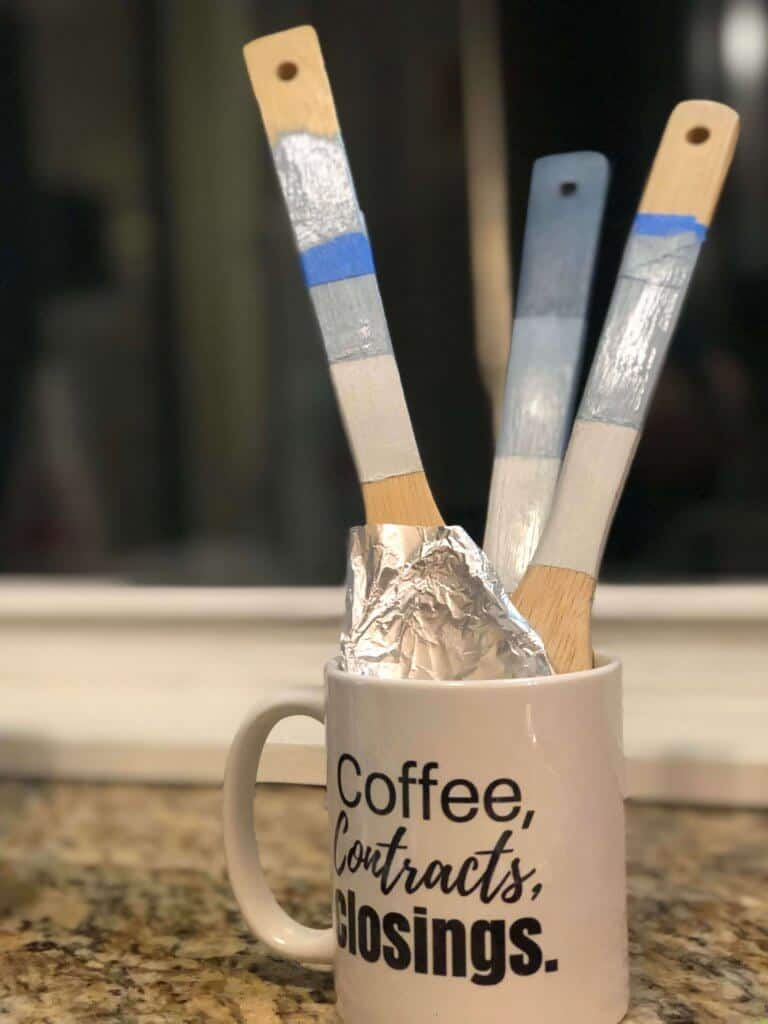
FOURTH: After everything has dried completely, overnight is best, you’ll want to seal it with a clear coat. I chose Krylon Triple-Thick Crystal Clear Glaze in a spray can because it is so easy to use. **Be sure to cover the rounded portion of the utensil with foil or something to protect it from the clear topcoat, unless of course, you do not intend to use the utensil for food later.
If you would rather watch the video tutorial I’ve included it HERE!
I hope you’re inspired and happy creating!
>>>Leave your thoughts below in the comments please…BTW— Life is short—Enjoy the mess! I hope you try this product out for yourself, it is super easy to use!**P.S. Please join us over on our Facebook Page to see more fun projects “Live”.