Leopard Pumpkin Decor (using Foil)
It’s officially pumpkin season! At least that’s what I’m telling myself. I decided to add a little bit more leopard to my home this fall with this simply fabulous leopard pumpkin decor using foil. Foils are so easy and fun and I love the result. It’s a mix of glam and bling all rolled into one! Follow this easy DIY tutorial to make your own foil pumpkin in just a few simple steps.
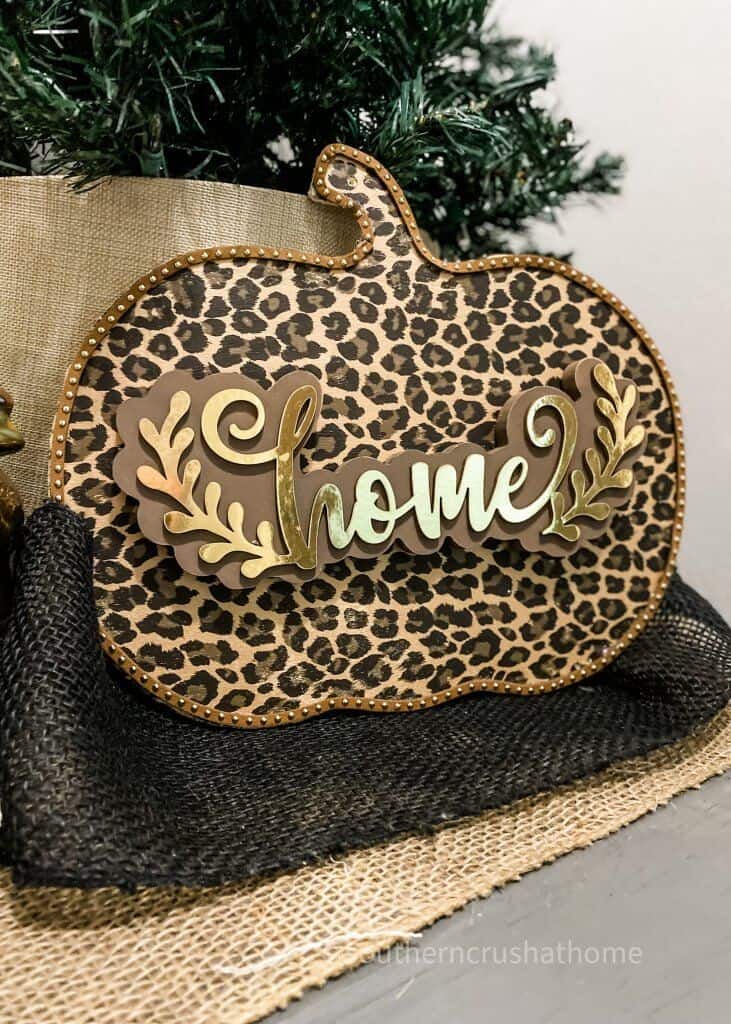
Did you see my leopard pumpkin wall art? It is very popular with readers. Once you see it, you will understand why. It’s so cute! Since I’m a firm believer that a little bit of leopard (and bling) looks good in any style home, I’m sharing another leopard fall craft. This one uses foil and is simply gorgeous!
Leopard decor has been around forever, and after all these years it’s clear it isn’t going anywhere. Have you seen the fall decor at Hobby Lobby this year? Leopard is definitely trending! That makes this leopard fan very happy. You may also enjoy this video tour sharing Hobby Lobby fall decor and my favorite tips on 7 easy ways to save at Hobby Lobby.
Instead of buying a leopard pumpkin, I was inspired to make my own. You know I love to add a little bling to my crafts, so using leopard foil was a perfect way to mix both mediums. Learn more about how to create a designer foil finish HERE.
Let’s get to the step-by step tutorial…
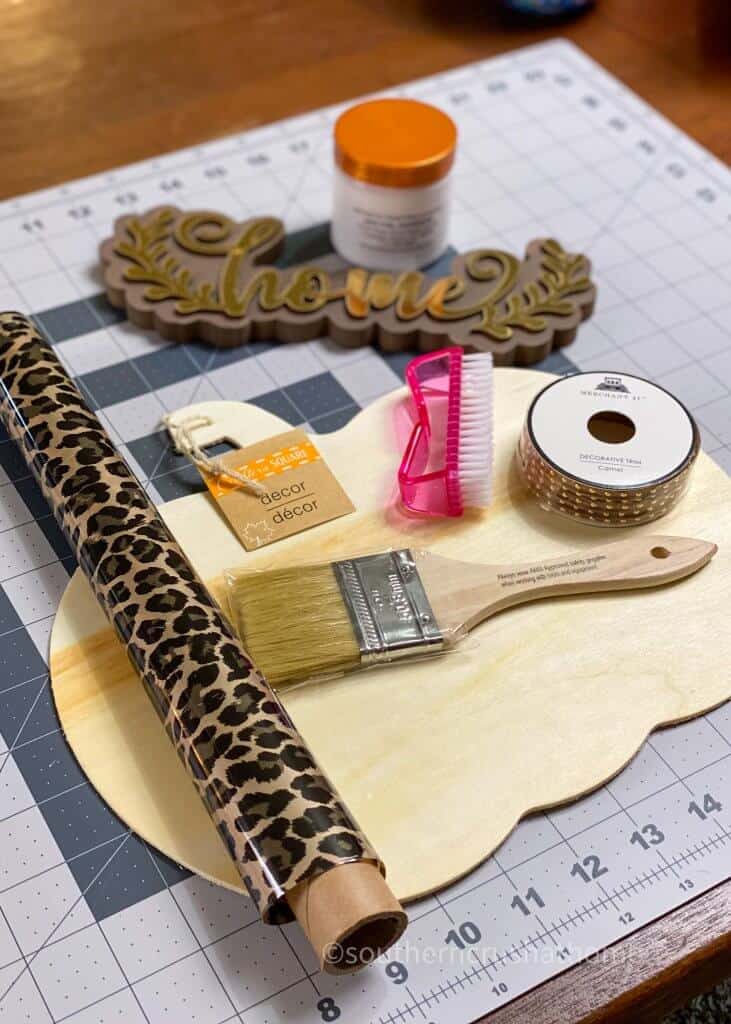
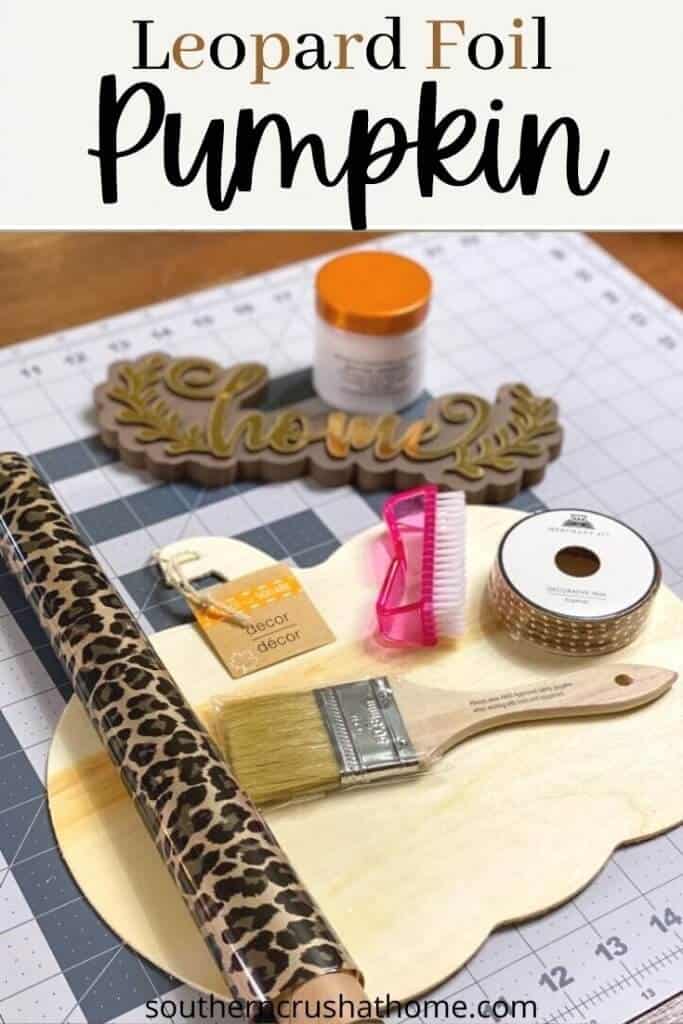
SUPPLIES needed for Leopard Foil Pumpkin Decor
All the supplies needed can be found HERE in my Amazon Shop!
- Leopard Print Foil
- Foil Adhesive
- Wood Pumpkin Fabric Scissors
- Chip Brush
- Gold Ball Decorative Trim
- Home Applique (mine was from Hobby Lobby)
- Small Veggie Brush
- Scissors
- Hot Glue Gun
How to make Leopard Foil Pumpkin Decor
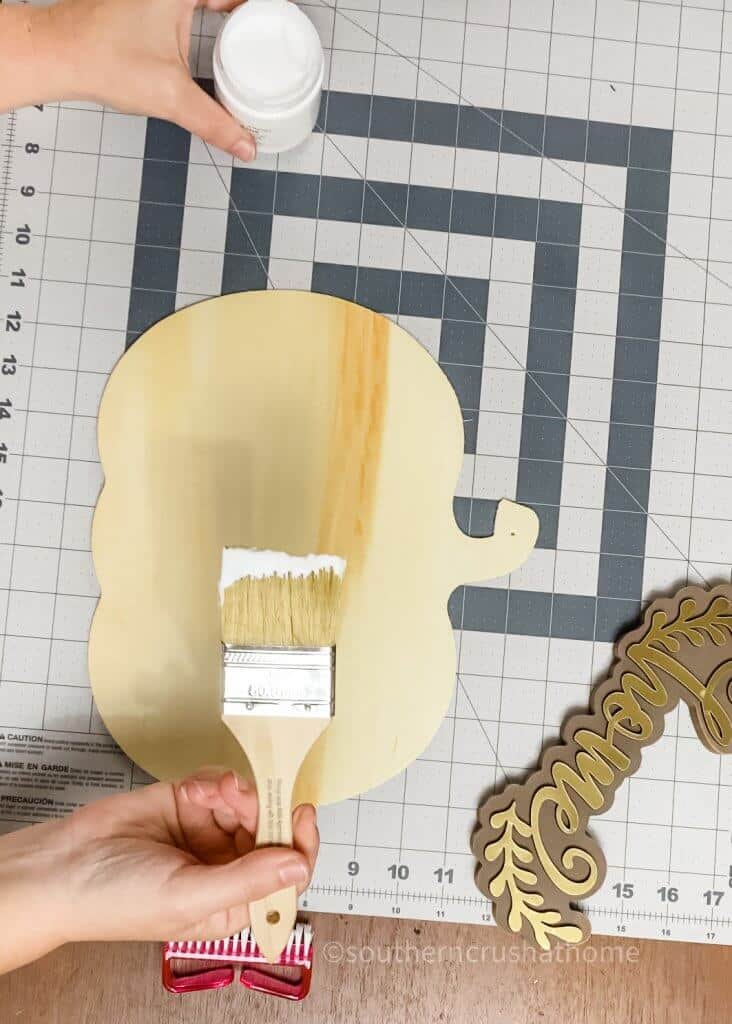
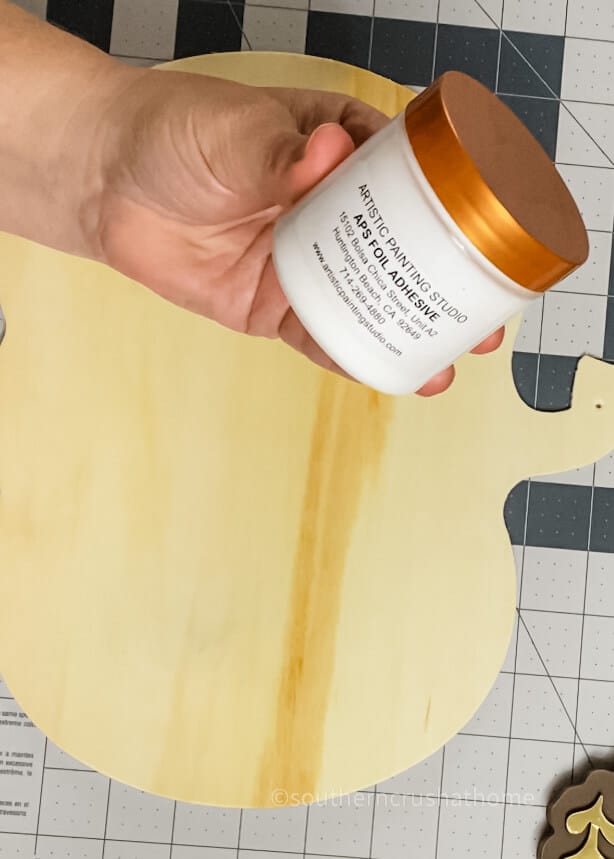
Start by adding a super thin layer of foil adhesive to the wood pumpkin. You can use the chip brush for this.
Be sure to spread a light, even coat around the pumpkin. You won’t need much for this type of wood, which is great. This little jar should last a long time, which means lots more foil crafts in my future!
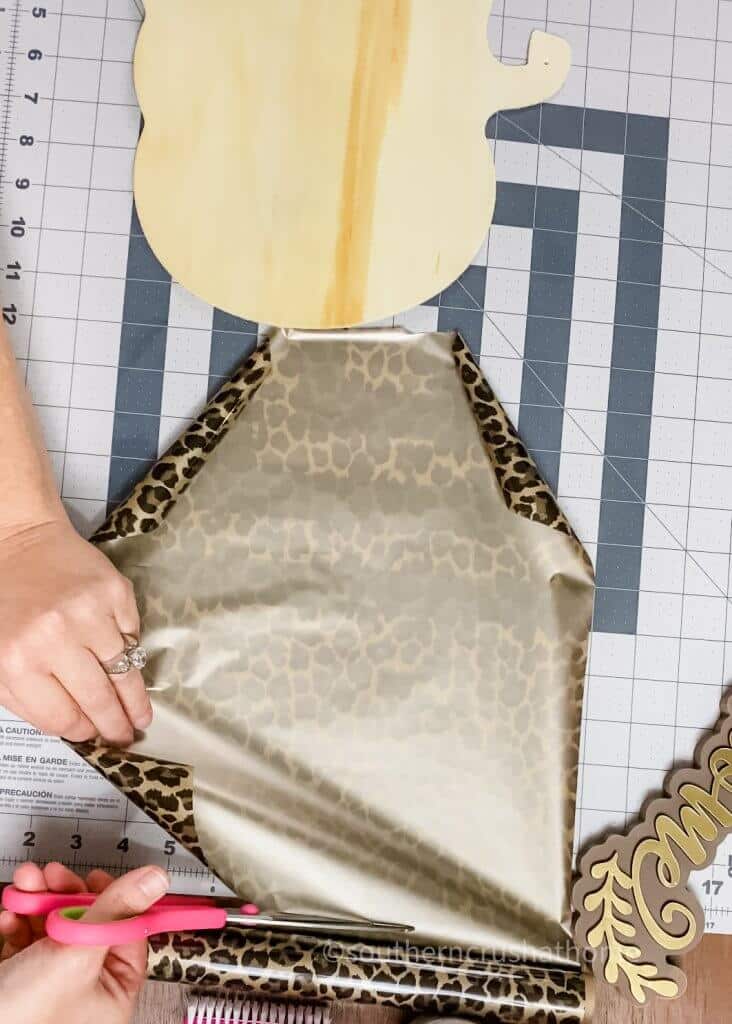
add the LEOPARD FOIL to your PUMPKIN
Place the leopard foil on top of your pumpkin. Once you lay the foil down, you’ve got to be committed to it’s placement. Don’t try to lift and reposition as it will not work. Trust me.
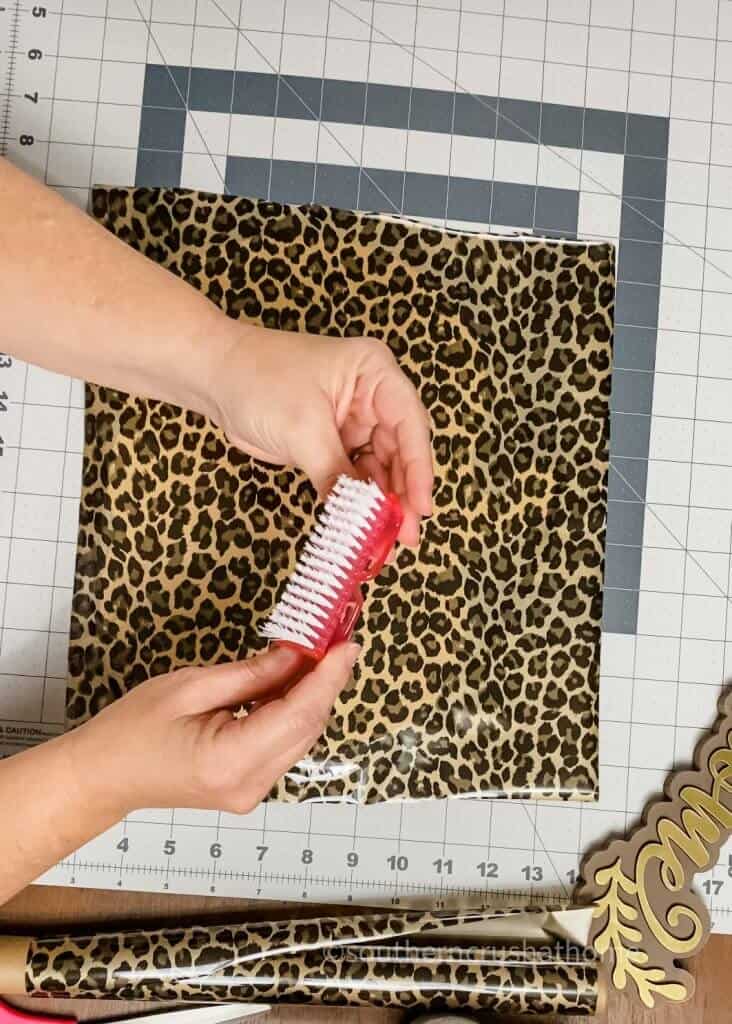
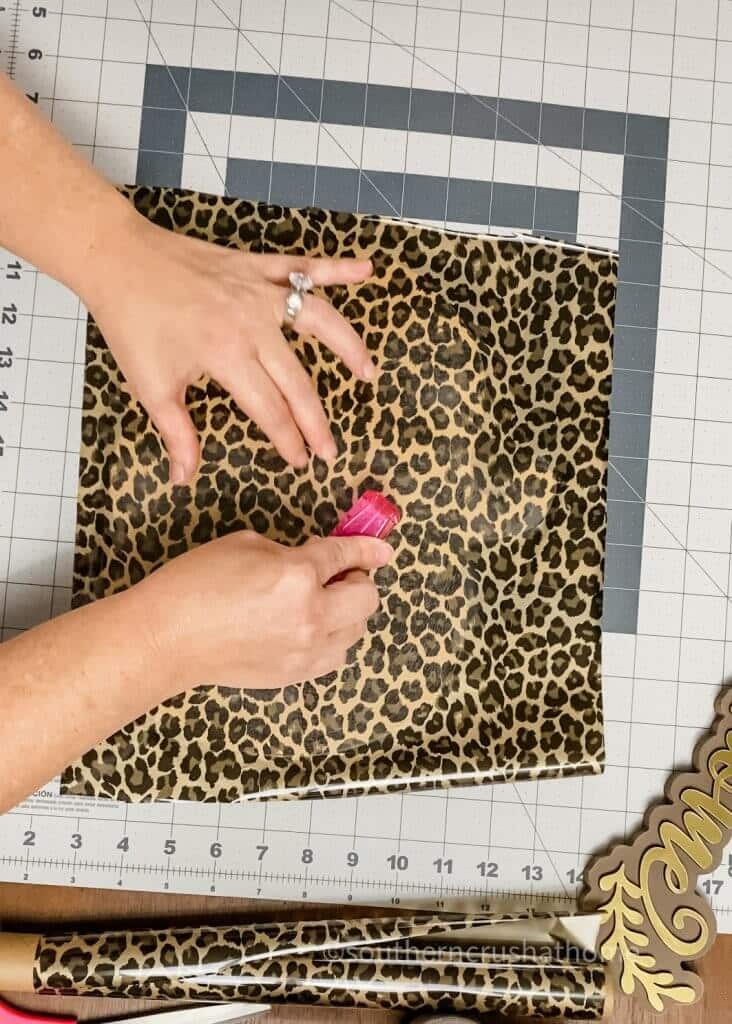
Now it’s time to burnish the leopard foil to the pumpkin. A good ol’ veggie brush works perfectly for this technique! Firmly “scrub” the pumpkin making sure to apply enough pressure to transfer the foil to the pumpkin surface.
Continue pressing the brush in a circular motion around the foil ensuring you have the entire pumpkin covered. You may have to lift and peek a few times to see that it is fully transferred.
NEXT…
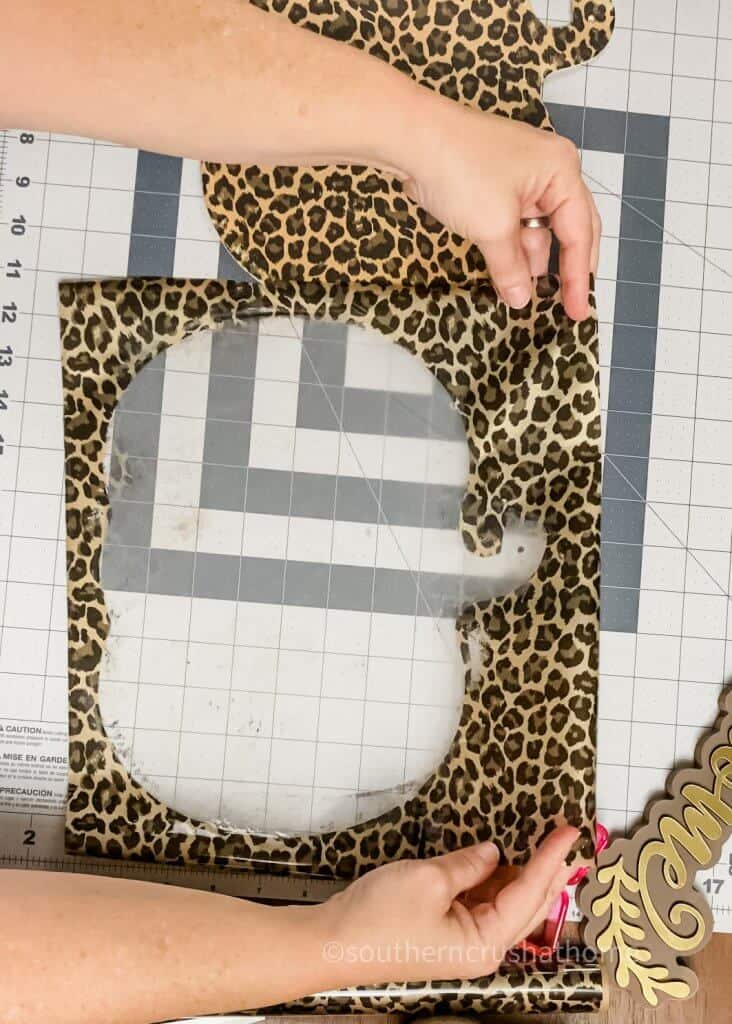
Remove the foil paper backing from the leopard design. You can start in the corner and slowly remove it. Again scrubbing in any areas you may have missed.
Remove the excess foil to reveal the beautiful leopard pumpkin! Your transfer should be a clean design as shown.
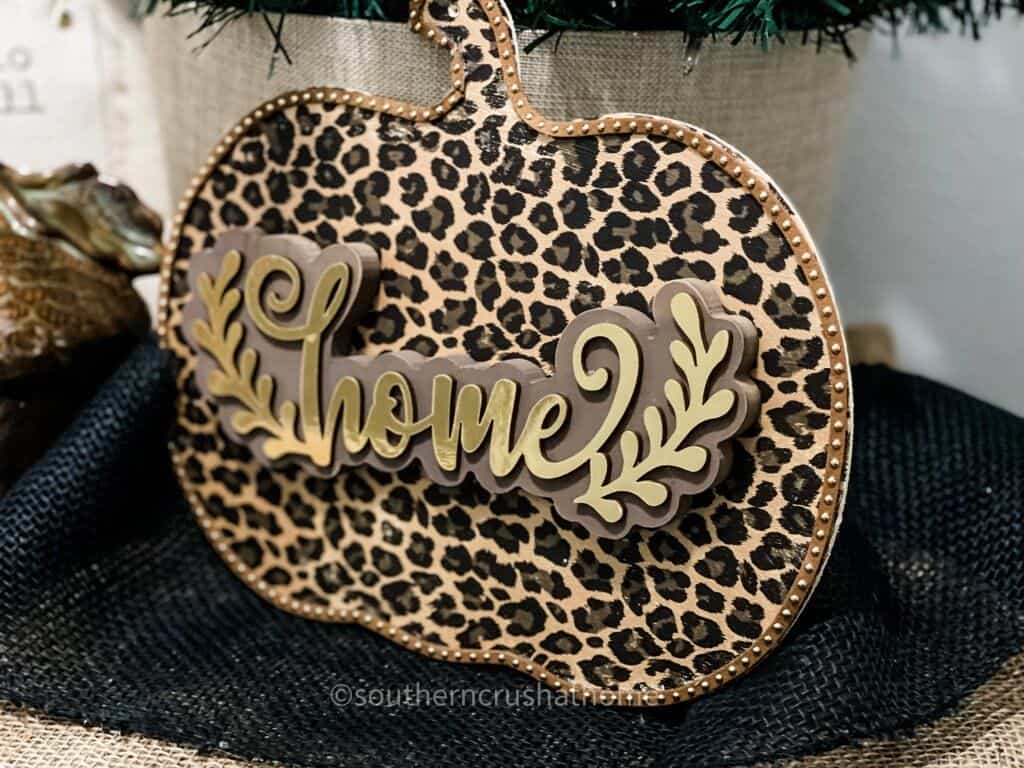
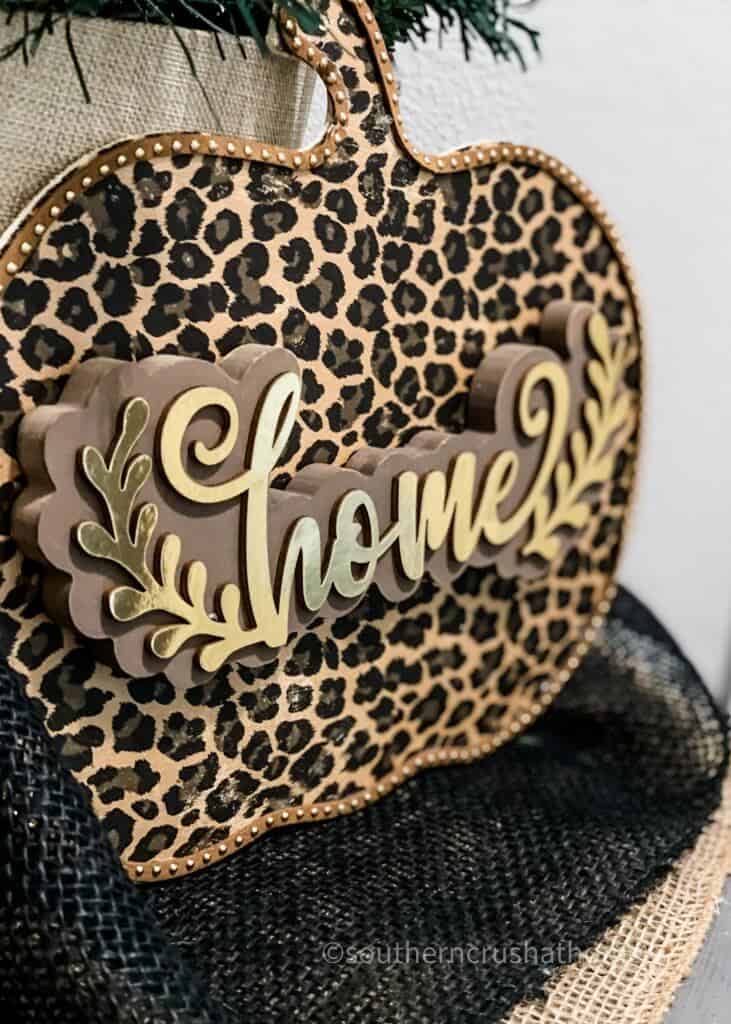
Leopard Foil Pumpkin Decor
But, we’re not stopping there. Decorating this little cutie with gold trim and an applique takes it to the next level!
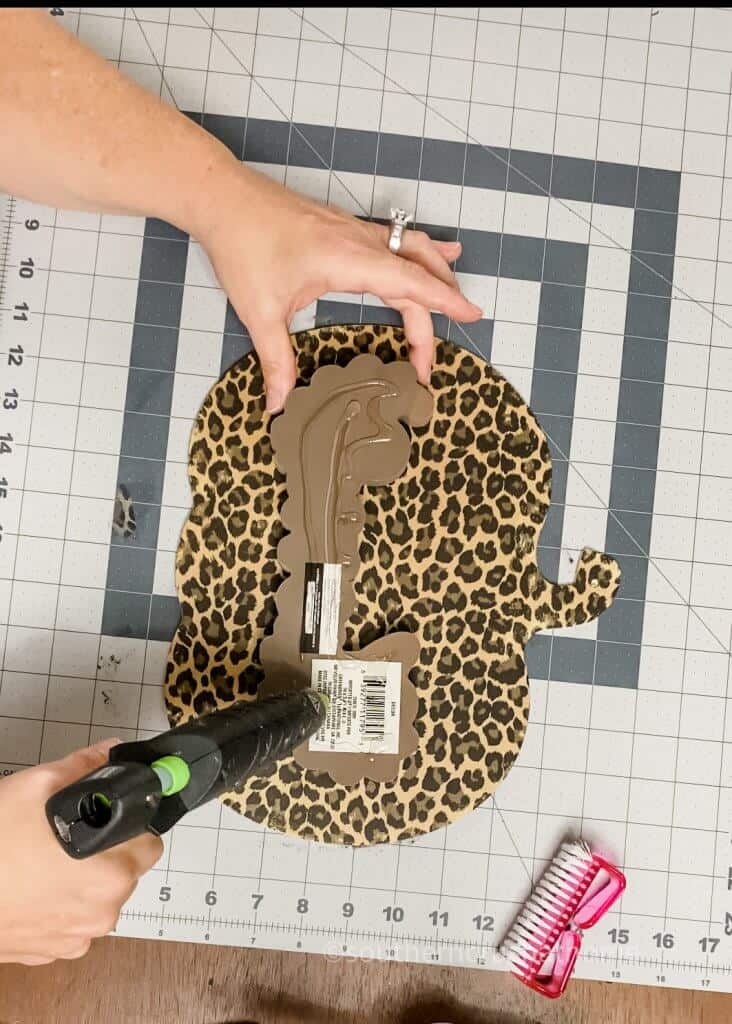
Add hot glue to the back of any applique and secure it to the center of the pumpkin. If you cannot find this particular one, there are several inexpensive metal choices at the Dollar Tree that you can paint any color you desire.
There are so many choices for decorating your pumpkin. Use your creativity and really make it your own unique piece of decor.
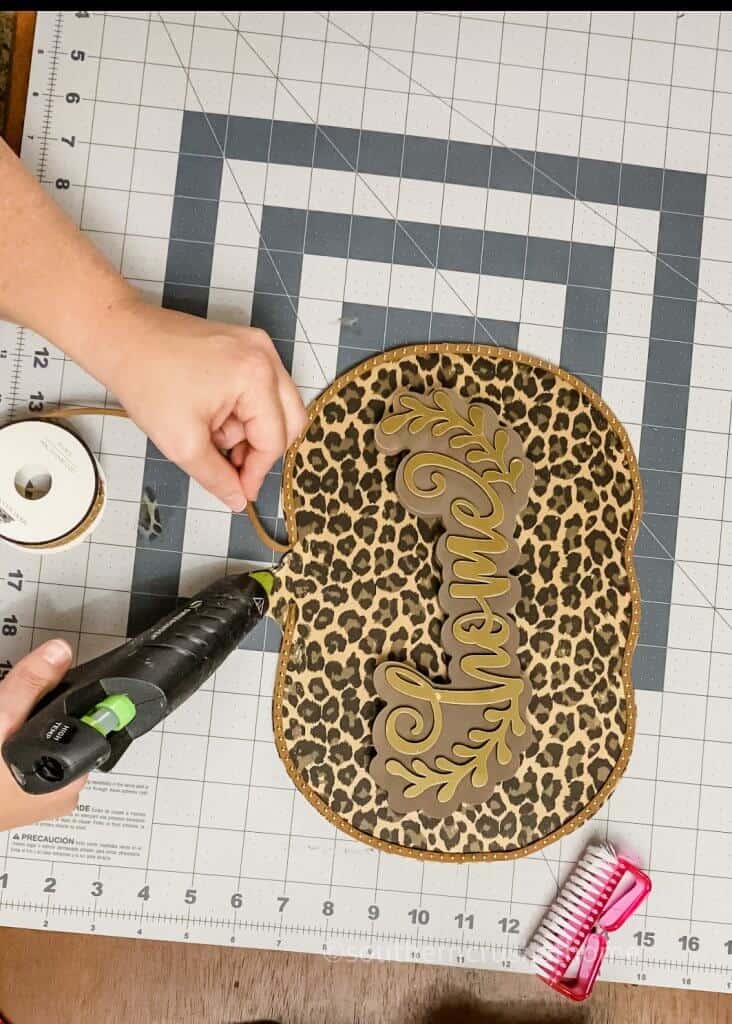
All that’s left now is to hot glue sweet gold beaded leather trim around the edges.
DECORATE WITH YOUR Leopard Foil Pumpkin Decor
That’s it! Wasn’t that so easy? Place your pretty pumpkin any place in your home that you want a little festive fall decor. So fun!
Here are just a few ways you can decorate with your leopard pumpkin:
- Attach it to a fall wreath.
- Place it on a mantel, or buffet table. Mine is on my entryway table. The perfect spot for guests to enjoy it!
- Create a fall vignette. This would look great on top of a few old books next to a burlap canvas with drop cloth art and a matching drop cloth messy bow.
Don’t you love these ideas? Is this something you would like to add to your fall decor? Let me know if you make your own by leaving a comment below.
step by step video tutorial
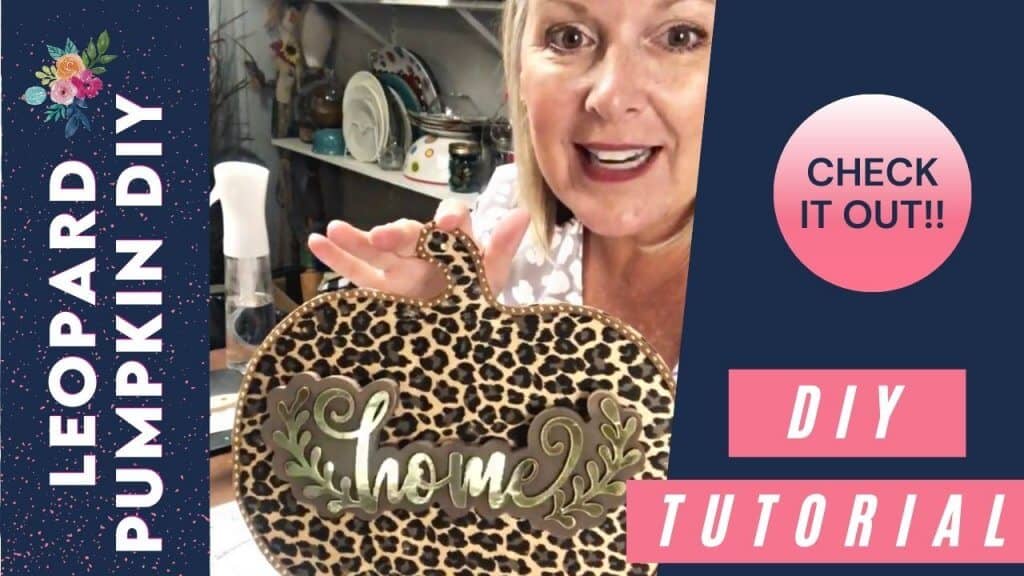
If you want to see the exact step by step process, be sure to check out this video tutorial below over on my YouTube Channel!
for more fun, look at THESE OTHER DIY PUMPKIN IDEAS!
Be sure to PIN this for later!
Leopard Foil Pumpkin Decor
Equipment
- scissors
Materials
- Foil Adhesive
- Wood Pumpkin
- Fabric Scissors
- Chip Brush
- Gold Ball Decorative Trim
- Home Applique
- Veggie Brush
Instructions
- Add foil adhesive to the wood pumpkin with the chip brush.
- Cut out a square of the leopard foil to fit around the entire pumpkin.
- Place the leopard foil on top of your pumpkin and remove the foil paper backing.
- Burnish the leopard foil to the pumpkin with a nail buffer.
- Hot glue gold bead trim and an applique.

like your blog
awe! thank you so much!
Thank you so much! I admire you for creating your southern crush business and thankful for the wonderful things you share with us. I especially like the fact that you make it affordable, fun and glamourous. It is such a wonderful community you have gathered and it makes me so happy to see so many wonderful women sharing their crafts. Hats off to you! You are making the world so much more fun for so many.
WOW! Thank you so much!!!! What a raving compliment. You have no idea how much it means to have readers like you! I appreciate you so much!
Such a different and cute idea!!
Cute!
Love getting your emails and seeing the fun crafts you make! This leopard pumpkin is adorable!! Love the colors!
Cute leopard pumpkin!
This is so cute. Had no idea we could use foil in this way.
Definitely and it’s super easy!