How to Make a Stunning Disco Ball Garland Wreath
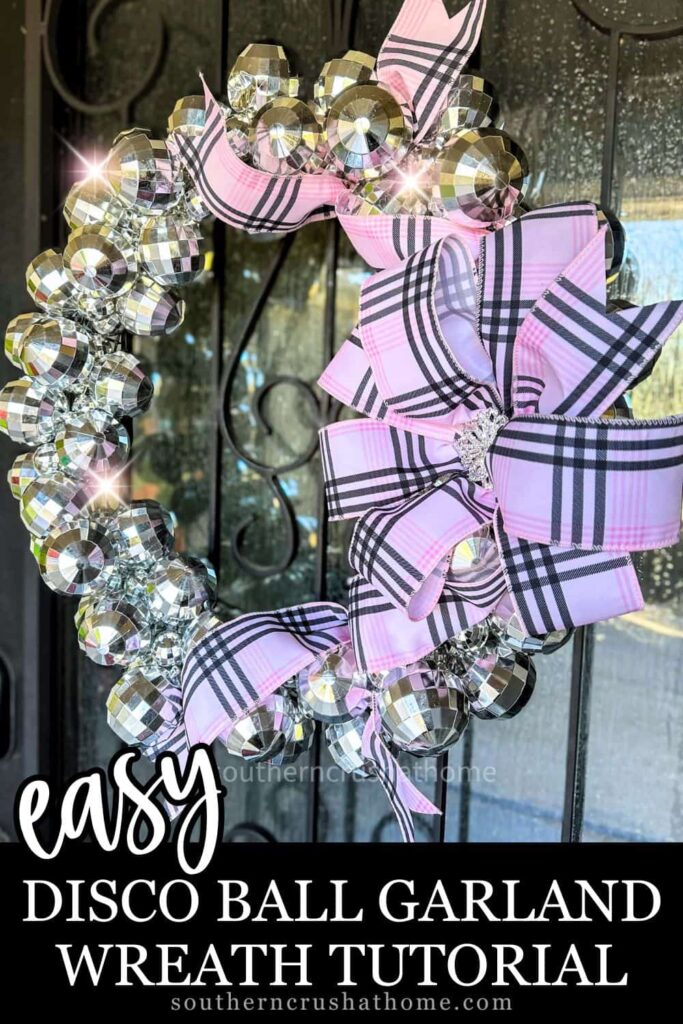
Hey my friend, if you’re looking for a quick and fun DIY project that adds sparkle and charm to your home, this Easy DIY Disco Ball Garland Wreath is for you!
PIN this for later!
Whether you're decorating for a New Year’s Eve party, adding a whimsical touch to your everyday decor, or looking for something unique to hang year-round, this glittery wreath will steal the show.
The best part? It’s incredibly simple to make with just a few supplies and minimal effort.
This blog post contains affiliate links. The opinions are wholly my own from my own experience. I may earn a small commission from clicks through to the websites that end in a purchase.
Disco Ball Garland Wreath Tutorial
In this tutorial, I’ll guide you through the steps to create your very own disco ball garland wreath using budget-friendly materials like a Dollar Tree wire wreath frame and disco ball garland from Michaels. Let’s get started!
Supplies You’ll Need
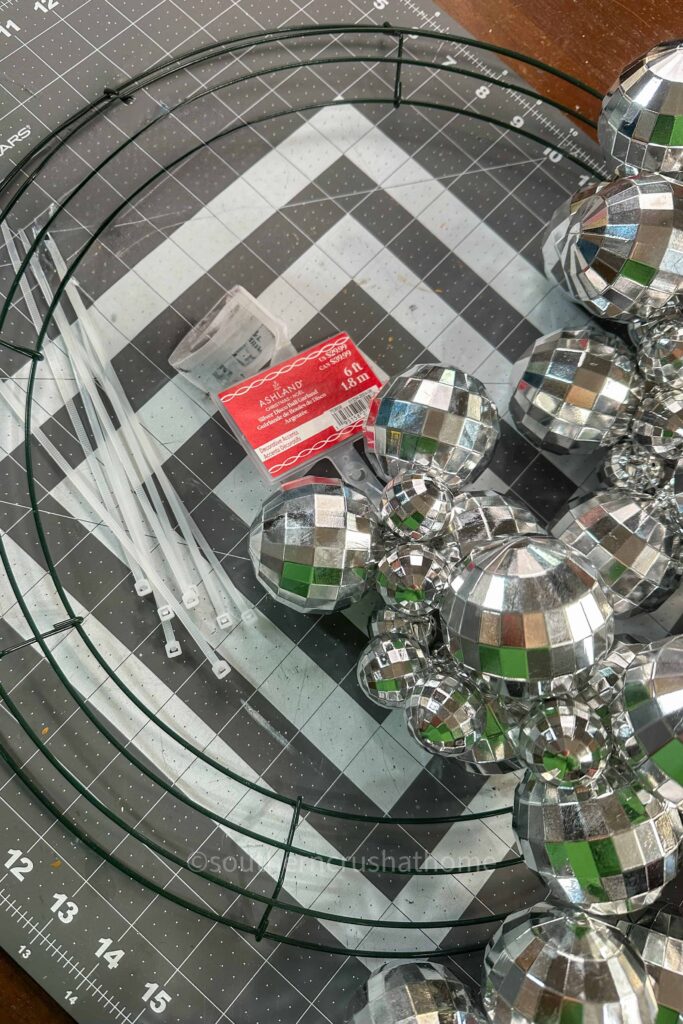
- 6 ft. Plastic Disco ball garland (Michaels – grab it on sale!)
- Wire wreath frame (Dollar Tree)
- 15 Zip ties
- Ribbon for a bow (Michaels – choose a ribbon that matches your vibe!)
- EZ Bow Maker
- Bling rhinestone for the center of the bow (optional, but recommended for extra sparkle)
- Hot glue gun and glue sticks
Step-by-Step Instructions
Step 1: Prepare Your Wreath Frame
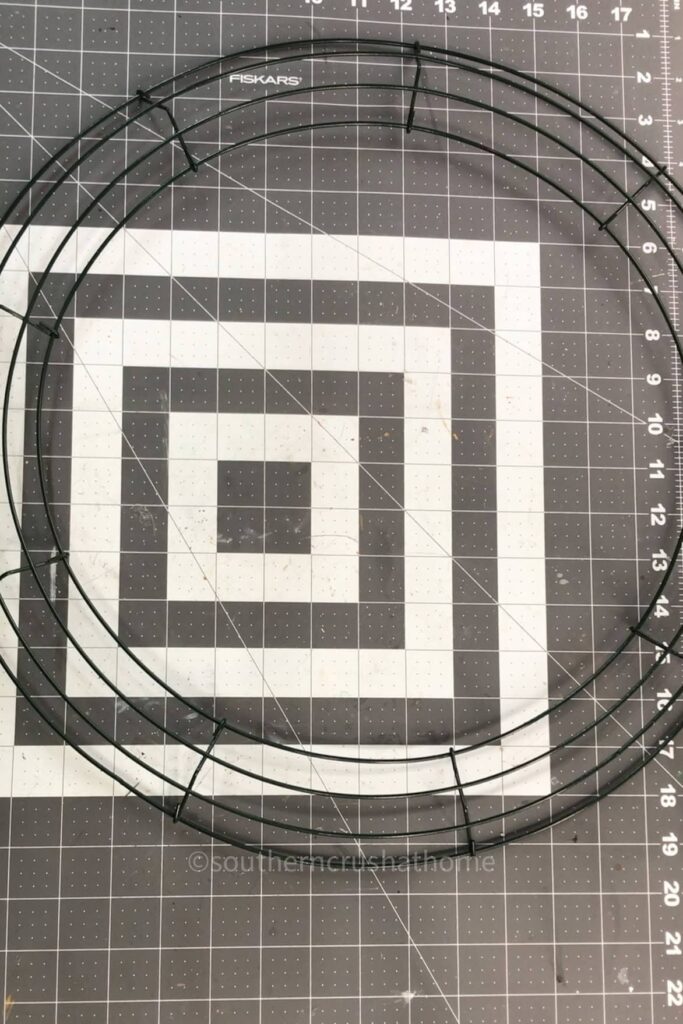
Start by laying out your wire wreath frame on a flat surface. This will act as the base for your garland. Make sure your wreath frame is clean and ready for assembly.
Step 2: Attach the Disco Ball Garland
Take your disco ball garland and secure one end to the wreath frame using a zip tie. Wrap the garland around the frame, spacing the disco balls evenly to create a full, sparkly look.
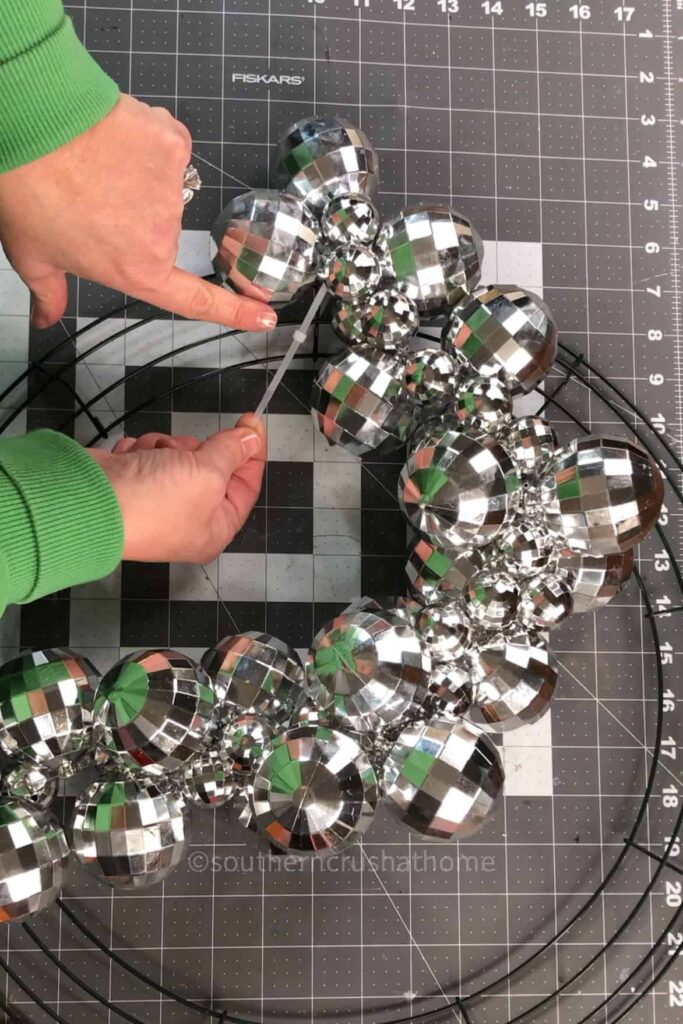
As you wrap, attach the garland to the frame with additional zip ties every few inches to keep it in place. This will prevent the garland from sliding around and ensure a secure, sturdy wreath.
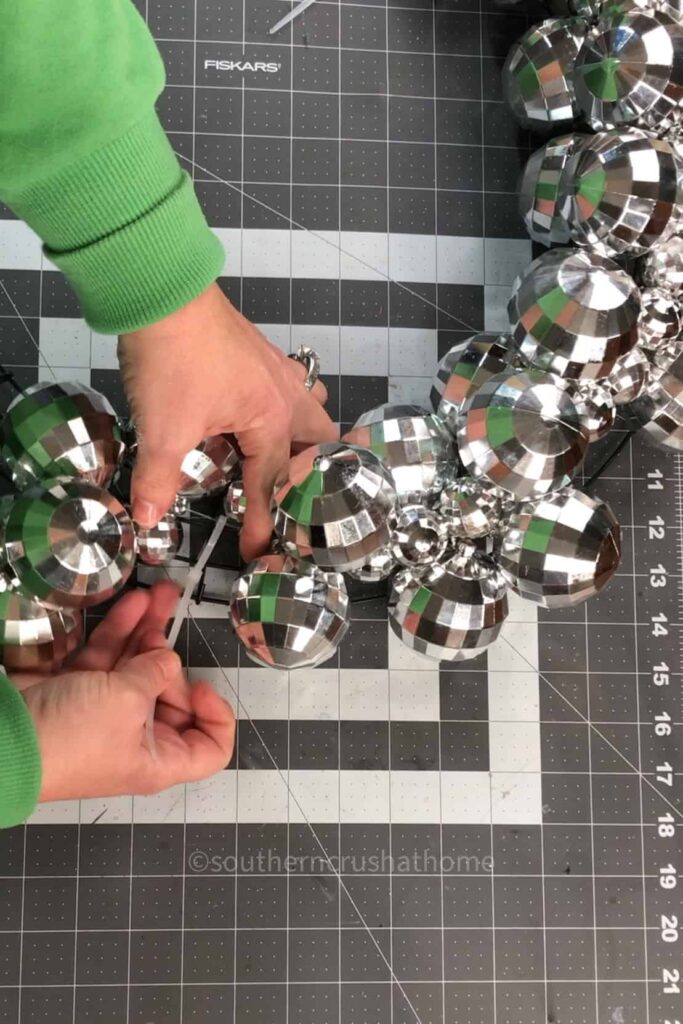
Step 3: Secure the End of the Garland
Once you’ve wrapped the entire frame, cut off any extra garland. Secure the final end with a zip tie, making sure it’s tight and neatly tucked into the wreath.
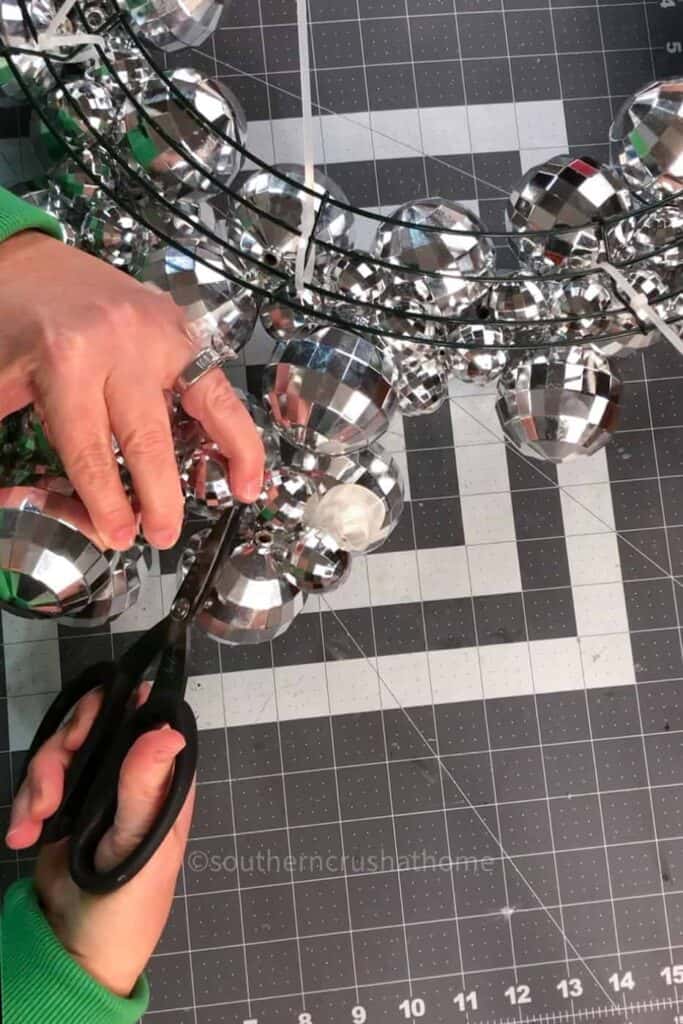
You will be left with extra disco balls, don’t throw them away—save them for some fun decor ideas (we’ll get to those later!).
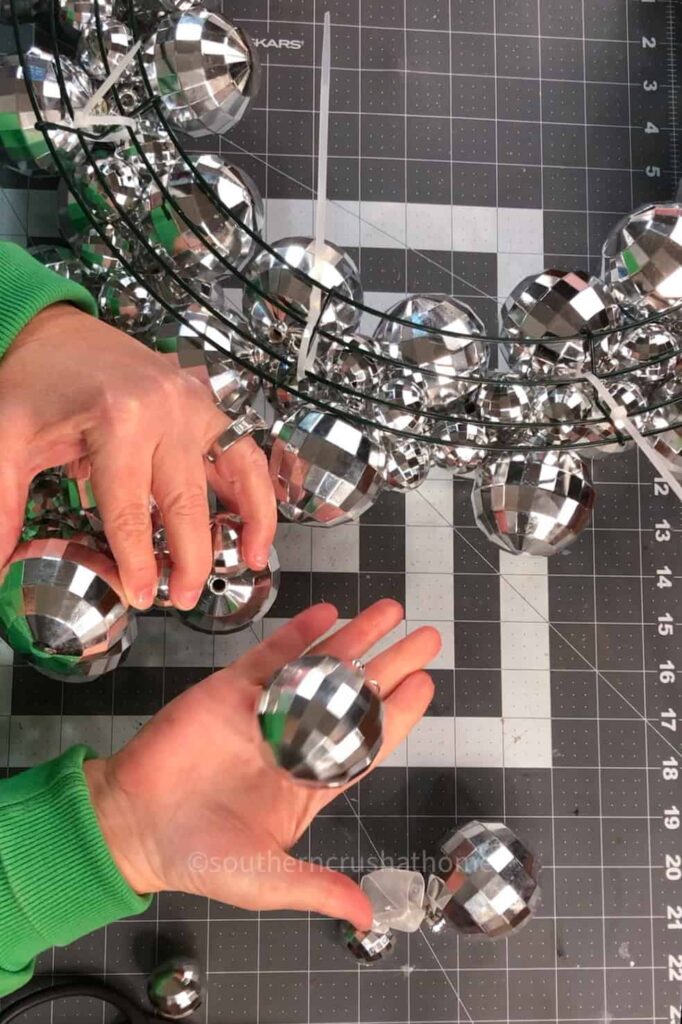
Step 4: Make the Bow
To add a festive finishing touch, create a beautiful bow for your wreath. Using an EZ Bow Maker , create a multi-looped bow with the ribbon of your choice.
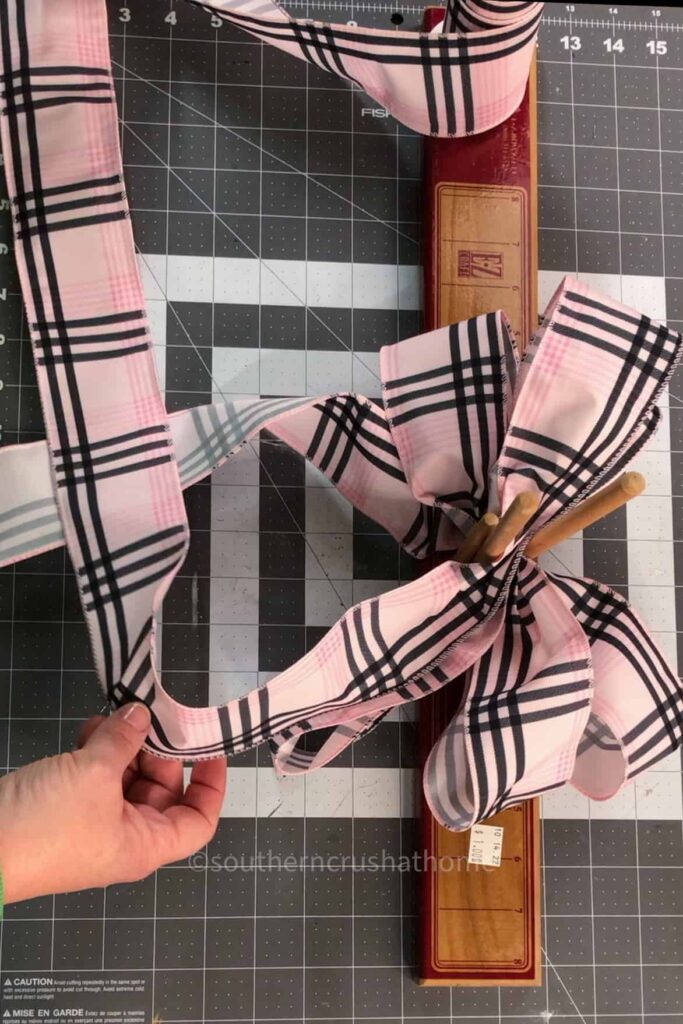
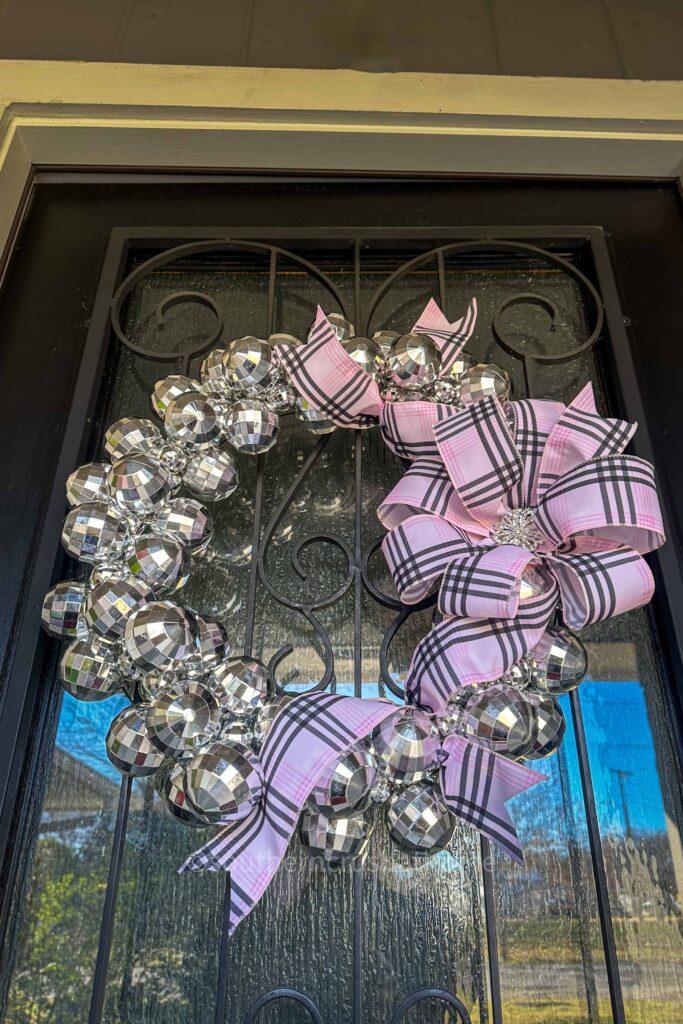
This could be a glittery silver ribbon for a glam look, or even a pastel color like I chose for something more whimsical and fun.
Once your bow is ready, hot glue a sparkly rhinestone to the center for added bling. This will give your wreath an extra pop of glamour!
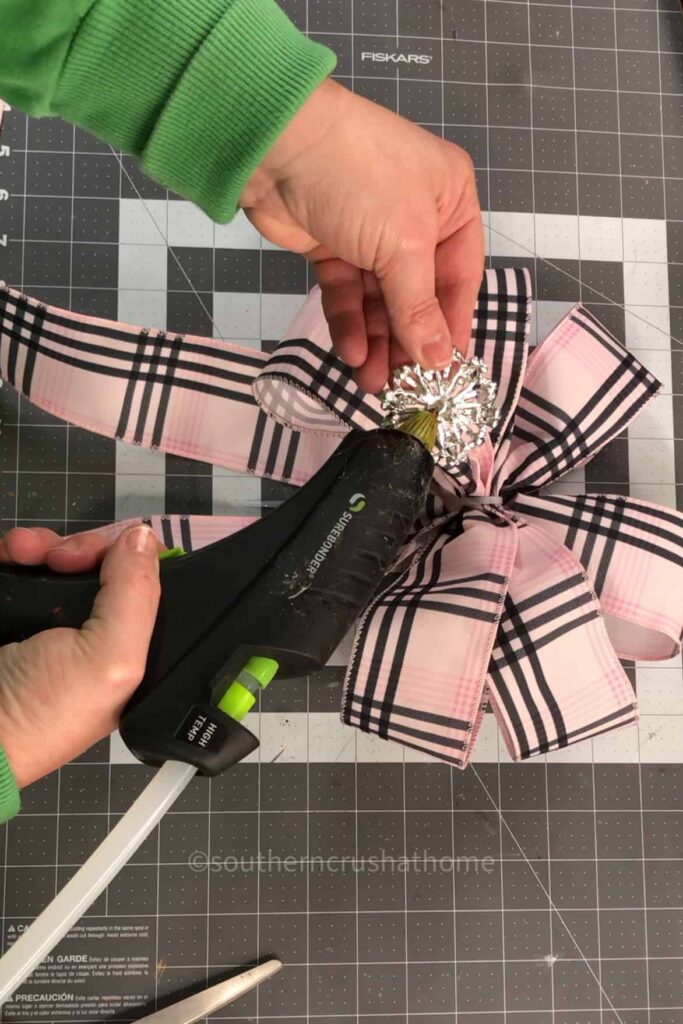
Step 5: Attach the Bow to the Wreath
Using a zip tie or hot glue, attach the bow to the top or bottom of the wreath (depending on your preference). Make sure it’s securely fastened so it stays in place.
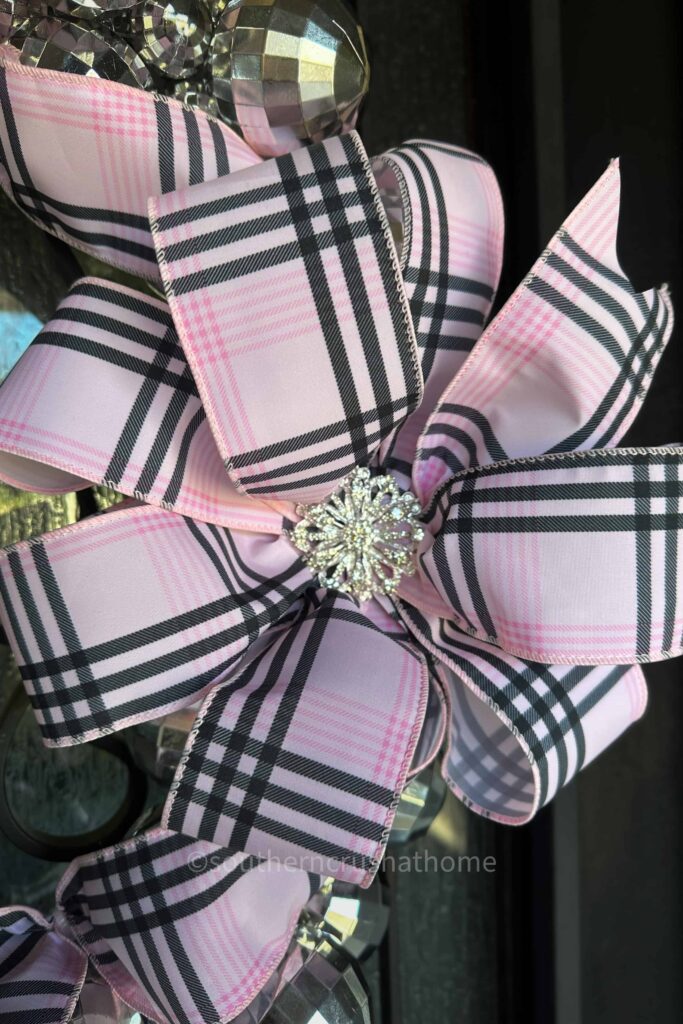
Step 6: Hang and Enjoy!
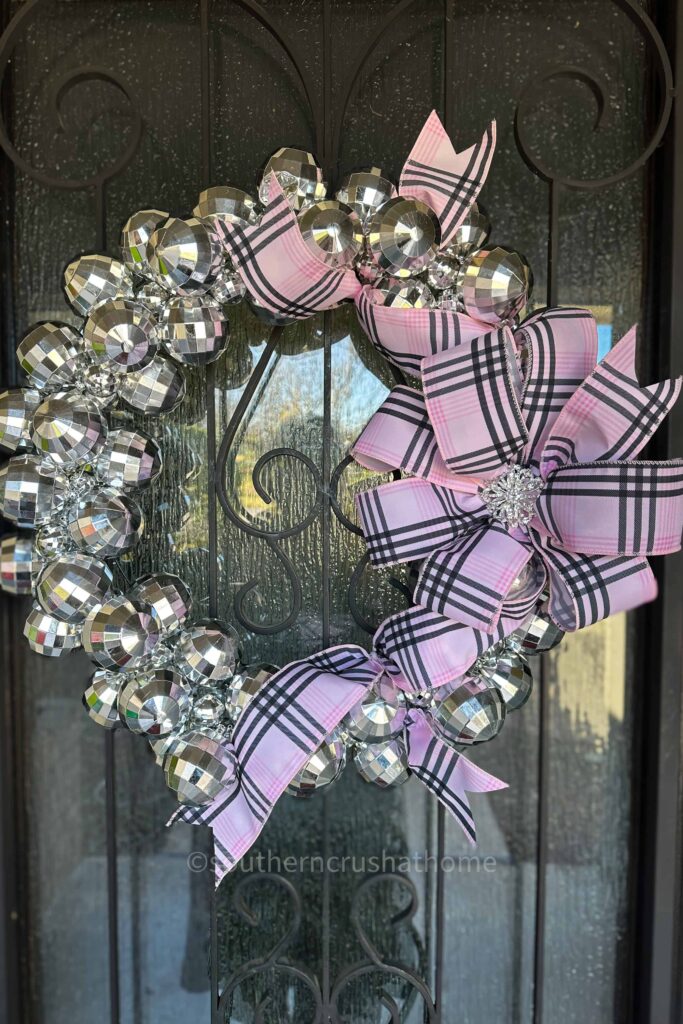
Your disco ball garland wreath is now complete! Use a wreath hanger or ribbon to hang it on your front door, above a mantel, or even on a wall.
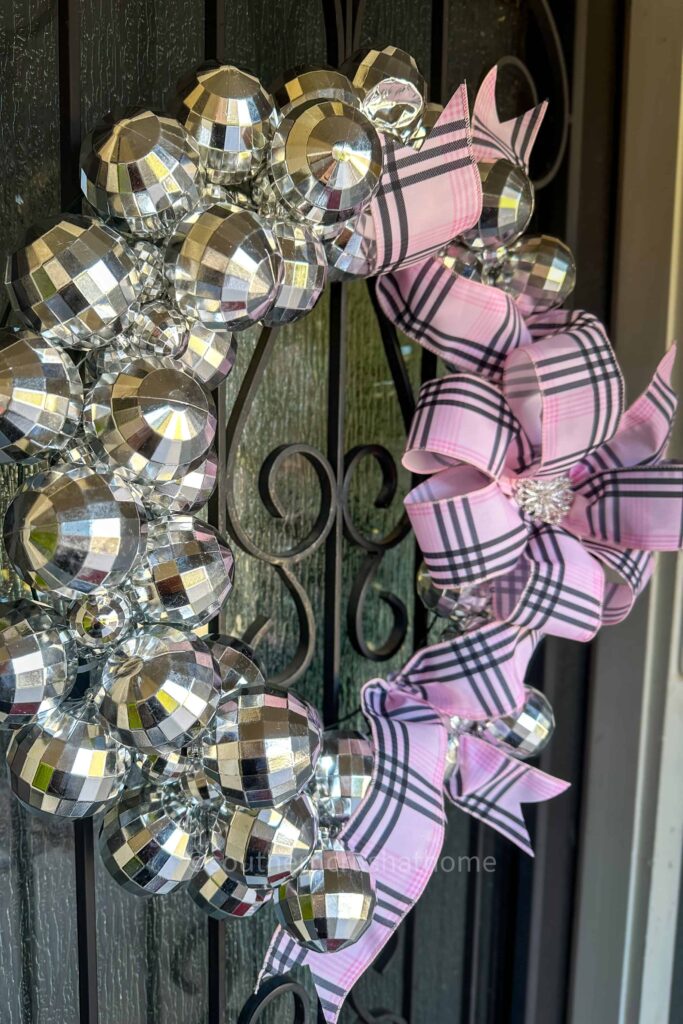
The shimmering disco balls will catch the light beautifully, adding a touch of sparkle and whimsy to your space.
Step-by-Step YouTube Video Tutorial
Want to see this project come to life? Check out my Step-by-Step YouTube Video Tutorial where I’ll walk you through each step in detail. Watching the process makes it even easier to create your own wreath and gives you some visual inspiration!
What to Do with Leftover Disco Balls
If you have extra disco balls from the garland, there are so many ways to use them in your decor:
- Dough Bowls: Toss the extra disco balls into a dough bowl for an easy centerpiece that sparkles year-round.
- Ornaments: Turn them into ornaments for your Christmas tree by attaching ribbon or hooks.
- Potted Plants: Add them to your potted plants for a whimsical touch. The disco balls will catch the sunlight and create a fun, sparkly effect in the morning.
- Table Scatter: Use them as part of a New Year’s Eve tablescape for a festive, glam vibe.
These extra touches ensure nothing goes to waste while spreading that sparkle throughout your home.
Perfect for Every Occasion
This disco ball garland wreath isn’t just for New Year’s Eve (though it’s perfect for that!). Its fun, glittery style works for a variety of settings:
- Everyday Decor: Add a whimsical pop of sparkle to a gallery wall, kitchen nook, or even your home office.
- Party Decor: Use it as a statement piece for birthday parties, dance parties, or any celebration that calls for a little extra glitz.
- Seasonal Decor: Pair it with pastel accents in the spring, bright colors in the summer, or metallics for the holiday season.
The versatility of this wreath makes it a year-round favorite for anyone who loves bold, playful decor.
Why You’ll Love This DIY Project
- Budget-Friendly: With supplies from Dollar Tree and Michaels, you can create this stunning wreath without spending a fortune.
- Quick and Easy: This project takes less than an hour, making it perfect for beginners or busy crafters.
- Whimsical and Fun: The sparkle from the disco balls adds a playful touch that brightens any space.
- Customizable: Change the ribbon color or add your own embellishments to match your decor style.
This DIY disco ball garland wreath is a quick, affordable, and fabulously fun project that brings sparkle and personality to your home decor.
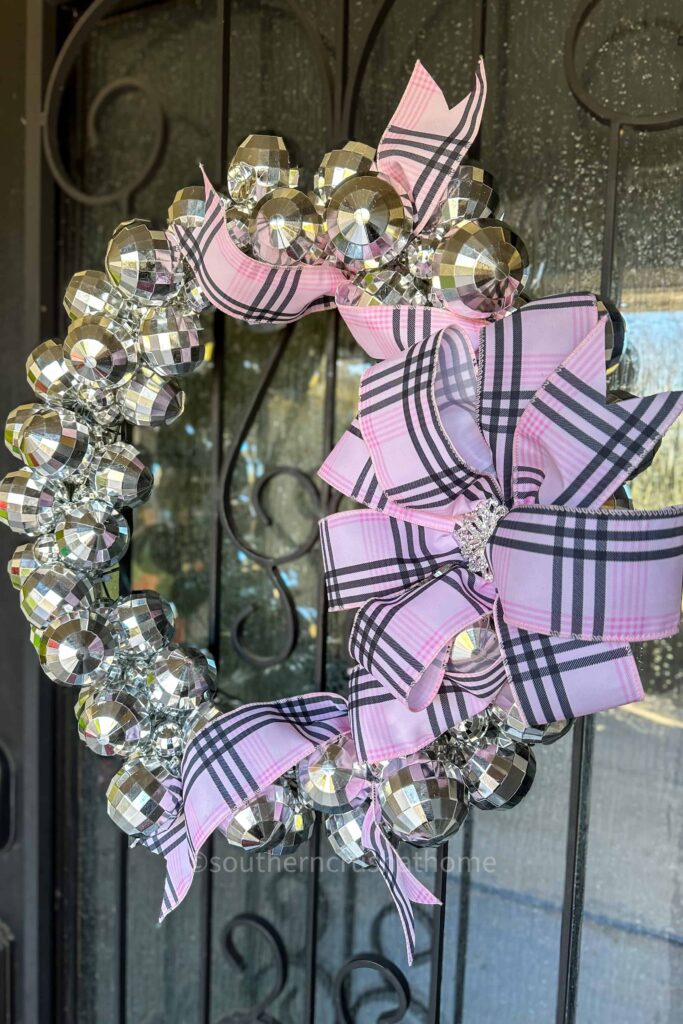
Whether you hang it as part of your everyday setup or save it for special occasions like New Year’s Eve, it’s sure to turn heads and bring joy to any space.
So, grab your garland, zip ties, and ribbon, and let’s get crafting! And don’t forget to save those extra disco balls—they’re perfect for adding sparkle all around your home. Happy crafting!
How to Make a Stunning Disco Ball Garland Wreath
Materials
- Disco ball garland Michaels – grab it on sale!
- Wire wreath frame Dollar Tree
- Zip ties
- Ribbon for the bow Michaels – choose a ribbon that matches your vibe!
- Bling rhinestone for the center of the bow optional, but recommended for extra sparkle
- Hot glue gun and glue sticks
Instructions
Step 1: Prepare Your Wreath Frame
- Start by laying out your wire wreath frame on a flat surface. This will act as the base for your garland. Make sure your wreath frame is clean and ready for assembly.
Step 2: Attach the Disco Ball Garland
- Take your disco ball garland and secure one end to the wreath frame using a zip tie. Wrap the garland around the frame, spacing the disco balls evenly to create a full, sparkly look.
- As you wrap, attach the garland to the frame with additional zip ties every few inches to keep it in place. This will prevent the garland from sliding around and ensure a secure, sturdy wreath.
Step 3: Secure the End of the Garland
- Once you’ve wrapped the entire frame, cut off any extra garland. Secure the final end with a zip tie, making sure it’s tight and neatly tucked into the wreath. If you’re left with extra disco balls, don’t throw them away—save them for some fun decor ideas (we’ll get to those later!).
Step 4: Make the Bow
- To add a festive finishing touch, create a beautiful bow for your wreath. Using an EZ Bow Maker (available at Michaels), create a multi-looped bow with the ribbon of your choice. This could be a glittery silver ribbon for a glam look, or even a pastel color for something more whimsical and fun.
- Once your bow is ready, hot glue a sparkly rhinestone to the center for added bling. This will give your wreath an extra pop of glamour!
Step 5: Attach the Bow to the Wreath
- Using a zip tie or hot glue, attach the bow to the top or bottom of the wreath (depending on your preference). Make sure it’s securely fastened so it stays in place.
Step 6: Hang and Enjoy!
- Your disco ball garland wreath is now complete! Use a wreath hanger or ribbon to hang it on your front door, above a mantel, or even on a wall. The shimmering disco balls will catch the light beautifully, adding a touch of sparkle and whimsy to your space.

