How to Make A Ribbon Christmas Tree
The holiday season is a time of joy and togetherness, and what better way to bring in the festive cheer than with a fun Christmas DIY project like a Ribbon Christmas Tree?
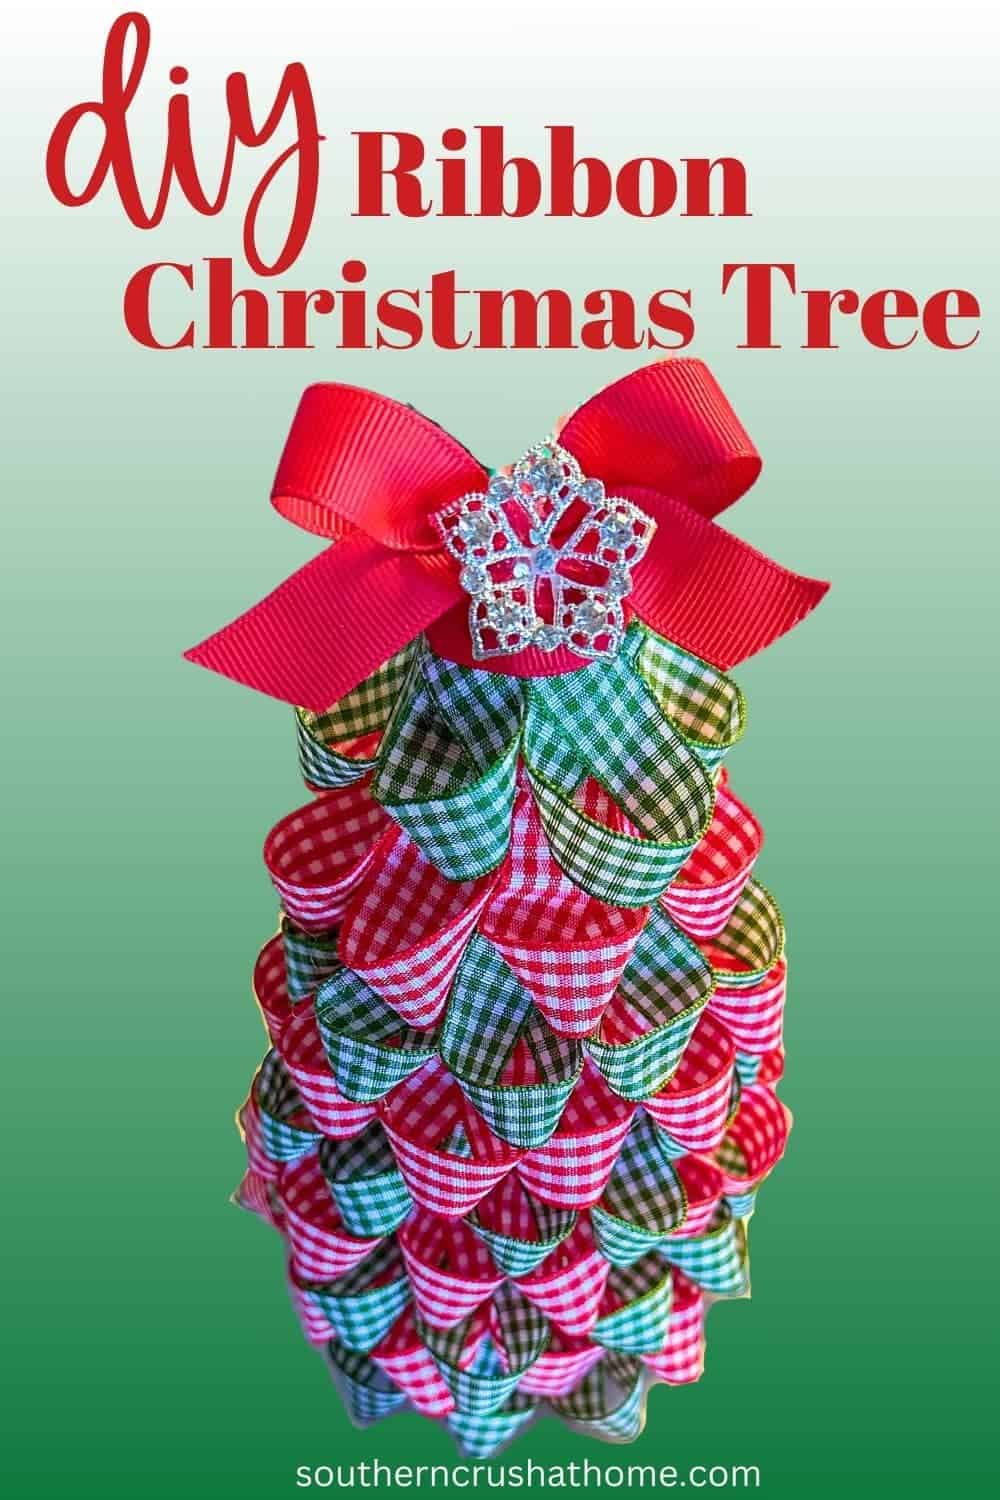
PIN this for later!
Making a ribbon Christmas tree is a great idea for a fun family activity or for anyone looking to add a unique touch to their holiday decor.
With a few simple and affordable supplies from Dollar Tree and a little bit of creativity, you can create a beautiful and personalized Christmas tree that will brighten up any room in your home. In this blog post, I will guide you through the process of creating your very own ribbon Christmas tree.
Supplies Needed for a Ribbon Christmas Tree
- foam cone (mine was 6.9″ x 2.9″ from Dollar Tree)
- (4) 3 yard or 9′ spools of 5/8″ assorted ribbon (mine were from Dollar Tree)
- hot glue (I used low temp)
- optional bling for the topper
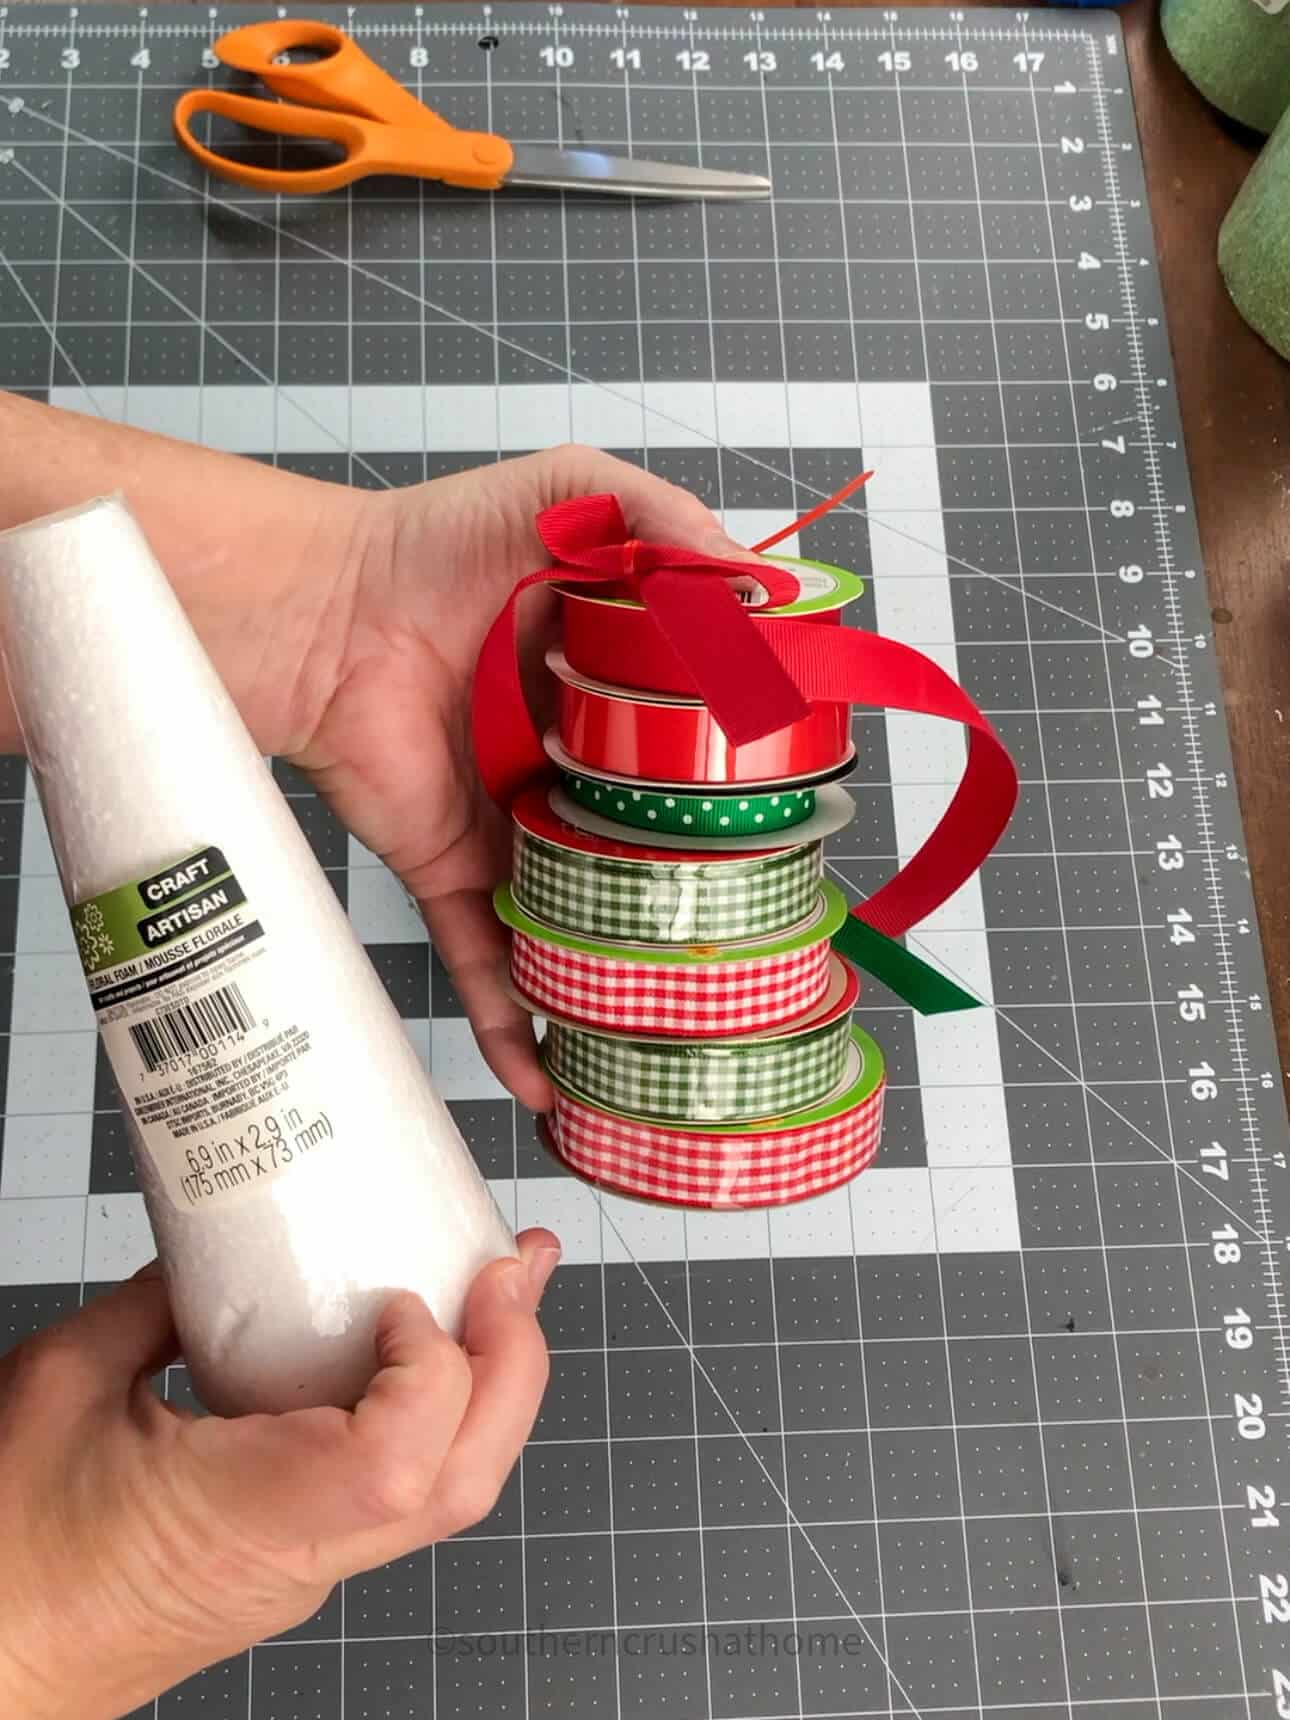
How to Make a Ribbon Christmas Tree
Step 1: Cut and Prepare the Ribbon
For this easy DIY project, you can choose any colors for your ribbon depending on the color scheme you have in mind.
If you want to add more texture to the tree, alternate between different styles of ribbon, such as glittered, patterned, and satin ribbon.
Before you start attaching the ribbon to the foam cone, you need to prep your ribbon by cutting it into equal lengths about 4″ long. If you are using a larger cone, you will need slightly longer strips of ribbon.
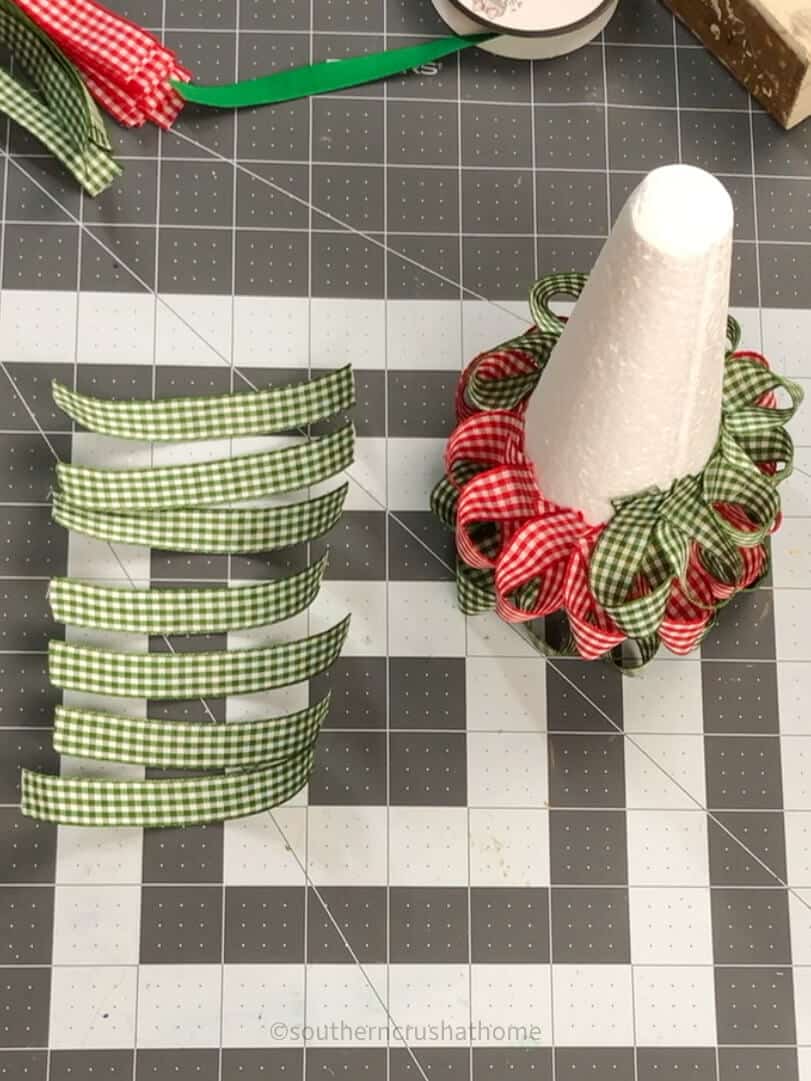
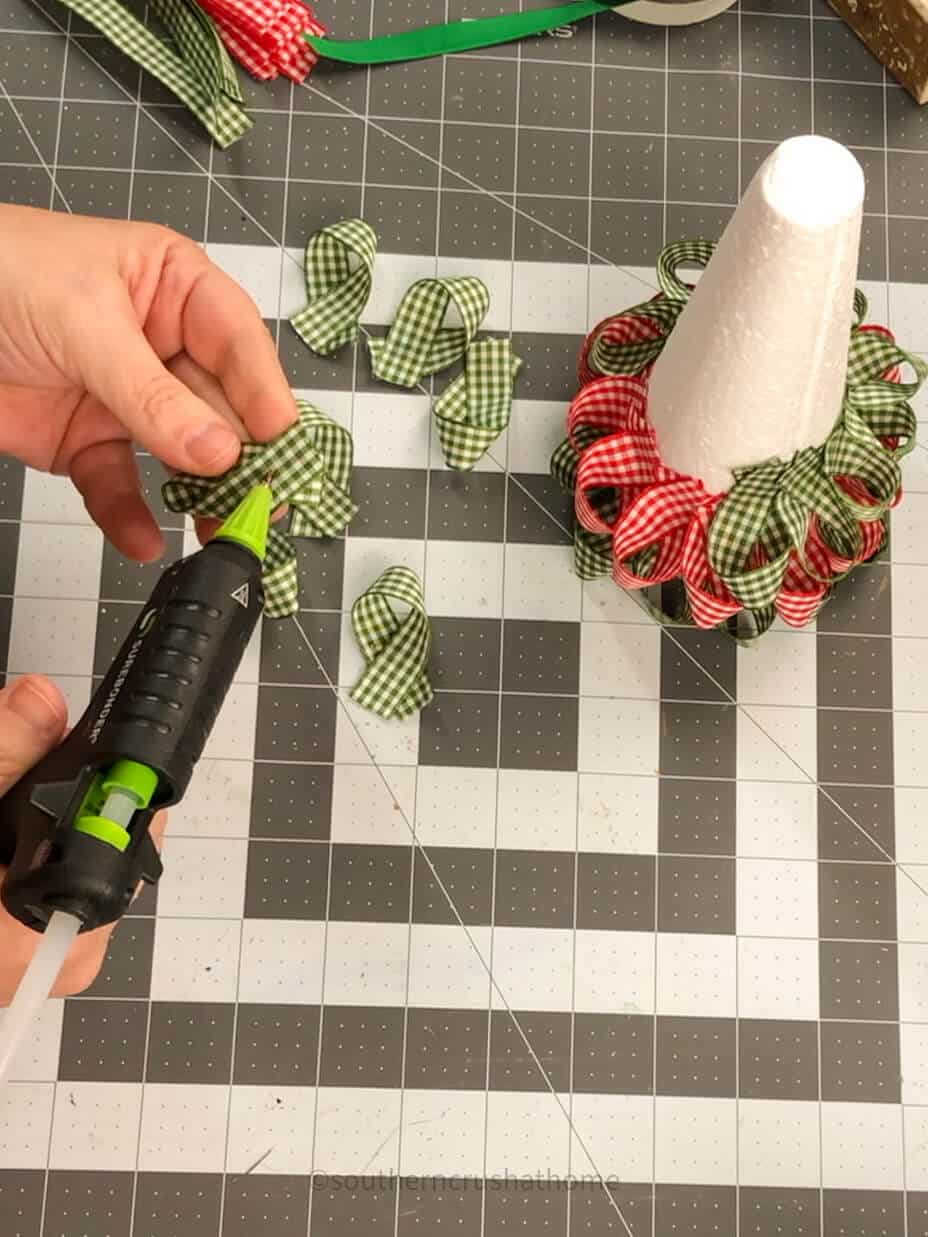
Next, add a dot of hot glue to one end of the ribbon strip.
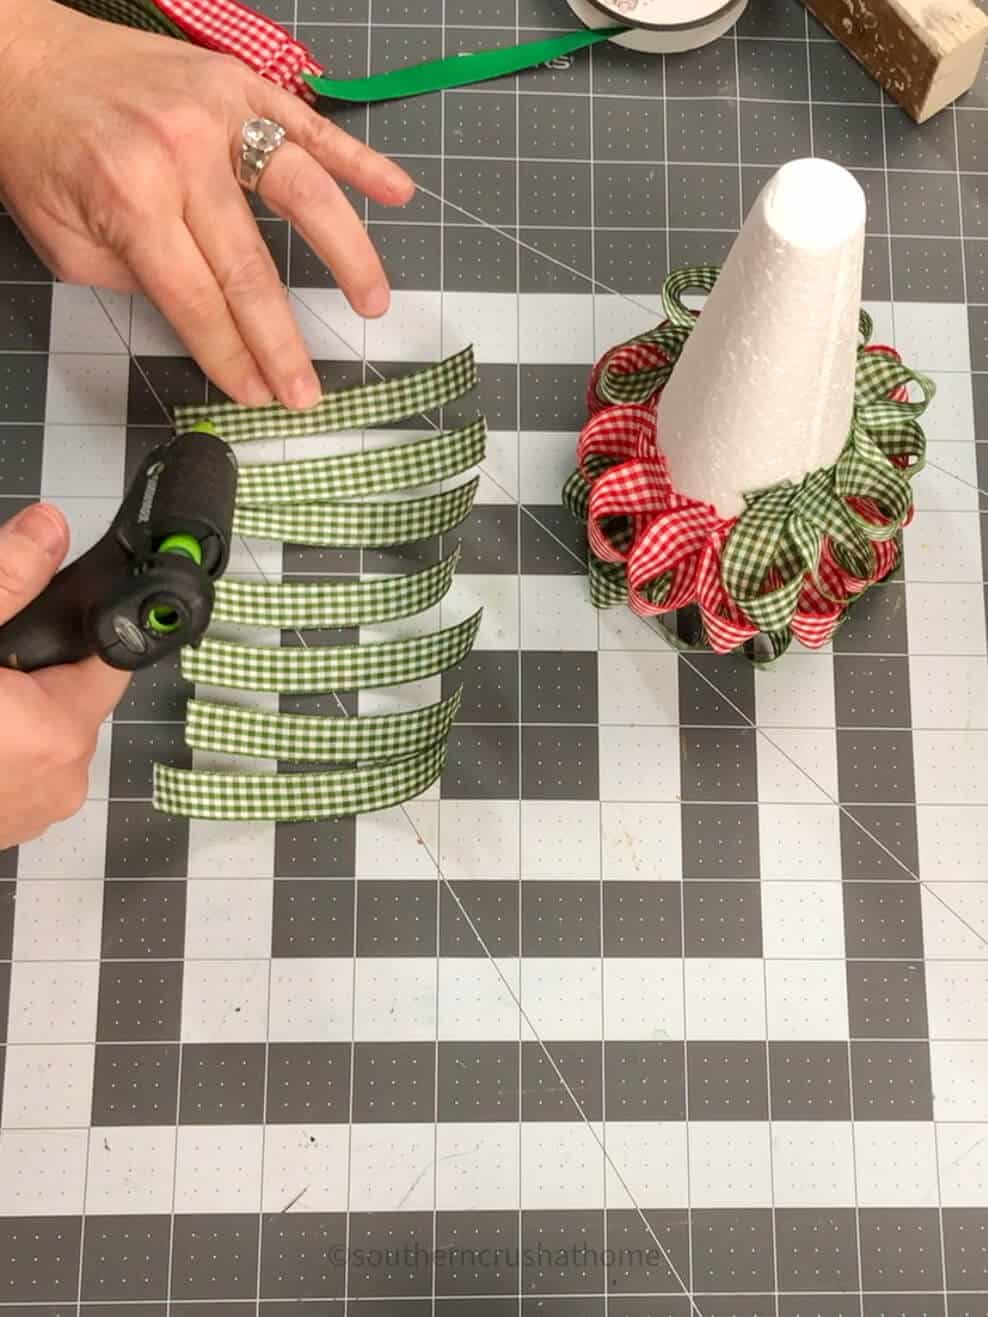
Take the ribbon in your hands and fold it inward to glue the ends together.
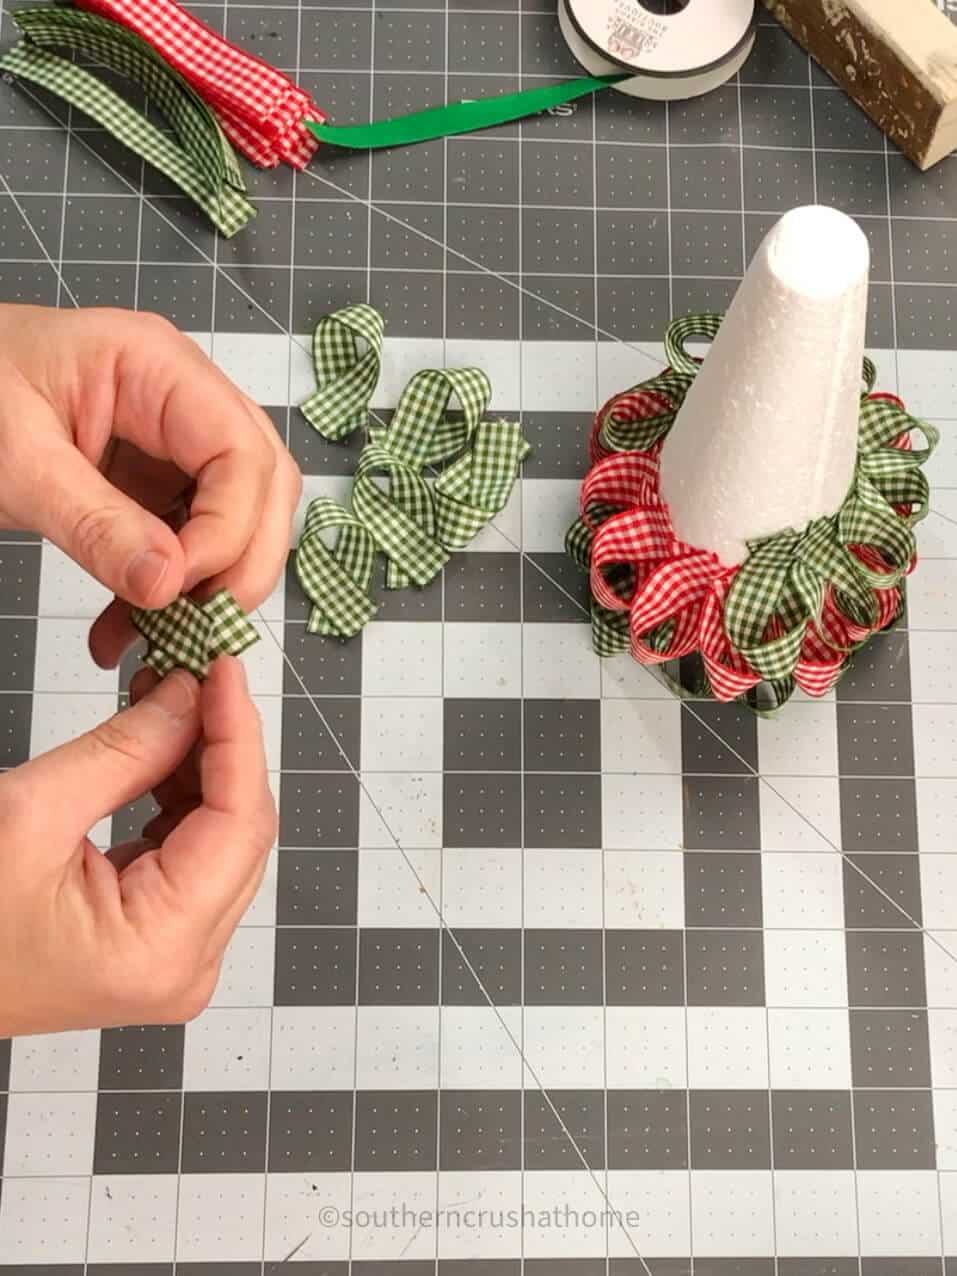
I found that creating a type of “assembly line” with the ribbon strips made this process go much faster.
Step 2: Start Gluing the Ribbon
Once your ribbon is ready, start attaching them to the foam cone with hot glue.
Step 3: Start Gluing the Ribbon
Start the process by gluing a ribbon at the very bottom of the cone.
Then, continue adding the ribbon around the foam cone. Once you have one time around with the ribbon, place the next level above the first and alternate the pattern by positioning it between the lower levels.
As you continue, alternate between different styles of ribbon and colors to create a more festive look for your tree.
Step 4: Add Embellishments
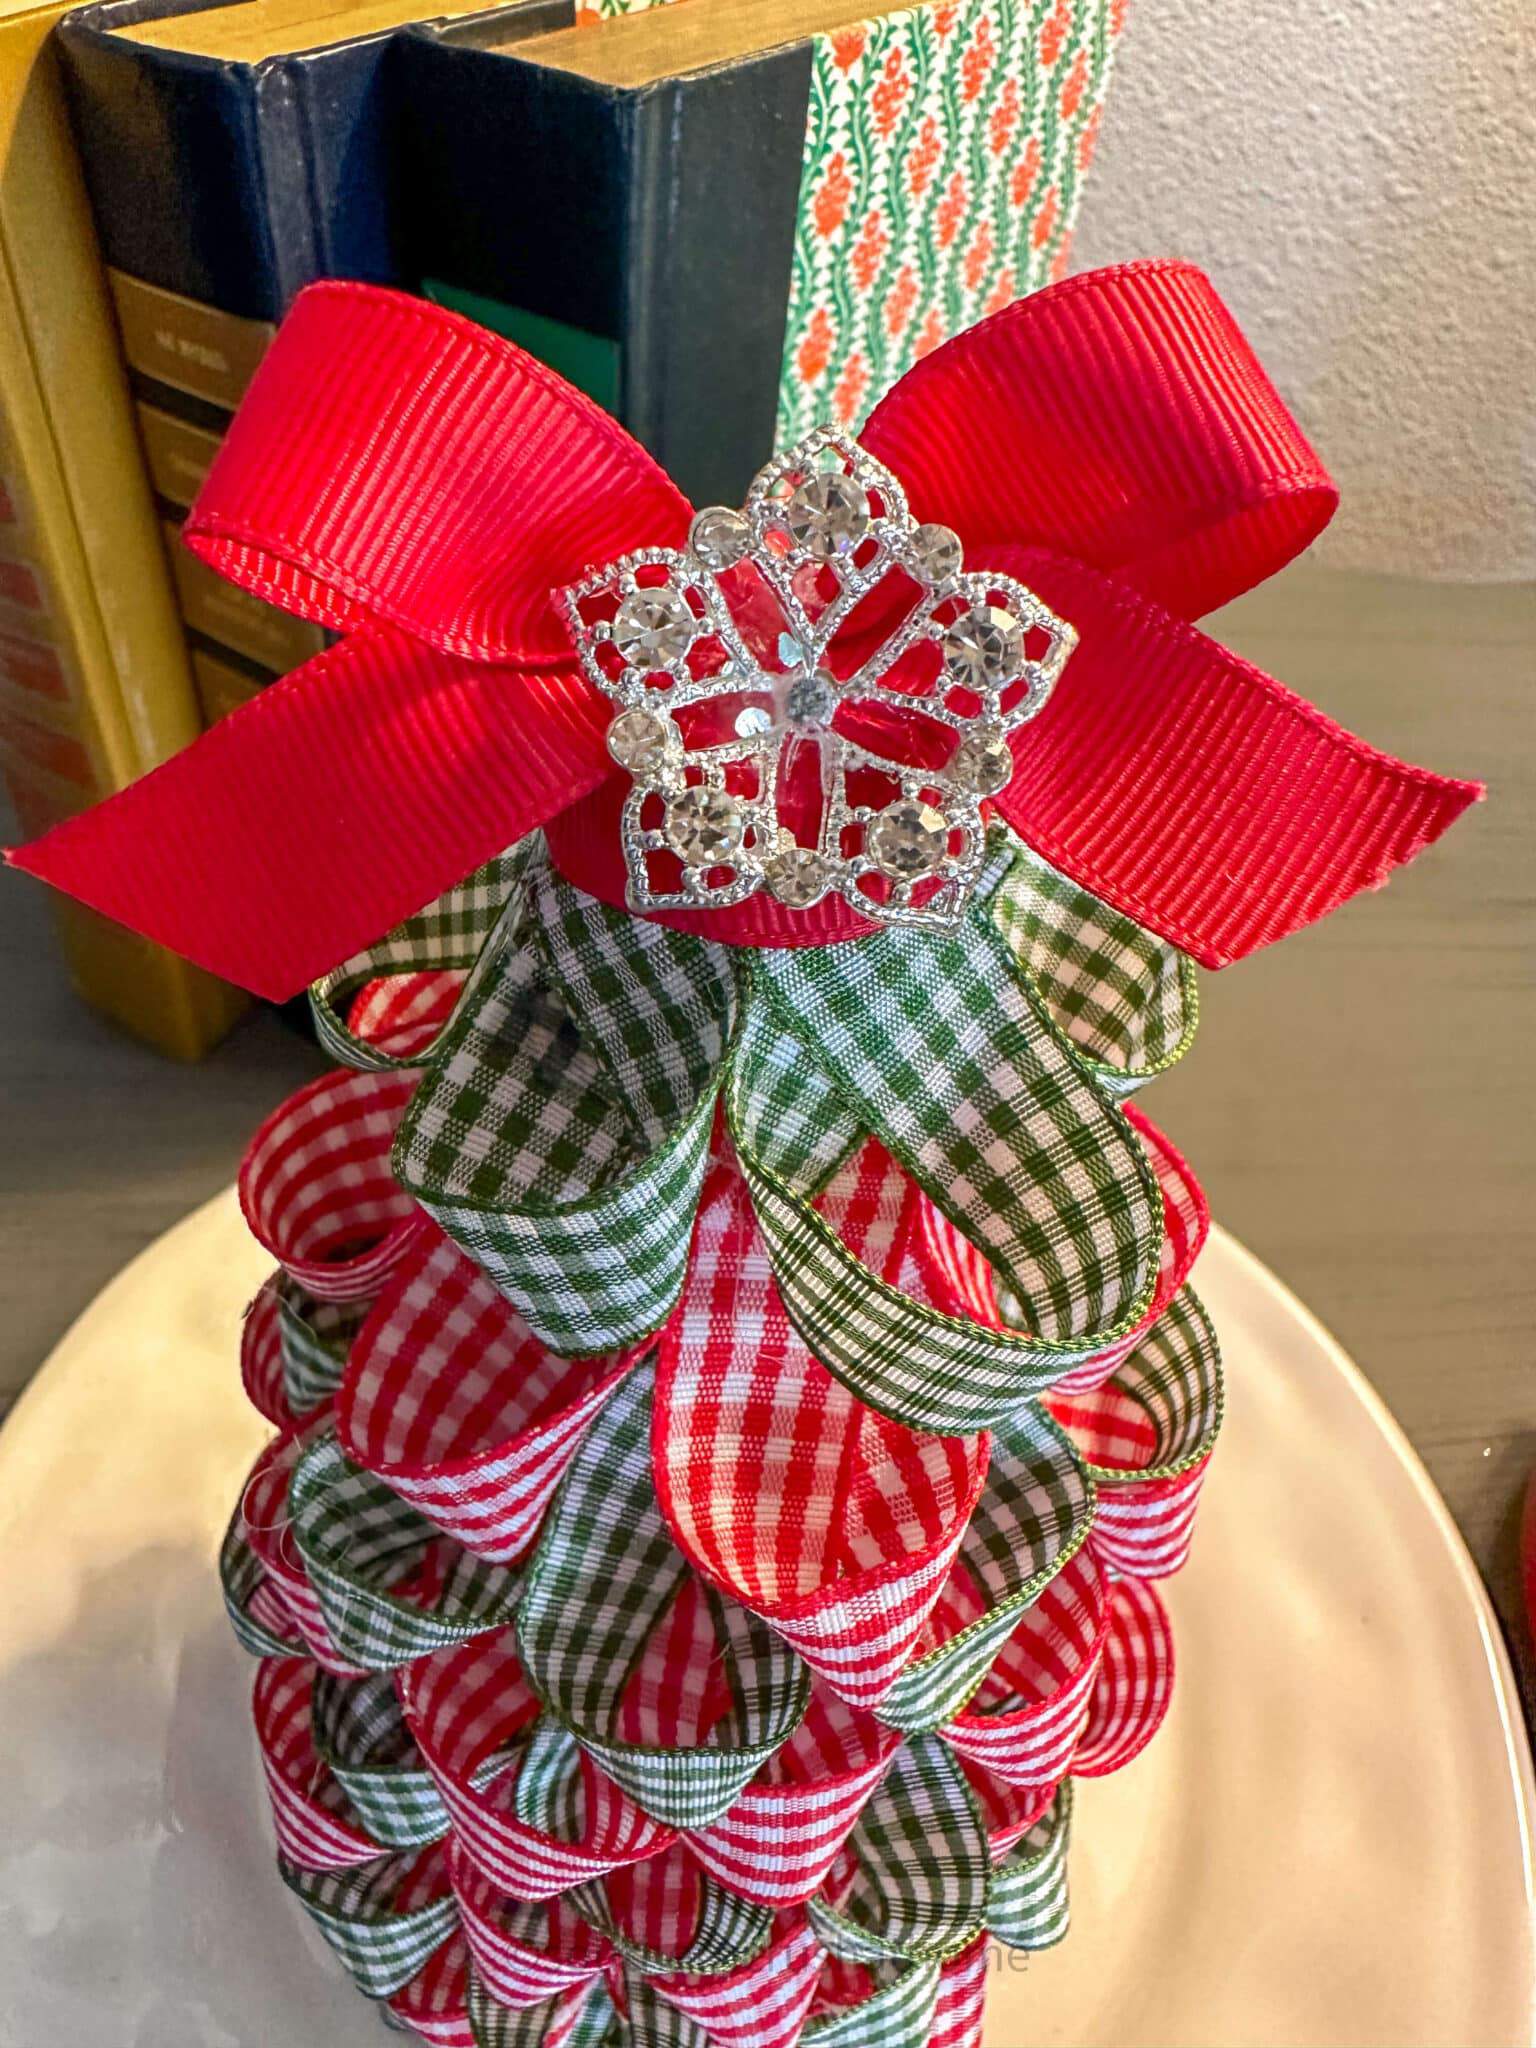
To add a little extra sparkle to your tree, consider adding embellishments such as small ornaments, berries, or snowflakes. You can attach these with hot glue or tie them onto the ribbon if you prefer. Be sure to distribute the embellishments evenly throughout the tree for a balanced look.
I added a sweet little zip tie bow at the top with a bling star using some hot glue.
Step 5: Finish and Display Your Tree
Once you have applied all of your ribbon and embellishments, give it a final inspection to ensure everything is securely in place.
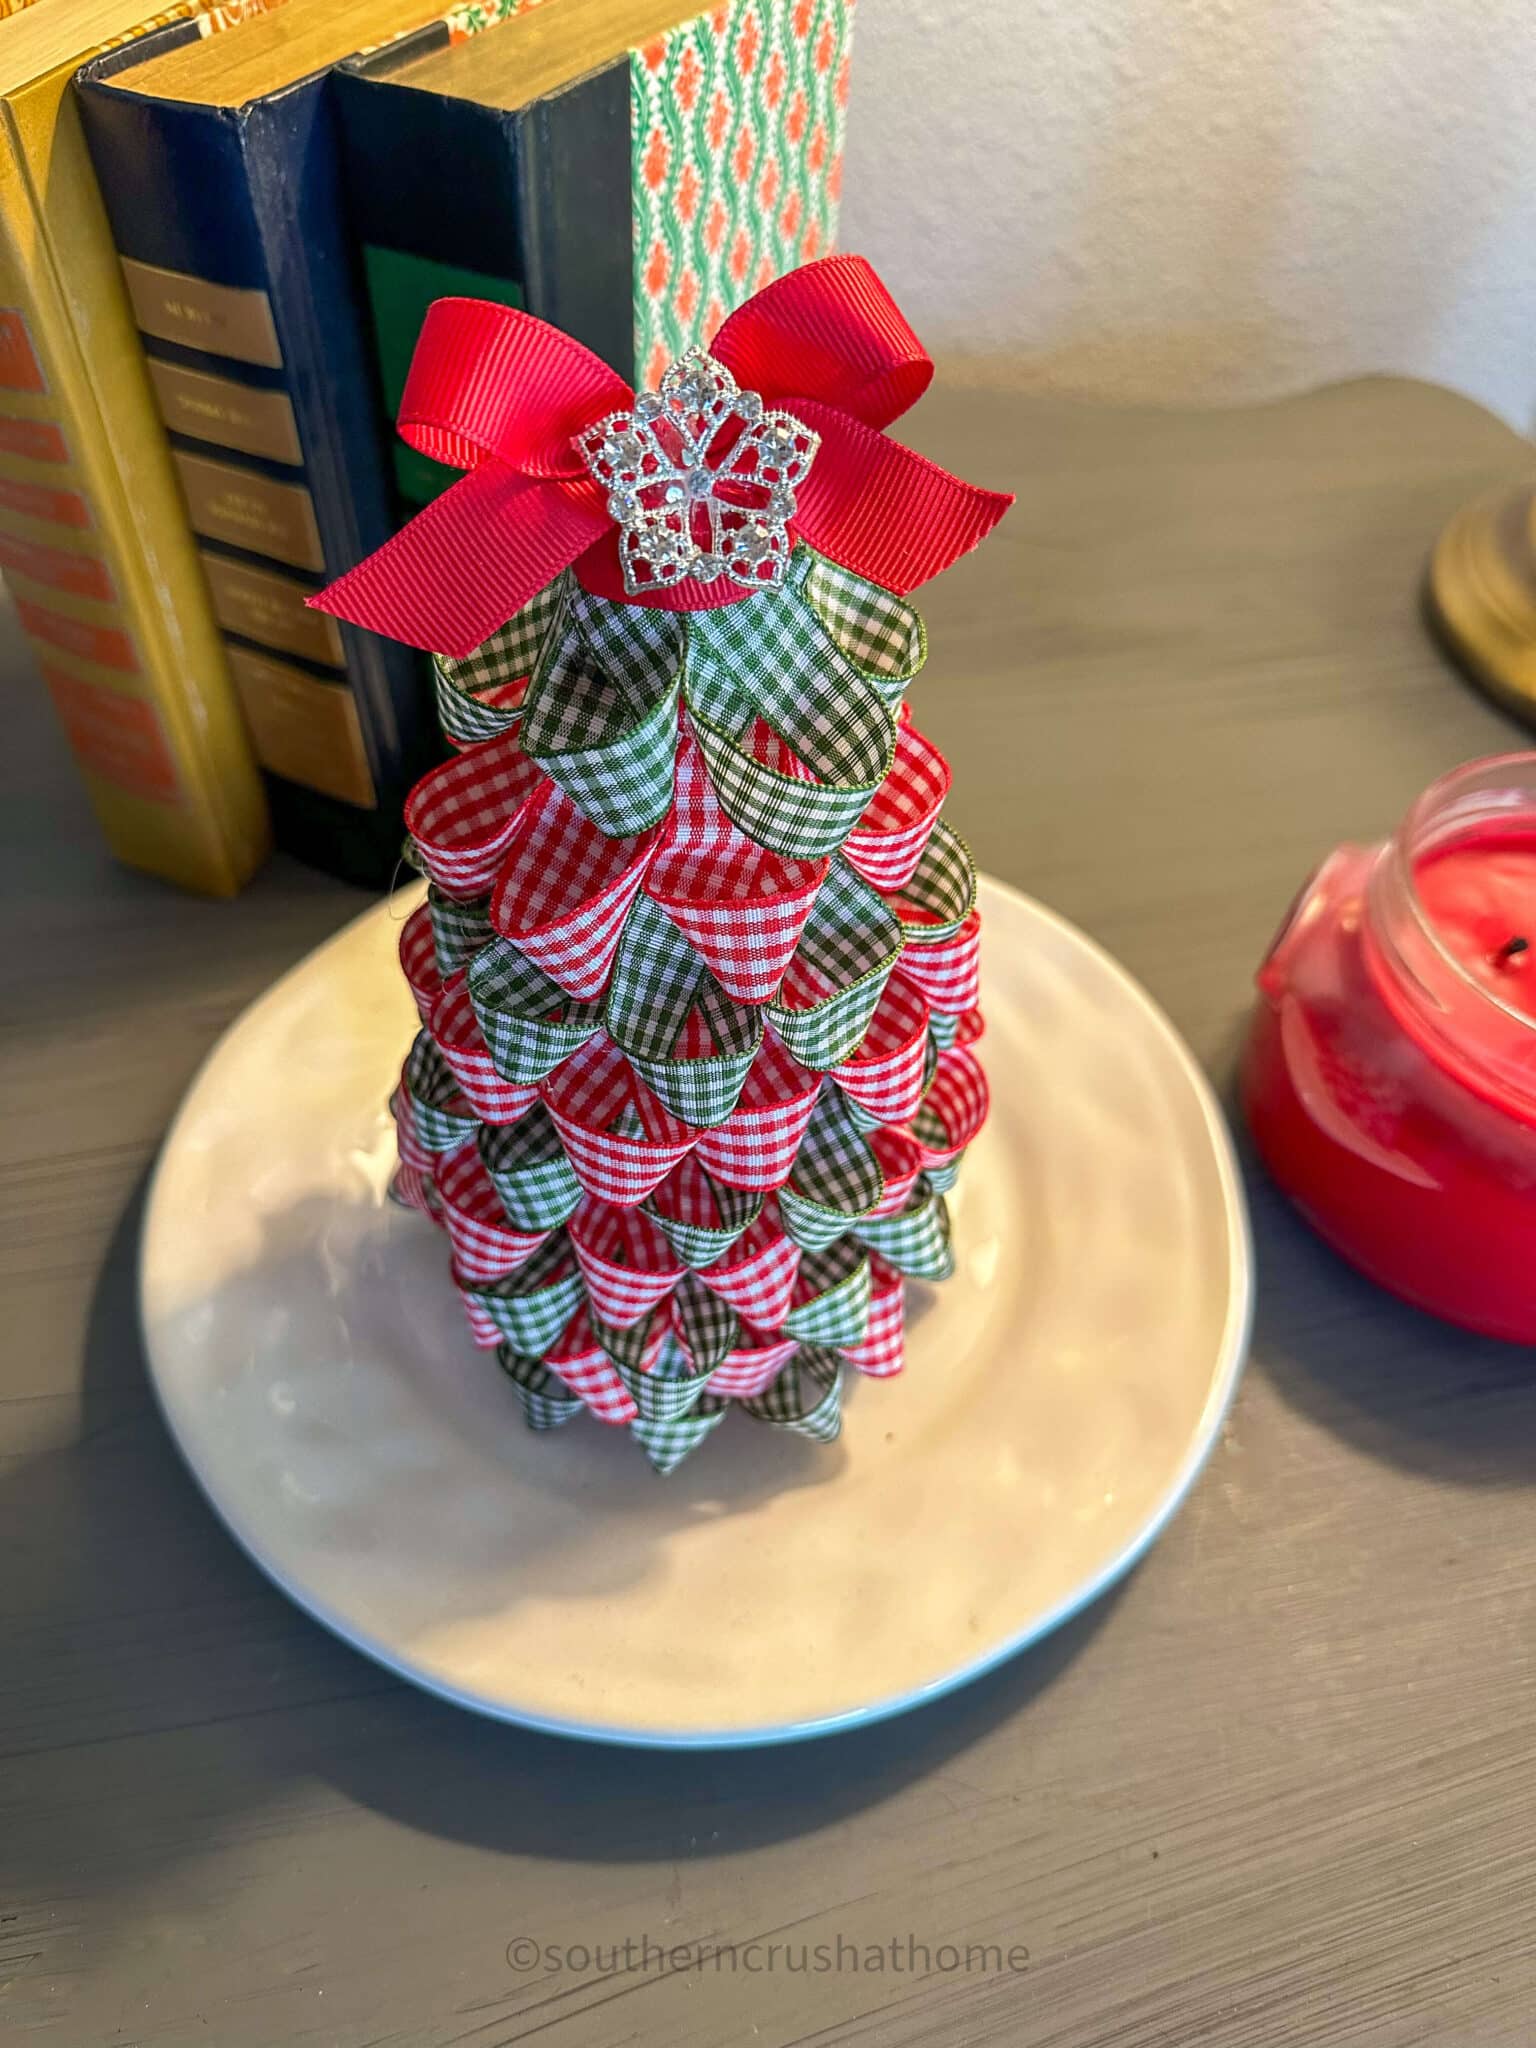
If you see any loose ends, apply a little bit of hot glue to hold it in place.
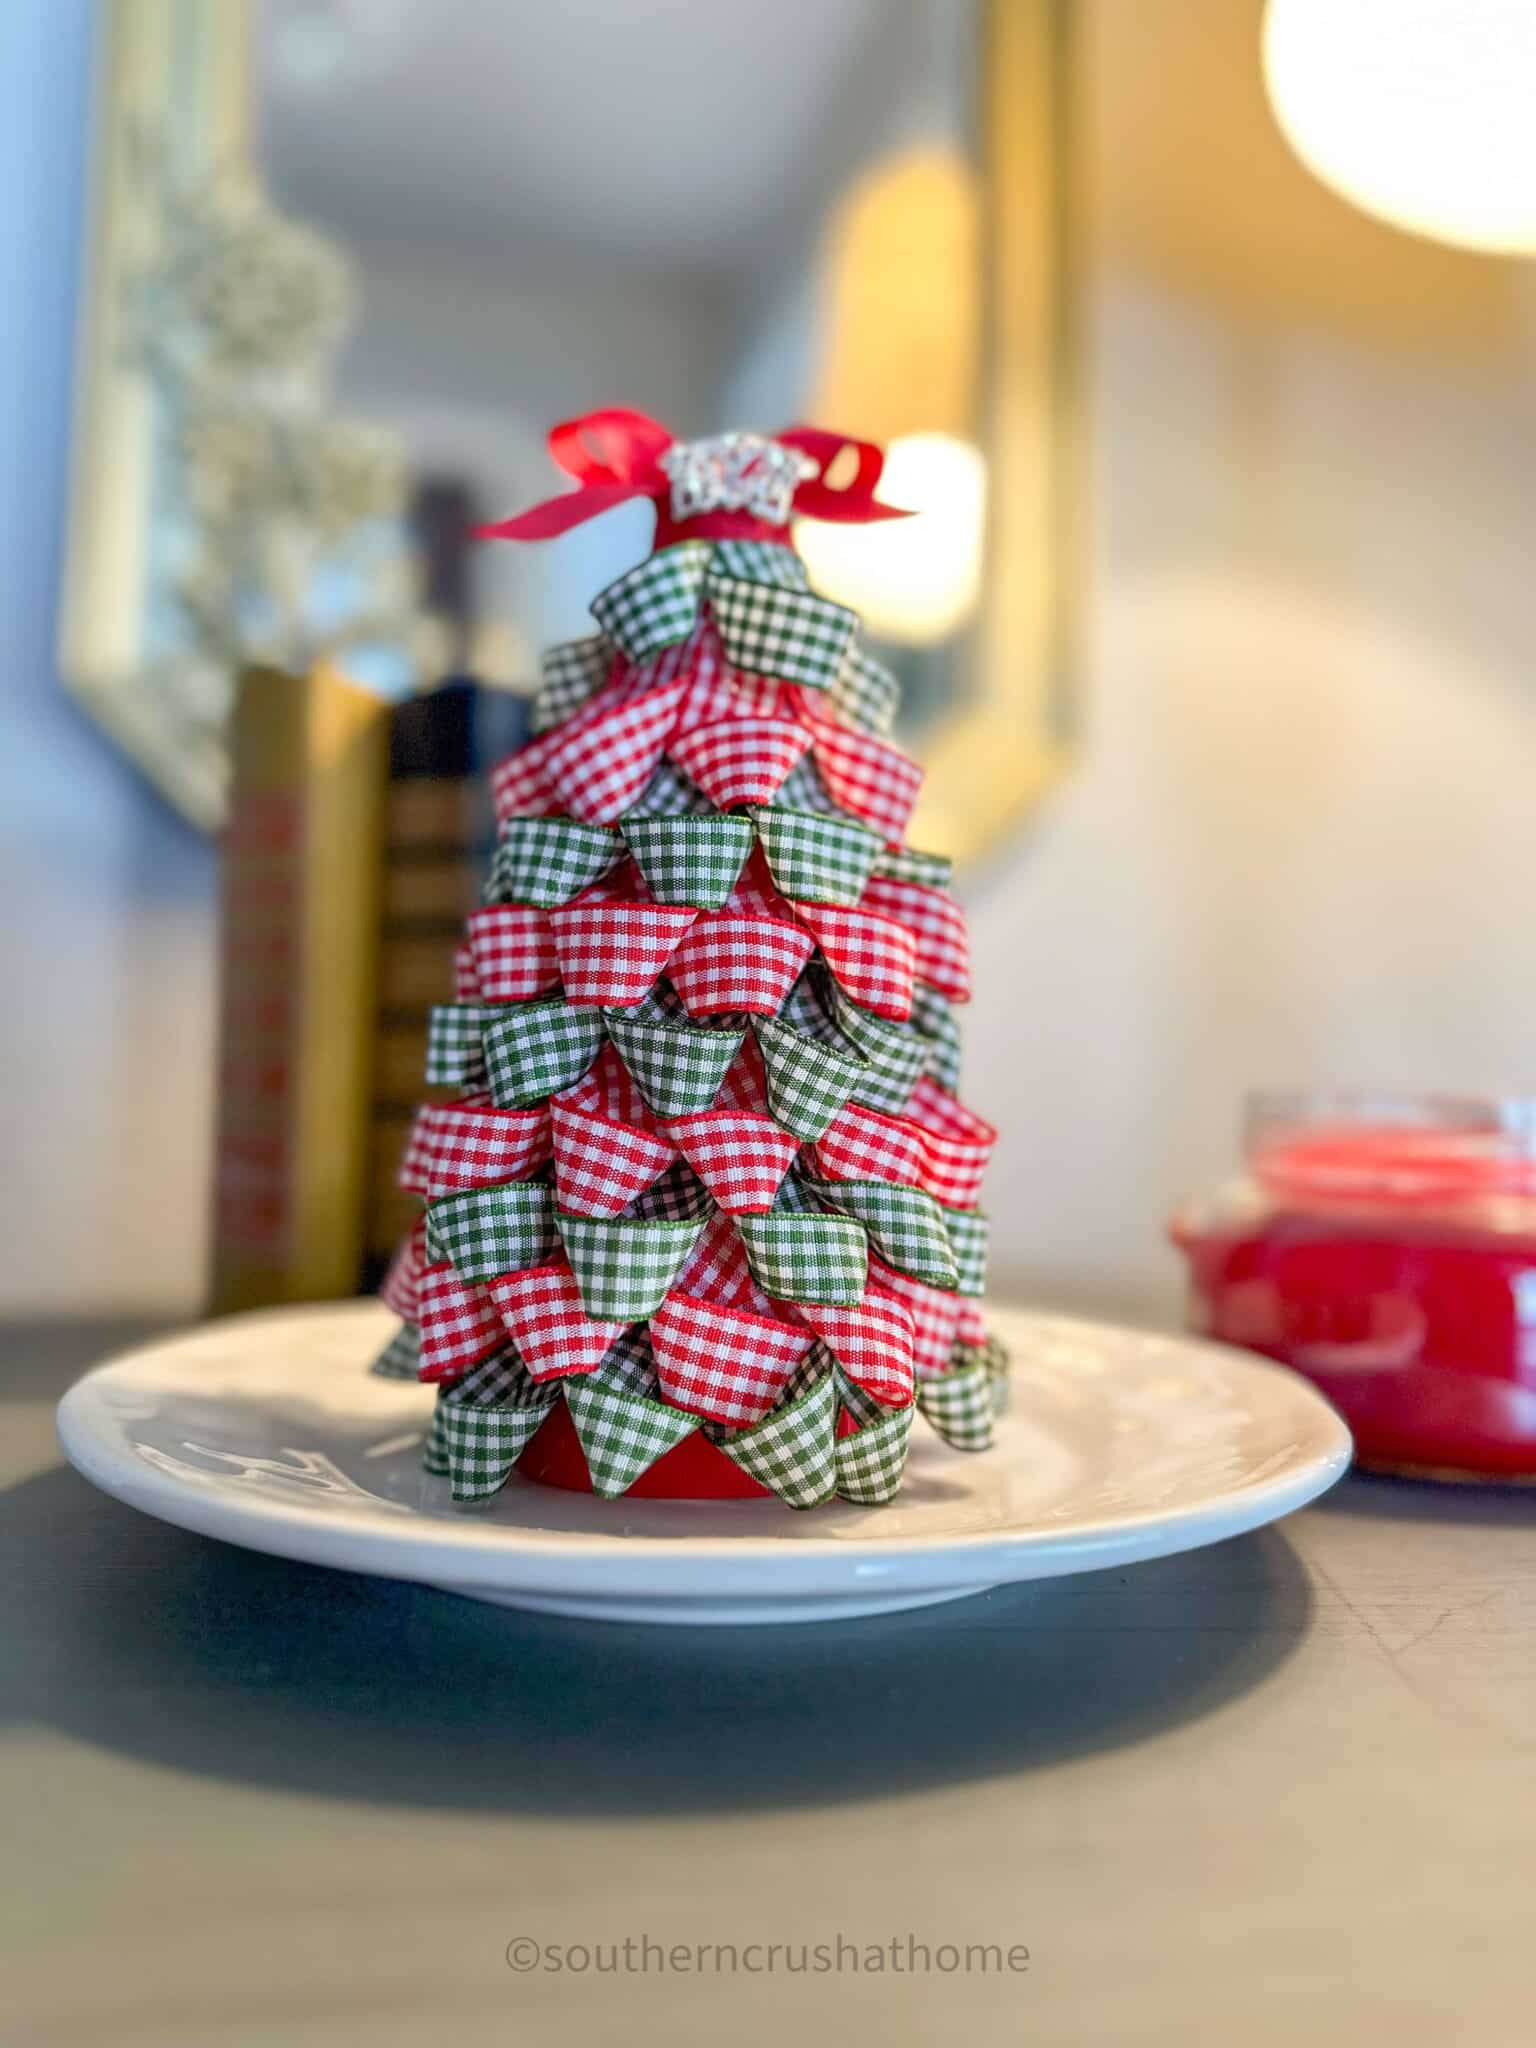
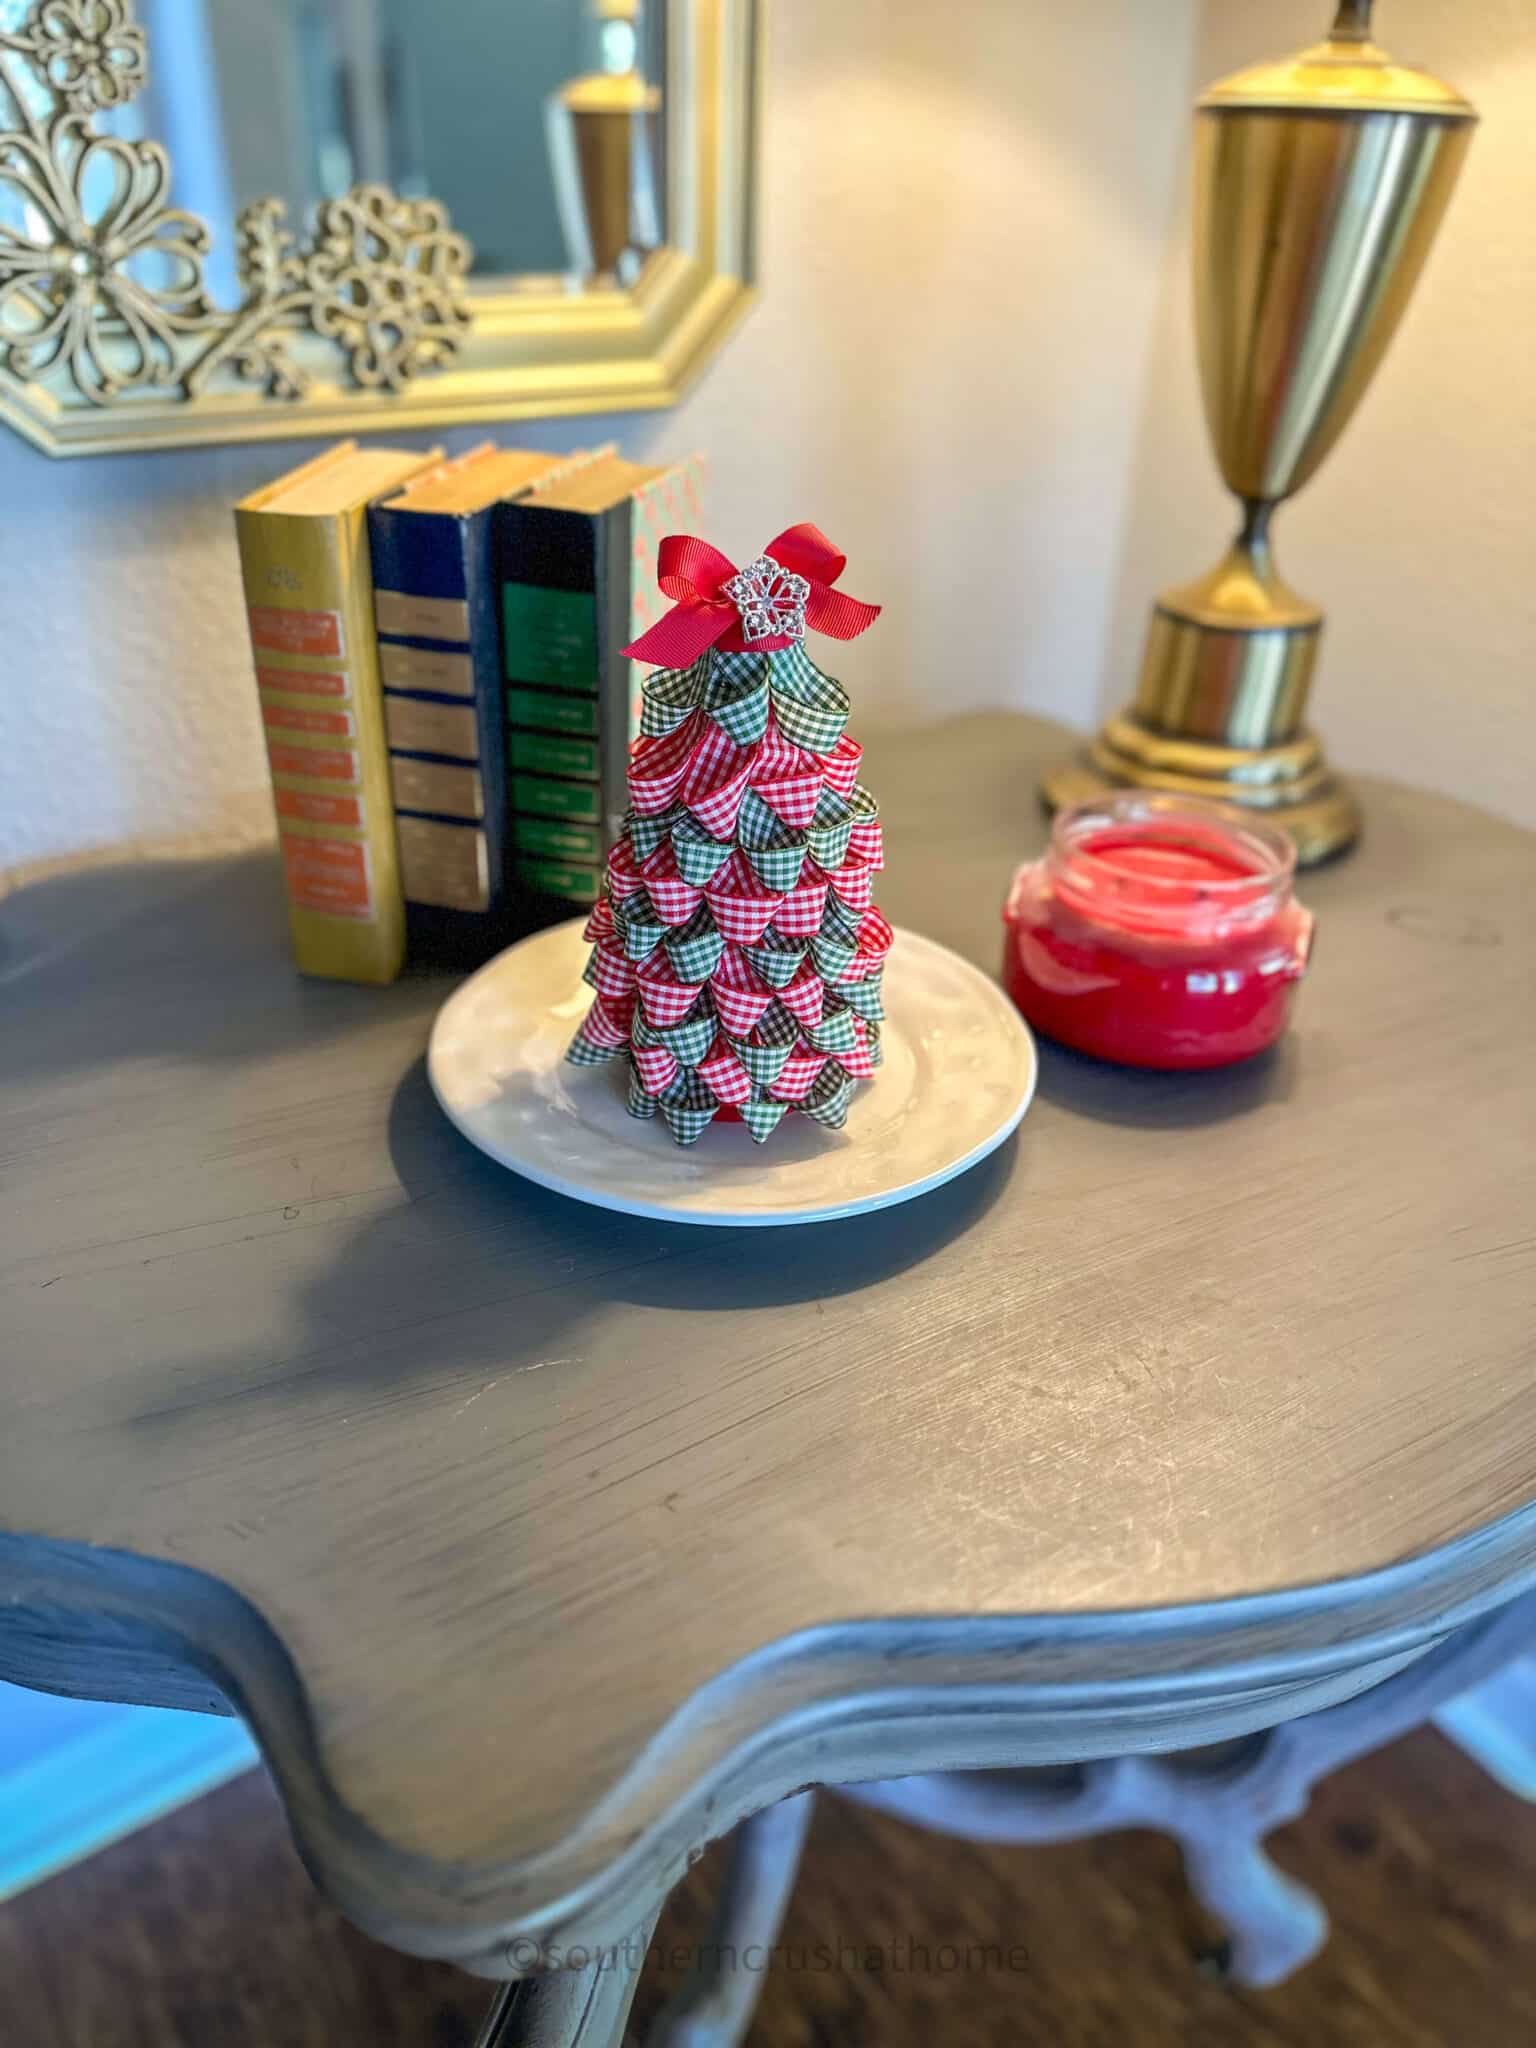
Finally, place your tree on a stand or tabletop and enjoy your beautiful, personalized holiday decoration.
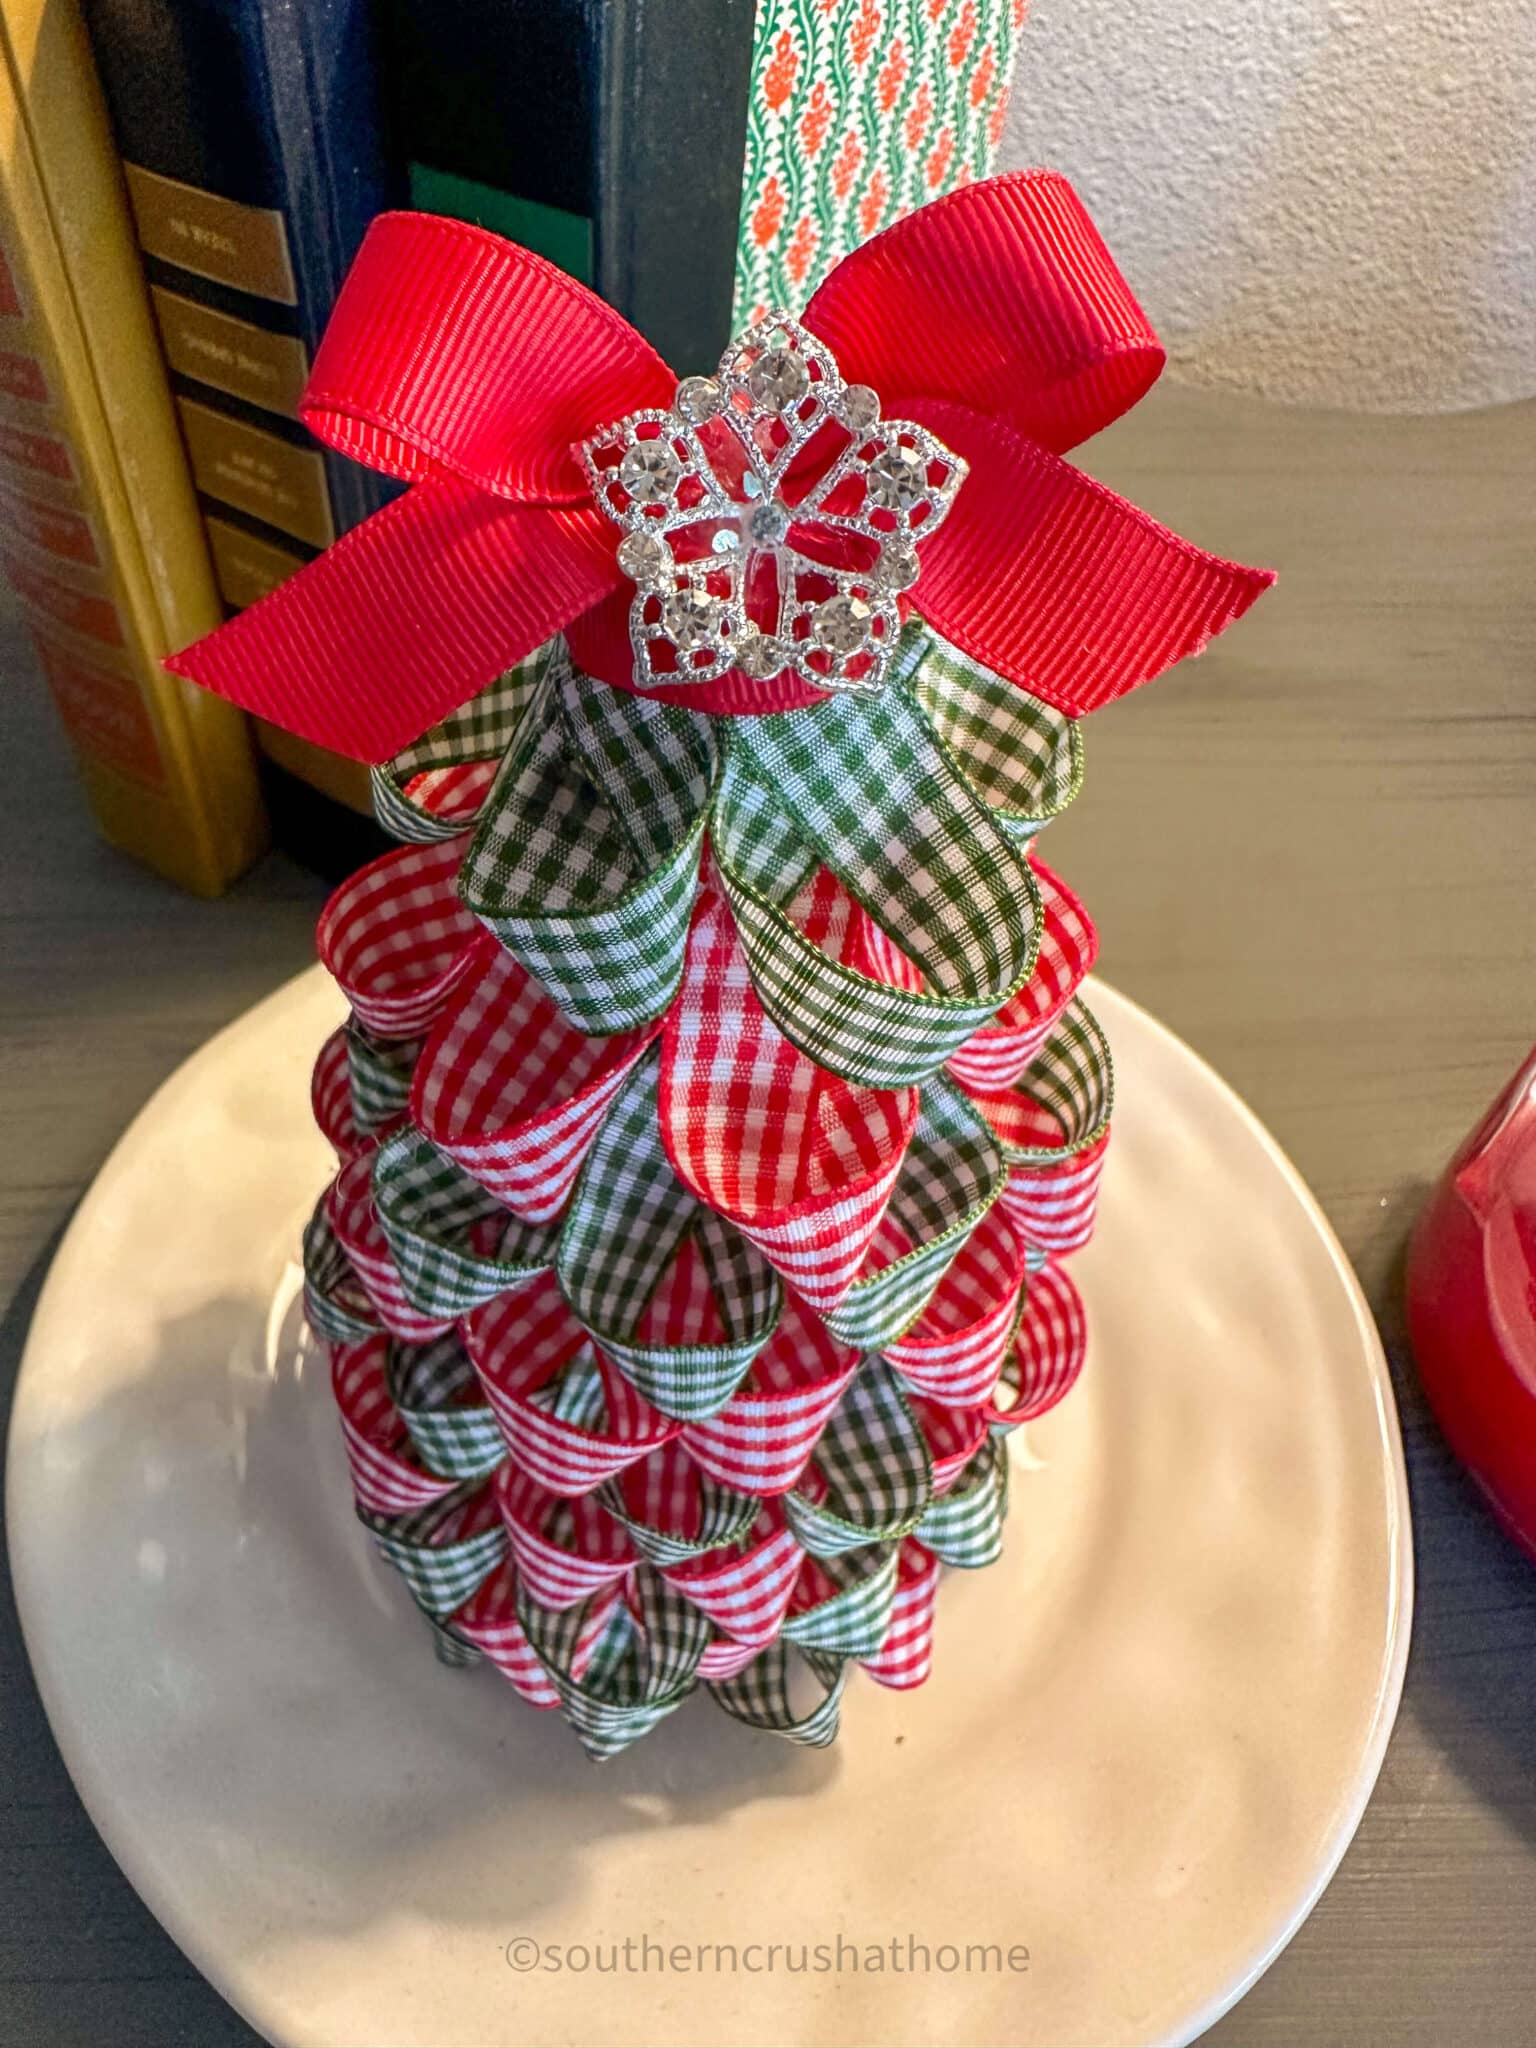
Making a ribbon Christmas tree is a fun and affordable way to add a unique touch to your holiday decor. As you can see, it’s a fairly simple process that can be done in just a few steps.
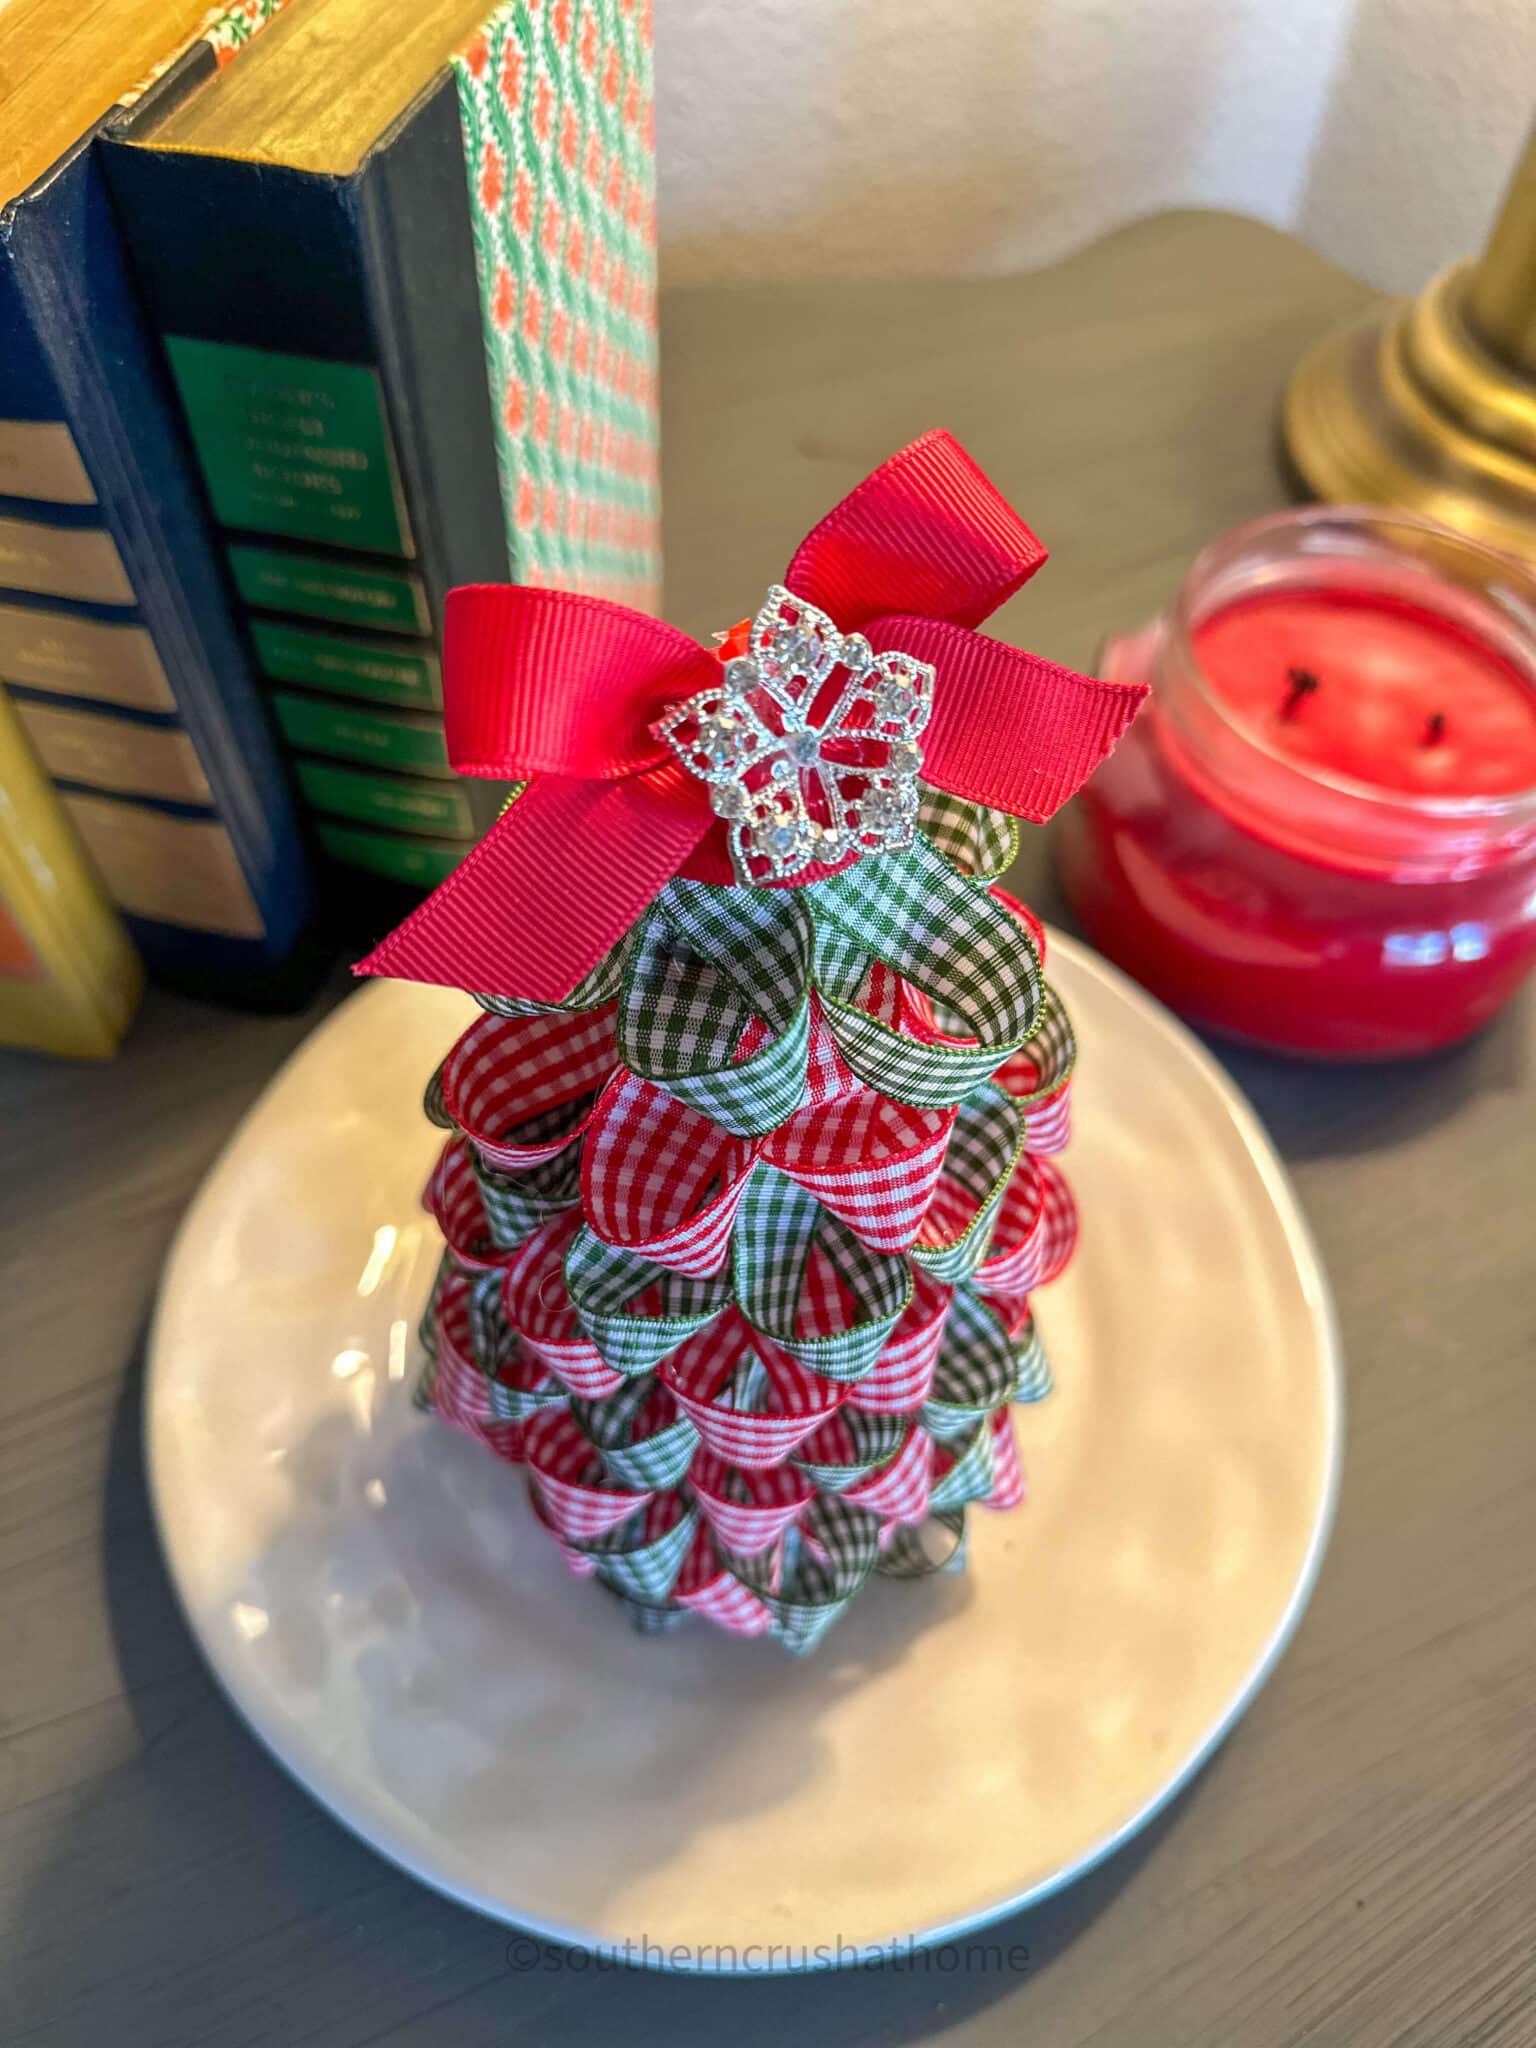
With a little creativity and some basic crafting skills, you can create a beautiful and personalized Christmas tree that will make your home feel cozy and festive. Get started on your ribbon Christmas tree today and enjoy the holiday spirit it brings to your home!
More Tabletop Christmas Tree Ideas
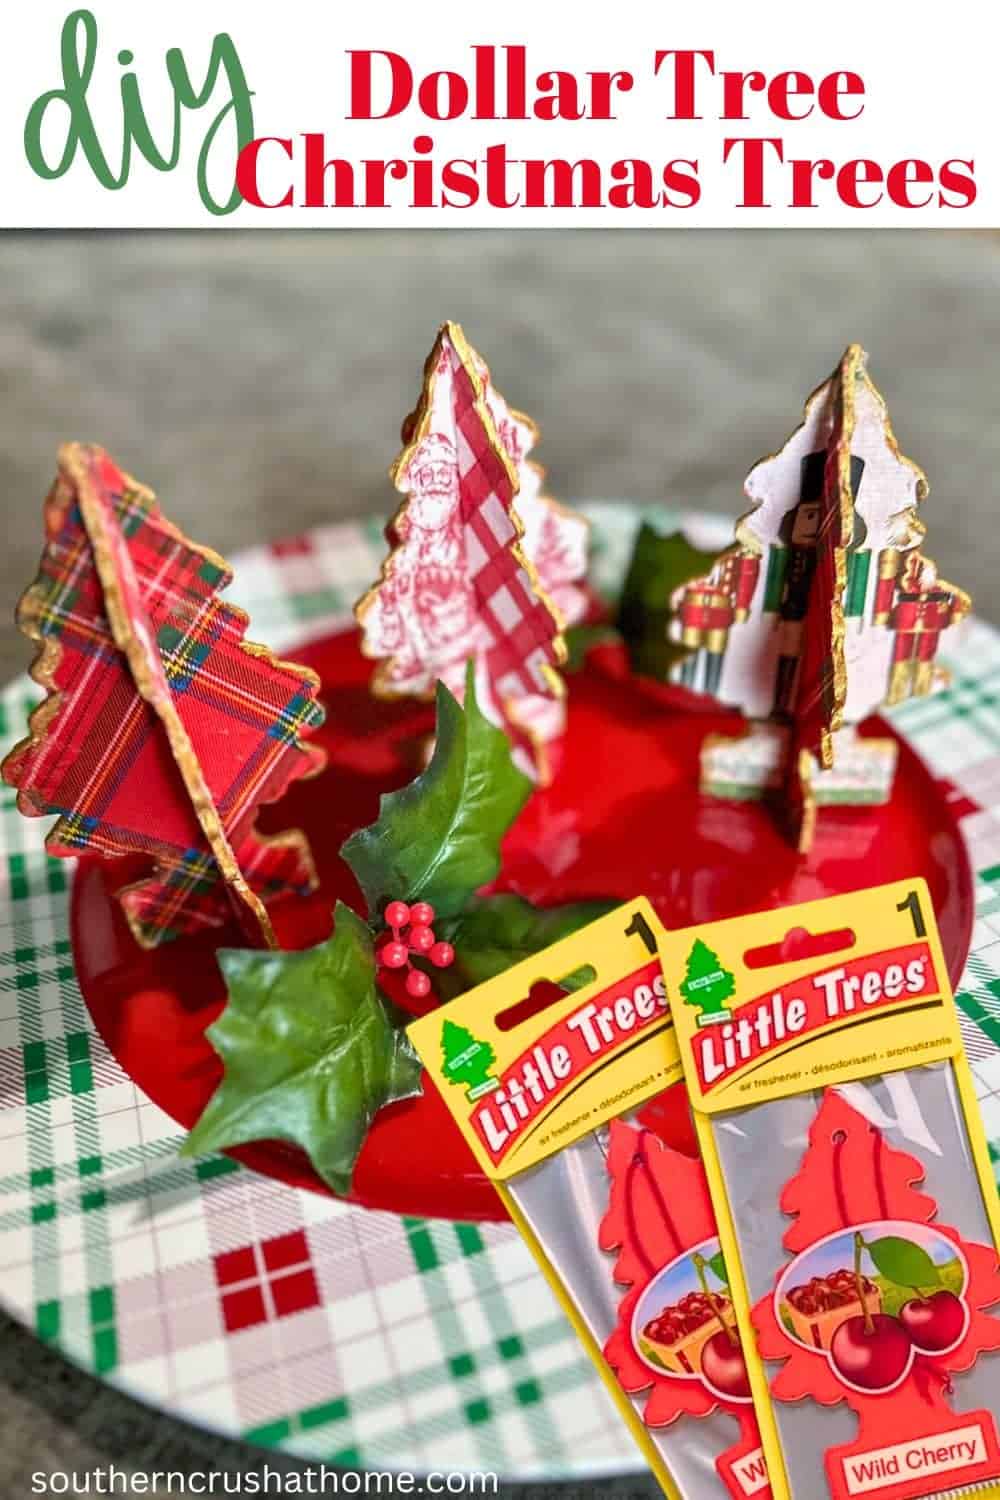
- Dollar Tree Tabletop Christmas Tree Craft
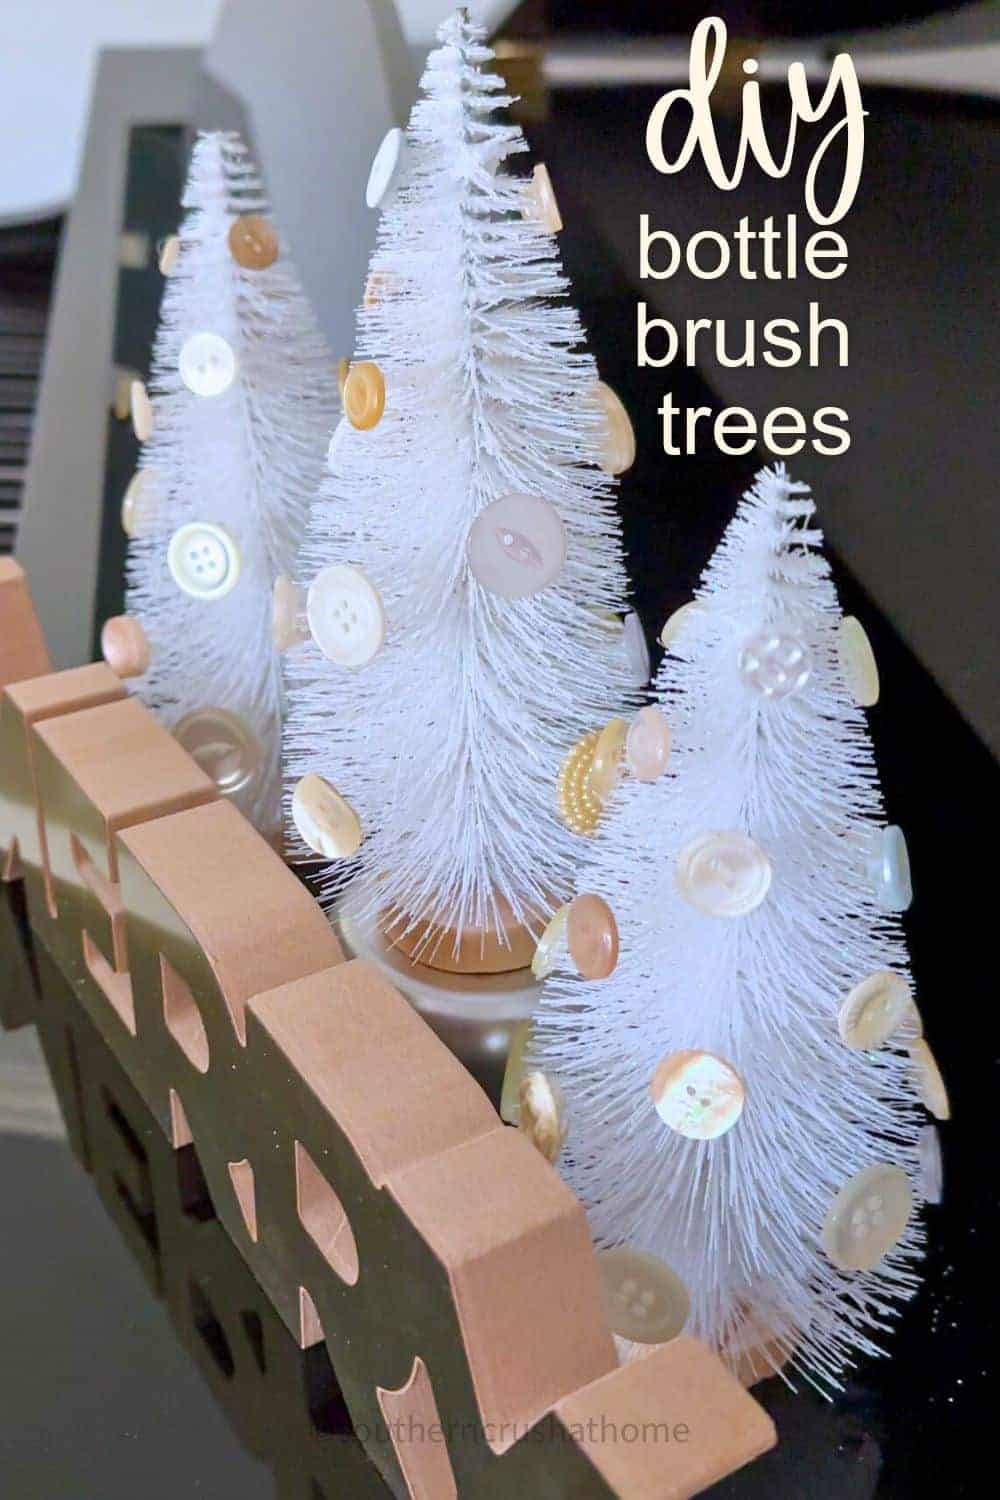
- Easy Budget-Friendly Dollar Tree Bottle Brush Trees DIY
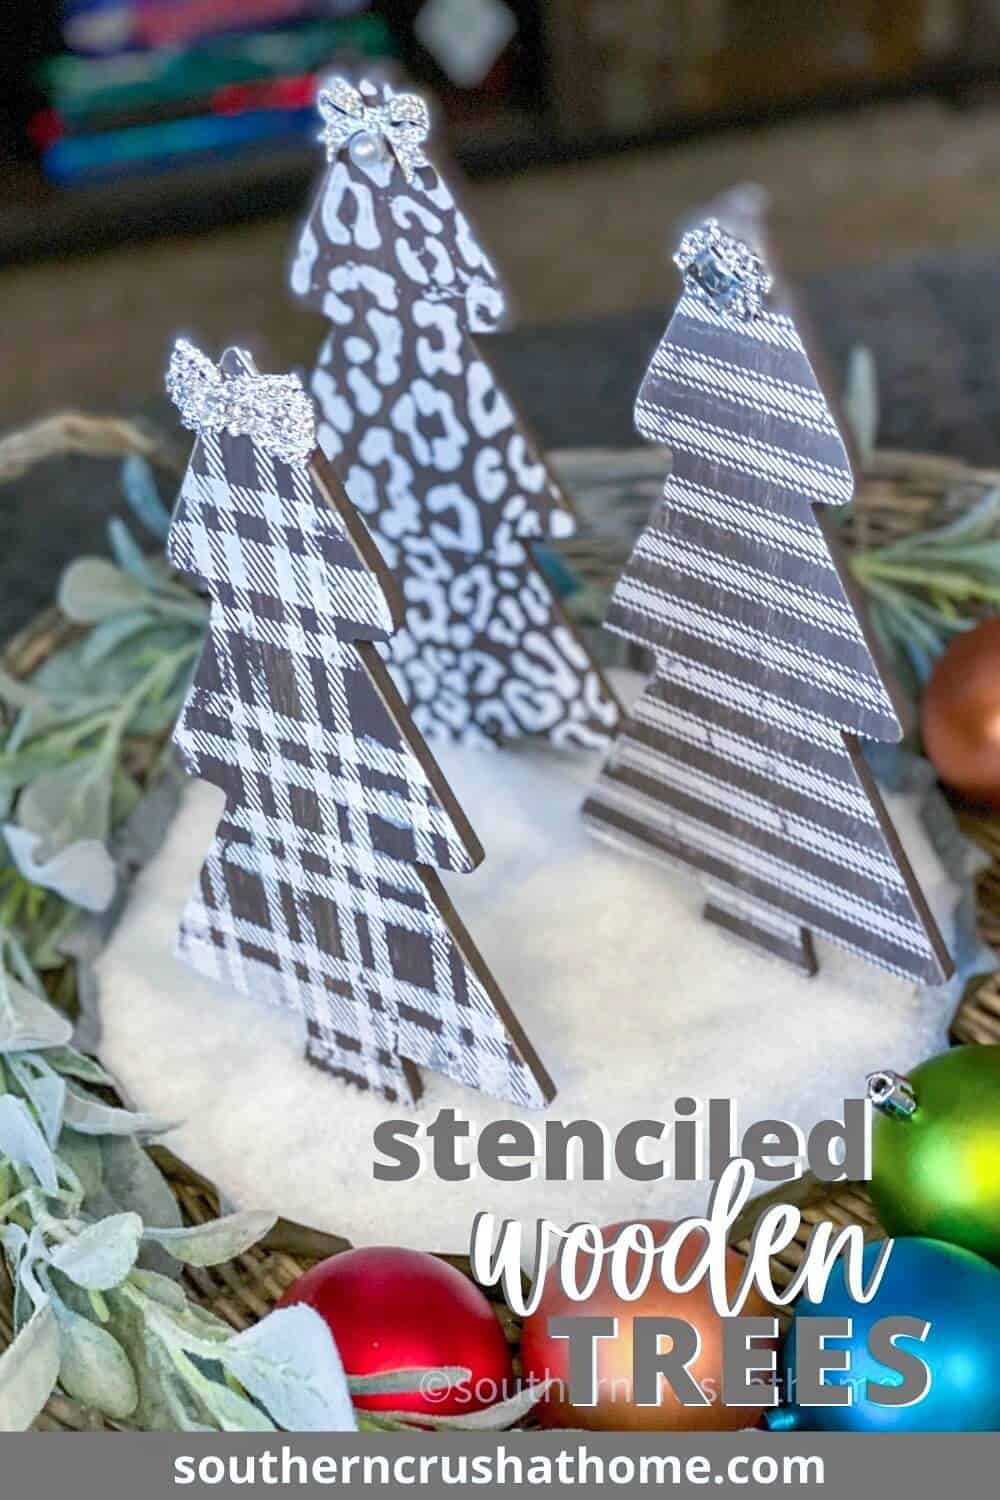
- Stenciled Wooden Trees Decor
- Tabletop Christmas Cone Trees (Using a Mop Head)
How to Make A Ribbon Christmas Tree
Materials
- foam cone mine was 6.9″ x 2.9″ from Dollar Tree
- 4 3 yard or 9′ spools of 5/8″ assorted ribbon (mine were from Dollar Tree)
- hot glue I used low temp
- optional bling for the topper
Instructions
Step 1: Cut and Prepare the Ribbon
- For this easy DIY project you can choose any colors for your ribbon depending on the color scheme you have in mind.
- If you want to add more texture to the tree, alternate between different styles of ribbon, such as glittered, patterned, and satin ribbon.
- Before you start attaching the ribbon to the foam cone, you need to prep your ribbon by cutting it into equal lengths about 4″ long. If you are using a larger cone, you will need slightly longer strips of ribbon.
- Next add a dot of hot glue to one end of the ribbon strip. Take the ribbon in your hands and fold it inward to glue the ends together.
- I found that creating a type of “assembly line” with the ribbon strips made this process go much faster.
Step 2: Start Gluing the Ribbon
- Once your ribbon is ready, start attaching them to the foam cone with hot glue.
Step 3: Start Gluing the Ribbon
- Start the process by gluing a ribbon at the very bottom of the cone.
- Then, continue adding the ribbon around the foam cone. Once you have one time around with the ribbon, place the next level above the first and alternate the pattern by positioning it between the lower level.
- As you continue, alternate between different styles of ribbon and colors to create a more festive look for your tree.
Step 4: Add Embellishments
- To add a little extra sparkle to your tree, consider adding embellishments such as small ornaments, berries, or snowflakes. You can attach these with hot glue or tie them onto the ribbon if you prefer. Be sure to distribute the embellishments evenly throughout the tree for a balanced look.
- I added a sweet little zip tie bow at the top with a bling star using some hot glue.
Step 5: Finish and Display Your Tree
- Once you have applied all of your ribbon and embellishments, give it a final inspection to ensure everything is securely in place.
- If you see any loose ends, apply a little bit of hot glue to hold it in place.
- Finally, place your tree on a stand or tabletop and enjoy your beautiful, personalized holiday decoration.

