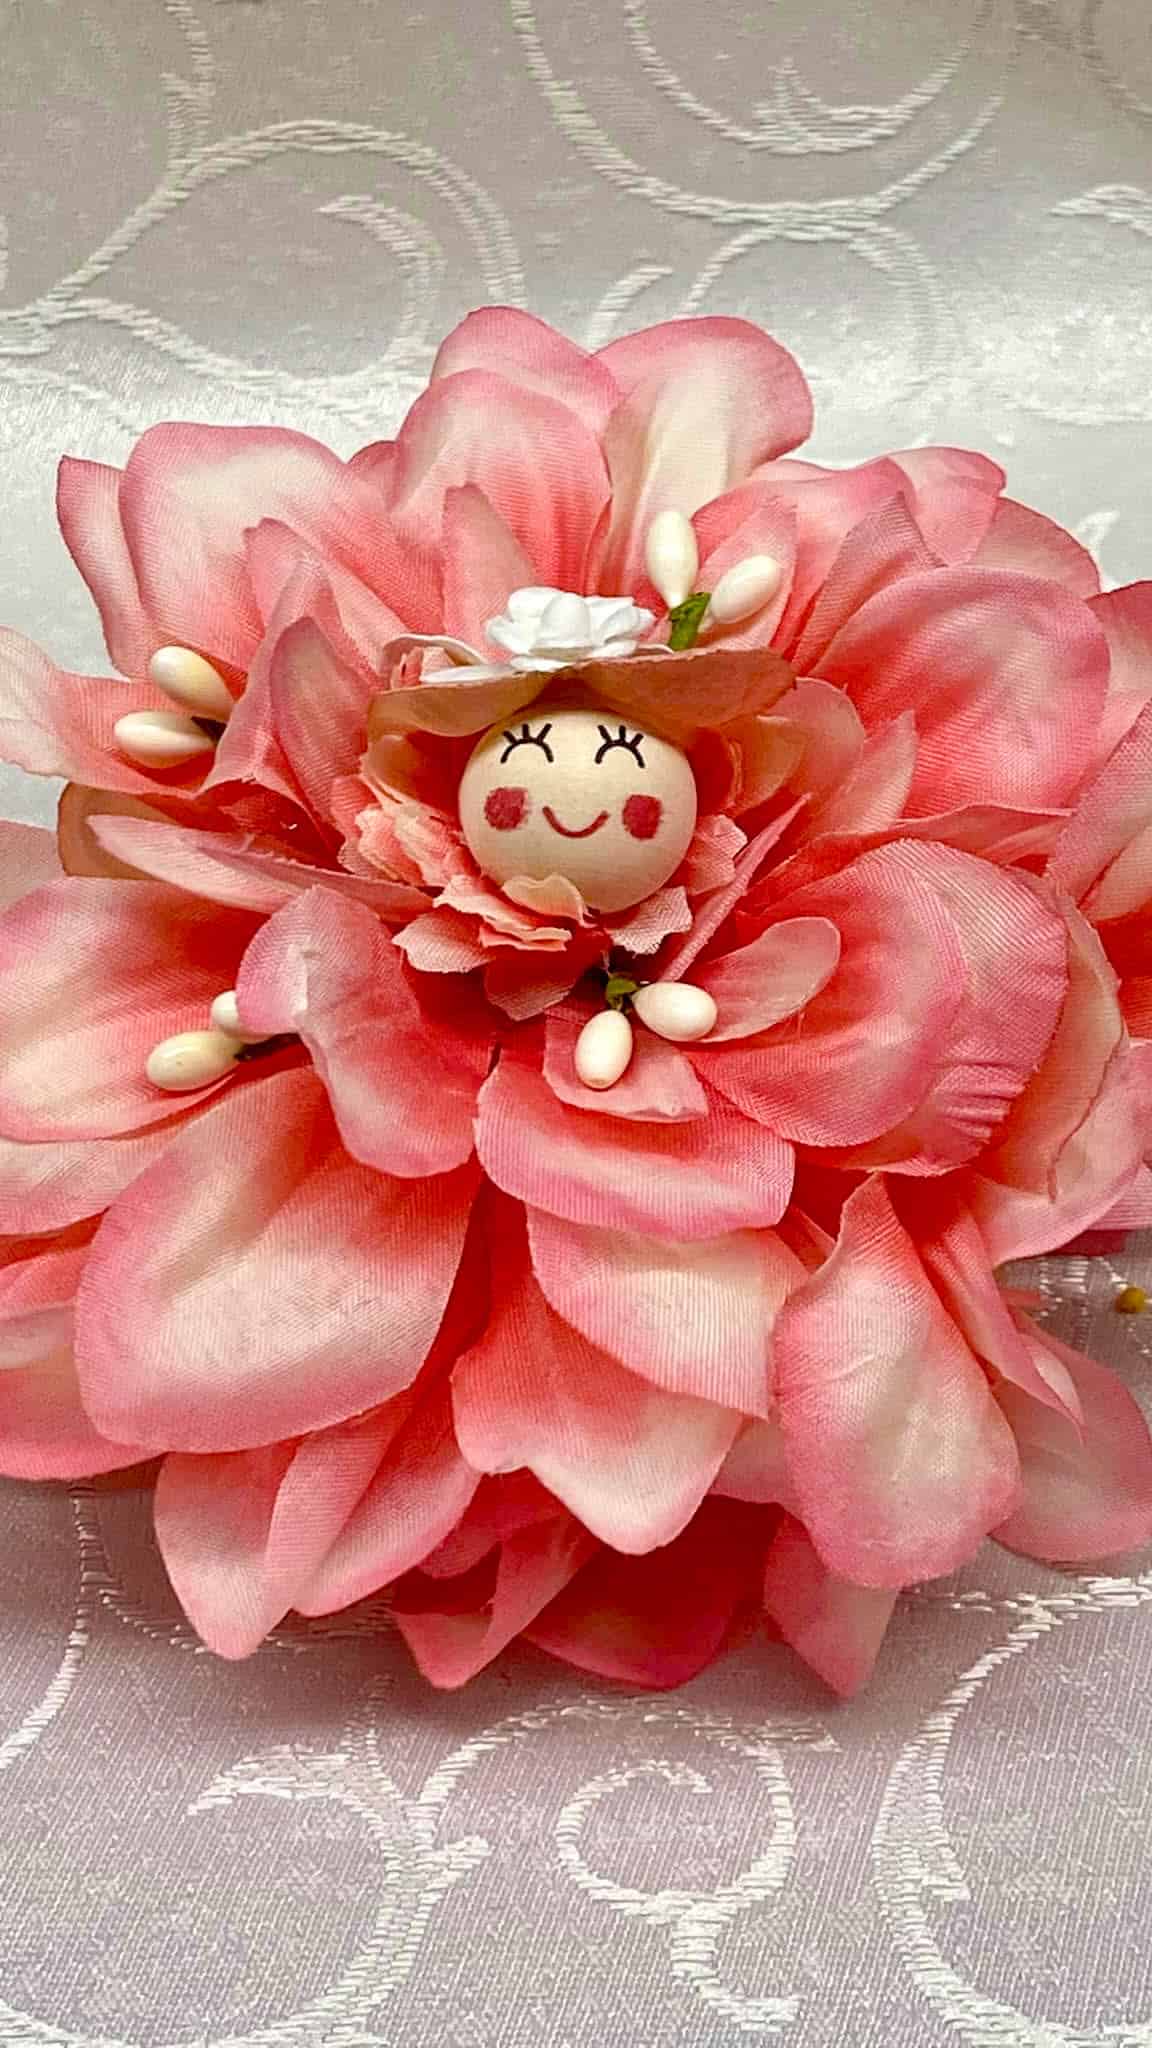
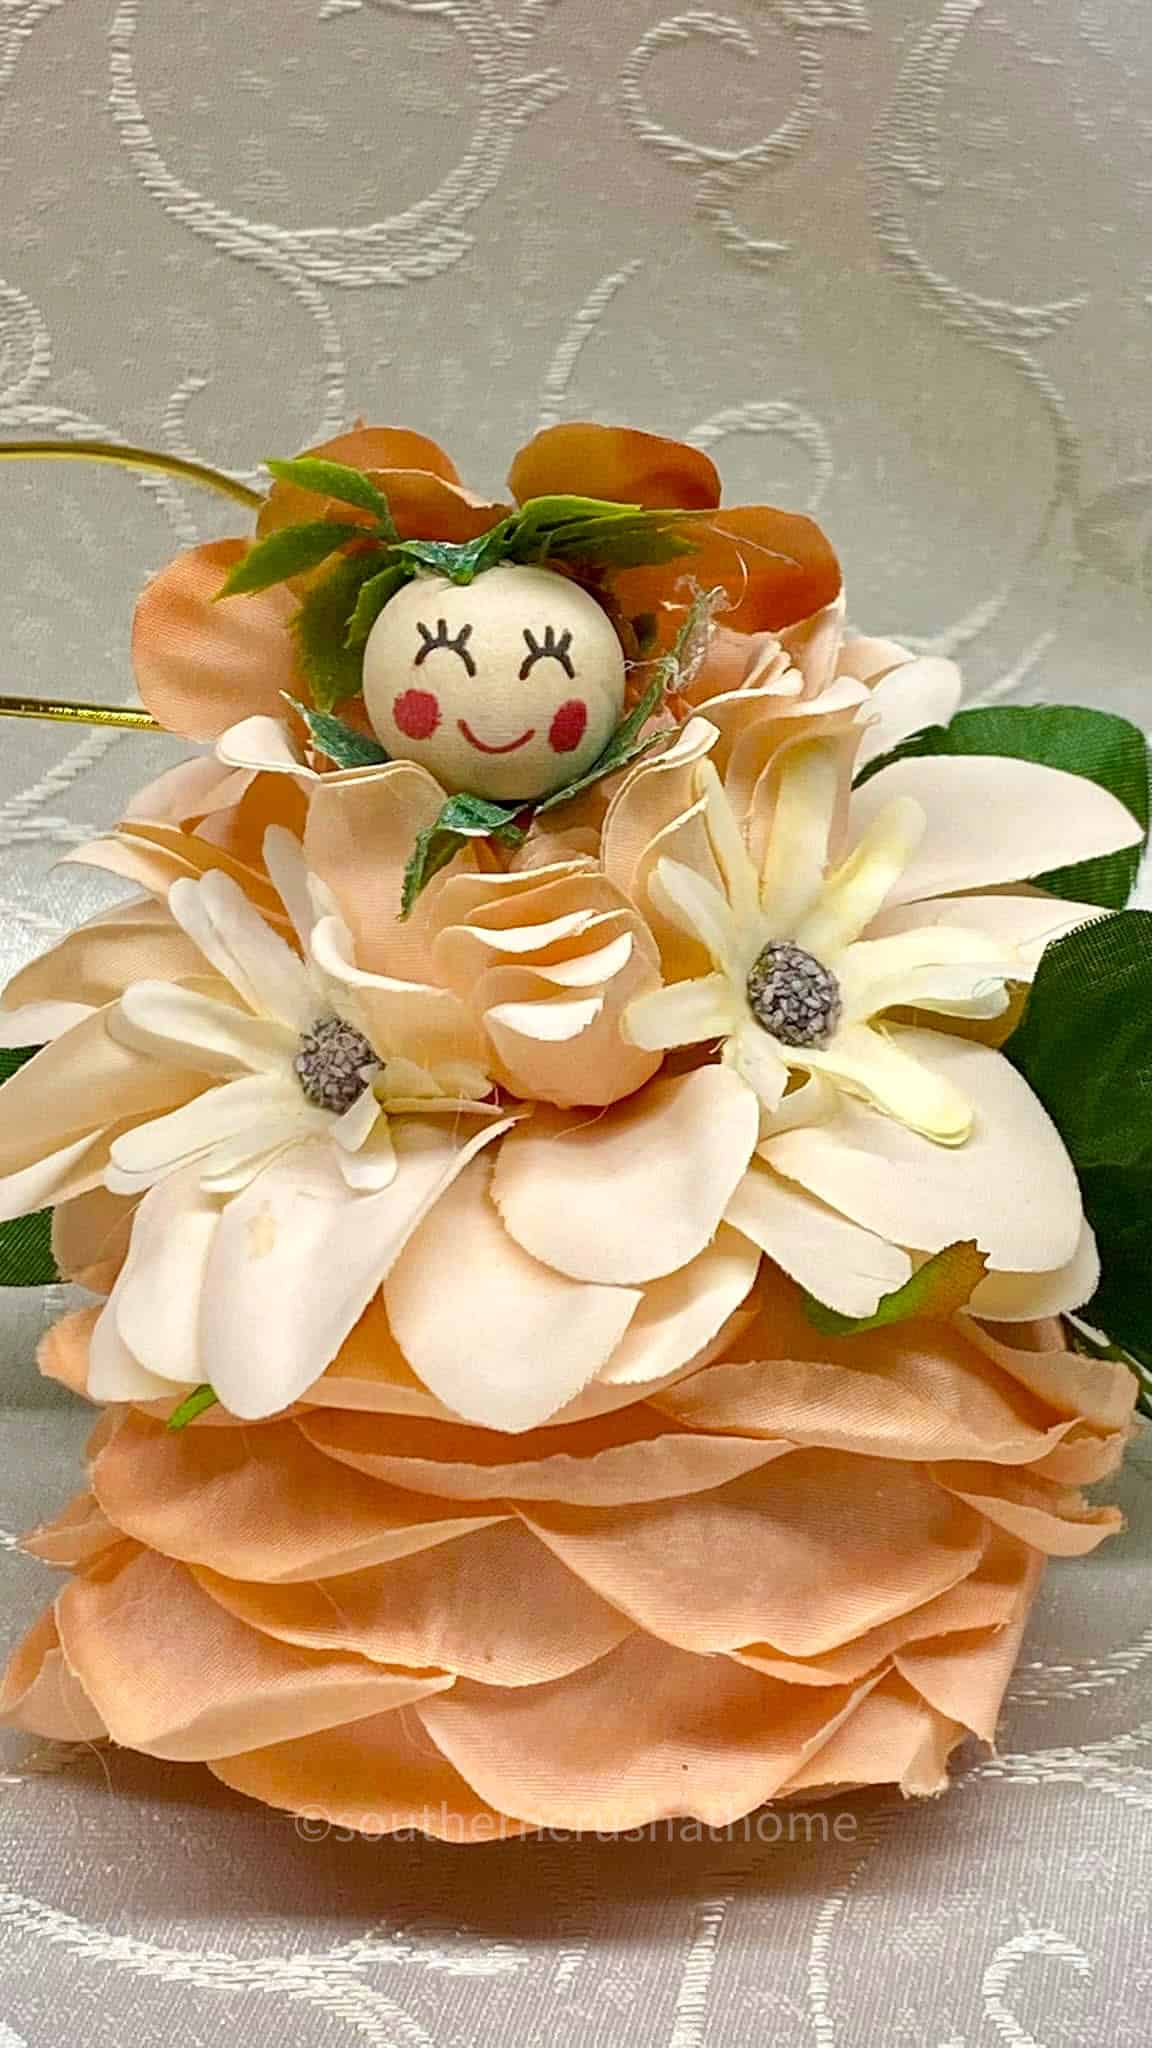
Easy Flower Fairy Craft with Dollar Tree Spring Flowers
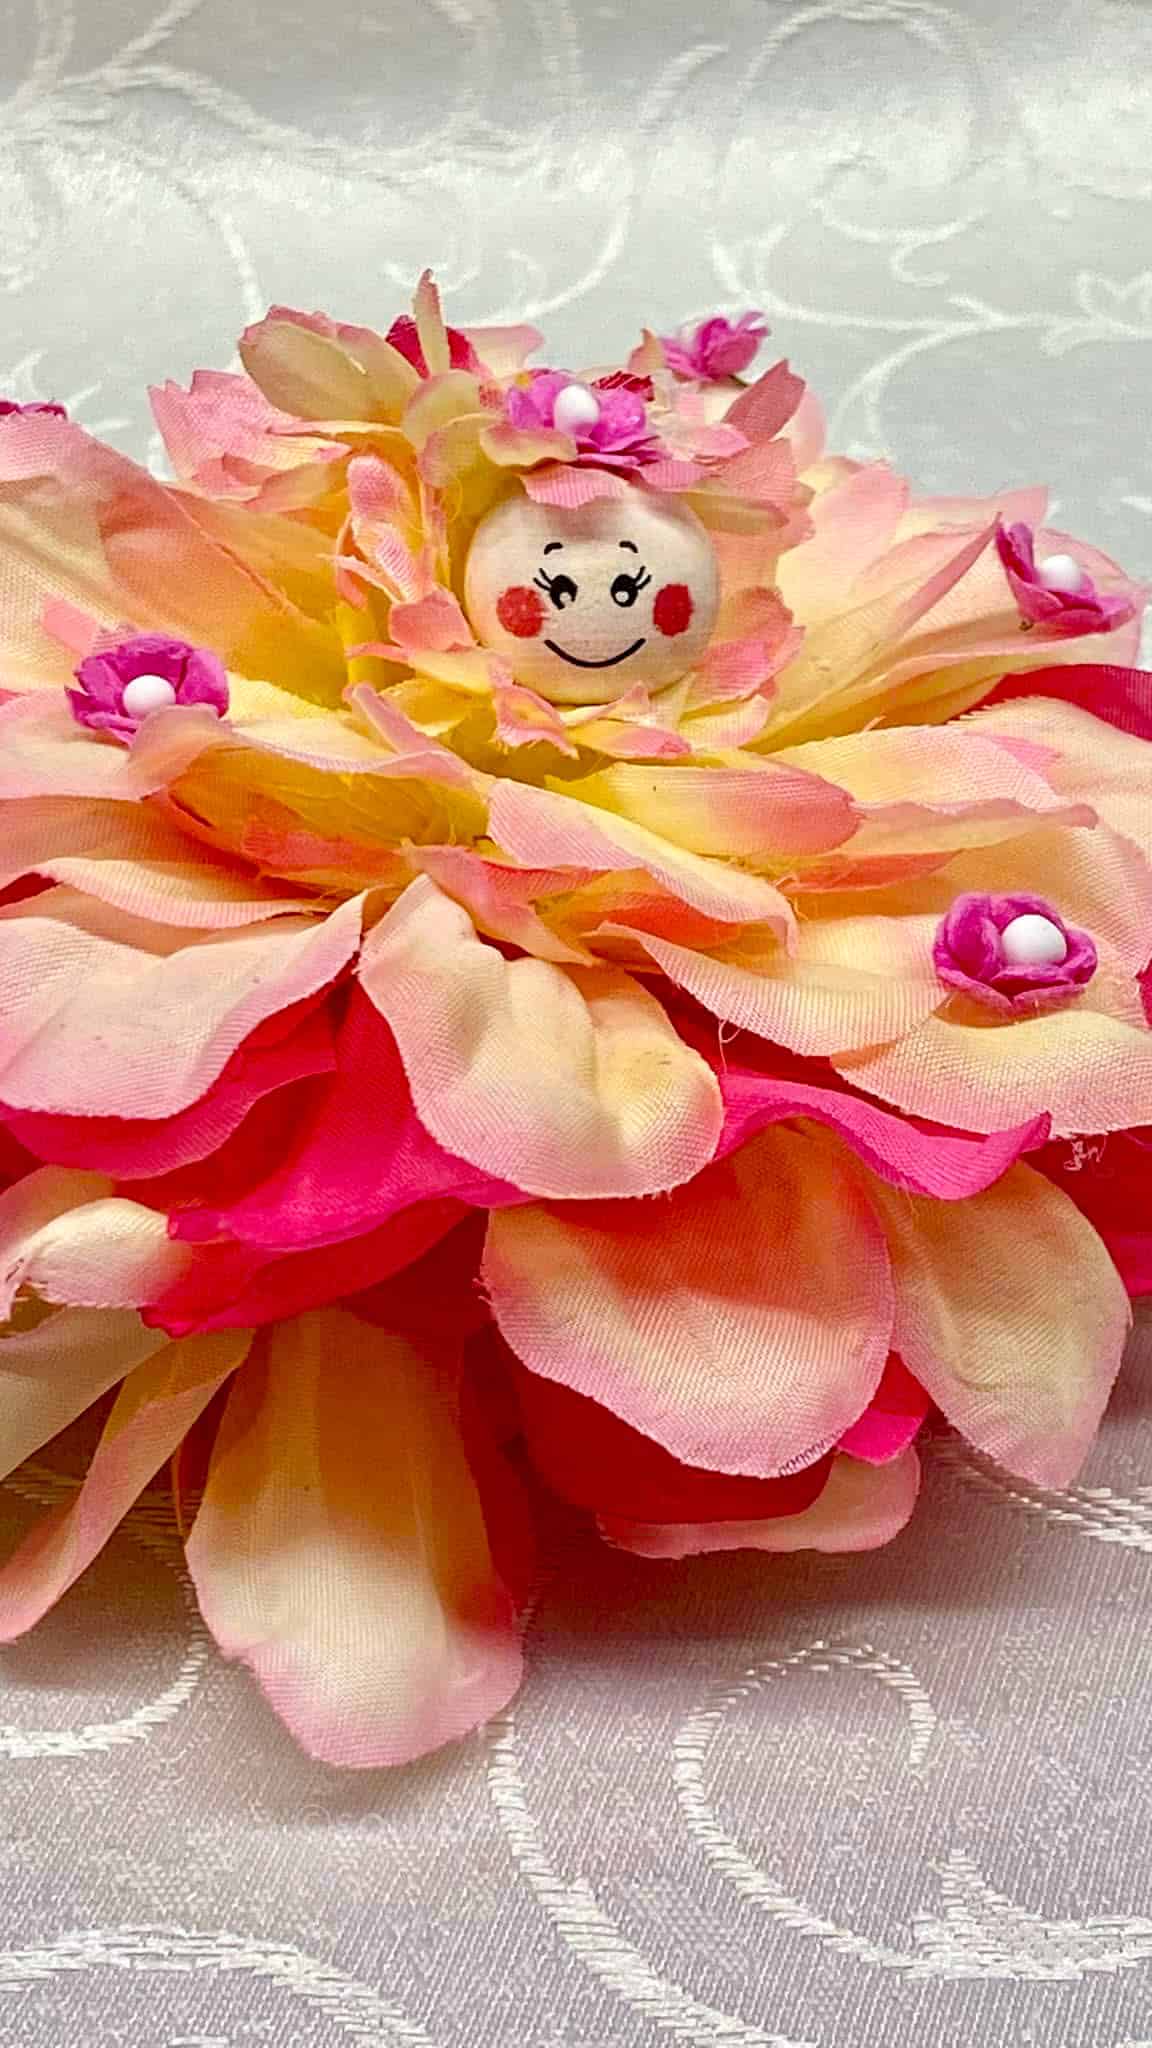
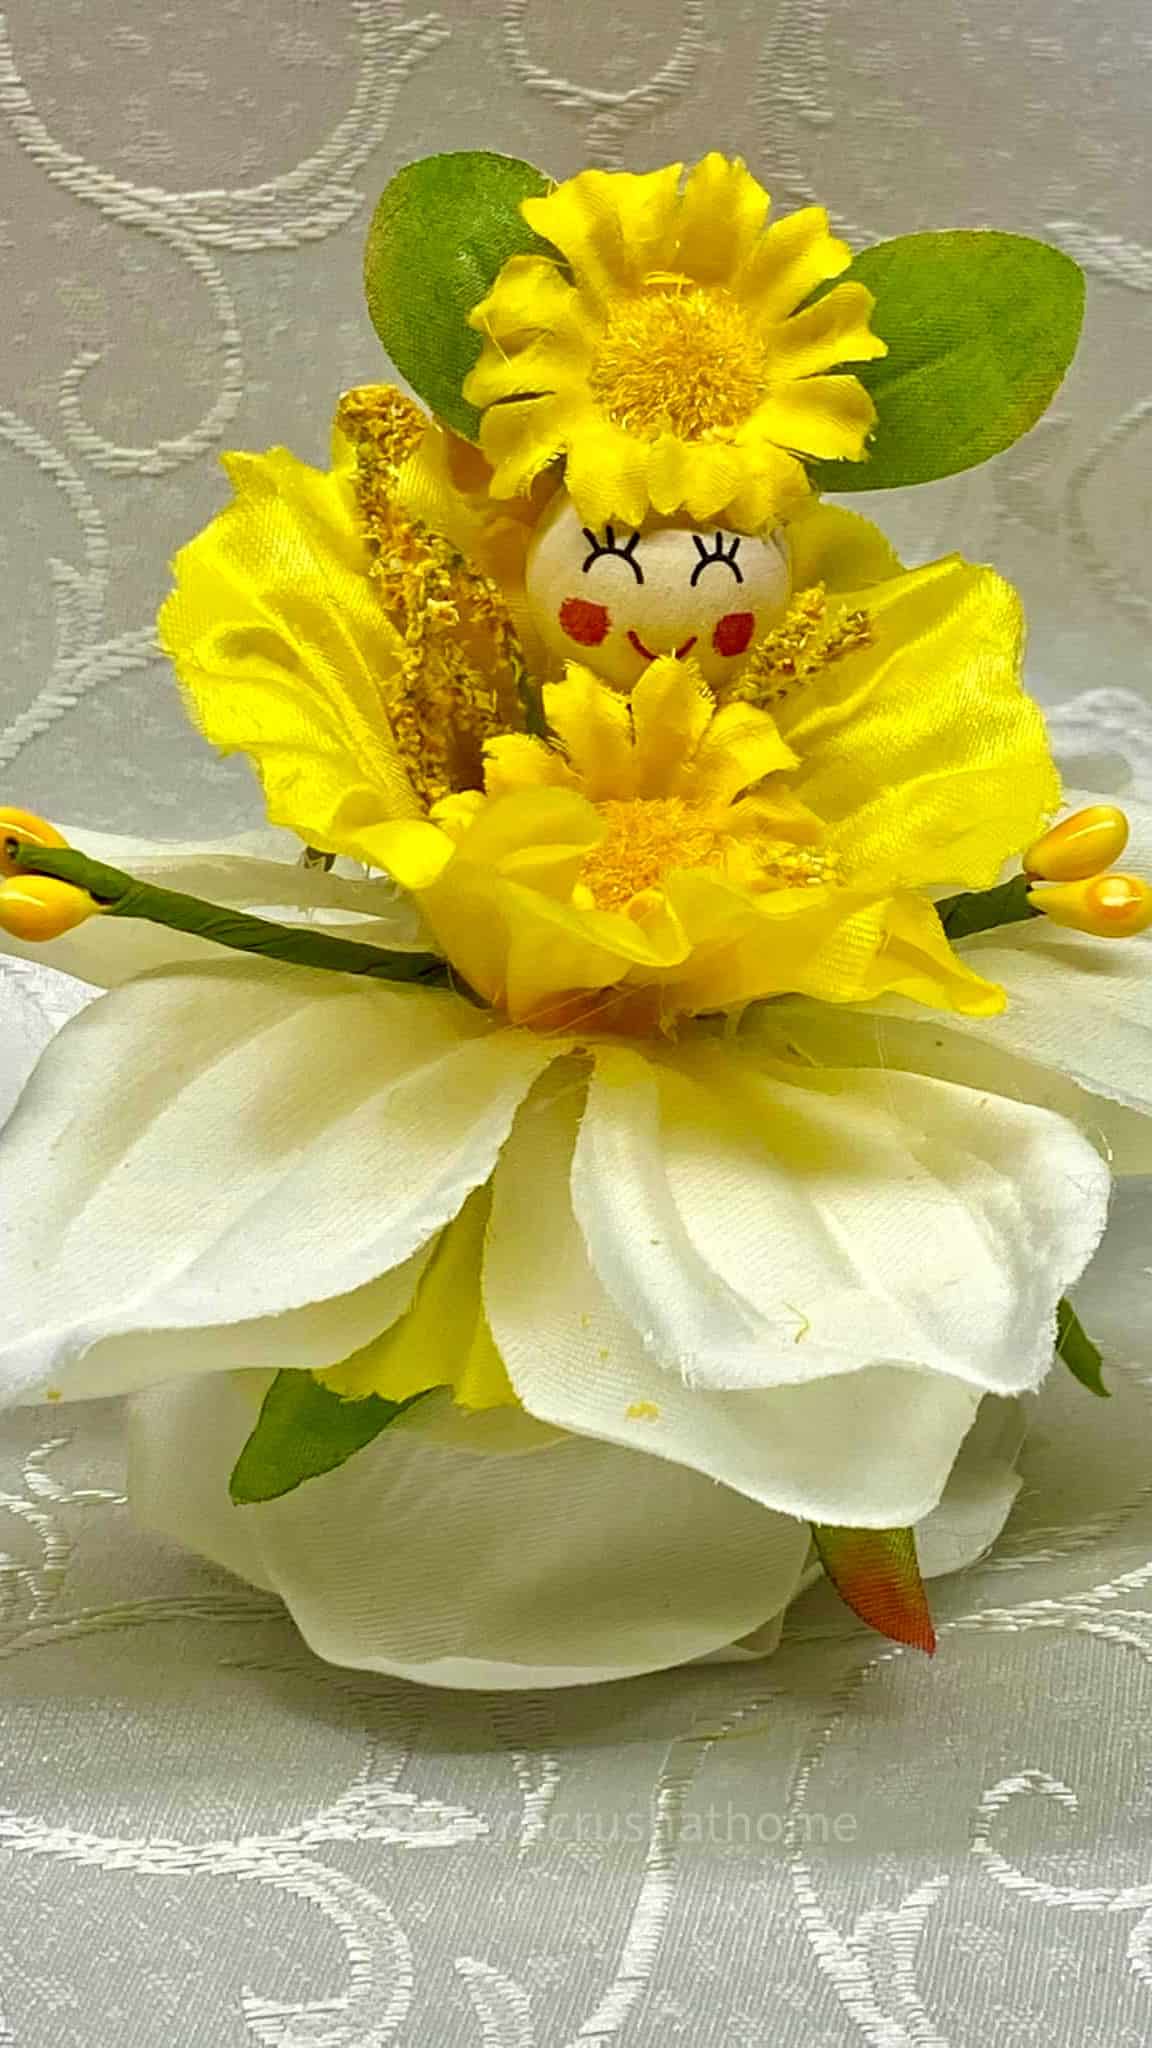
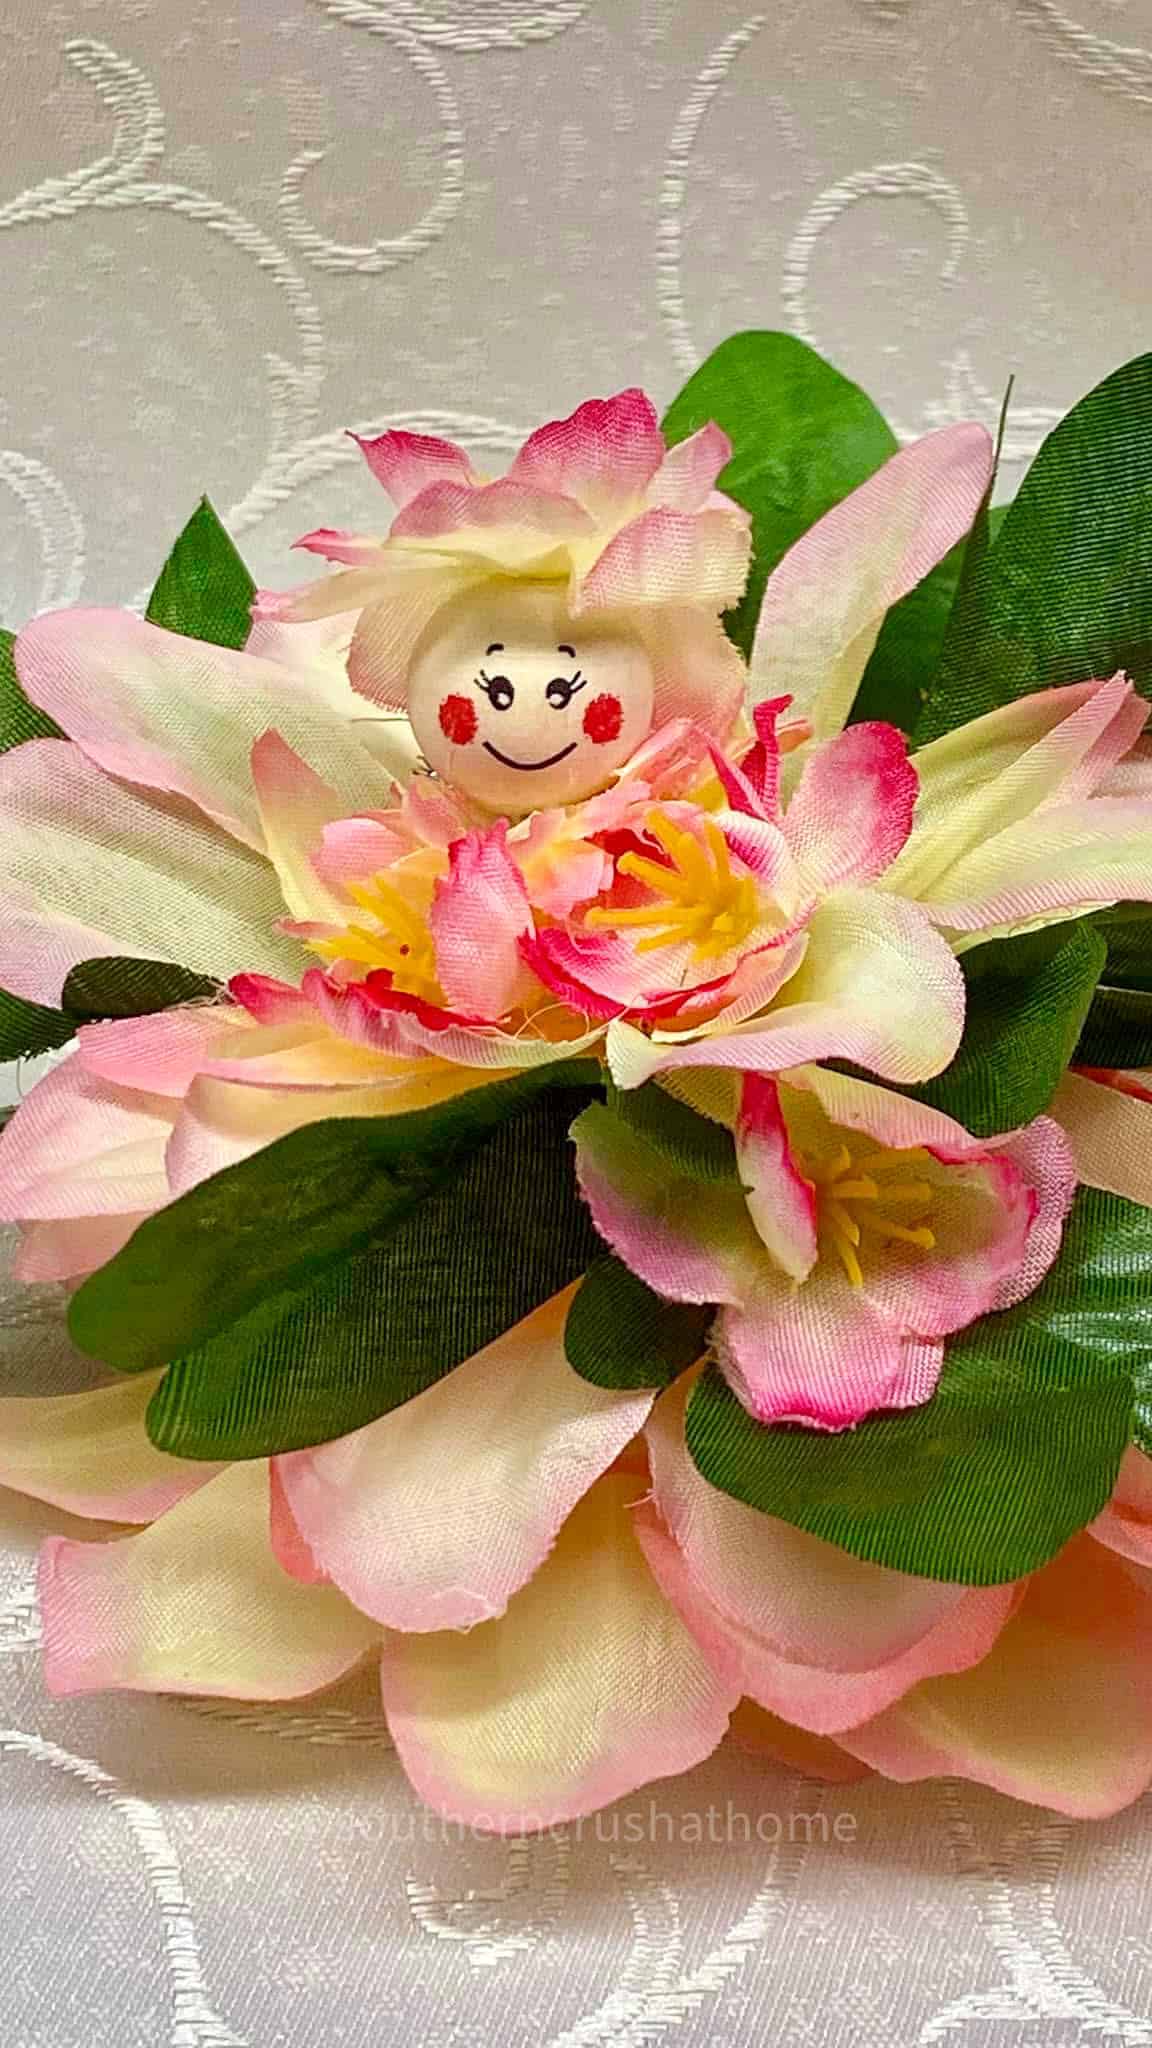
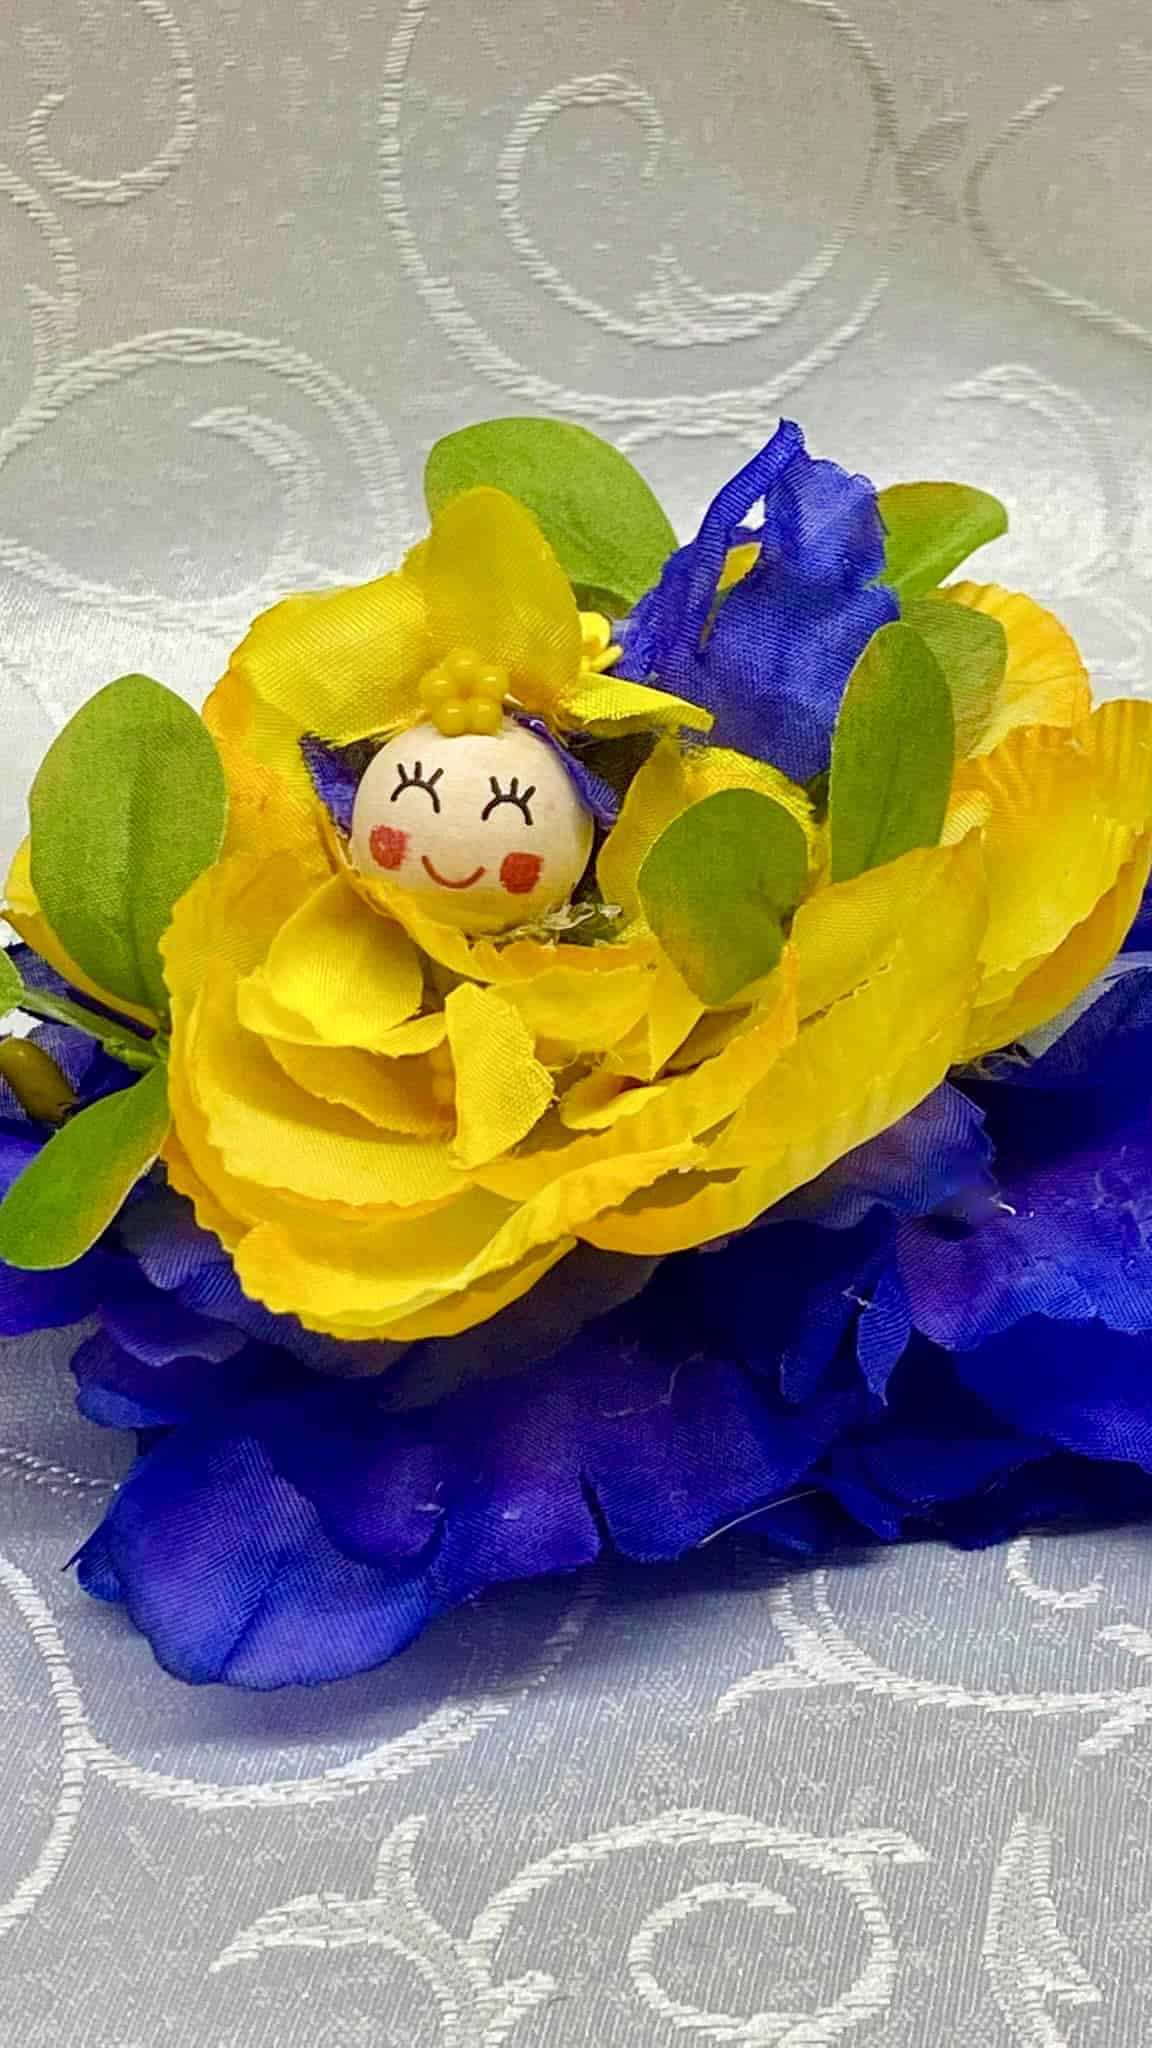
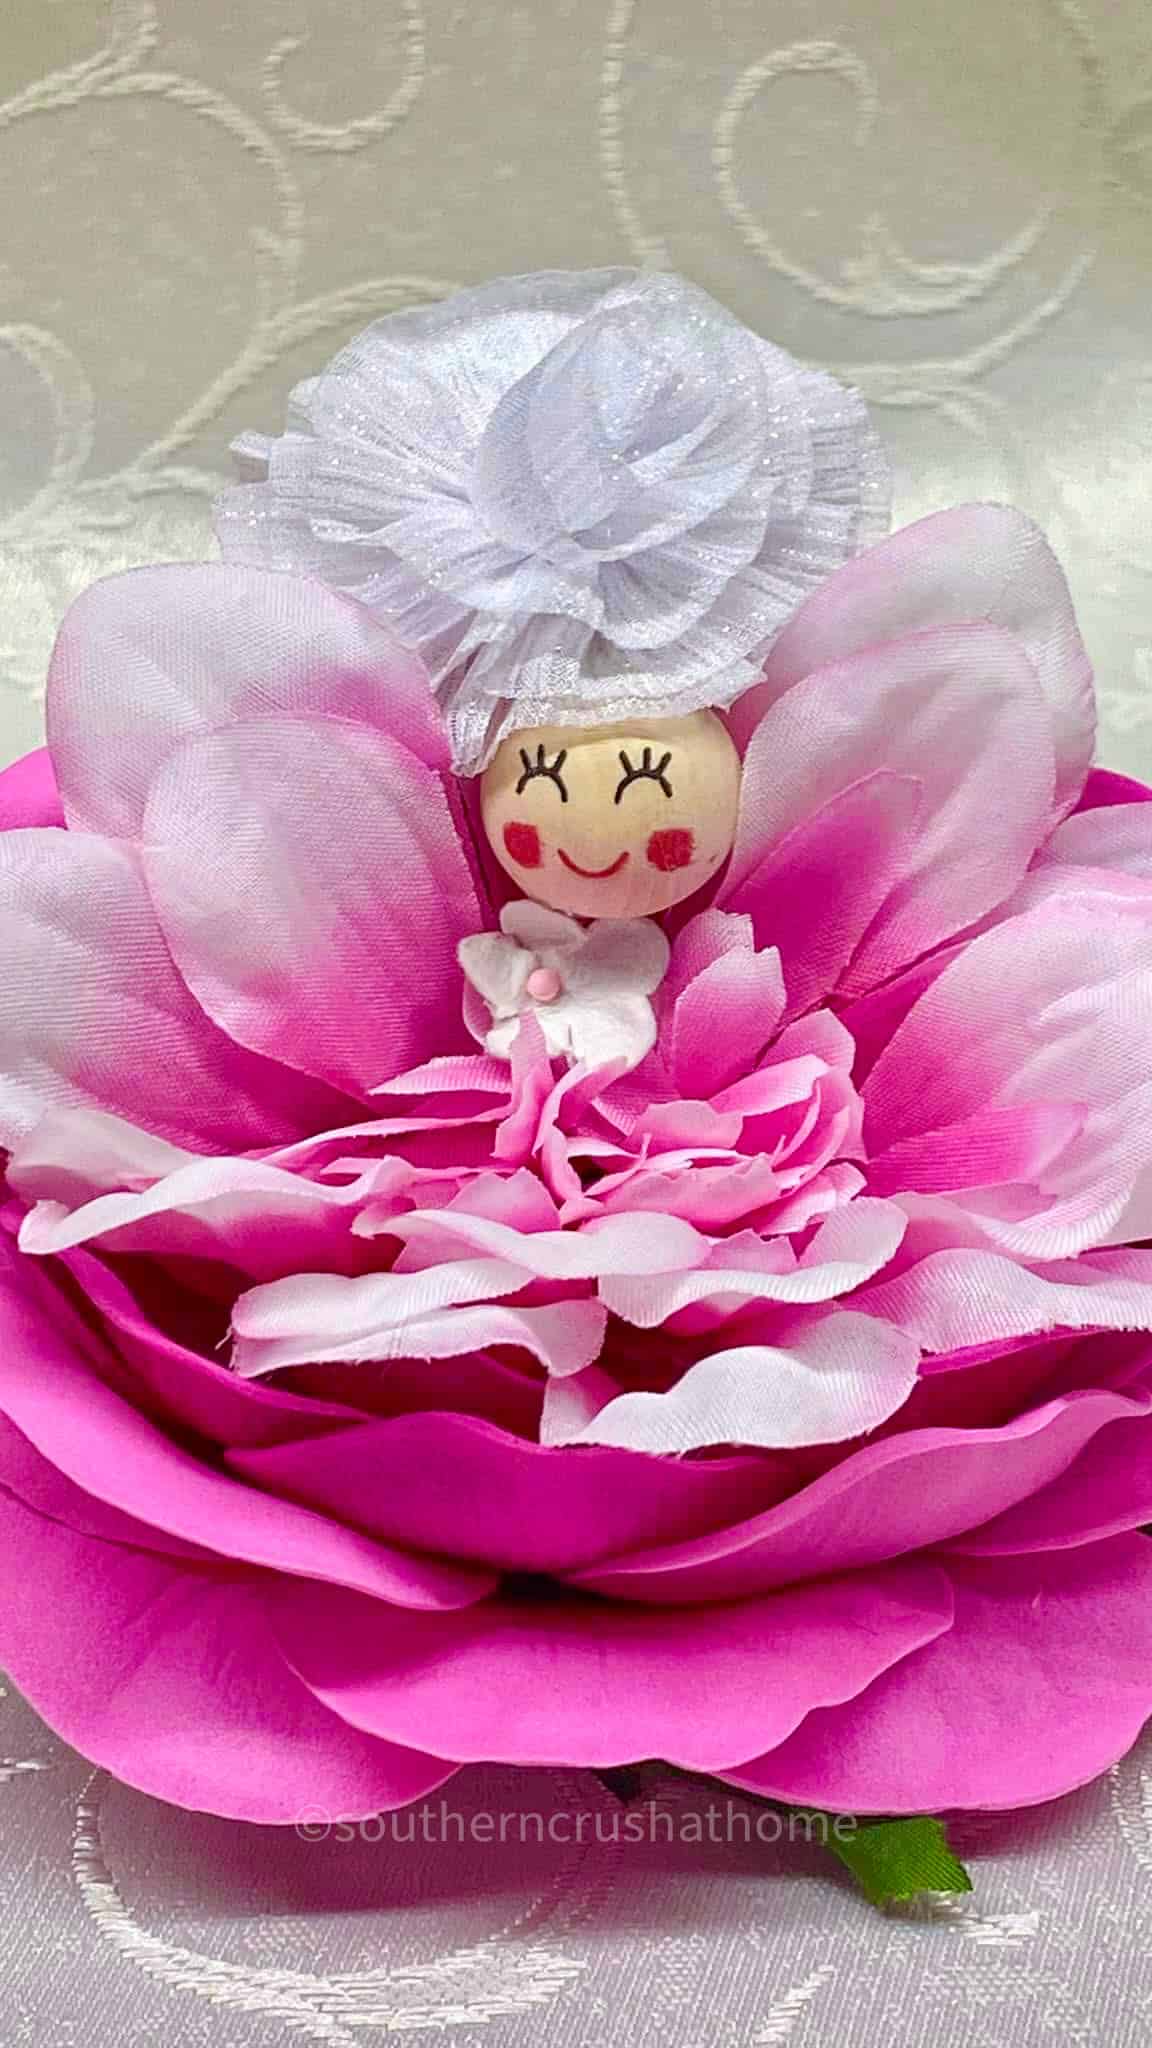
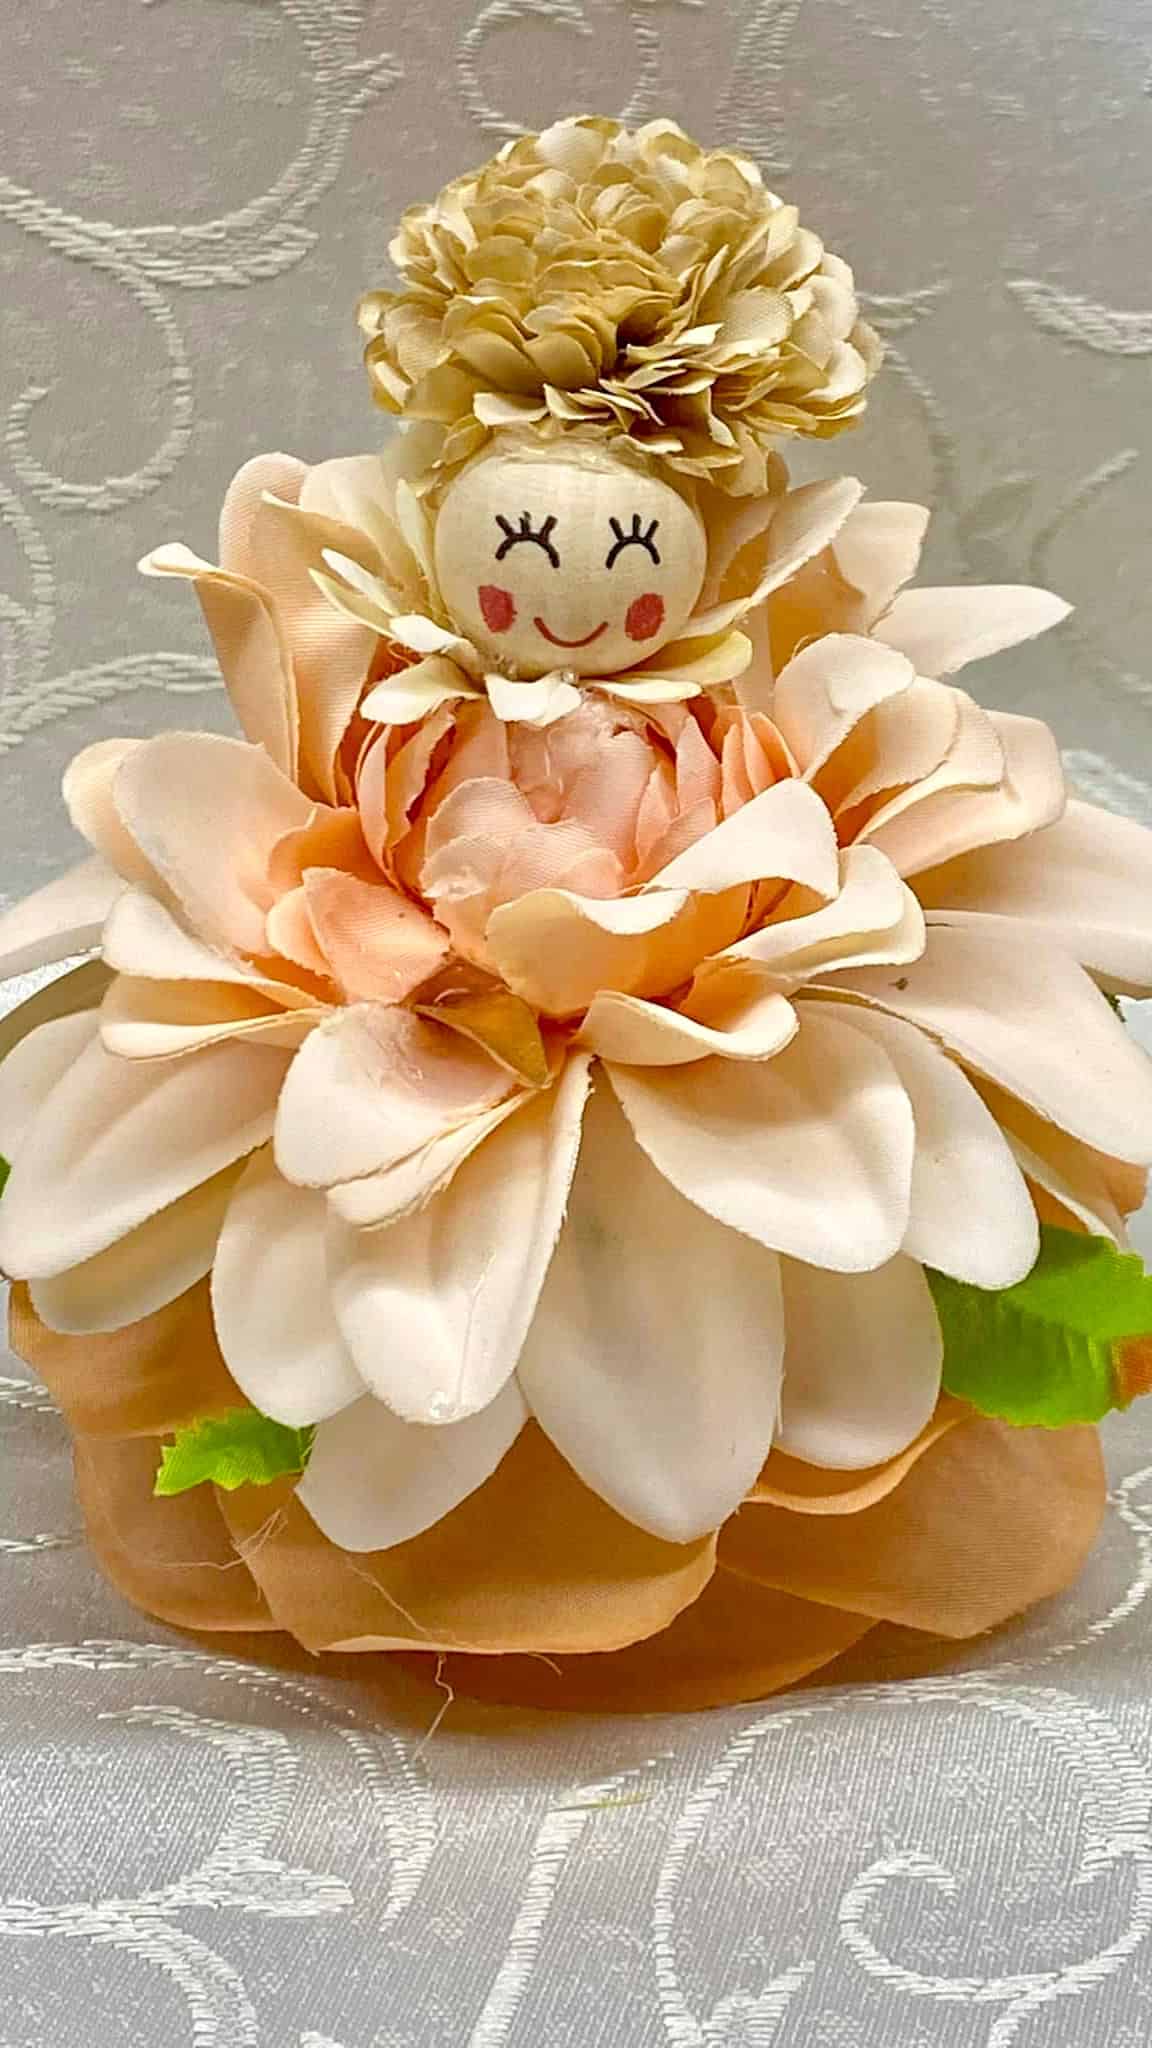
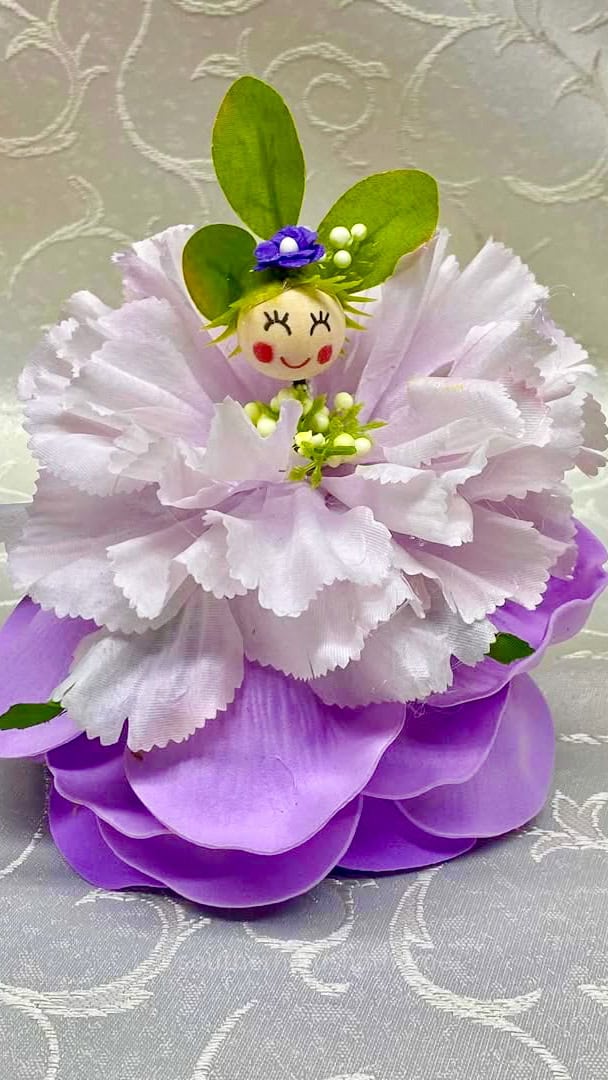
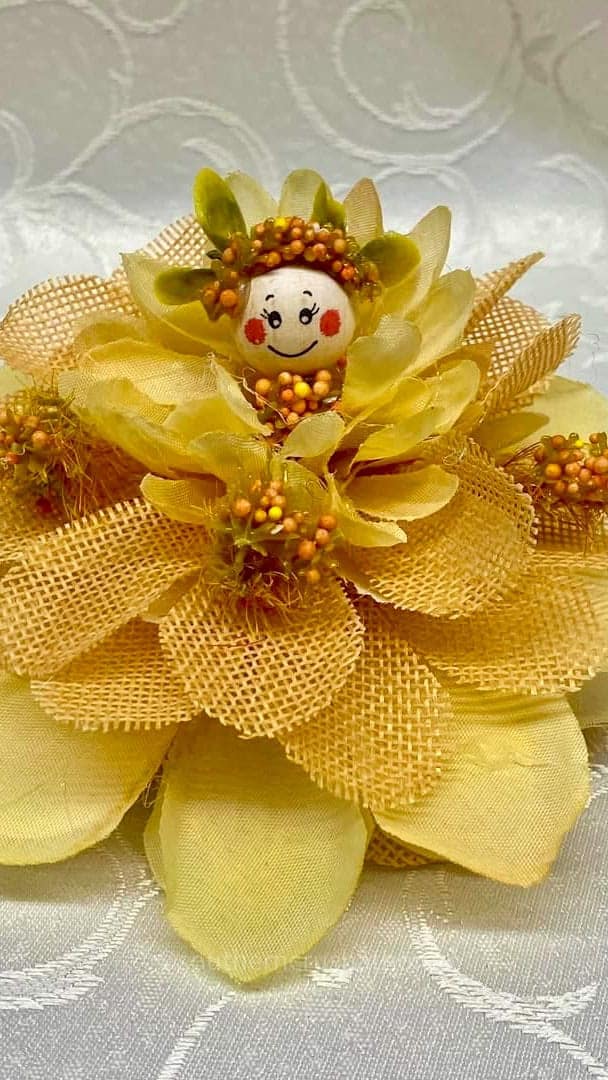
Spring is in the air, and there’s no better time to get creative with a whimsical and charming flower fairy craft! Using affordable Dollar Tree spring flowers, you can create your very own flower fairy or spring lady that’s perfect for gifting to someone special on Valentine's Day.
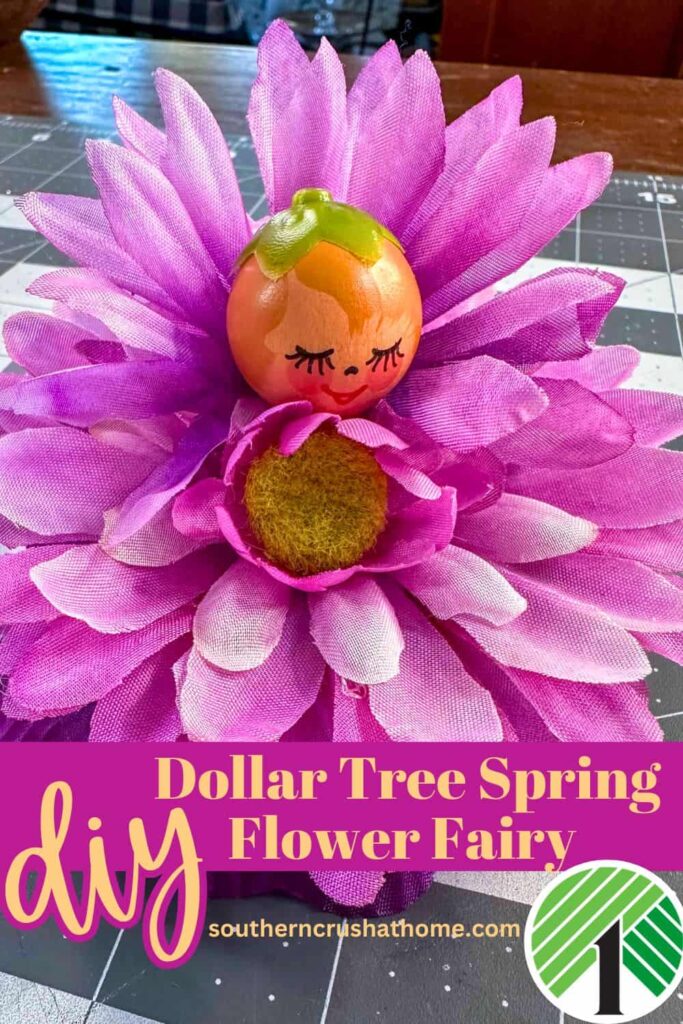
PIN this for later!
This easy project is fun to make, completely customizable, and a great way to celebrate the blooming season.
This blog post contains affiliate links. The opinions are wholly my own from my own experience. I may earn a small commission from clicks through to the websites that end in a purchase.
Supplies You’ll Need
- Assorted faux flowers from Dollar Tree (in colors and varieties of your choice)
- Hot glue gun and glue sticks
- Wire cutters
- Wooden doll face beads
- Green plastic pieces (from flower stems or petals)
With just a few simple supplies like faux flowers, wooden doll faces, and hot glue, you can craft a delightful springtime piece that’s bursting with personality.
Whether you display it on a bookshelf, add it to a gift package, or attach it to a bottle of wine as a thoughtful present, this spring flower craft will brighten any space.
YouTube Video Tutorial
Step-by-Step Instructions for Making a Spring Flower Fairy
In this tutorial, I’ll walk you through step-by-step instructions for creating a stunning spring craft that’s sure to impress. Let’s get started!
Step 1: Choose Your Flowers
Start by selecting your faux flowers. You can use coordinating colors for a polished look, or mix and match a variety of colors for a playful, whimsical vibe.
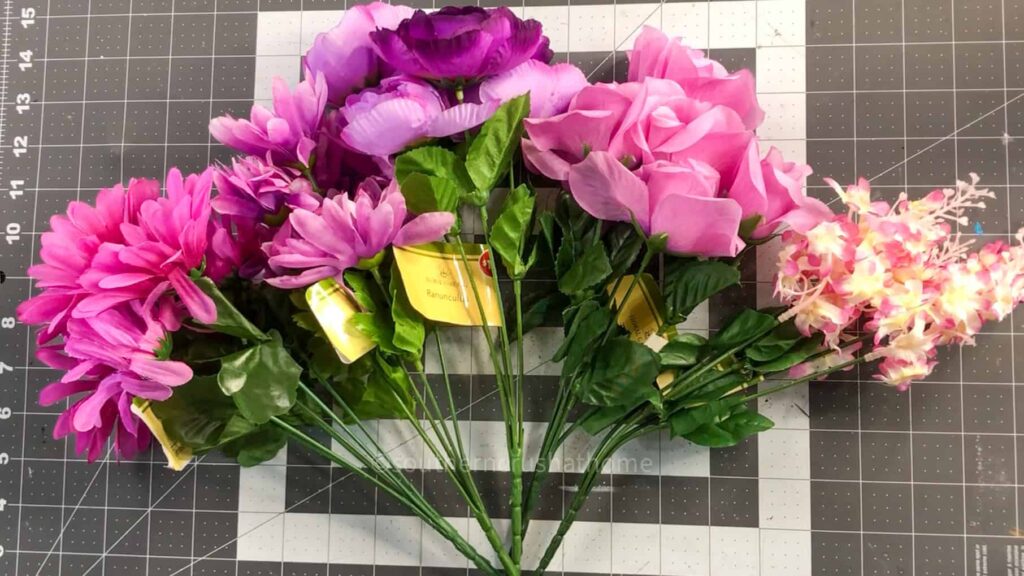
Look for different sizes and textures to add depth and interest to your design.
Step 2: Remove Blooms from Stems
Using wire cutters, carefully remove a few blooms from the stems of your flowers.
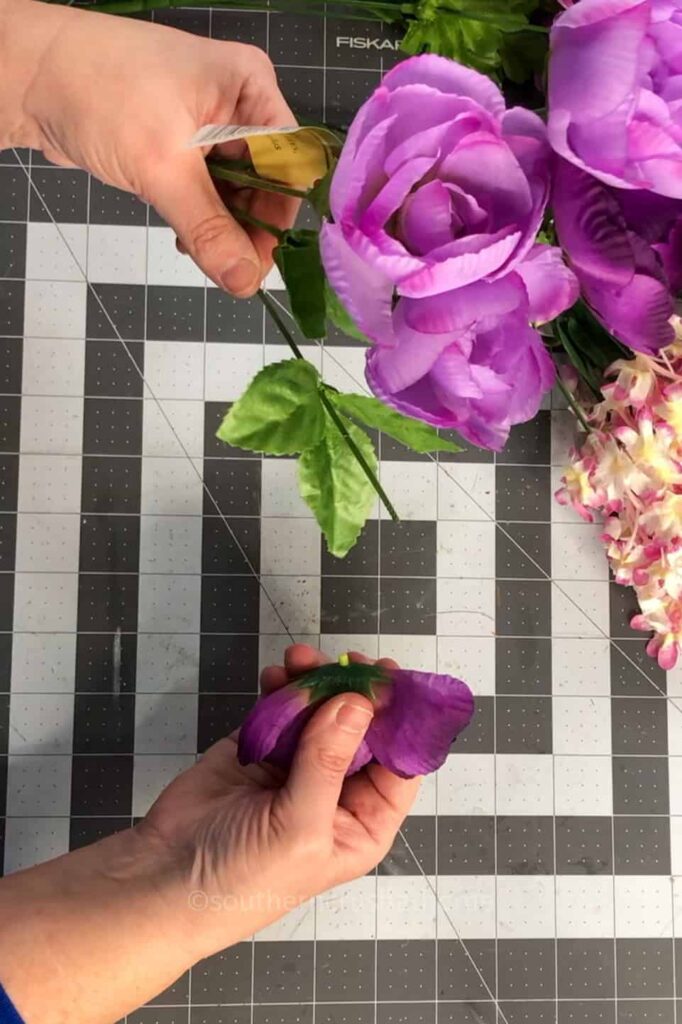
Be sure to keep the small green plastic pieces from the base of each bloom, as you’ll need them later to assemble your craft.
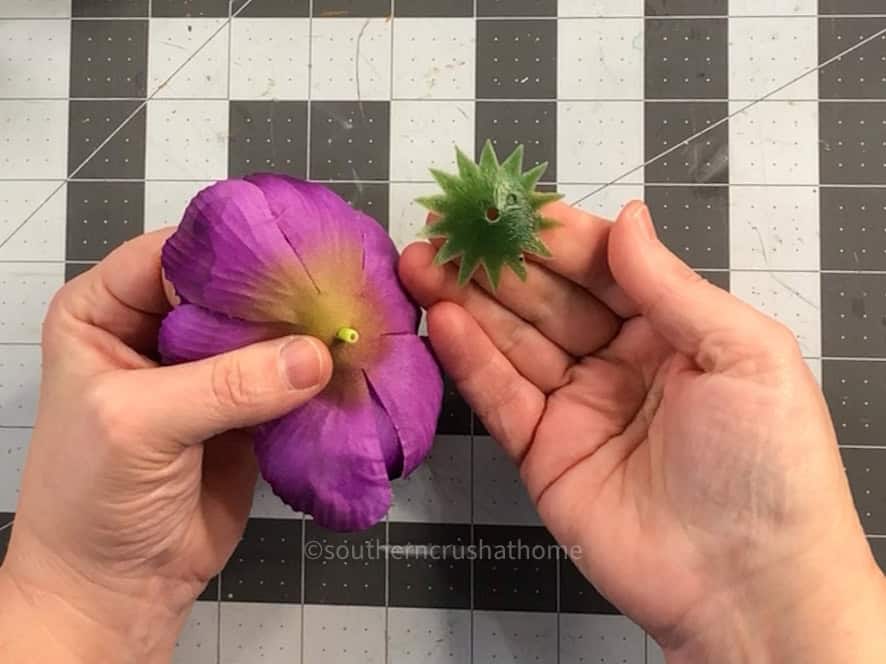
Step 3: Separate the Petals
Take the blooms you’ve removed and gently pull the petals apart, separating them from the flower’s center.
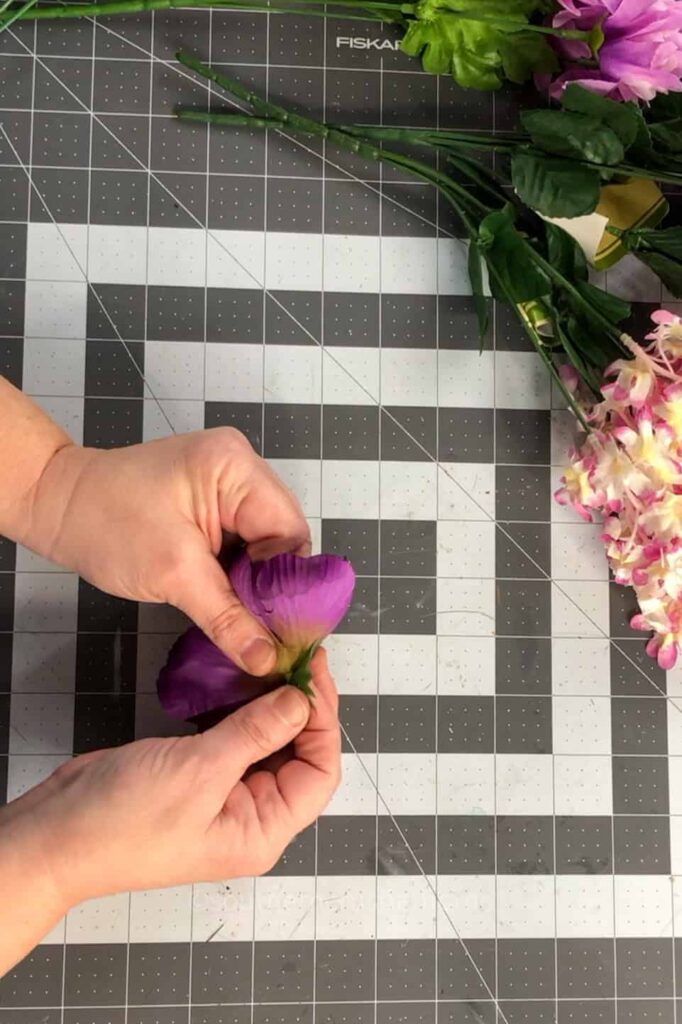
This will leave you with individual petal layers that can be used to create a stacked floral effect.
Step 4: Arrange the Petals
Decide how you want to arrange the petals for your spring craft. You can layer them in an ombre effect by starting with darker petals at the base and lighter ones on top, or alternate colors for a fun, vibrant look.
Step 5: Glue the Petals Together
Using your hot glue gun, attach the petals to one another, starting with the largest layer on the bottom and working your way up to the smallest layer on top.
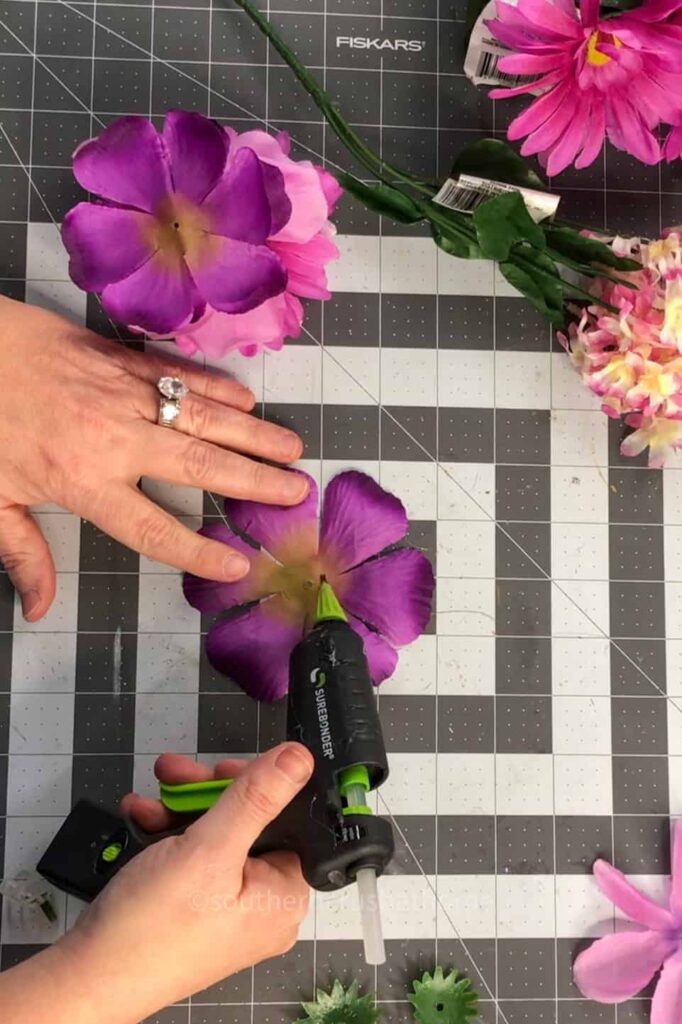
Press firmly to ensure each layer is securely glued.
Step 6: Add the Base
For the spring lady’s feet or base, attach a green plastic piece (from the stem or leaves) to the bottom of the petal stack using hot glue.
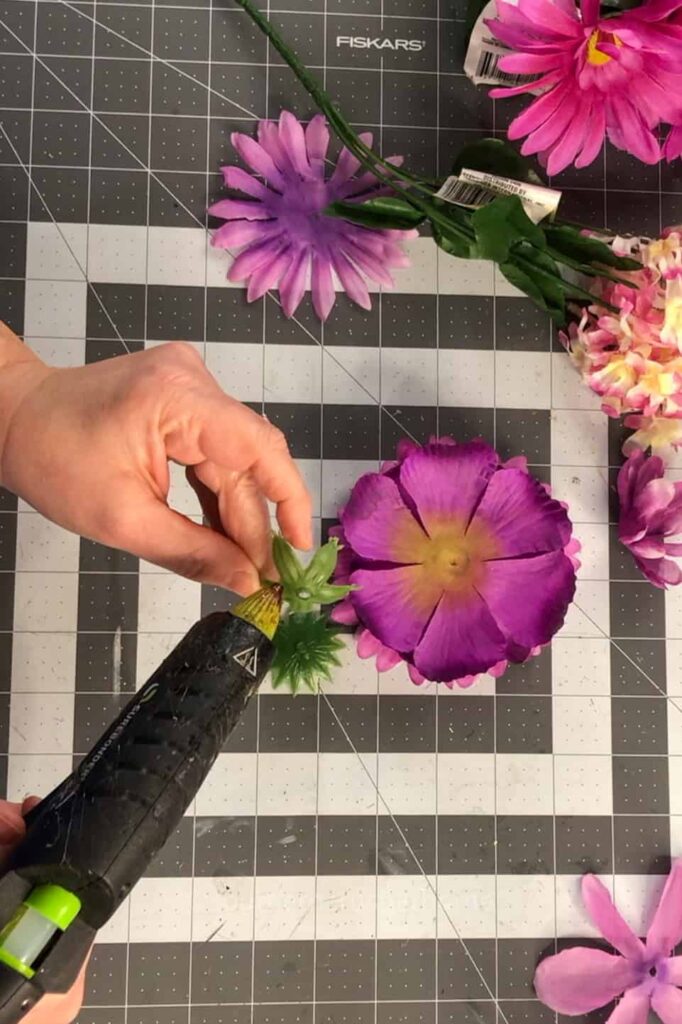
This will help the craft stand upright and add a realistic touch to your design.
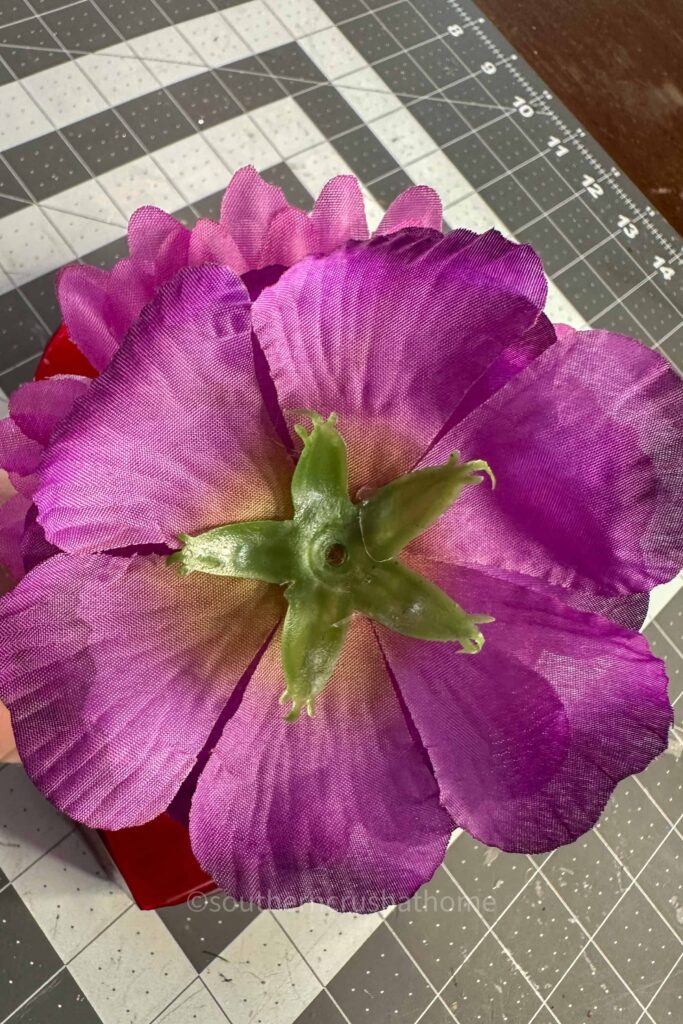
Step 7: Create the Flower Center
Take one of the small plastic pieces you saved from the flower’s interior and glue it to the center of your petal stack.
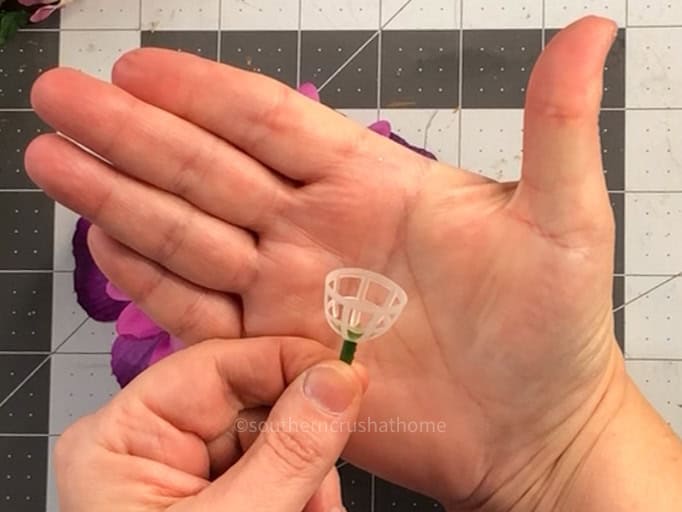
This will serve as the “core” of your flower and add dimension to the design.
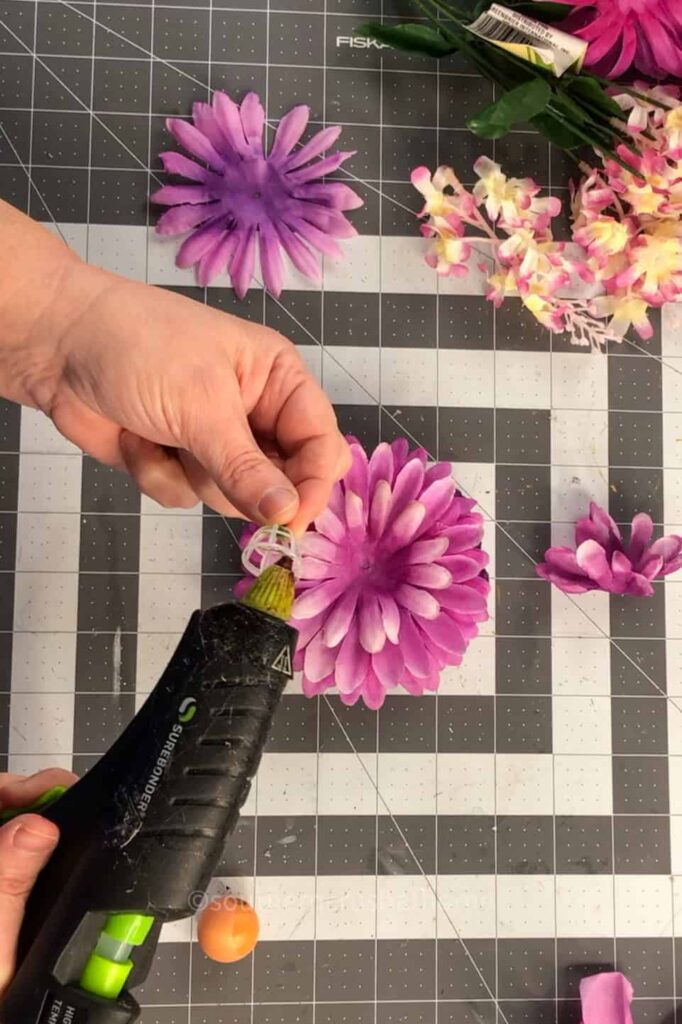
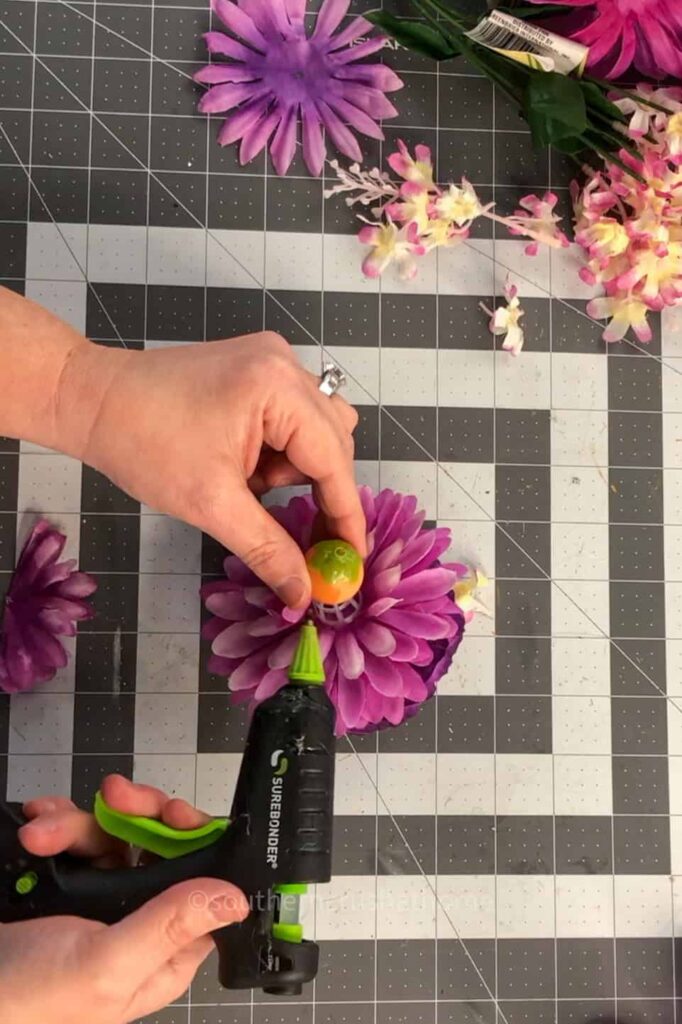
Step 8: Attach the Doll Face Bead
Using a generous amount of hot glue, attach a wooden doll face bead to the top of the flower.
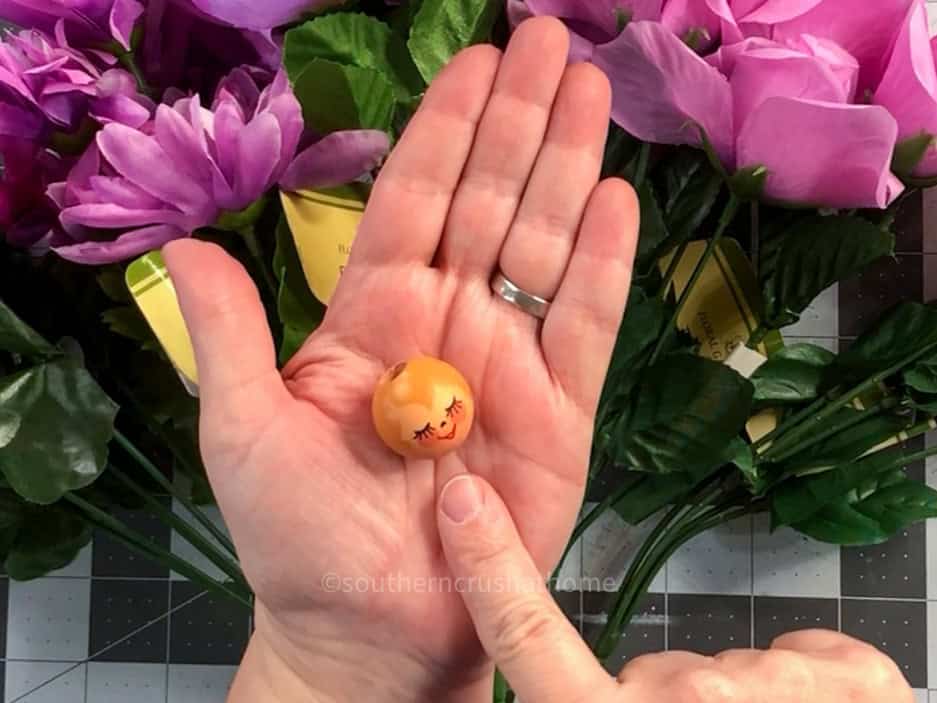
This creates the “head” of your spring lady and brings the craft to life. Adjust the position as needed to make sure it looks balanced and secure.
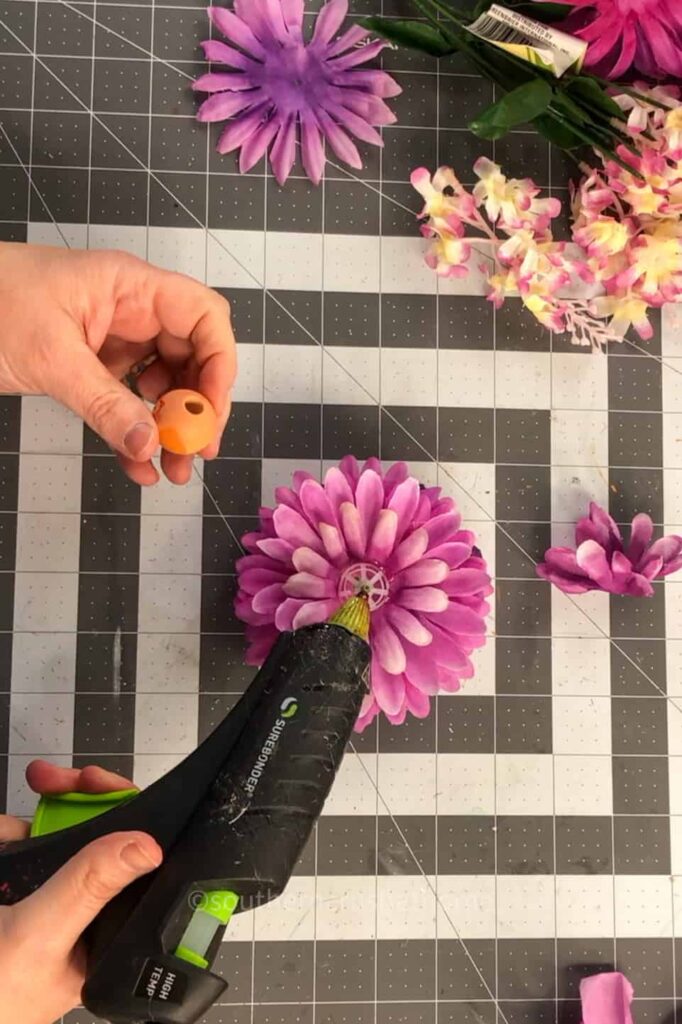
Step 9: Add Final Details
Optionally, embellish your spring craft with additional petals, leaves, or small floral details.
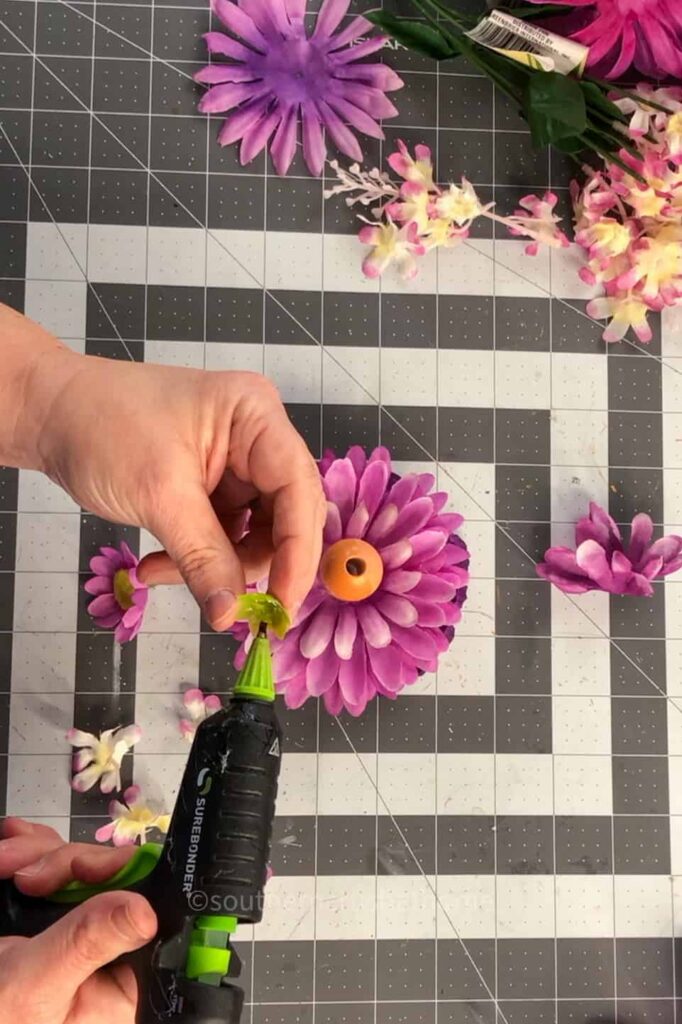
These extra touches will make your garden fairy or spring lady even more unique and beautiful. Let your creativity shine!
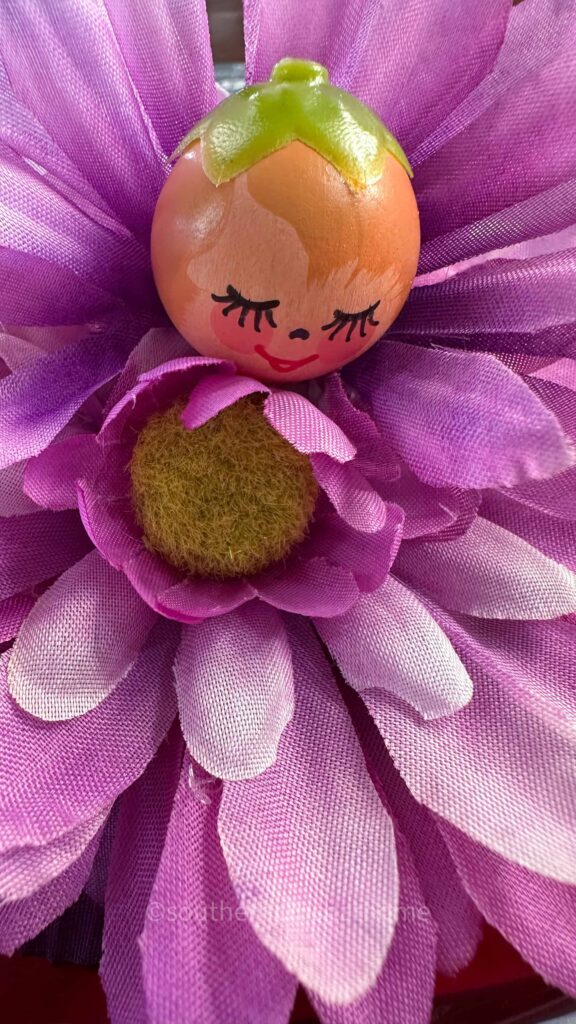
Isn't she so cute!
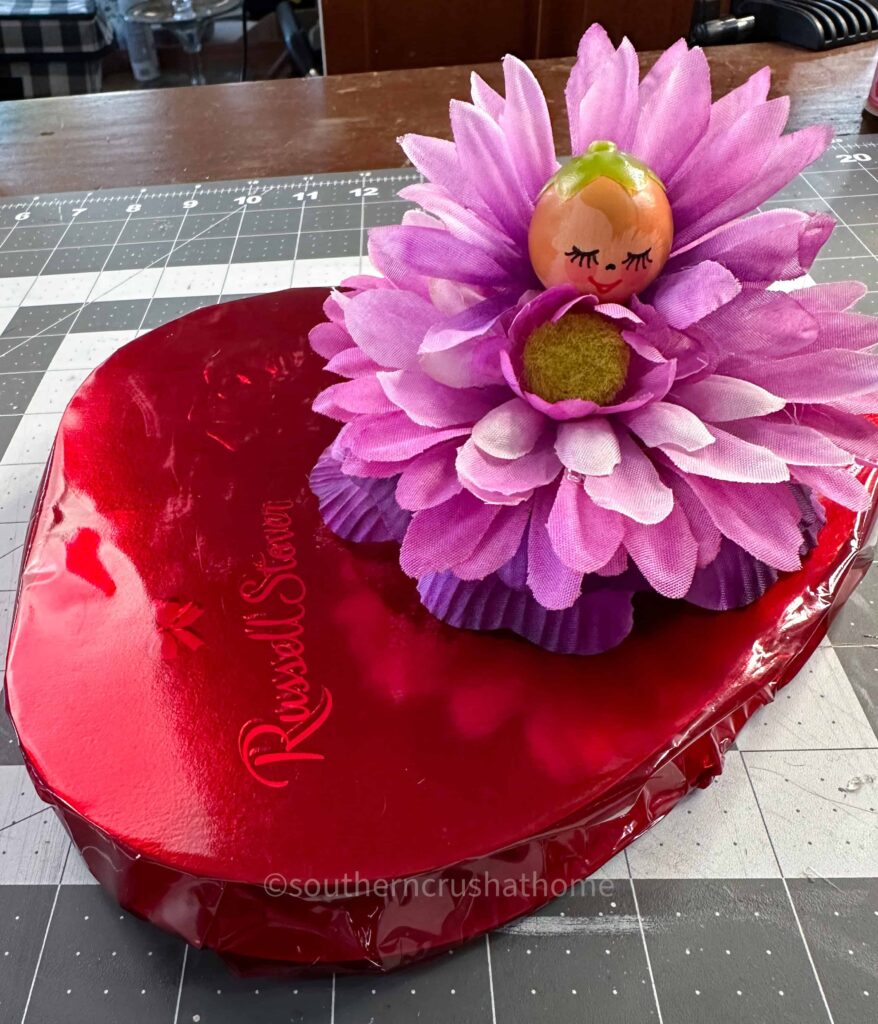
How adorable are these on a box of chocolates as a Valentine's Day gift?
Ways to Display Your Spring Floral Craft
This adorable spring flower craft can be displayed in so many creative ways:
- On a Book Stack: Set it on top of a stack of books for a charming springtime vignette.
- As Part of a Gift: Attach it to a box of chocolates or glue it to the top of a wrapped gift for an extra-special touch.
- On a Wine Bottle: Tie your craft to a bottle of wine and give it as a thoughtful hostess gift.
- As a Refrigerator Magnet: Glue a magnet to the back and use it to add some spring cheer to your fridge.
- Table Decor: Place it in the center of a table or next to candles as part of your seasonal display.
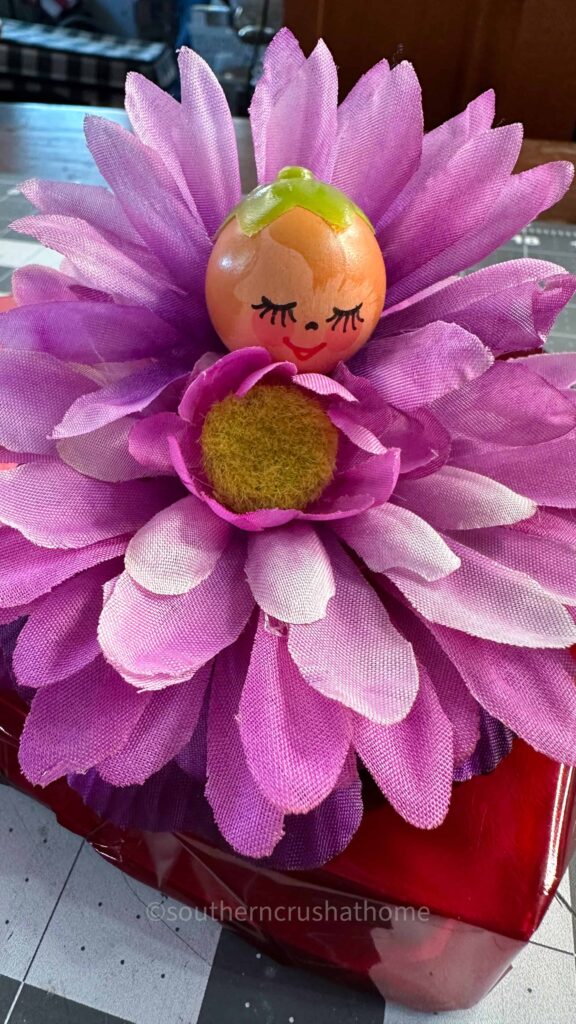
This easy spring flowers craft is the perfect way to welcome the season with a touch of creativity and charm.
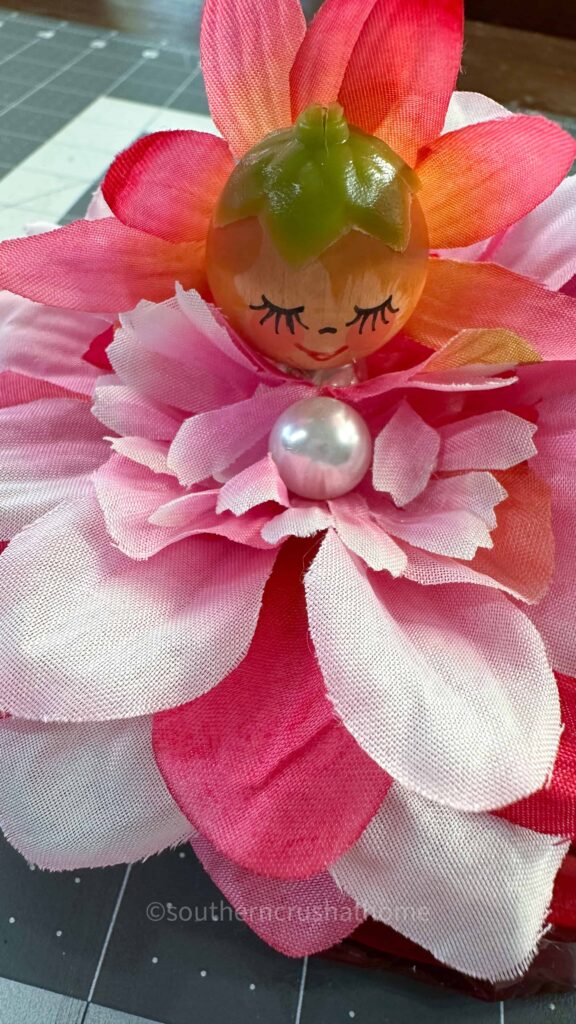
Using simple, affordable supplies from Dollar Tree, you can make a one-of-a-kind piece that’s as versatile as it is beautiful.
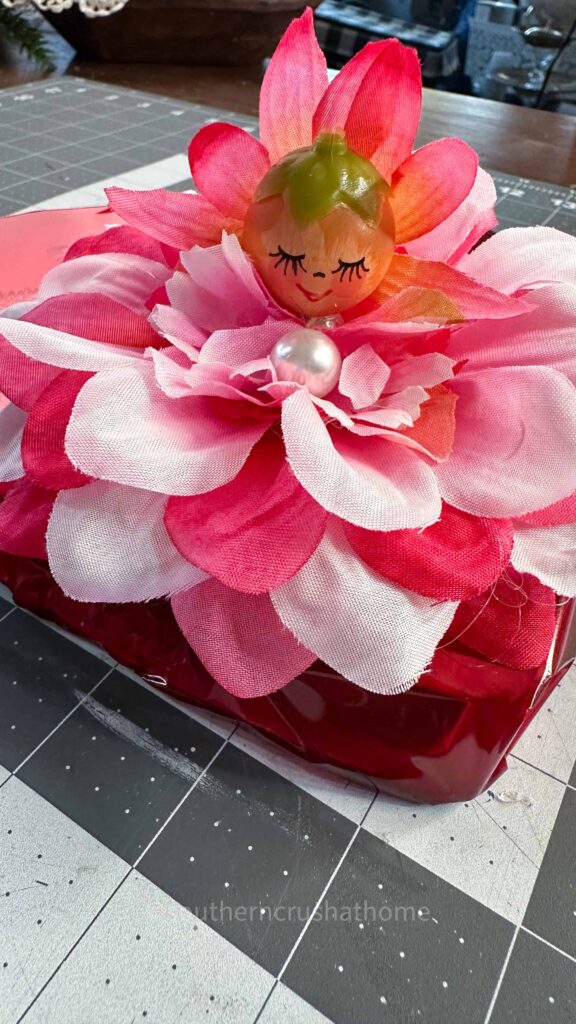
Whether you’re gifting it, decorating your home, or adding it to a spring tablescape, this whimsical craft is sure to spread cheer wherever it’s displayed.
Get ready to celebrate the beauty of spring with this fun project. Gather your supplies, let your imagination bloom, and create something truly unique!
More Inspiration from Nancy Cusamano!
Easy Flower Fairy Craft with Dollar Tree Spring Flowers
Materials
- Assorted faux flowers from Dollar Tree in colors and varieties of your choice
- Hot glue gun and glue sticks
- Wire cutters
- Wooden doll face beads
- Green plastic pieces from flower stems or petals
Instructions
Step 1: Choose Your Flowers
- Start by selecting your faux flowers. You can use coordinating colors for a polished look, or mix and match a variety of colors for a playful, whimsical vibe. Look for different sizes and textures to add depth and interest to your design.
Step 2: Remove Blooms from Stems
- Using wire cutters, carefully remove a few blooms from the stems of your flowers. Be sure to keep the small green plastic pieces from the base of each bloom, as you’ll need them later to assemble your craft.
Step 3: Separate the Petals
- Take the blooms you’ve removed and gently pull the petals apart, separating them from the flower’s center. This will leave you with individual petal layers that can be used to create a stacked floral effect.
Step 4: Arrange the Petals
- Decide how you want to arrange the petals for your spring craft. You can layer them in an ombre effect by starting with darker petals at the base and lighter ones on top, or alternate colors for a fun, vibrant look.
Step 5: Glue the Petals Together
- Using your hot glue gun, attach the petals to one another, starting with the largest layer on the bottom and working your way up to the smallest layer on top. Press firmly to ensure each layer is securely glued.
Step 6: Add the Base
- For the spring lady’s feet or base, attach a green plastic piece (from the stem or leaves) to the bottom of the petal stack using hot glue. This will help the craft stand upright and add a realistic touch to your design.
Step 7: Create the Flower Center
- Take one of the small green plastic pieces you saved from the flower’s interior and glue it to the center of your petal stack. This will serve as the “core” of your flower and add dimension to the design.
Step 8: Attach the Doll Face Bead
- Using a generous amount of hot glue, attach a wooden doll face bead to the top of the flower. This creates the “head” of your spring lady and brings the craft to life. Adjust the position as needed to make sure it looks balanced and secure.
Step 9: Add Final Details
- Optionally, embellish your spring craft with additional petals, leaves, or small floral details. These extra touches will make your garden fairy or spring lady even more unique and beautiful. Let your creativity shine!

