Easy Potholder Doorknob DIY Pillow for Christmas
Learn how easy it is to make your own DIY pillow to hang on your door for Christmas! This door pillow is super cute and easy to make for the holidays.
I simply cannot believe how EASY this no-sew DIY potholder doorknob pillow is to make. You’ve got to try to make one for yourself!

PIN this for later!
Makes me think there may be a ton of these in my future! There are so many limitless ways you can personalize them.
You almost can’t un-see this project and now every potholder you find may fall victim to becoming a super cute doorknob pillow.
Update: I made one for Halloween you can see it HERE.
This blog post contains affiliate links. The opinions are wholly my own from my own experience. I may earn a small commission from clicks through to the websites that end in a purchase.
Supplies for the Potholder DIY Pillow
This three-supply DIY takes a few short minutes and makes a great last-minute gift to keep on hand during the holidays.
- any pot holder that has BOTH a front and back material with a center pocket (not all potholders are the same) This one was from the DOLLAR TREE
- polyfill or some type of stuffing for filling
- scissors
- ribbon
- glue gun
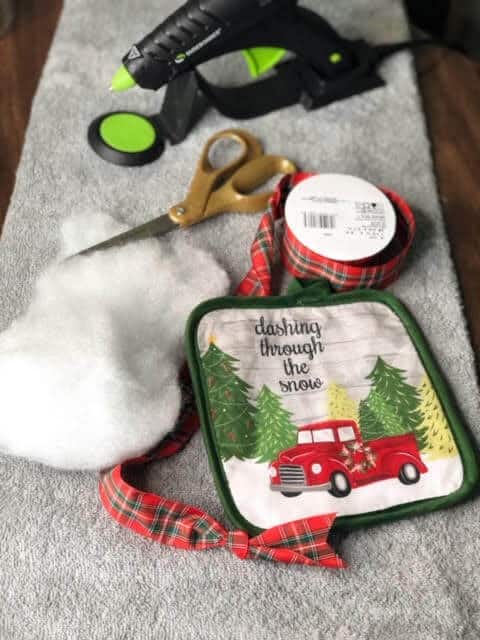
How to Make a Pillow Out of a Potholder
Once I discovered this hack, I was hooked. You are going to be too after you make this easy DIY pillow!
First, I have some tips, photos, and even a video to show you. I hope these ideas help you create an easy decorative pillow for your doorknob too.
Note: The entire tutorial is in the printable craft card at the bottom of this post.
Step One: Prepare Your Potholder to become a pillow
The first thing you are going to do is prepare your potholder to transform into a decorative pillow.
To do this, trim the top loop or hanger piece off of your potholder as this won’t be needed.
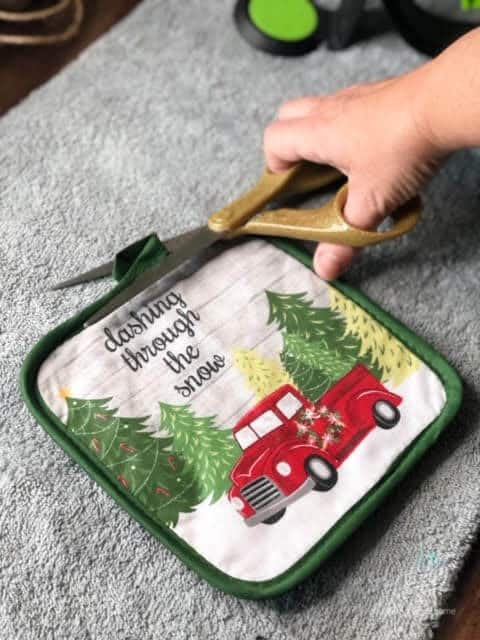
Step Two: Separate the Potholder Seam
Then, separate the trim from the potholder at the seam using your scissors creating a small opening for filling your potholder pillow.
You can do this at the bottom, top, or side of your potholder. It really doesn’t matter; I just made it where the top had already been cut for the removal of the little loop hanger.
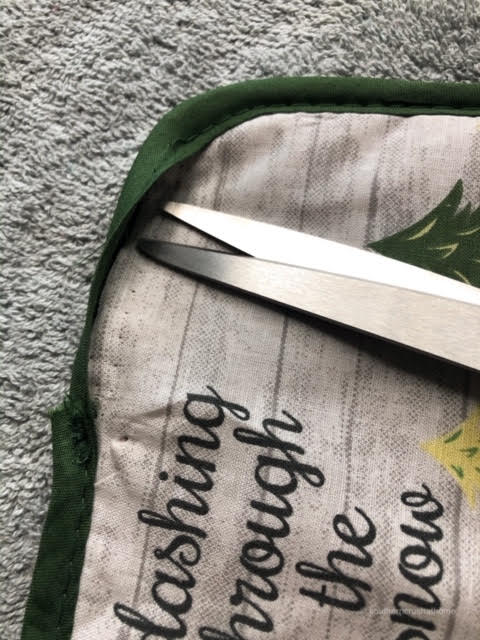
How big of a hole should I cut?
This depends on your fingers, but I would keep the opening to just an inch or two.
The larger you make the hole, the more you will have to close up at the end.
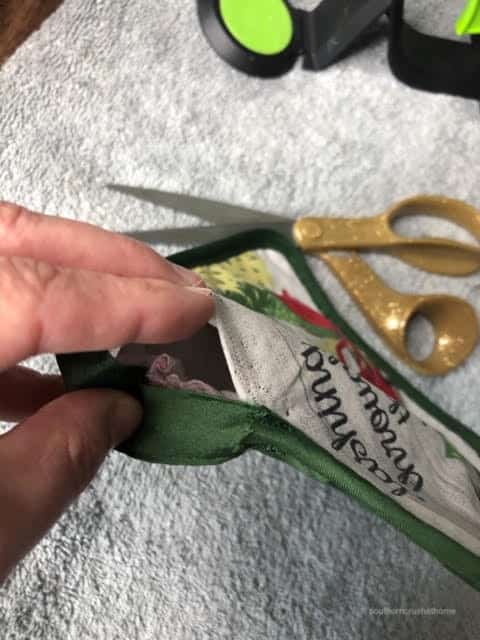
Step Three: Fill your potholder
Fill your potholder with polyfill or cotton until you reach your desired puffiness level.
It needs to be full, but not so full that it’s too difficult to bring it together at the top to seal the opening.
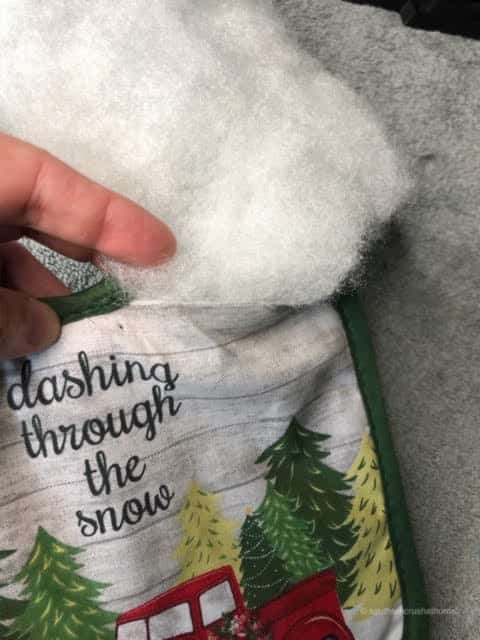
Step Four: Glue The Seam Shut
Taking your glue gun, seal up the opening you made on the potholder and carefully press it down so you do not burn yourself.
You can also choose to sew it back up; I just prefer the no-sew method, myself.
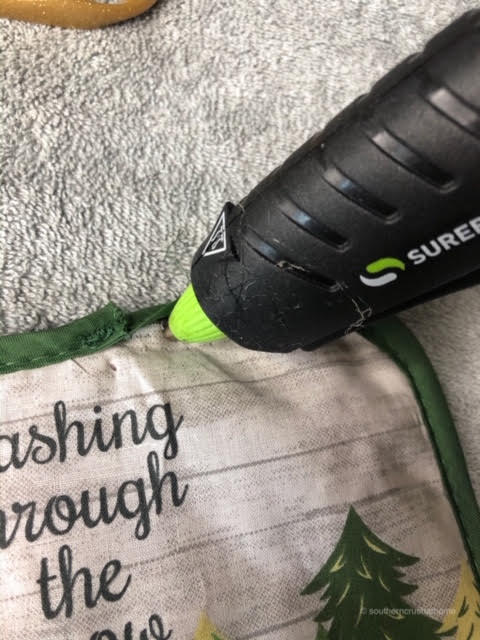
Step Five: Embellish your DIY Doorknob Pillow
Attach your favorite ribbon or twine to the top corners with hot glue for a quick and easy way to hang your potholder pillow.
You can even sew this part or attach it underneath the trim; I just prefer the no-sew method.
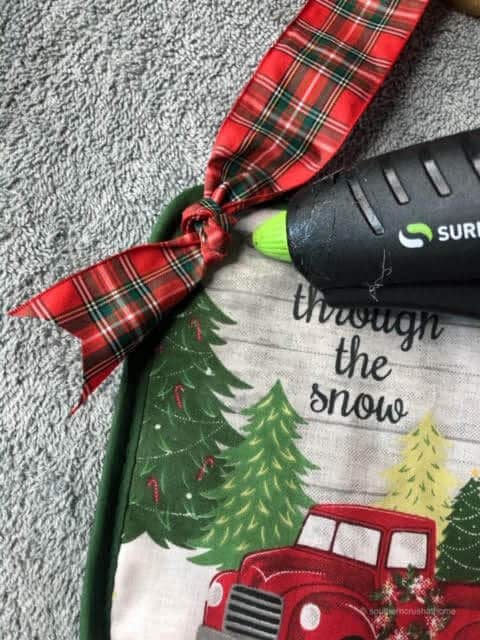
WATCH THE YouTube Video Tutorial
If you missed the video tutorial, it is HERE for your convenience.
DIY Christmas Pillow For Your Door
So simple and makes such a great statement for any doorknob throughout the house.
You could even choose to hang it from your kitchen or bathroom cabinets or really any piece of furniture with a small knob!
These make super cute and fast last-minute gifts to keep on hand for that unexpected guest during the holidays.
Who knows who’ll be stopping by for hot cocoa?
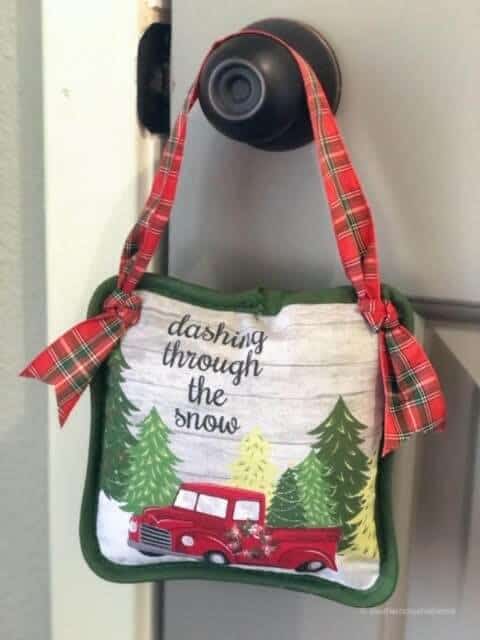
Don’t you love the Christmas plaid ribbon with this potholder and its colors? So festive!
This can be adapted to any colors and style you like (even my favorite–buffalo plaid)!
The possibilities are endless and are only limited to the potholders you can find out there!
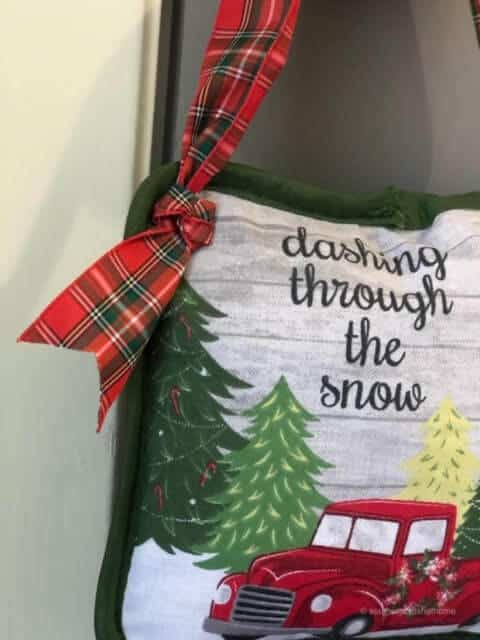
I sure do hope you’ll make a few of these potholder pillows of your own and then be sure to share them with all of us over in the creative circle We’re waiting for you and it’s FREE.
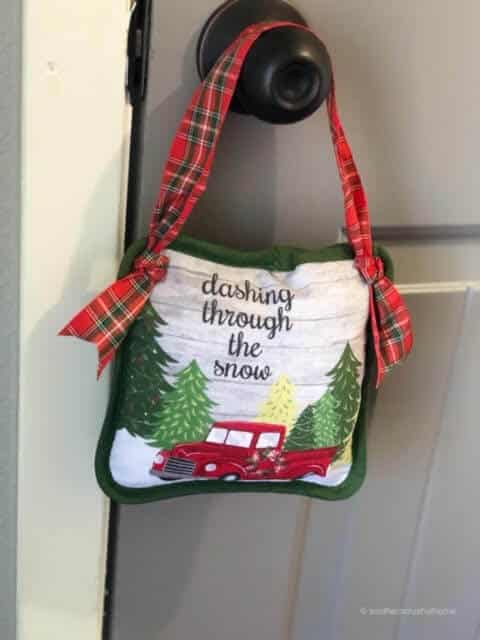
DIY Potholder Doorknob Pillow Tips and Questions
Here are some tips and answers to common questions about this craft.
- Wear finger protectors when you are using hot glue. It is very hard to glue the seam and not get hot glue on your fingers.
- Try adding wood beads to your ribbon handle for added embellishment.
- Add lace or trim around the outer edge of your potholder for a fun look.
Can you use any potholder to make this?
Well, yes and no. It can be any design of course, but it needs to be two-sided with a seam in order to stuff the polyfill into the middle.
Do you have to be good at sewing to make this?
No, you don’t! This is because I used a glue gun instead of a sewing machine. If you want to use a sewing machine, you certainly can. Both options work perfectly well.
If you love this kind of DIY project, you need to be getting my emails, friends! Each week I send out a couple of emails that include updates, crafts, shopping experiences, and decor inspiration.
Be sure to get yourself signed up below. I can’t wait to meet you!
Here are all the supplies and steps in the printable craft card, just like I promised. Don’t forget to share this tutorial with your friends!
DIY Pillow For Christmas
Equipment
- scissors
Materials
- 1 potholder
- 1 bag Polyfill
- 6 inches ribbon
Instructions
- Trim the top loop or hanger piece off of your potholder as this won’t be needed.
- Separate the trim from the potholder at the seam using your scissors creating a small opening for filling your potholder pillow.
- Stuff your potholder with poly fill or cotton until you reach your desired puffiness level. It needs to be full, but not so full that it’s too difficult to bring it together at the top to seal the opening.
- Taking your glue gun, seal up the opening you made on the potholder and carefully press it down so you do not burn yourself.
- Attach your favorite ribbon or twine to the top corners with hot glue for a quick and easy way to hang your potholder pillow.
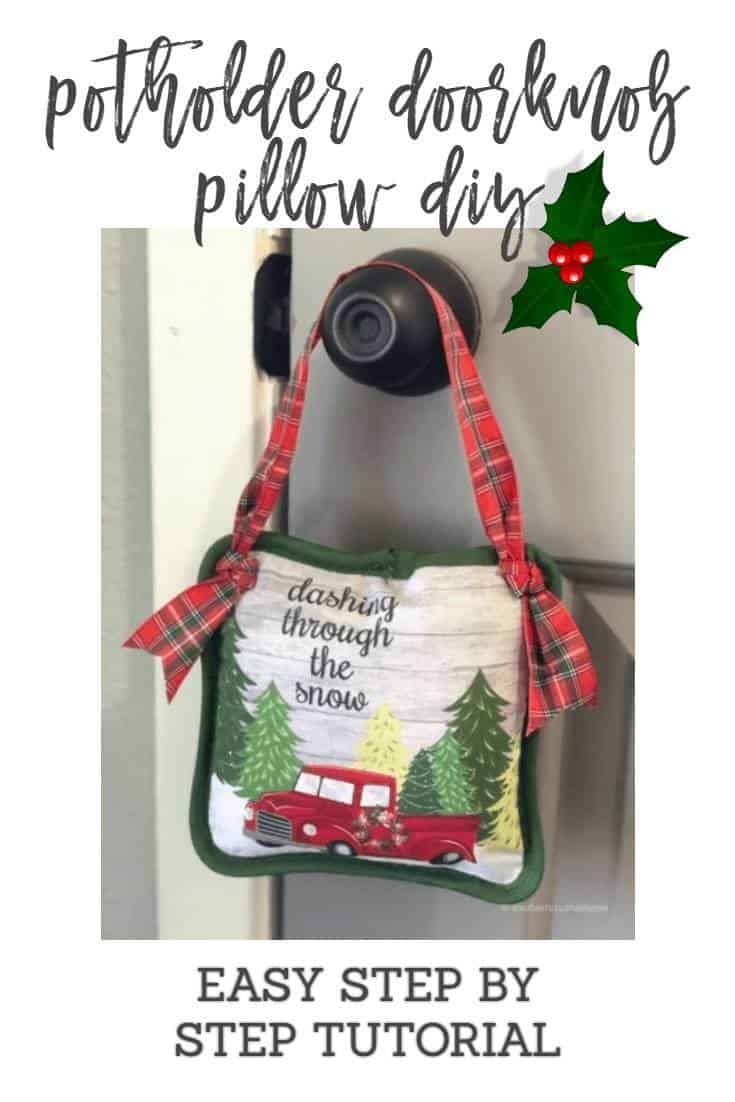
PIN this for later!



I have read so many articles or reviews concerning the blogger lovers but this post is genuinely
a good piece of writing, keep it up.
thank you
Love this project. It’s such a cute, easy and clever idea.
I think; the place where you cut the loop off, I would glue on maybe a snowflake to kinga cover up the cut off loop area.
Thank you so much! Great suggestion!
Amen, it’s very Unfinished looking 😳
What would be the best way to add some cinnamon or other spice to this project for an added touch of joy? Wouldn’t it be fun to just hang on someone’s door as a mystery holiday surprise?
I would tie it to the ribbon! What a great idea!
Just browsing and looking for ideas to start making things for Christmas. Really cute idea and easy and inexpensive! Can’t wait to get the potholders. It’s Memorial Day weekend so will have a little wait. Thank you for a great little gift idea.
You’re so welcome! It’s never too early!
some cinnamon sticks would be cute to glue over the loop hole.
i made one I love it!
Yay!!! I’m so gladdd!
Could you stuff this someway with candies in order to have access to them to take out and eat?
Hmmmm. Maybe in a baggie?
I will make one for my Grandchildren to give their mama’s for Christmas.
Oh that will be sweet!