Easy No Sew Fall Dollar Tree Pumpkin Pillow
Let me show you how to make this festive and easy no sew Dollar Tree Pumpkin Pillow. Fall is for all things pumpkins and this sweet pillow is no exception. You can find pre-made pillows for cheap at craft stores, making this DIY pillow a no-sew version. It can be made in less than 15 minutes!
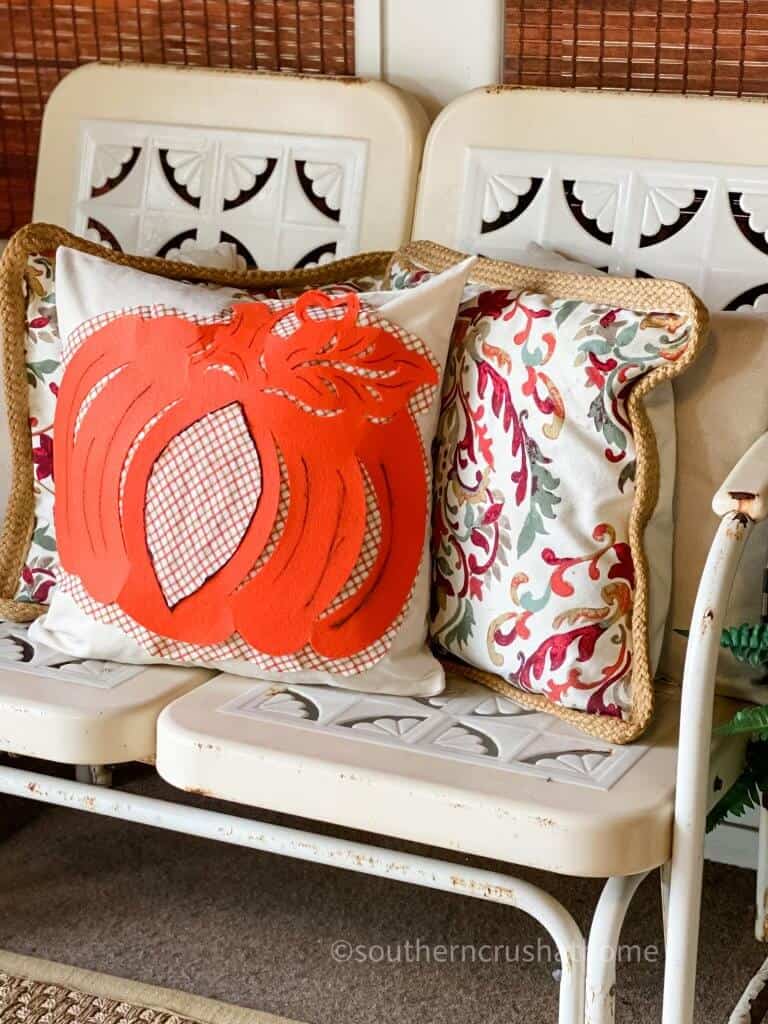
I love to update my home with seasonal pillows for the holidays. But, it can get a little pricey. Unless you make your own! The best part about this Dollar Tree pumpkin pillow (aside from its’ cuteness) is it’s a no-sew project! That means anyone can make this pretty pillow.
SUPPLIES TO MAKE A Dollar Tree Pumpkin Pillow
All the supplies needed can be found HERE in my Amazon Shop!
- Pumpkin – Dollar Tree
- Fall Fabric
- Pillow Cover
- Pillow Form Insert
- Hot Glue Gun
- Fabric Scissors
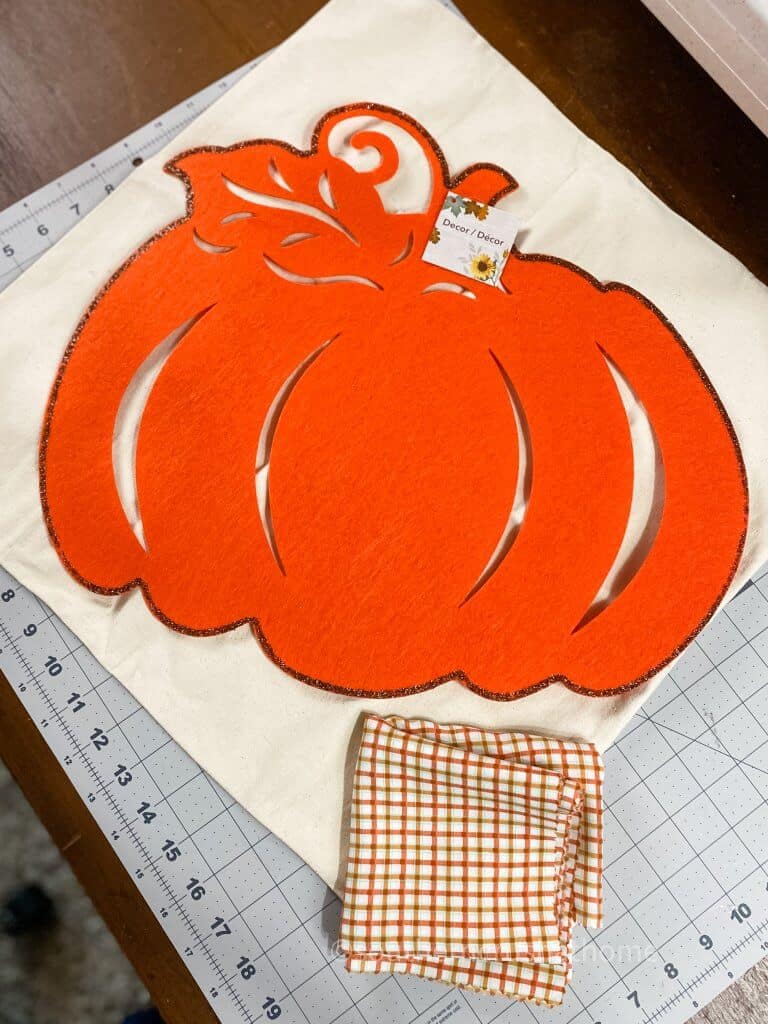
HOW TO MAKE a pumpkin pillow
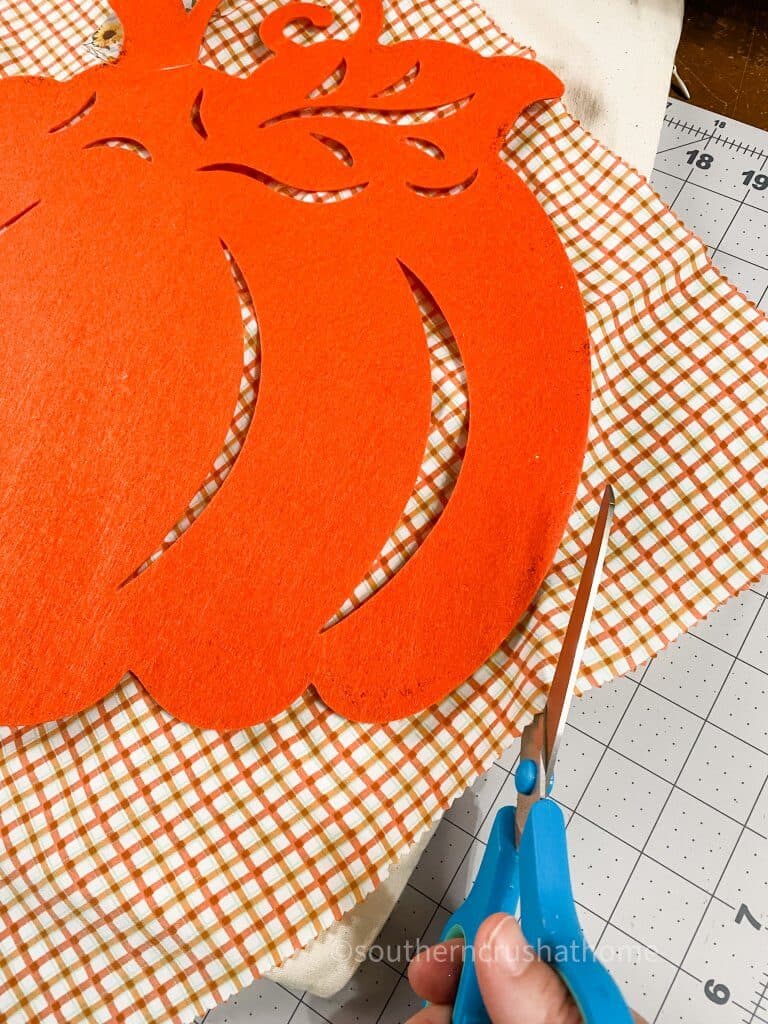
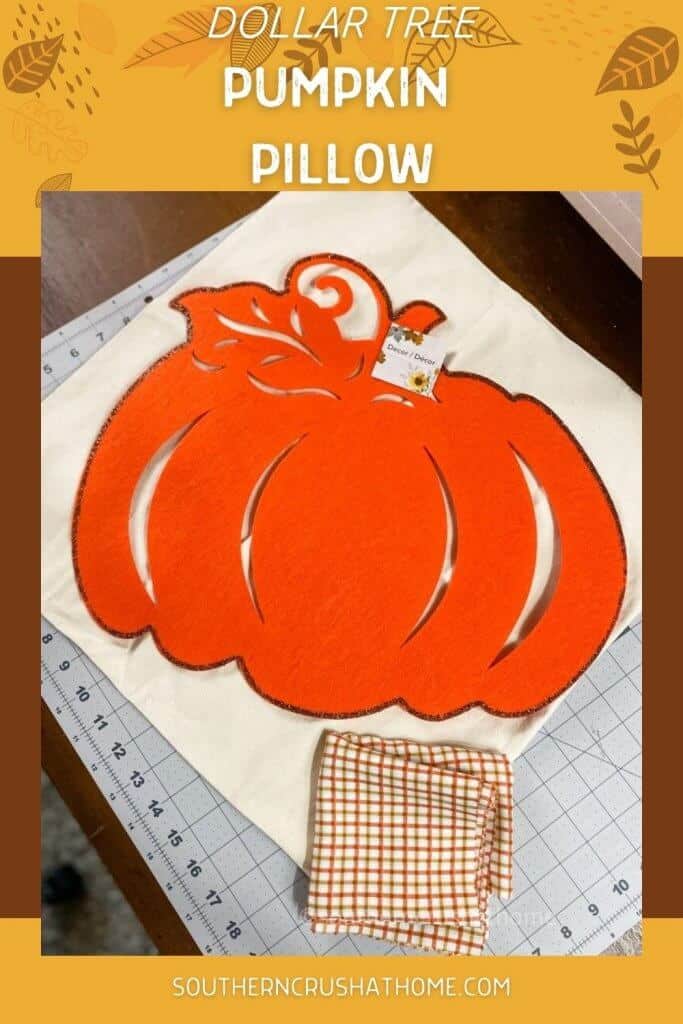
Start by placing the Dollar Tree pumpkin on top of any patterned fabric. Use your fabric scissors to cut out the pumpkin shape. You want to cut a few inches extra around the pumpkin. The pretty fabric will show through the cut-outs of the pumpkin for a nice contrast.
If you’re a huge “pillow lover” like me, you may want to check these projects out as well:
- How to Make Pillows from Placemats
- Versatile Dollar Tree DIY Valentine Pillow
- Scrap Ribbon Patriotic Flag Canvas Pillow
- How to Make No Sew Bandana Scarf Pillows
- Messy Bow Burlap Pillow Wrap
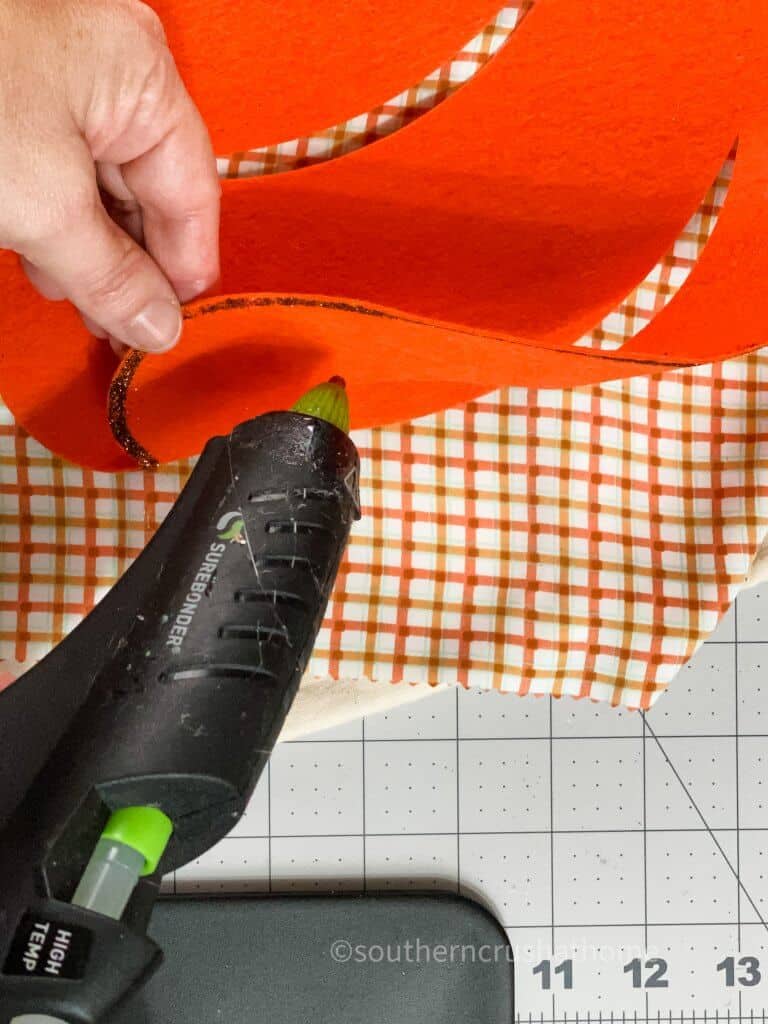
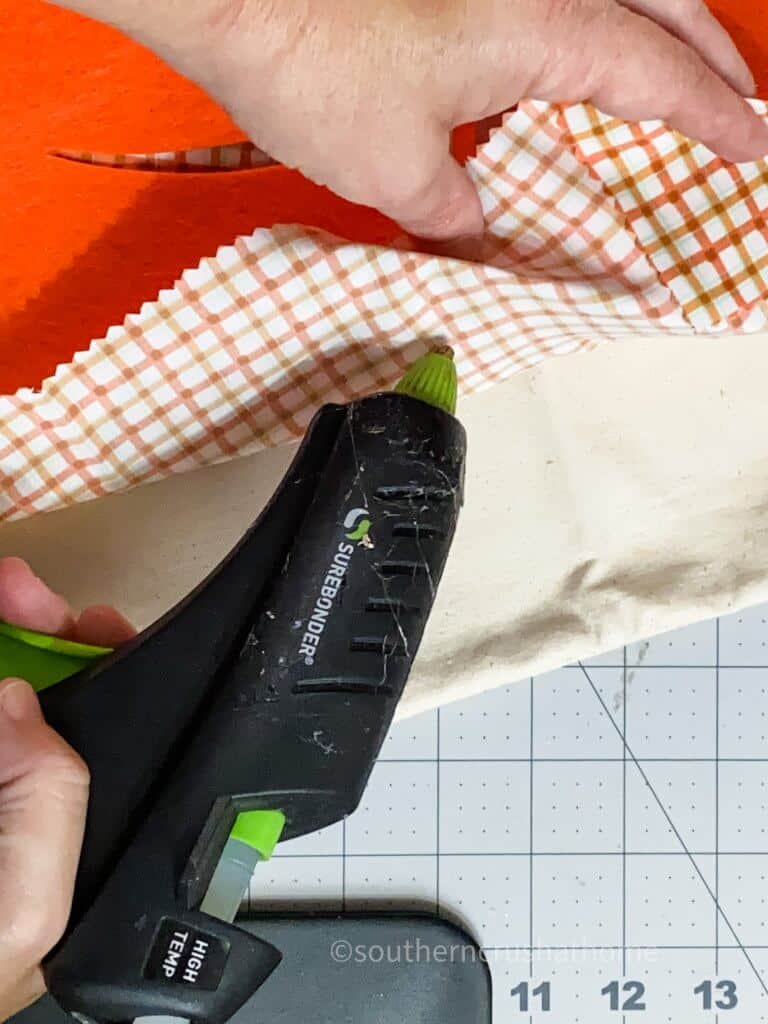
Ok, now back to the project! Hot glue the pumpkin onto the plaid fabric. Be sure to center it so there is an even amount of the plaid fabric showing. It doesn’t have to be exact, but you definitely want some of the fabric to show all the way around the pumpkin.
NEXT…
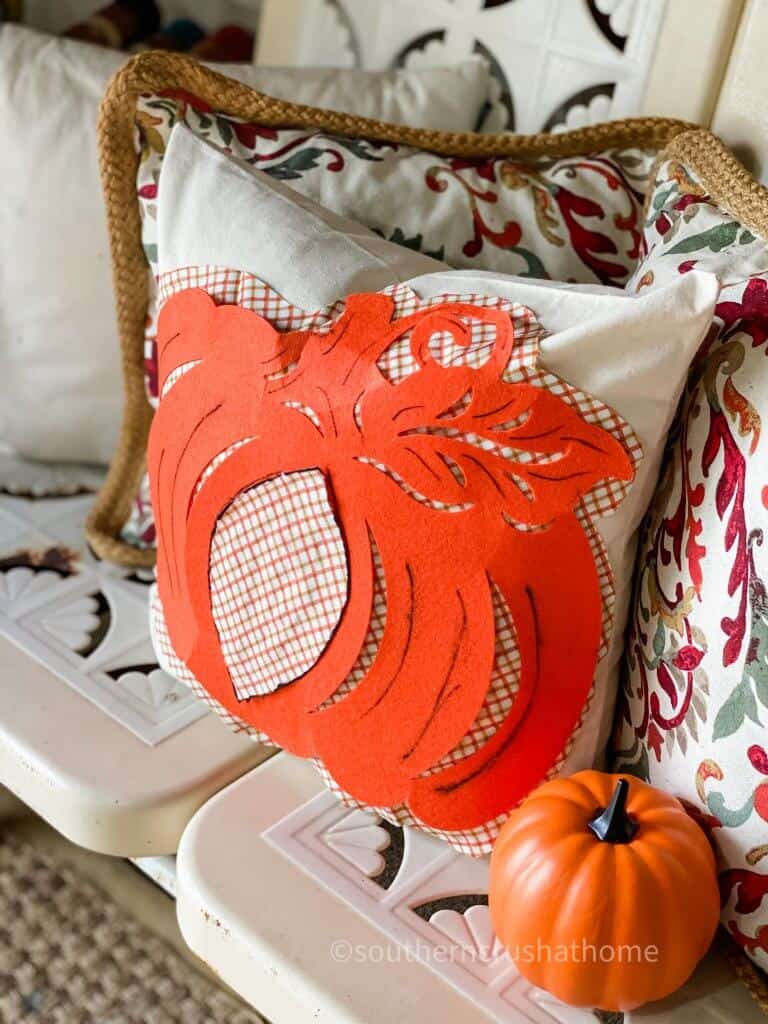
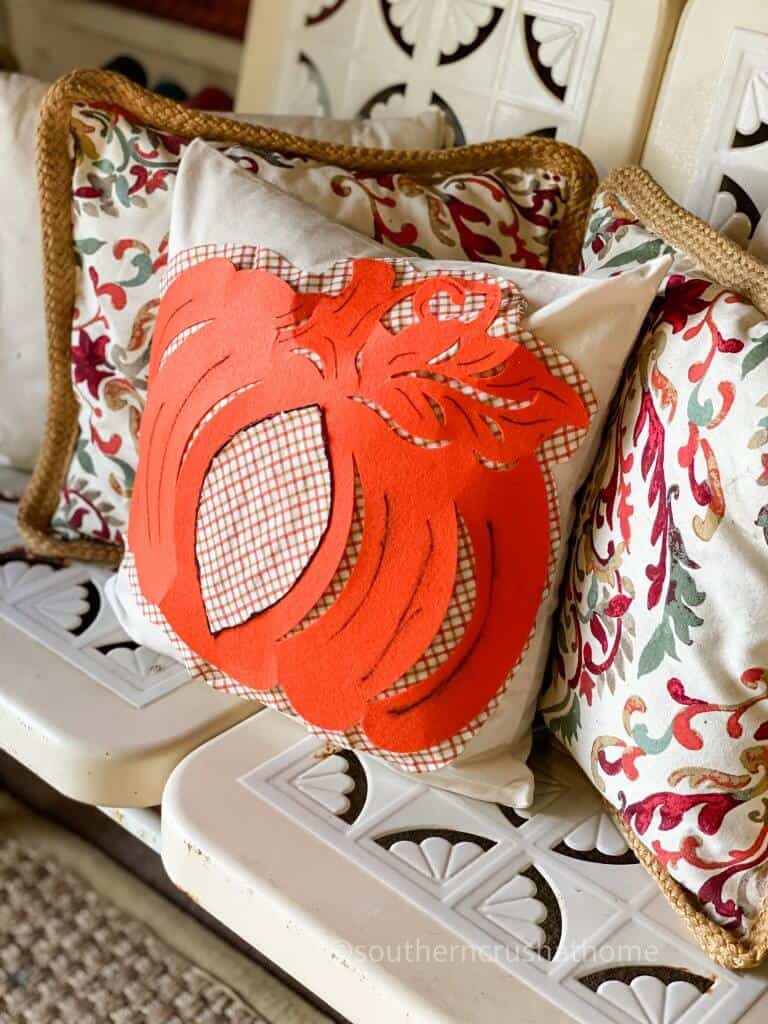
Now you want to hot glue the plaid fabric with the pumpkin to the center of the pillow cover. You can also use fabric glue if you like. I also cut out a pointed oval shape to glue to the center of the pumpkin. This gave it extra dimension.
finally…
Add a bit of interest to the pumpkin by using a Sharpie to create highlights on the curves of the pumpkin and leaves. This is optional, but can make the pumpkin really pop!
dollar tree pumpkin Pillow diy
All that’s left is to place your pillow form inside the pillow cover and you are ready to decorate with your beautiful new pillow! You could make two of these pretty pillows to place on each end of your sofa, or just use one as an accent pillow.
Are you ready to make your own pretty fall pillow? You can use this same tutorial for any holiday. I’m sure Dollar Tree will have a Christmas pattern soon that you can use.
STEP BY STEP VIDEO TUTORIAL
If you want to see the exact step by step process, be sure to check out this video tutorial below over on my YouTube Channel!
WAYS TO CLEAN A PILLOW THAT CANNOT BE WASHED
This pillow is simply decorative, so it can’t be washed. Here are a few tips for keeping it fresh.
- Spray it down with a disinfectant spray and then a fabric freshener like Febreze and simply set it out to “air” out in the sun.
- Sprinkle baking soda on the pillow, wait 30 minutes and then vacuum it lightly with a vaccuum attachment after 30 minutes to help remove odors.
- Spray a light layer of vinegar over the pillow; then wipe it down with a mild dish soap solution. Clean spots by wiping them with rubbing alcohol using a cotton swab.
Be sure to PIN this for later!
BE SURE TO CHECK OUT THESE OTHER FALL DIY ideas!
- How to Make a Fall Gnome Door Hanger (with a Messy Bow)
- How To Make A Fall Floral Burlap HOME Canvas
- DIY Picture Frame Wreath With Fall Plaid Decor
- DIY Leopard Pumpkin Wall Art: Simple Fall Decor
Dollar Tree Pumpkin Pillow
Equipment
- Fabric Scissors
Materials
- Pumpkin - Dollar Tree
- Fall Fabric
- Pillow Cover
- Pillow Form Insert
Instructions
- Place the Dollar Tree pumpkin on top of the plaid fabric.
- Use your fabric scissors to cut out the pumpkin shape. Cut a few inches extra around the pumpkin.
- Hot glue the pumpkin onto the plaid fabric.
- Hot glue the plaid fabric with the pumpkin to the center of the pillow cover.
- Cut out a pointed oval shape to glue to the center of the pumpkin.
- Place your pillow form inside the pillow cover.

I would have never thought to use these cutouts this way!
Never thought of putting one on a pillow before- so cute. I have made the pillows by gluing 2 holiday placemats together and stuffing them. Quick and easy!
Pillow covers are a great way to spice up holiday decor, and these are perfect!!
I’m all about no sew projects! Cute idea.