Easy Dried Flowers DIY Craft
Hello, my crafty friends! Today, I’m excited to share a delightful and easy dried flowers DIY project that’s perfect for adding a touch of elegance to your bookmarks, gift tags, or homemade cards.
PIN this for later!
It’s a beautiful way to preserve your favorite blooms and enjoy them in a new, creative way. All the supplies you need are available in my Amazon shop, making it easy to get started.
This blog post contains affiliate links. The opinions are wholly my own from my own experience. I may earn a small commission from clicks through to the websites that end in a purchase.
Supplies You’ll Need:
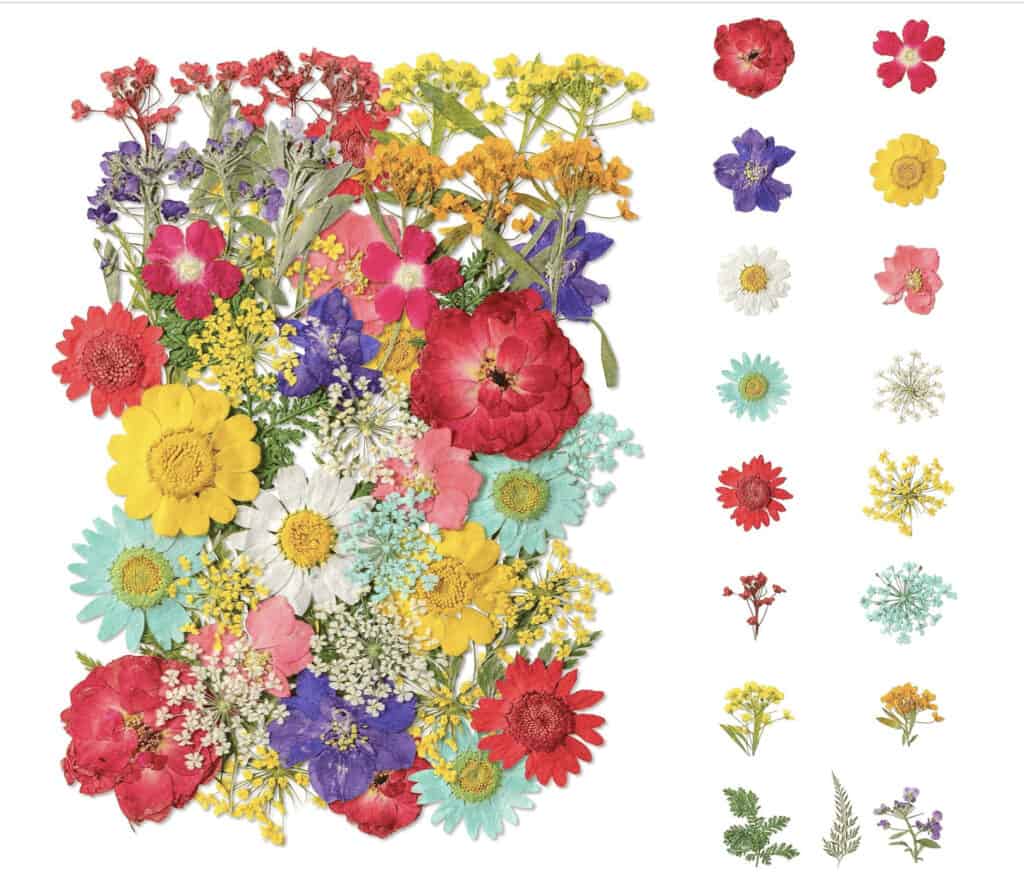
- Dried Flowers: I used a variety of dried and preserved flowers for this project. Think tiny roses, delicate baby’s breath, and even small ferns. You can find a beautiful selection HERE in my Amazon shop.
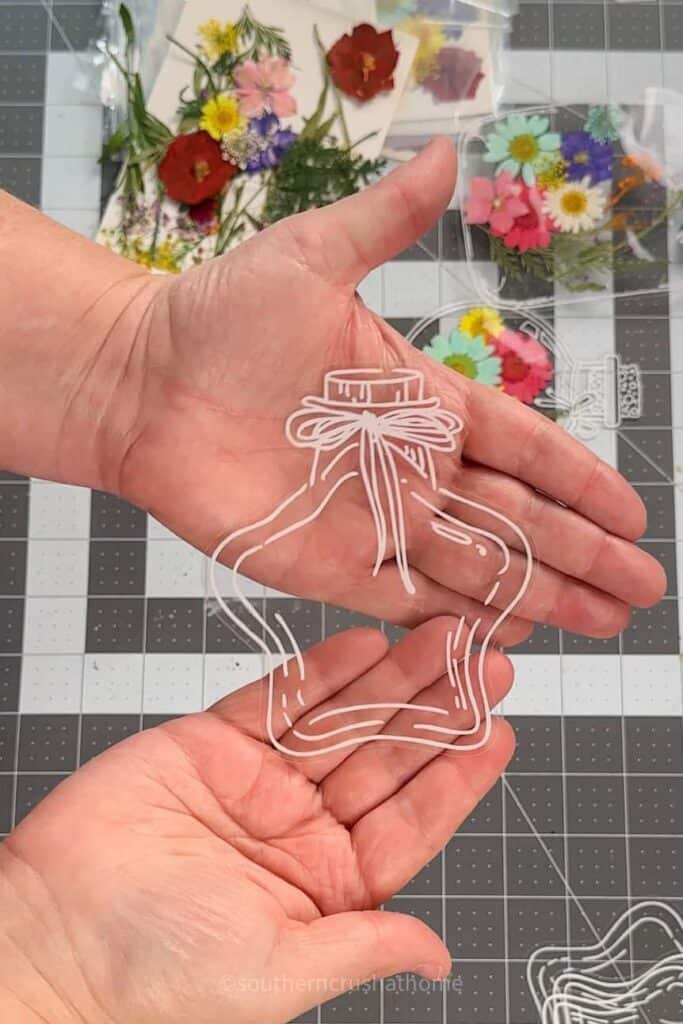
- Clear Stickers Shaped Like Perfume Bottles: These adorable stickers are also available in my Amazon shop. They provide the perfect canvas for showcasing your dried flowers.
- Tweezers: For placing the delicate flowers precisely.
- Scissors: To trim any excess stems or leaves.
- Hot Glue: Optional, but helpful for securing any bow on top.
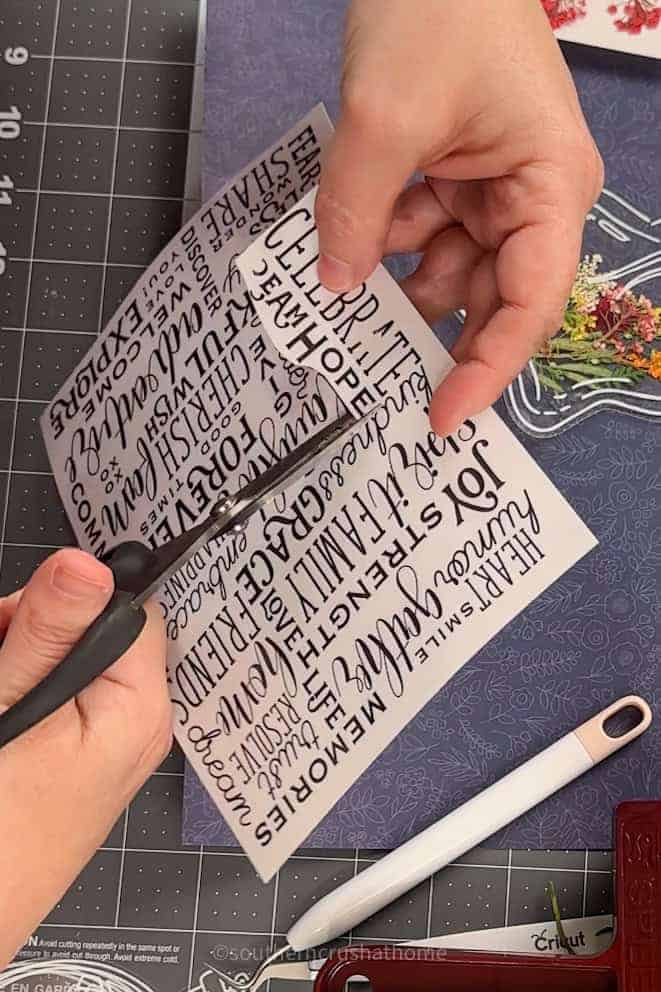
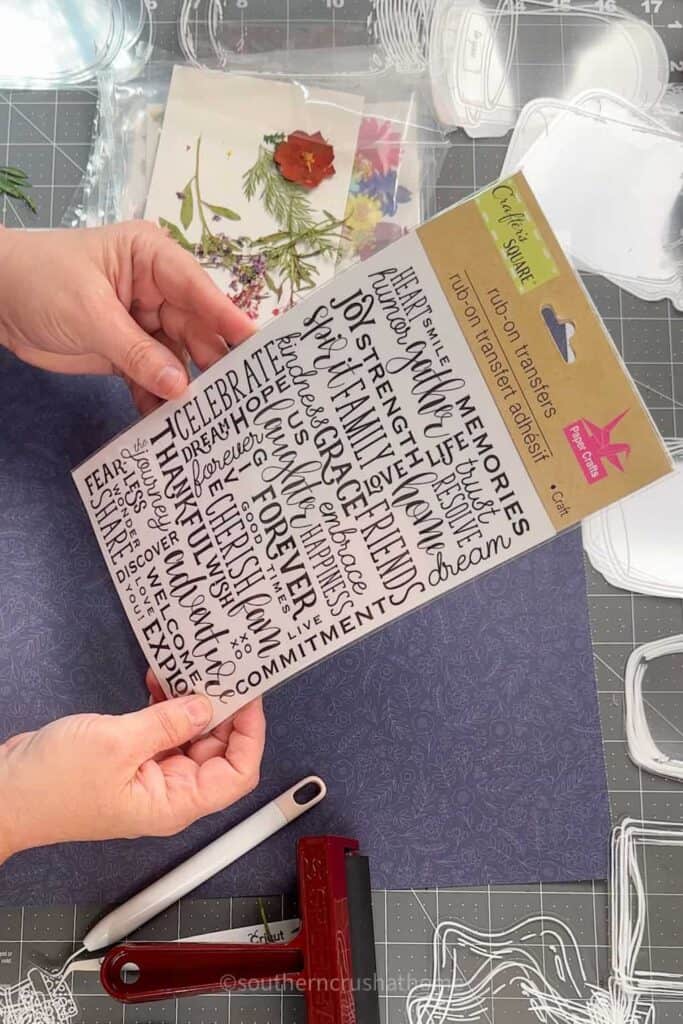
- Transfers: Optional, but I used a sheet from the Dollar Tree.
Step-by-Step Instructions:
Prepare Your Dried Flowers
Start by selecting your favorite dried flowers. If you’re using preserved flowers, make sure they’re completely dry.
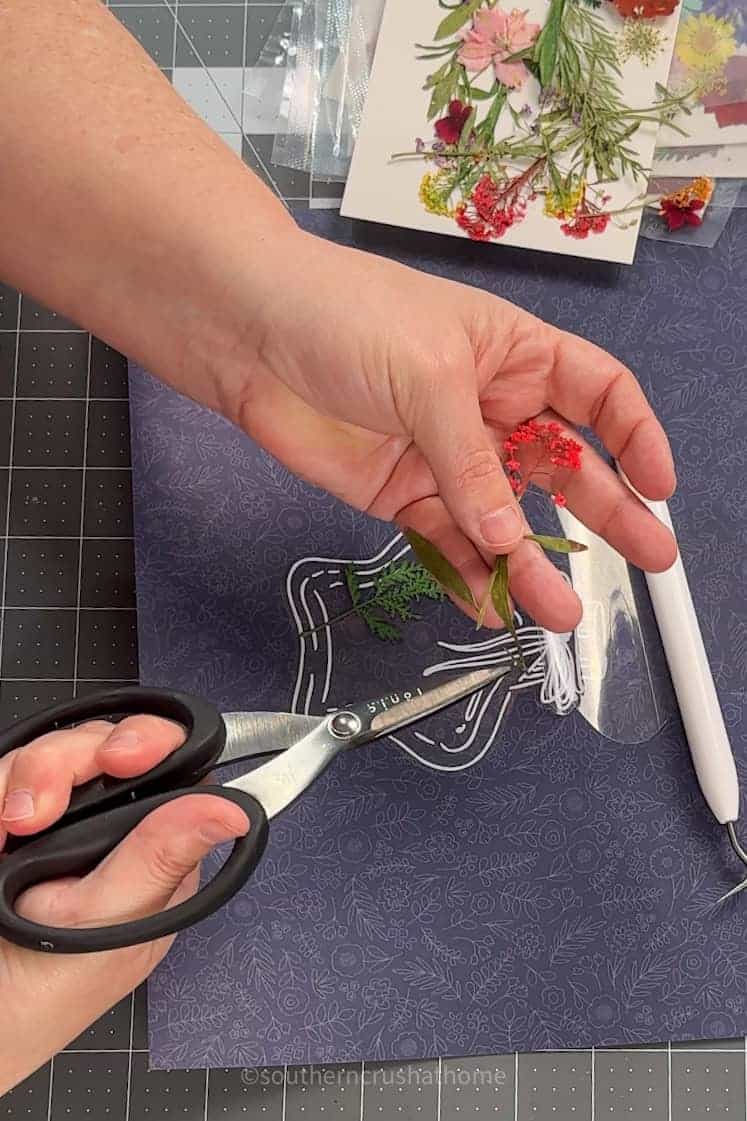
Trim the stems and leaves so they fit neatly within the borders of your clear perfume bottle stickers.
Arrange the Flowers
Lay out your flowers on a flat surface. Play around with different arrangements until you find one you love. This is your chance to get creative!
Remember, the goal is to create a tiny floral arrangement that looks lovely from both sides of the sticker.
Peel and Place
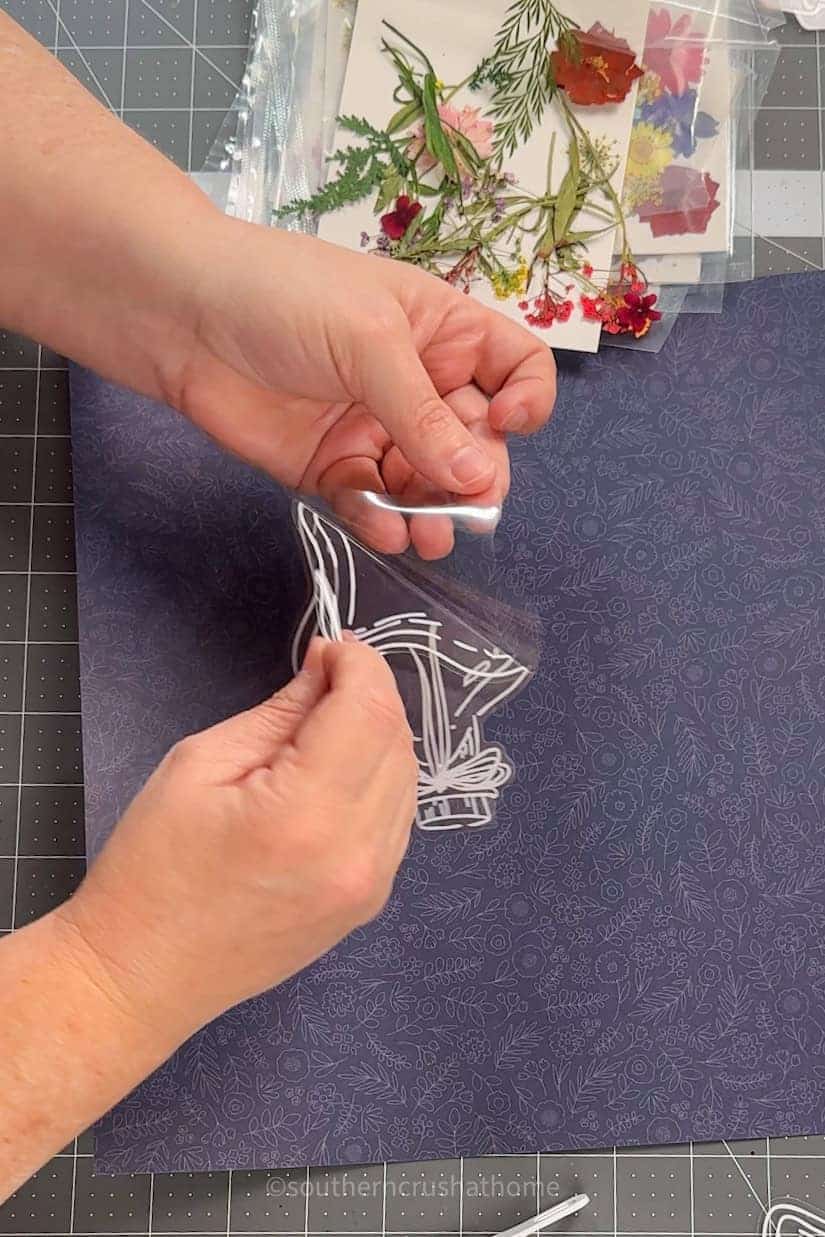
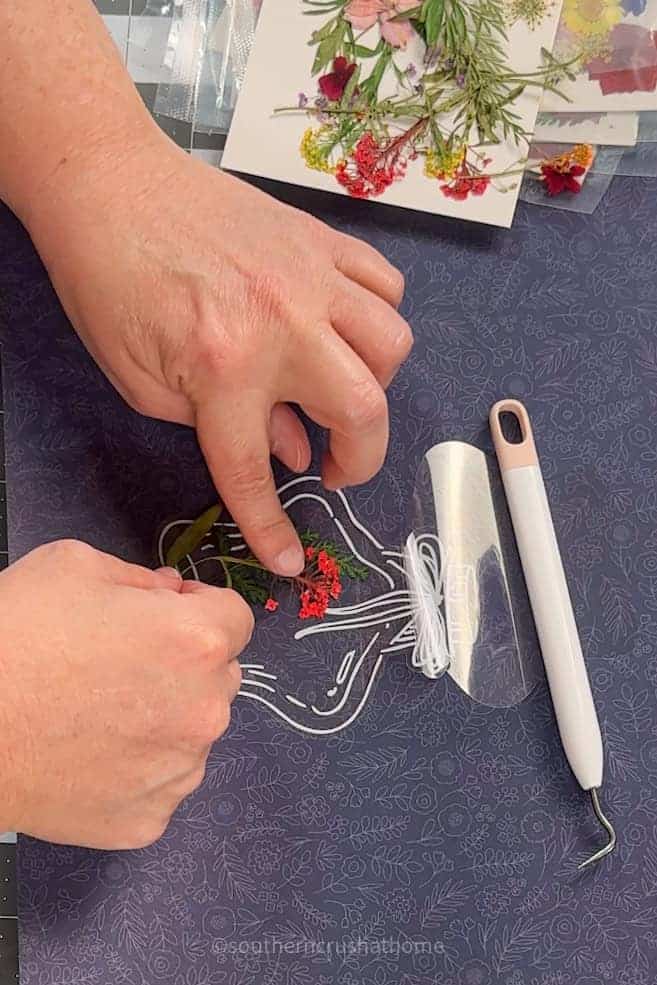
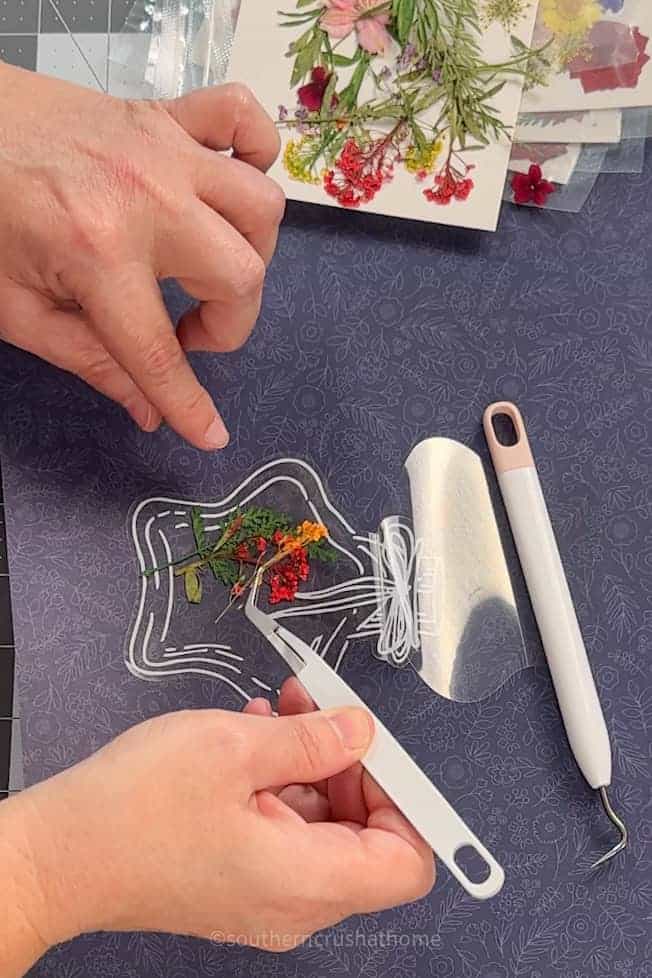
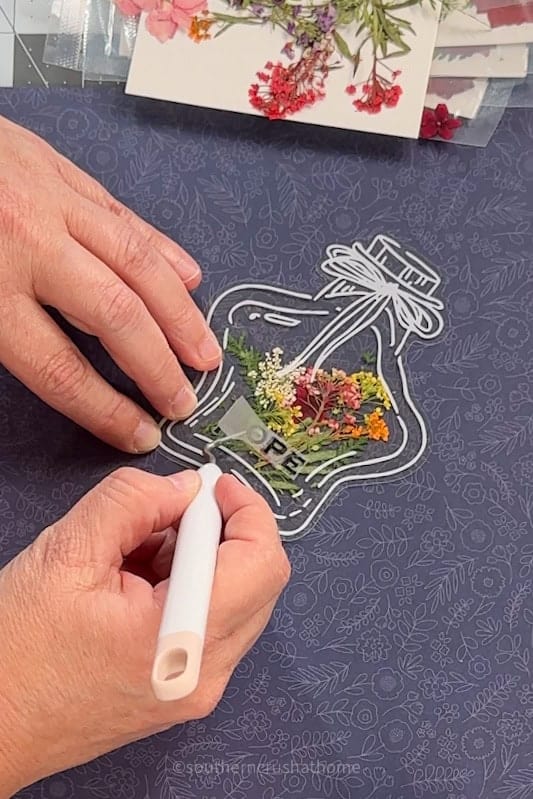
Carefully peel off the backing of one clear perfume bottle sticker. Using tweezers, gently place your dried flowers onto the sticky side of the sticker.
Arrange them as you like, making sure they’re securely adhered to the sticker.
Seal the Flowers
Once you’re happy with your arrangement, take a burnishing tool and carefully roll it over the top, sealing the flowers inside.
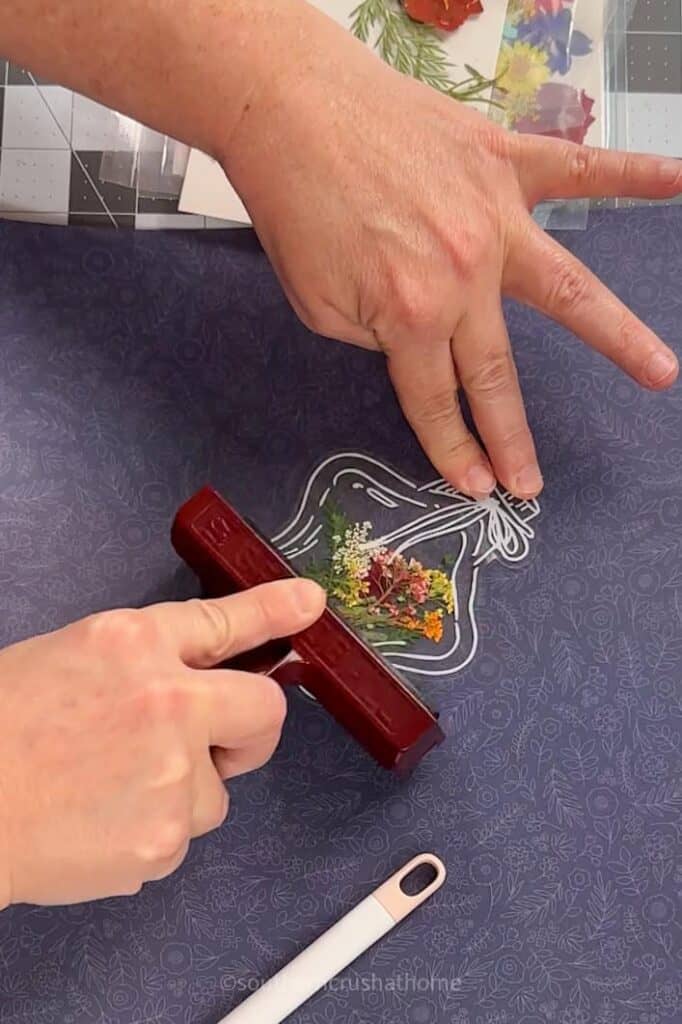
Press down gently to ensure there are no air bubbles and the edges are sealed tightly.
Trim Excess
If any flower bits are sticking out, use your scissors to trim them. You want your sticker to have a neat, clean edge.
Optional Embellishments
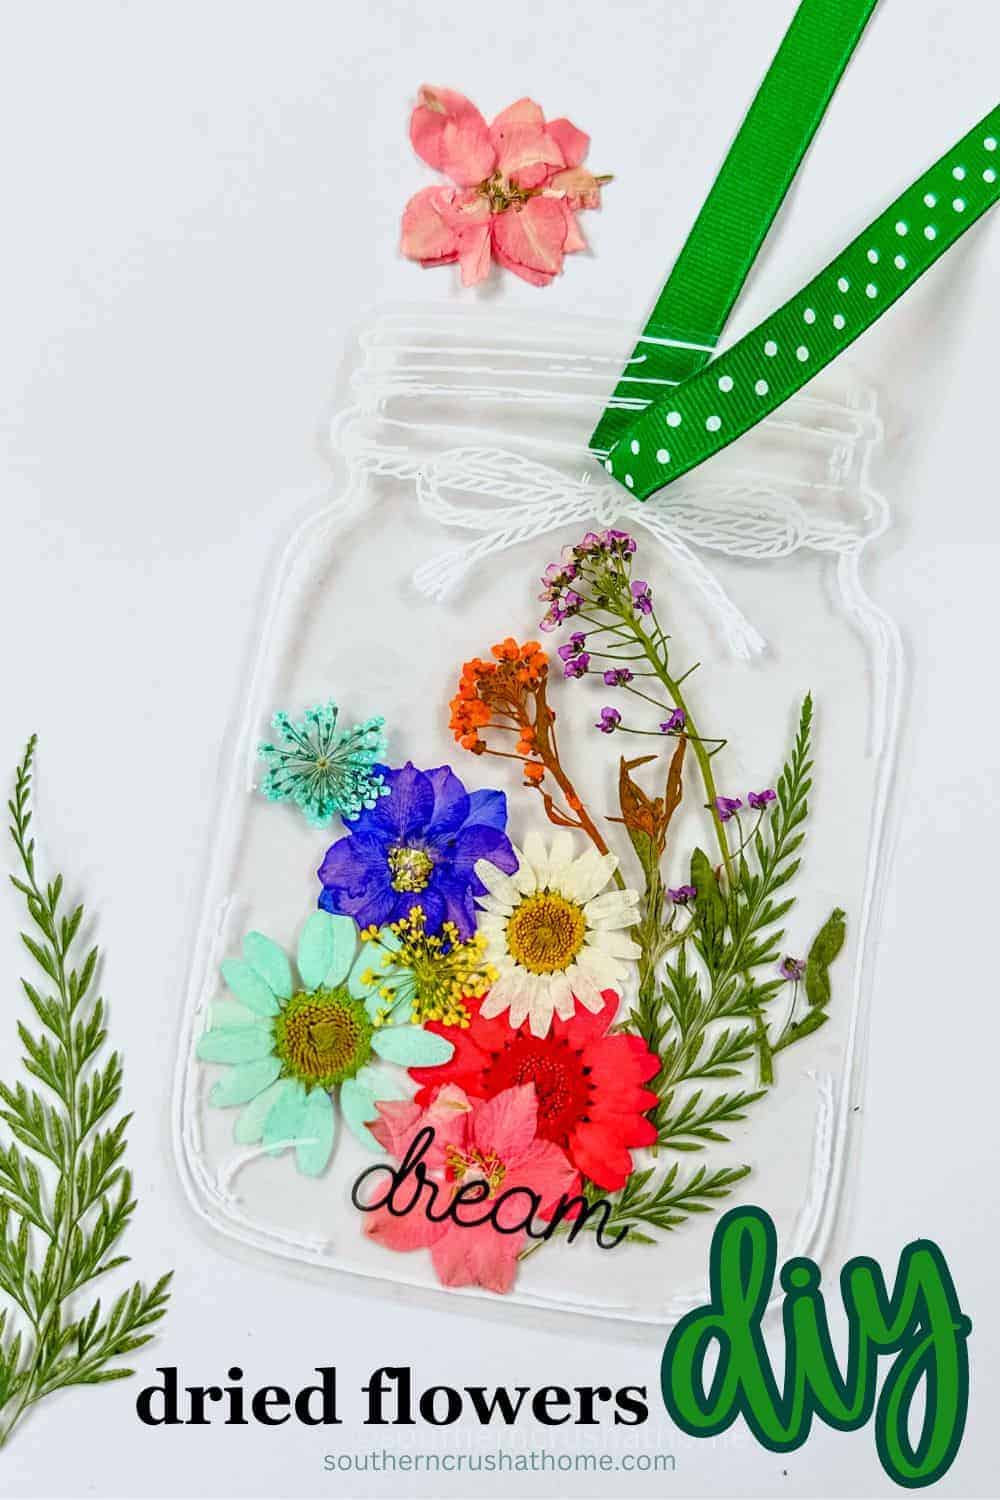
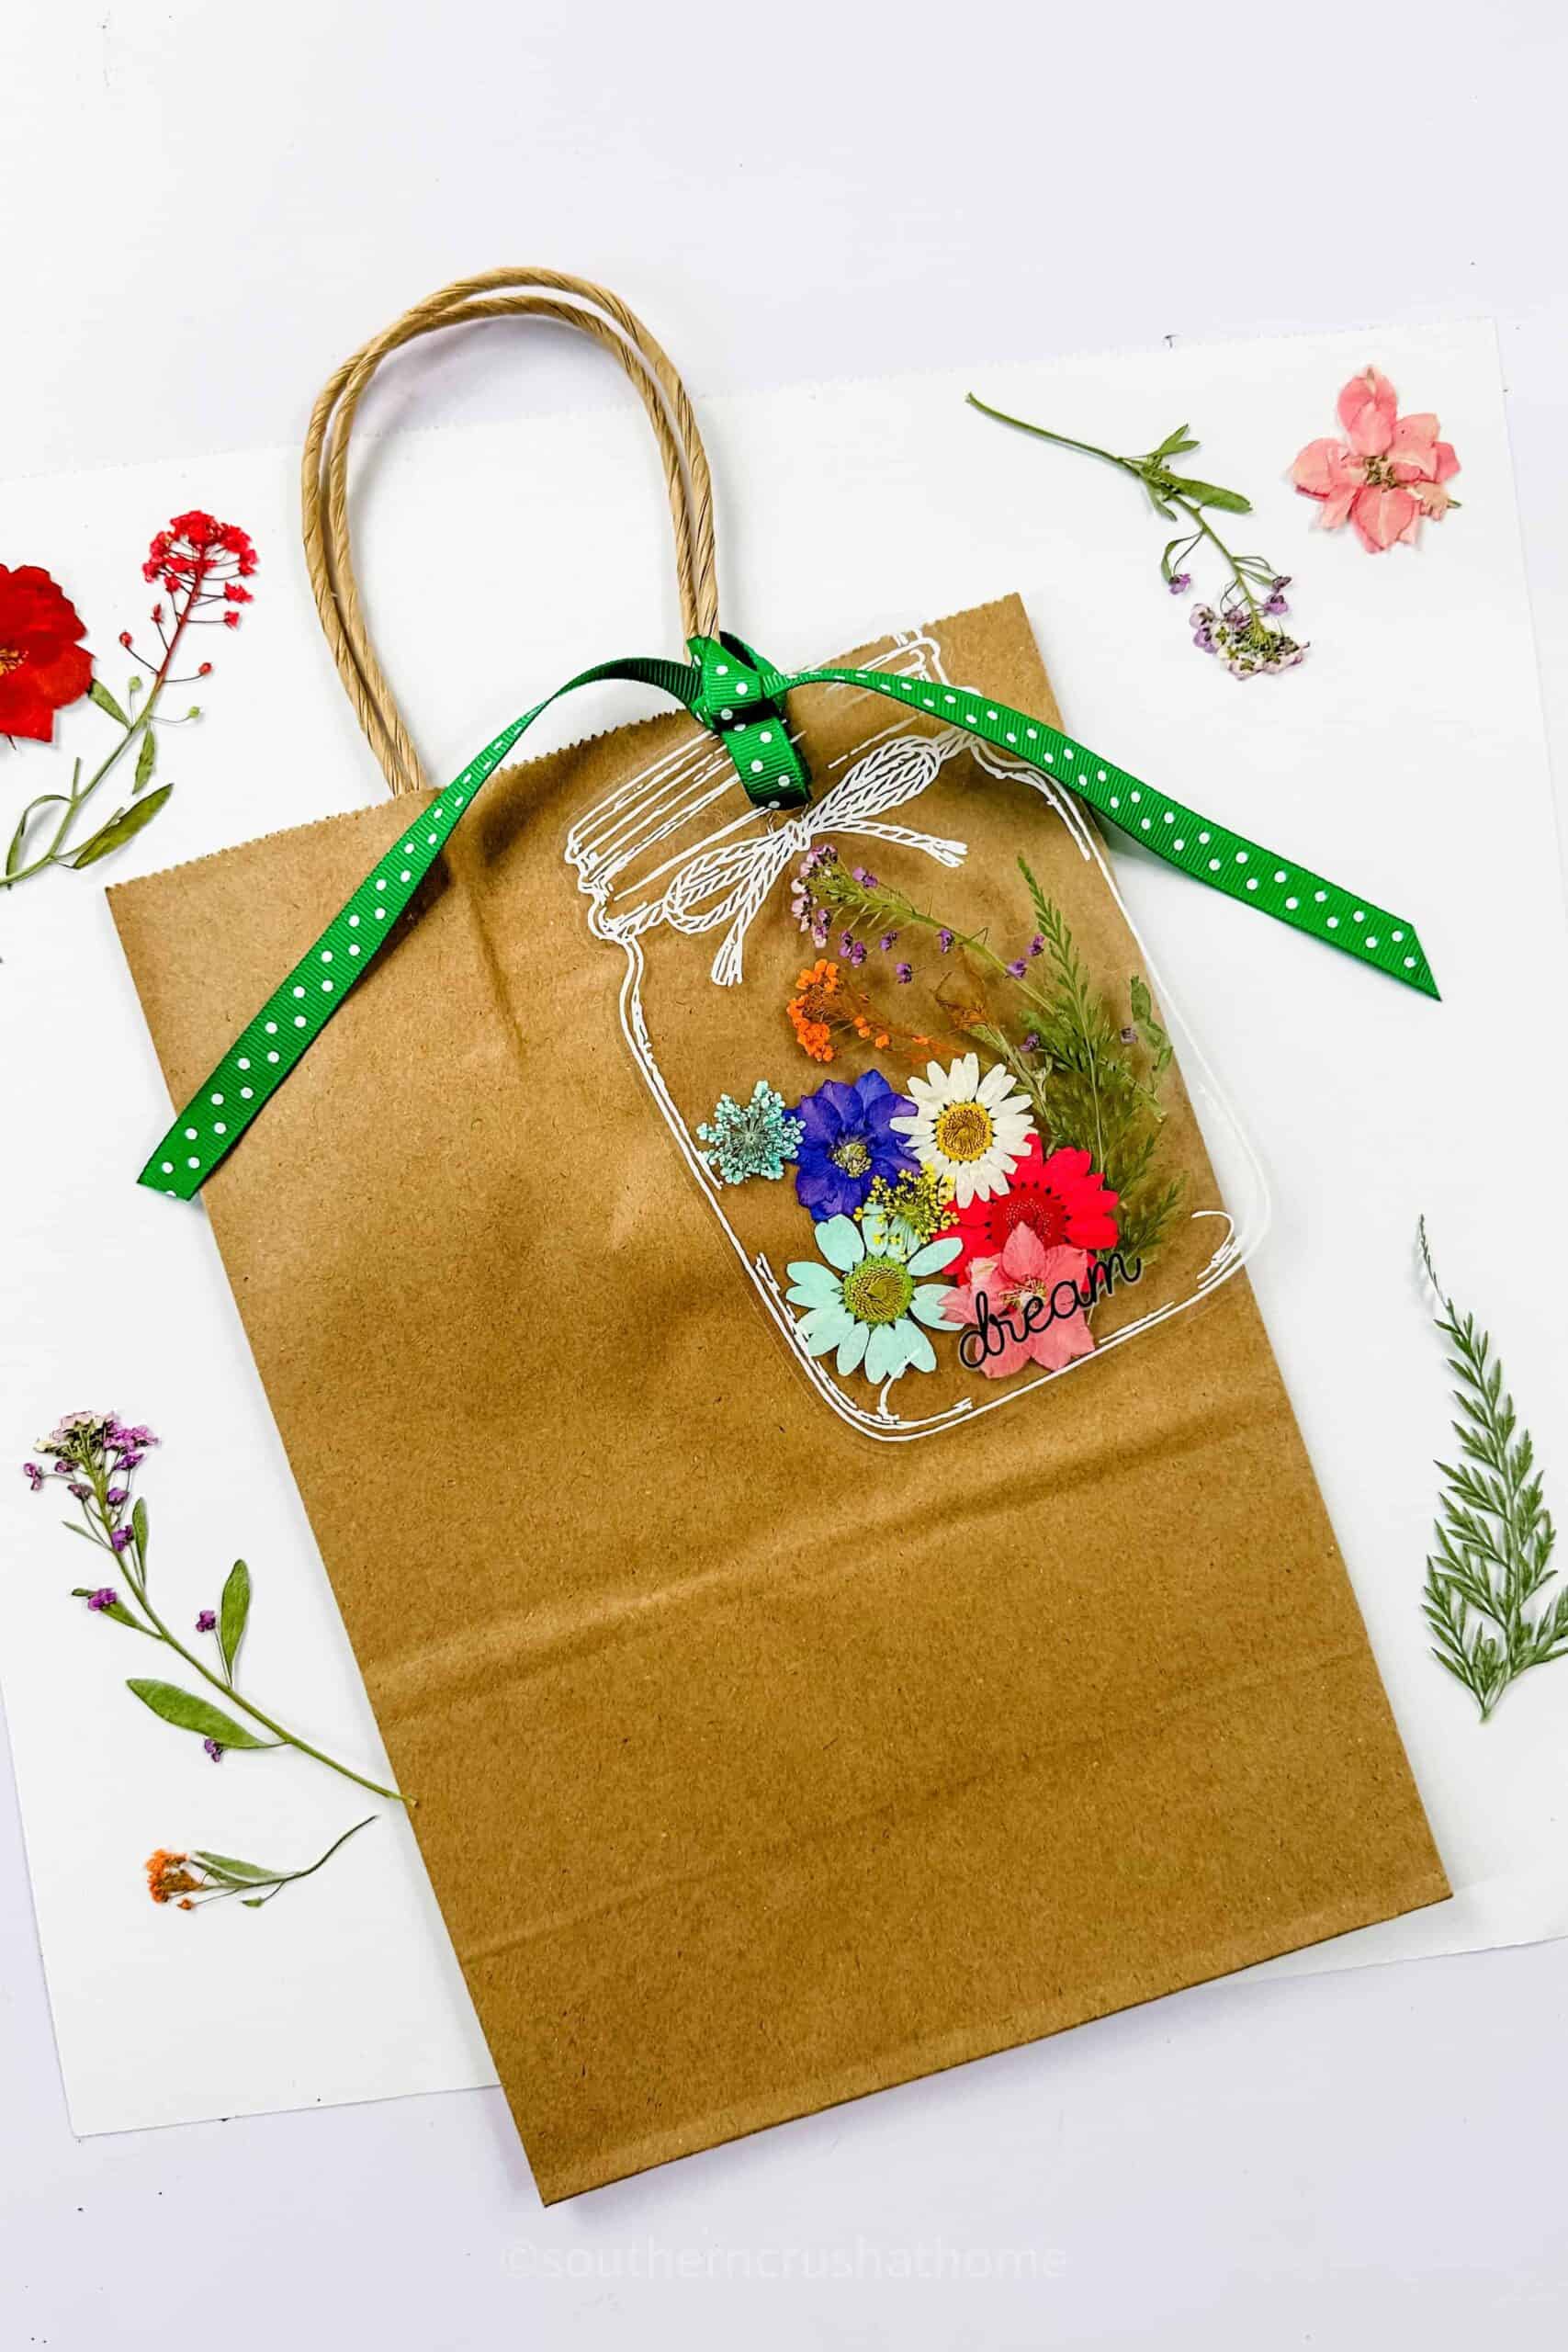
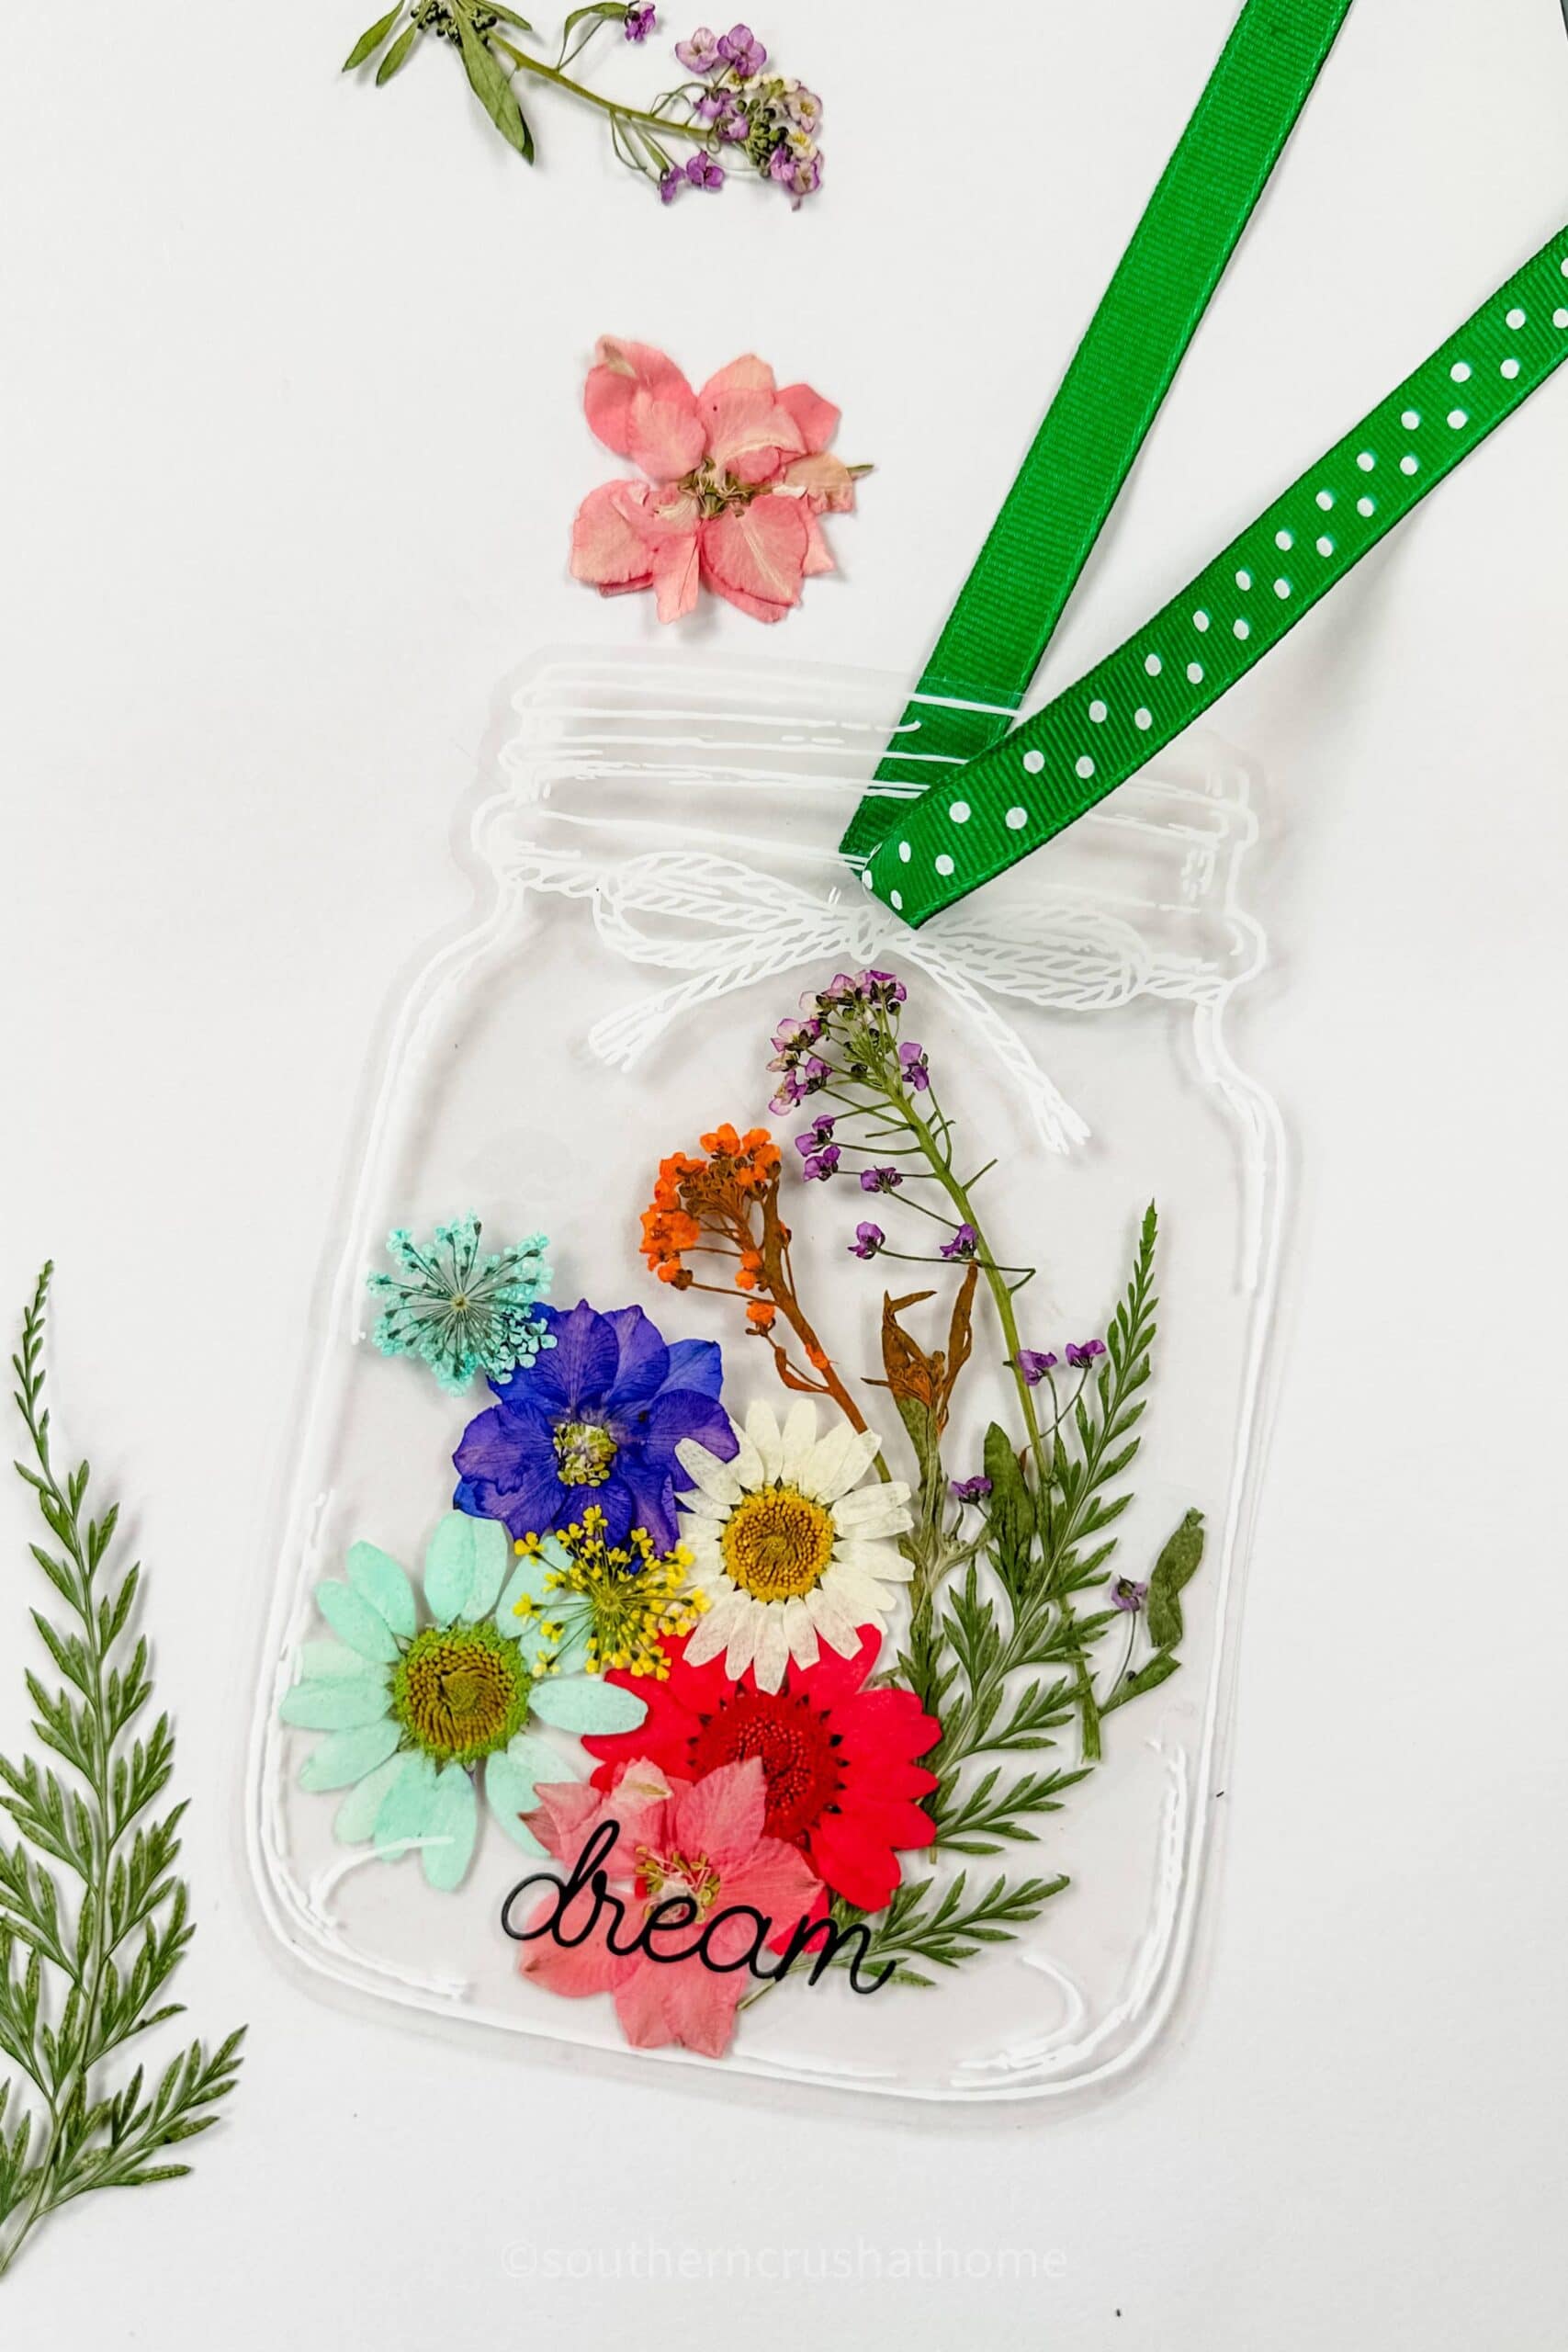
If you want to embellish the top of your dried flower arrangement, you can add a simple bow, a fun transfer word or two, or punch a hole and add a ribbon to make an instant gift tag.
And there you have it! Your charming dried flower stickers are ready to be used.
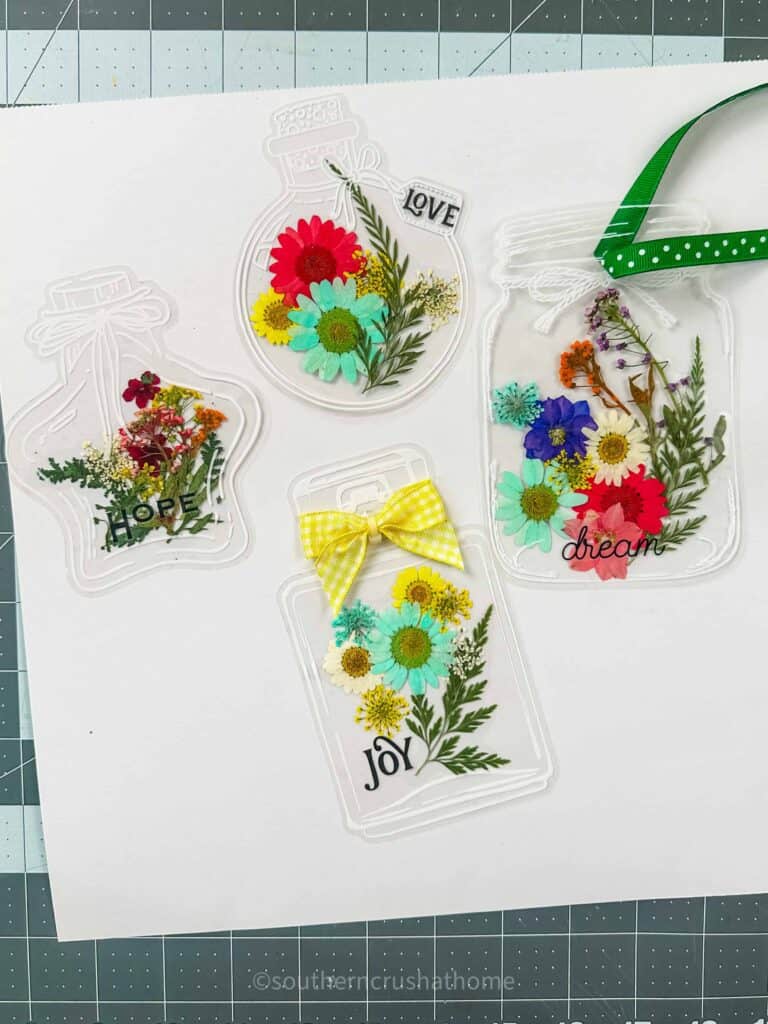
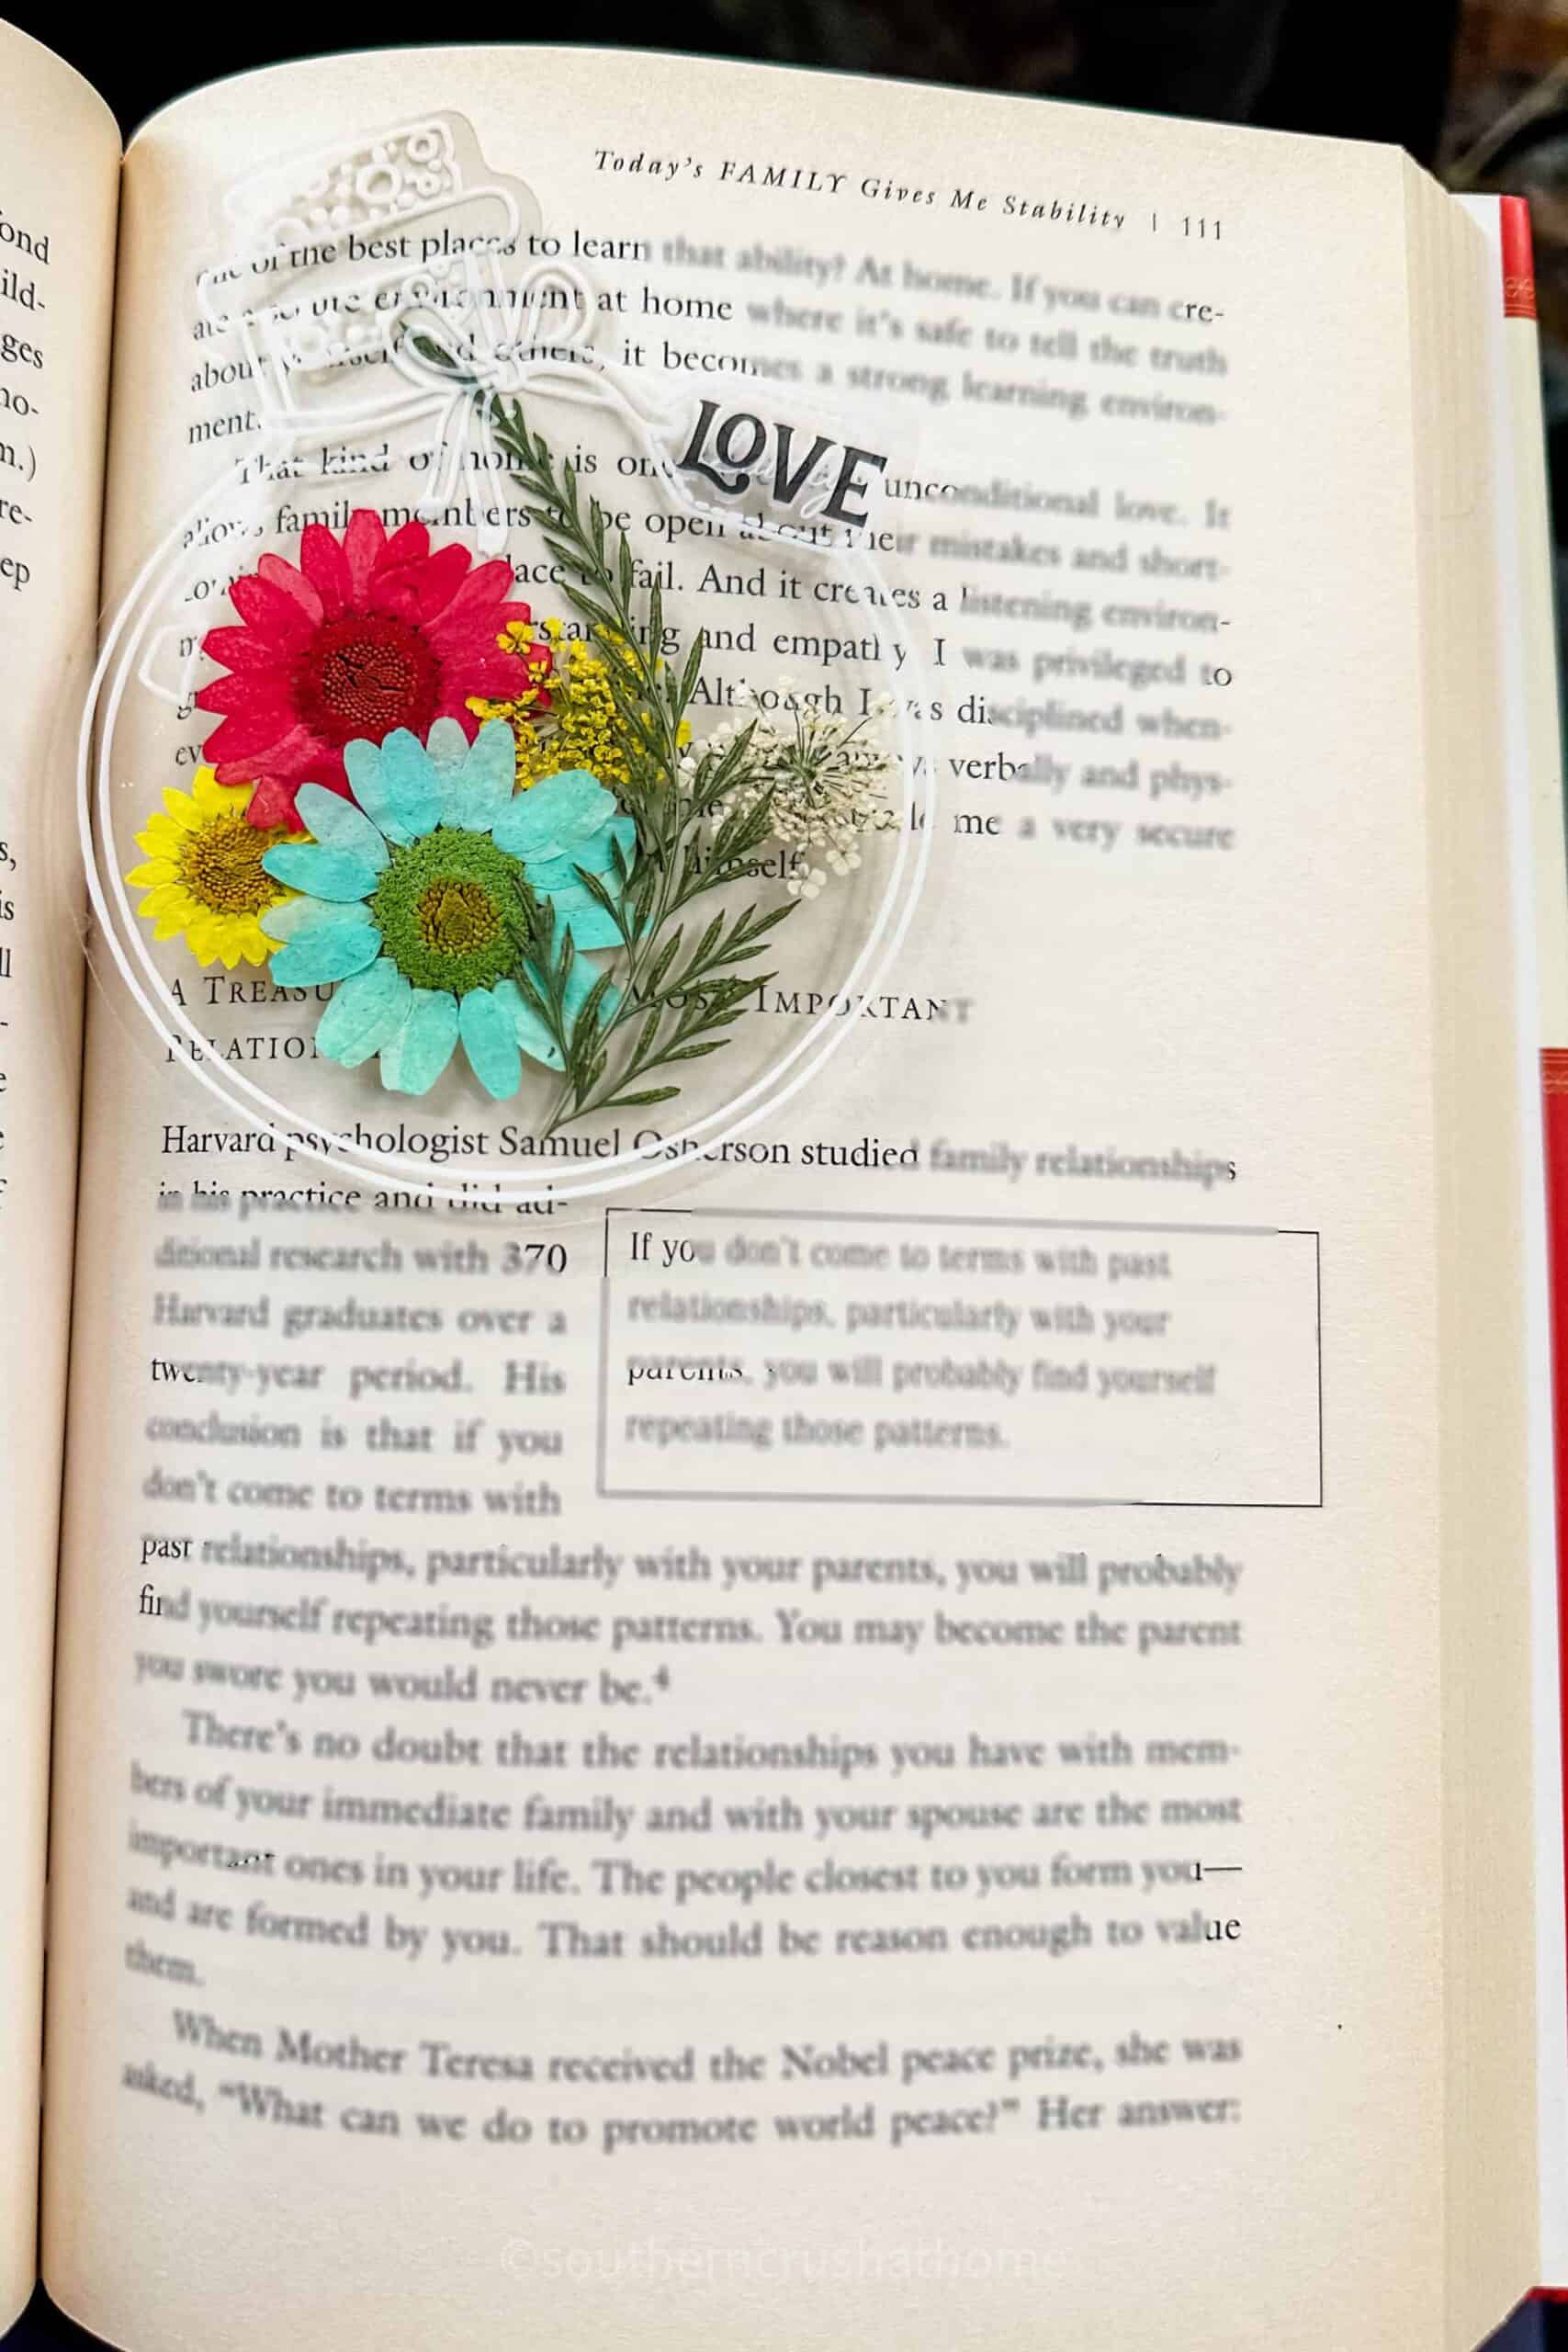
These little beauties can be used as bookmarks, making your reading time extra special.
They’re also perfect for adding a personalized touch to gift tags or homemade cards.
Imagine the delight on a loved one’s face when they receive a card adorned with a delicate, handcrafted flower arrangement!
Tips and Tricks:
- Experiment with Different Flowers: Different flowers will give you different looks. Don’t be afraid to mix and match to find your favorite combinations.
- Layering: Try layering different types of flowers for a more complex and interesting design.
- Color Coordination: Think about the colors of your dried flowers and how they will complement each other. A harmonious color palette can make your stickers even more beautiful.
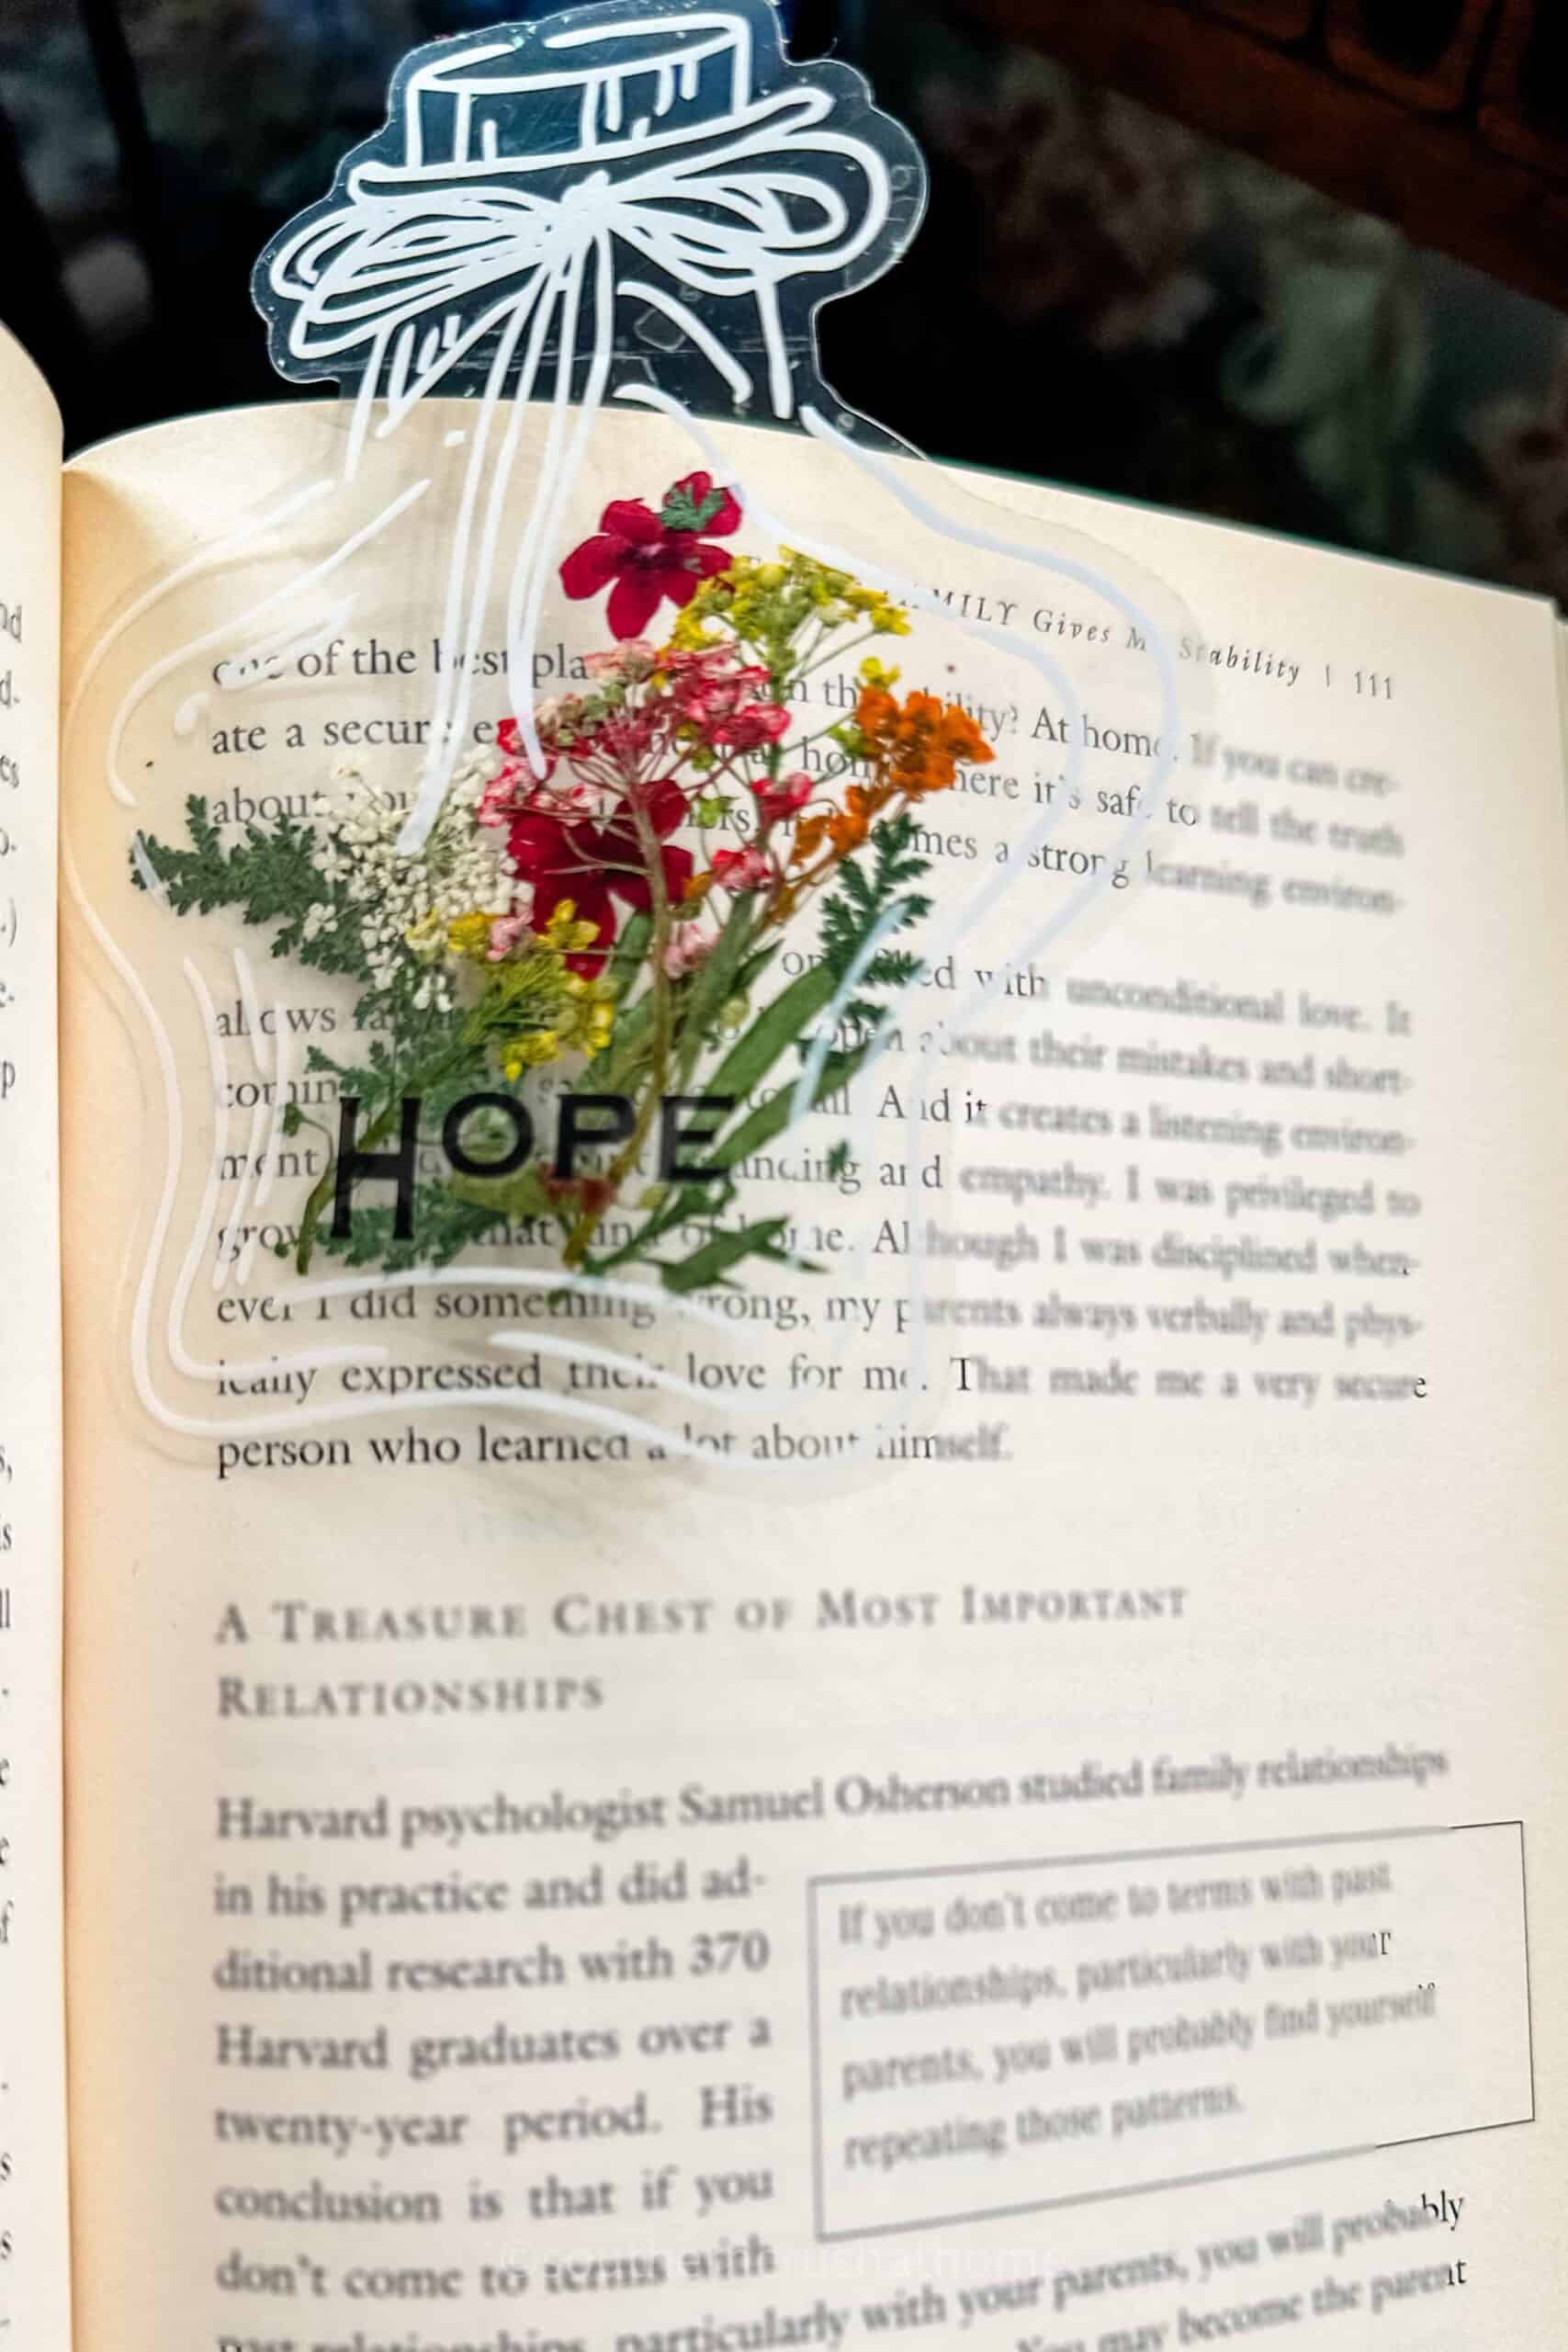
Creating these dried flower arrangments is not only a fun and relaxing activity, but it’s also a wonderful way to give new life to your favorite blooms. Plus, they make for incredibly thoughtful and unique gifts.
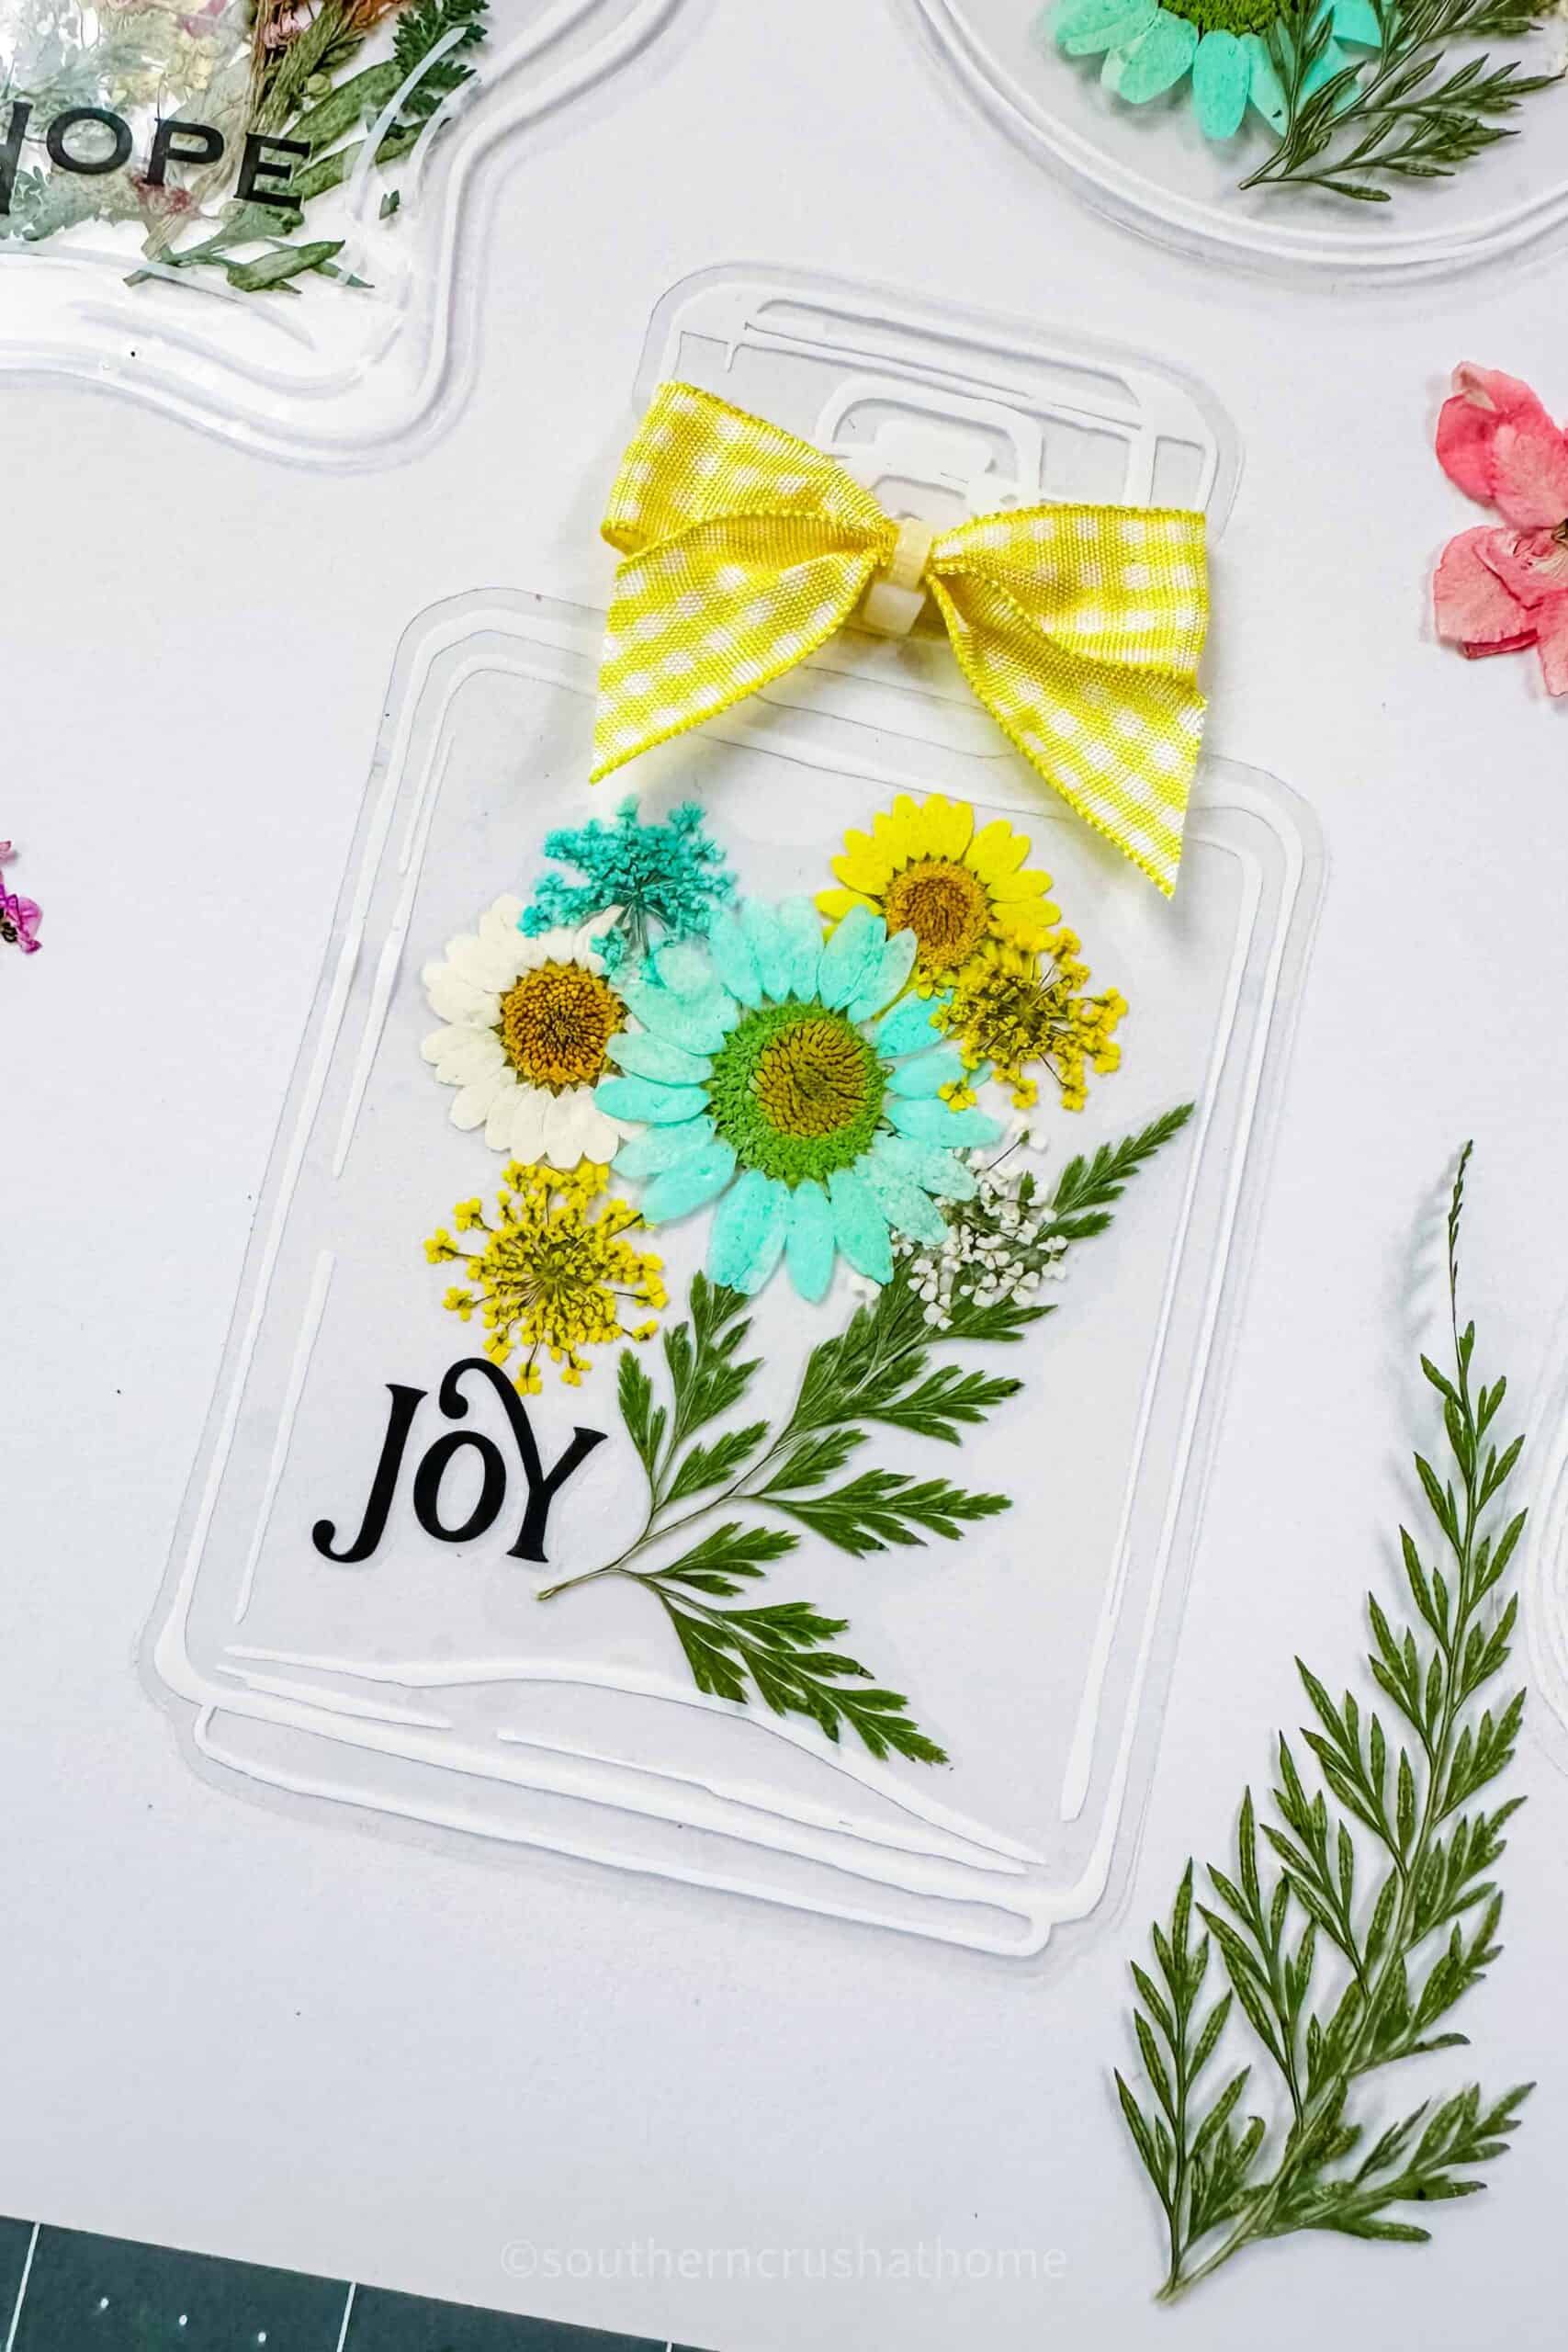
So, head over to my Amazon shop, gather your supplies, and let’s get crafting! I can’t wait to see the beautiful creations you come up with.
More Dried Flowers Crafts
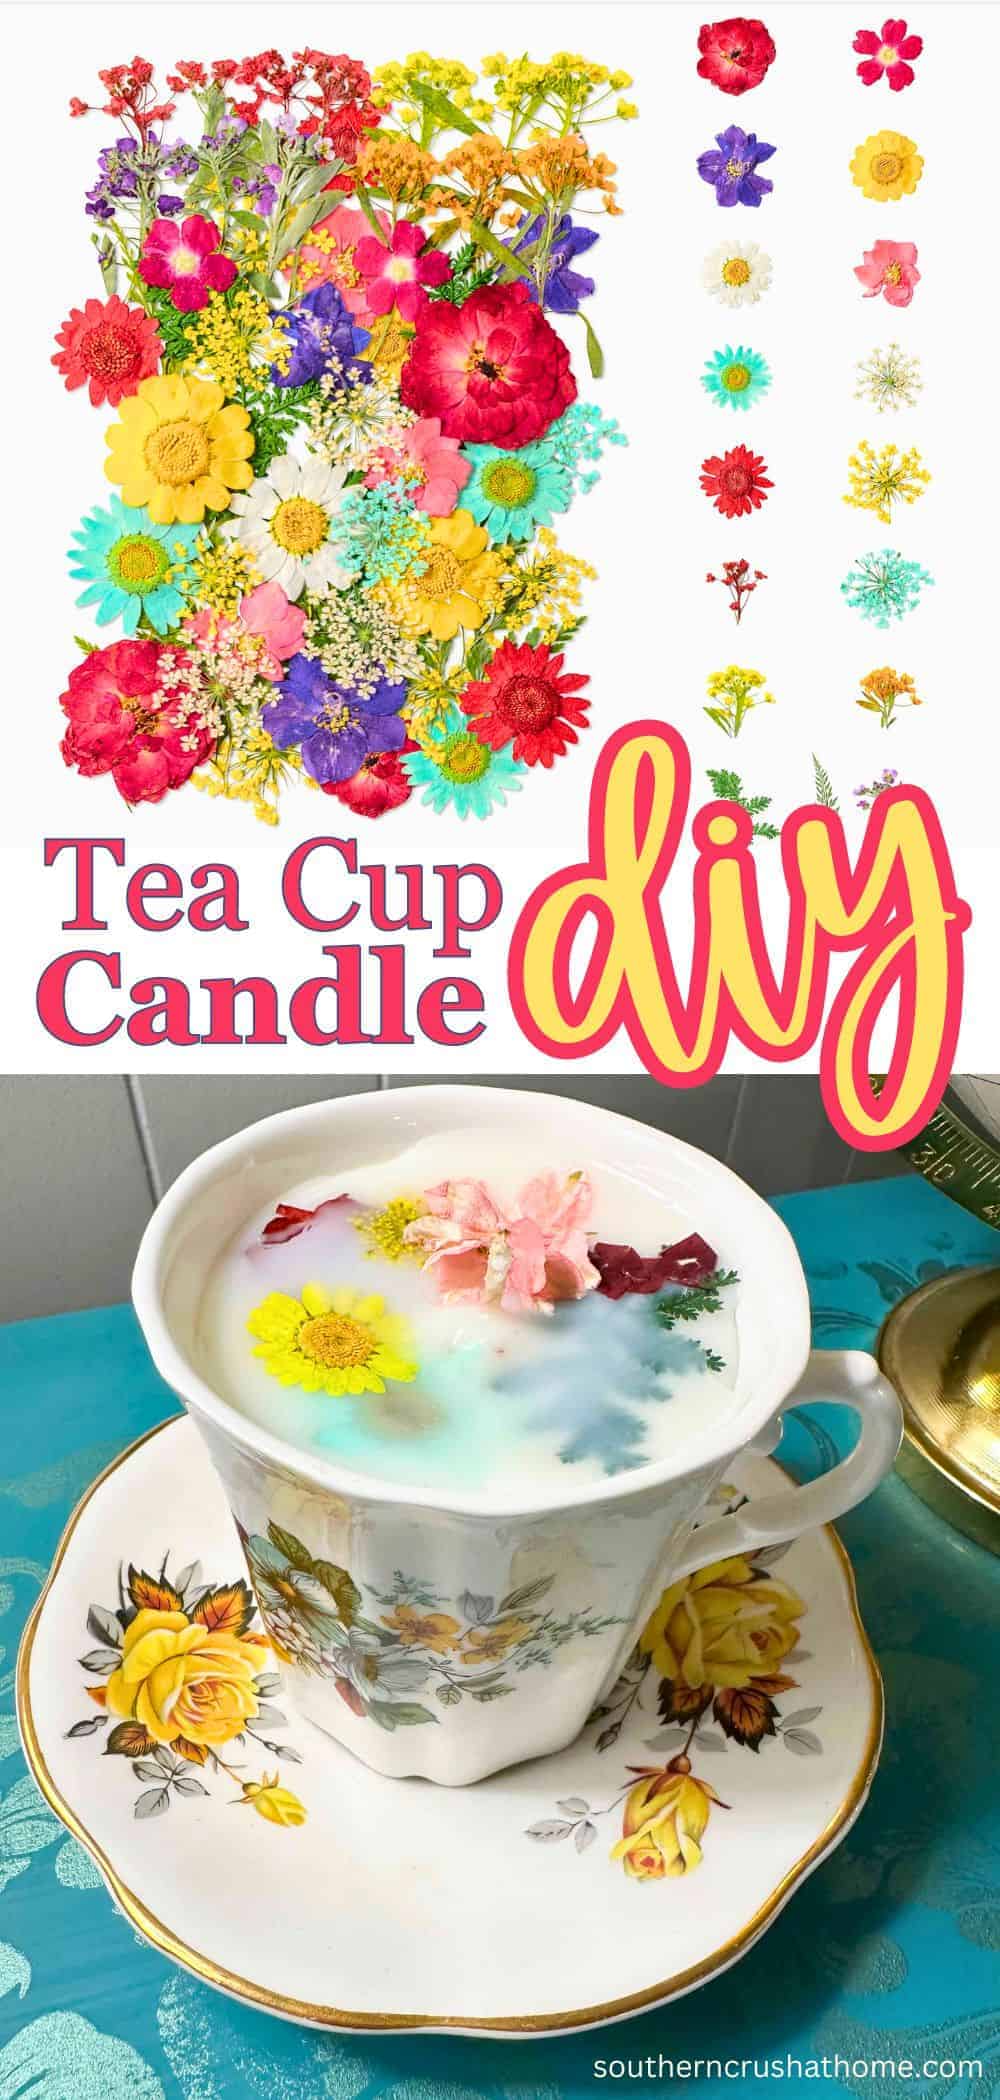
You might want to try this cute tea cup candle with dried flowers idea, too!
Happy crafting, my friends!
P.S. Don’t forget to share your creations with me!

