Dollar Tree Tabletop Christmas Tree Craft
The holiday season is here, and it’s time to start decorating! There’s nothing more exciting than getting your hands on some craft supplies and turning them into beautiful Christmas decor.
PIN this for later!
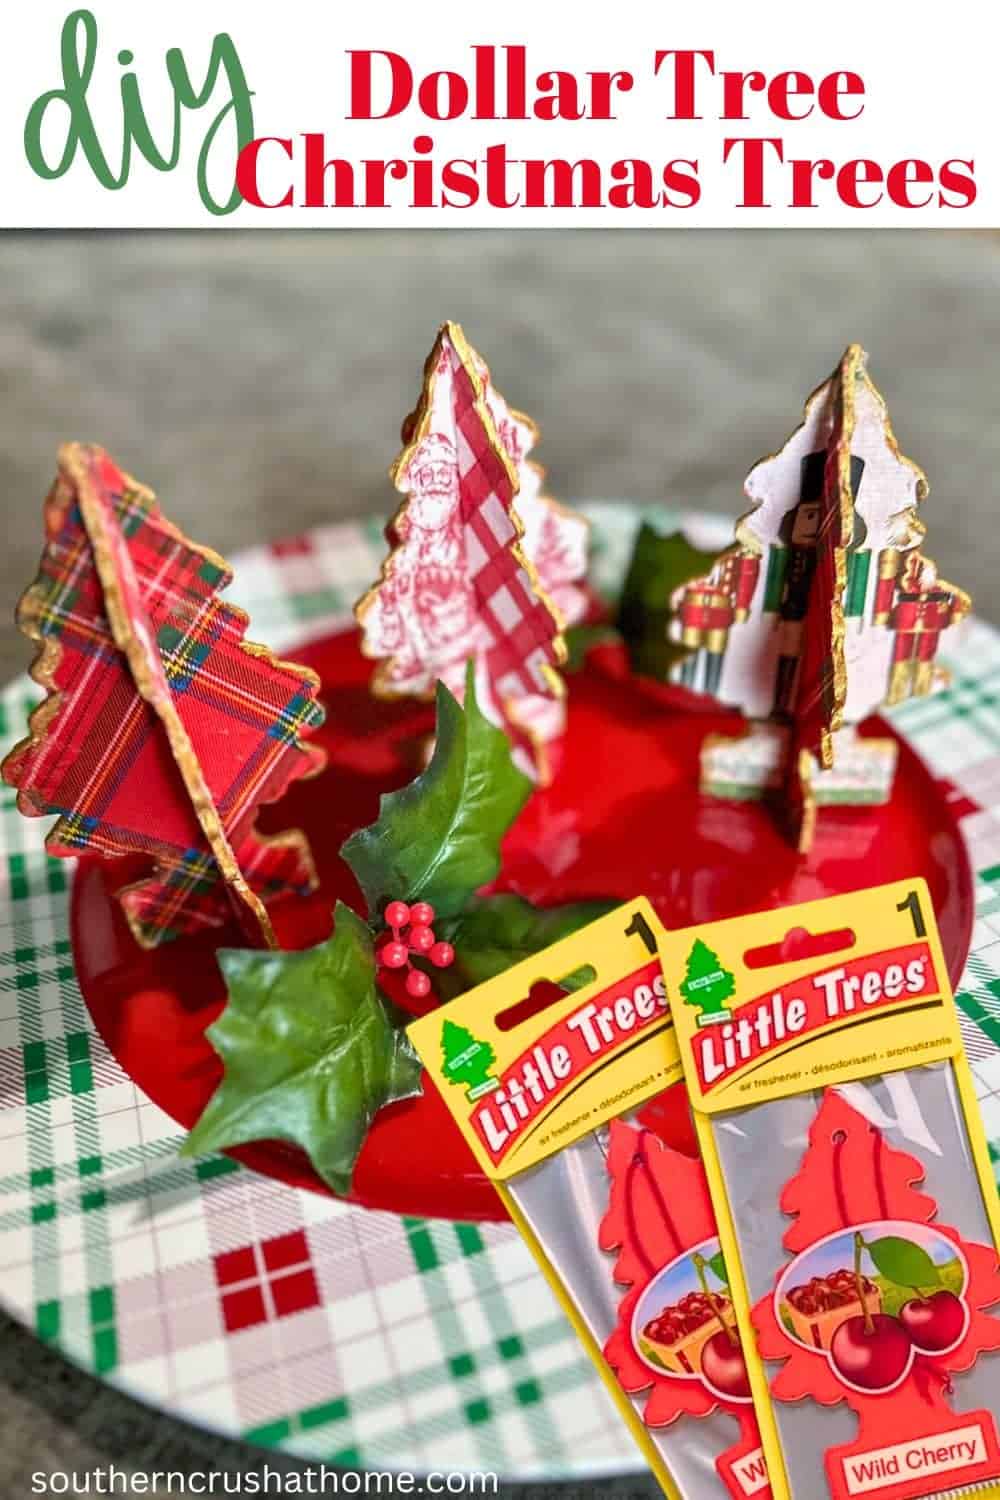
If you’re looking for a fun and affordable way to dress up your home this season, you’ve come to the right place. Today I’ll be sharing how to make a DIY tabletop Christmas trees using Dollar Tree Little Trees car air fresheners.
This blog post contains affiliate links. The opinions are wholly my own from my own experience. I may earn a small commission from clicks through to the websites that end in a purchase.
Supplies Needed to Make Table Top Christmas Trees
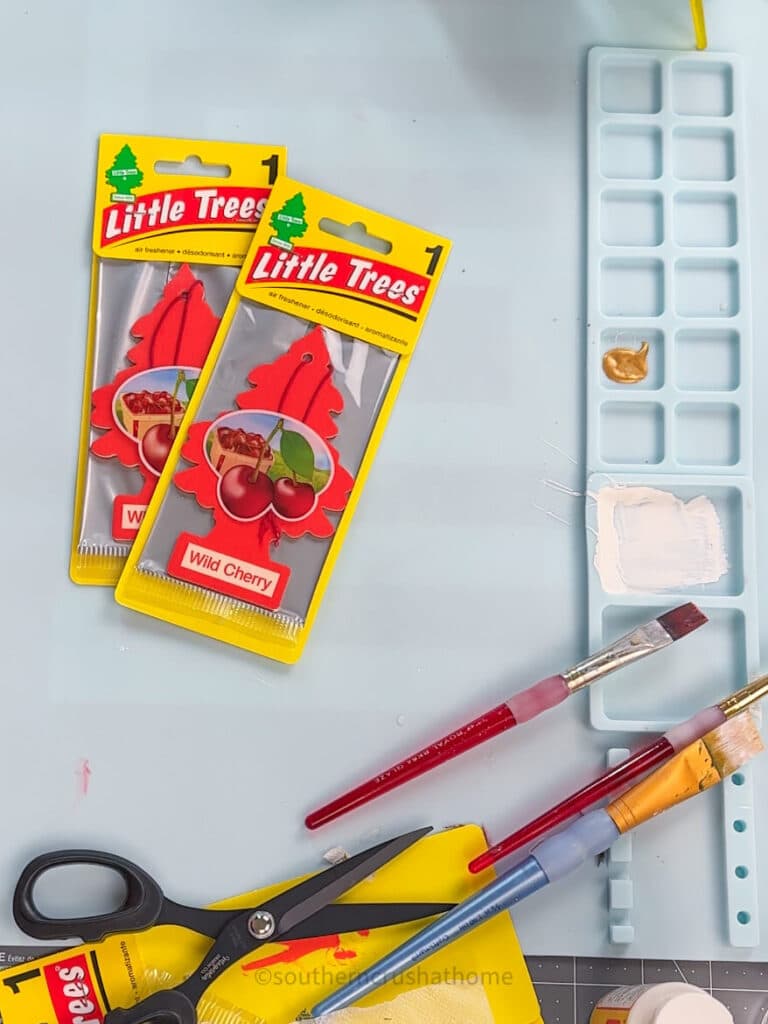
- (2) Dollar Tree Little Trees car air freshener trees per tabletop tree
- White Chalk Paint
- Assorted Napkins
- Mod Podge
- Scissors
- Ruler
- Hot Glue
- 24 Karat Gold Paint or gold paint pen
How to Make Dollar Tree Table Top Christmas Trees
This craft project is perfect for anyone who loves to get crafty, and it’s the perfect centerpiece for your holiday table.
Step 1: Paint Over Trees
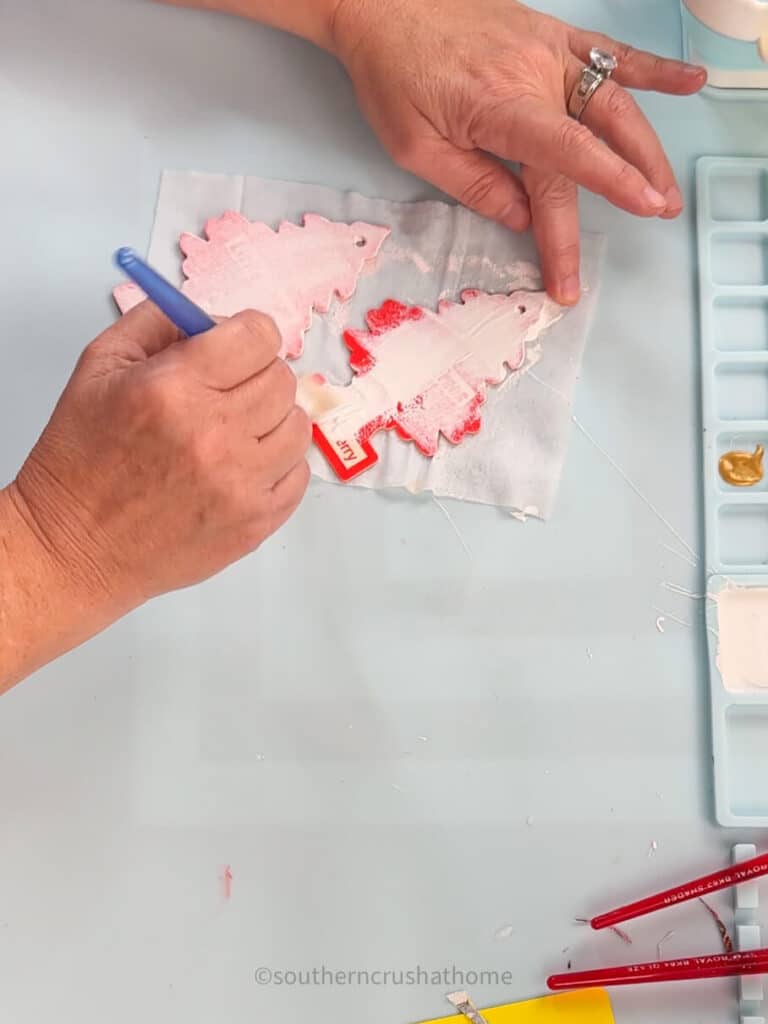
If you choose a light-colored napkin and your car air freshener tree is dark, apply a coat or two of white chalk paint as your first step.
Typically, I buy the Little Trees brand Black Ice car air fresheners, but my Dollar Tree only had these wild cherry fragrances. Either way, they would need to be painted for the lighter napkins.
Step 2: Decoupage Napkins Onto Trees
Apply a thin coat of Mod Podge onto the car air freshener tree.
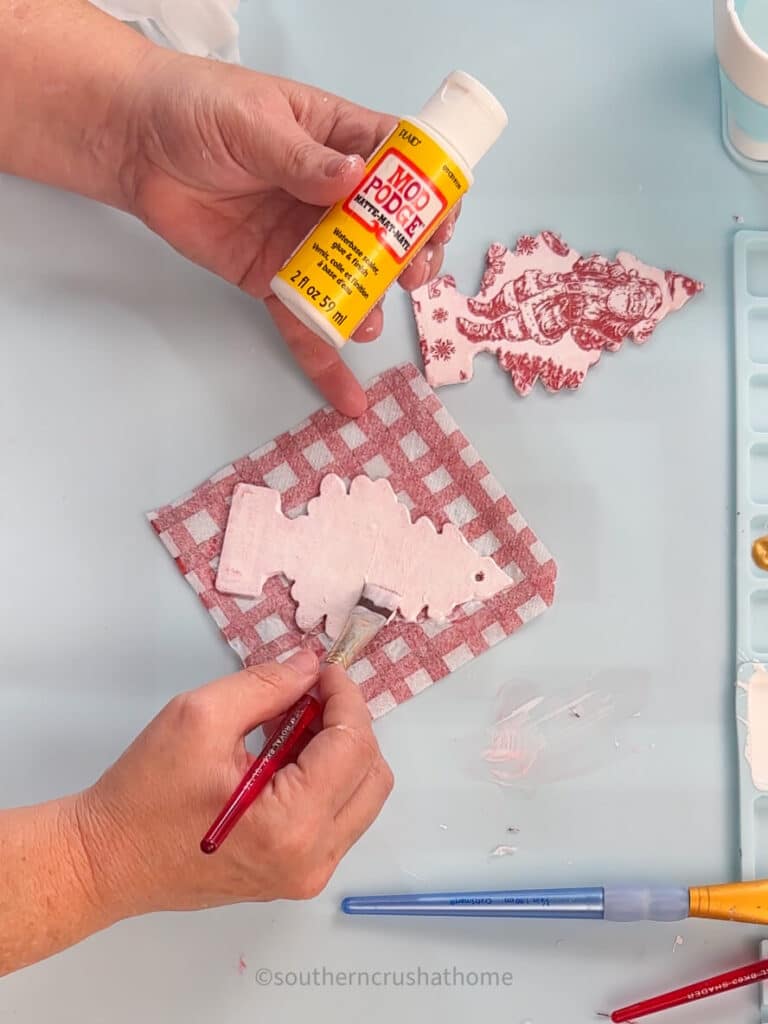
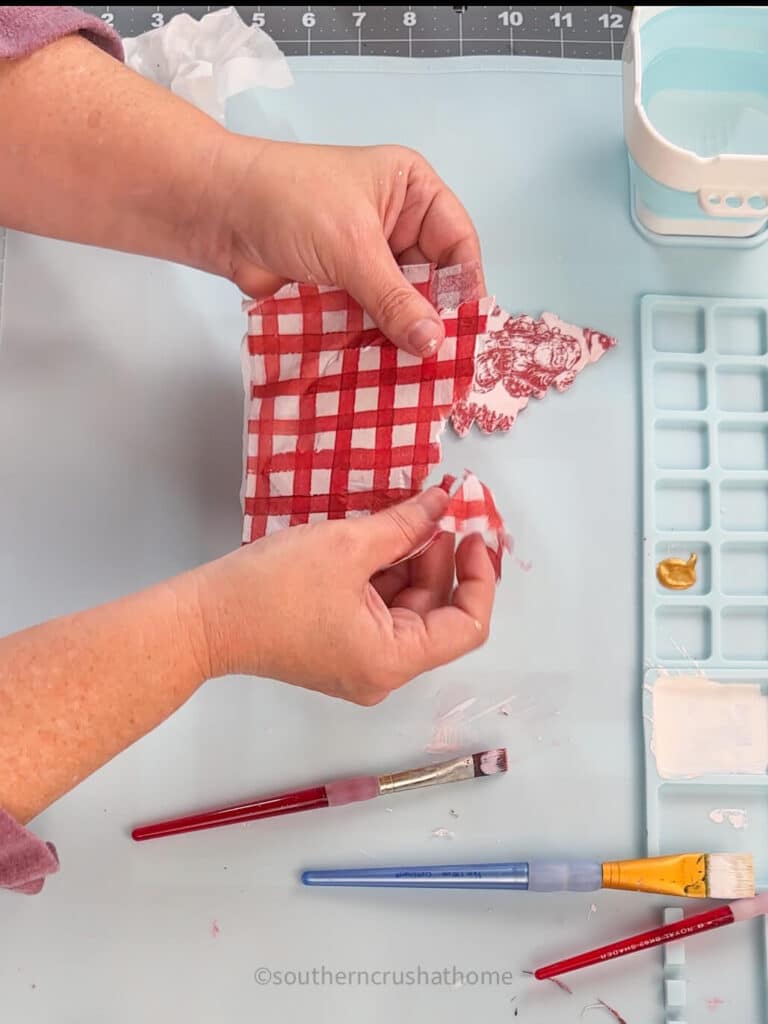
Separate your napkin to the thinnest single layer and add it to the tree.
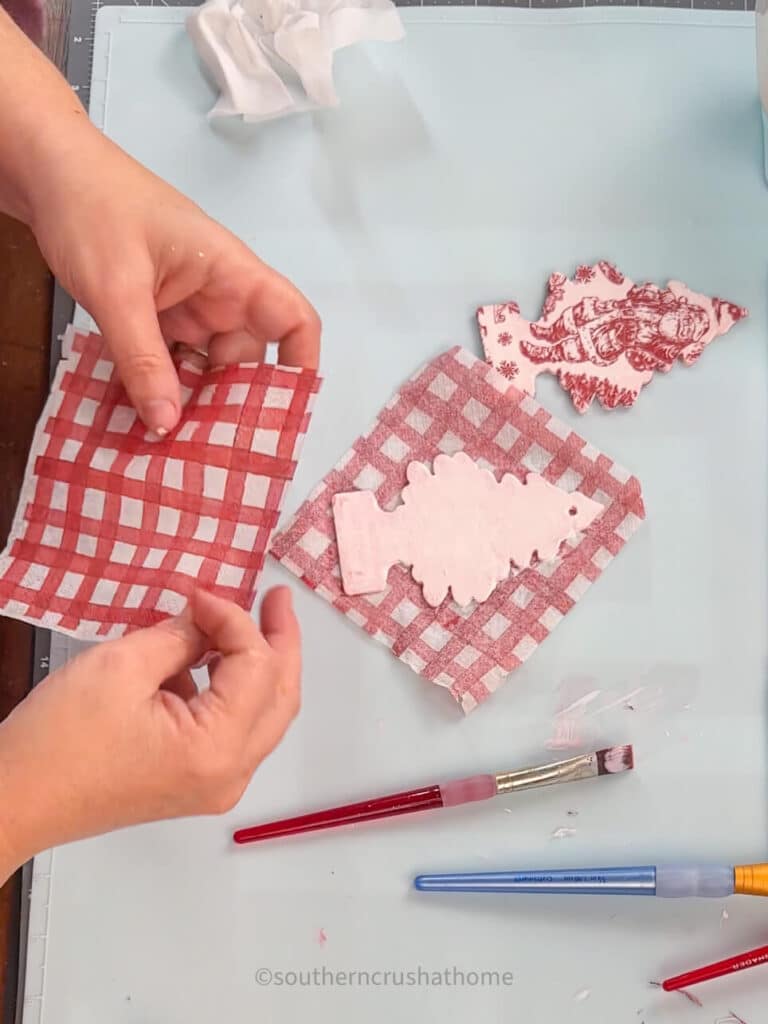
Gently tear away any excess. Allow to dry completely.
Step 3: Cut Trees
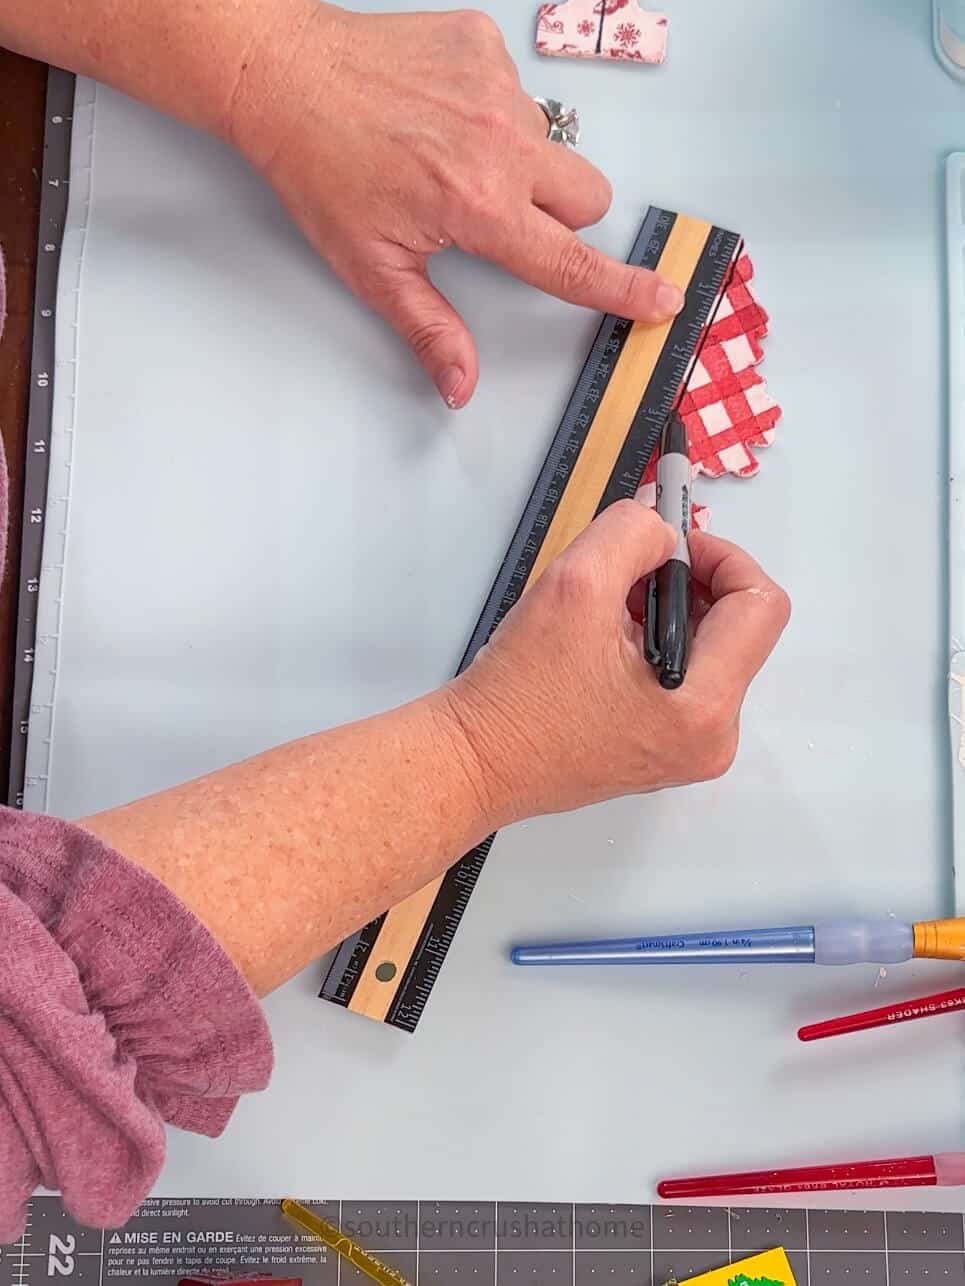
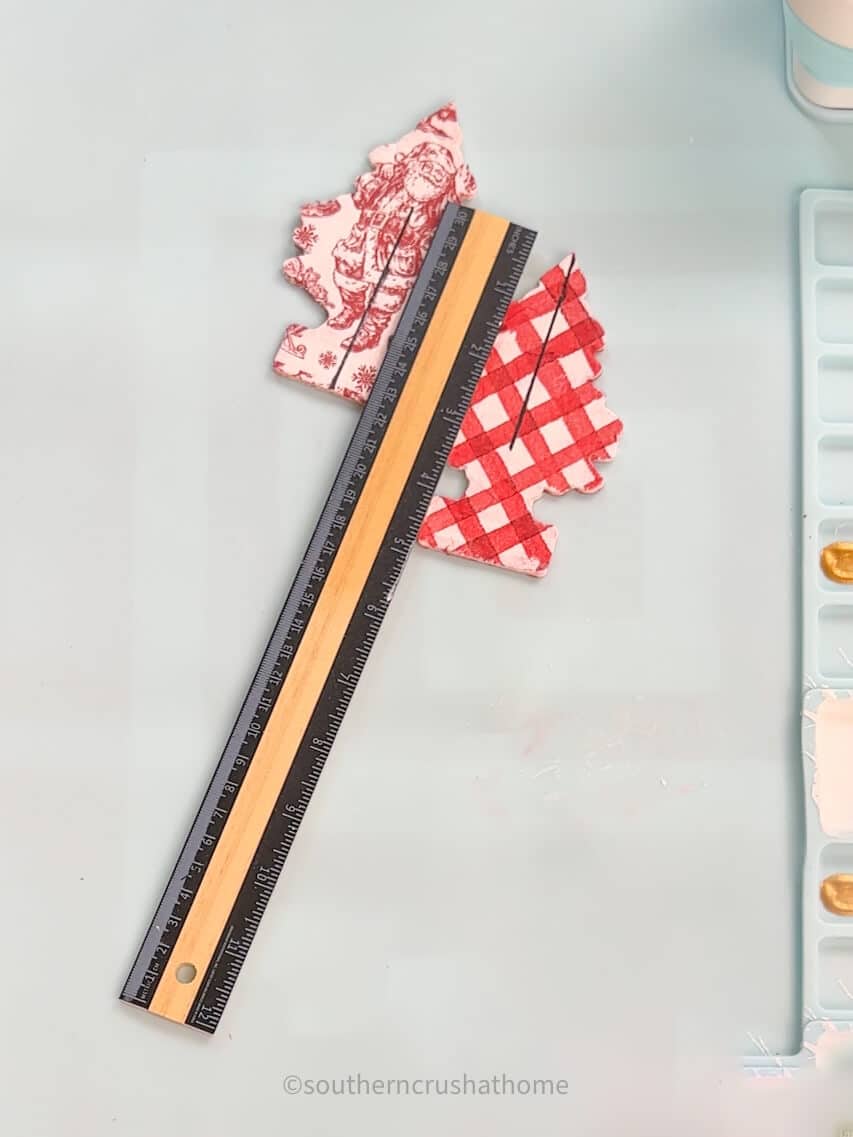
Using a ruler measure about 3 inches from the top of one tree and the same from the bottom of the other.
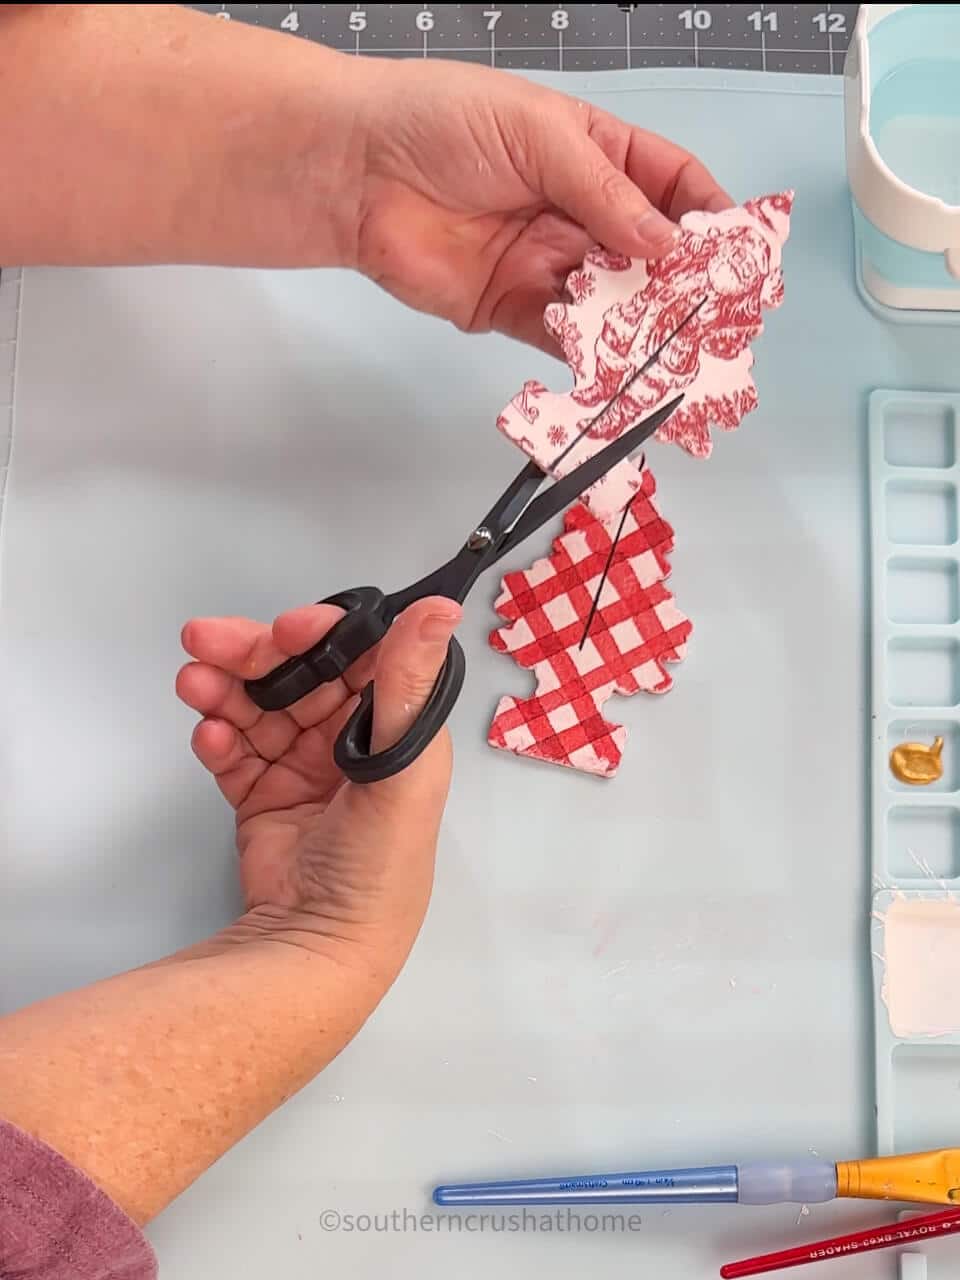
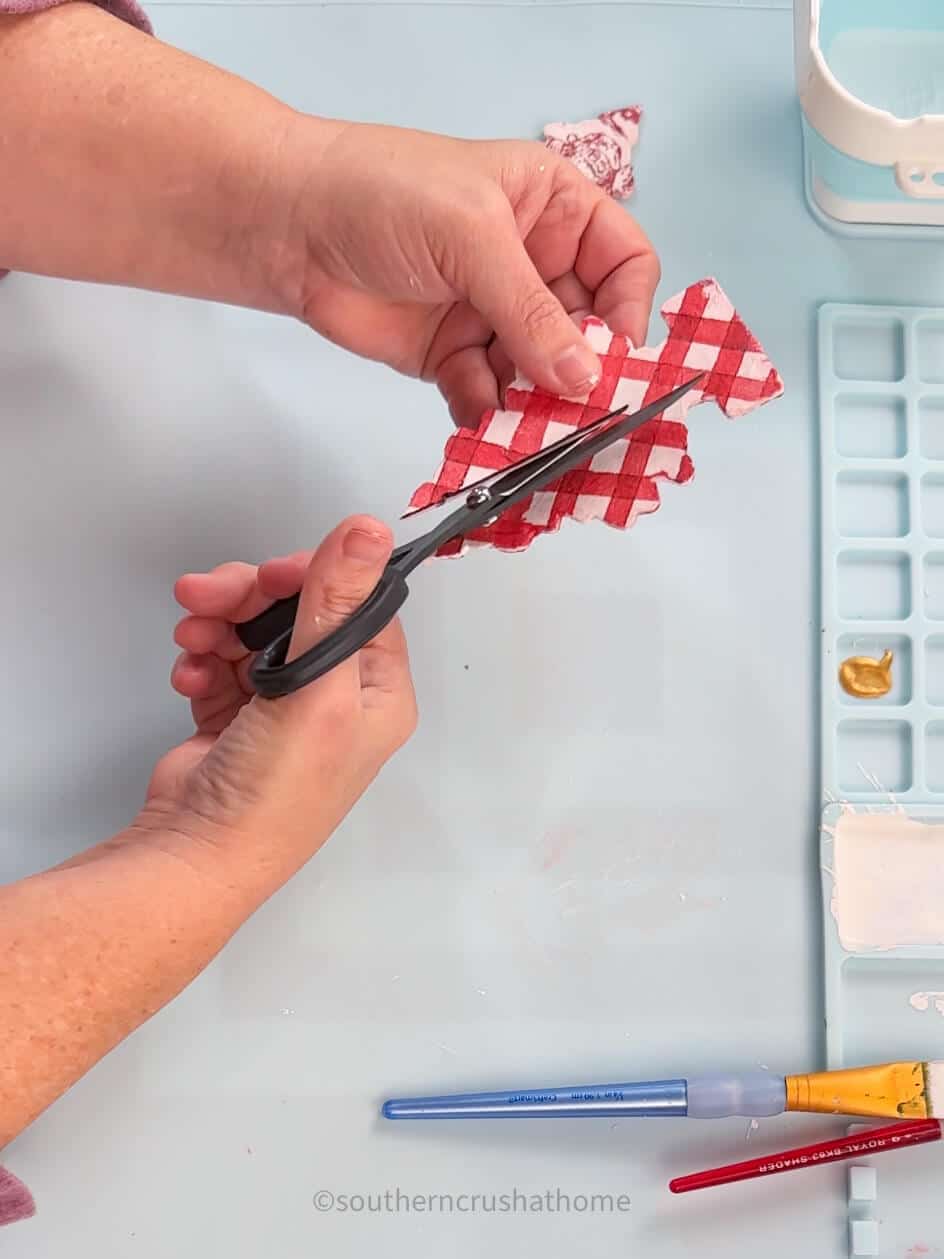
Using your scissors, cut the lines you made on each tree.
Step 4: Glue Trees
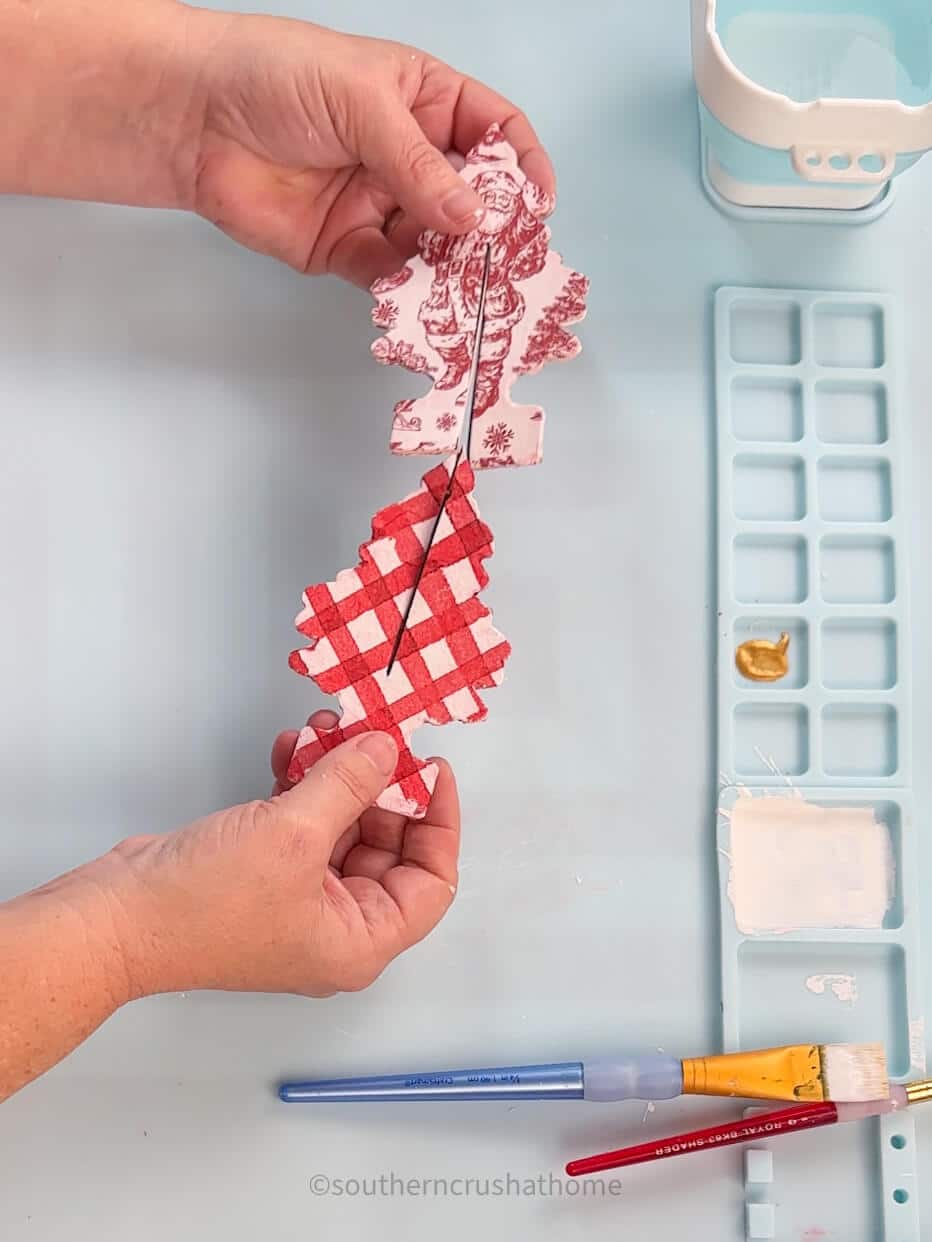
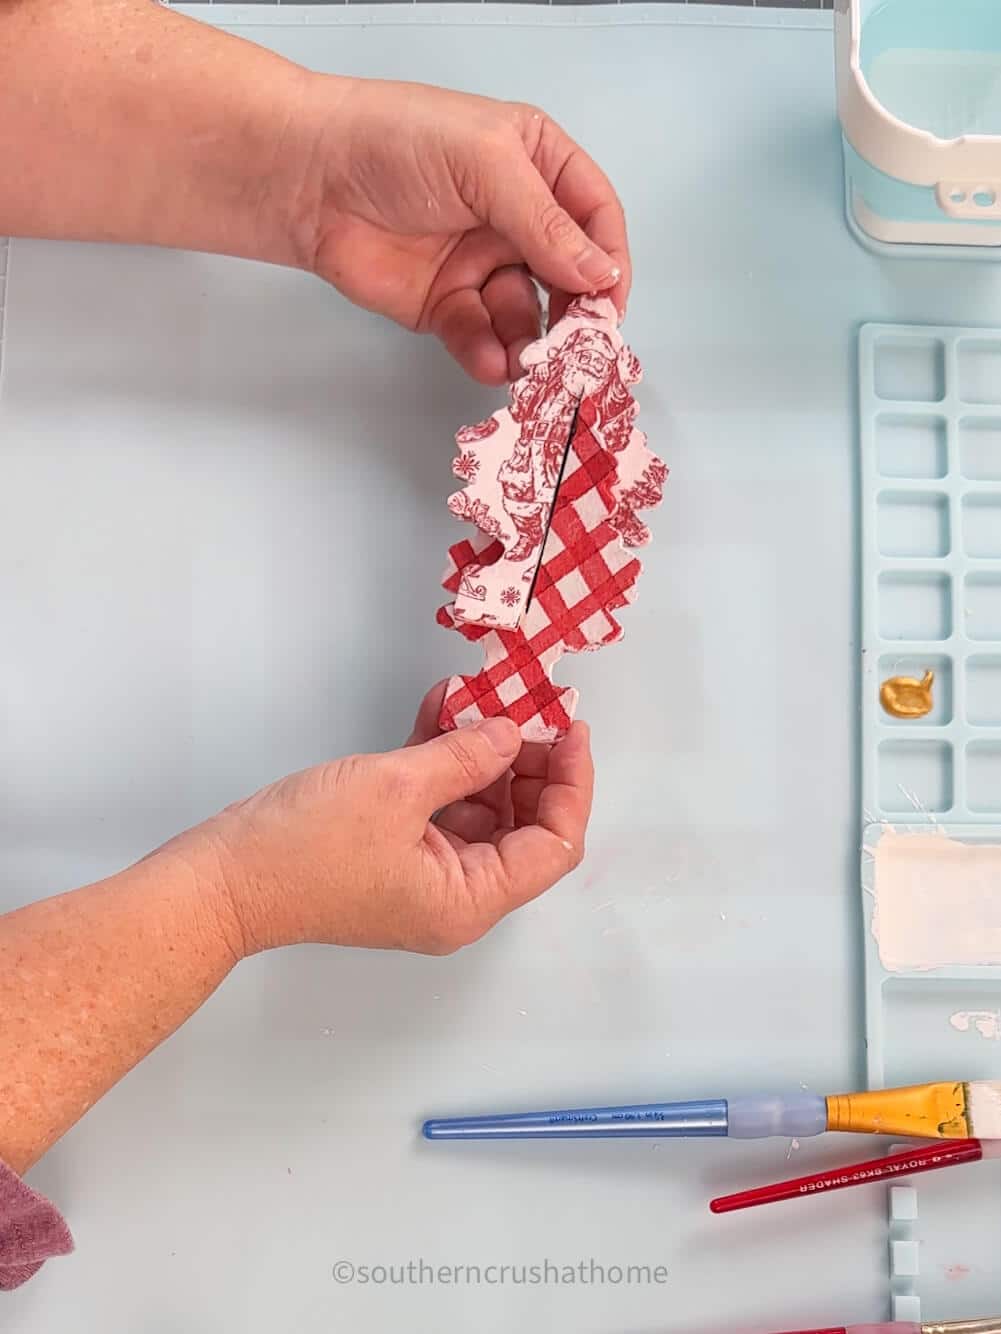
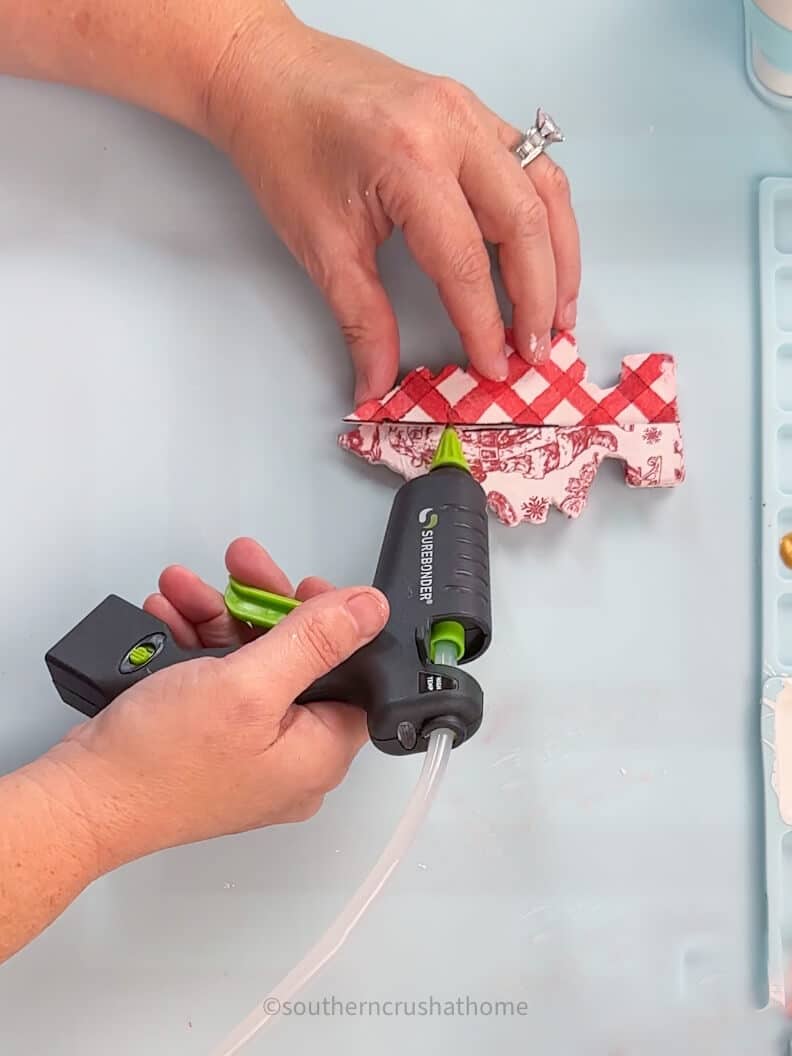
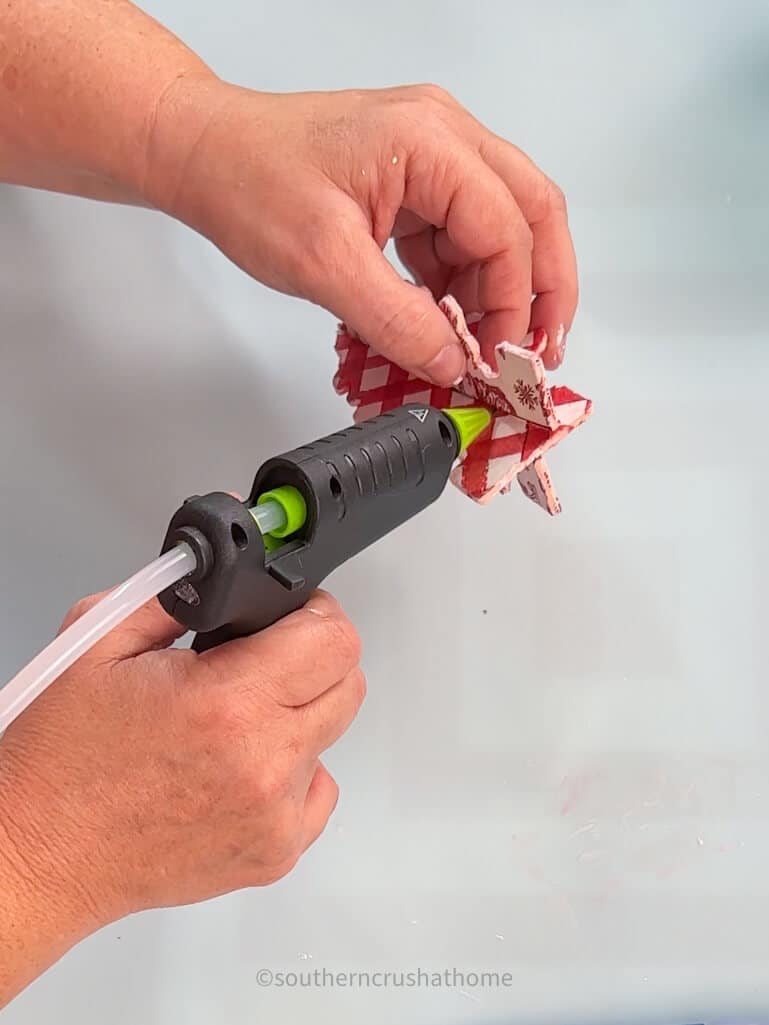
Slide the two trees together using the cuts as your guide.
Secure them with a touch of hot glue.
Step 5: Embellish Trees
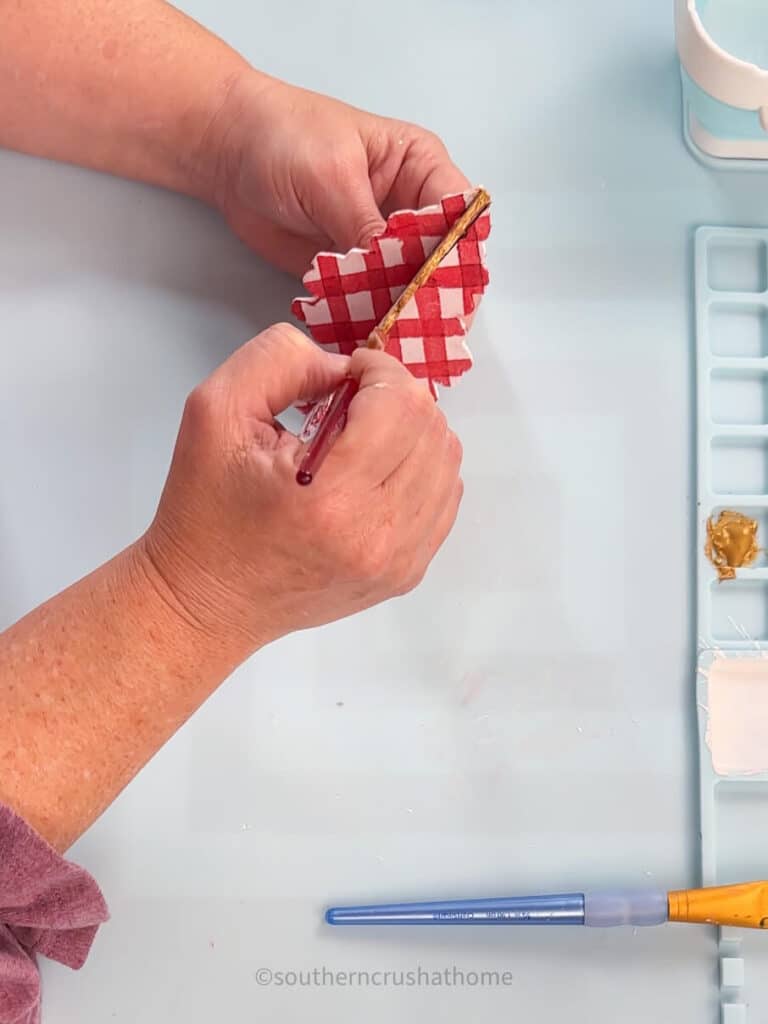
To give the tree some extra pizzazz, you can add some gold to the outside edges of the trees.
Step 6: Display Trees
- Place the trees on a charger for a festive tabletop centerpiece.
- Put them in a glass crock with faux snow.
- Place them on a bookshelf.
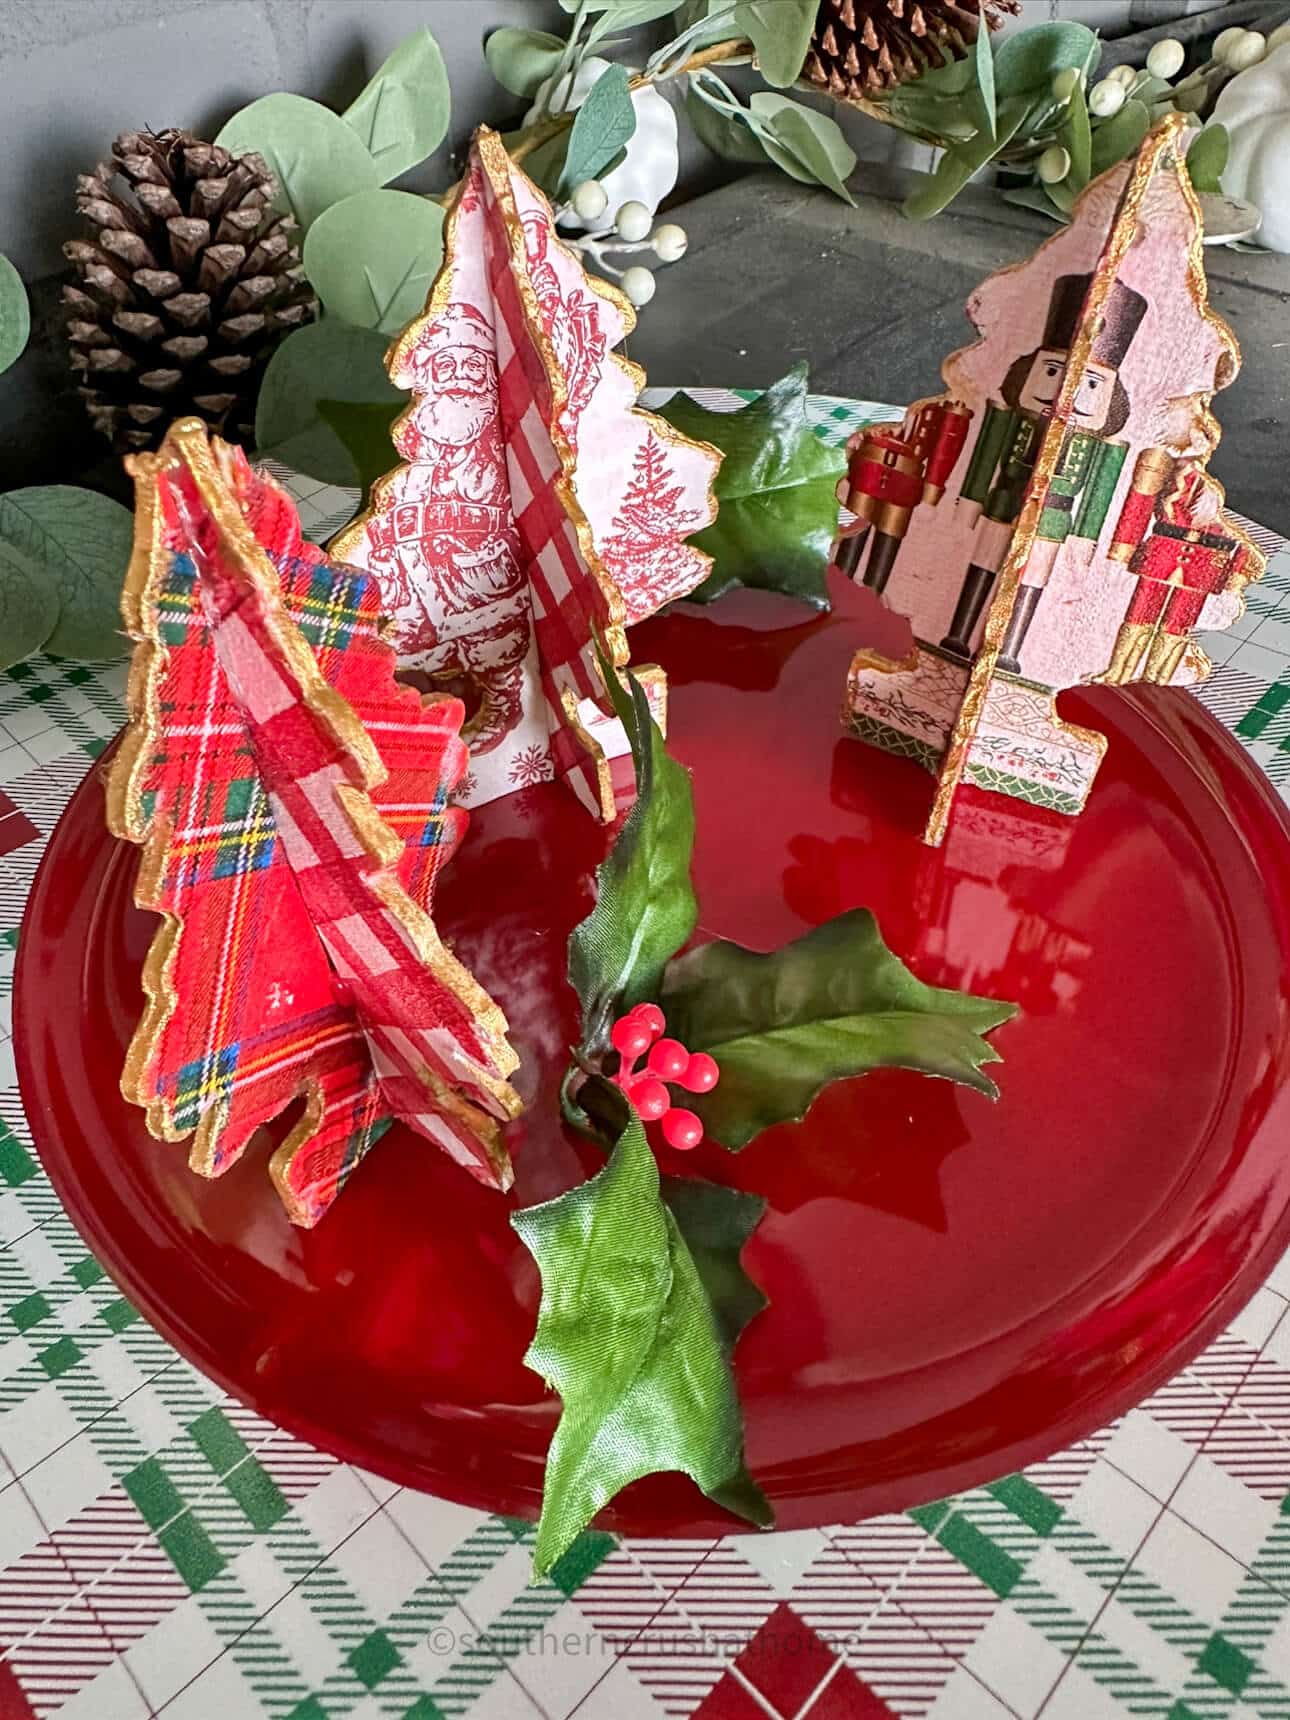
A DIY tabletop Christmas tree is a perfect addition to your holiday decor this year. With materials from the Dollar Tree, it’s an affordable craft project that anyone can enjoy.
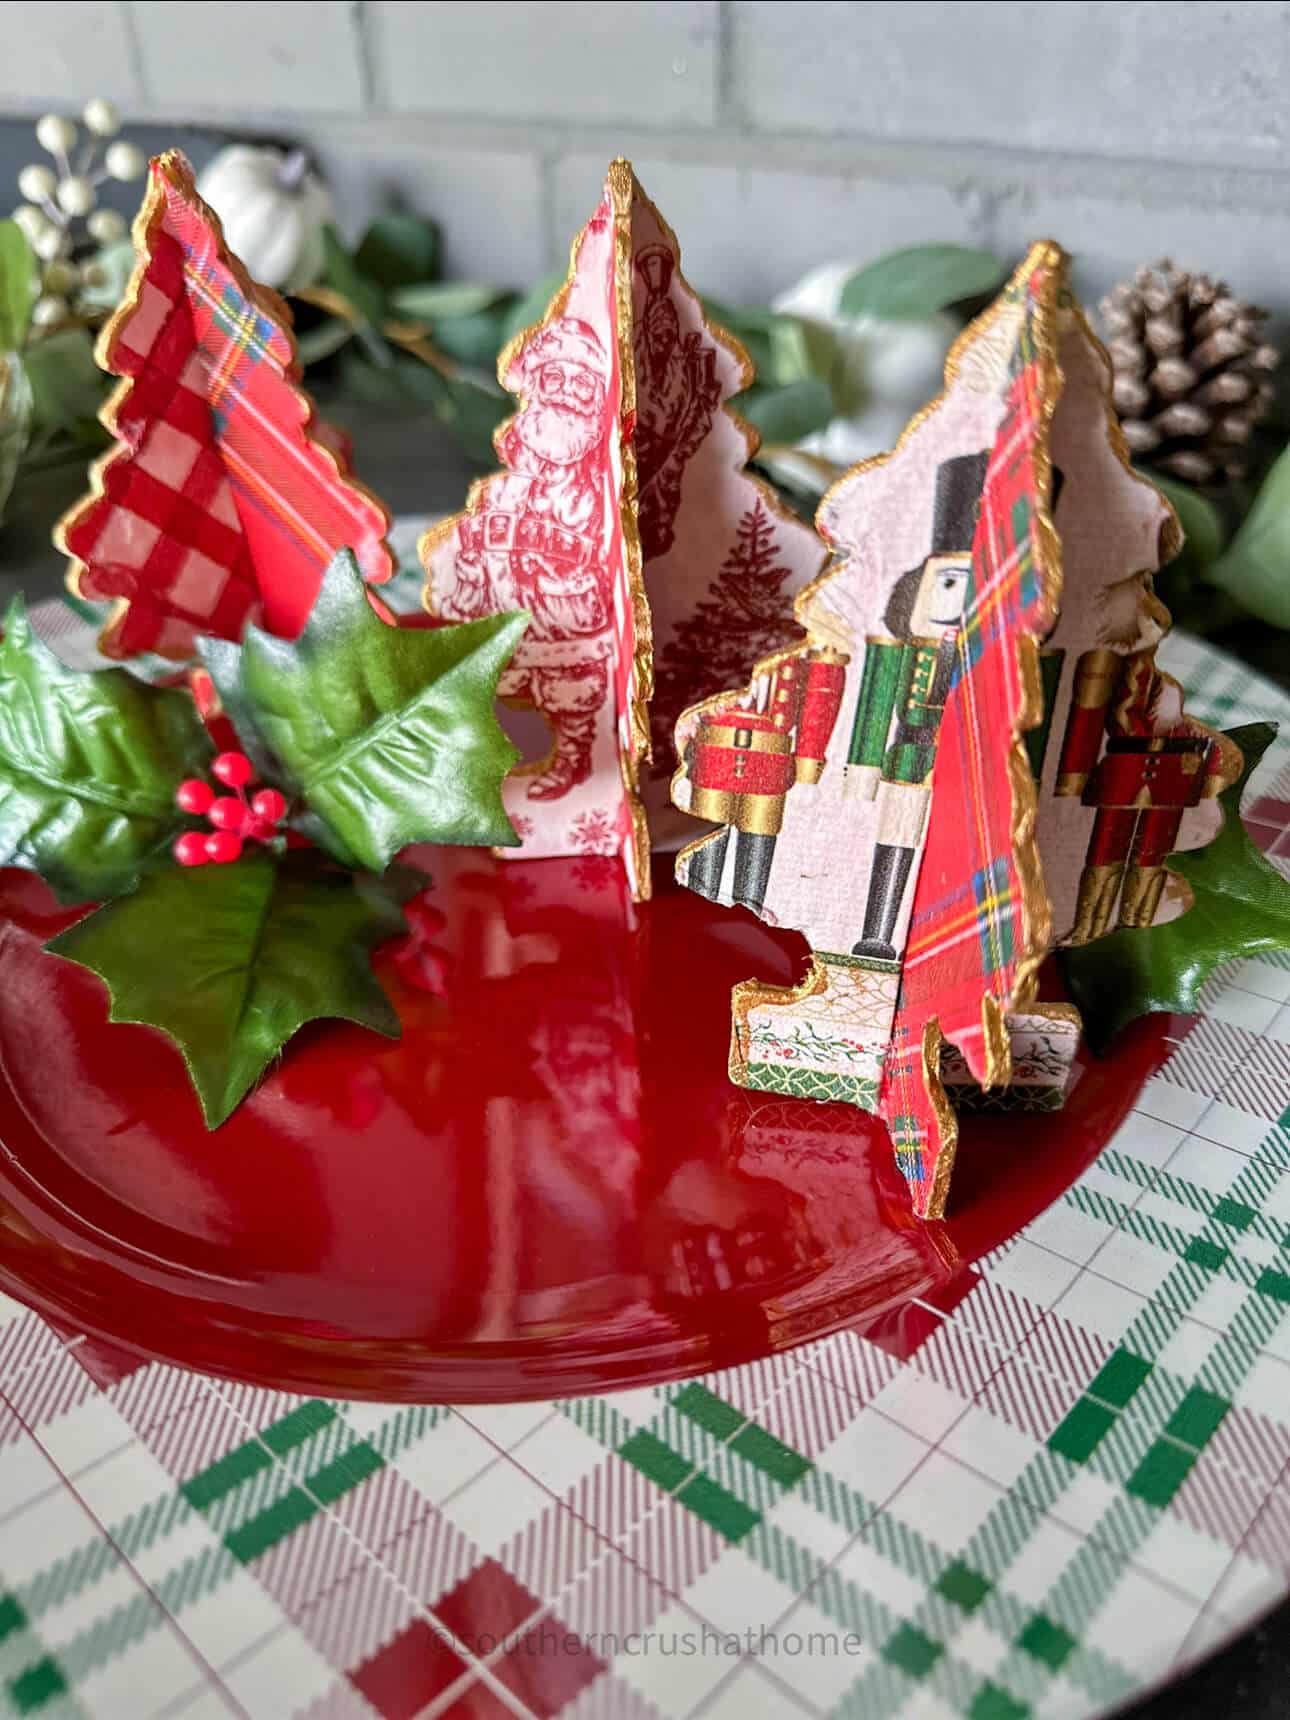
Let your creativity flow by using different color ribbons or ornaments to reflect your personal style.
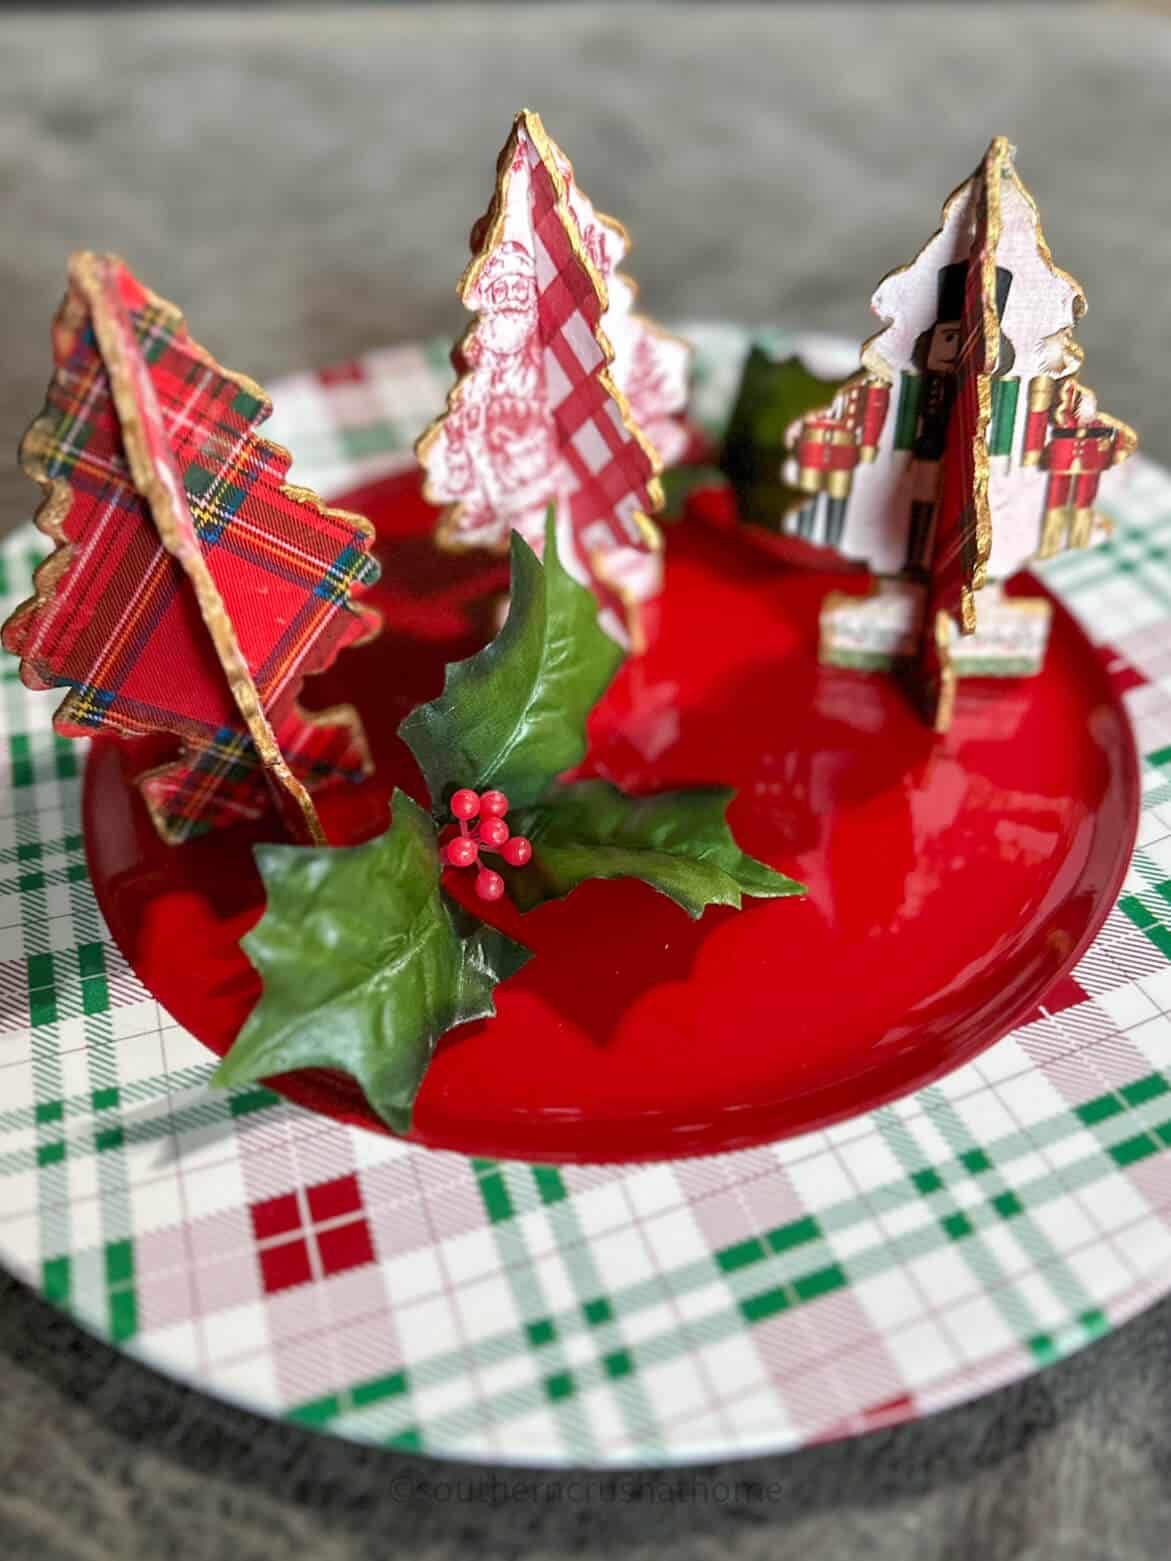
These cute little trees are great conversation starters so, gather your supplies and start crafting your very own tabletop Christmas tree today!
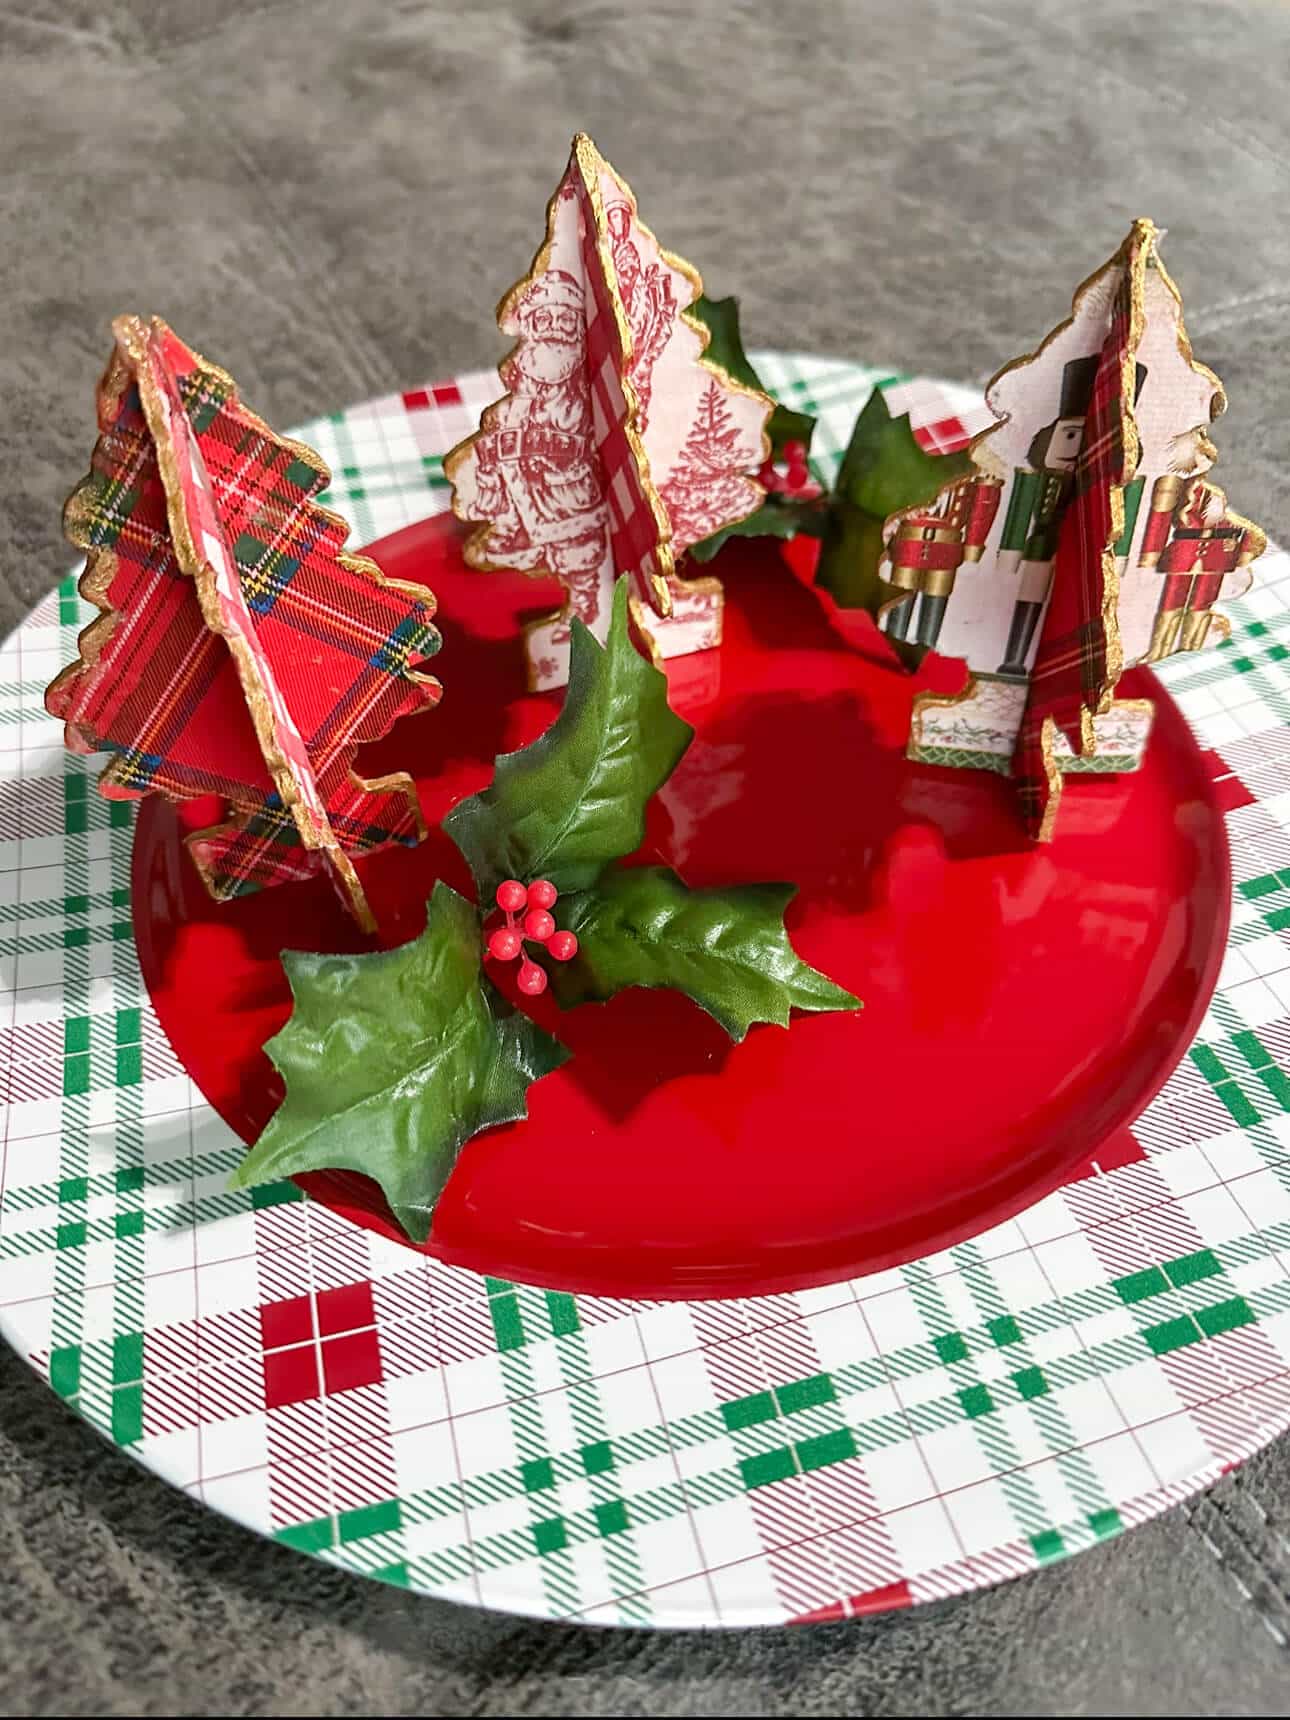
More Tabletop Christmas Tree Ideas
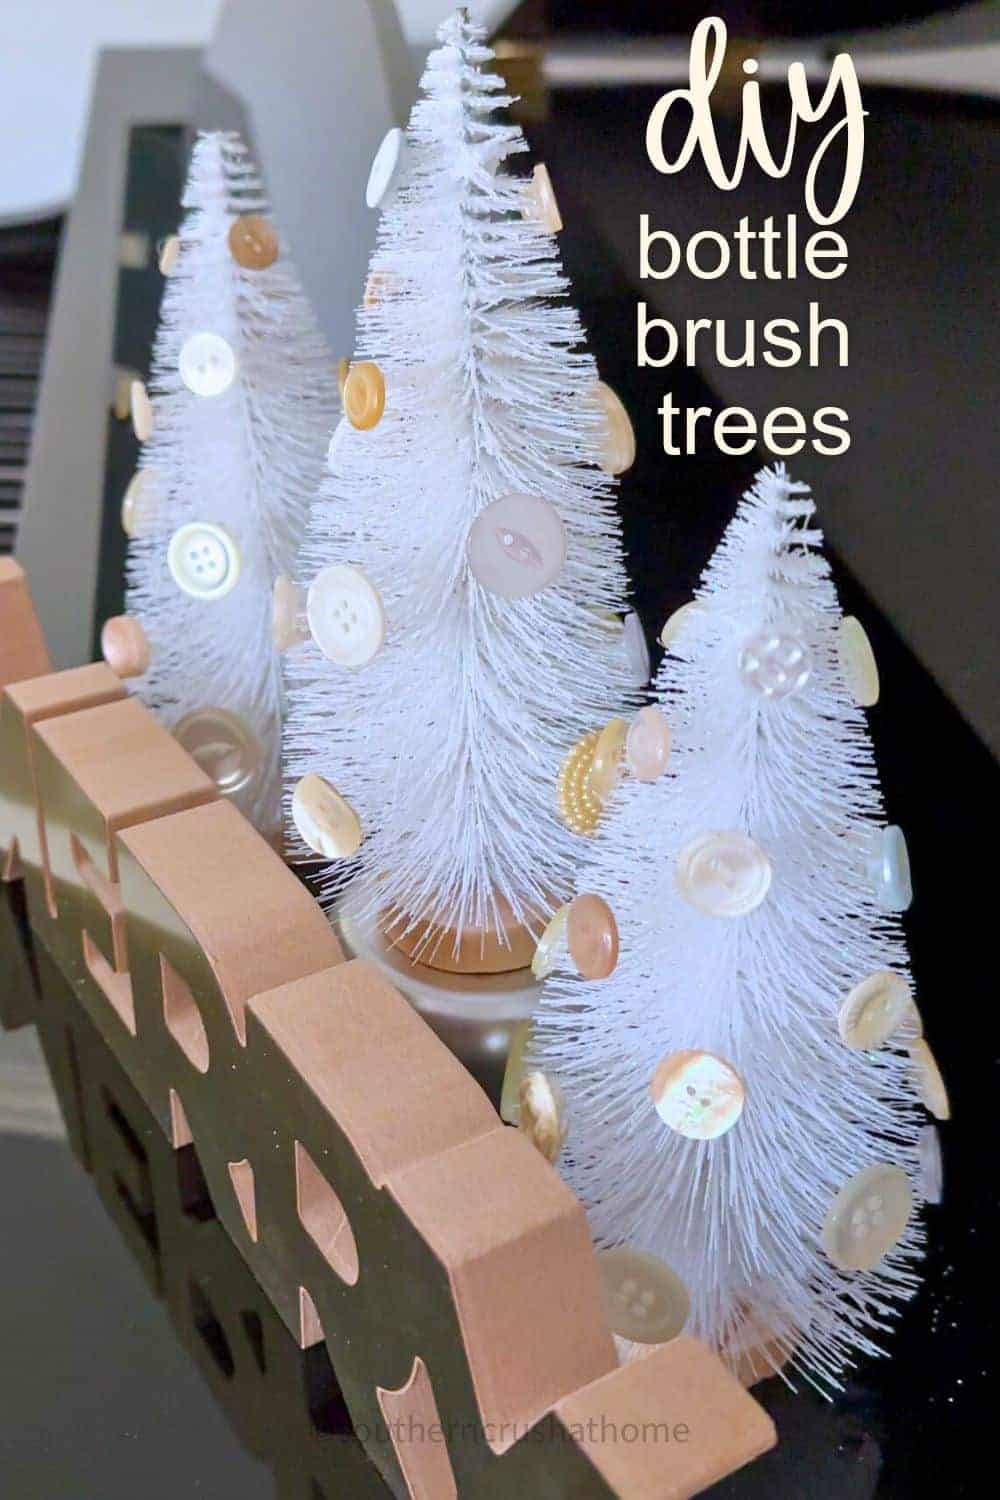
- Easy Budget-Friendly Dollar Tree Bottle Brush Trees DIY
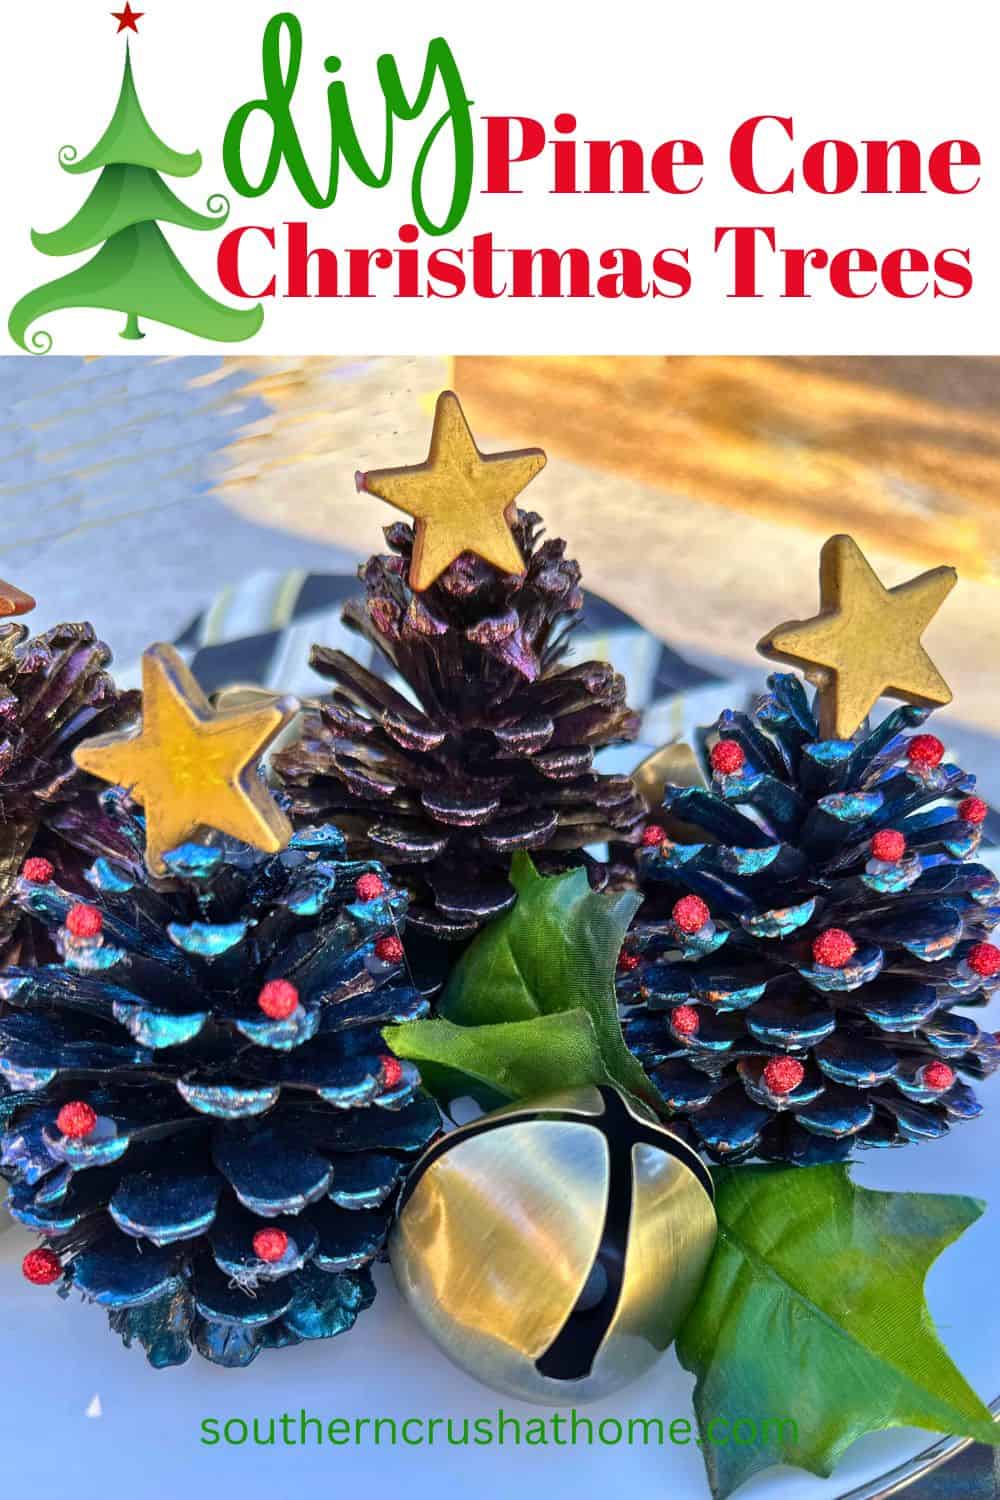
- Easy Pine Cone Christmas Tree Craft to Brighten Up Your Holidays
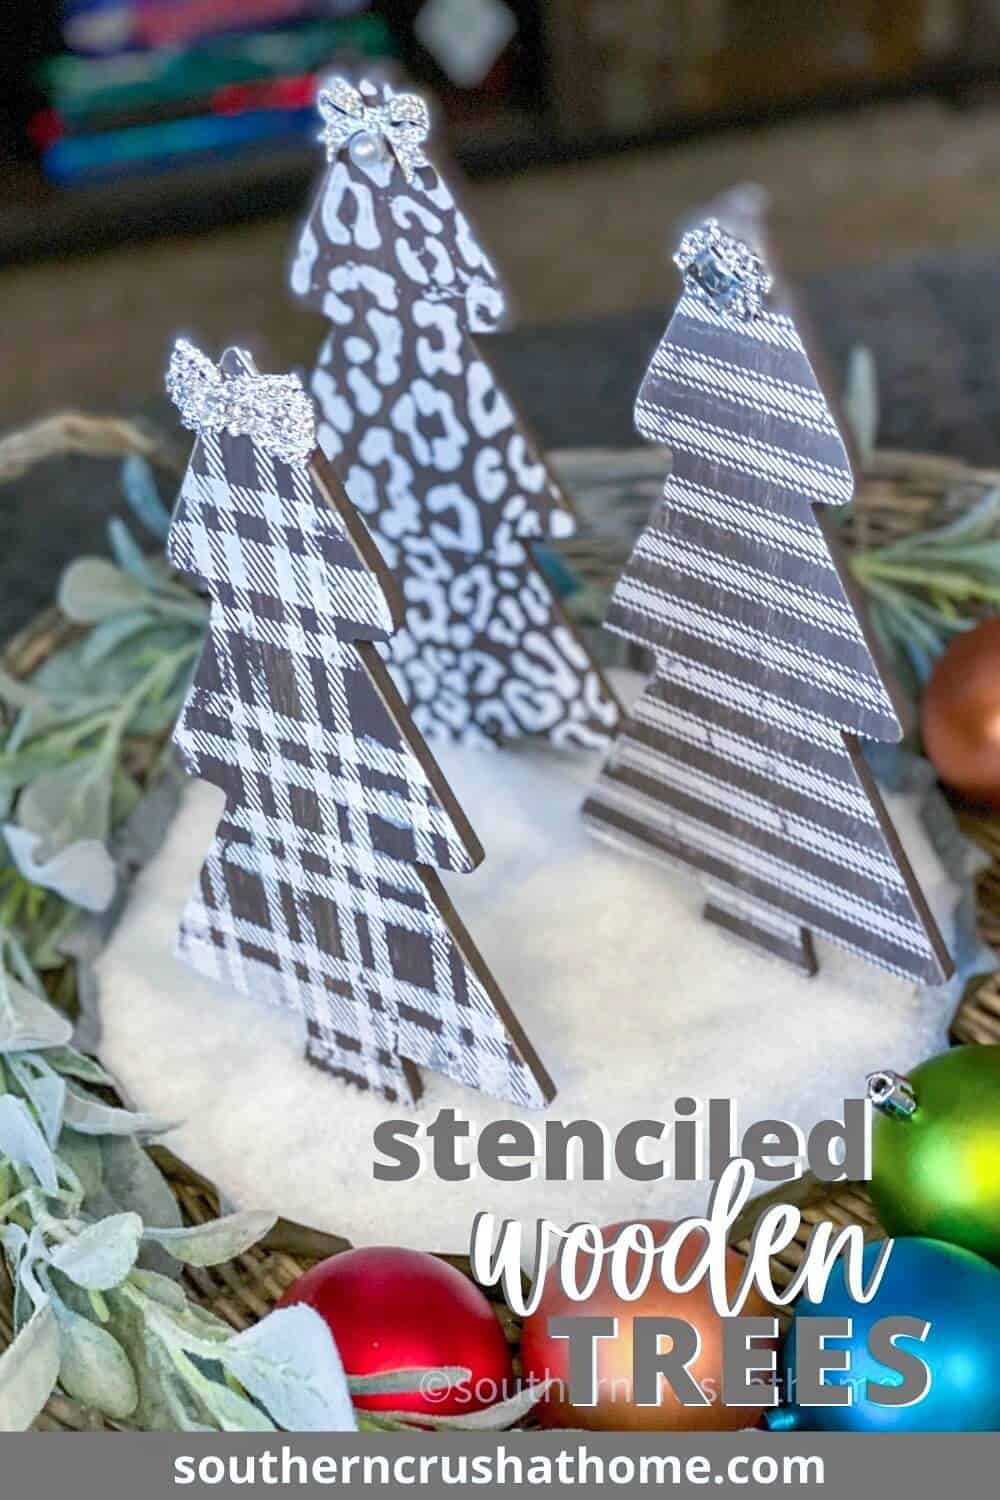
- Stenciled Wooden Trees Decor
- Vintage Bottle Brush Tree Display (with Shiny Brite Ornaments)
Dollar Tree Tabletop Christmas Tree Craft
Materials
- Dollar Tree car freshener trees
- White Chalk Paint
- Assorted Napkins
- Mod Podge
- Scissors
- Ruler
- Hot Glue
- 24 Karat Gold Paint or gold paint pen
Instructions
Step 1: Paint Over Trees
- If you choose a light-colored napkin and your car freshener tree is dark, apply a coat or two of white chalk paint as your first step.
Step 2: Decoupage Napkins Onto Trees
- Apply a thin coat of mod podge onto the car freshener tree. Separate your napkin to the thinnest single layer and add it to the tree. Gently tear away any excess. Allow to dry completely.
Step 3: Cut Trees
- Using a ruler measure about 4-5 inches from the top of one tree and the same from the bottom of the other.
- Using your scissors, cut the lines you made on each tree.
Step 4: Glue Trees
- Slide the two trees together using the cuts as your guide. Secure them with a touch of hot glue.
Step 5: Embellish Trees
- To give the tree some extra pizzazz, you can add some gold to the outside edges of the trees.


I tried the Air Freshener trees. Unfortunately they didn’t turn out. I only had the instructions that l had jotted down and was trying to remember it from my notes I had written down. We didn’t have the patterned napkins- so I tried using scrapbook paper. It just didn’t work . And l was also trying to improvise and I was trying to do a rush job.
oh no! I’m sorry. I think the thinnest of layer of mod podge and thin napkins work best.