Easy Dollar Tree Heart Wreath with Peel and Stick Tiles
Decorating for Valentine’s Day (or any season) doesn’t have to be expensive! This Easy Dollar Tree Heart Wreath with Peel and Stick Tiles is a budget-friendly and stylish DIY that looks high-end but is incredibly simple to make.

PIN this for later!
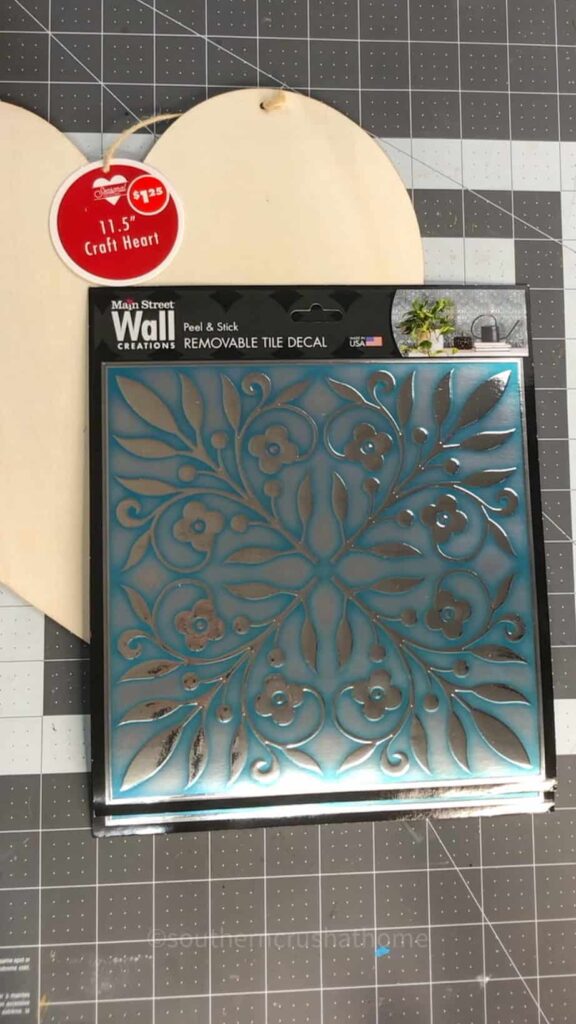
I’m thinking these wall tiles were meant to be used as peel and stick backsplash; however, they are perfect for crafting!
By using Dollar Tree wall tile stickers, faux florals, and a little creativity, you can craft a stunning heart-shaped wreath that adds charm to any space.
This blog post contains affiliate links. The opinions are wholly my own from my own experience. I may earn a small commission from clicks through to the websites that end in a purchase.
With just a few affordable materials and minimal effort, you’ll create a beautiful and unique decor piece that’s perfect for hanging on your front door, adding to a gallery wall, or displaying as part of your seasonal home decor. Let’s get started!
Supplies You’ll Need for a Heart Wreath
- Dollar Tree heart-shaped wood blank
- 2 teal blue embossed Peel and Stick tiles or Wall stickers (Dollar Tree)
- Half of a Dollar Tree green foam floral ring
- Dollar Tree faux fern fronds
- Dollar Tree florals (choose colors that match your decor)
- Ribbon for hanging
- Hot glue gun and Surebonder hot glue pot
- X-Acto knife
- Optional: Rhinestone embellishment for extra sparkle
YouTube Video Tutorial
Step-by-Step Instructions for a Peel and Stick Tiles Heart Wreath
Step 1: Apply the First Peel and Stick Tile Wall Sticker
Peel the backing off one of the teal blue embossed wall tile stickers and place it in the center of the wooden heart blank.
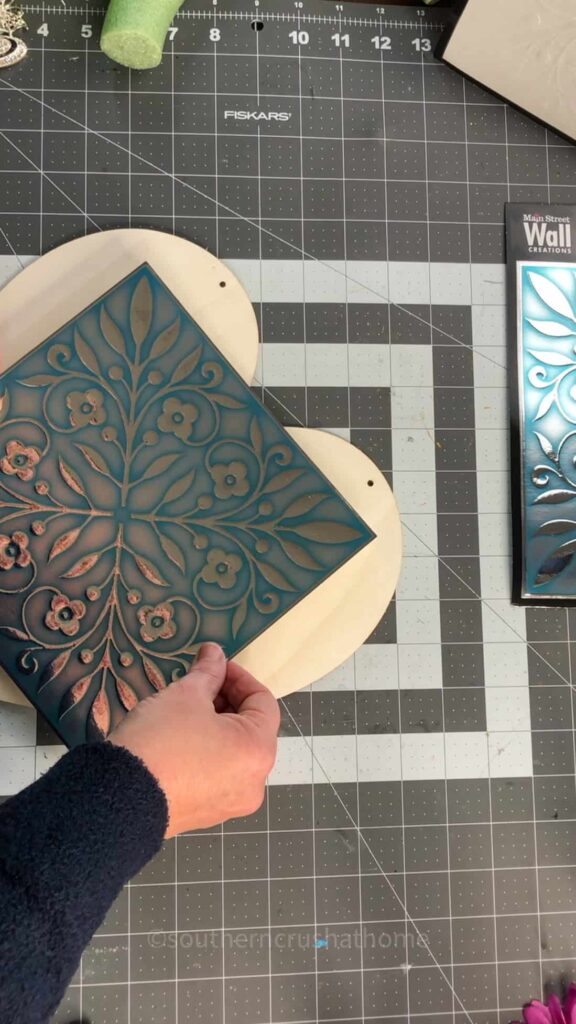
Smooth it down, making sure there are no air bubbles.
Step 2: Cover the Remaining Heart with the Second Peel and Stick Tile
Take the second wall tile sticker and use it to cover any remaining exposed areas of the wooden heart.
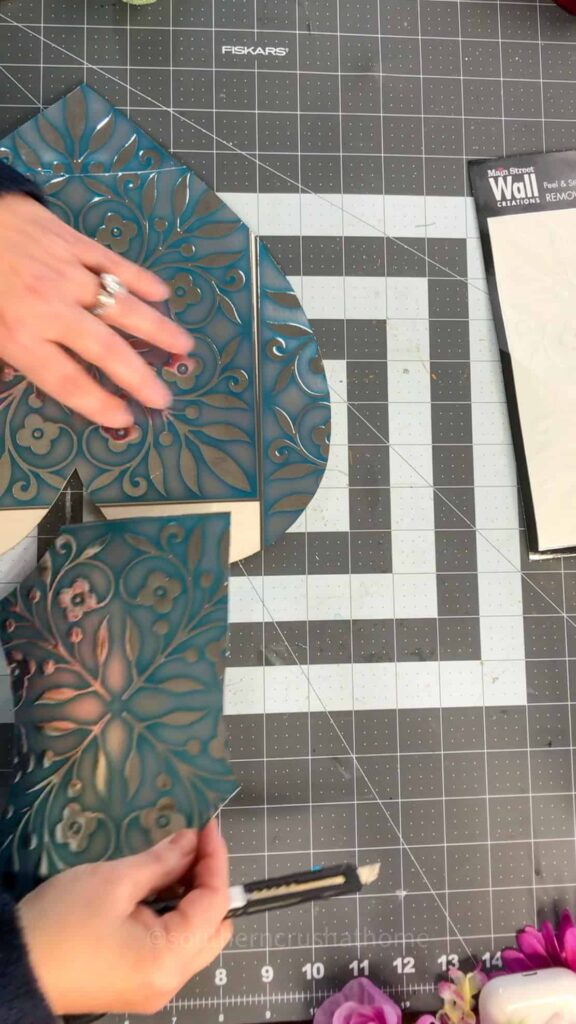
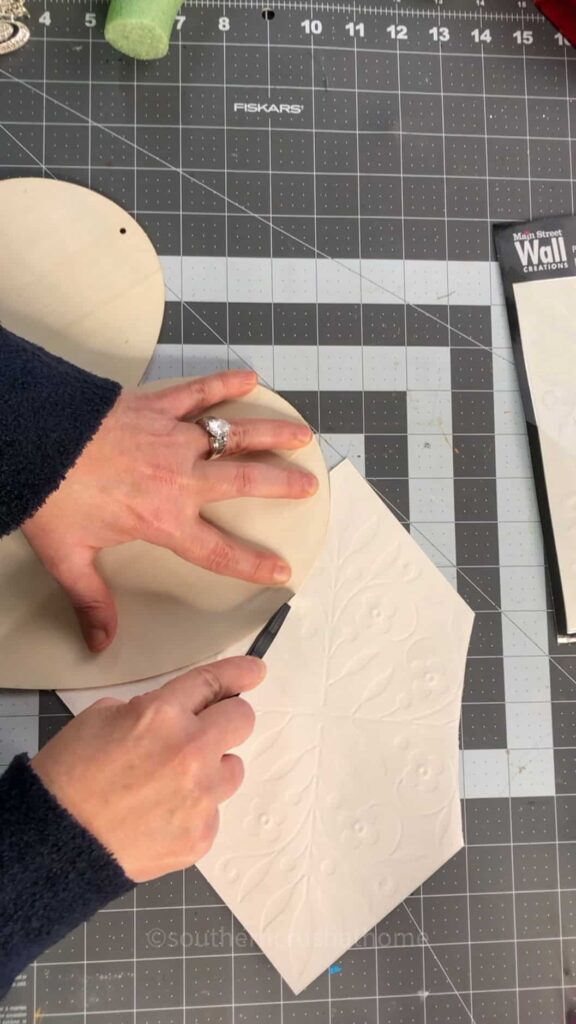
Work piece by piece, trimming the edges carefully with an X-Acto knife to ensure a seamless fit.
This step gives the heart a beautiful textured appearance, elevating it from a simple wooden blank to a decorative statement piece.
Step 3: Attach the Floral Ring to the Back of the Heart
Using hot glue, attach the half-piece of a floral foam ring to the back of the heart, positioning it slightly to the side.
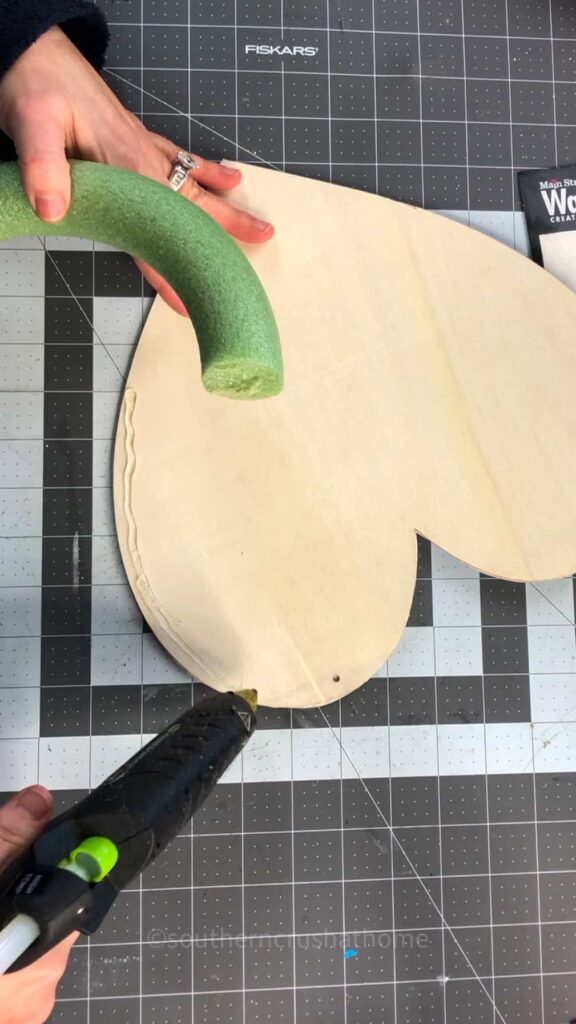
This will serve as the base for your floral arrangement.
Step 4: Add the Faux Fern and Florals
Dip the fern fronds and floral stems into the hot glue pot, then attach them to the floral foam ring.
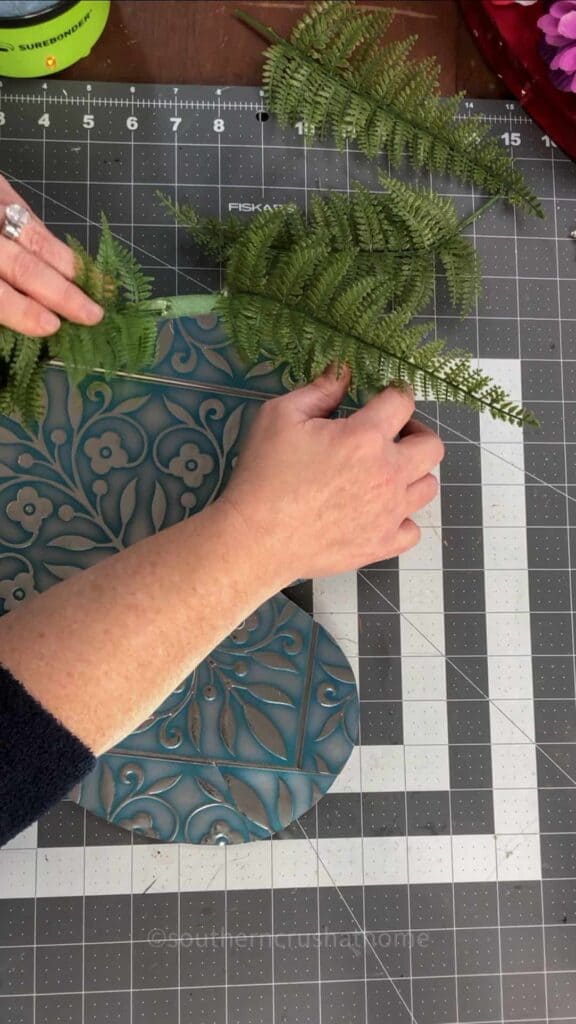
Arrange them to create a balanced, full look.

Mixing greenery with florals adds depth and texture to your design, making it look lush and elegant.
Step 5: Attach a Ribbon for Hanging
Flip the heart over and use hot glue to secure a ribbon to the back.
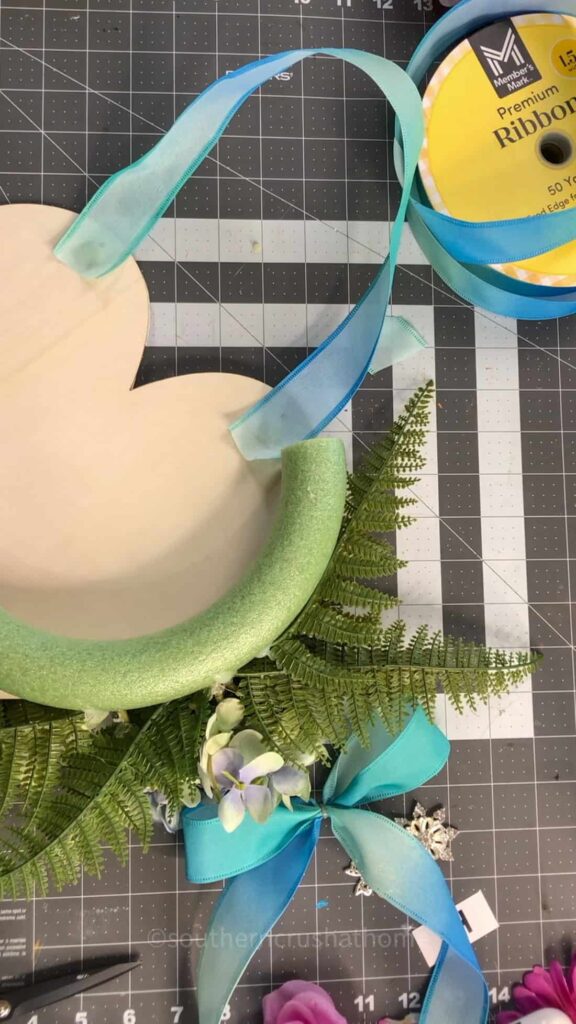
This will make it easy to hang your wreath on a wall, door, or display hook.
Step 6 (Optional): Add a Rhinestone Embellishment
For an extra touch of sparkle, hot glue a rhinestone embellishment to the center of the heart.
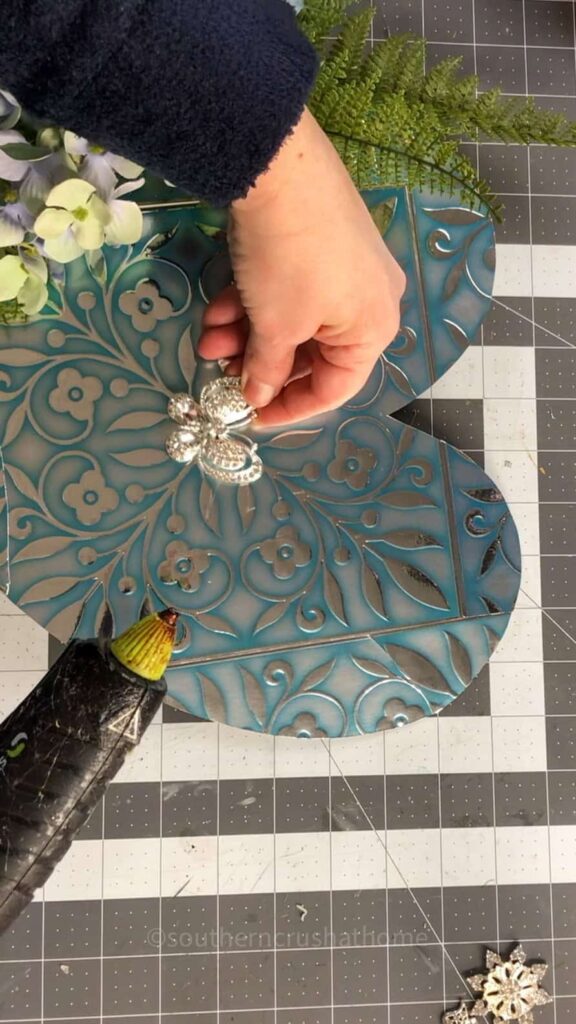
This little detail makes the wreath feel polished and elegant while adding a hint of glam.
Ways to Display Your Wall Tile Heart Wreath
This easy Dollar Tree heart wreath is versatile and can be displayed in so many creative ways:
- On a Front Door: Welcome guests with this eye-catching piece by hanging it on your front door.
- In a Gallery Wall: Incorporate it into a decorative wall arrangement with framed prints and other seasonal decor.
- Above a Fireplace Mantel: Lean or hang it above your mantel, pairing it with candles and other Valentine’s decorations.
- As Part of a Table Centerpiece: Lay the wreath flat on a dining table and place a candle or vase in the center for an elegant table arrangement.
- On a Bedroom Wall or Nursery: Its soft, romantic look makes it a beautiful accent in bedrooms or even a baby’s nursery.

This Dollar Tree Heart Wreath with Peel and Stick Tiles is a simple yet elegant way to add charm to your seasonal decor.
The embossed wall tiles create a stunning, textured effect that gives this project a high-end look, while the florals and greenery bring a touch of softness and warmth.

With just a few affordable materials, you can create a custom piece of home decor that looks store-bought but costs only a fraction of the price.
Whether you’re decorating for Valentine’s Day, spring, or simply want a unique heart-shaped wreath for everyday decor, this project is an easy and beautiful solution.

So grab your supplies, get creative, and enjoy making this budget-friendly DIY wreath that’s sure to be a standout piece in your home!
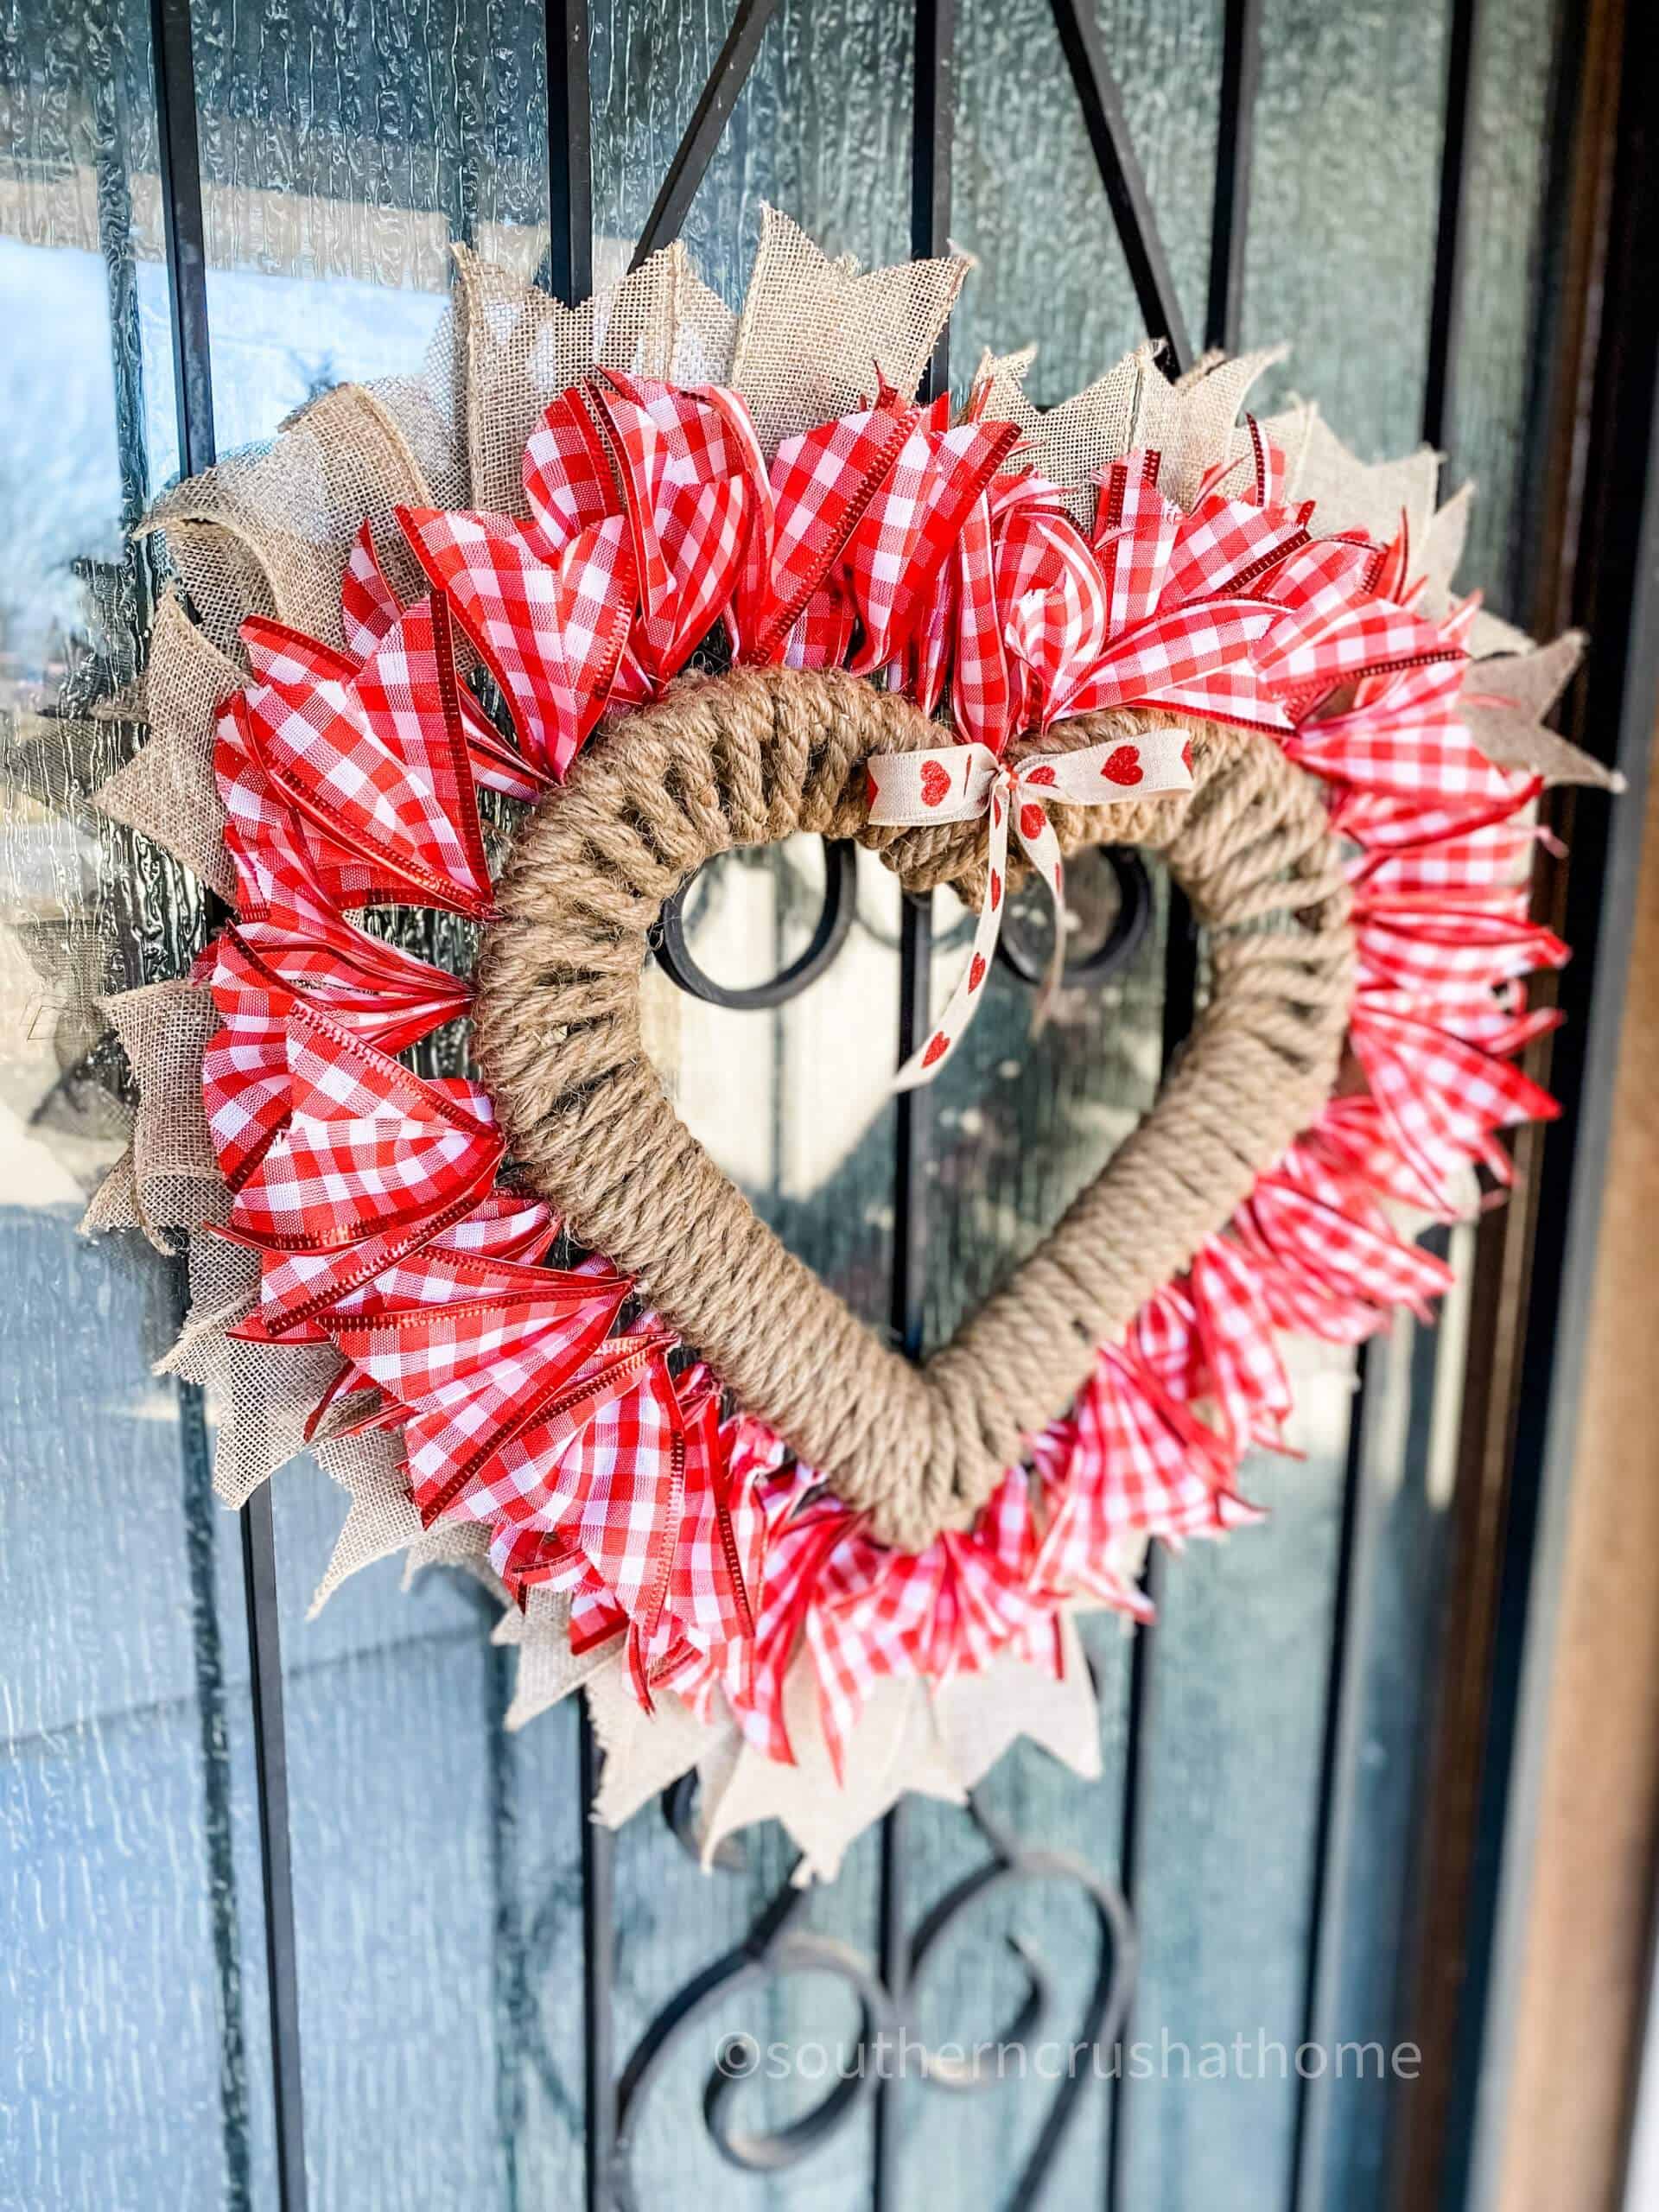
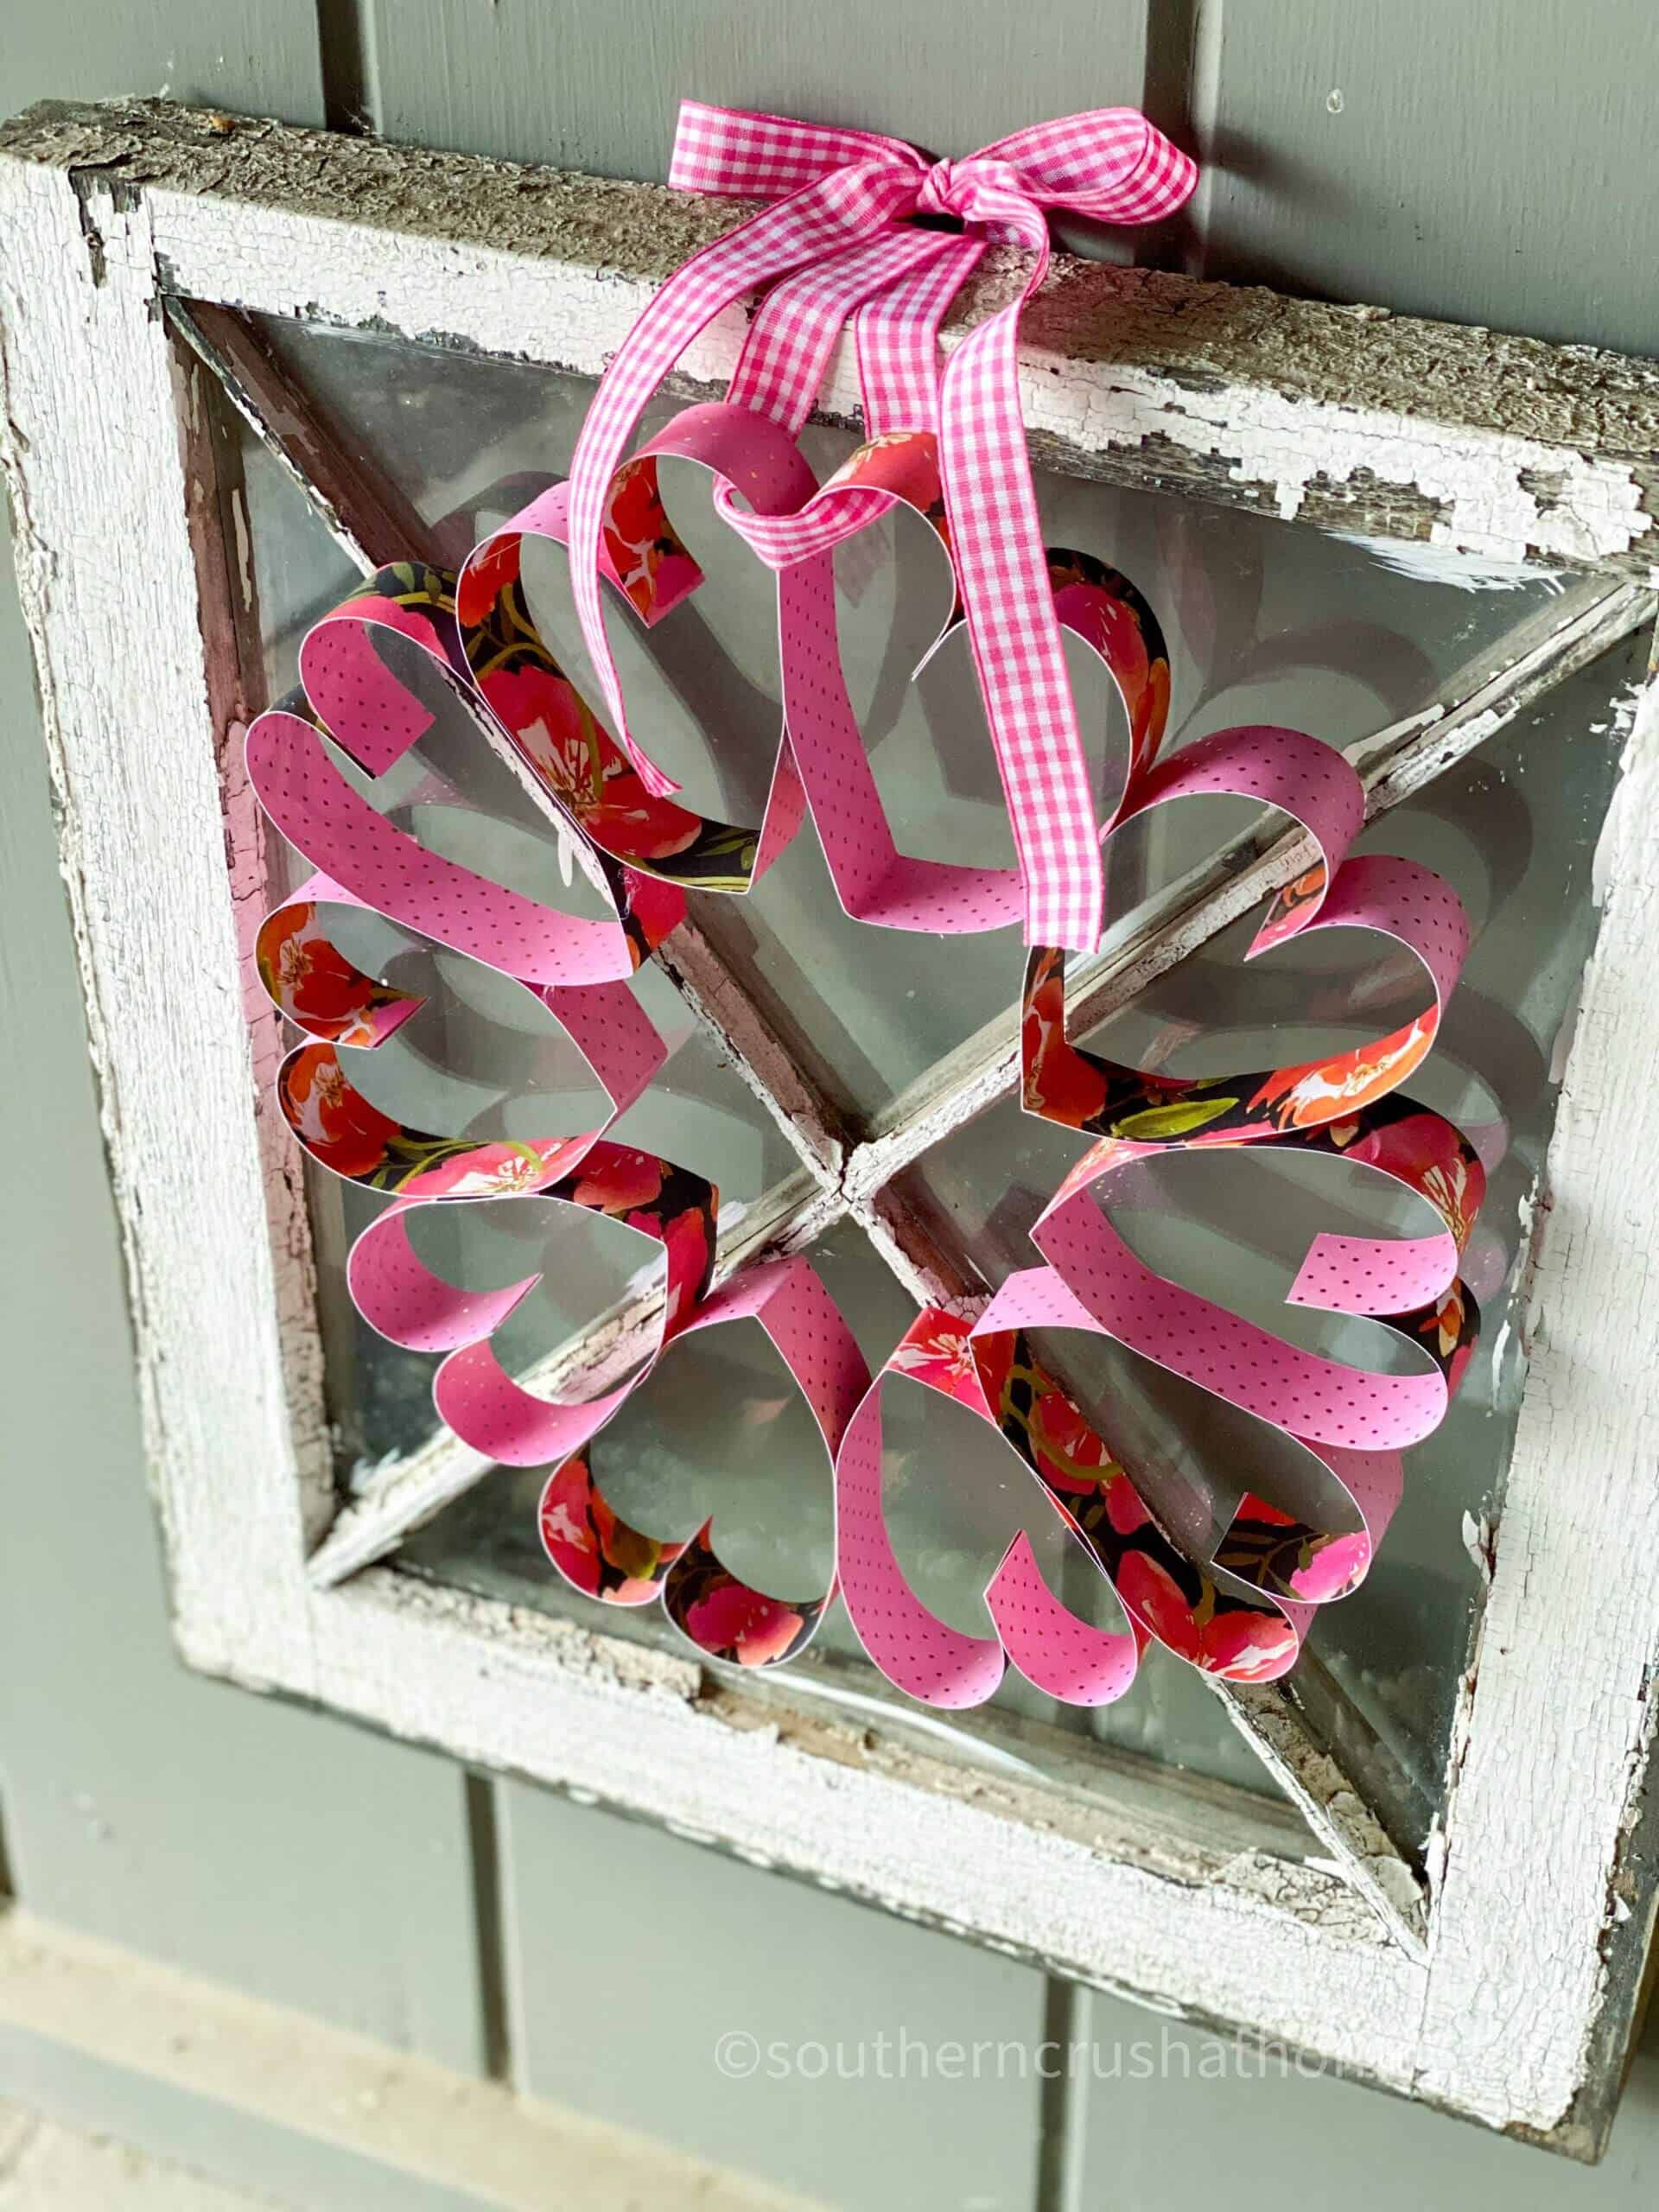
More Heart Wreath Ideas


Easy Dollar Tree Heart Wreath with Peel and Stick Tiles
Equipment
- Hot glue gun and Surebonder hot glue pot
- x-acto Knife
Materials
- Dollar Tree heart-shaped wood blank
- 2 teal blue embossed wall tile stickers Dollar Tree
- Half of a Dollar Tree green foam floral ring
- Dollar Tree faux fern fronds
- Dollar Tree florals choose colors that match your decor
- Ribbon for hanging
- Optional: Rhinestone embellishment for extra sparkle
Instructions
Step 1: Apply the First Wall Tile
- Peel the backing off one of the teal blue embossed wall tile stickers and place it in the center of the wooden heart blank. Smooth it down, making sure there are no air bubbles.
Step 2: Cover the Remaining Heart with the Second Tile
- Take the second wall tile sticker and use it to cover any remaining exposed areas of the wooden heart. Work piece by piece, trimming the edges carefully with an X-Acto knife to ensure a seamless fit. This step gives the heart a beautiful textured appearance, elevating it from a simple wooden blank to a decorative statement piece.
Step 3: Attach the Floral Ring to the Back of the Heart
- Using hot glue, attach the half-piece of a floral foam ring to the back of the heart, positioning it slightly to the side. This will serve as the base for your floral arrangement.
Step 4: Add the Faux Fern and Florals
- Dip the fern fronds and floral stems into the hot glue pot, then attach them to the floral foam ring. Arrange them to create a balanced, full look. Mixing greenery with florals adds depth and texture to your design, making it look lush and elegant.
Step 5: Attach a Ribbon for Hanging
- Flip the heart over and use hot glue to secure a ribbon to the back. This will make it easy to hang your wreath on a wall, door, or display hook.
Step 6 (Optional): Add a Rhinestone Embellishment
- For an extra touch of sparkle, hot glue a rhinestone embellishment to the center of the heart. This little detail makes the wreath feel polished and elegant while adding a hint of glam.