How to Make an Easy and Gorgeous DIY Tulle Bow (for a Wedding)
When you find yourself needing an easy DIY tulle bow, this is it! It doesn’t get any easier than this one. Almost like a pom pom, this DIY bow is the cutest little poof shape! Once you start making these tulle bows, you can’t stop. They’re so much fun anyone can make one. Try it for yourself…

PIN this for later!
This blog post contains affiliate links. The opinions are wholly my own from my own experience. I may earn a small commission from clicks through to the websites that end in a purchase.
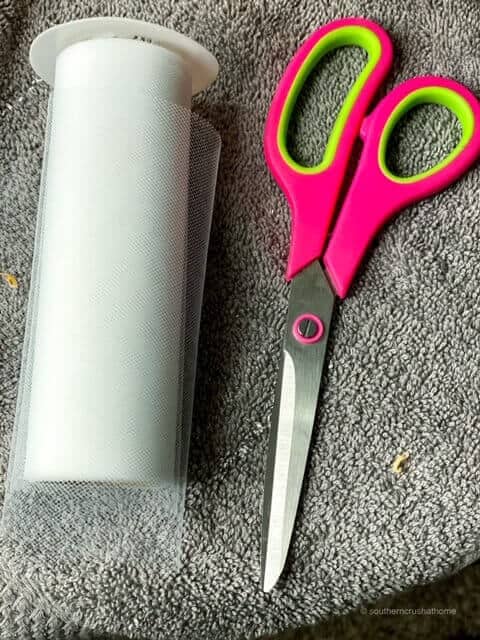
Supplies for a DIY Tulle Bow
- Tulle of your choice (Dollar Tree has some inexpensive tulle now)
- Fabric Scissors
- Bling Embellishment
- Hot Glue Gun
These tulle bows are so easy to make that you will be making them in no time and year round for all kinds of occasions; weddings, gifts, flower arrangements, and yes, even just for fun! LOL
Step by Step Instructions for Making an Easy Tulle Bow
These fluffy adornments are the perfect way to add a pop of color and texture to any present or bouquet. But don’t be intimidated by their intricate appearance.
With just a few easy steps, anyone can create a stunning tulle bow that will leave recipients in awe. All you need is some tulle, wire, and a pair of scissors, and you’ll be on your way to becoming a tulle bow-making pro.
WATCH the YouTube Video Tutorial
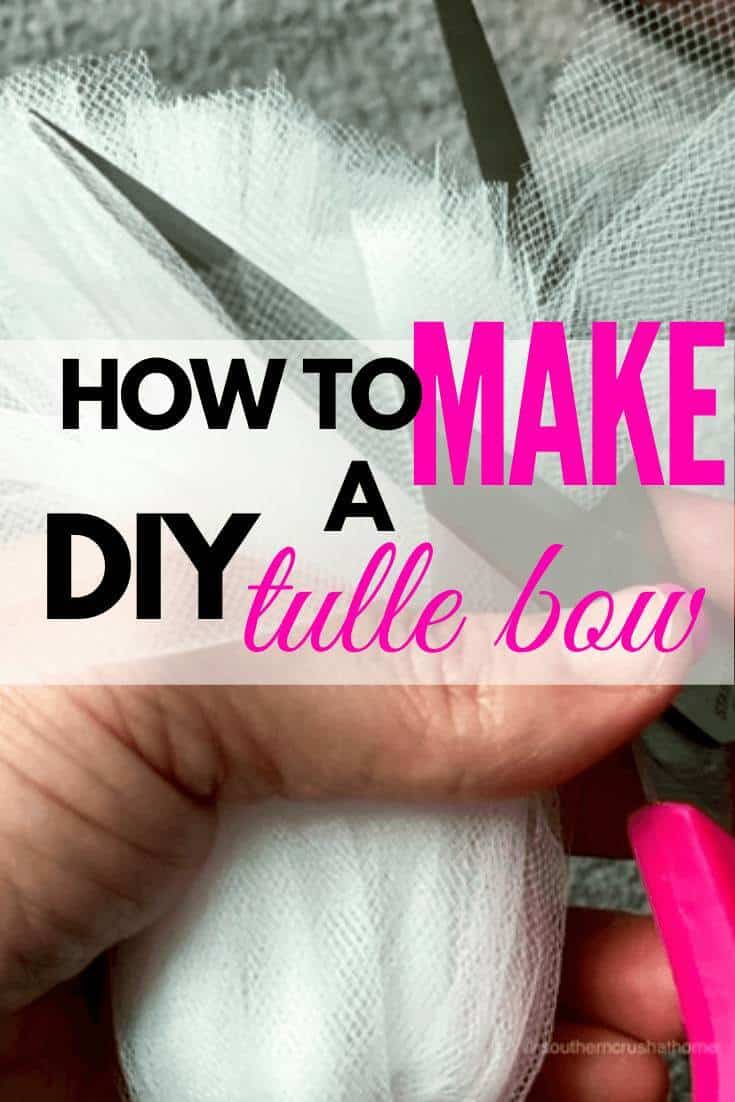
Step One
Put the tulle between your thumb and your hand as shown in the picture.
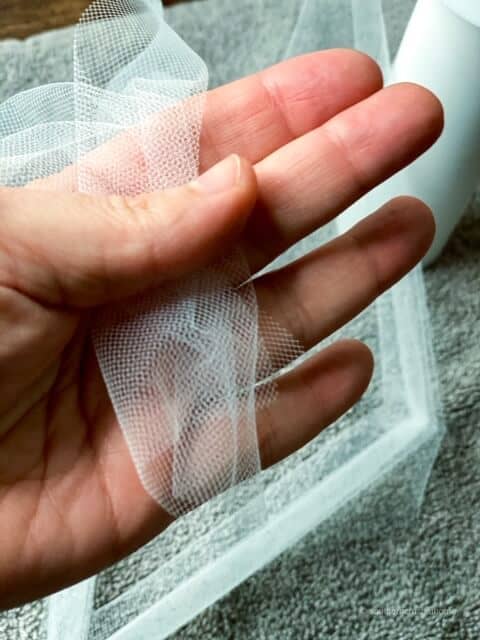
Step Two
Wrap around the width of your fingers several times. About 15-20 make a small to medium bow. The number of times you wrap it around will determine how thick or full your tulle bow will be.
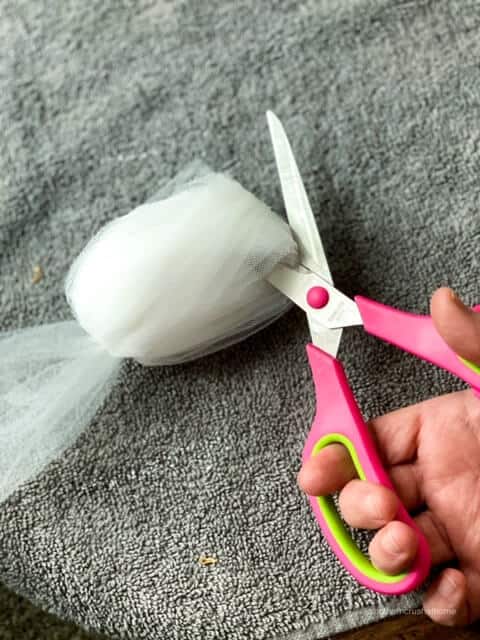
Step Three
Cut your tulle. Then cut a second, separate piece of tulle about the length of your hand and thread this underneath your bundle that is on your fingers and tie a knot to secure your bundle as in the picture.
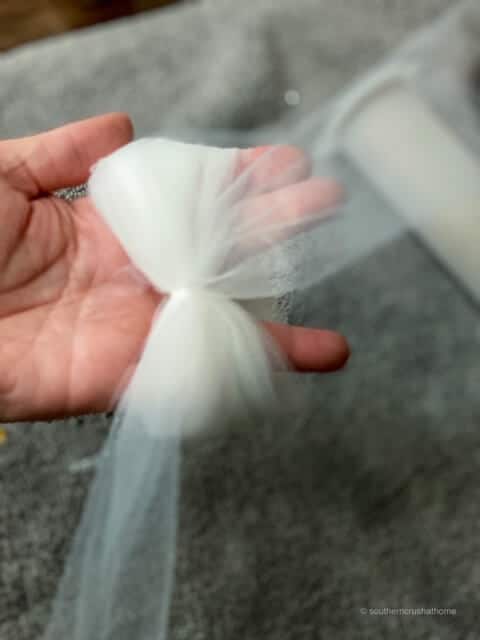
It super easy! You’ve got this, I promise!
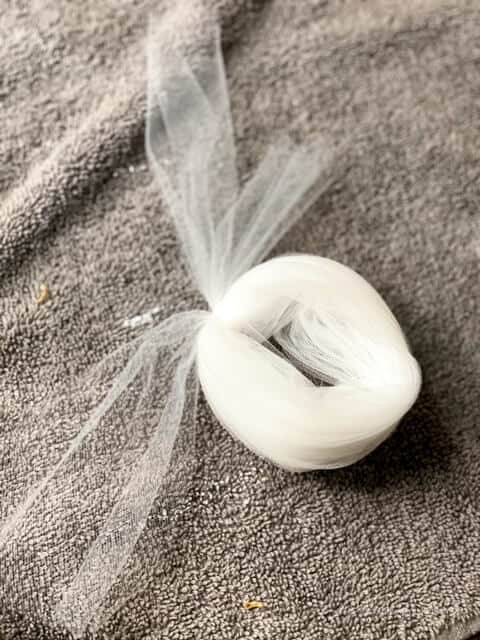
Step Four
Using your fabric scissors, cut the tulle up the middle of the circular bundle as shown.
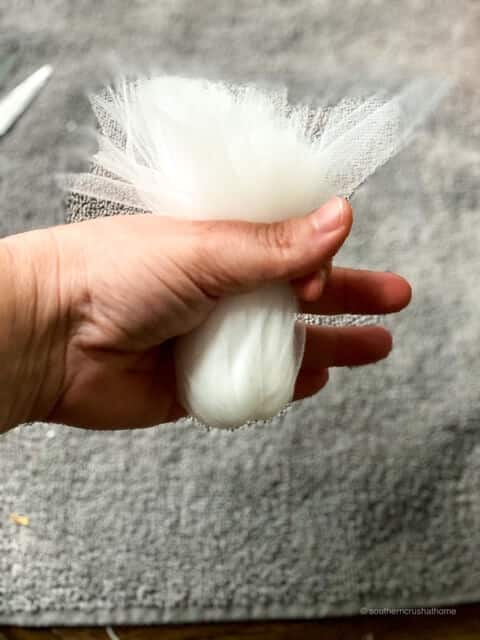
Step Five
Take the bundle into your hands like you would a bouquet of flowers as shown in this picture.
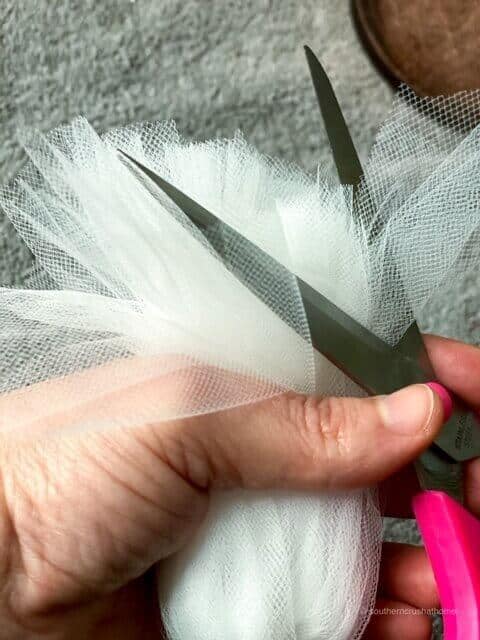
Step Six
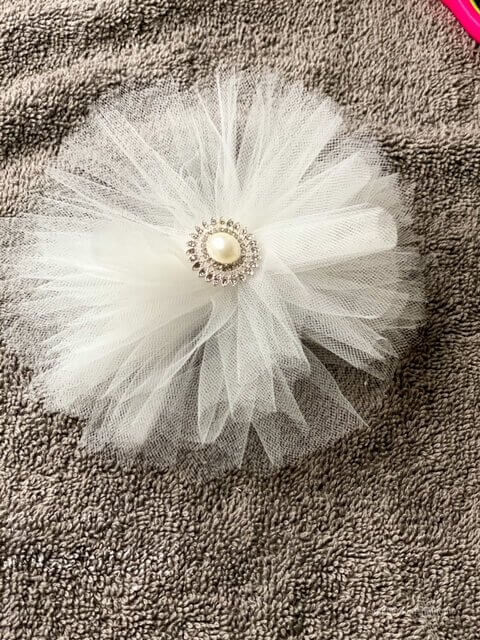
Trim the top of your tulle bow until you reach your desired size of tulle bow.
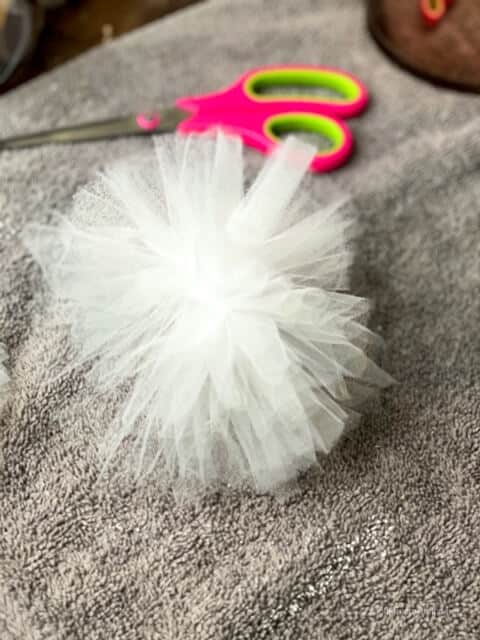
It should look like a “poof” when finished as shown. Isn’t it so cute?
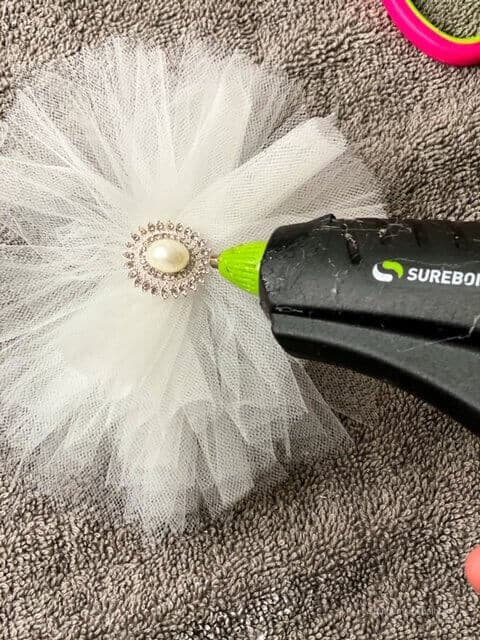
Step Seven
Optionally, you can add embellishments like pinning on a vintage brooch or hot gluing on rhinestone bling as shown.
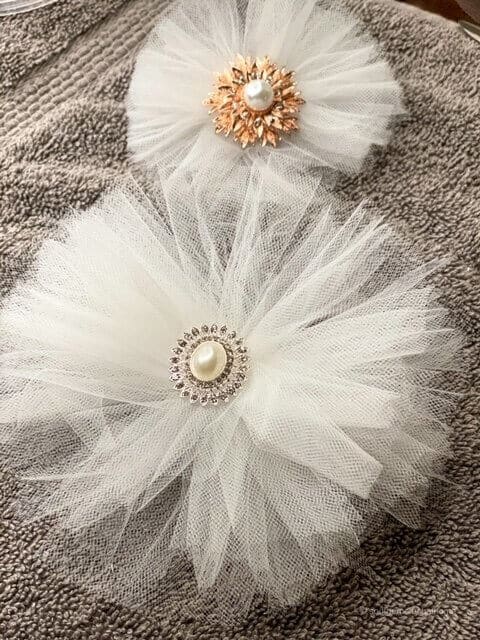
An easy tulle bow for multiple uses!
This DIY Bow really has that “WOW” factor don’t you think?
I’m in love with the look of this super easy DIY tulle bow. So versatile and great for tons of projects. It’s definitely right up there with my all-time go-to SIGNATURE DIY MESSY BOW!
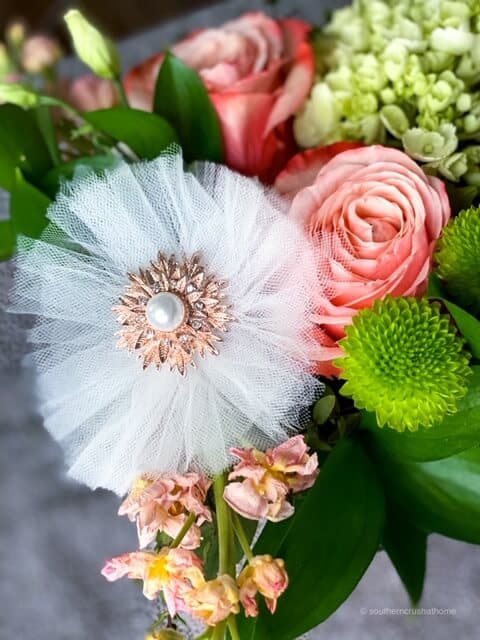
Isn’t she lovely? I’m showing it here in a flower arrangement, but the possibilities for this easy bow are endless!
PIN this for later!
If you love these kinds of DIY ideas, you need to be getting my emails, friend! Each week I send out a couple of emails that include updates, crafts, shopping experiences, and decor inspiration. Be sure to get yourself signed up below. I can’t wait to meet you!
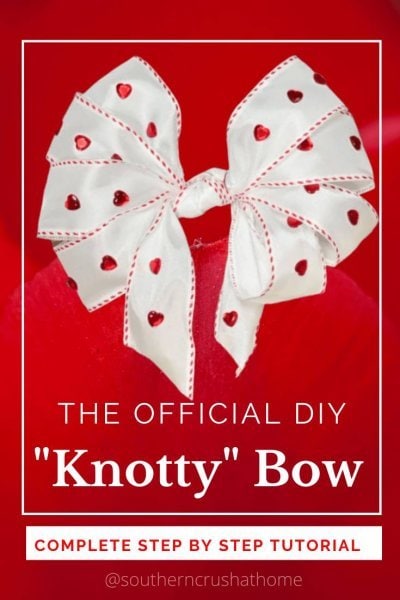
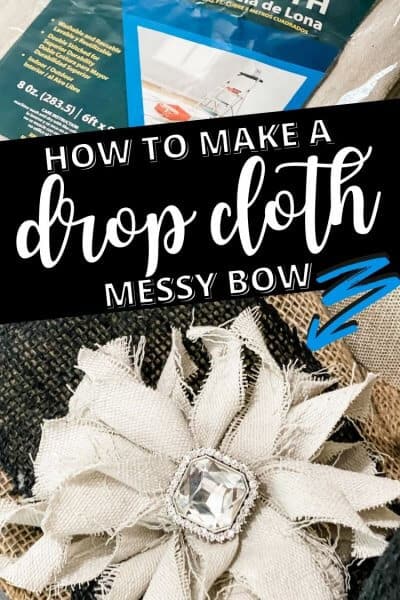
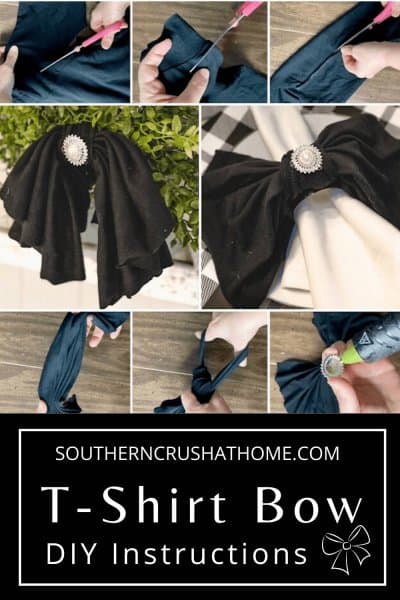
Take a look at several other DIY Bows I’ve shared:
Click on each photo for the complete bow tutorial!


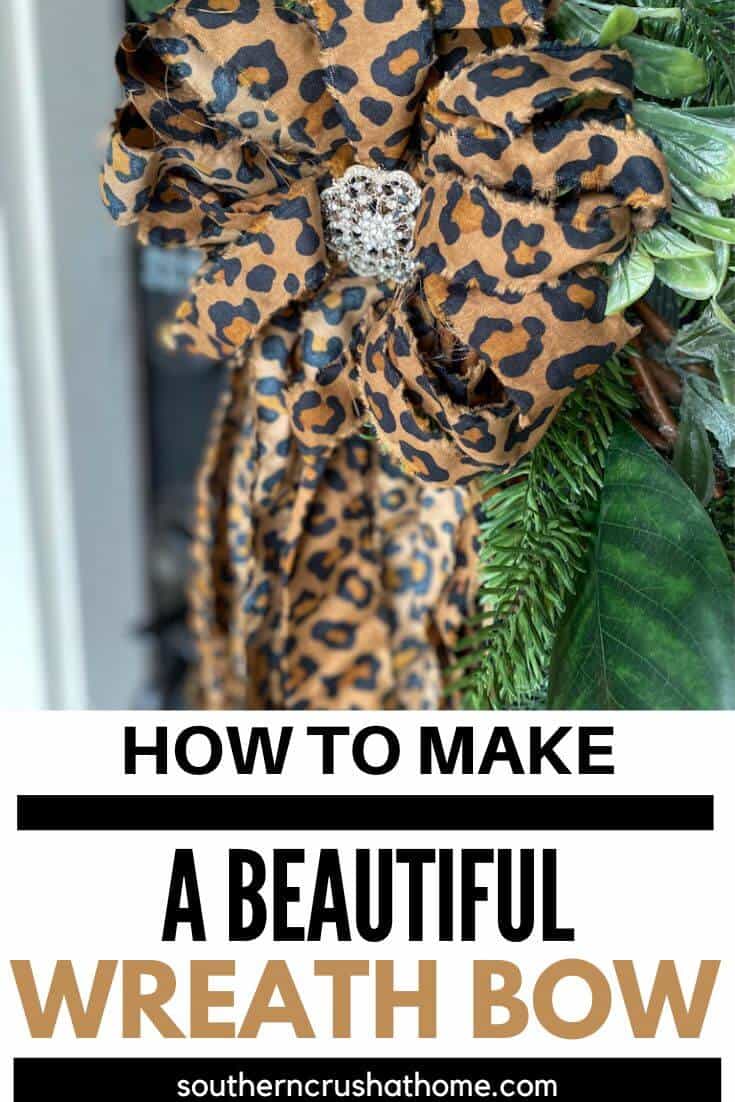
If you like making bows, you may want to try out this wreath bow below using the EZ Bow Maker! It’s so much fun and perfect for adding to a wreath!

How to Make an Easy and Gorgeous DIY Tulle Bow (for a Wedding)
Materials
- Tulle of your choice Dollar Tree has some inexpensive tulle now
- Fabric Scissors
- Hot Glue Gun
- Bling Embellishment
Instructions
- Put the tulle between your thumb and your hand.
- Wrap around the width of your fingers several times. About 15-20 make a small to medium bow. The number of times you wrap it around will determine how thick or full your tulle bow will be.
- Cut your tulle. Then cut a second, separate piece of tulle about the length of your hand and thread this underneath your bundle that is on your fingers and tie a knot to secure your bundle as in the picture.
- Using your fabric scissors, cut the tulle up the middle of the circular bundle.
- Take the bundle into your hands like you would a bouquet of flowers.
- Trim the top of your tulle bow until you reach your desired size of tulle bow.
- Optionally, you can add embellishments
I love how classy these bows are! I’m going to add them to a lampshade!
Love how easy this is and so pretty!
Thank you!
Wow so preety,will make tons of them n use as elishments
Yay!
I’m in love with all of your projects!
Awe! Thank you so much!
Oh my, this is so cute. I’m so bad at making bows, but I think I could do this. Thanks so much!!
Such a cute bow! I can see it on my crafts and on gift packages! Thanks for sharing! Can’t wait to go thrifting for vintage bling!!
I can see this bow on my crafts and on gift packages! So cute!! Thanks for sharing! Can’t wait to go thrifting for vintage bling!!
Love these! Gonna try them!
Another great video I’m going to try. Thanks for sharing
Love this! So pretty and easy!
Cute bow
Pretty bows!
I like watching your videos
Melanie, love your blog thank you for sharing your creative ideas. I am always looking for new ideas. No man is an island. You are a huge help. God bless you!
Thank you!
I didn’t have enough tulle to tie the bow. So I used a little curling ribbon. Added a nice touch with the curls! Thanks for posting this!
way to go! so creative!
BOOM-CHICKA-WOW WOW
What a great idea making gift bags for wedding shower gifts and adding these tulle bows and some bling from a bag of jewelry purchased at an auction. cutest idea ever!!
WOW!~Thank you so much!
I love the simplicity of these. Even for teenagers to do.
We’re having a baby shower the Sunday after Easter. I see the gift table with these. ( as long as my granddaughters get them done.)
Oh my goodness! How exciting! These will be perfect!
I’m thinking of making a wreath with these bows!
Wow! What a fantastic idea! It’ll be beautiful!