DIY Leopard Pumpkin Wall Art: Simple Fall Decor
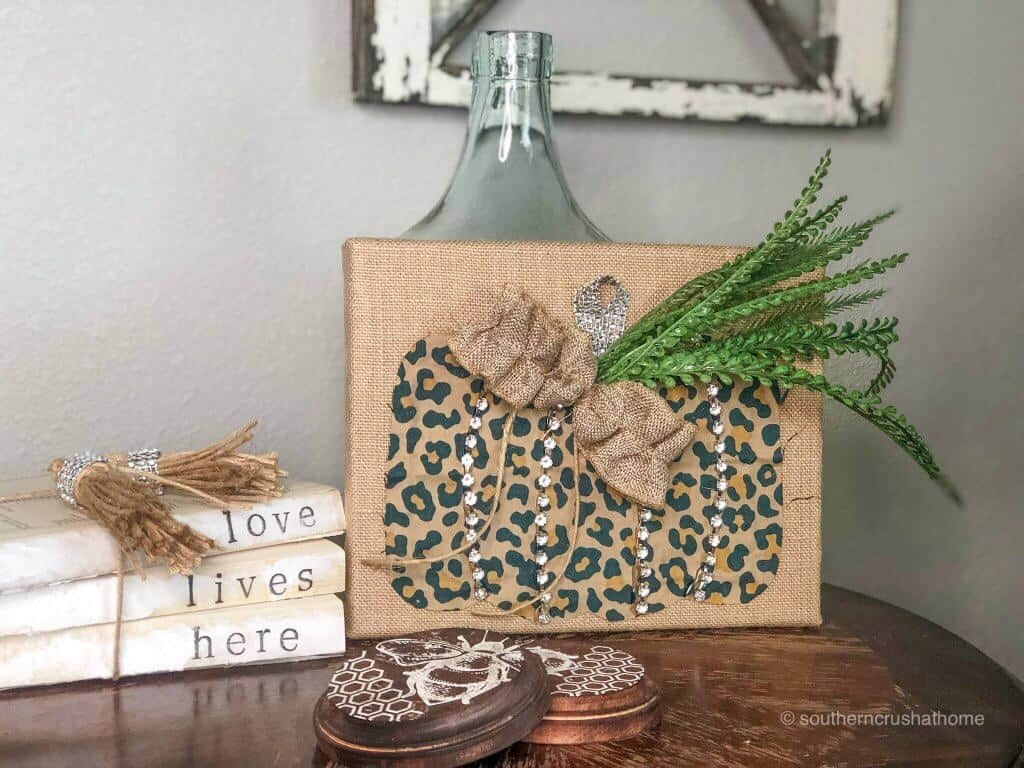
Creating this piece of wild fall leopard pumpkin wall art is so easy! Just follow these steps and you can make your own DIY leopard pumpkin for your mantel or home office.
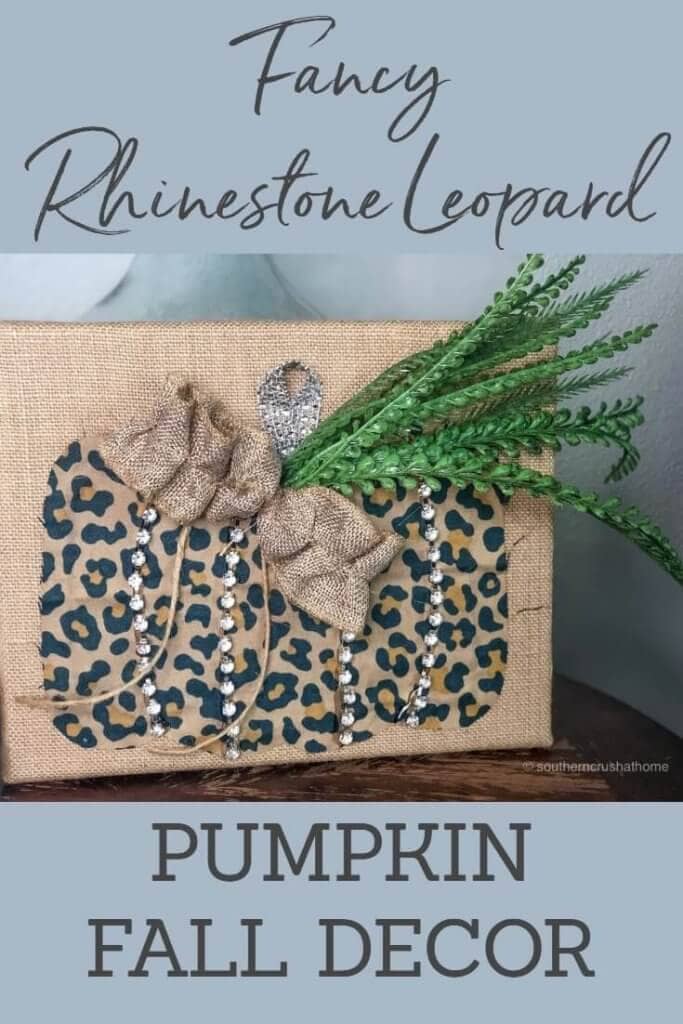
The world’s fanciest pumpkin was the name for this project and it did not disappoint. After adding a little burlap, rhinestone bling, and of course, leopard animal print, it was looking fancier and fancier! Watch how much fun this easy DIY fall decor project was to make.
A Simple Fall Decor Craft
It’s no secret that I love fall! The cooler weather and all the sweaters – so many of my favorite things happen in fall. One quick search on this blog and you’ll see how much I adore making pumpkin crafts too!
I’m a huge fan of really easy crafts that you can start and finish in the same few hours…That’s exactly what this craft is.
This craft is so simple that you can do it with your gal pals and everyone will have a craft to take home at the end.
How To Make a Leopard Pumpkin
I decided to take a walk on the wild side this time! I feel like rhinestones and leopard print are a little daring and they add some sassiness to my fall decor.
To make this leopard pumpkin really stand out, I made it on a piece of canvas, so I can hang it up anywhere in my home.
Here’s how to make it yourself.
SUPPLIES
- Burlap Canvas Frame
- Leopard Print Fabric
- Rhinestone Ruffled Ribbon
- Greenery Spray
- Rhinestone Ribbon Tape
- Hot Glue
- Scissors
WATCH THE Tutorial Video HERE
This was such a super fun project I decided to video myself doing it LIVE. If you missed it, I’d love for you to watch it.
Leopard PumpKin Instructions
Follow these step-by-step instructions and you’ll discover how to make your own leopard pumpkins. I also have a printable craft card at the end of this post with all the supplies and instructions in one place.
1. Cut The Fabric
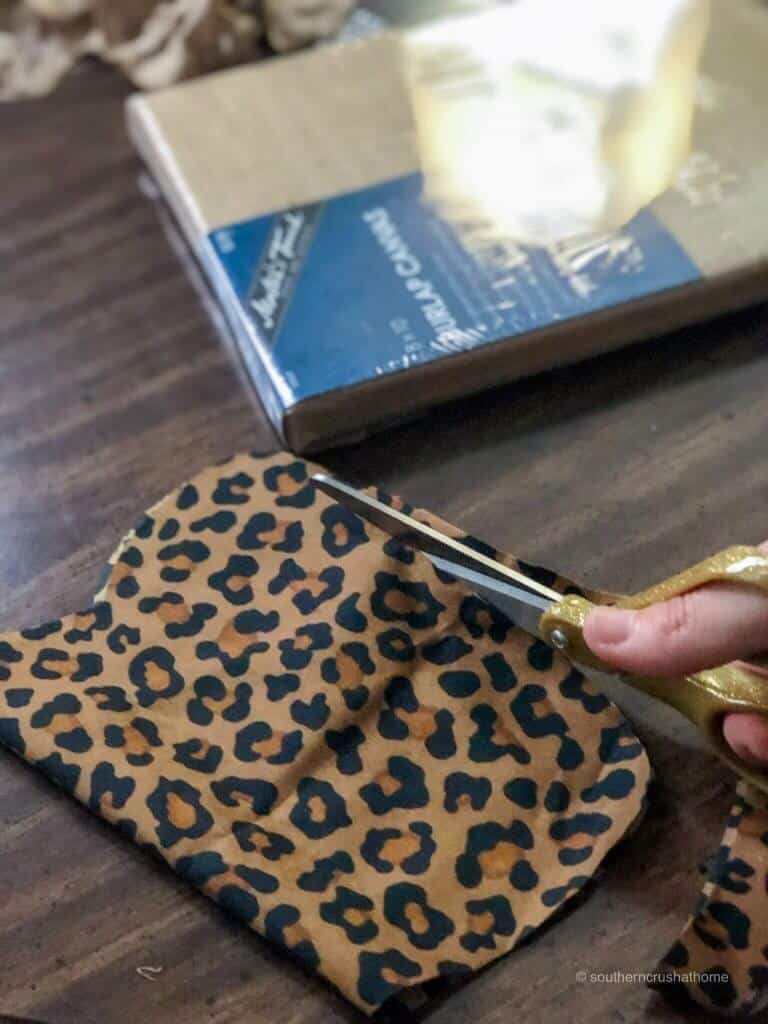
I decided that to make the pumpkin the “fanciest” it can be, it needs to be pretty big. So, the first thing I did was turn the canvas horizontally. Then, I took an old pillowcase for my leopard fabric and cut out a square. From the square, I folded it in half and proceeded to cut out a half pumpkin shape.
2. Attach the leopard fabric pumpkin to the Canvas
I decided to use the hot glue to attach the pumpkin to the burlap canvas.
3. Cut the Rhinestone Strips
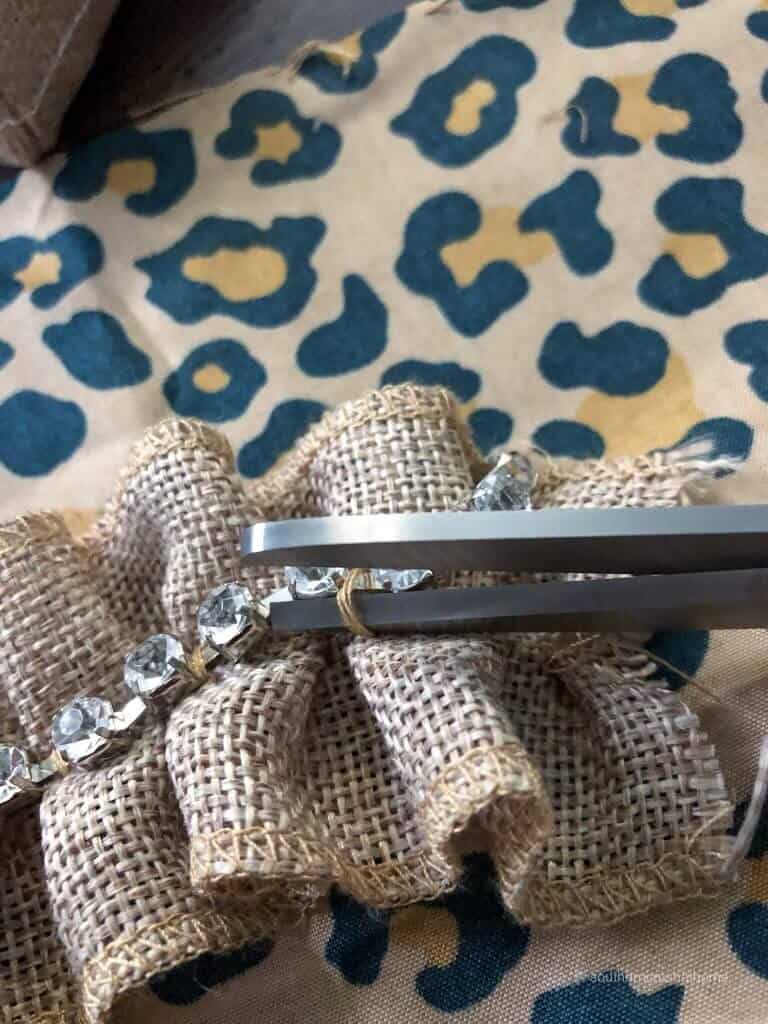
Next, I separated the rhinestone trim from the ribbon it came on and cut it into four strips to fit my pumpkin shape.
4. Glue Rhinestones To The leopard Pumpkin Shape
After they were cut, I hot glued them onto the pumpkin shape.
5. Make a Fabric Stem
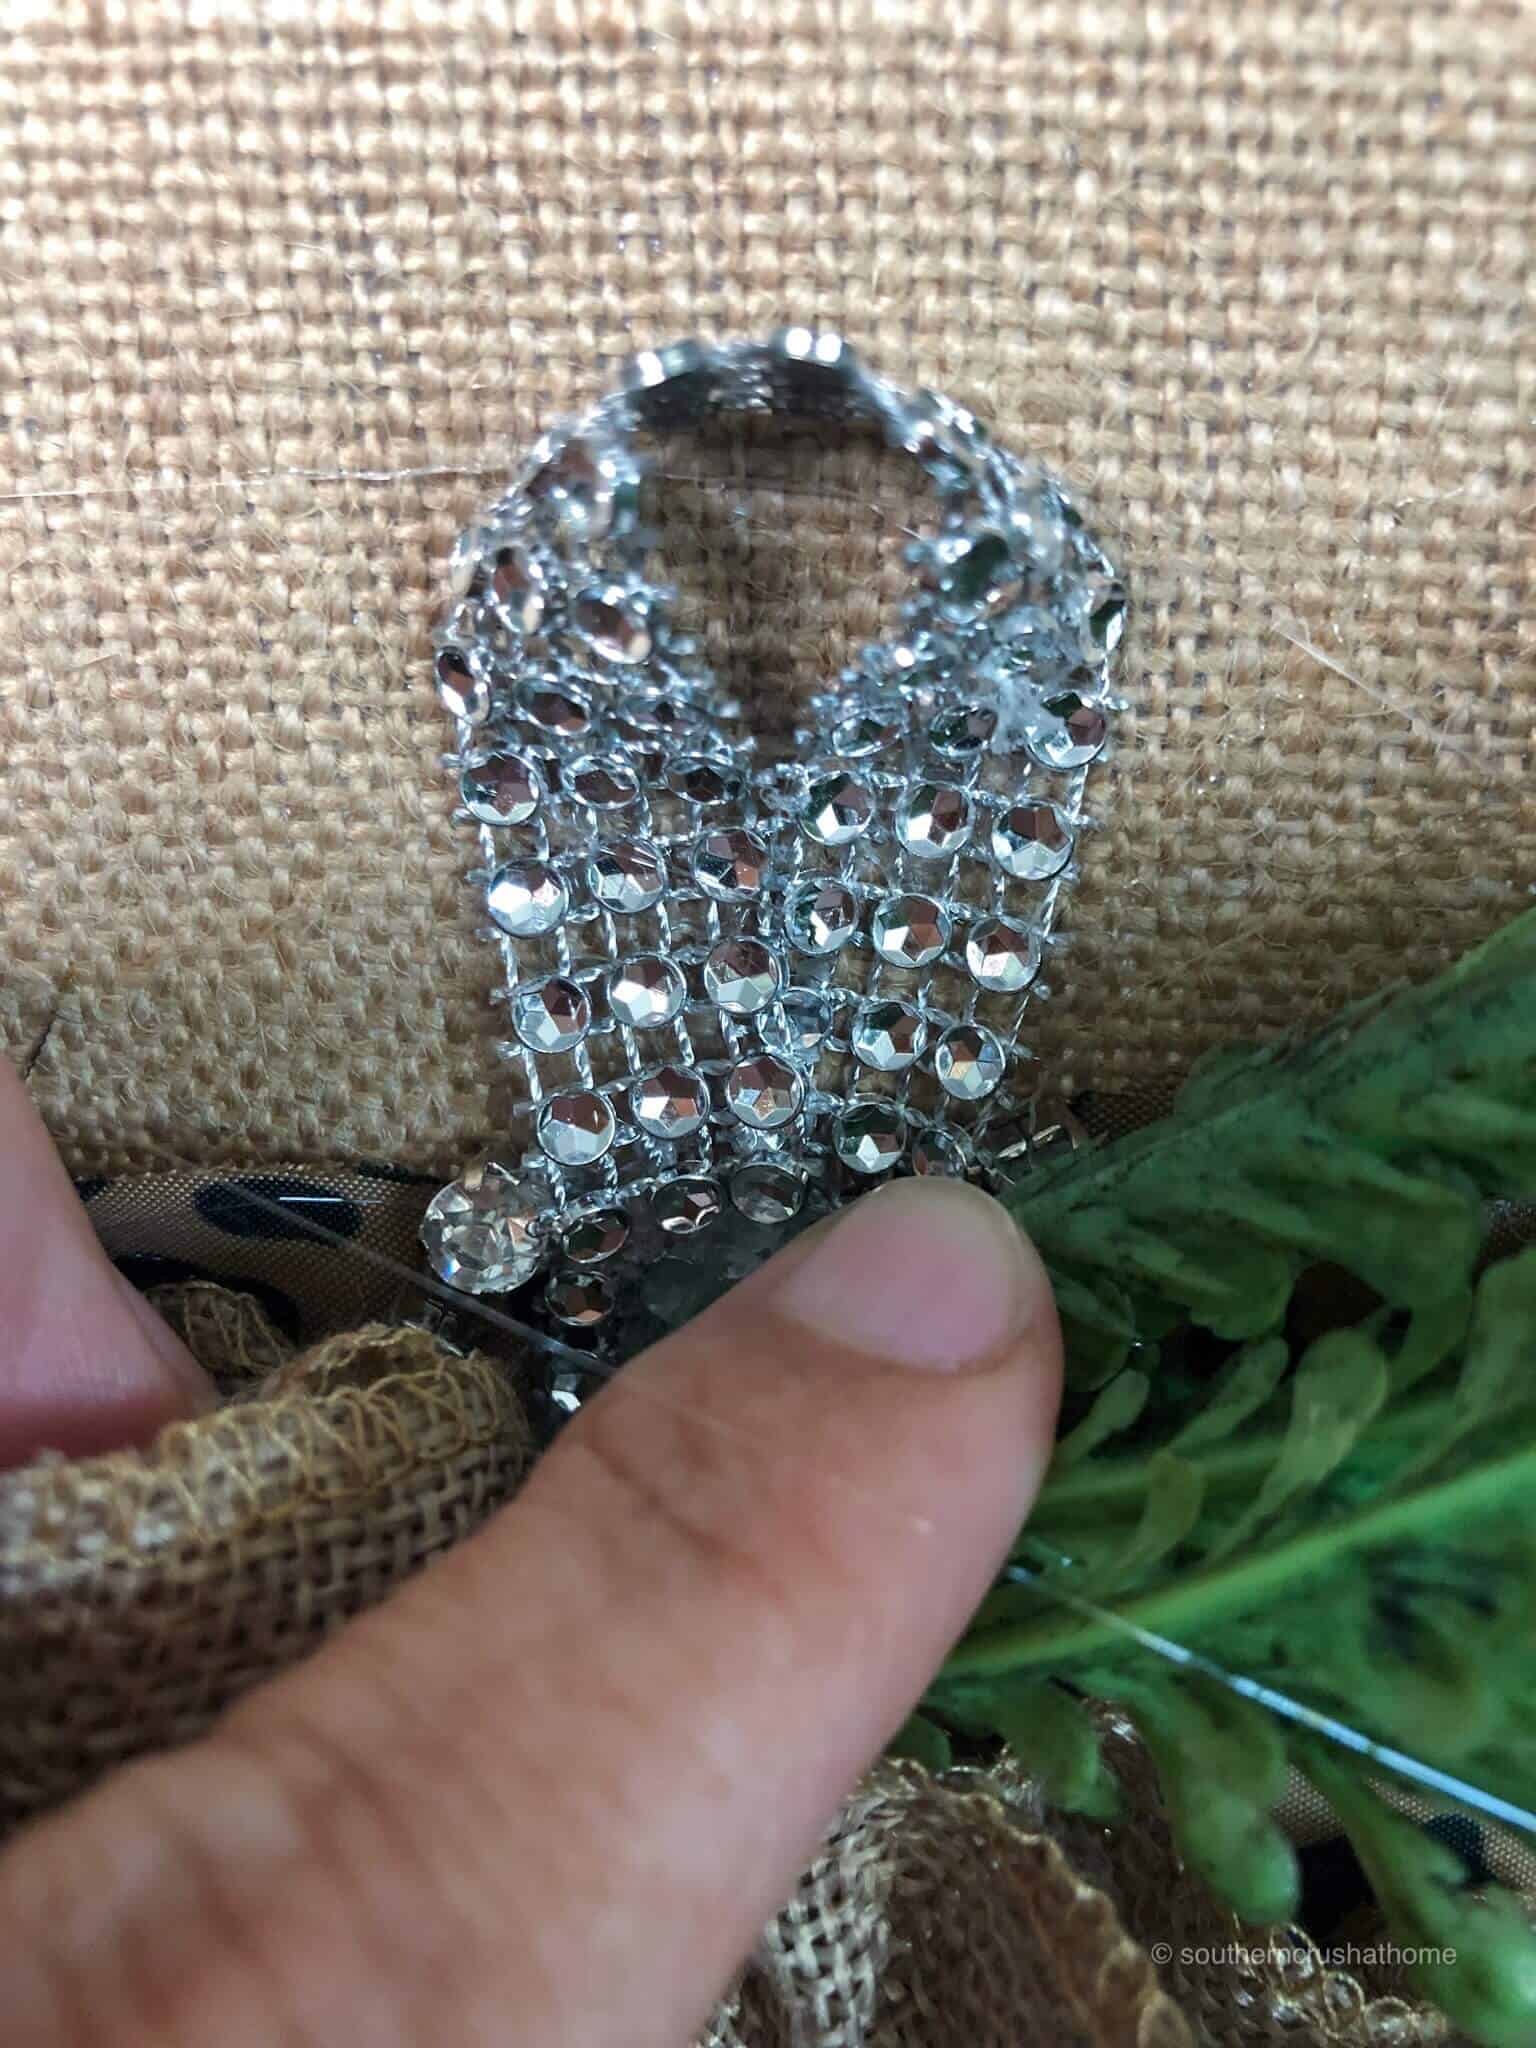
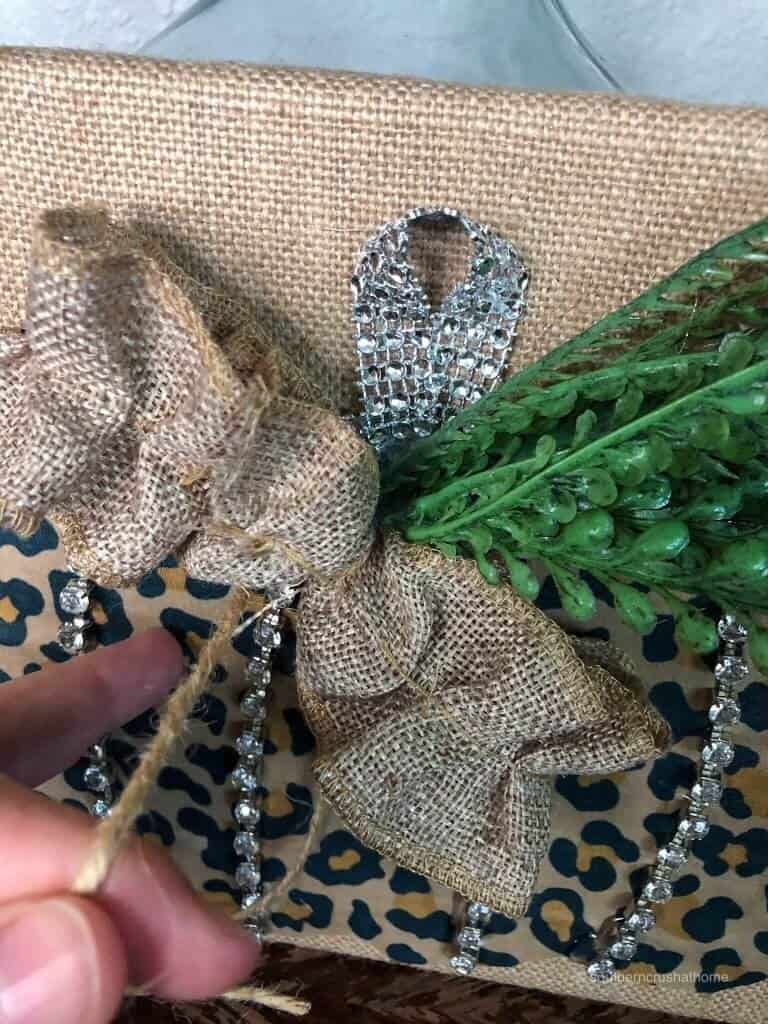
Using a scrap piece of rhinestone ribbon, I fashioned a stem and glued it to the top of the pumpkin.
6. Add Some Greenery
Next was to add the greenery. I used a fern-like spray off of a bigger green piece and hot glued it to the canvas.
7. Make a burlap bow
The final touch was to re-purpose the burlap ruffled ribbon into a bow. I used twine to tie the bow off and let it hang down. The bow was then glued to the pumpkin just under the stem to hide the “mess”.
DIY Leopard Pumpkin Wall Art
Here is the printable craft card! It has all the instructions on it, along with all the tools and supplies you need. Don’t forget to pin this post so you can find it later!
DIY Leopard Pumpkin Wall Art
Equipment
- Greenery Spray
- Hot Glue
- scissors
Materials
- 1 Burlap Canvas Frame
- ½ yard Leopard Print Fabric
- ½ yard Rhinestone Ruffled Ribbon
- ½ yard Rhinestone Ribbon Tape
Instructions
- Cut the leopard-print fabric into a square.
- Fold the leopard-print square in half and cut out a pumpkin shape.
- Attach the pumpkin shape to the burlap canvas with hot glue.
- Cut the rhinestone trim into 4 strips to fit your pumpkin shape.
- Hot glue the rhinestone onto the pumpkin shape.
- Create a stem out of rhinestone ribbon and glue it on top of the pumpkin.
- Hot glue greenery to the canvas.
- Attach a burlap bow to the canvas.
Repurpose Old Fabrics For DIY Crafts
This was such a fun project and I love that you can truly use any materials you have lying around. In my case, it was a pillowcase and some fun ribbons. What will you find to use? Here are a few more ideas and places to look:
- Old Sheets
- Quilting Fabric Scraps
- Old Clothes
- Curtains
- Blankets
- Fall Sweaters
Frequent Questions about Leopard Fabric Pumpkins
If you have any questions about this craft, please leave them in the comments. Here are some popular questions along with their answers.
What can you use instead of rhinestones?
Add any type of “bling” or decoration that makes your heart happy! Some other ideas that you can try include:
- Ric-Rack
- Decorative Ribbon
- Beads
- Flowers
- Jewels
How Do you Cut a Pumpkin Shape Out of Fabric?
For this part, I literally just went with what felt right. A pumpkin is a basic oval shape with a few “hills” at the bottom. You can also use my FREE Basic Pumpkin template HERE or draw the shape with a pencil before cutting.
One thing you should remember: measure your canvas before you cut out your pumpkin shape. This way you will know for sure that it will fit.
Can You Paint Acrylic Paint on burlap?
Yes, you can use acrylic paint on the burlap canvas. If you don’t want to make a fabric leopard art, try to paint it. It will have a different look and feel when you are done too.
Where do you put this Leopard Pumpkin Art?
I personally like to display my pumpkin craft on my mantel with other DIY crafts. Here are a few more places and ideas for you:
- Front Door
- Entryway
- Desk
- Bedroom
- Hallway
How do you personalize it?
If you want to personalize it, just glue your monogram on it with either fabric or wood letters. If you have a Cricut, you can even attach vinyl decals too!
Ya’ll, don’t forget to pin this for later!
More DIY Pumpkin Crafts
This is one of several pumpkin projects you may be interested in, like these Marbleized Paint Pour Pumpkins!
Furthermore, if you liked this project, you should check out my most recommended DIY Dollar Tree Craft Supplies!
If you love this kind of DIY, you need to be getting my emails, friends! Each week I send out a couple of emails that include updates, crafts, shopping experiences, and decor inspiration. Get signed up below. I can’t wait to meet you!

I watched the video the next day and saved it so that I could make it when a I get supplies…Love it!
Yay!!! I’m glad you loved it!!!