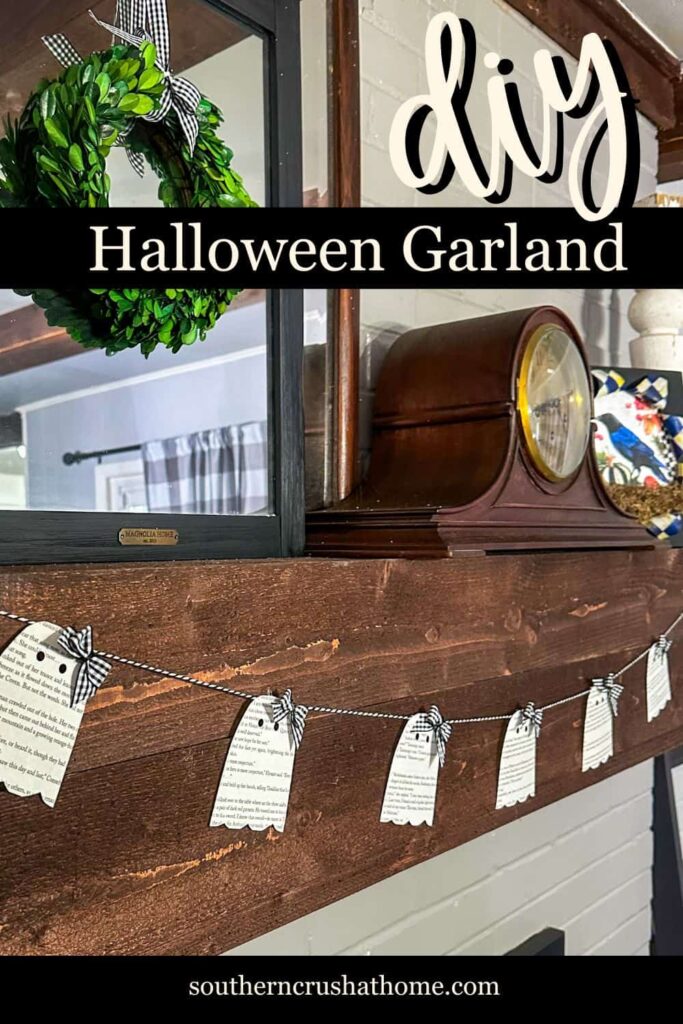
DIY Halloween Garland with Book Page Ghosts
Looking to add a spooky yet charming touch to your Halloween decor this year? Why not make a DIY Halloween garland featuring adorable little book page ghosts!
PIN this for later!
This craft is not only simple and inexpensive, but it also gives old, unused books a new life in the most festive way.
Whether you hang it on your mantel, doorway, or across a window, this ghostly garland will bring a playful and whimsical Halloween vibe to any space.
This blog post contains affiliate links. The opinions are wholly my own from my own experience. I may earn a small commission from clicks through to the websites that end in a purchase.
Materials You’ll Need:
- Old book pages (you can use any old book or even sheet music for a vintage look)
- Scissors
- String, twine, or ribbon
- Glue stick or hot glue gun
- Hole punch
- Ribbon for a bow (optional)
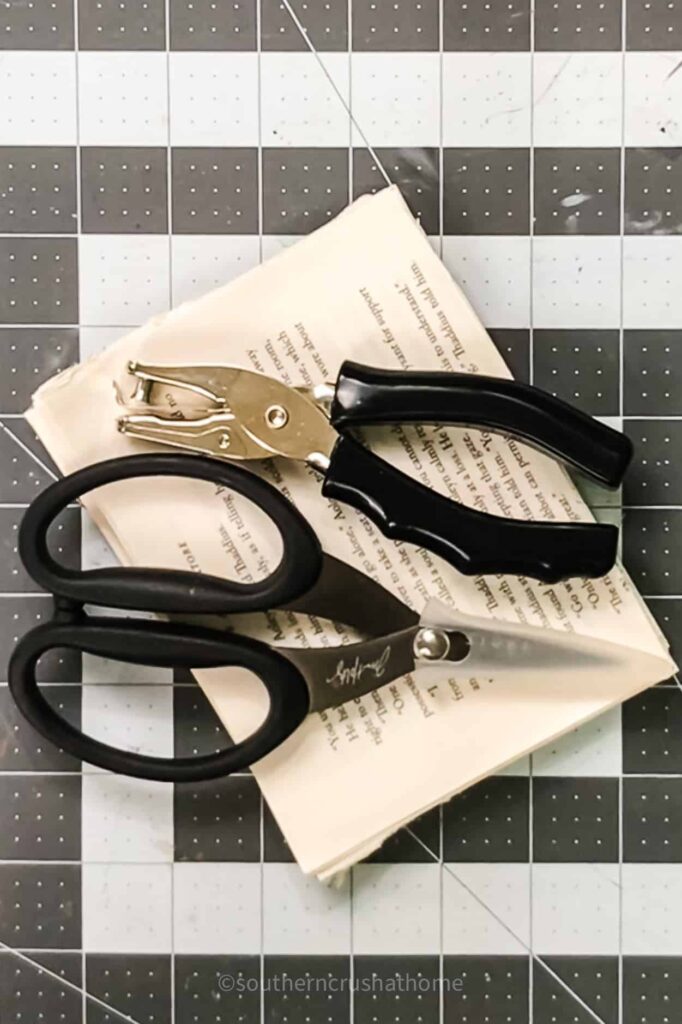
Step 1: Gather Your Book Pages
Start by choosing the book you’ll be using for the project. If you have an old or damaged book that you don’t mind tearing up, that will work perfectly.
Try using yellowed pages for a more vintage, spooky look, or go for white, newer pages for a cleaner, crisp ghost design. Carefully tear out the pages you want to use.
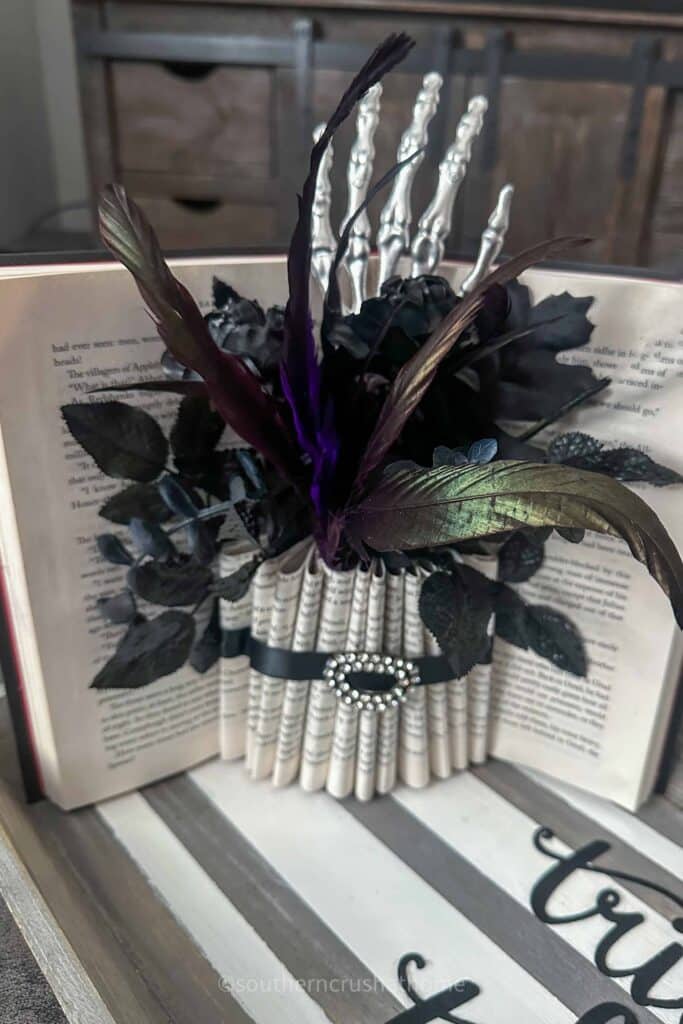
I used the leftovers from this other book page flower vase DIY project.
Step 2: Cut Out Your Ghost Shapes
Next, draw simple ghost shapes on the book pages. You can make them any size you like, depending on how large or small you want your garland to be.
Aim for classic ghost shapes: rounded on top with wavy “tails” at the bottom.
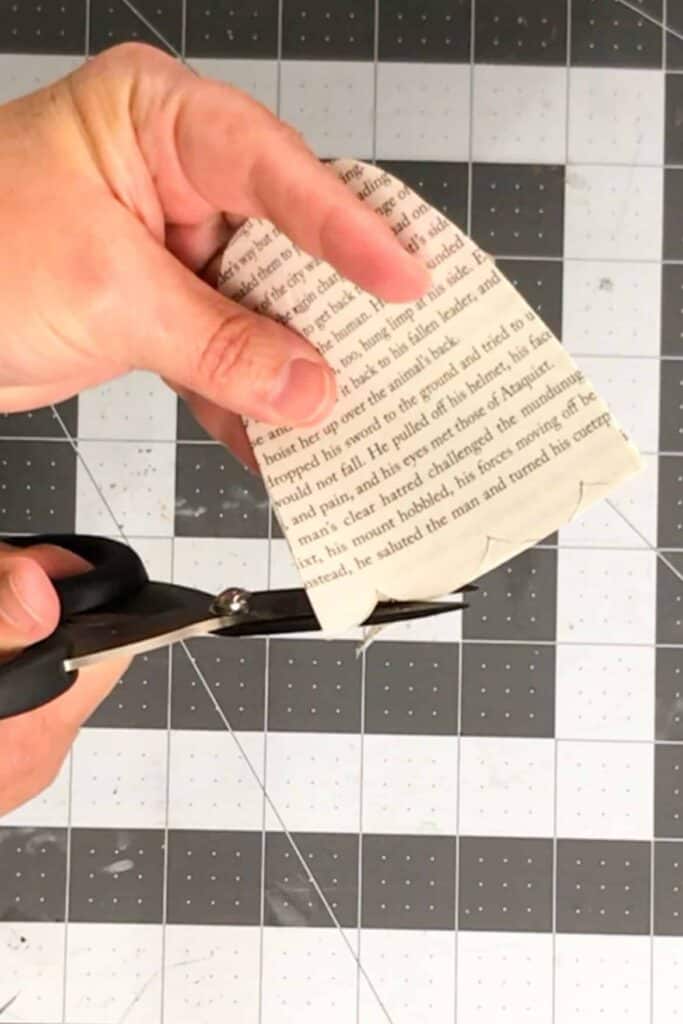
Don’t worry about them being perfect—part of the charm of these ghosts is that they can all look a little different!
Once you’ve drawn your ghost outlines, use scissors to cut them out.
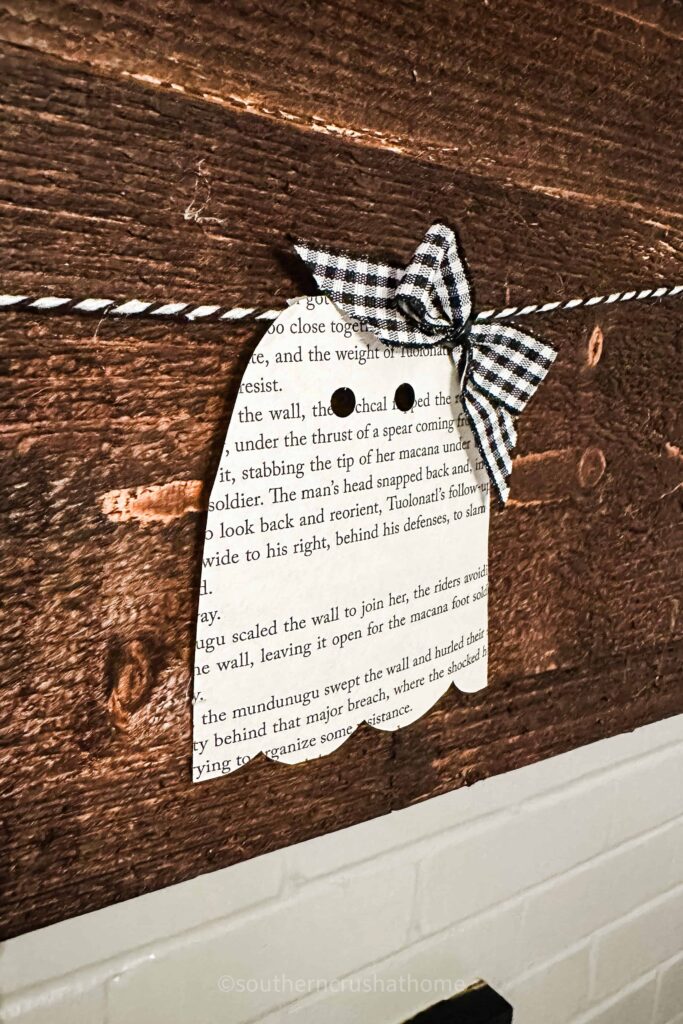
Step 3: Add Faces to the Ghosts
Now for the fun part—giving your ghosts personality! Using a hole punch, punch out simple ghost faces.
I chose to do two eyes only, but you can add a mouth, if you preferred.

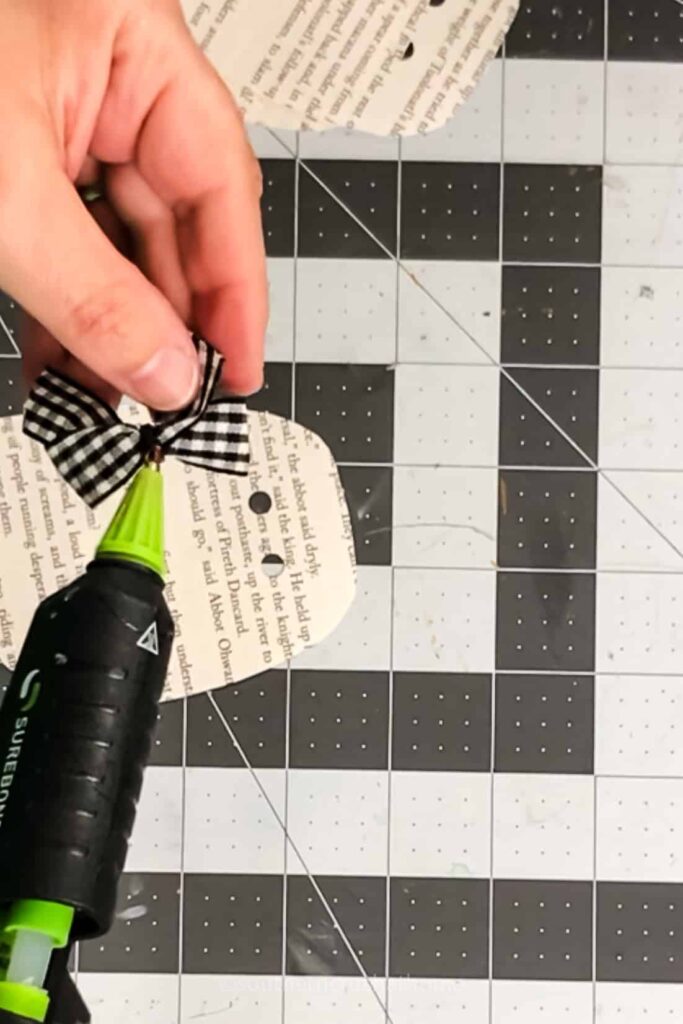
Step 4: Add a Bow to Each Ghost (optional)
Feel free to add a mini bow to each ghost using hot glue for a cute “ghoulie” girl ghost look!
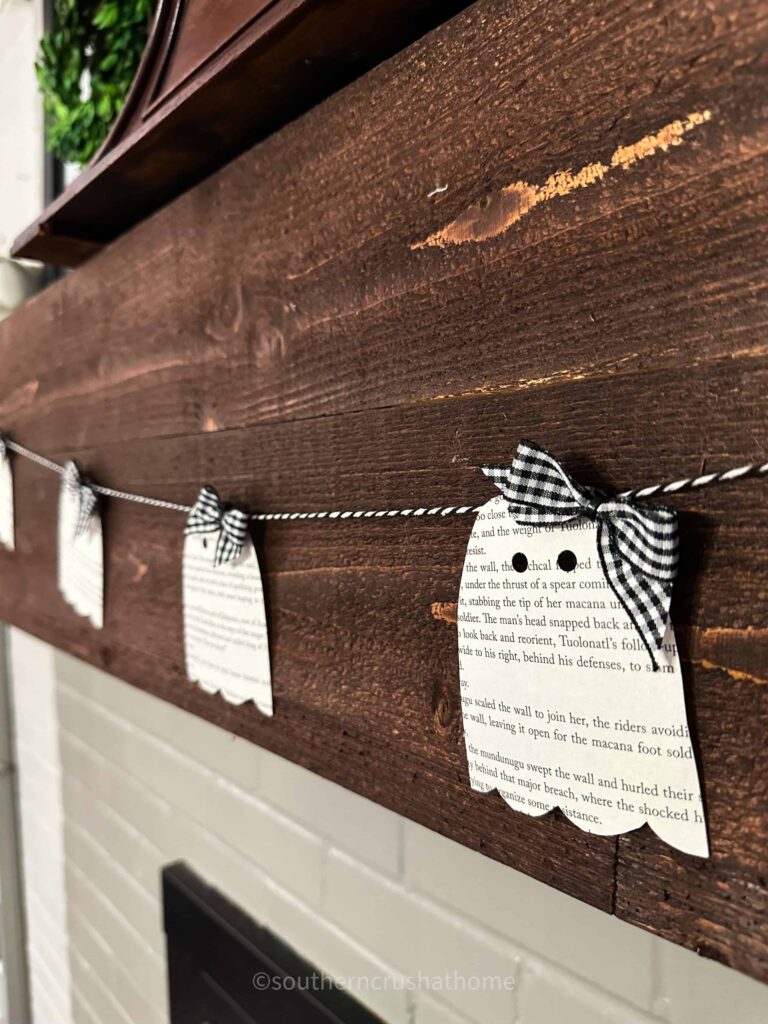
Step 5: Attach the Ghosts to the Garland
Choose the string, twine, or ribbon you’ll be using for your garland. Twine adds a rustic, farmhouse feel, while ribbon can add a pop of color or a more refined look.

Measure out the length based on where you want to hang the garland, and cut your string accordingly. Don’t forget to leave some extra length on each end for hanging.
There are a few ways you can attach your ghosts to the garland string:
- Tape or Glue: Simply fold a small section of the ghost’s head over the string and secure it in place with a dab of glue or a small piece of tape.
- Hole Punch: If you prefer a more finished look, you can punch small holes in the tops of the ghosts and thread them directly onto the string.
- Mini Clothespins: If you’d like to be able to rearrange your ghosts or reuse the garland in the future, use mini clothespins to clip the ghosts onto the string. This is a cute and functional way to hang them!
Space the ghosts evenly along the string, leaving enough room between each one so that they hang nicely without crowding each other.
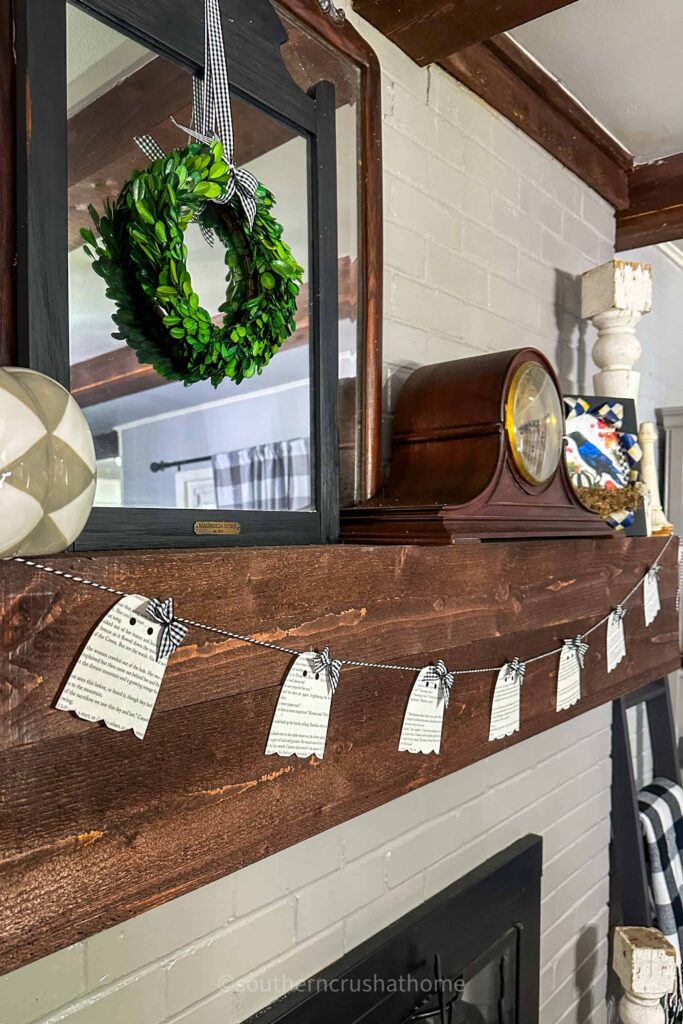
Step 6: Hang Your Garland
Now that your garland is ready, it’s time to hang it up! Drape it across a fireplace mantel, string it along a staircase railing, or hang it above a doorway or window.
You can even get creative by layering it with other Halloween decorations like spider webs, lights, or faux autumn leaves.
Optional Add-Ons:
If you want to take your Halloween garland to the next level, consider adding some extra embellishments:
- Pumpkin Cutouts: Add some mini pumpkins made from orange construction paper or felt for a pop of color between the ghosts.
- Spider Accents: Attach small plastic spiders, spider cutouts, or felt spiders for an added creepy-crawly effect.
- Bats: Cut out little bats from black paper and alternate them with the ghosts for a full spooky scene.
- Lights: String tiny fairy lights or battery-powered Halloween lights along with your garland to make it glow at night.
Tips and Tricks:
- Variety is key: Don’t be afraid to make your ghosts different sizes and shapes. It adds interest and character to your garland.
- Reuse old materials: This project is great for recycling old books, newspapers, or even sheet music.
- Play with placement: If you have a longer string of garland, try hanging it in multiple loops or zigzags to create visual interest.
This DIY Halloween garland with book page ghosts is a simple yet fun project that brings a charmingly spooky vibe to your Halloween decor.
It’s easy to customize, requires minimal materials, and is a great way to involve kids or friends in a festive craft.
Plus, it’s perfect for book lovers who want to give old pages new life in a creative, seasonal way.
So gather your old books and crafting supplies, and let’s bring some ghostly fun to your home this Halloween! 👻