DIY Halloween Banner With Scrapbook Paper
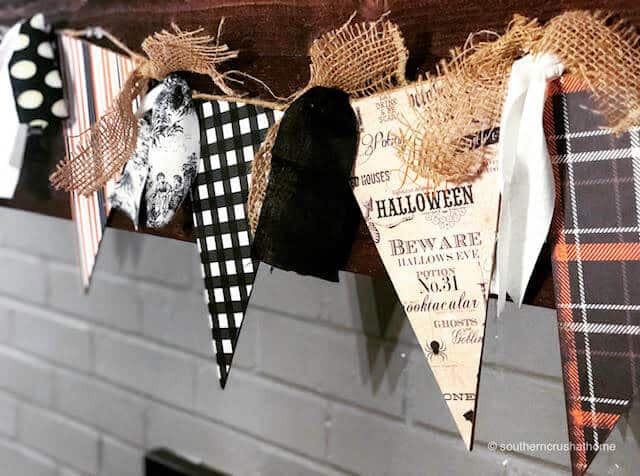
Check out how easy it is to make your own DIY Halloween banner out of scrapbook paper and craft supplies like burlap ribbon!
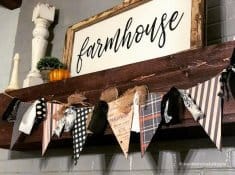
Decorating a fireplace mantle for the holidays is always a fun and exciting process. Halloween is no exception; however, this particular project can be easily adapted to fit into any holiday depending on which scrapbook paper you choose!
Traditionally, Halloween colors are a mix of black, bright orange, neon green, and funky purple. For a more neutral, almost farmhouse look I stuck with muted orange, off white, black, and burlap for this Scrapbook Paper Halloween Banner.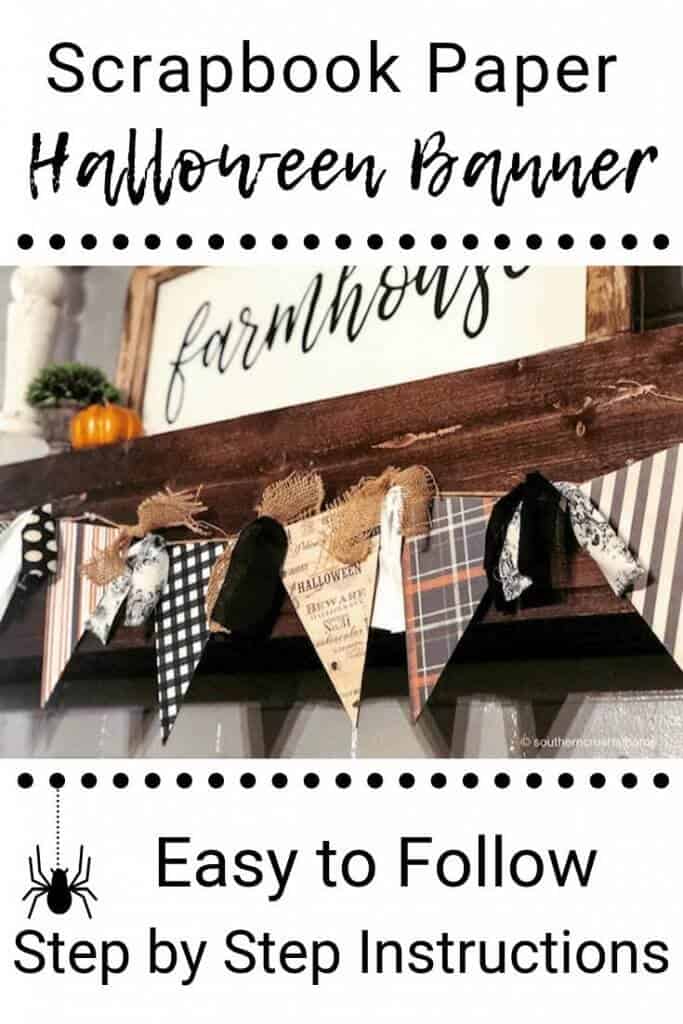
Ya’ll, don’t forget to pin this for later!
How To Make a DIY Halloween banner
For this fun and easy DIY banner, I used a wooden pennant banner I found at a local thrift store. The original finish was a cute yellow and farmhouse gray design which I actually like, so the decision was made to keep one side the way it was intended and simply flip the banner over and design a different look for a totally different banner idea.
I’ll show you exactly how to make your very own Halloween banner. It’s so easy! This can be finished while you hang out with your best friends or in between tasks on a busy afternoon.
Supplies Needed for Scrapbook Paper Halloween Banner
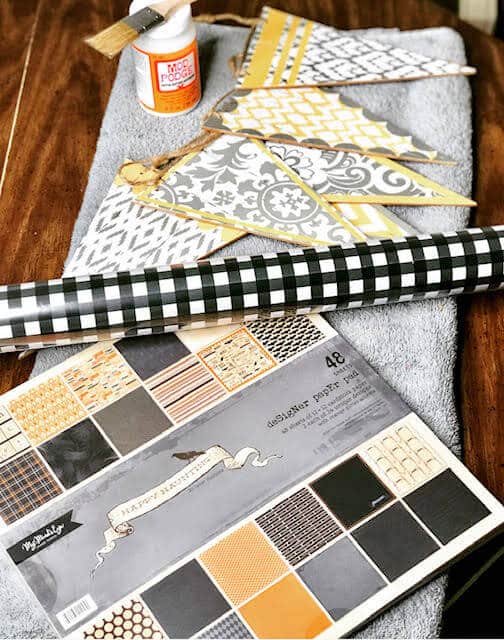
- Scrapbook paper of your choice (mine was from Tuesday Morning) I also used some buffalo check gift wrapping paper I loved for one of the pennants.
- Pennant (I used the backside of some particle board pennants that I found at a thrift store, but these are also at Hobby Lobby. You can also opt to not have the backing at all!)
- Mod Podge
- Paintbrush
- Scissors
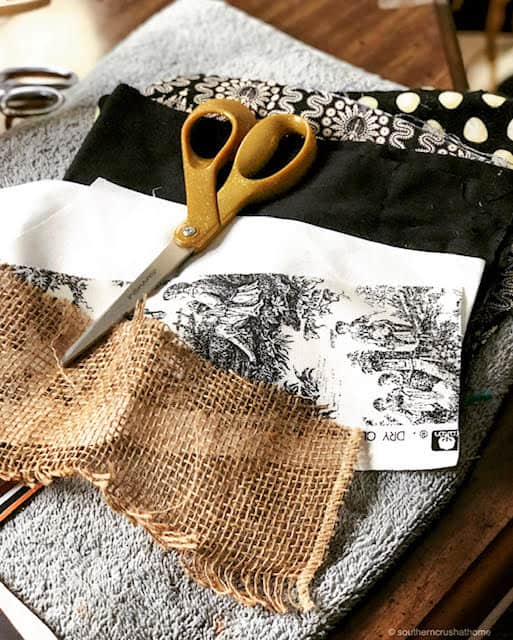
- Fabric pieces of your choice
Note: The scrapbook paper worked the best because of its thickness.
Where to buy Halloween scrapbook paper
I love to save money (who doesn’t?) and so I shop smart and buy holiday stuff the day after the holiday. I just keep save them for the next year. Lots of places will sell their Halloween stuff at half off or more on November 1st!
Tuesday Morning is another fantastic place to find things at really low prices. It’s all about bargain hunting when you shop there and they get new stuff all the time so keep going back.
What makes this banner so much fun is using all sorts of different colors and patterns. Don’t worry if they don’t match, they aren’t supposed to.
Best types of fabric scraps to use on the banner
If you are going for a farmhouse look, then you should use rustic fabric scraps like burlap ribbon and twine. The best thing about this craft is that no matter what kind of fabric scraps you use, it will still look beautiful.
If you use white lace, it will have a cottage chic feel to it. If you add some orange and black satin, it will have a fun shine! Play around with different textures and patterns and see which you enjoy the most.
Halloween Banner Tips And Pictures
The entire tutorial is in the printable craft card at the bottom of this post!
First, I have some step-by-step photos and tips that will help you out along the way.
Pick Out Your Halloween Scrapbook Paper
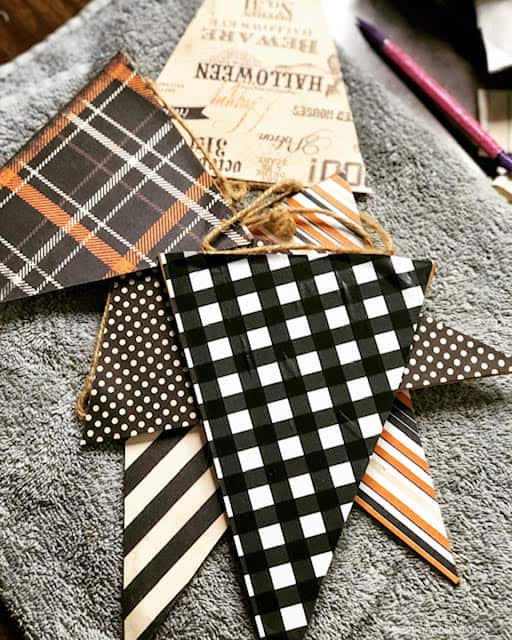
Before you even begin, pick out your favorite scrapbook paper. If you don’t celebrate Halloween, you can use fall themes and colors instead. I chose a Halloween theme book of scrapbook papers for this particular project. I also decided to throw in a buffalo check gift wrapping paper for one of my pennant designs.
Trace the pennant shape on the back of the scrapbook paper
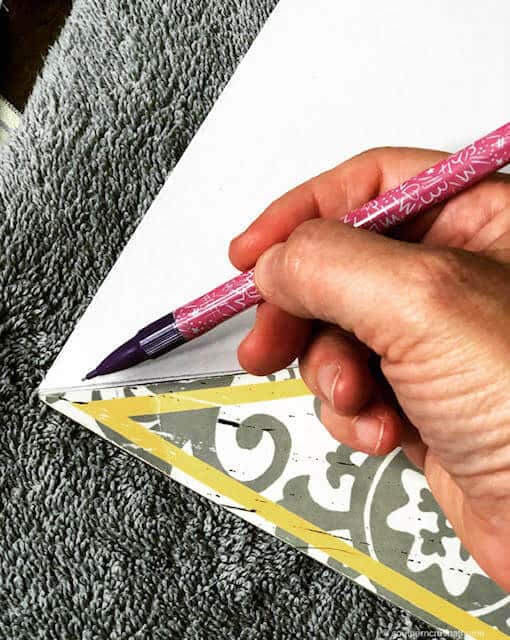
After you pick out the paper you want to use, trace your pennant shape with a pencil on to the back of the scrapbook paper, design side down.
Save Time When You Cut Out the Triangles
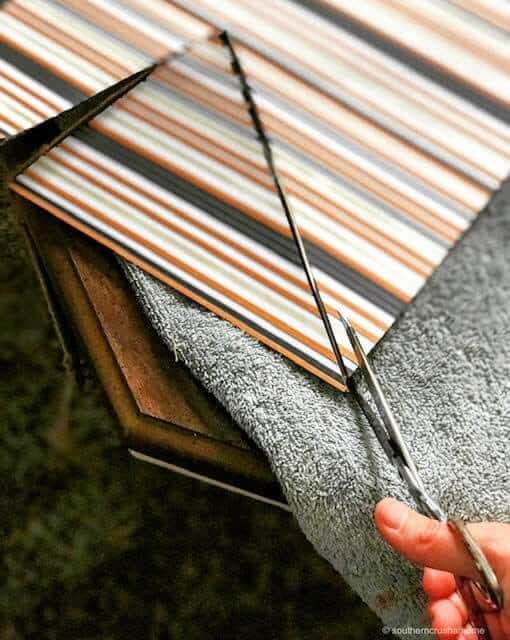
I went ahead and stacked all of my papers together and cut out the triangular shape one time.
Use Mod Podge to adhere the paper to the pennant
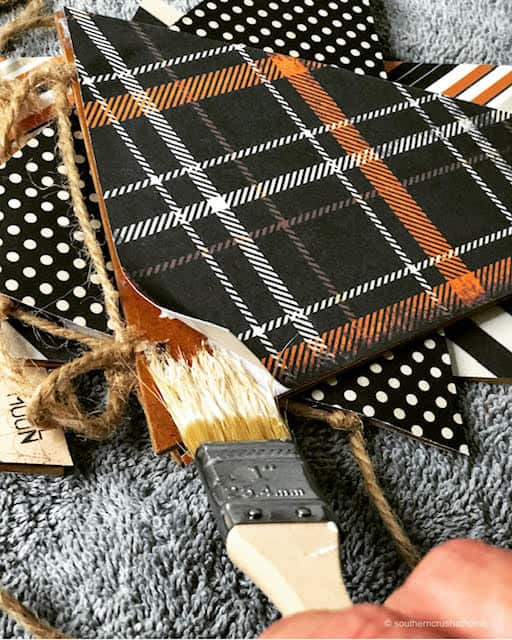
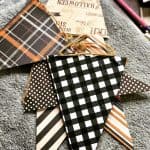
Use the mod podge to adhere the scrapbook paper triangular shape to your pennant backing. Make sure to use a thin layer but cover the pennant thoroughly.
Let it dry completely
Let the mod podge dry completely. Trust me- Patience is a virtue. If it is easier, let it dry overnight.
Decide how long to cut your fabric scraps
Pick out several pieces of your favorite scrap fabrics and cut them into strips of your desired length. Mine was about 6 inches in length, but play around and cut them to fit your project.
Tie the Fabric Scraps to the pennant
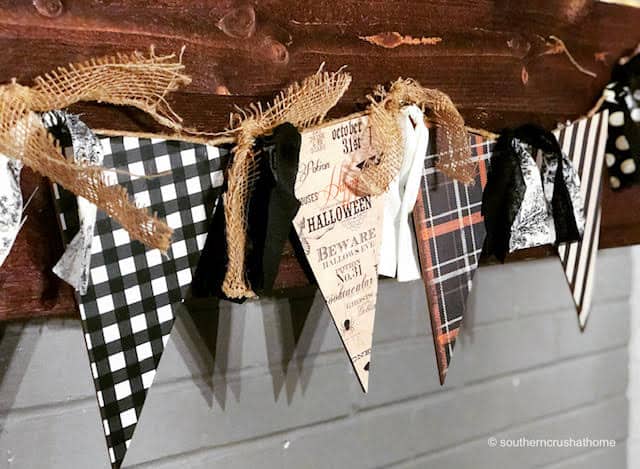
Tie the rag ribbons in between your pennants. I used two strips in between each pennant. You may have to play with the number of ribbons.
I started out with three, but then it looked too crowded and it was so hard to see the actual pennants. I cut it back to two between each pennant and it worked perfectly. Be sure to mix it up and use different patterned ribbons as you create your banner.
That’s it! Here is the entire tutorial!
DIY Halloween Banner With Scrapbook Paper
Equipment
- paint brush
- scissors
- Pennant
- Mod Podge
Materials
- 10 pieces scrapbook paper
- 5 pieces Fabric Scraps
Instructions
- Trace your pennant shape with a pencil on to the back of the scrapbook paper, design side down.
- Cut your triangular pennant shape out of your scrapbook paper.
- Use the mod podge to adhere the scrapbook paper triangular shape to your pennant backing. Use a thin layer but cover the pennant thoroughly.
- Let the mod podge dry completely.
- Cut the fabric scraps into strips of your desired length.
- Tie the rag ribbons in between your pennants.
WATCH Video Tutorial HERE
If you missed the video tutorial on Facebook, you can still view it above.
The Beauty of Different Scrapbook paper patterns
The pretty variety of the different patterns on this banner makes me think about how different we all are, but that when we lock arms it’s a beautiful thing. What makes you different? Comment below.
Where To display the Halloween Banner
Such a cute banner that can easily be used in several places in your home! These are so versatile you can hang it on:
- Your fireplace mantle
- Across a door opening
- Over your cabinets
- Over the top of a window
- Placed on a gallery wall as a fun pop!
Get creative and have fun making these and decorating your spaces with them!
If you love this kind of DIY project, you need to be getting my emails, friends! Each week I send out a couple of emails that include updates, crafts, shopping experiences, and decor inspiration. Be sure to get yourself signed up below. I can’t wait to meet you!
>>>Leave your thoughts below in the comments, please… BTW— Life is short—Enjoy the mess!

Thanks for showing the finish banner……!
You’re so welcome!!
This is absolutely adorable and super easy to make. Thank you for sharing!
Yes! Even without the pennants I think it would be easy!
Yay! I’m glad you like it! Thank you and you’re welcome!
The pennant banner is super cute! Even I can do this. Thank you!
Yay! I hope you do make one!!
What did you do about the holes you covered with the scrapbook paper? Did you Modge Podge OVER the paper covering the pennants ? Lastly, Did you double up or tie separately the rag ribbons between the pennants? Very cute! Thank you for sharing this post, welcoming me, and putting up with all the questions.
Yes I just mod Podge right over the holes!
I left the holes and just covered them up with scrapbook paper. No I didn’t mod Podge the top of the paper on the pennants. I tied the tag ribbons separately between the pennants. Thank you for reaching out with questions anytime!!! I appreciate you
I just went over the holes and I tied the ribbons separately! I’m glad you’re here!!!
Love it. I bought a mantle yesterday, can’t wait to start making banners to decorate it seasonly.
I love this banner! I l might add I love the “recipe”. Thanks for sharing!