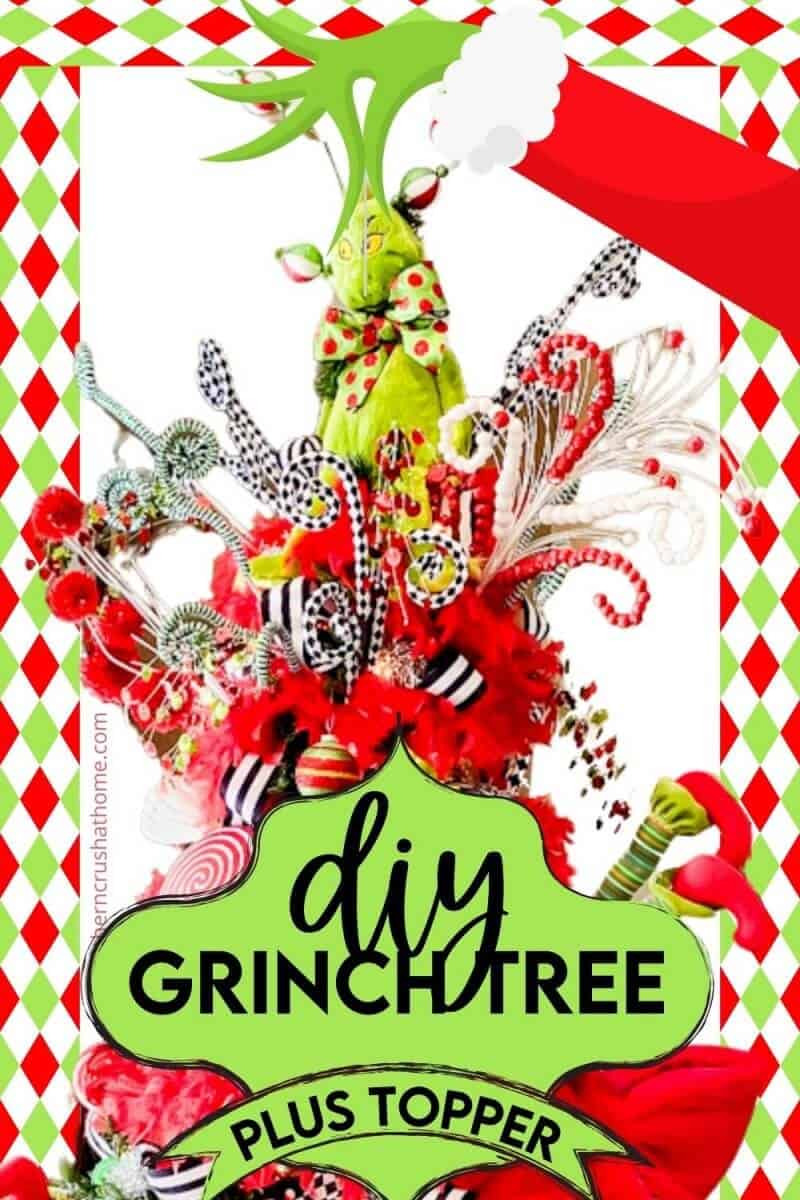
Easy Grinch Door Decoration with a Bundt Pan
There’s something undeniably fun about Grinch-themed holiday decor. The Grinch’s iconic green, paired with pops of red, brings a playful twist to Christmas decorations, capturing both the mischief and the magic of the season.

PIN this for later!
If you’re looking for a unique way to bring a little Grinch spirit to your holiday setup, this DIY Grinch wreath is the perfect solution.
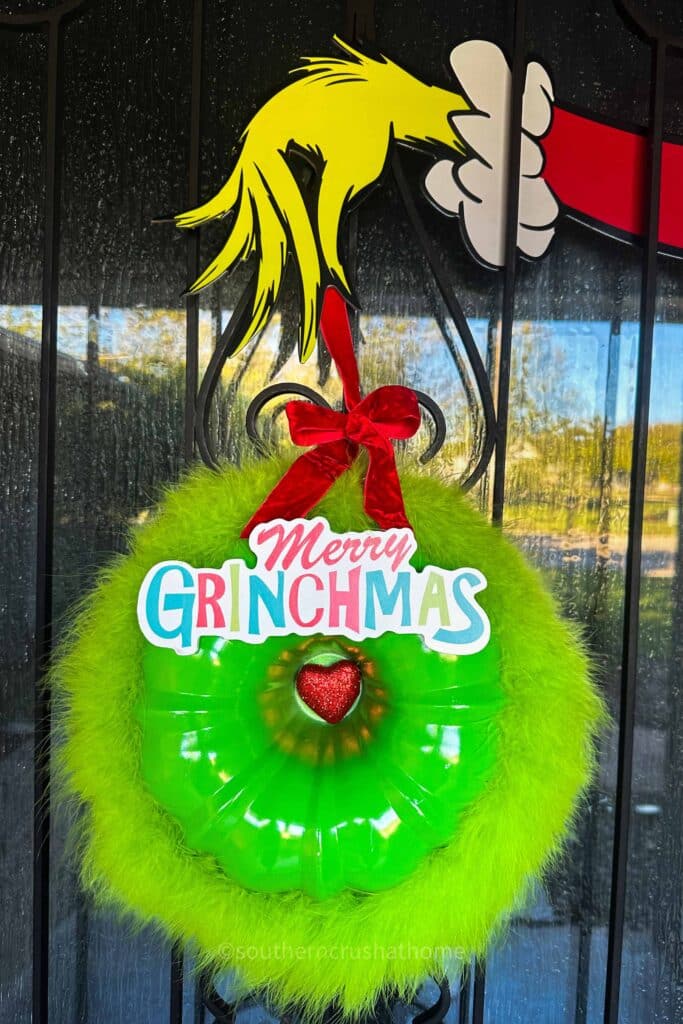
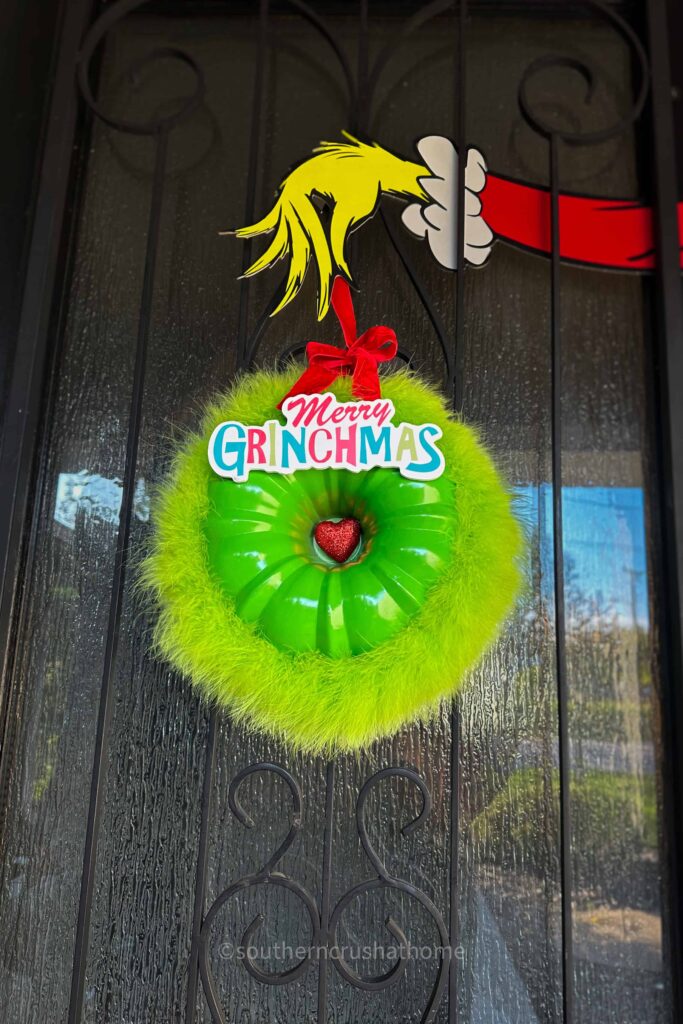
Made from an everyday bundt cake pan, a Grinch-green feather boa, and a few festive accents, this Grinch wreath door decoration is whimsical, easy to create, and guaranteed to make anyone who sees it smile.
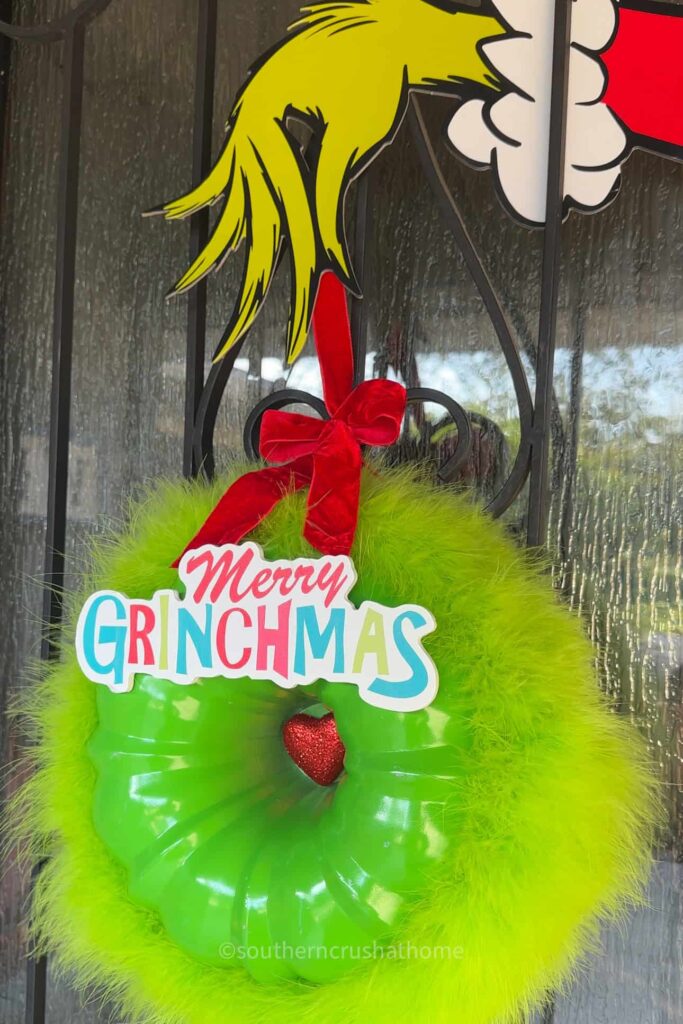
In this tutorial, I’ll walk you through the steps to create your own Grinch wreath, complete with that classic Grinch green, a red velvet bow, and a glittery red heart in the center.
I even added a cardboard Grinch hand cutout to give it a little extra character. Let’s get started on this playful Grinch door decoration!
This blog post contains affiliate links. The opinions are wholly my own from my own experience. I may earn a small commission from clicks through to the websites that end in a purchase.
YouTube Video Tutorial for a Grinch Door Decoration
Supplies You’ll Need for the Grinch Wreath Door Decoration
Here’s what you’ll need to gather for this festive DIY Grinch wreath:
- A metal or aluminum bundt cake pan (check your local thrift store)
- One Grinch-green feather boa (around a yard should be plenty)
- Small red glitter heart (Dollar Tree)
- Red velvet ribbon (long enough to tie a small bow)
- Grinch hand cutout (optional)
- Hot glue gun and glue sticks
- Scissors
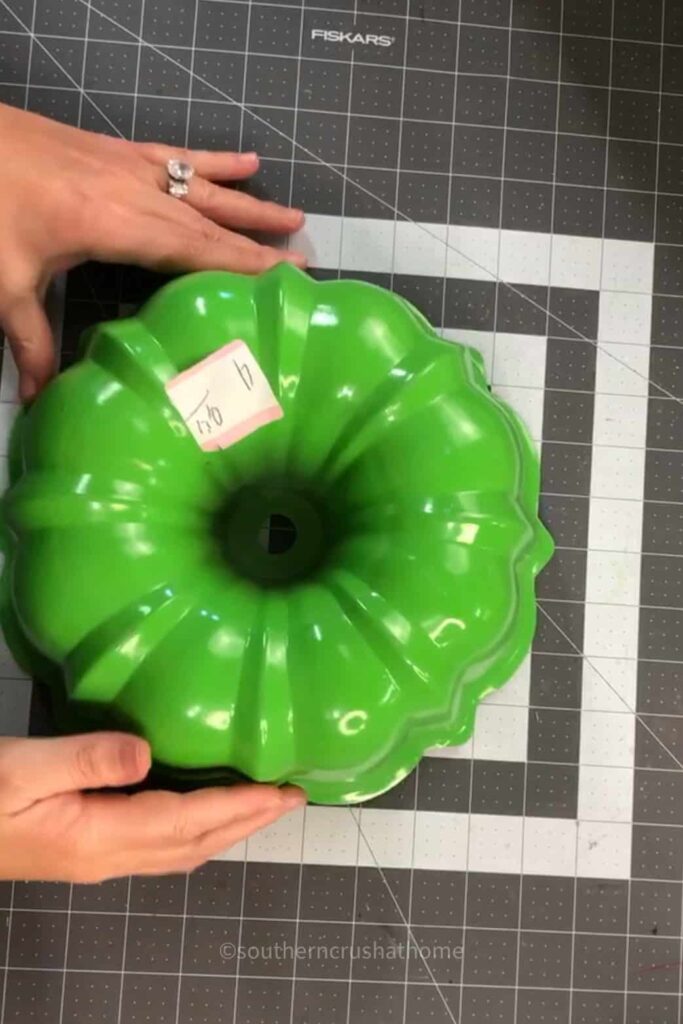
Step 1: Prepare the Bundt Cake Pan
Before we start adding any decorations, it’s a good idea to give the bundt cake pan a quick clean, especially if it’s been used for baking before.
Wipe it down with a bit of warm, soapy water, and let it dry completely. This will help any glue or paint stick well and give you a nice, clean surface to work on.
Step 2: Wrap the Bundt Pan with the Feather Boa
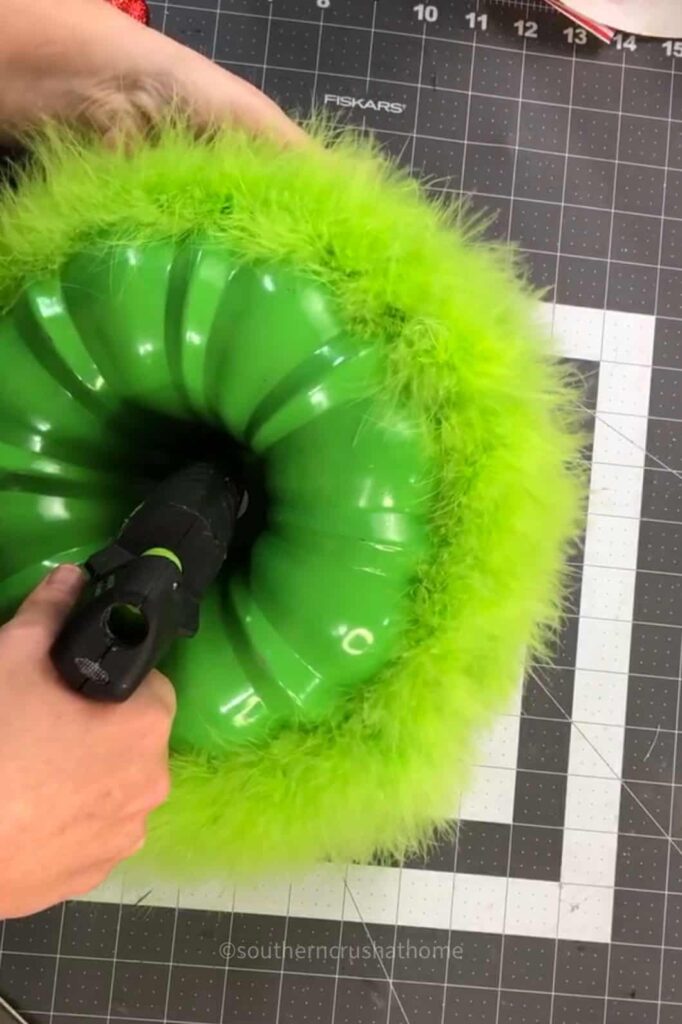
To give the wreath its signature Grinch green, take your feather boa and start wrapping it around the outer rim of the bundt pan.
Starting from one side, wrap the boa snugly, allowing the feathers to cover the pan as much as possible. This will give it that fluffy, textured look that’s so essential for a Grinch wreath.
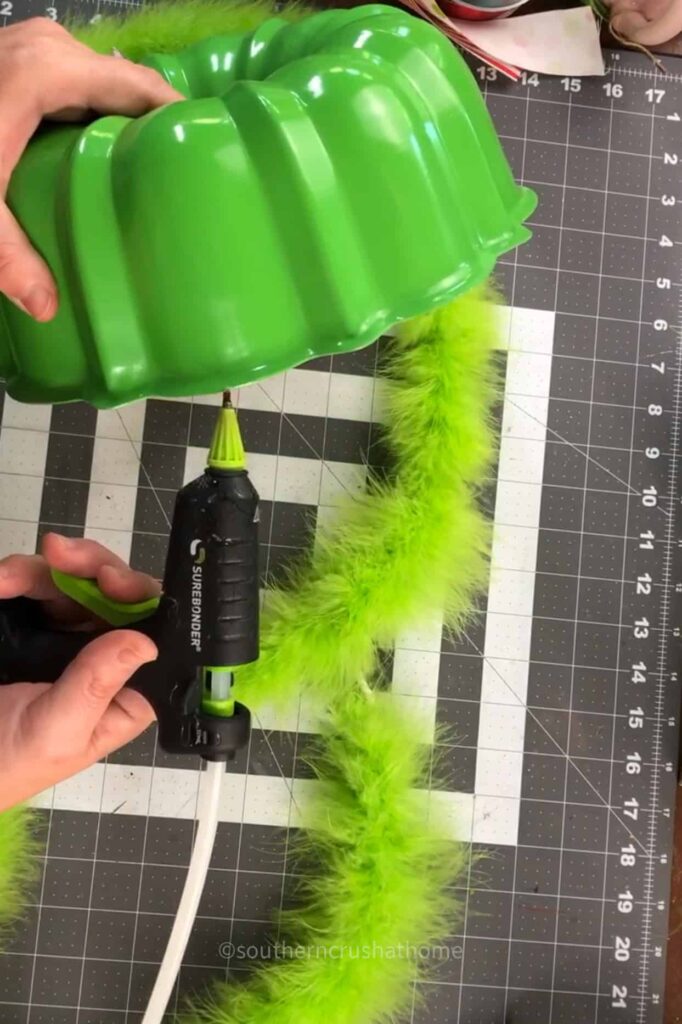
Use a hot glue gun to secure the boa at intervals around the bundt pan, especially at the starting and ending points.
Be careful not to burn yourself while gluing, as the metal can get hot. Allow a few seconds for each glue spot to cool and set so that the boa stays firmly in place.
Step 3: Add the Red Glitter Heart to the Center
Next, it’s time to add the classic Grinch heart. You can find small red glitter hearts at most craft stores, or you can cut one from red foam or felt and add a sprinkle of red glitter for extra sparkle.
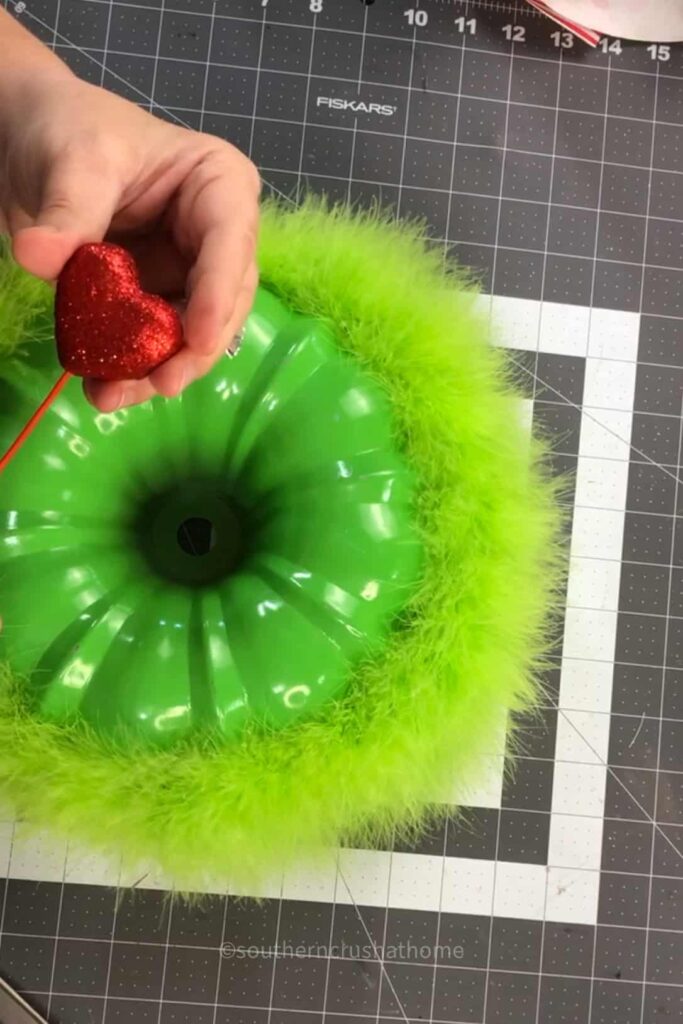
Once you have your heart ready, attach it to the center of the bundt pan using hot glue. This will sit right in the middle of the wreath, adding that pop of Grinchy red to contrast with the green.
Make sure it’s centered and securely glued in place before moving on to the next step.
Step 4: Make and Attach the Red Velvet Bow
Nothing says Christmas quite like a beautiful red velvet bow, and it’s the perfect finishing touch for this wreath. Cut a generous length of velvet ribbon, then tie it into a bow.
The size of your bow will depend on the size of the bundt pan, but you’ll want it large enough to make a statement.
I found a cute Grinch sayings “Merry Grinchmas” sign with a velvet bow attached and hot glued that onto the bundt cake pan.
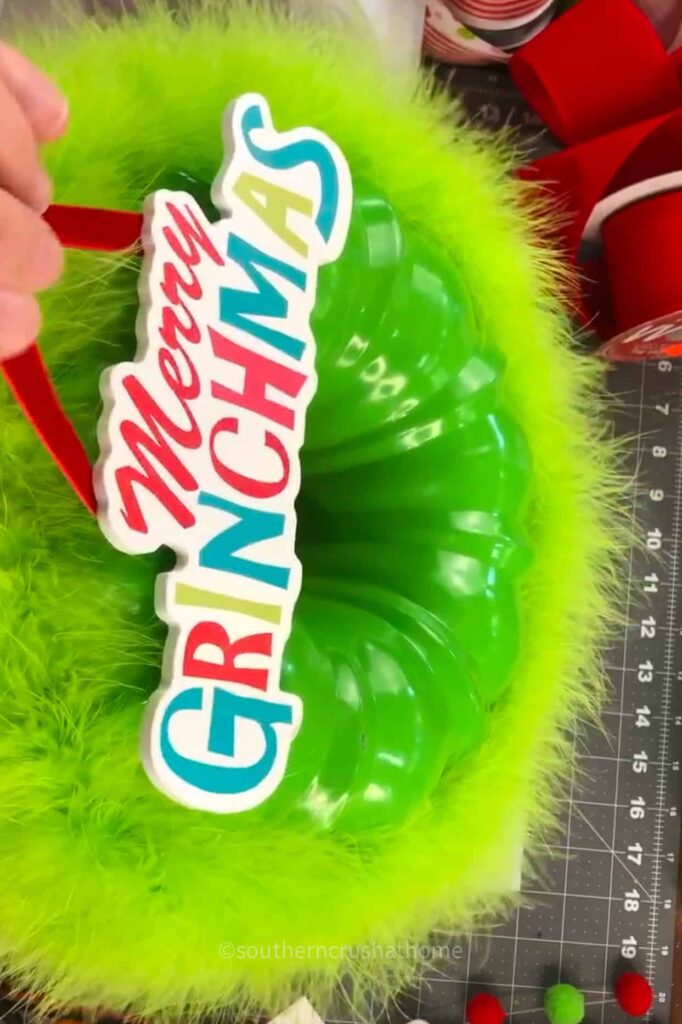
Once your bow is tied, secure it to the top of the bundt pan with hot glue or wire, depending on your preference. I
f you’d like, let the tails of the bow drape down to add a bit of extra flair. The soft, plush velvet will add a touch of elegance to the whimsical Grinch wreath.
Step 5: Hang and Attach the Grinch Hand
Now for a little extra character! A Grinch wreath wouldn’t be complete without a nod to that mischievous green Grinch hand. I found one at Hobby Lobby!
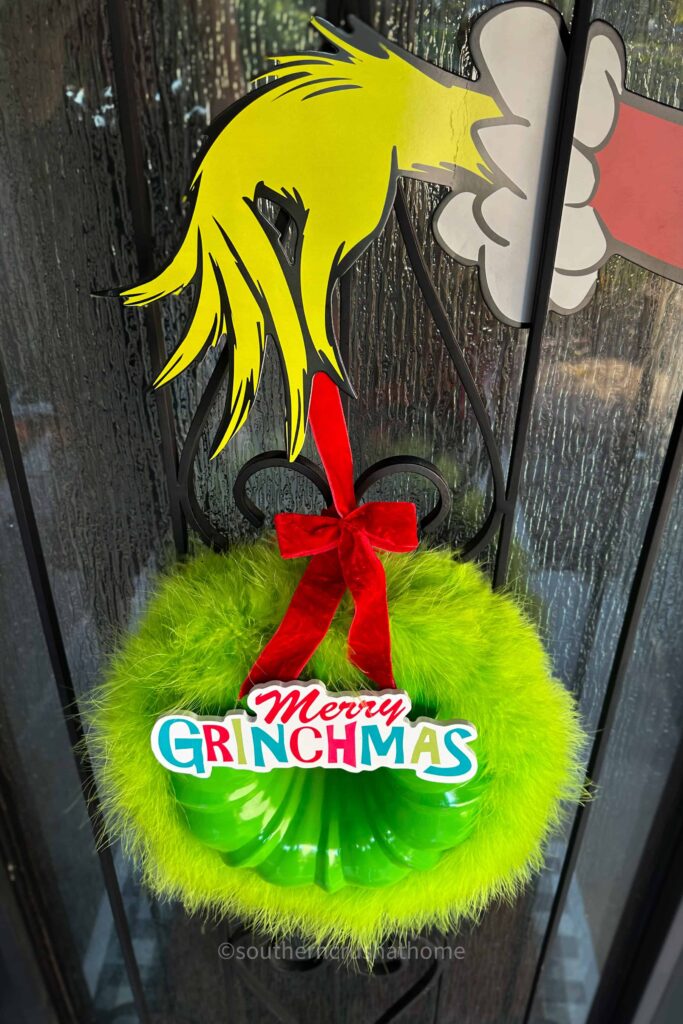
Position it so that it looks like the Grinch is reaching out from behind the door, adding a fun and whimsical touch to the decoration.
Step 6: Add Finishing Touches and Hang Your Grinch Wreath
To complete your Grinch Christmas wreath, check that all elements are securely attached and adjust anything as needed. If you’d like, add a little extra glue to reinforce the boa or heart.
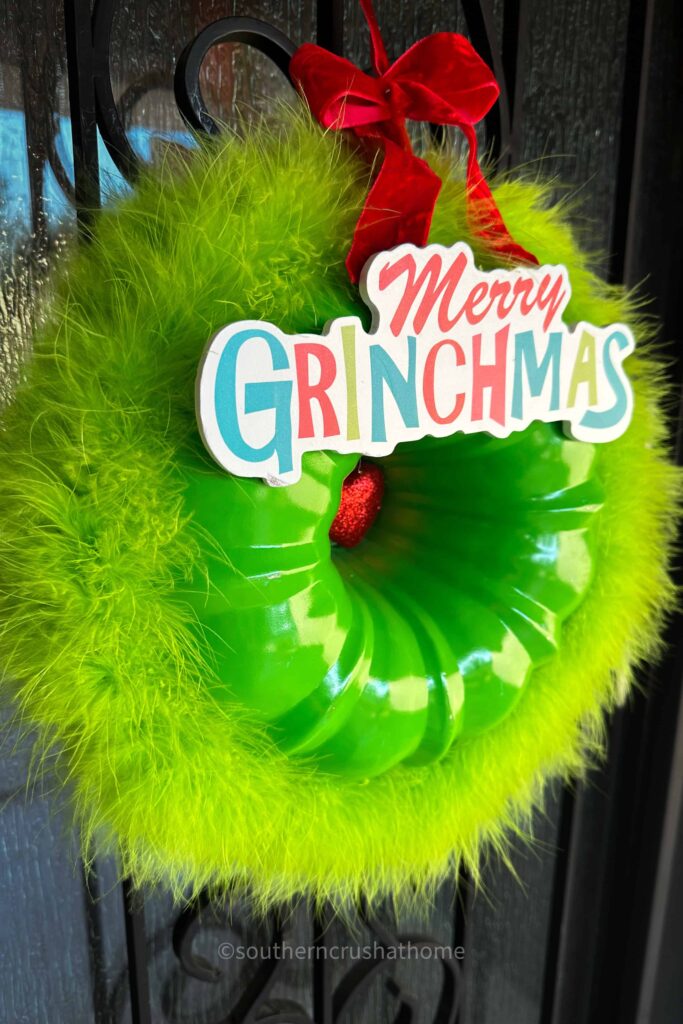
When you’re ready to hang it, use a sturdy wreath hanger or ziptie or ribbon, looping it through the top of the bundt pan.
Find the perfect spot on your front door or anywhere else in your home that could use a touch of Grinchy cheer.
Tips for Customizing Your Grinch Wreath
This wreath is perfect for customization! Here are a few ideas to personalize it even further:
- Add lights: Wrap a small string of battery-operated fairy lights around the wreath for a magical glow at night.
- Extra decorations: Try adding tiny red and green ornaments or mini Christmas bulbs for extra sparkle.
- Alternate colors: If you want a more classic Christmas look, you could substitute the Grinch green with a red feather boa, creating a more traditional holiday feel with a hint of mischief.
Spread Some Grinchy Cheer with Your DIY Grinch Wreath
Creating this Grinch wreath is a fun and festive way to add personality to your holiday decor. With the combination of the bundt cake pan, feather boa, red glitter heart, and Grinch hand, you’ll have a unique and eye-catching piece that brings the holiday spirit to your front door.
Not only is this DIY project affordable, but it’s also a wonderful conversation starter, sure to bring a smile to everyone who sees it.
If you’re a Grinch fan or just looking for a whimsical twist on traditional decor, this Grinch wreath is the perfect way to celebrate.
Happy crafting, and don’t forget to share your Grinch door decoration with friends and family!

