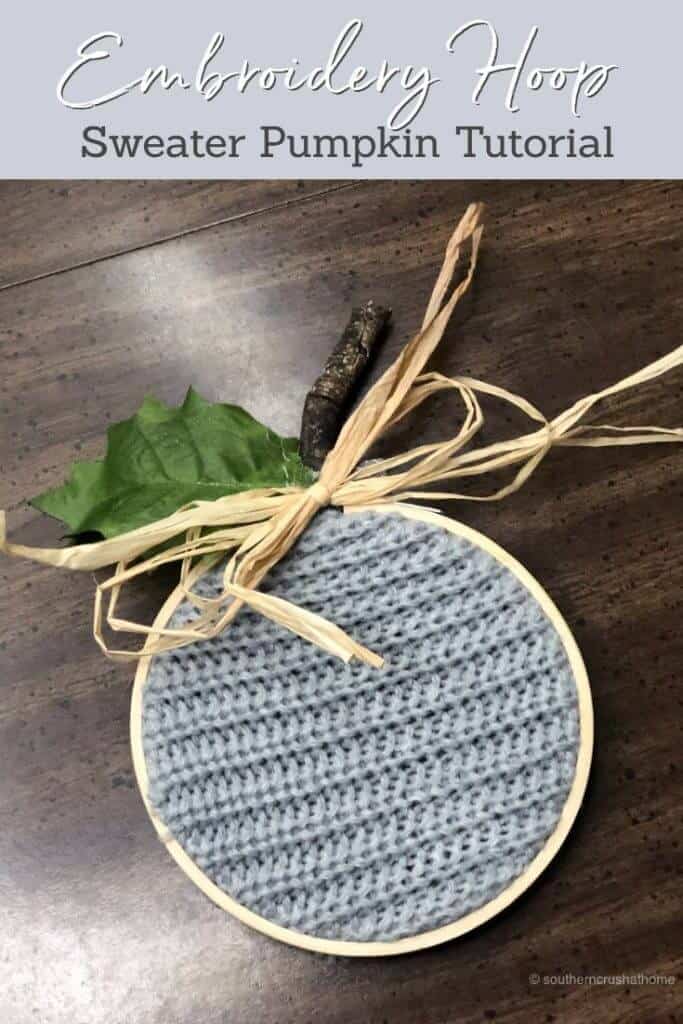
DIY Fabric Pumpkins Out of Embroidery Hoops
This is one of the easiest fall crafts you’ll ever make! Just use an old sweater and some embroidery hoops to make your own festive DIY fabric pumpkins!
Fall brings with it the changing color of the leaves, all things pumpkin spice, and a little thing we like to call “sweater weather.” In Texas, we have to wait quite a long time for this sweater weather, so when it gets here, we are super excited!
This fun and easy DIY pumpkin craft uses those sweaters who have seen their time and need to be re-purposed. Taking only a few of minutes to put together makes this DIY craft one that you can do over and over. Get creative and use different patterns and textures of sweaters to make this project your own.
How To Make DIY Fabric Pumpkins
If you can use an embroidery hoop and a pair of scissors, then you can make these fabric pumpkins. This is such an effortless craft that you can bring in the kiddos and let them make their own too! I also really love that this craft uses leftover sweaters that are just laying around.
I’m going to share some step by step pictures below. I also created a video where I made this craft on a Facebook Live so you can all follow along easily. Then, at the end of this post, I’ll give you a printable craft card with all the supplies and instructions in one place!
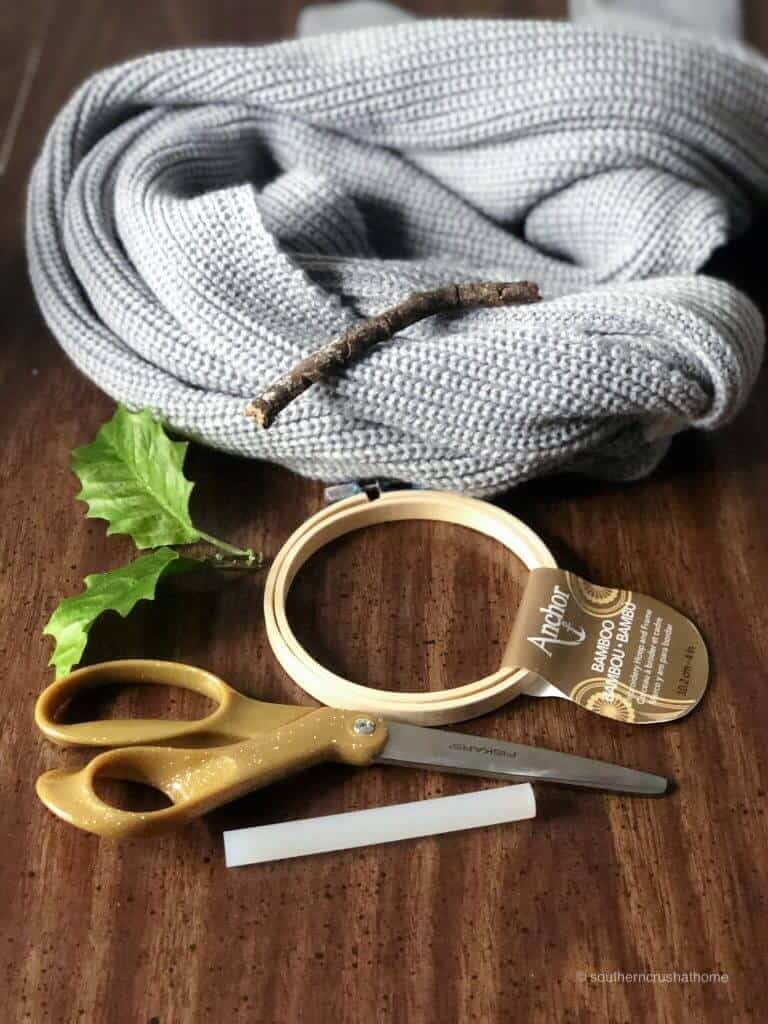
SUPPLIES FOR FALL HOOP PUMPKIN
- Embroidery Hoop (4″ or whatever size desired)
- Old Sweater Or Swatch Of Material
- Stick From The Yard For The Stem
- Leaf From A Floral Pick (if desired)
- Raffia For A Bow (if desired)
- Scissors
- Glue Gun
STEP BY STEP INSTRUCTIONS FOR THIS DIY CRAFT
After you make this craft one time, you’ll have it memorized – it’s that easy!
1. Cut the sweater material
Cut your larger piece of sweater material or fabric into an easier to manage square or a round section.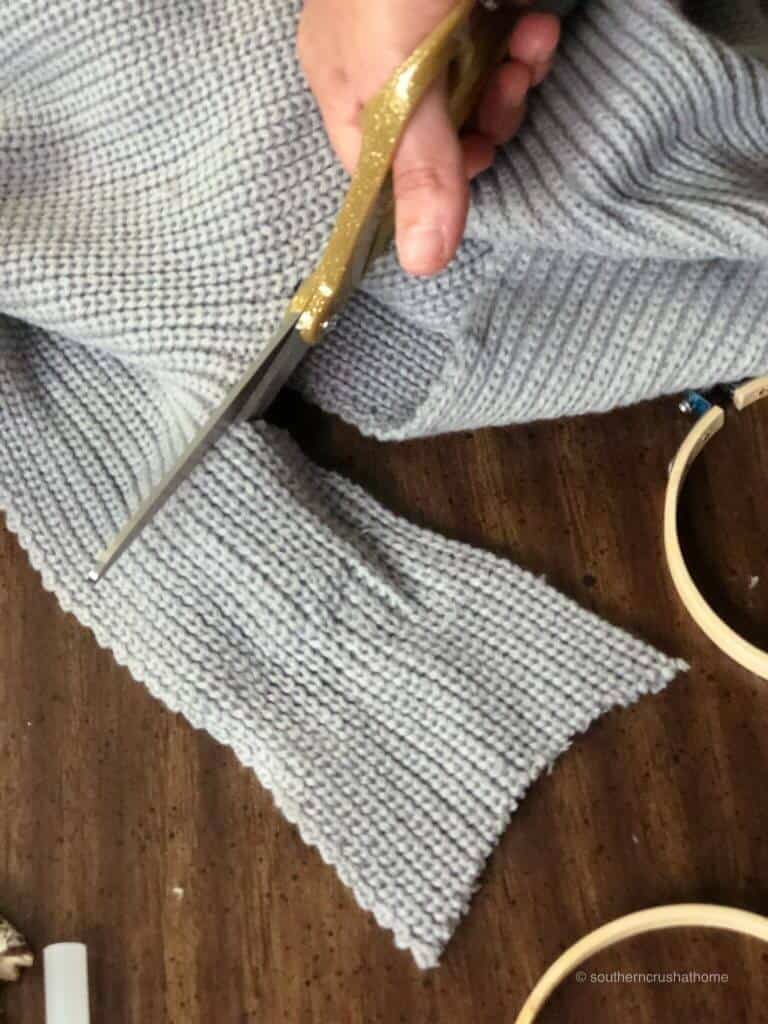
2. Place the sweater piece inside the embroidery hoop
Place your embroidery hoop screw-side down underneath your sweater piece. Line up the other half of your embroidery hoop inside of the base hoop, all the while, stretching out your sweater fabric as you go.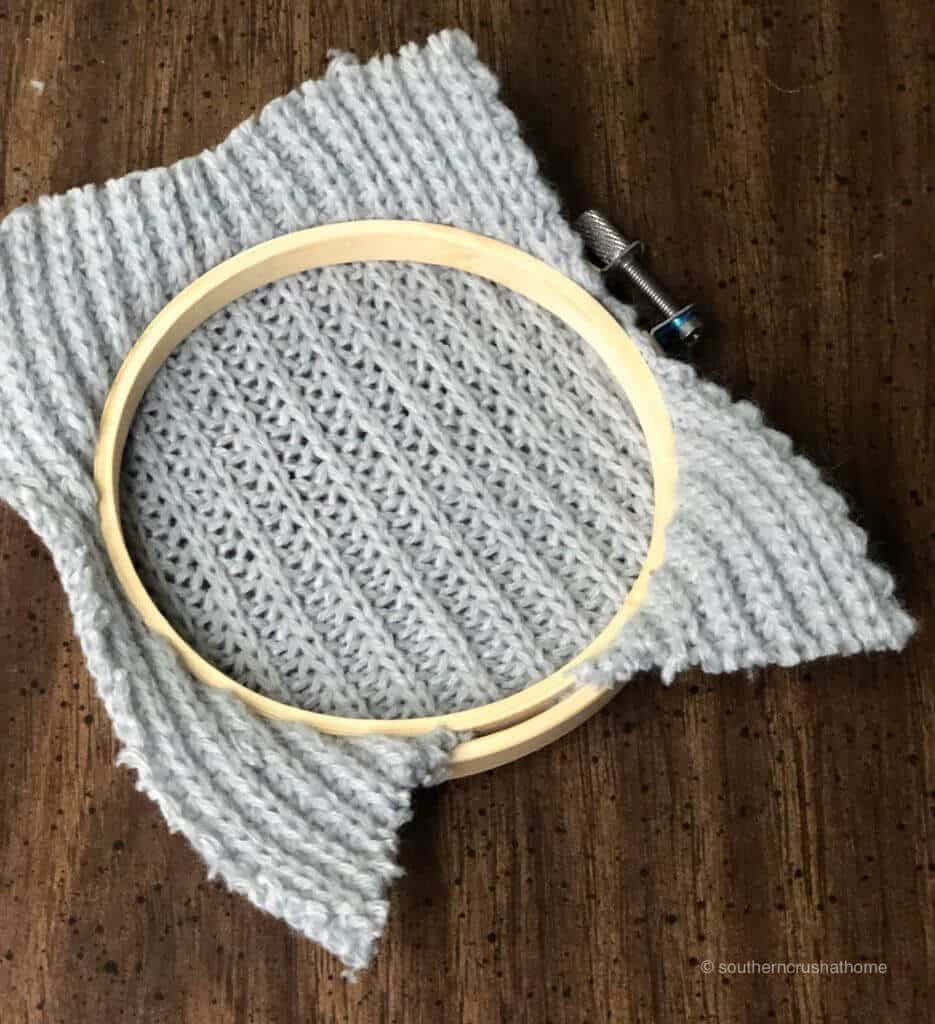
3. Screw the hoop down tight
Once you have it as you want it, simply screw the hoop down tight. You can certainly adjust the sweater material to show the pattern or the lines of the sweater to go in the direction that looks best. This one is horizontal. 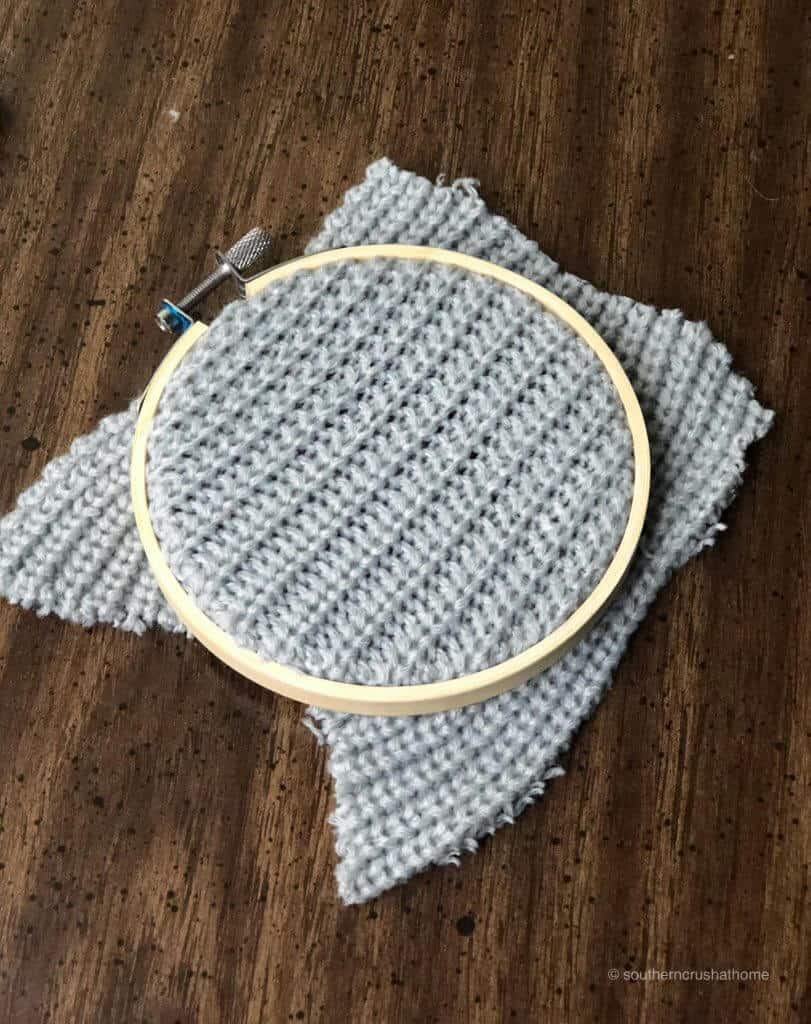
4. Trim the material
Trim your excess sweater material to be flush with the hoop edge.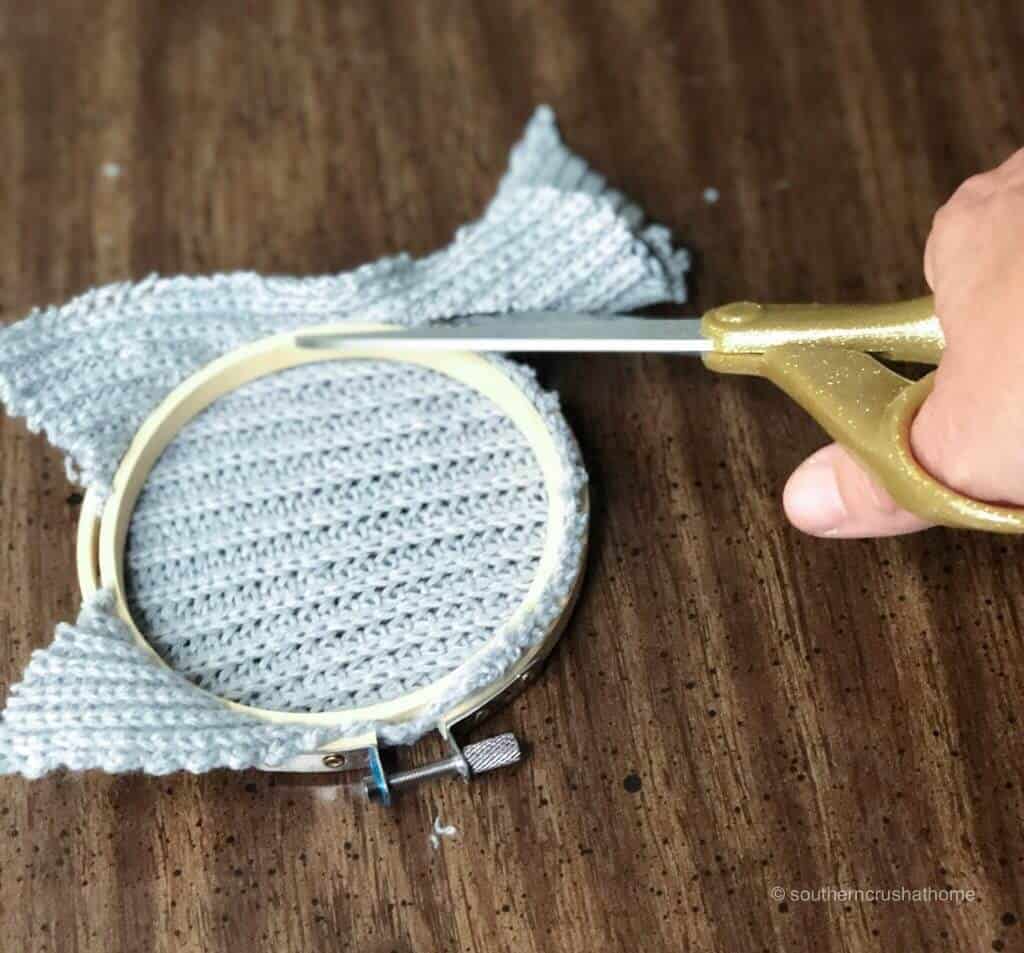
5. Reinforce With Hot Glue
Hot glue the edges, if desired, to reinforce and prevent fraying. Sometimes, this will give you a more ‘finished’ look to the project but is certainly not necessary.
6. Attach a Faux Stem
Hot glue the stick as a faux stem directly behind the hoop screw in order to serve as support for the stick.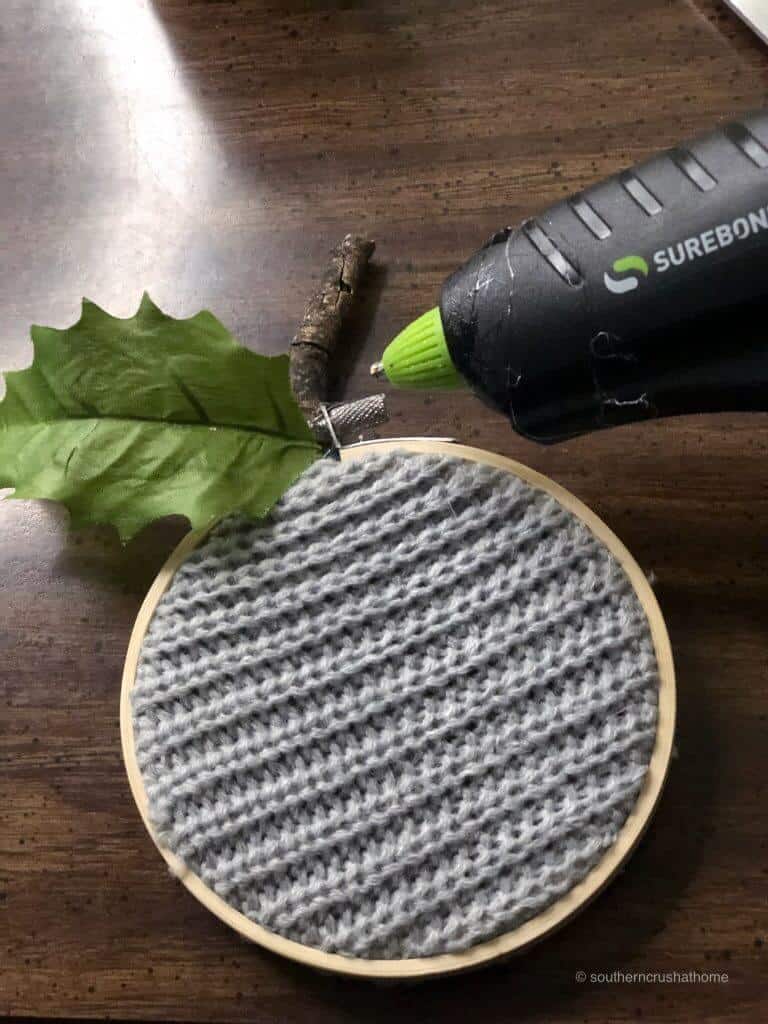
7. Add A Leaf and Raffia Bow
Hot glue on the leaf and a raffia bow to cover up the remainder of the screw and for added cuteness.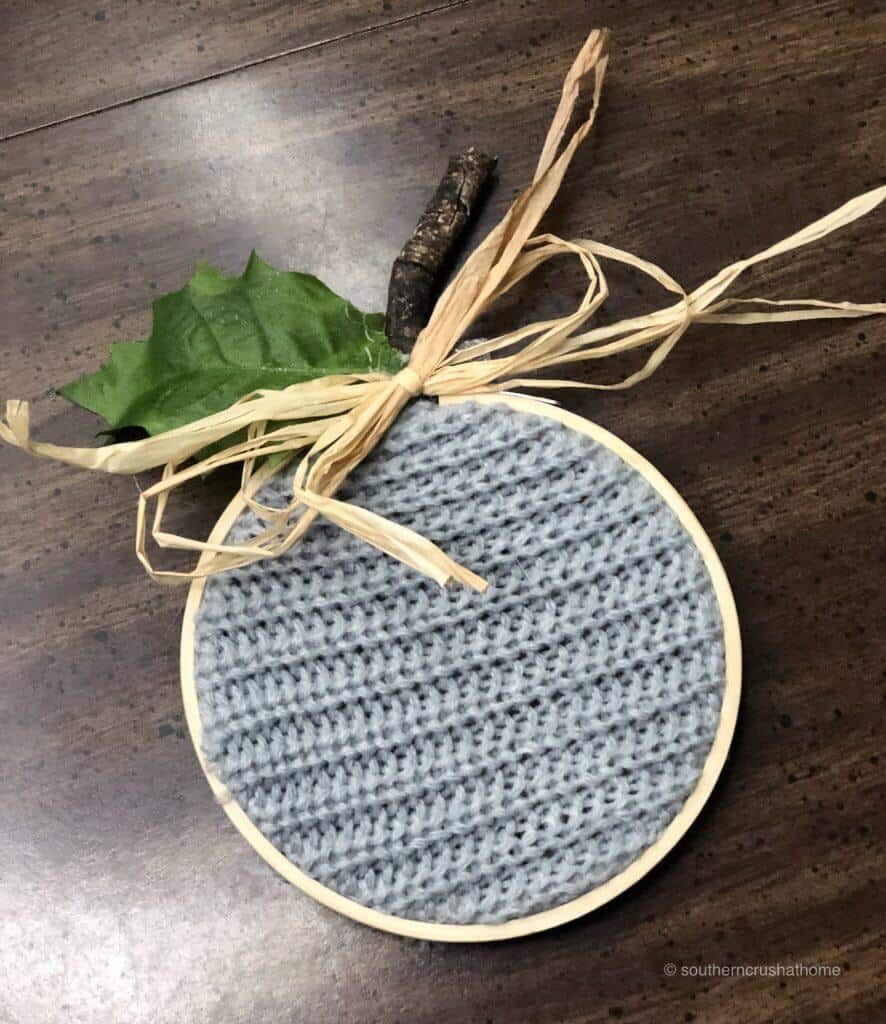
WATCH THE Video Tutorial HERE
I created this project on my Facebook page Live. Here’s the entire craft in an easy video above so you can make it along with me!
DIY Fabric Pumpkins
Here is the printable card with all the supplies and instructions. Print it out, but don’t forget to pin this post to your craft Pinterest board so you can find it again!
DIY Fabric Pumpkins With Embroidery Hoops
Equipment
- scissors
Materials
- 1 4-inch embroidery hoop
- 1 old sweater
- 1 small stick
- 1 leaf
- 1 raffia
Instructions
- Cut your larger piece of sweater material or fabric into an easier to manage square or round section.
- Place your embroidery hoop screw-side down underneath your sweater piece.
- Line up the other half of your embroidery hoop inside of the base hoop, all the while, stretching out your sweater fabric as you go.
- Once you have it like you want it, simply screw the hoop down tight. You can certainly adjust the sweater material to show the pattern or lines of the sweater to go in the direction that looks best. This one is horizontal.
- Trim your excess sweater material to be flush with the hoop edge.
- Hot glue the edges, if desired, to reinforce and prevent fraying. Sometimes this will give you a more ‘finished’ look to the project, but is certainly not necessary.
- Hot glue the stick as a faux stem directly behind the hoop screw in order to serve as support for the stick.
- Hot glue on the leaf and a raffia bow to cover up the remainder of the screw and for added cuteness.
How To Display the DIY Fabric Pumpkins
That is all there is to it! So easy to do, you could even involve your kiddos in this one. You’ve got yourself a super cute little pumpkin DIY craft that you can display a number of ways.
These are really cute on their own, but even cuter when displayed with others of varying sizes. You can use this on your favorite fall farmhouse tiered tray along with a cute little sign and fun mug.
You can also place one of these on the wall with a simple thumbtack as part of a seasonal gallery wall or use it to decorate a bookshelf along with some fall foliage and other seasonal decors. I also love to hang it from a fall holiday tree as a quick and easy ornament!
Another great place to use it is in a guest bathroom next to your favorite scented fall hand soap.
The ideas are endless, but have fun creating and decorating with this one!
Ya’ll, don’t forget to pin this project for later!
This is another fun way to use Embroidery Hoops to make a unique ornament!
If you loved this craft, you need to be getting my emails, friend! Each week I send out a couple of emails that include updates, crafts, and decor inspiration. Be sure to get yourself signed up below. I can’t wait to meet you!
Great ideas always.
Awe, thank you!