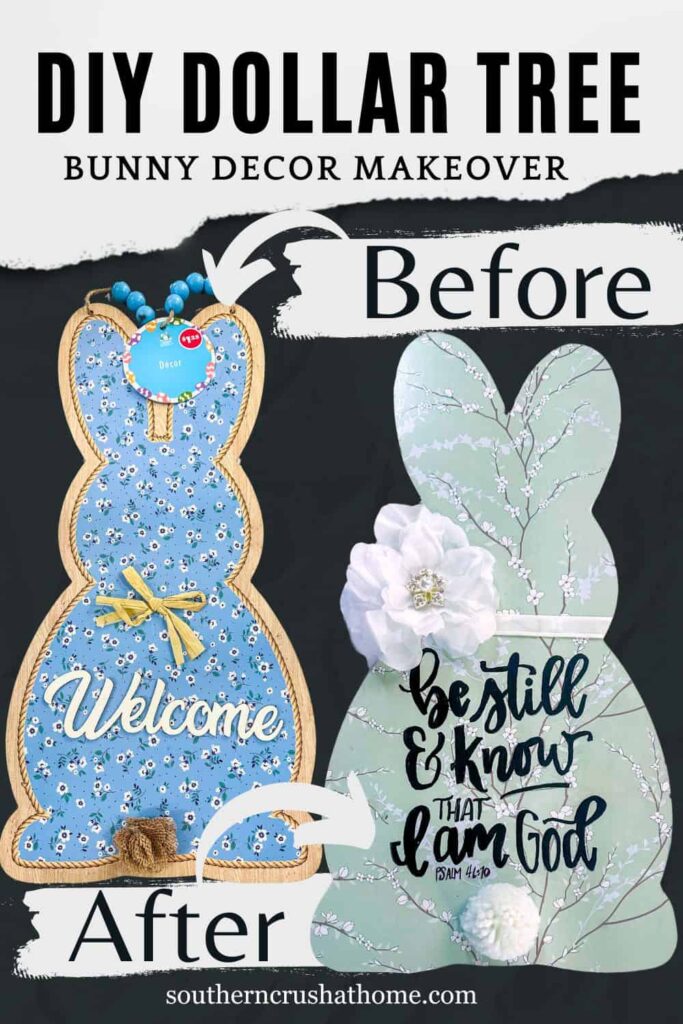
DIY Dollar Tree Easter Bunny Decor (So Easy & So Cute!)
Hey there my friend, if you’re wanting a budget-friendly and adorable way to decorate for Easter, this DIY Dollar Tree Easter Bunny Decor is it! This cute bunny door hanger is so easy to make, totally customizable, and uses mostly Dollar Tree supplies, which makes it perfect for crafting on a budget.
PIN this for later!
Whether you’re decorating your front door, entryway, or a little Easter vignette, this bunny is sure to add a charming pop of spring cheer.
I can’t wait for you to try it!
This blog post contains affiliate links. The opinions are wholly my own from my own experience. I may earn a small commission from clicks through to the websites that end in a purchase.
DIY Dollar Tree Easter Bunny Decor
Let’s make this fun and simple DIY project that’s perfect for beginners or seasoned crafters alike!
Supplies You’ll Need:
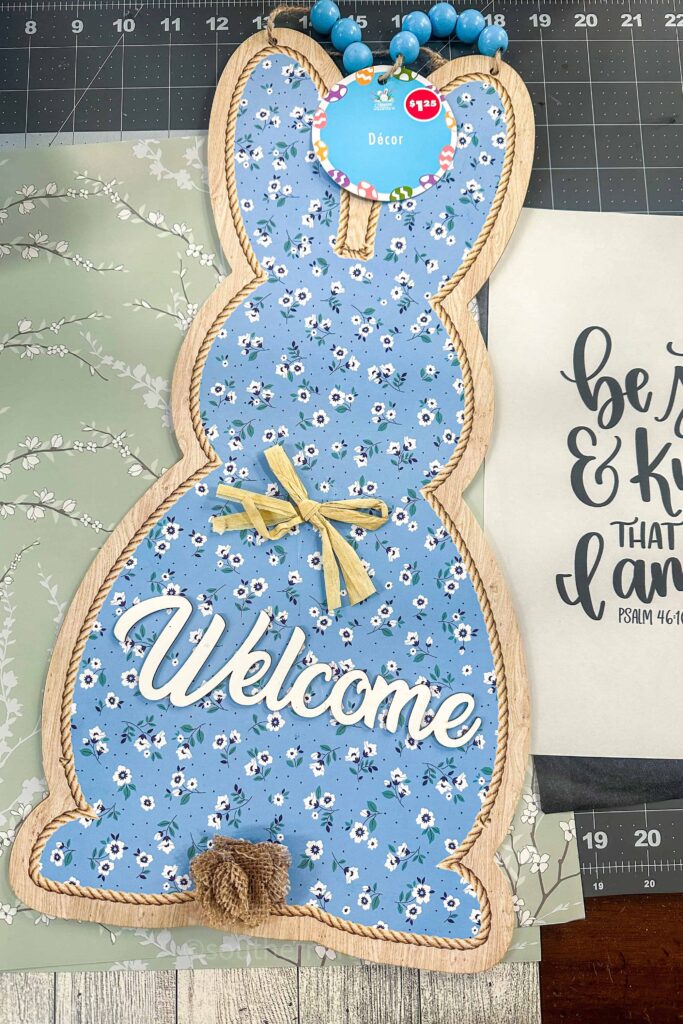
- Dollar Tree bunny-shaped wood door hanger sign (the kind that says “Welcome”)
- X-Acto knife or precision craft knife
- Dollar Tree peel-and-stick wallpaper tiles in the design of your choice
- Optional hand lettering template
- Optional Posca paint pens (black or color of choice)
- Dollar Tree ribbon
- Dollar Tree flower
- Rhinestone embellishment for flower center
- Dollar Tree pom-pom for bunny tail
- Hot glue gun and glue sticks
- Sandpaper (if needed)
Step-by-Step Instructions for Making DIY Bunny Decor
Step 1: Prep the Bunny Base
Start by removing the wood bead hanger from the top of the bunny.
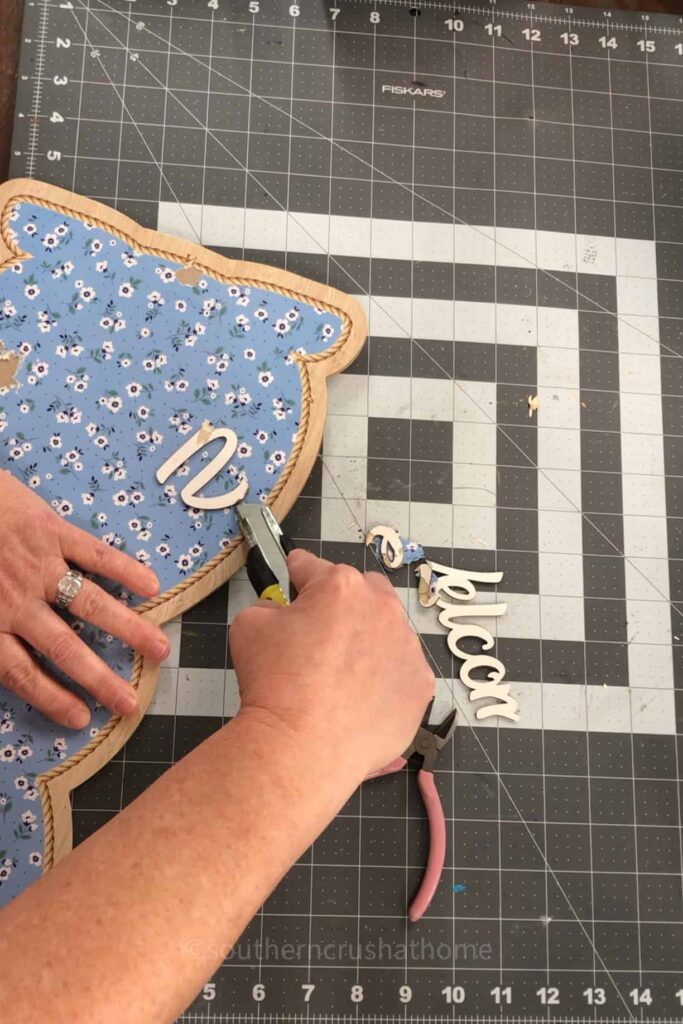
Then, using your X-Acto knife, carefully remove the “Welcome” wording from the front of the bunny sign. It may lift easily depending on the style, but you can also lightly sand the surface if any residue or glue remains.
Step 2: Apply Peel-and-Stick Wallpaper
Lay your Dollar Tree peel-and-stick wallpaper tiles over the bunny to see how they fit best.
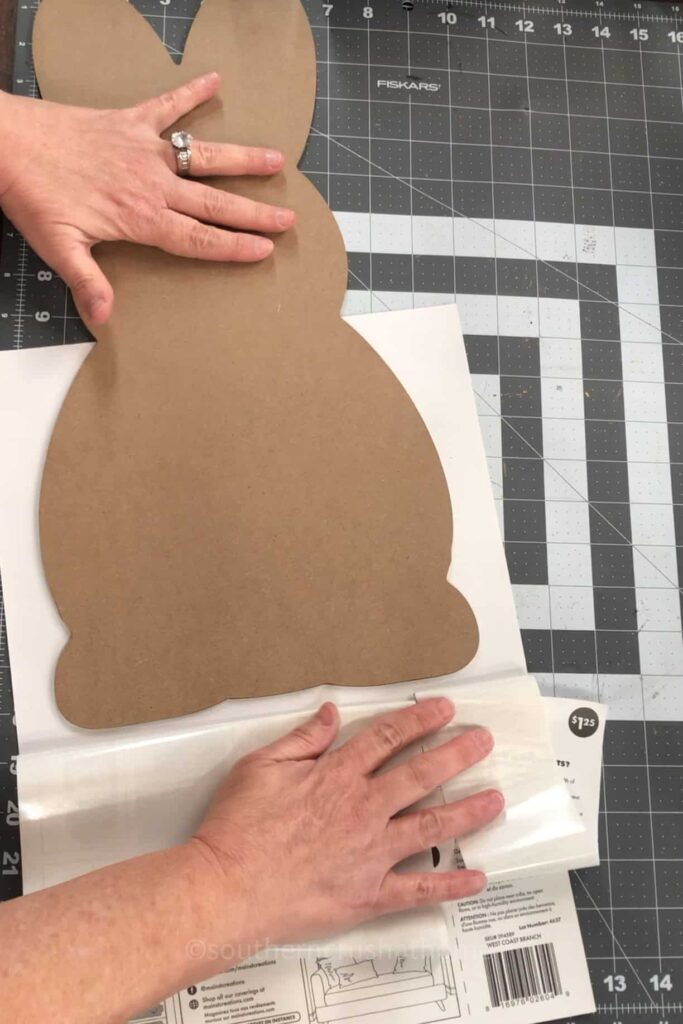
Then peel and stick them down, working from one side to the other to avoid bubbles.
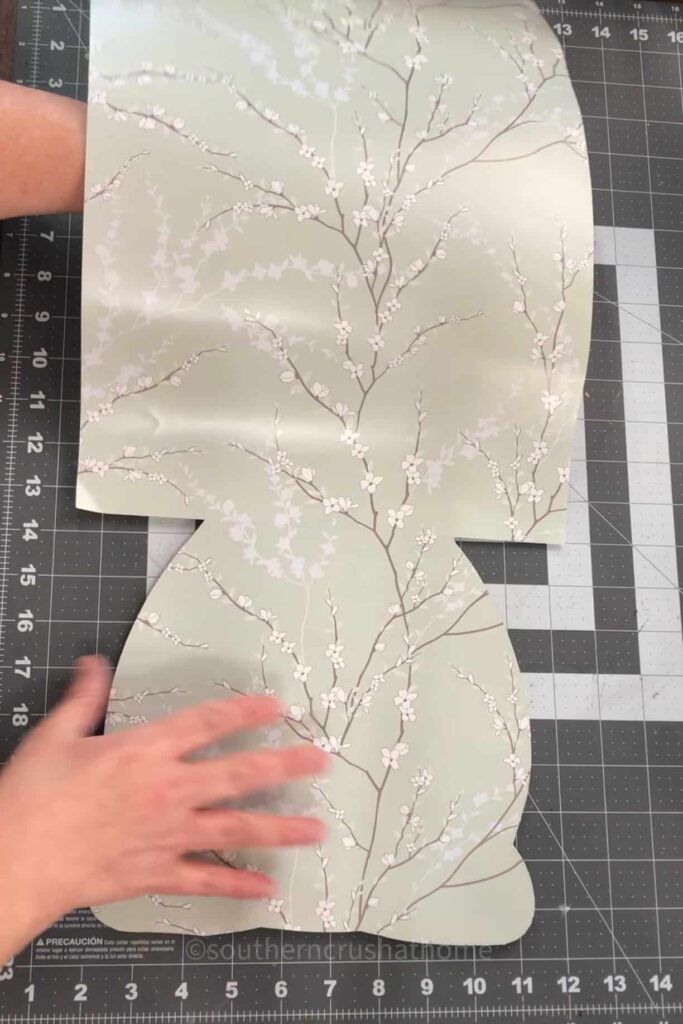
You can use one design or mix and match different tile patterns for a fun, layered look!
Step 3: Trim the Shape
Once the wallpaper is stuck down, use your X-Acto knife to trim around the edges of the bunny shape.
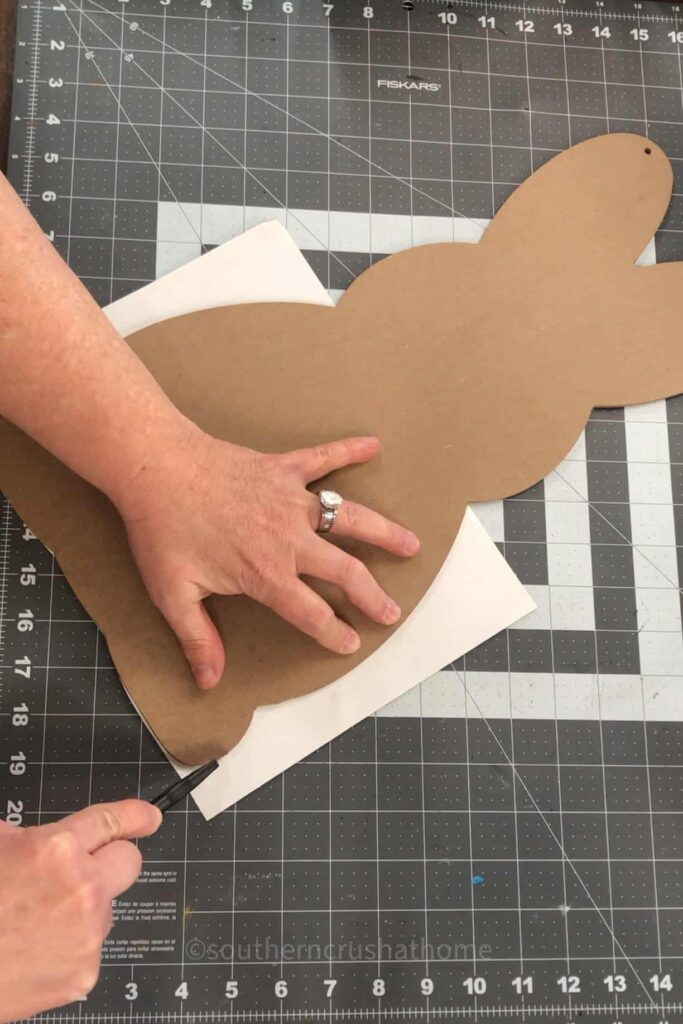
Take your time on this step for clean lines—this part really pulls it all together.
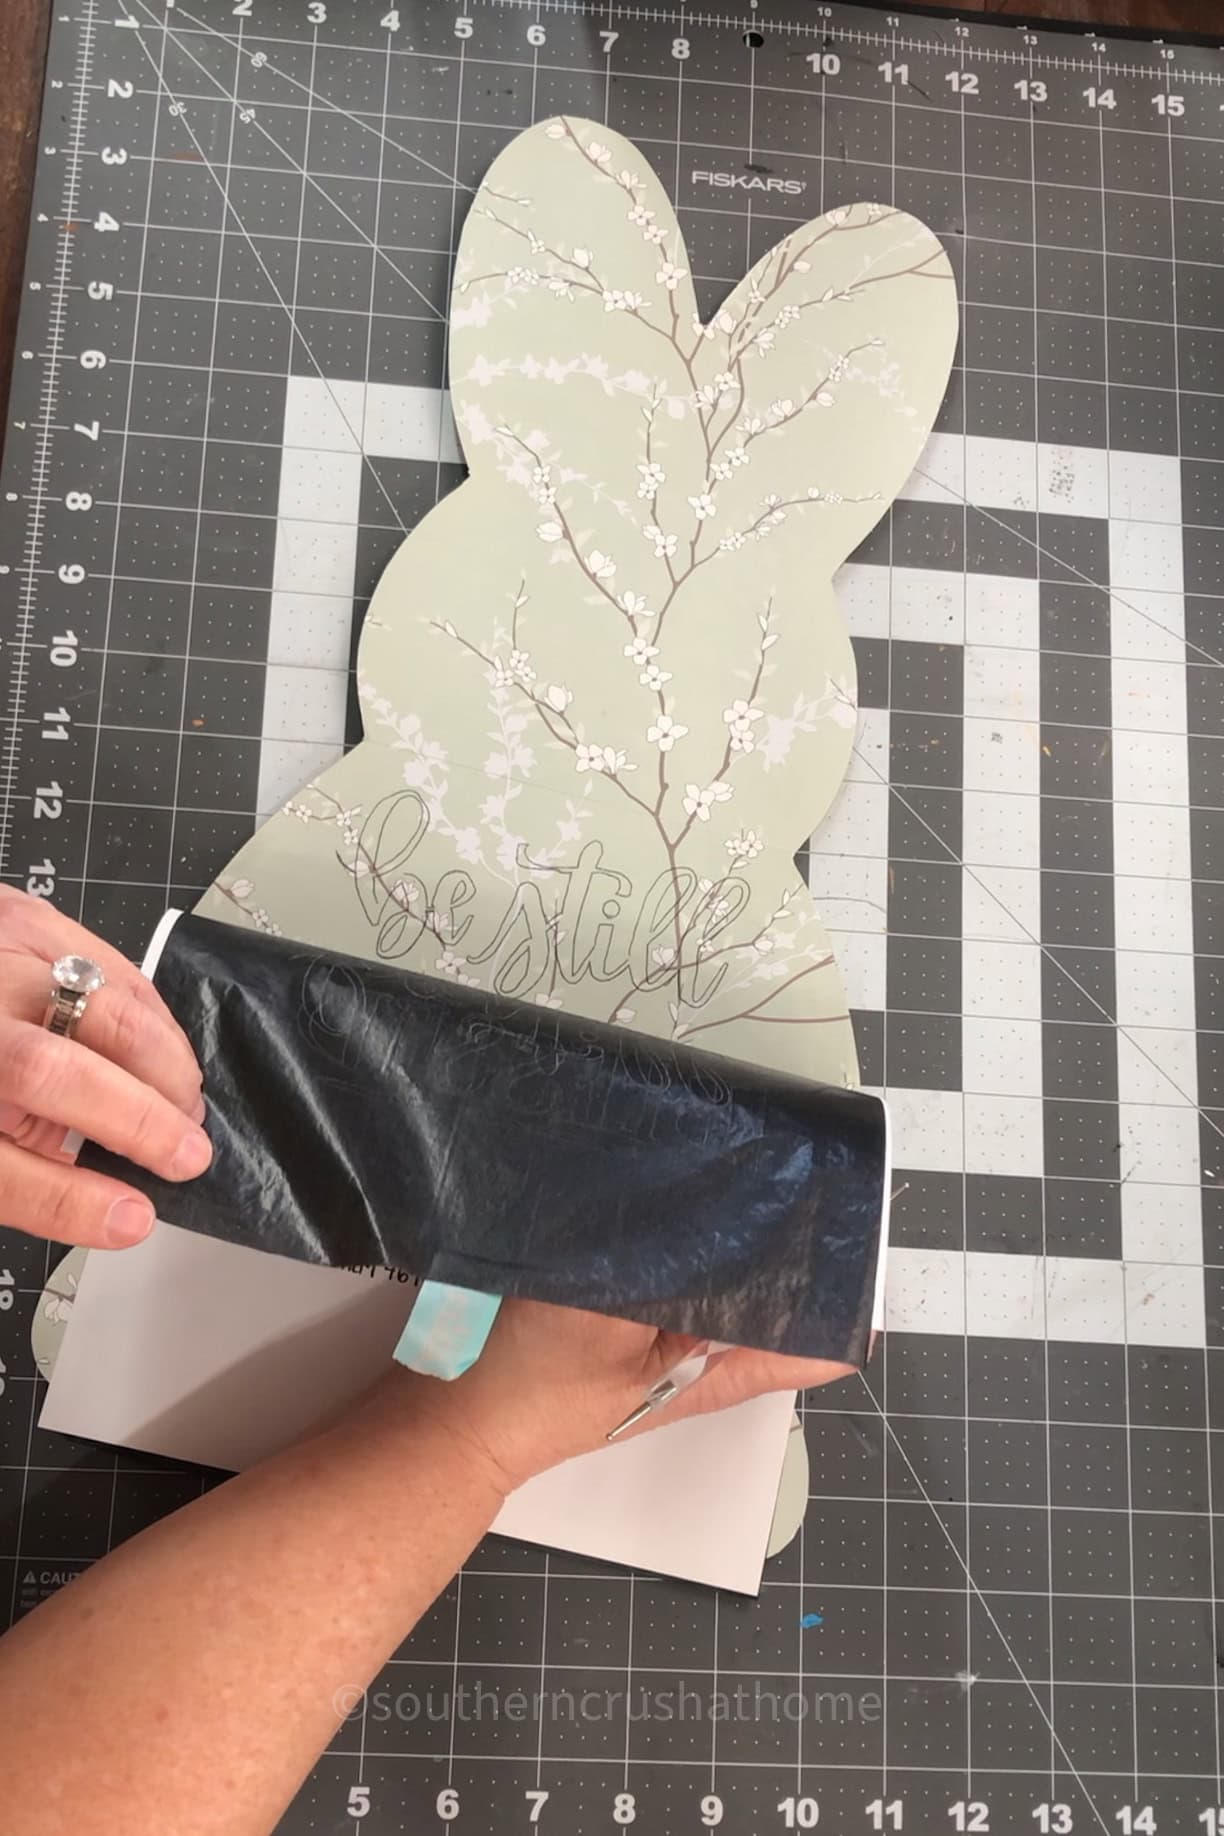
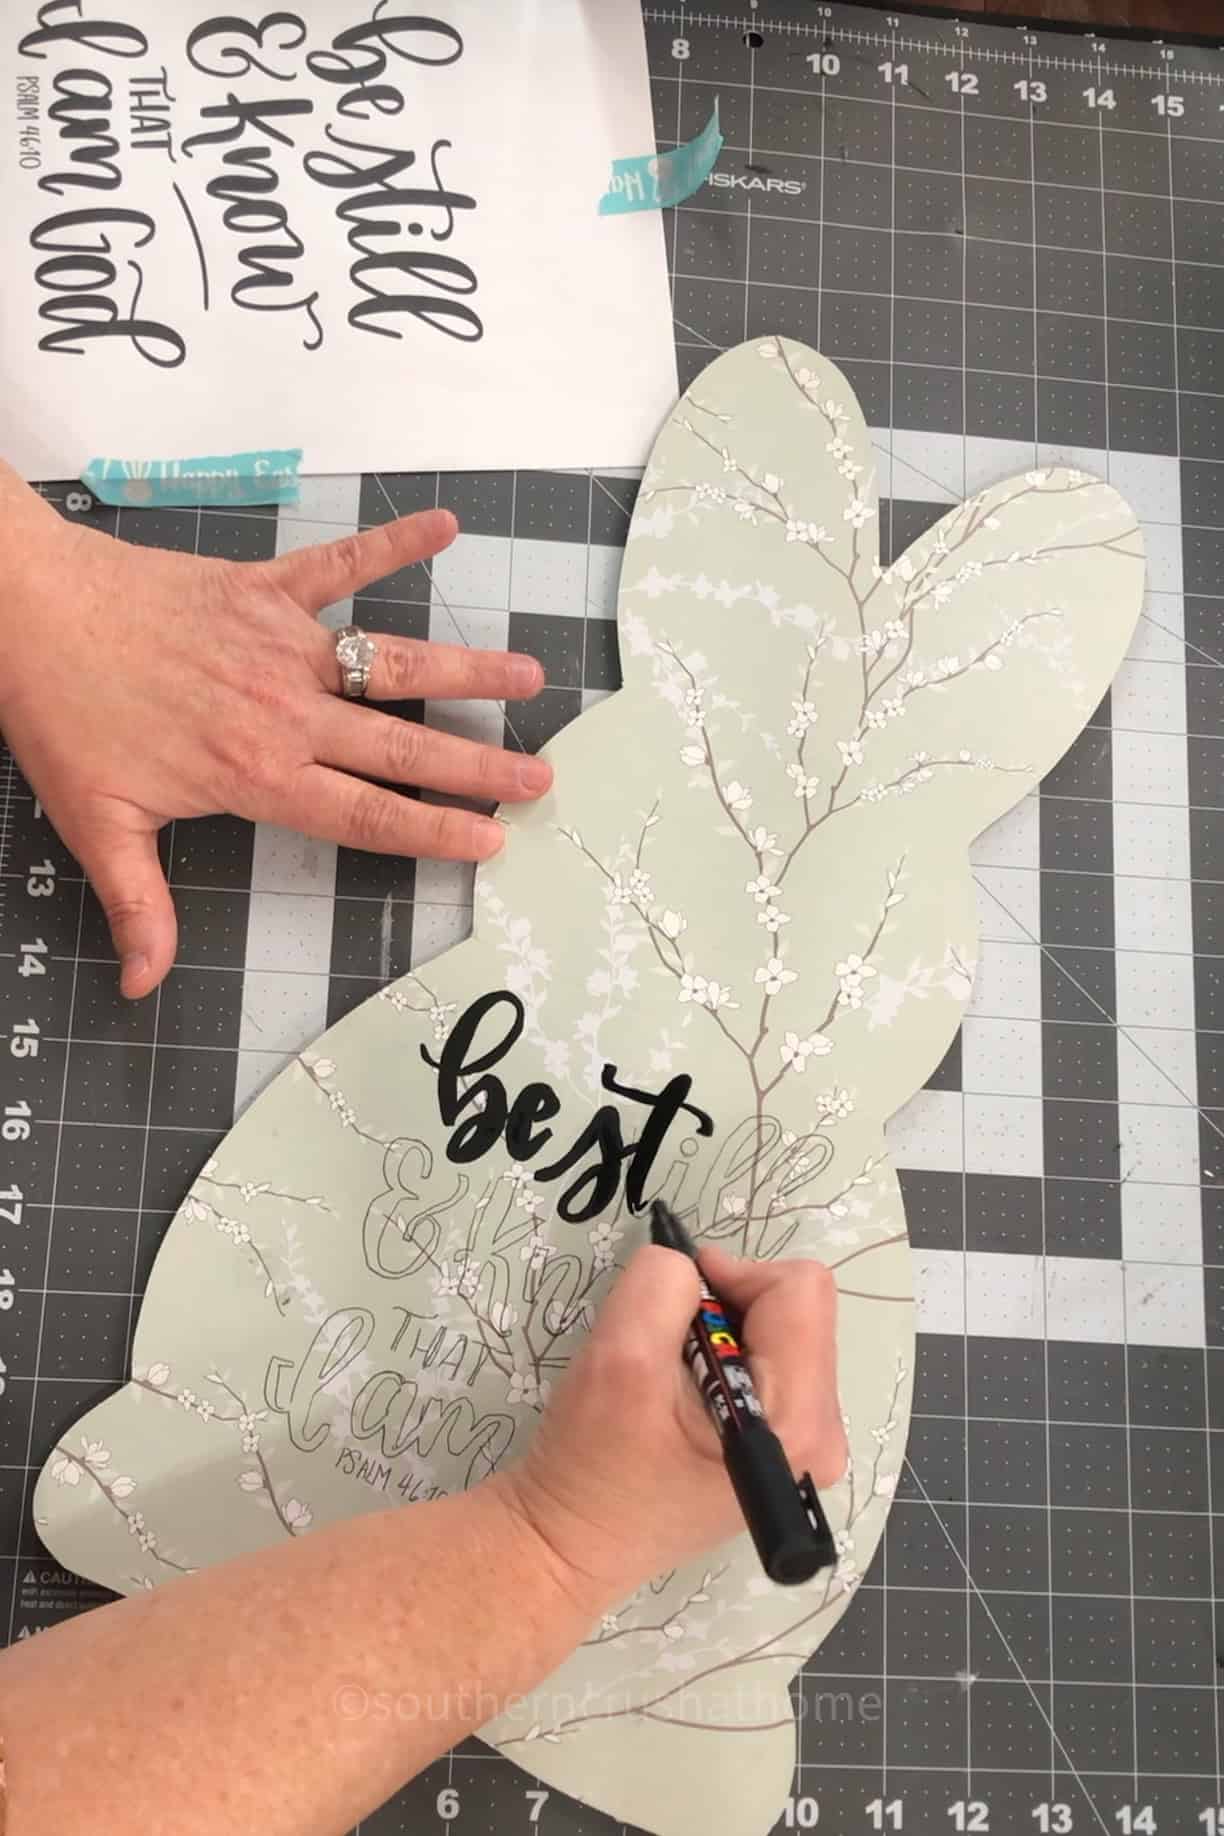
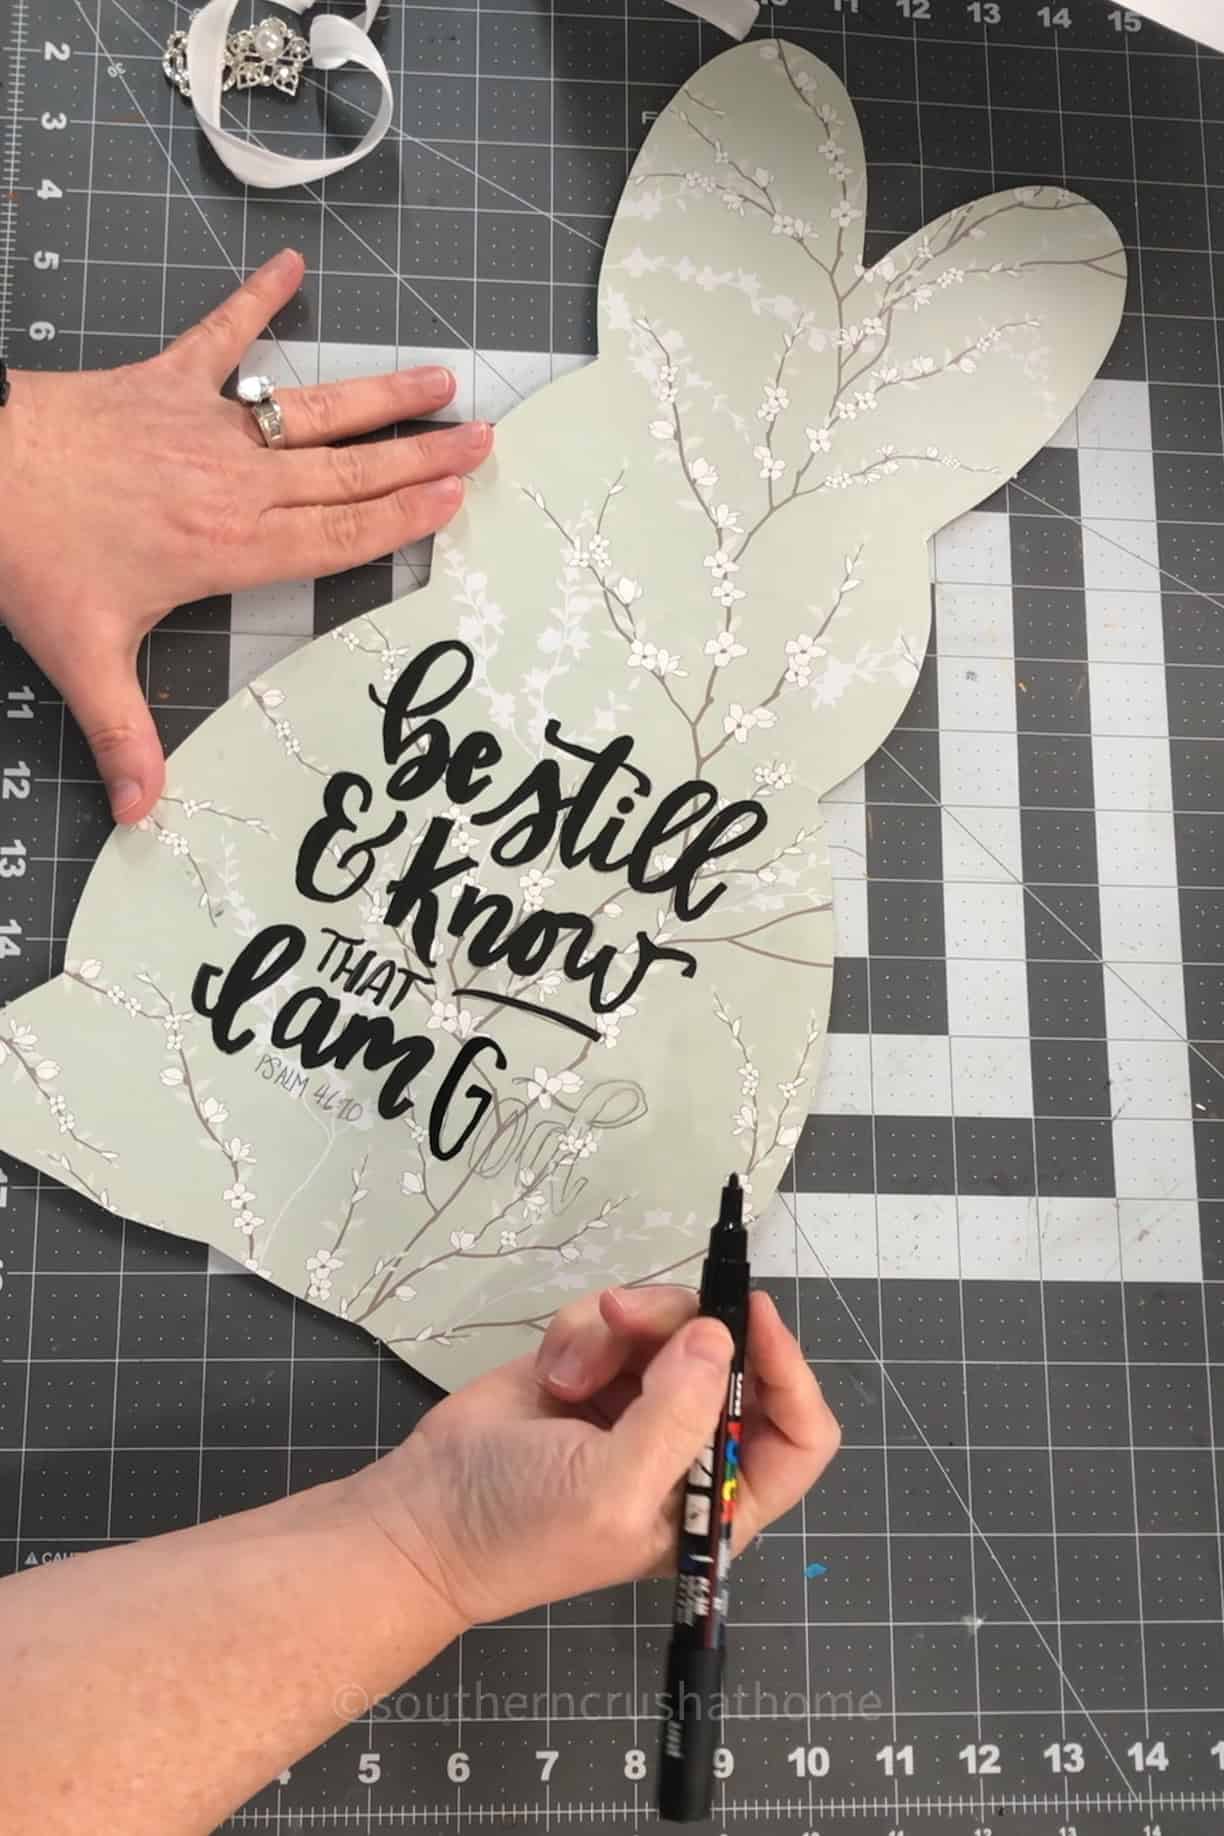
Step 4: Add Hand Lettering (Optional)
If you’d like to personalize your bunny, you can add a hand-lettered sentiment to the front. Use a hand lettering template (see my other post for how I do this!) and trace your design onto the bunny, then fill it in with a Posca paint pen.
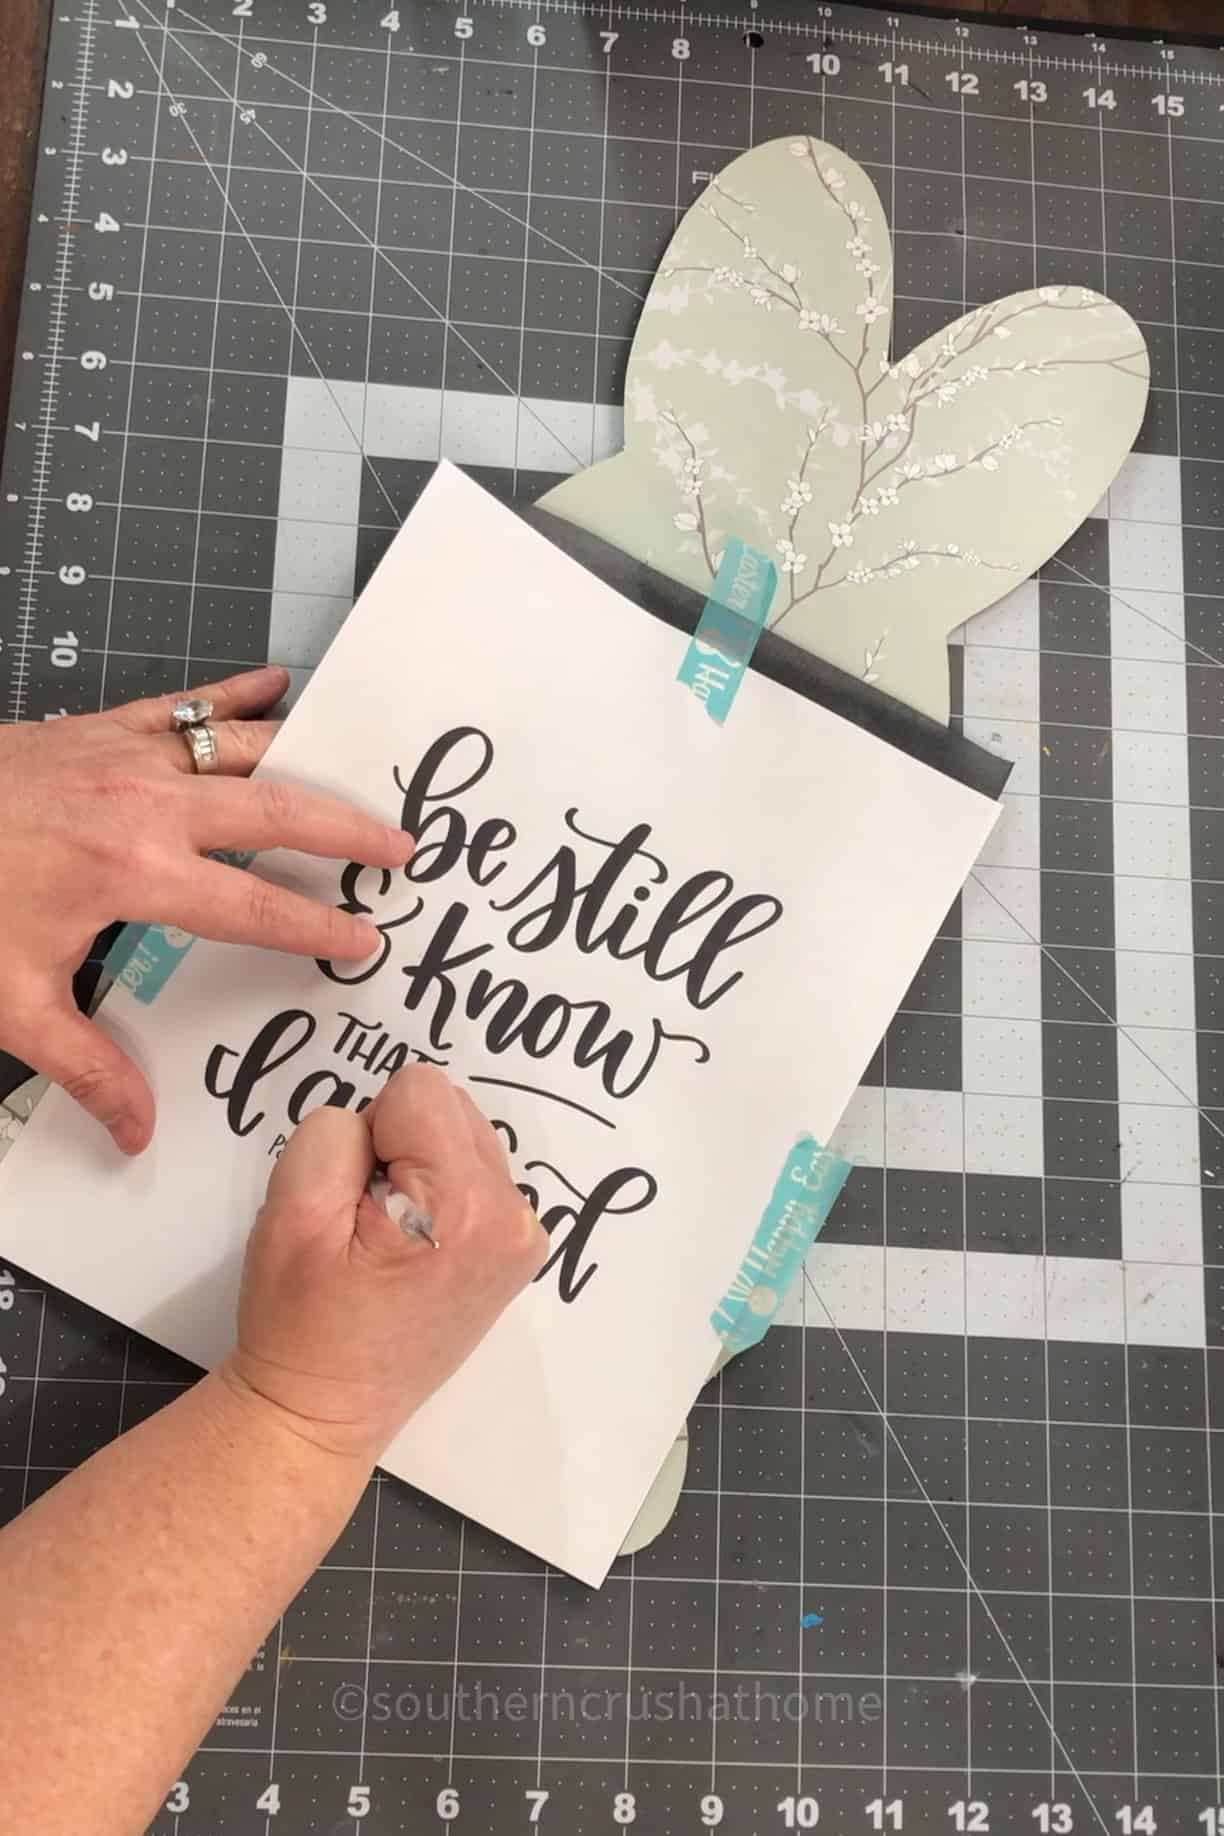
Black stands out great on most wallpaper styles, but any color works!
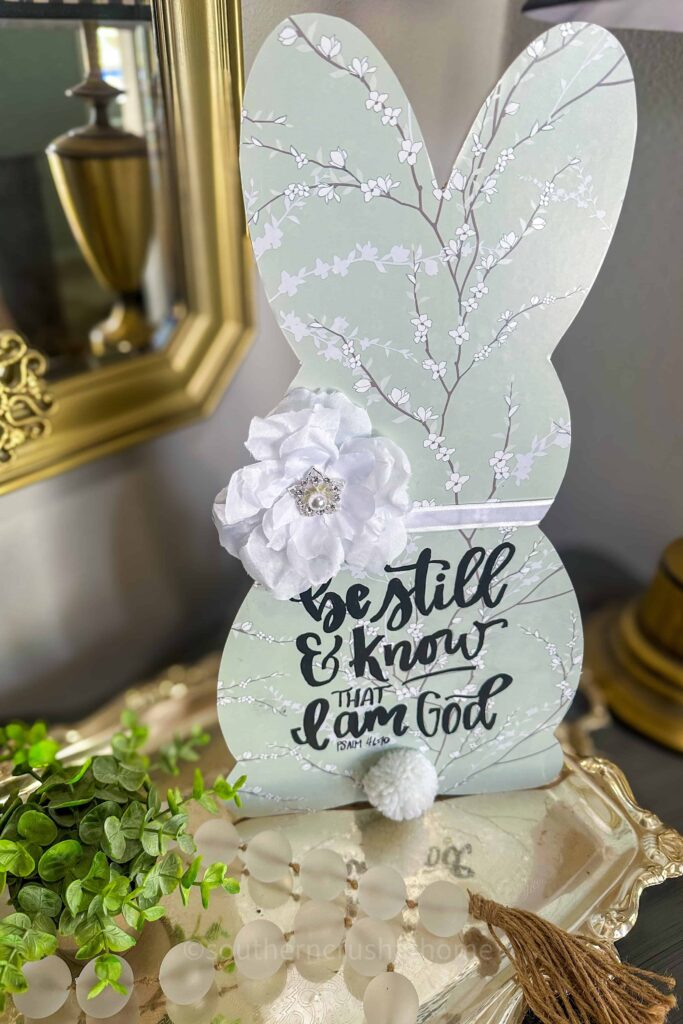
Step 5: Add the Bunny Tail
Hot glue a Dollar Tree pom-pom to the back of the bunny for a fluffy little tail.
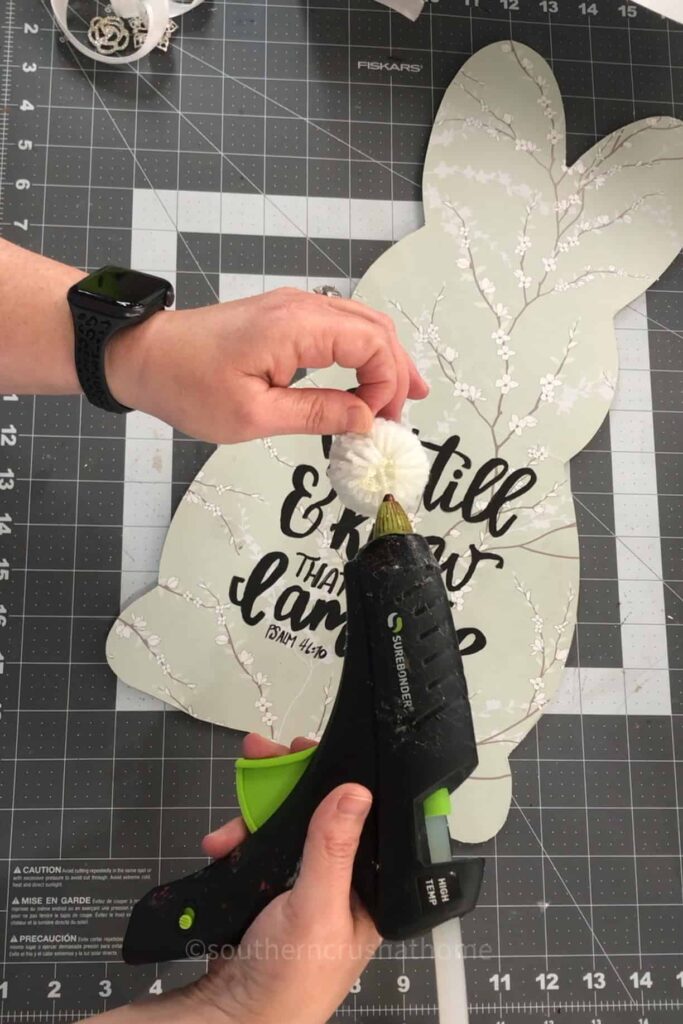
It’s such a sweet detail that brings the whole look together.
Step 6: Cover the Seam with Ribbon
If your wallpaper tiles meet in the middle or don’t quite match up, don’t worry! Just hot glue a strip of ribbon right over the seam for a cute finishing touch.
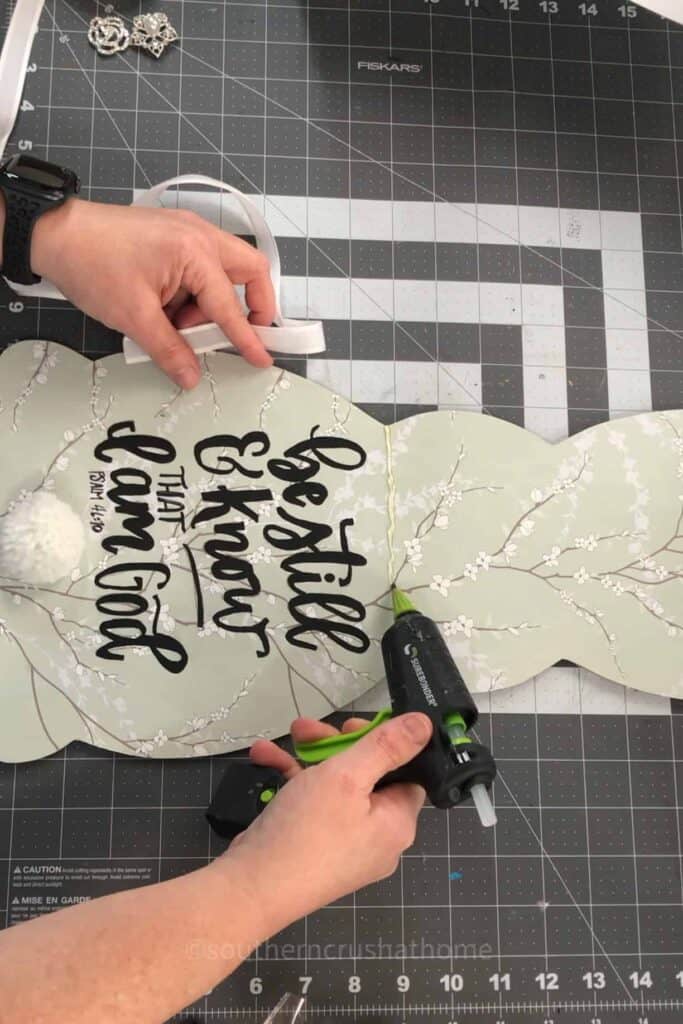
You could even layer multiple ribbons or tie a bow.
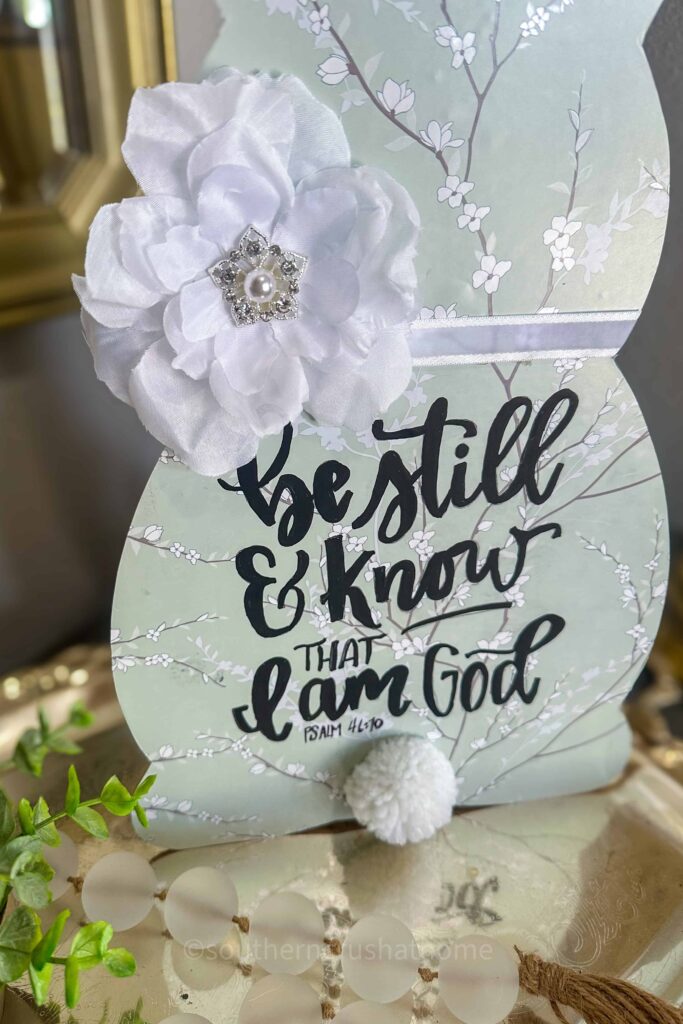
Step 7: Floral Finishing Touch
Take a Dollar Tree faux flower, hot glue it near the ear or neck of the bunny (wherever it looks balanced), and add a rhinestone or little embellishment to the center for that extra pop of spring sparkle.

That’s it! Easy peasy!

What do you think? Let me know in the comments below if you will be trying this one for yourself!
How to Display Your Easter Bunny Decor
This bunny is cute on its own, I added it to my front entry table, but there are so many ways to style it!
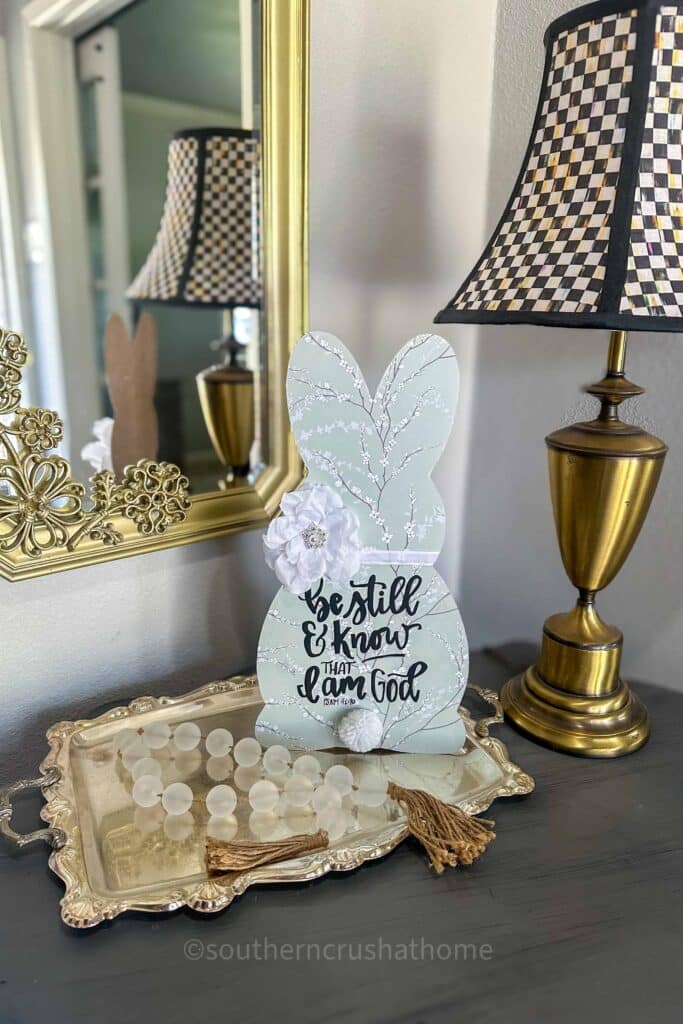
Here are a few display ideas:
- Hang it on your front door as a standalone Easter sign
- Add it to a wreath as the focal point
- Style it on your entryway table like I did
- Lean it on a shelf or easel for a layered vignette
- Place it on your kitchen counter next to your spring florals
- Attach magnets to the back and stick it on the fridge
- Hang it on a wall or inside a cabinet door for a surprise touch of Easter
This project is not only adorable—it’s totally customizable. You can swap out the peel-and-stick wallpaper for any pattern or color you like (I personally love the farmhouse-style shiplap, but you could go floral, tile, or even pastel woodgrain).
You can also mix up the phrases you trace onto the bunny—go sweet, silly, spiritual, or seasonal! It’s such a versatile piece, and you’ll probably end up wanting to make more than one.
That’s it! You’ve got yourself the cutest little piece of DIY Easter decor, made almost entirely from Dollar Tree finds. It’s quick, affordable, and adds so much personality to your spring setup.
I hope this inspires you to get crafty this Easter. Be sure to follow along for more easy seasonal DIYs, and tag me if you try this one—I’d love to see how you style your bunny!

DIY Dollar Tree Easter Bunny Decor
Materials
- Dollar Tree bunny-shaped wood door hanger sign the kind that says “Welcome”
- X-Acto knife or precision craft knife
- Dollar Tree peel-and-stick wallpaper tiles in the design of your choice
- Optional hand lettering template
- Optional Posca paint pens black or color of choice
- Dollar Tree ribbon
- Dollar Tree flower
- Rhinestone embellishment for flower center
- Dollar Tree pom-pom for bunny tail
- Hot glue gun and glue sticks
- Sandpaper if needed
Instructions
Step 1: Prep the Bunny Base
- Start by removing the wood bead hanger from the top of the bunny. Then, using your X-Acto knife, carefully remove the “Welcome” wording from the front of the bunny sign. It may lift easily depending on the style, but you can also lightly sand the surface if any residue or glue remains.
Step 2: Apply Peel-and-Stick Wallpaper
- Lay your Dollar Tree peel-and-stick wallpaper tiles over the bunny to see how they fit best. Then peel and stick them down, working from one side to the other to avoid bubbles. You can use one design or mix and match different tile patterns for a fun, layered look!
Step 3: Trim the Shape
- Once the wallpaper is stuck down, use your X-Acto knife to trim around the edges of the bunny shape. Take your time on this step for clean lines—this part really pulls it all together.
Step 4: Add Hand Lettering (Optional)
- If you’d like to personalize your bunny, you can add a hand-lettered phrase to the front like “Happy Easter,” “Hop To It,” or even your family name. Use a hand lettering template (see my other post for how I do this!) and trace your design onto the bunny, then fill it in with a Posca paint pen. Black stands out great on most wallpaper styles, but any color works!
Step 5: Add the Bunny Tail
- Hot glue a Dollar Tree pom-pom to the back of the bunny for a fluffy little tail. It’s such a sweet detail that brings the whole look together.
Step 6: Cover the Seam with Ribbon
- If your wallpaper tiles meet in the middle or don’t quite match up, don’t worry! Just hot glue a strip of ribbon right over the seam for a cute finishing touch. You could even layer multiple ribbons or tie a bow.
Step 7: Floral Finishing Touch
- Take a Dollar Tree faux flower, hot glue it near the ear or neck of the bunny (wherever it looks balanced), and add a rhinestone or little embellishment to the center for that extra pop of spring sparkle.