4 Easy Dollar Tree Black and White Pumpkin Ideas
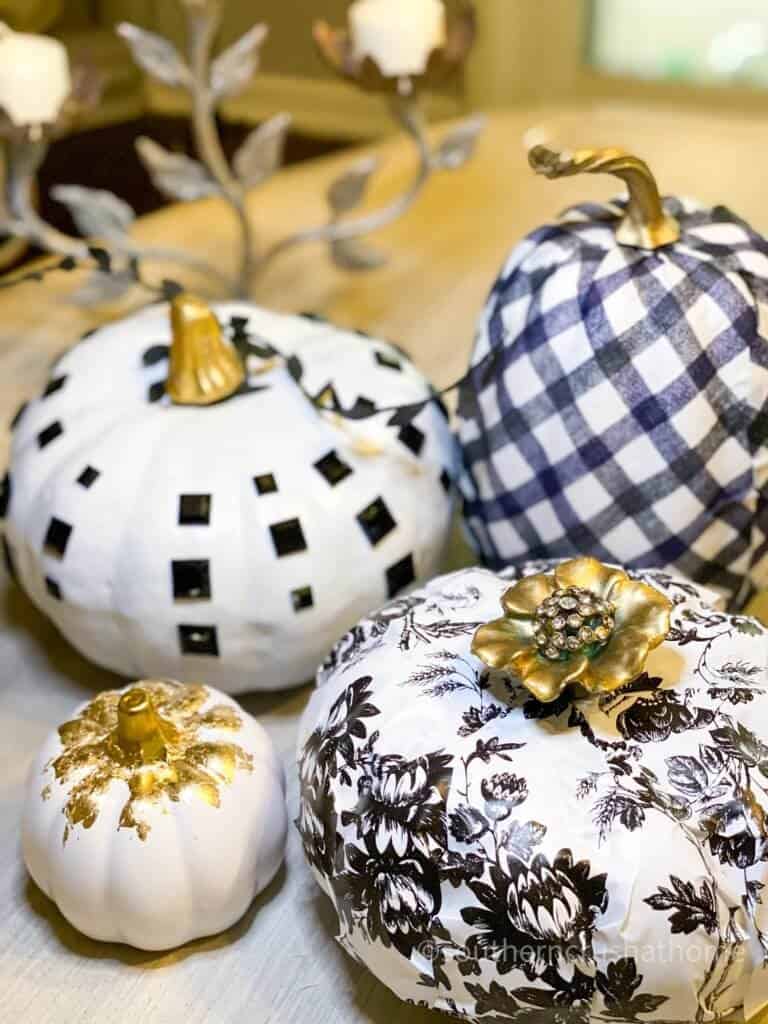
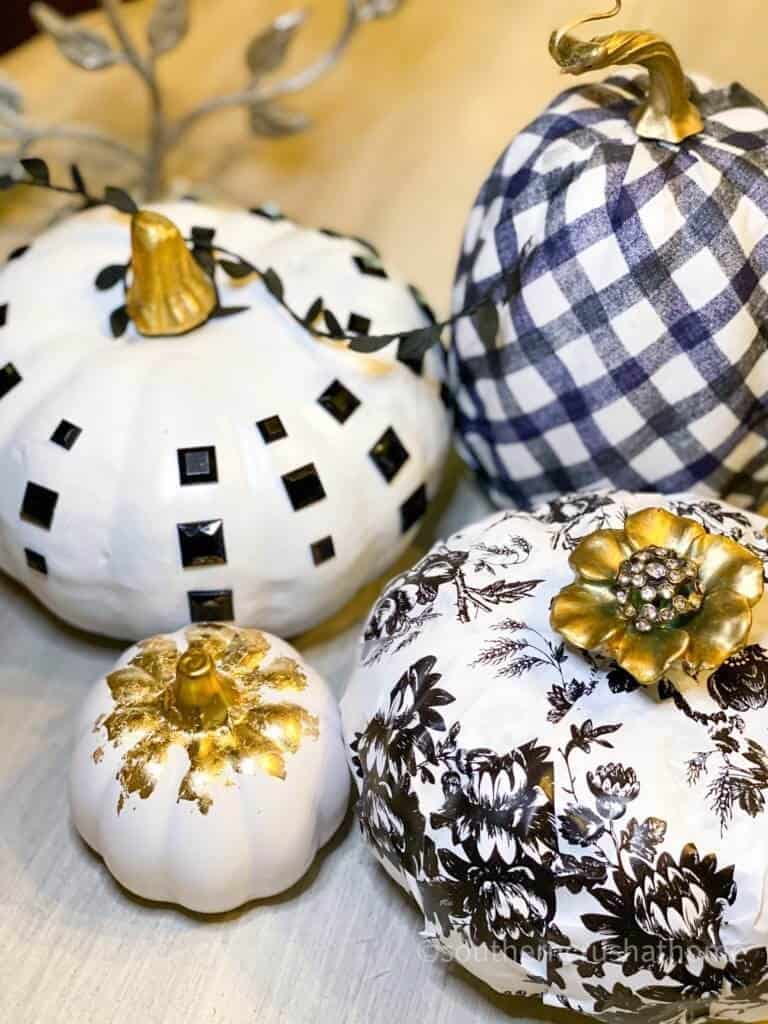
When it comes to pumpkin decor, it doesn’t get any easier than these four easy Dollar Tree black and white pumpkin ideas! Using four simple techniques, you can easily transform traditional orange pumpkins into glam style black and white pumpkin decor. Each of these diy ideas can stand on their own, but when they are all together it creates a beautiful black and white pumpkin design that can be used as a background for any occasion. Let’s make these.
Be sure to PIN this for later!
black and white pumpkin ideas
Steering away from a traditional orange pumpkin display can be super simple to do with these four black and white pumpkin ideas using Dollar Tree pumkins. Almost everything used to make these fun diy pumpkins can be found at your local dollar store. These four ideas take no time at all so you will be decorating in black and white before you know it!
first idea: mini pumpkin painting
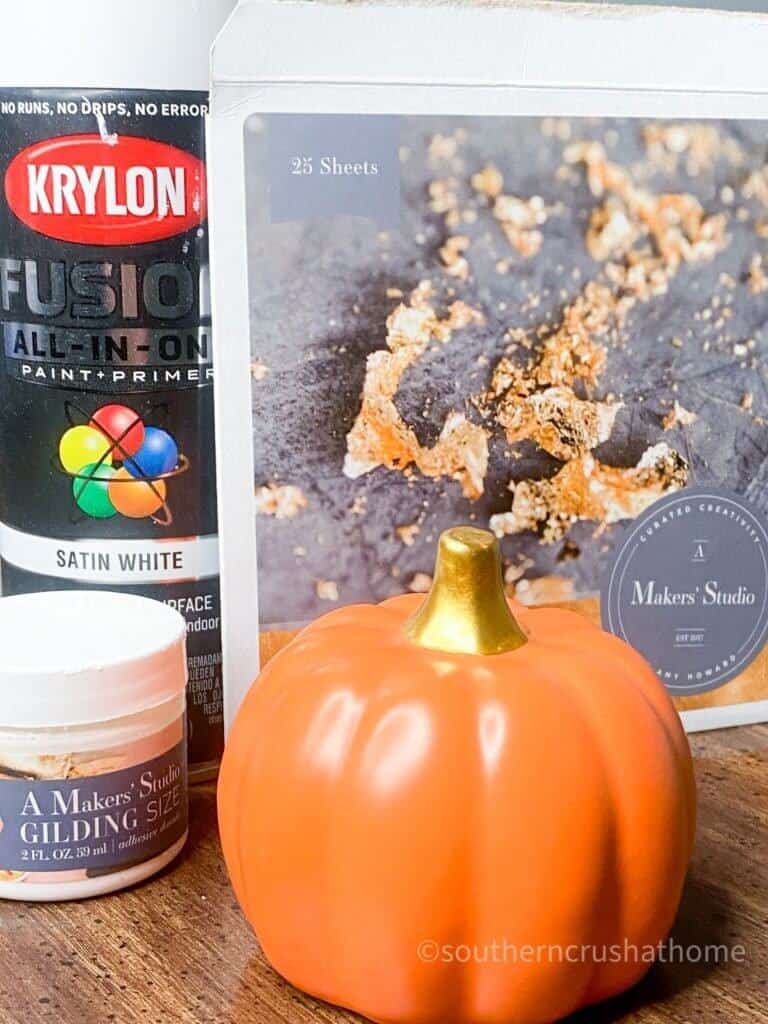
supplies for mini pumpkin painting
- ceramic mini pumpkin from Dollar Tree
- white spray paint
- gilding size
- gold leaf
step by step instructions for painting mini pumpkins
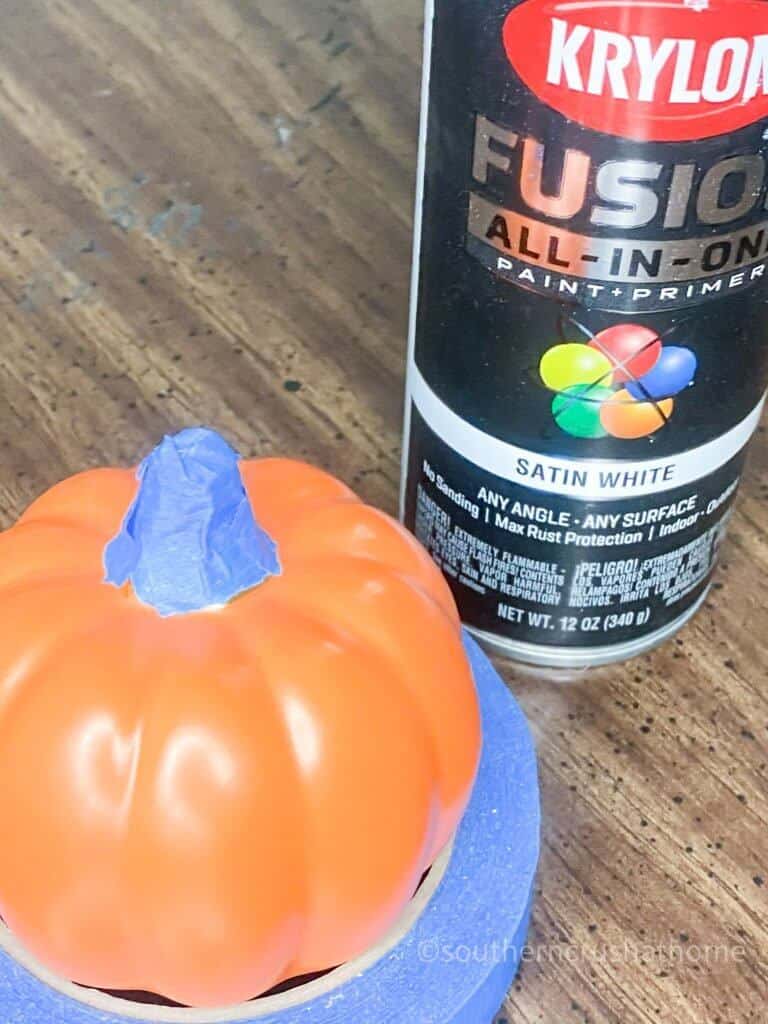
- Begin by taping off the stem of your pumpkin if you don’t want paint on it.
- Spray paint your mini pumpkin in a white semi gloss or glossy sheen. Allow to dry.
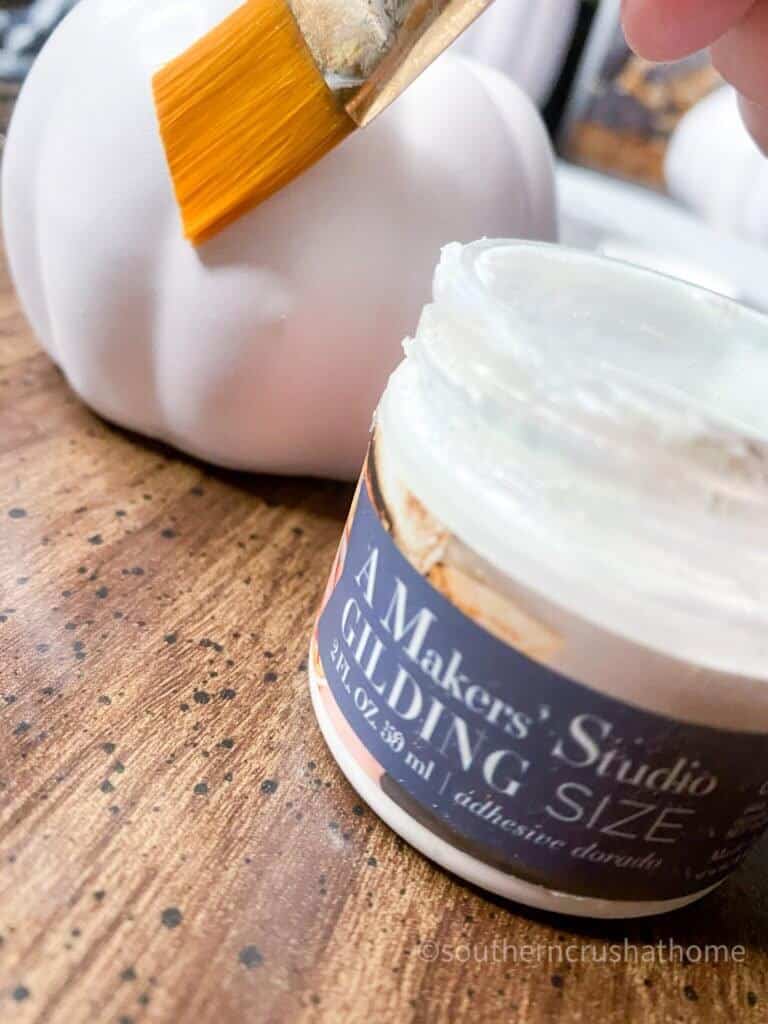
- Apply the gilding size to the top area of your mini pumpkin near the stem. Allow to dry for 30-60 seconds to come to tack.
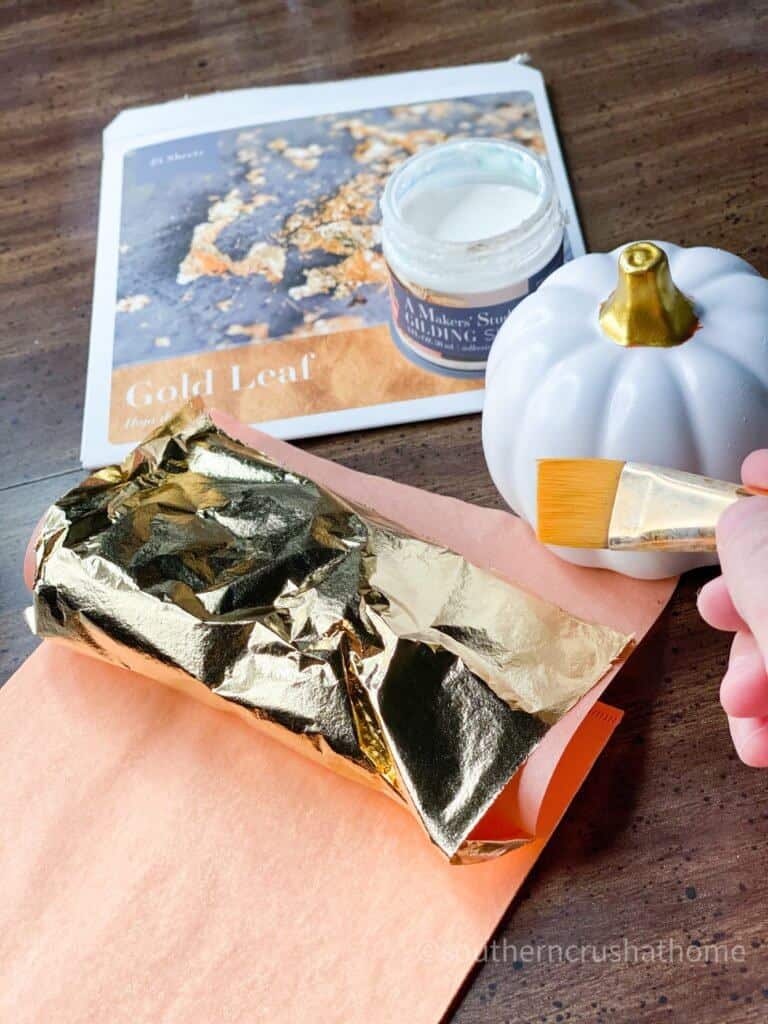
- Carefully lay the gold leaf over the area where gilding was applied.
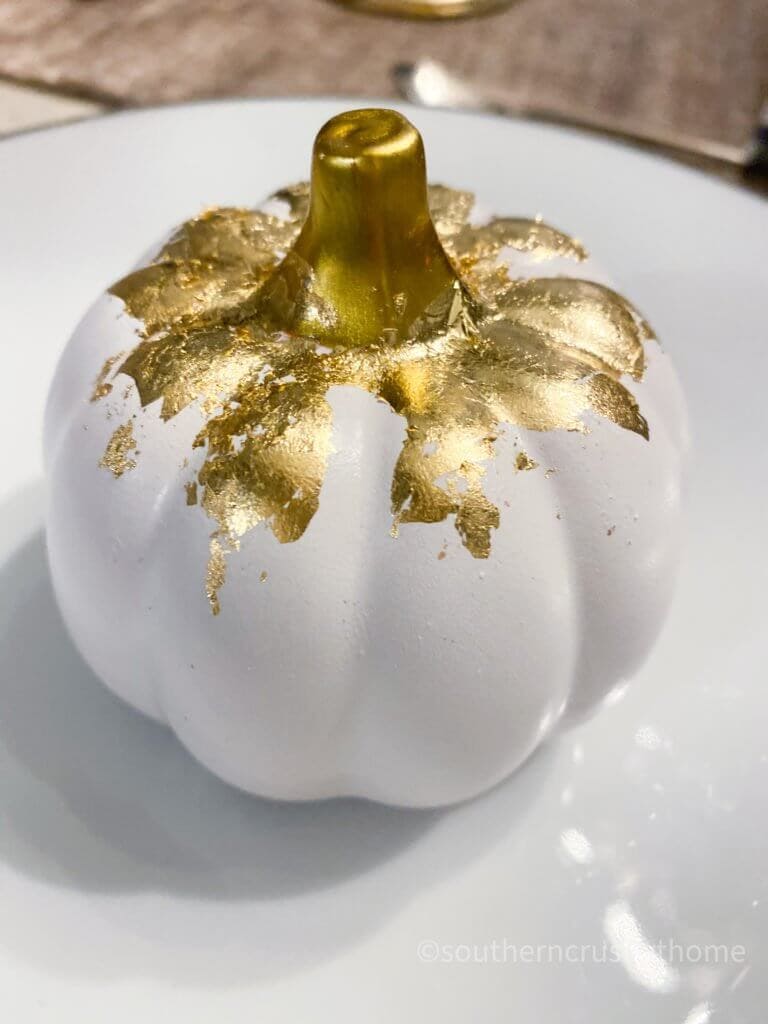
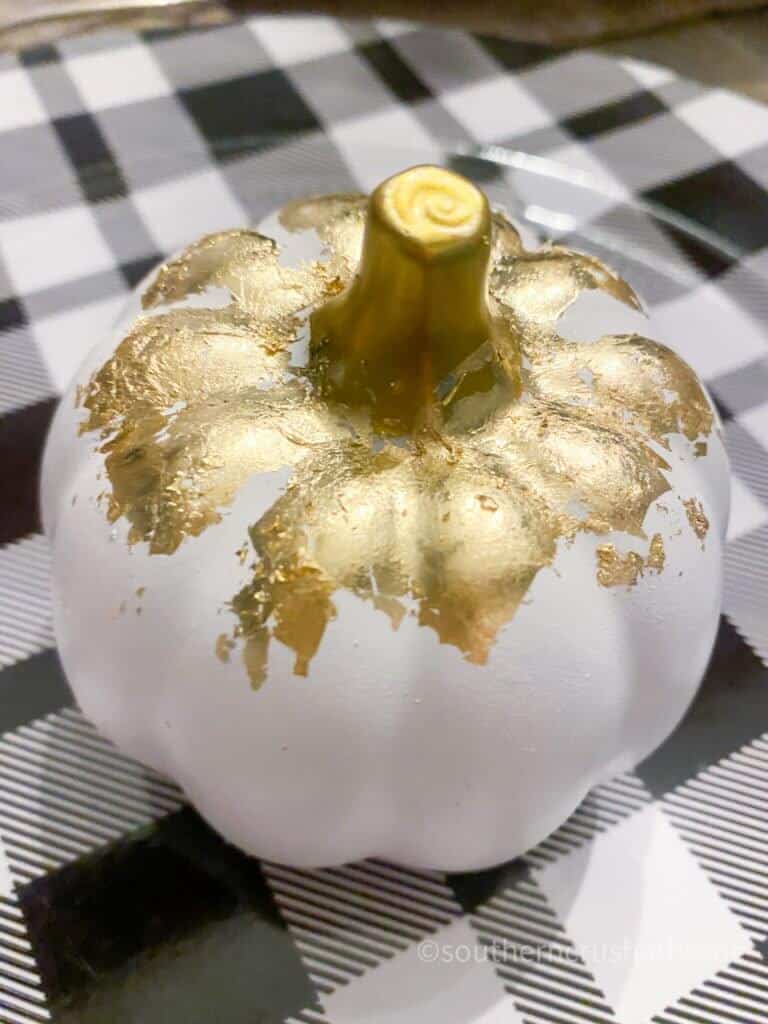
painted Gold Leaf mini pumpkins
These turned out so cute! You can use them just about anywhere in your decor. They would be cute as part of a larger grouping for a centerpiece, a fun way to decorate your place settings on top of the top plate, or even as part of a tiered tray arrangement. These are so neutral they could be used year round!
second idea: buffalo check fabric pumpkins
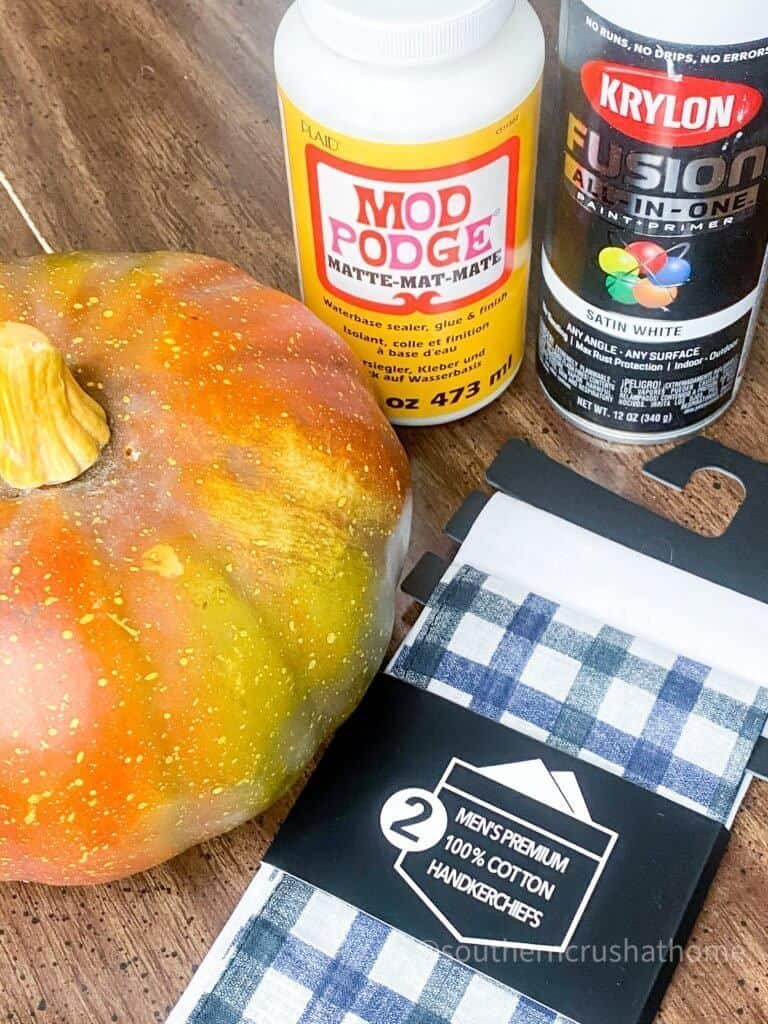
supplies to make buffalo check fabric pumpkins
- plastic pumpkin from Dollar Tree
- white spray paint
- mod podge
- buffalo check handkerchief from Dollar Tree
- gold wax
instructions for fabric pumpkins
- Begin by removing the stem of your pumpkin if you don’t want paint on it.
- Spray paint your pumpkin in a white color. Allow to dry.
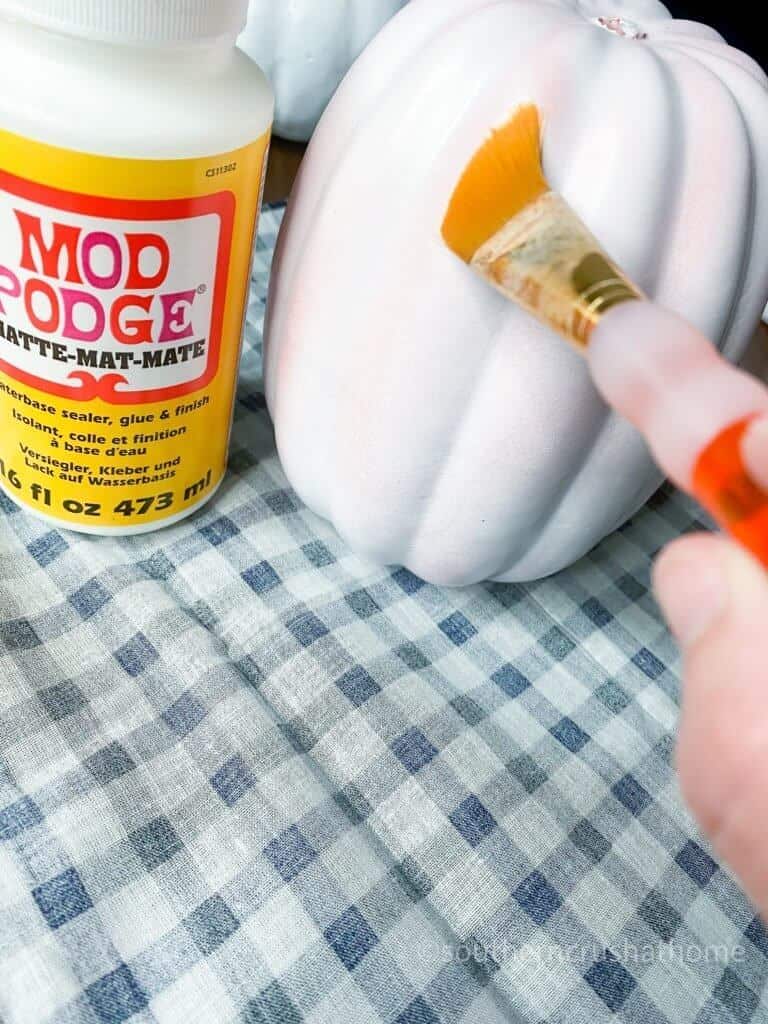
- Apply the mod podge to your pumpkin.
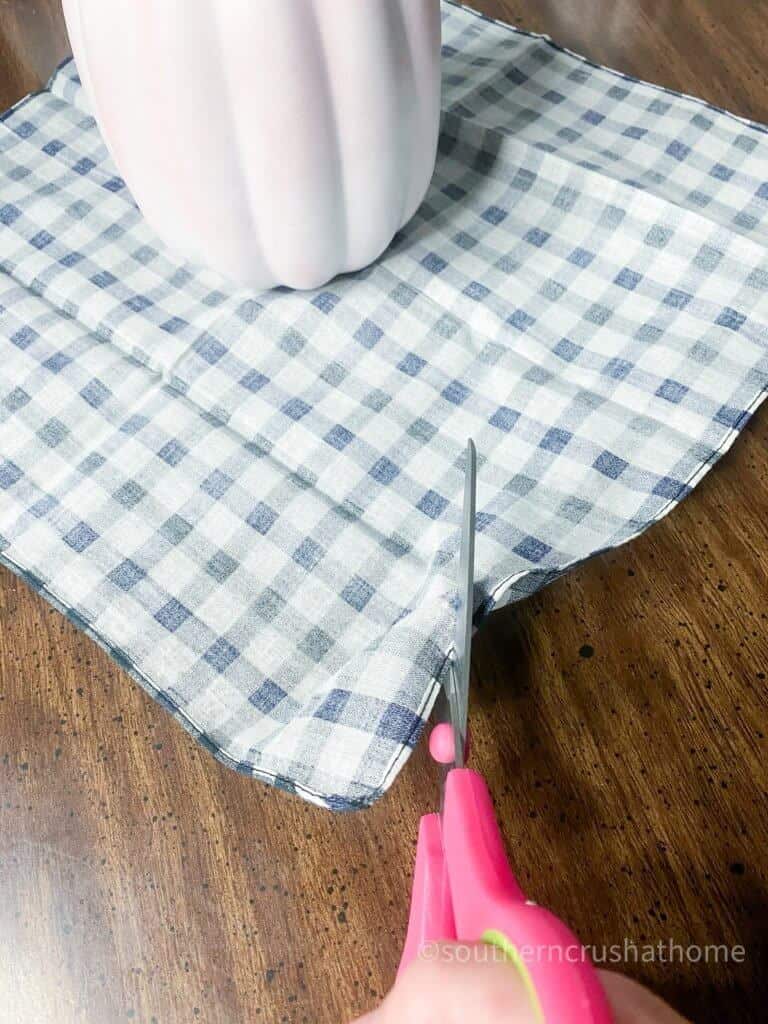
- Cut your handkerchief in sections to make them easier to apply to the pumpkin shape.
- Apply a thin layer of mod podge over the top of the fabric once it is covering your pumpkin.
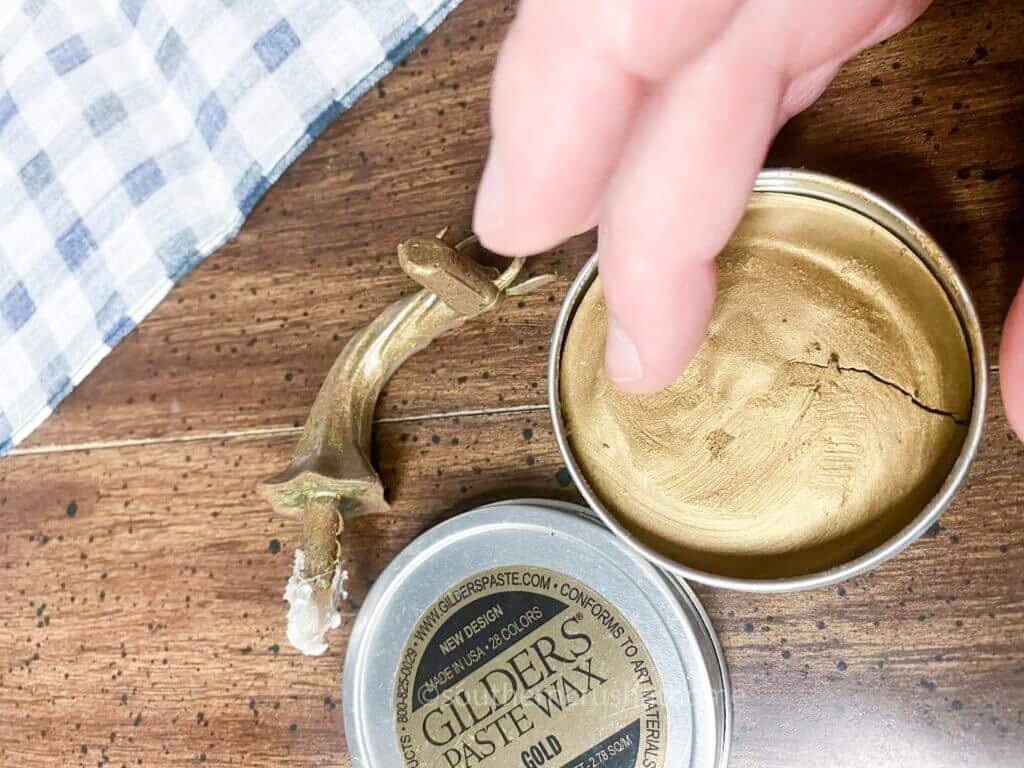
- Wipe gold wax on the stem and place it back into the pumpkin.
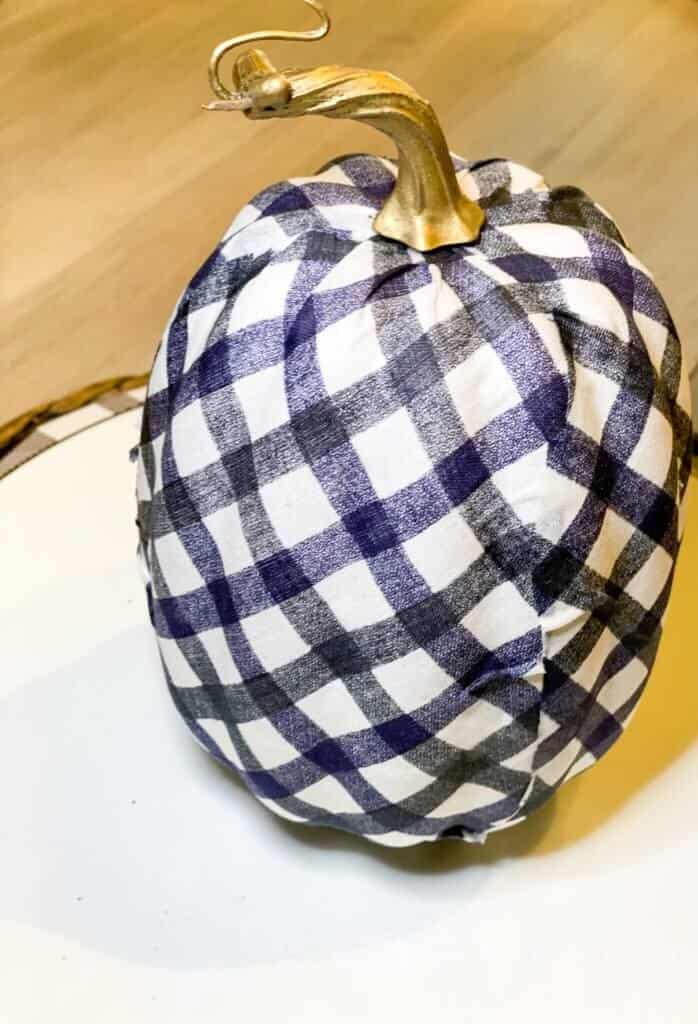
buffalo check fabric pumpkins
If you didn’t know by now or your are new to my blog; I love all things buffalo check and this easy diy pumpkin project did not disappoint. This is an easy way to add a pop of buffalo check into your decor where there may have not been any. If you love buffalo check as much as I do, consider joining me over inside my special buffalo check facebook group where we share our favorite things we find in this amazing pattern!
 third idea: modern mosaic pumpkin
what you need to make modern pumpkin
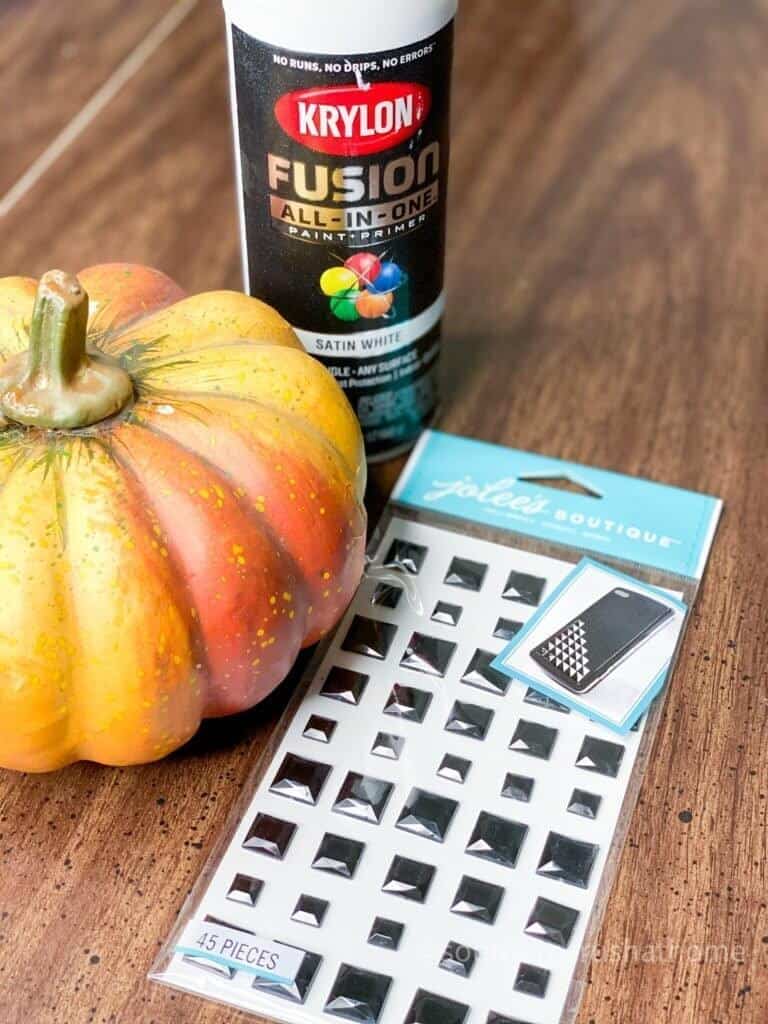
- plastic pumpkin from Dollar Tree
- white spray paint
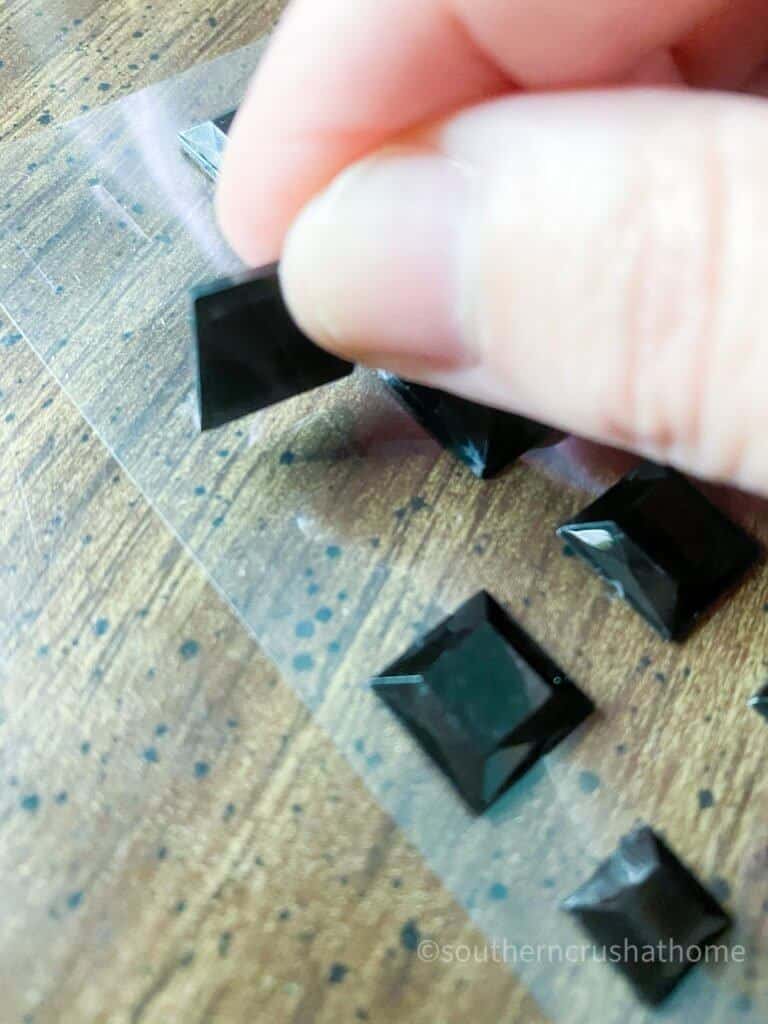
- black square shaped gem stickers from Dollar Tree
- gold wax
- greenery piece
- black paint
how to make a modern pumpkin
- Begin by removing the stem of your pumpkin if you don’t want paint on it.
- Spray paint your pumpkin in a white color. Allow to dry.
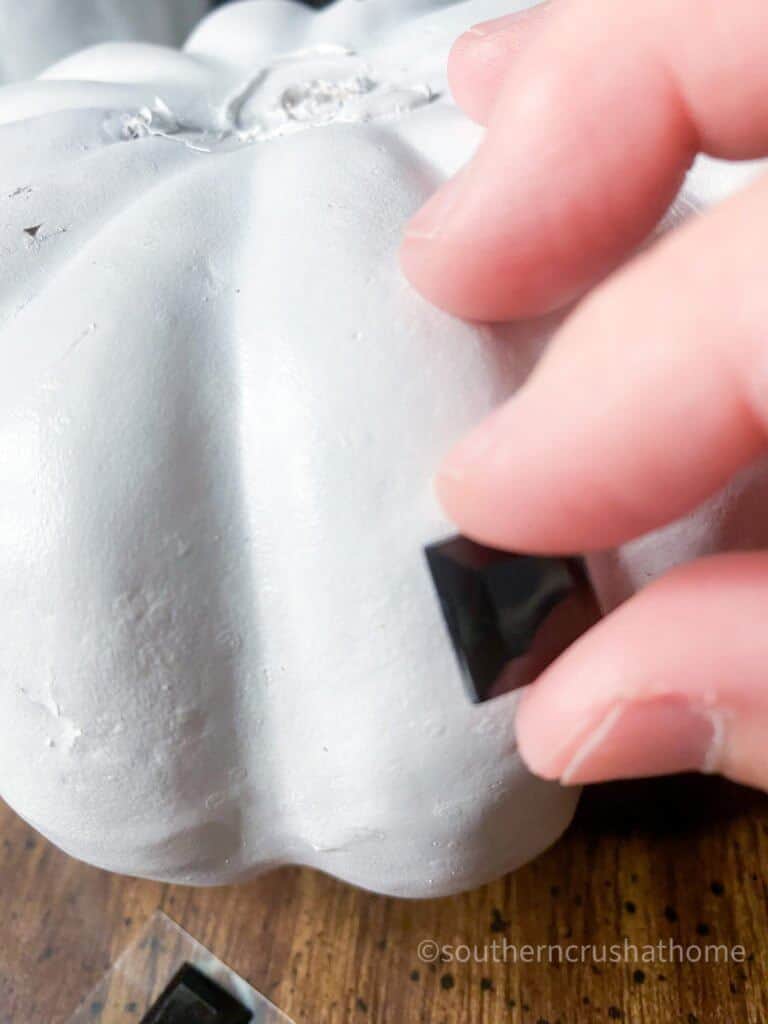
- Apply the stickers in a mosaic pattern to your pumpkin.
- Wipe gold wax on the stem and place it back into the pumpkin.
- Paint your greenery black and wrap around the stem of your modern pumpkin.
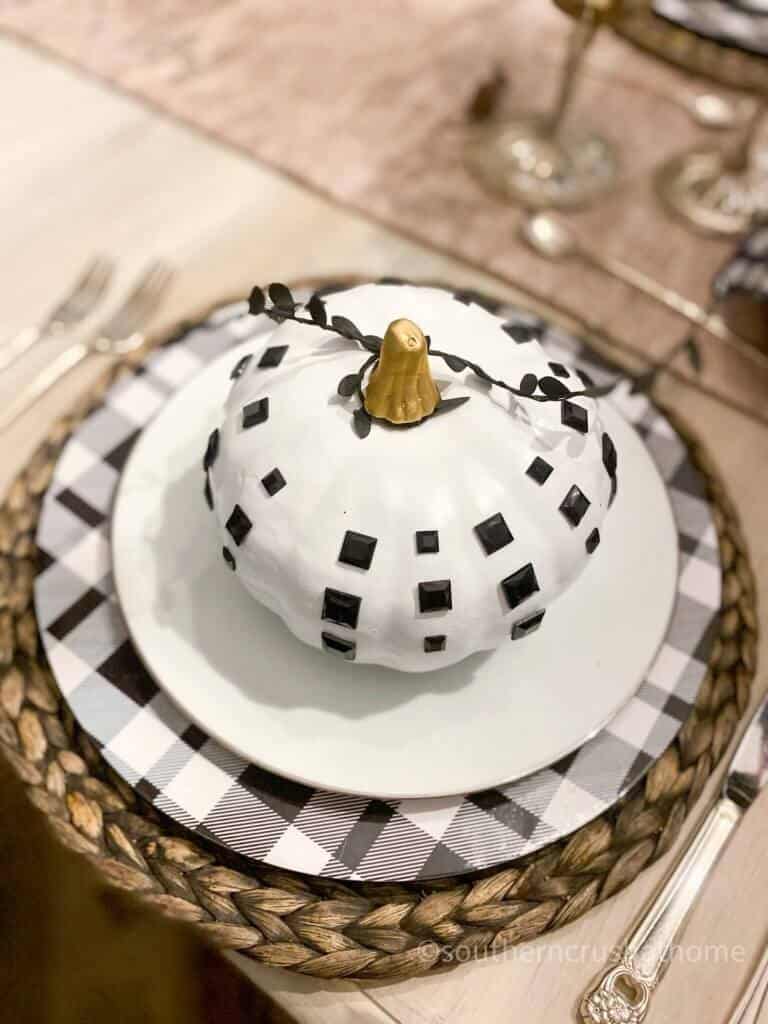
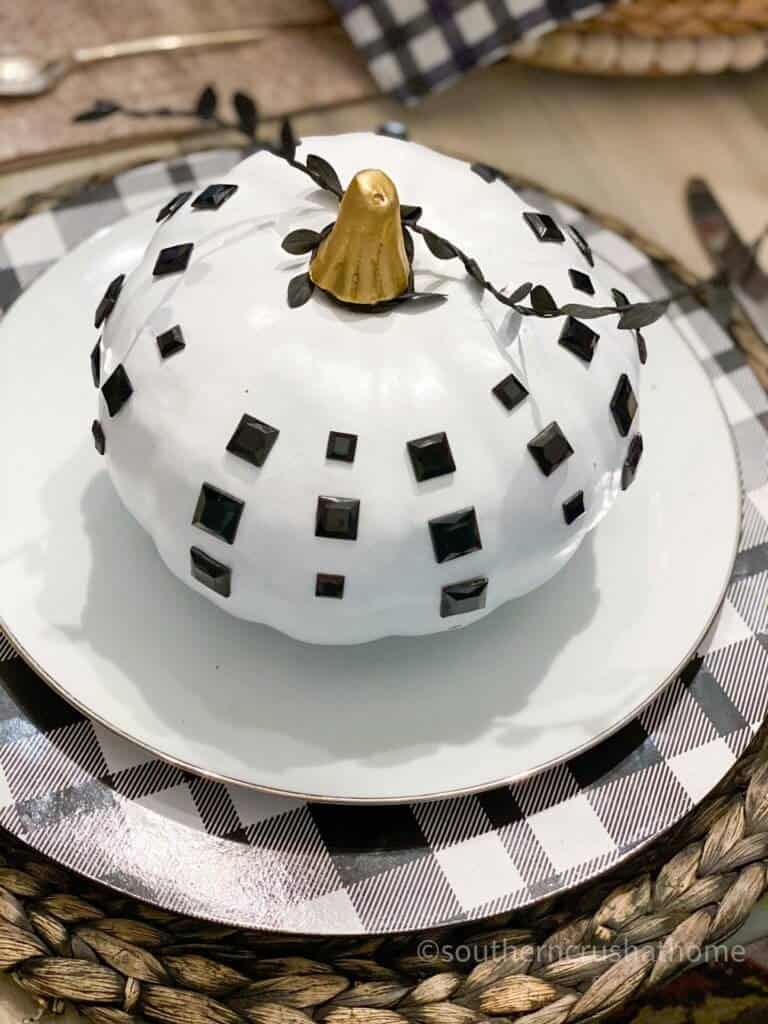
modern mosaic pumpkin
This black and white pumpkin design turned out so much cuter than I imagined. The black greenery really sets off the gem stickers. Who knew you could make this modern looking pumpkin for less than $3 with supplies from the Dollar Tree?
fourth idea: black and white floral pumpkins
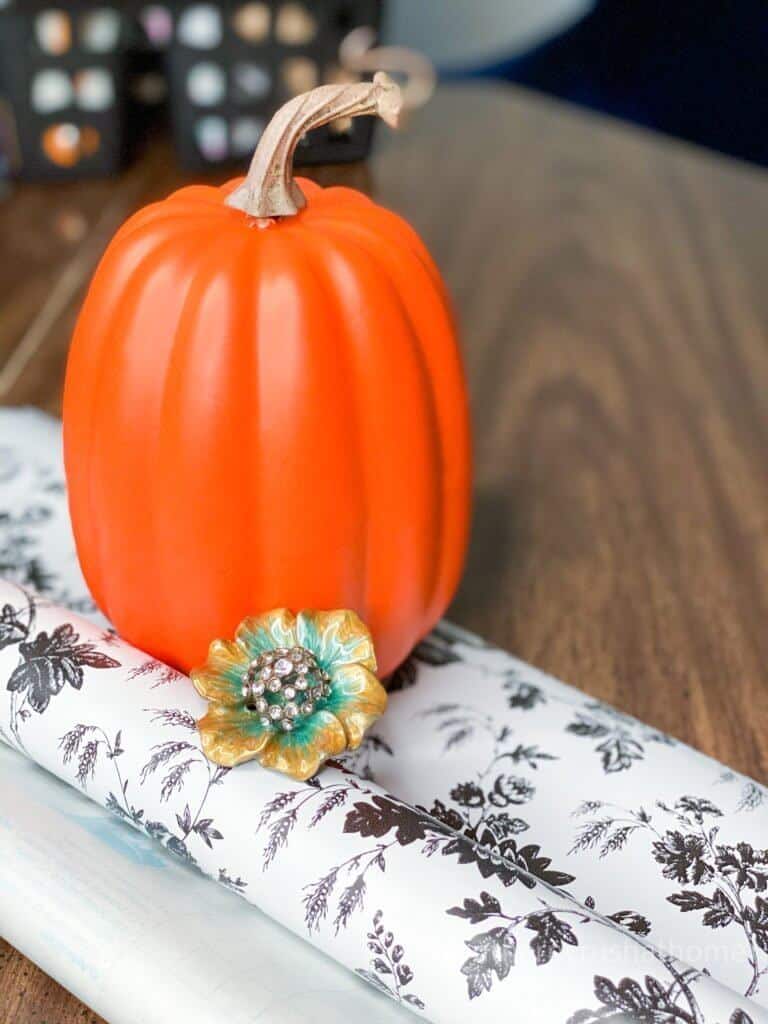
supplies for contact paper floral pumpkins
- plastic pumpkin from Dollar Tree
- black and white floral contact paper from Dollar Tree
- knob for stem
- gold wax
step by step instructions for floral pumpkins
- Begin by removing the stem of your pumpkin if you want to use the knob replacement stem.
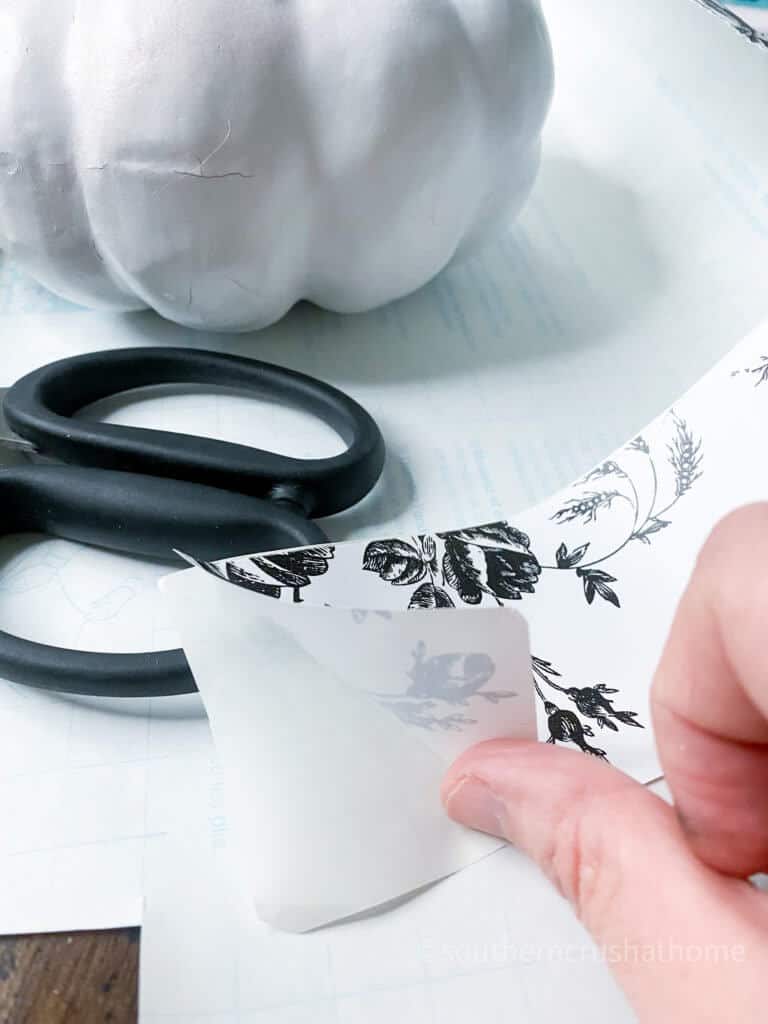
- Cut your contact paper into strips the size of your pumpkin.
- Apply the contact paper strips to your pumpkin all the way around.
- Wipe gold wax on the stem or knob and place it back into the pumpkin.
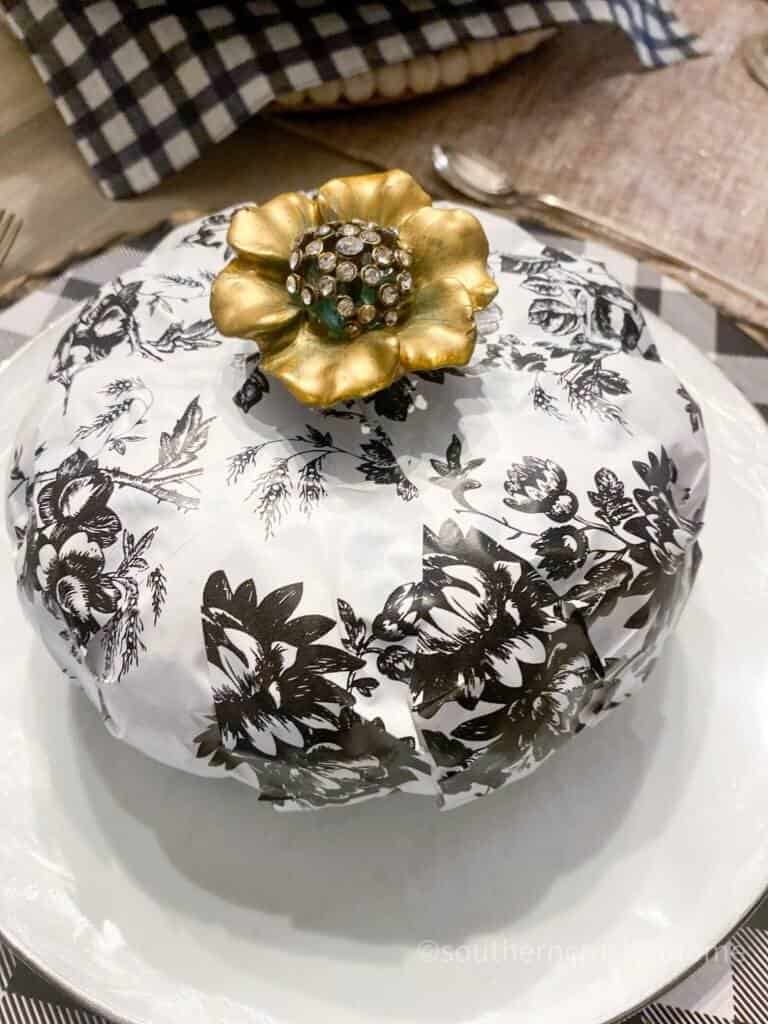
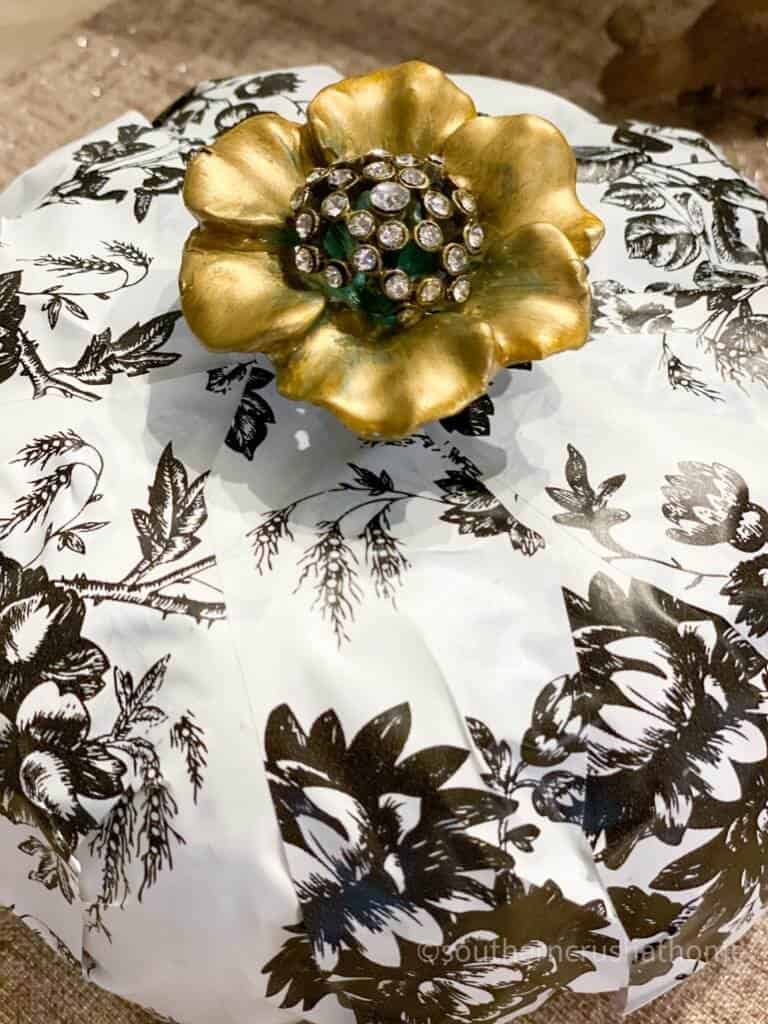
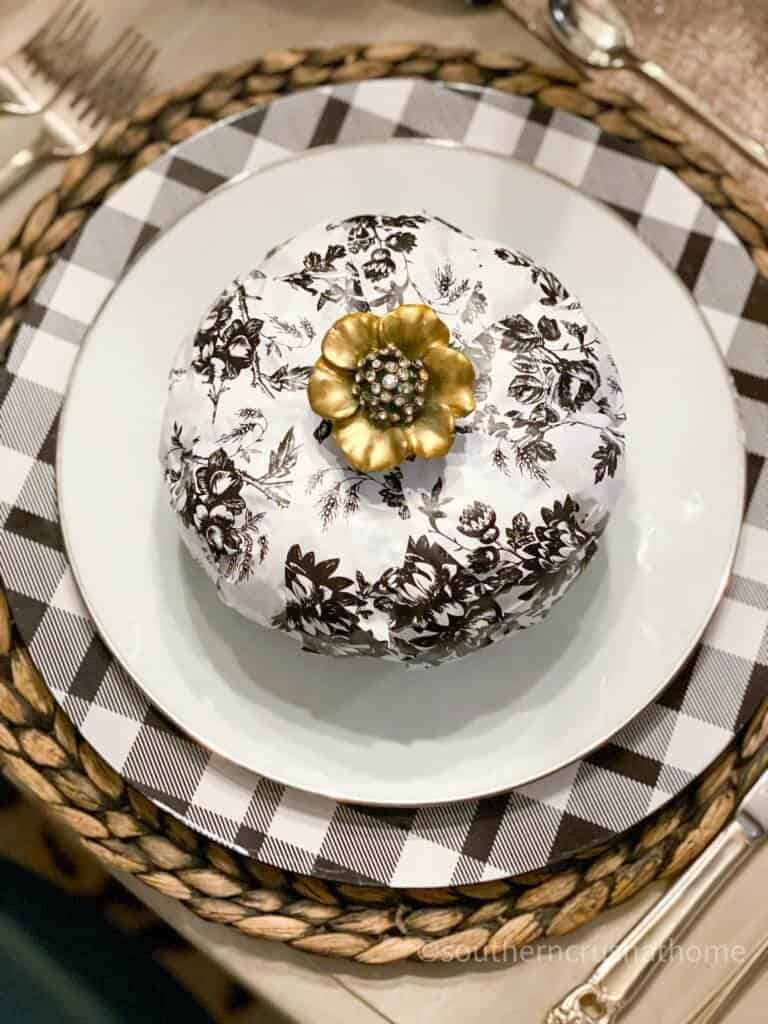
black and white floral contact paper pumpkins
Believe it or not, I love this idea the best. I was able to use one of my more beat up pumpkins for this diy because the contact paper covered any and every flaw! This one is a fun one too because, well, you really cannot mess up!
These four unique black and white pumpkin designs are an easy way to change things up this fall in your decor. I hope you’ll try one for your home. Let me know in the comments below which one is your favorite.
In case you missed it ~ Check out this post on all of my favorite faux pumpkin ideas! It’s amazing all of the creative ways you can use pumpkins in your decor!
sign up for emails
If you love these kinds of DIY ideas, you need to be getting my emails, friend! Each week I send out a couple of emails that include updates, crafts, shopping experiences, and decor inspiration. Be sure to get yourself signed up below.
I can’t wait to meet you! Leave your thoughts below in the comments, please… BTW— Life is short—Enjoy the mess!


 third idea: modern mosaic pumpkin

do you have any samples of the gold to try???..
I’m sorry, I do not keep any samples.