Arendelle Frozen Castle Haunted Doll House DIY
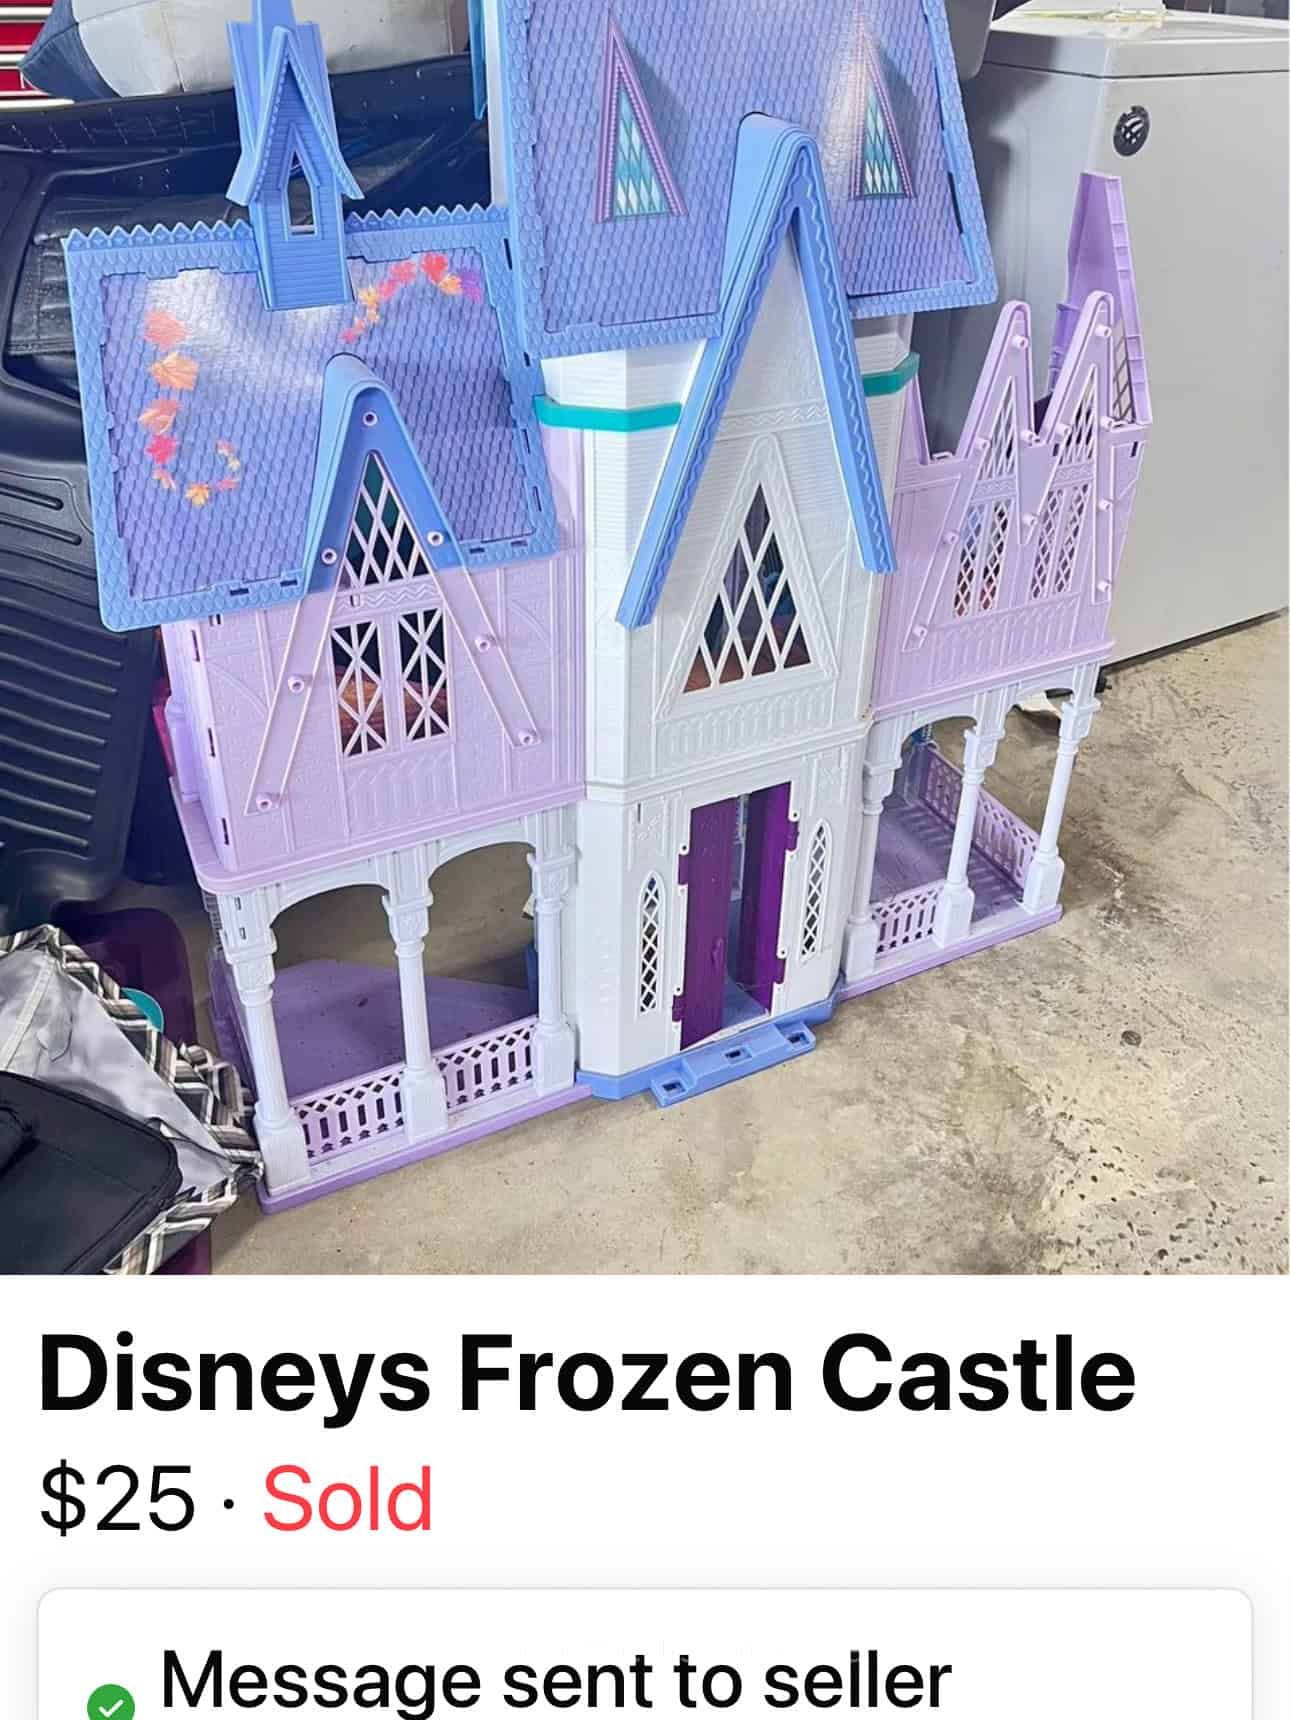
With Halloween coming, I had been on the lookout for a 5-foot tall Arendelle Frozen Castle that I could transform into a haunted doll house. One afternoon I randomly checked Facebook Marketplace once again and there it was ~ for a mere $25!
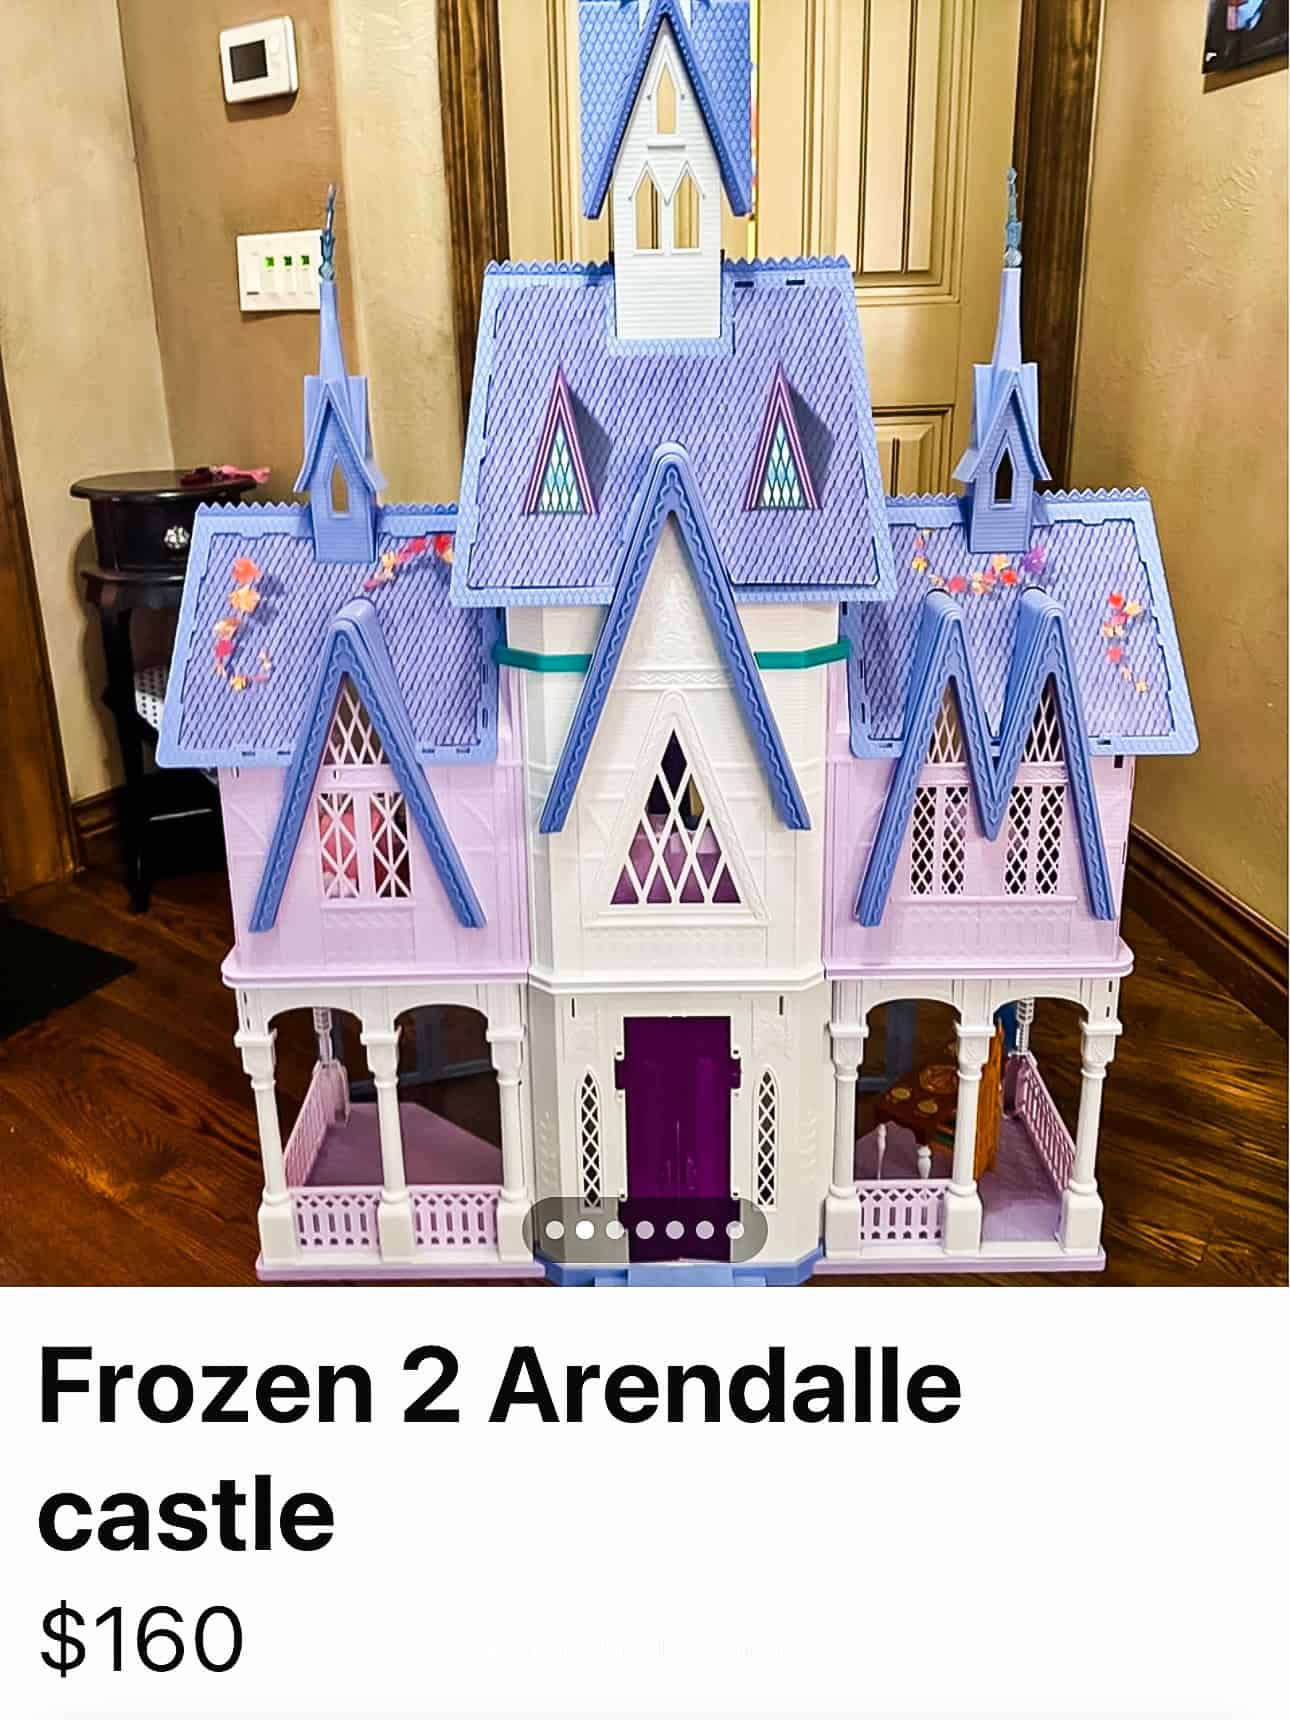
Considering an Arendelle Frozen Castle usually goes for over $150, it was a steal.
There’s something so incredibly satisfying about finding a hidden gem, especially when it comes to DIY projects.
The only catch? We had to make a little adventure out of it, driving over an hour to the small town of Springtown, TX, to pick it up. But let me tell you, it was worth every mile.
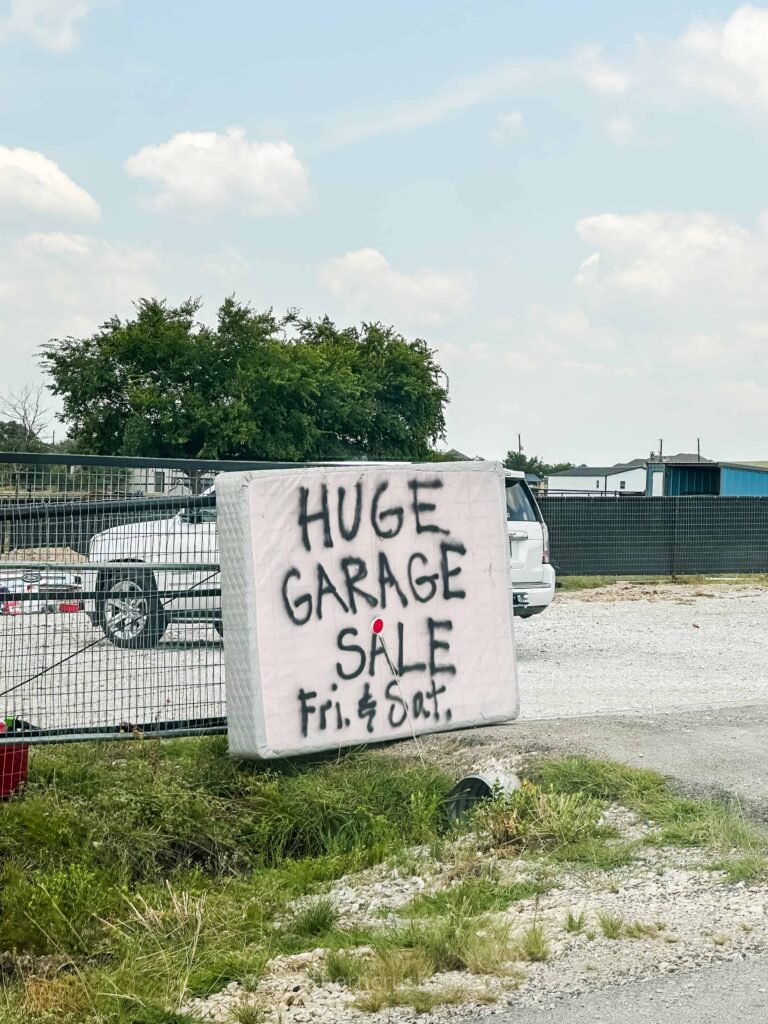
It was a delightful day trip, and all the details of where we ate and the other stops we made are over on the travel blog if you’re curious.
But back to the real star of the day—the Arendelle Frozen Castle dollhouse, the birthplace of Anna and Elsa the sisters in the Disney hit movie Frozen and Frozen 2!
This blog post contains affiliate links. The opinions are wholly my own from my own experience. I may earn a small commission from clicks through to the websites that end in a purchase.
The Dollhouse: From Fairytale to Fright
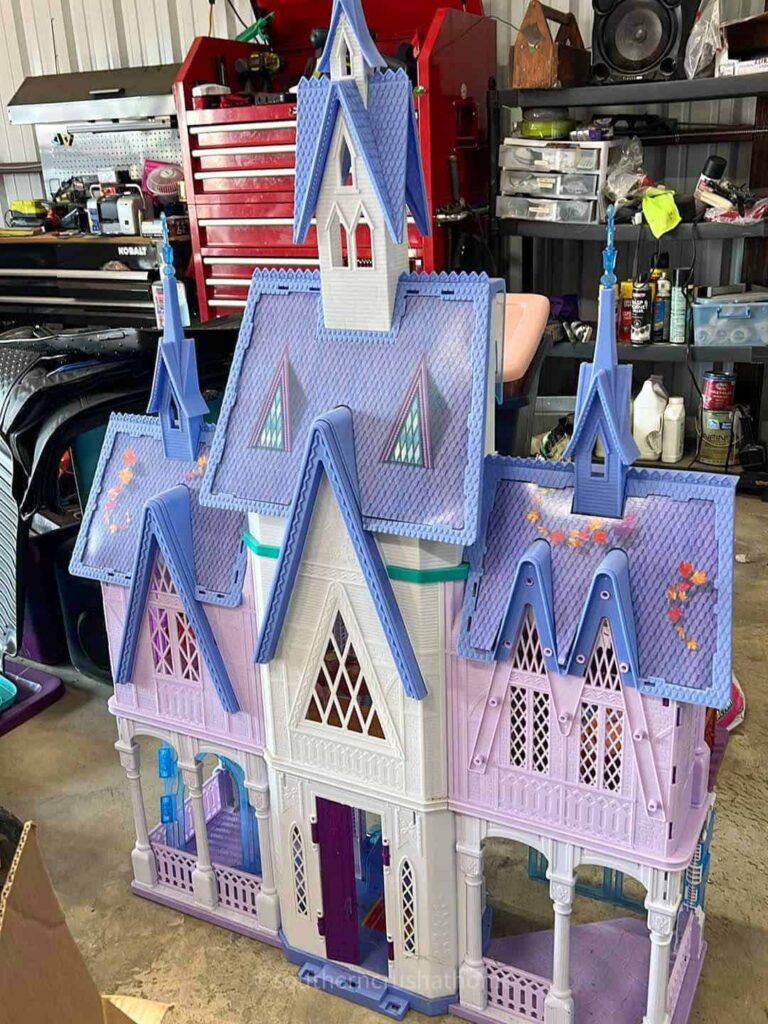
When we finally arrived to pick up the dollhouse, we were thrilled to find it in great condition. Sure, it needed a little TLC, but it was structurally sound, and all the pieces were intact.
We carefully loaded it into the car and made the drive back home, eager to start our haunted transformation.
Once we got the castle and all its parts home, the first order of business was a good cleaning.
We wiped it down thoroughly with a damp cloth, making sure to get rid of any dust or grime. With that done, it was time to get creative.
Materials You’ll Need
If you’re ready to turn your own dollhouse into a spooky masterpiece, here’s what you’ll need:
Supplies:
- 5 foot Arendelle Frozen Castle Dollhouse (or any dollhouse you wish to transform)
- 2 Cans of Black Spray Paint
- Damp Cloth (for cleaning)
- Neon Light Bulb (from Dollar Tree)
- Sticker Bats (for wall decor)
- Google Home or Alexa (optional, for playing spooky sounds)
Step-by-Step Guide
Now that we had our supplies ready, it was time to dive into the project. Here’s how we turned this fairytale castle into a haunted dollhouse.
Step 1: Clean the Dollhouse
The first step was to clean the dollhouse thoroughly. Using a damp cloth, we wiped down every surface, ensuring it was free from dirt and dust. This is important to help the spray paint adhere properly.
Make sure to clean in all the little nooks and crannies, as this will make a big difference in the final look.
Step 2: Reassemble the Dollhouse
Once the castle was clean, we reassembled it. This step was like putting together a giant puzzle, but it was also a lot of fun. Seeing the castle come together again gave us a great sense of how it would look once transformed.
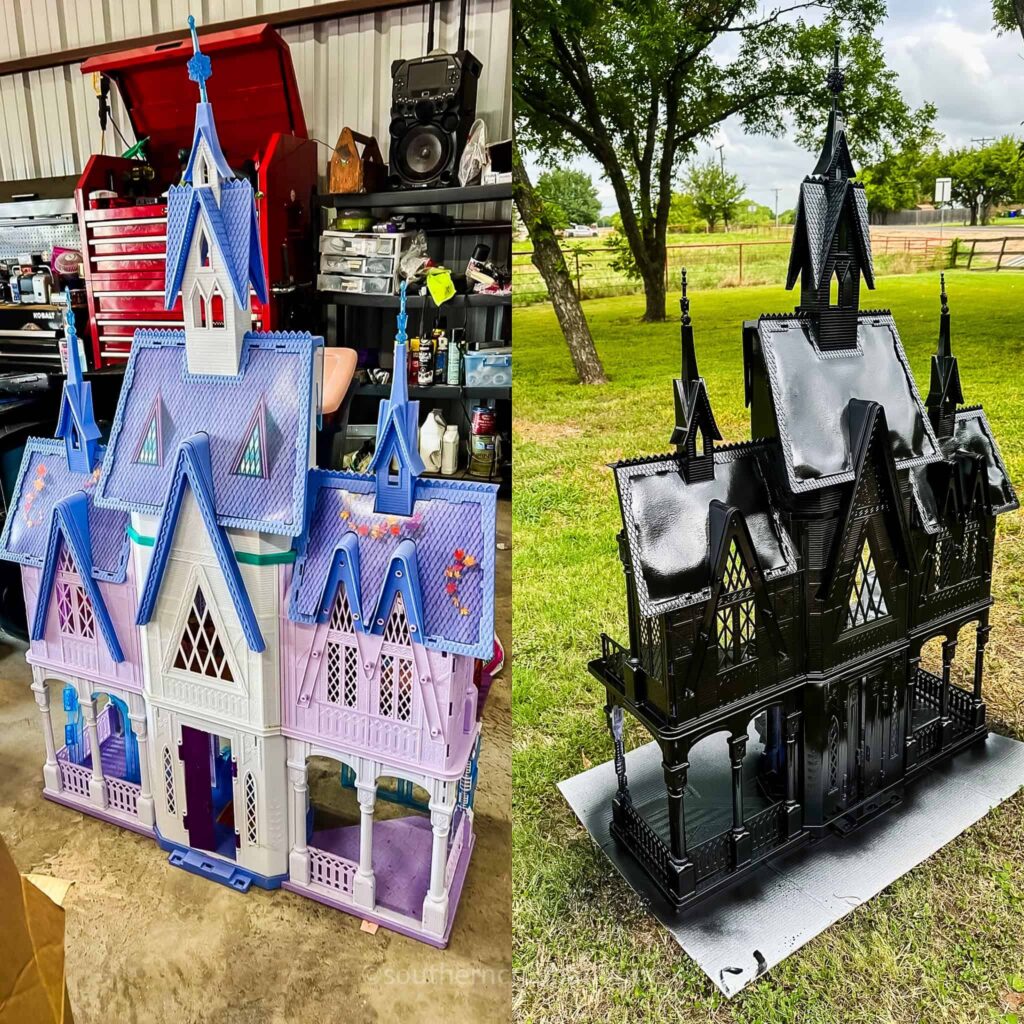
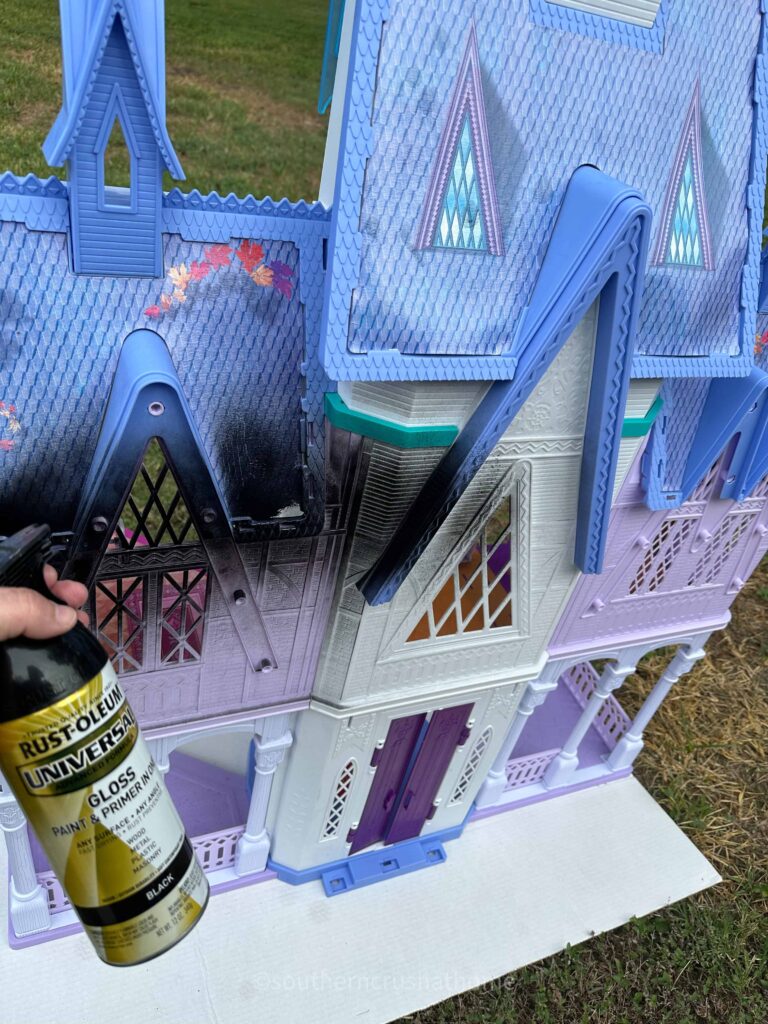
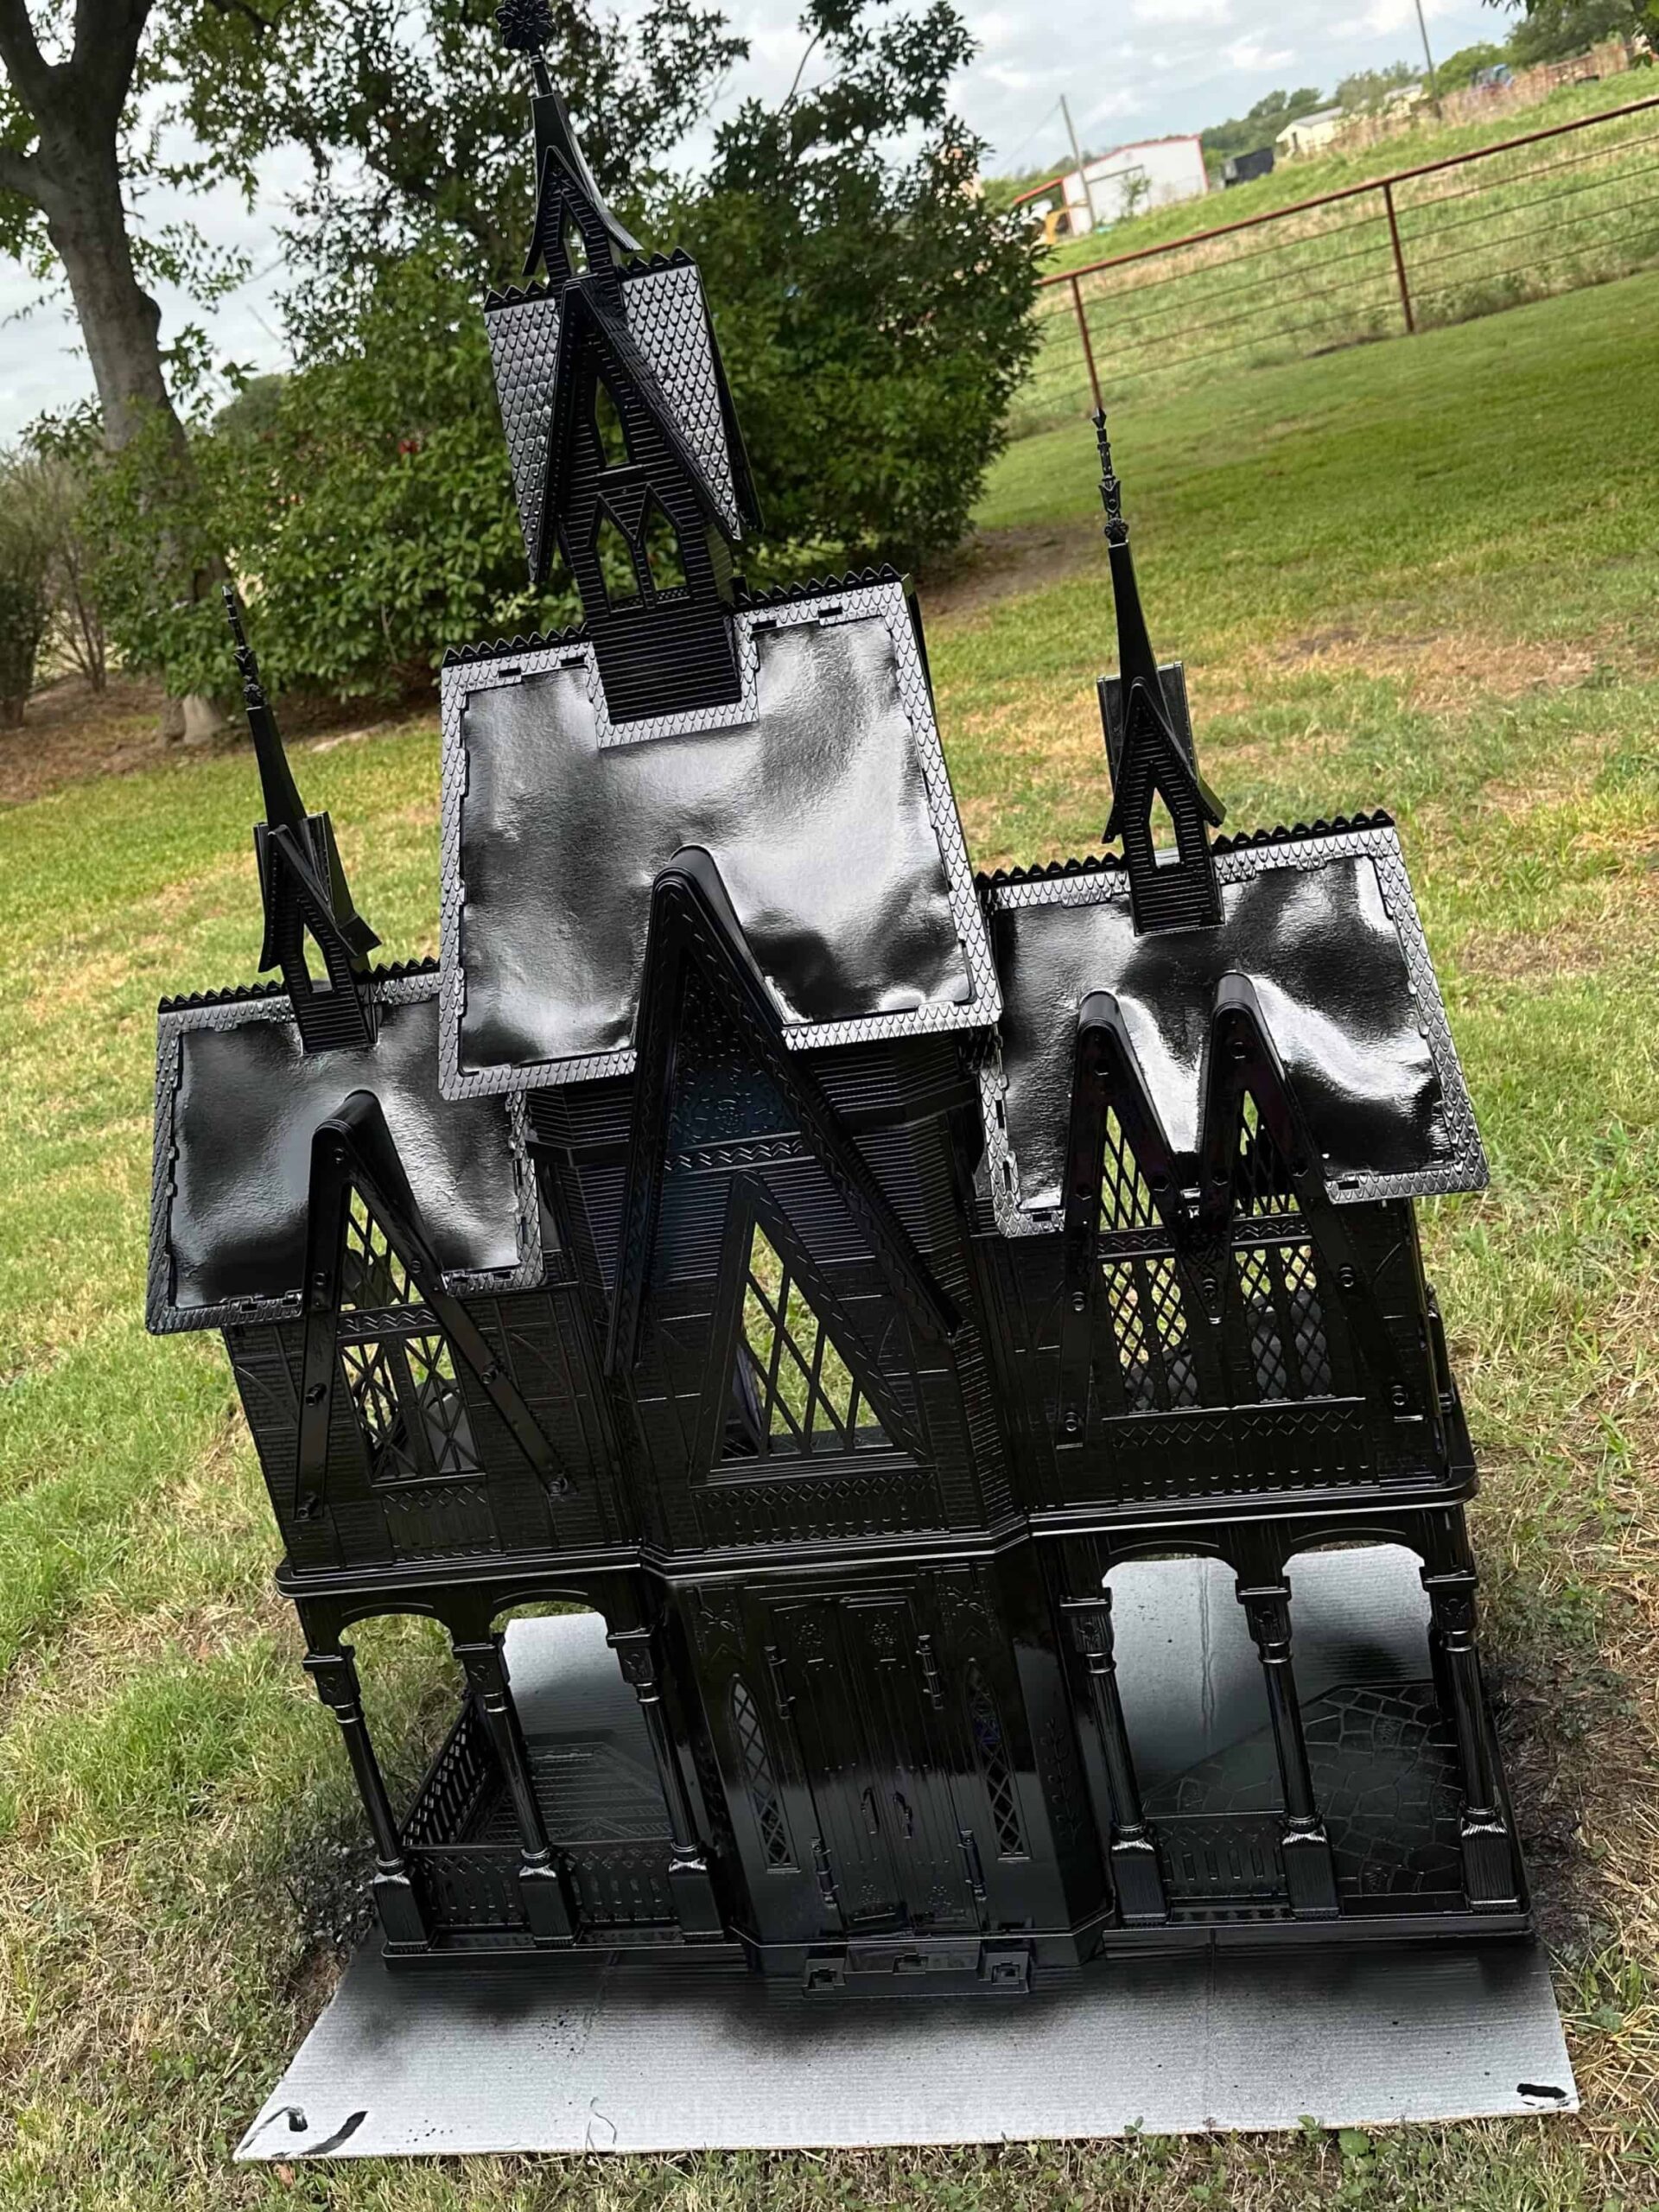
Step 3: Spray Paint the Arendelle Frozen Castle
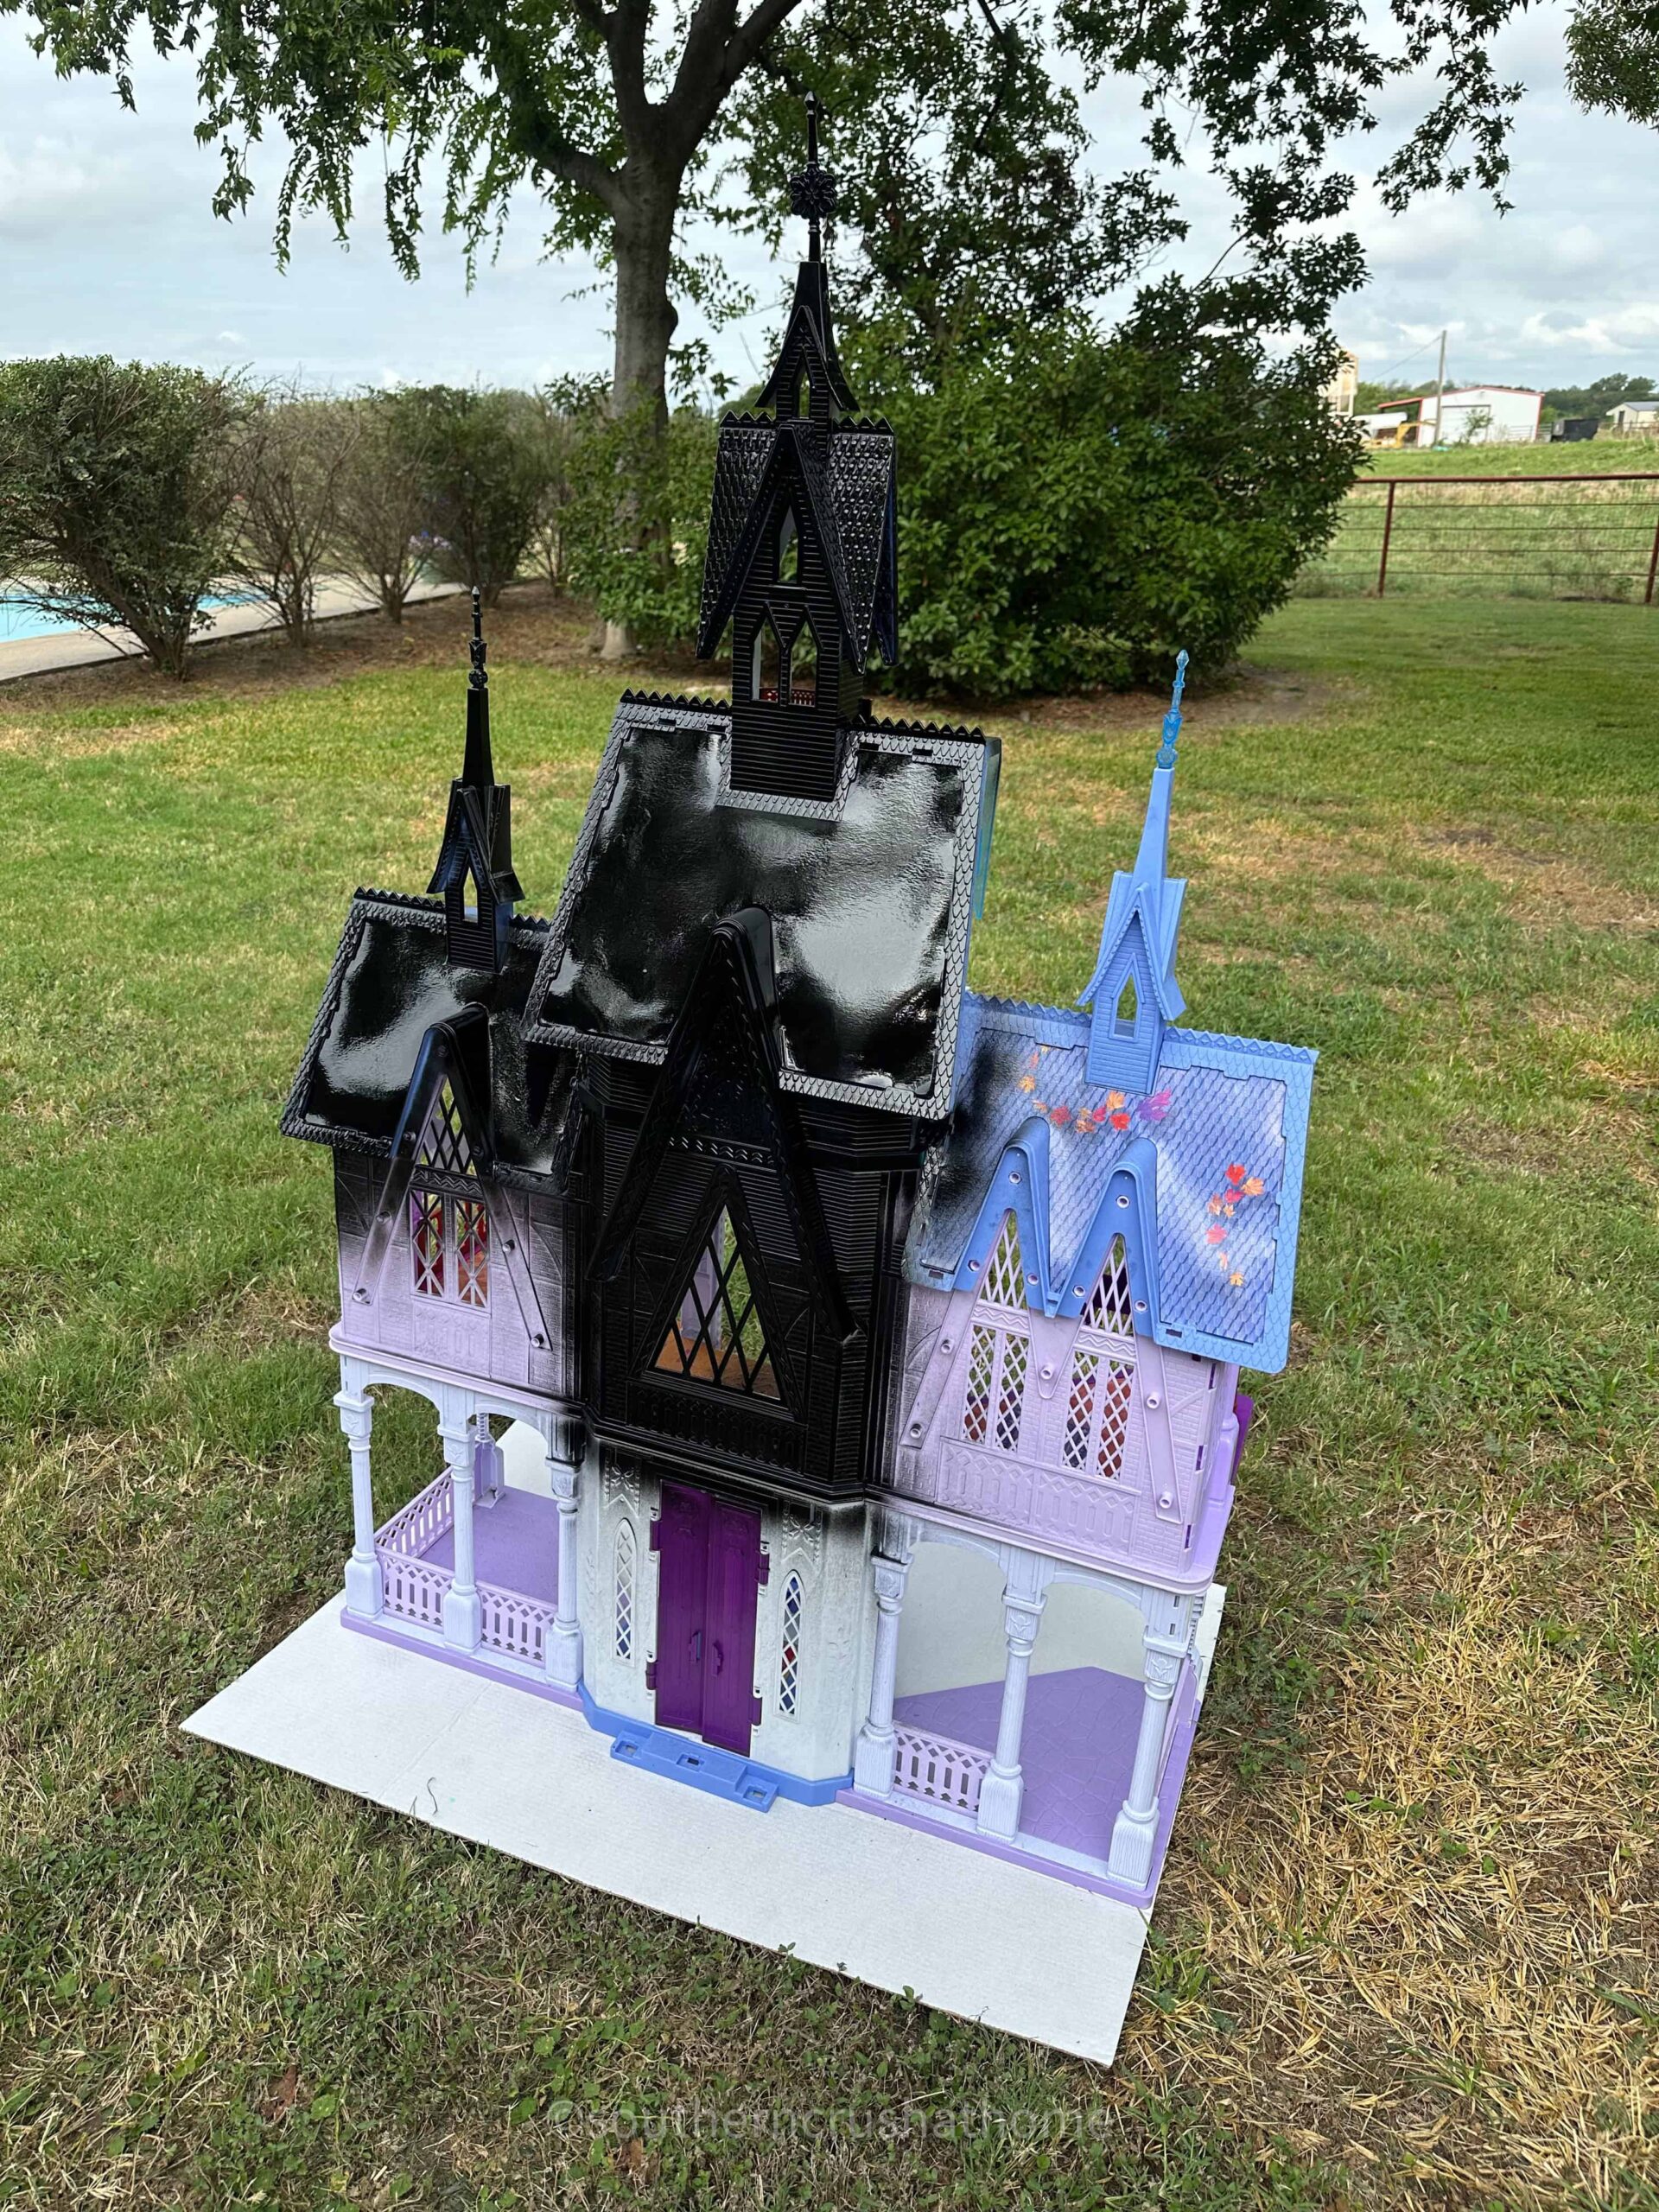
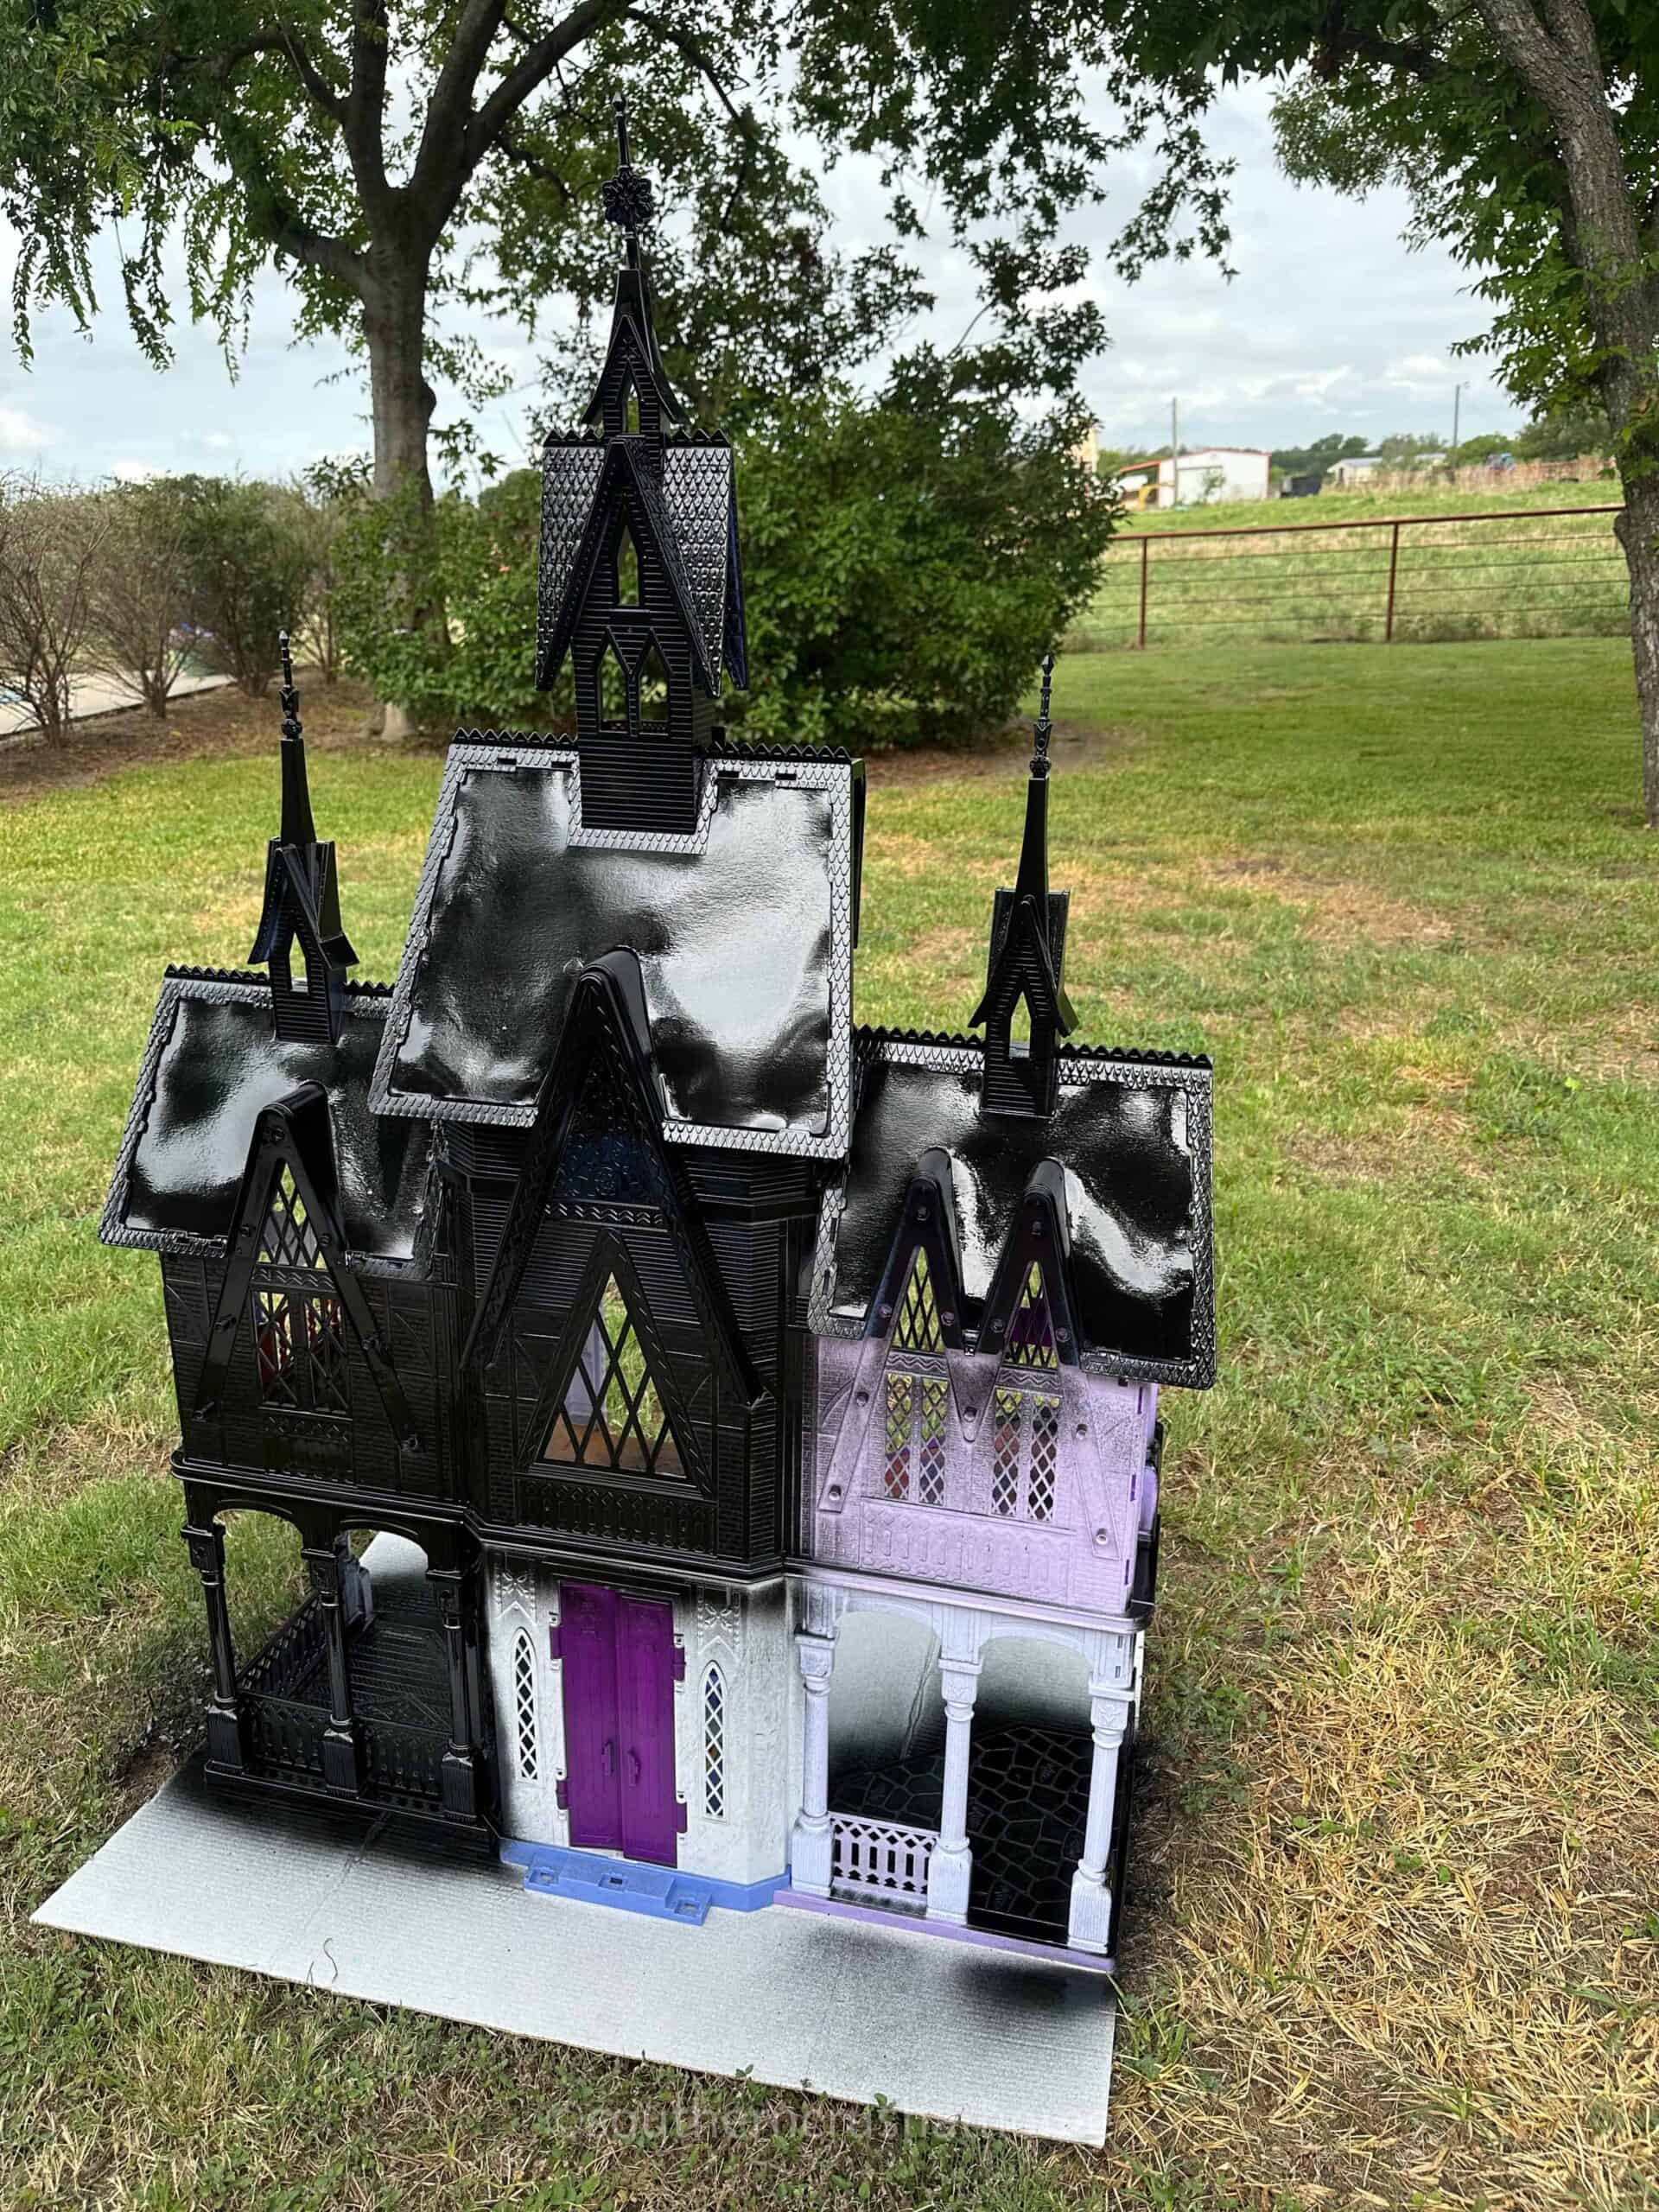
With the dollhouse reassembled, it was time to bring out the black spray paint. We used two cans to cover the entire castle, making sure to get into all the tight spaces and detailed areas.
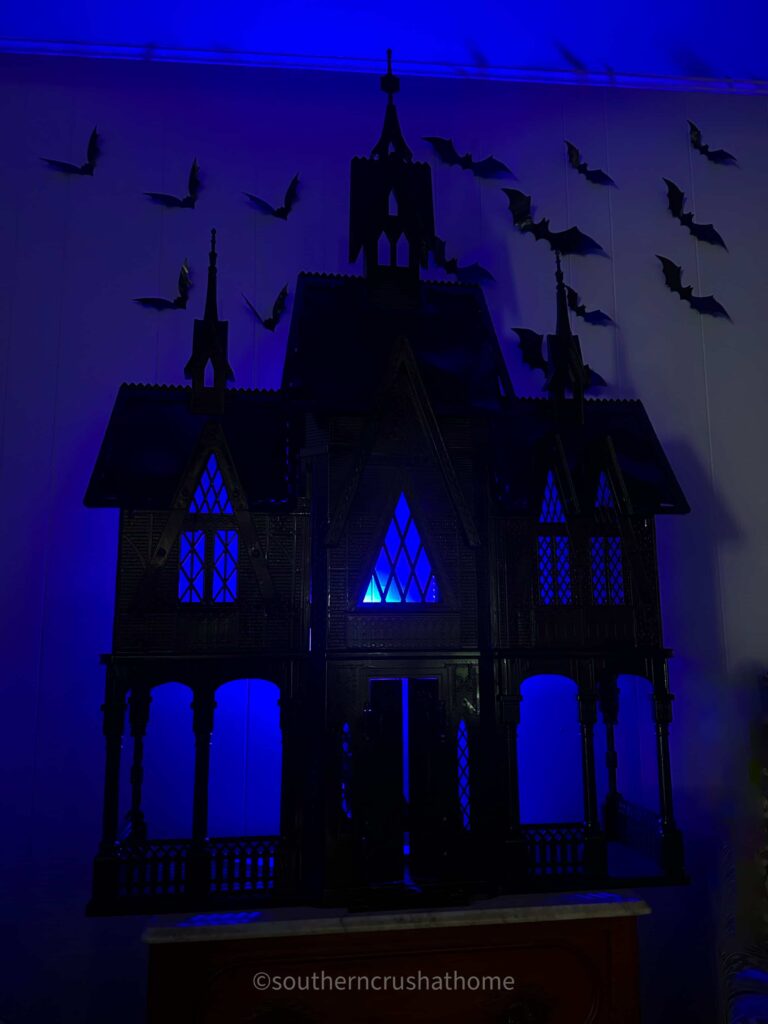
The transformation was almost instant—what was once a bright, cheerful castle was now a dark, eerie structure, perfect for Halloween.
Step 4: Set Up the Haunted Castle
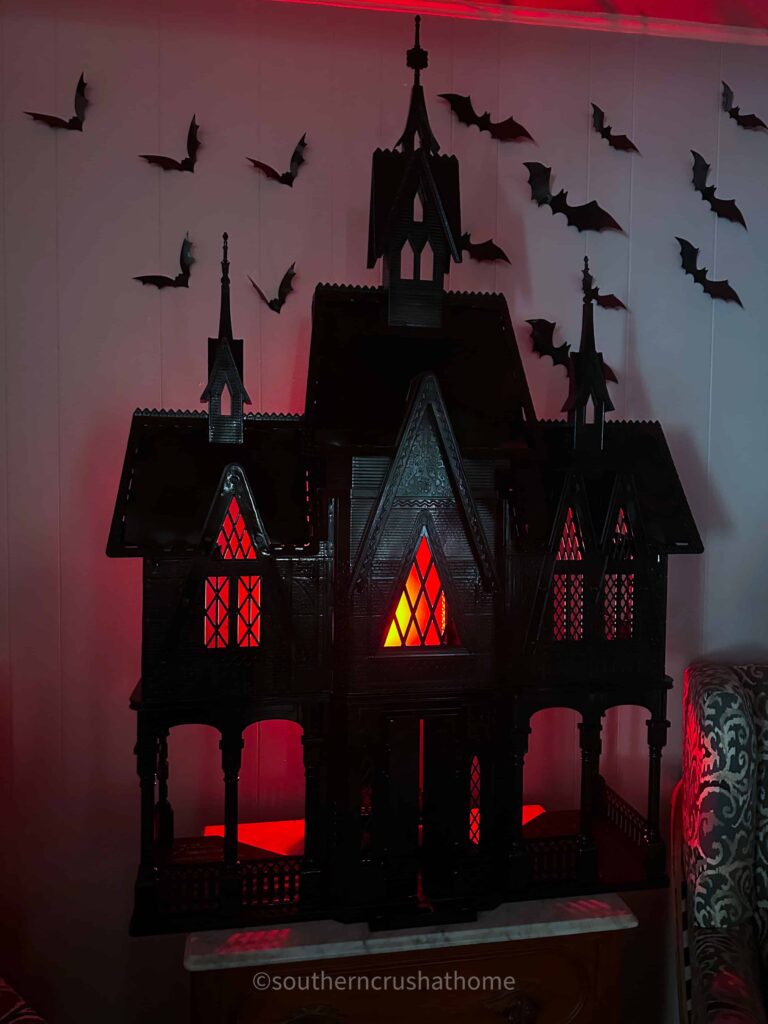
We placed the newly haunted castle on a side table in the living room, where it could really stand out.
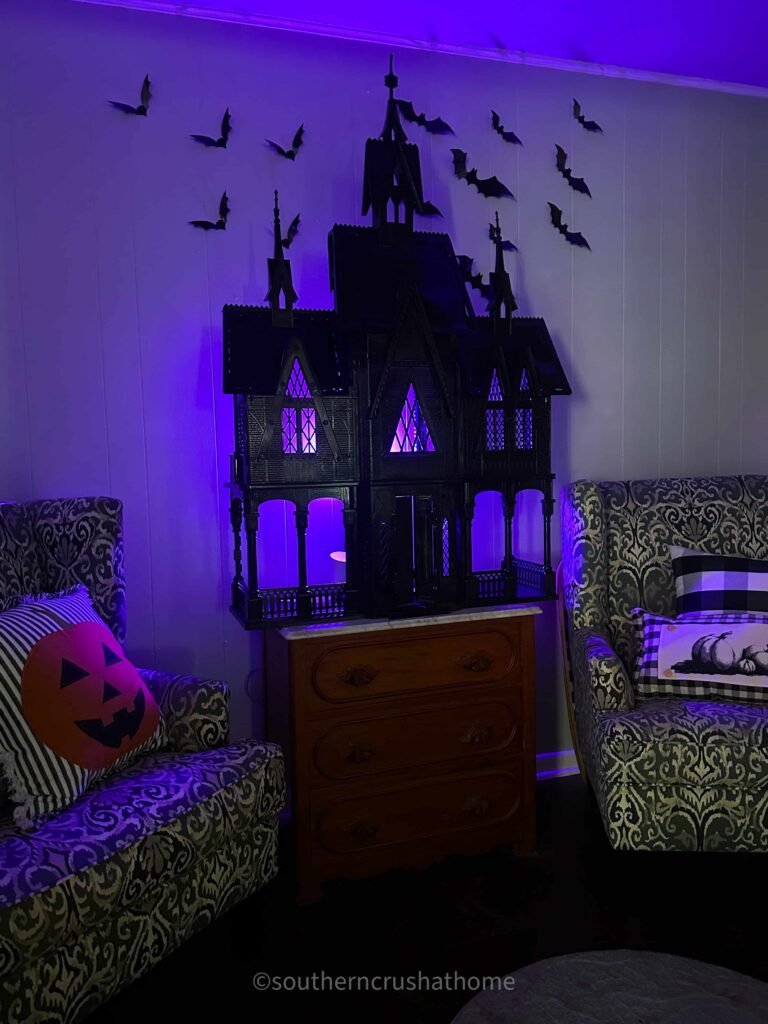
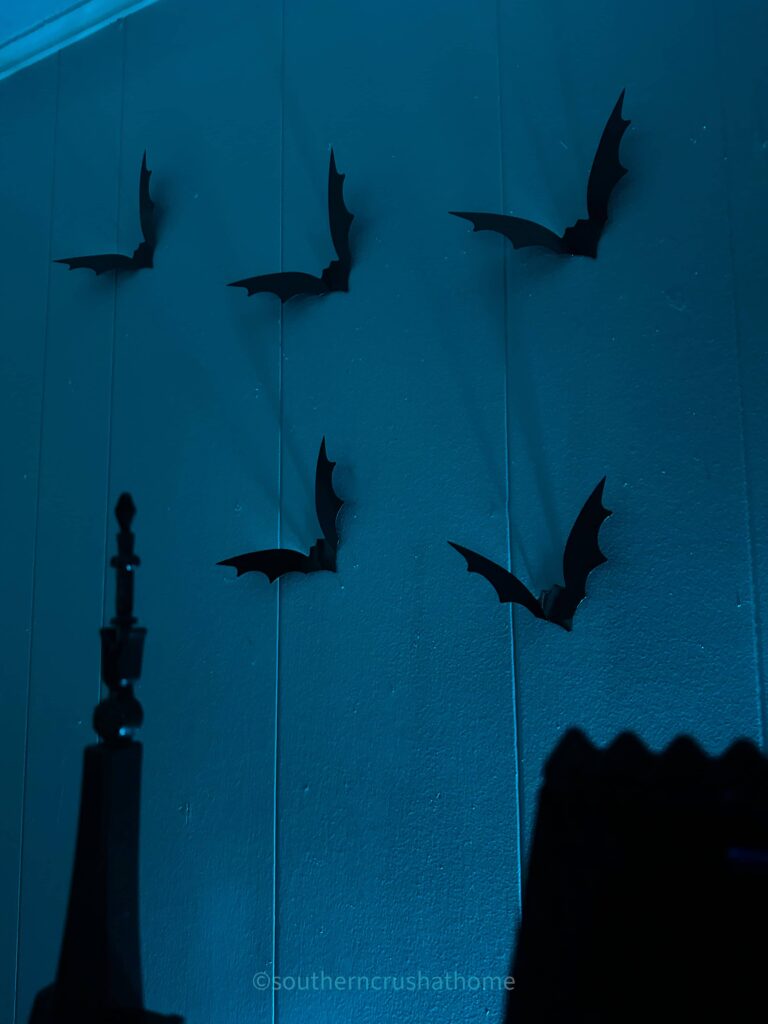
To add to the spooky vibe, we picked up a neon light from Dollar Tree that changes colors from blue to purple to red.
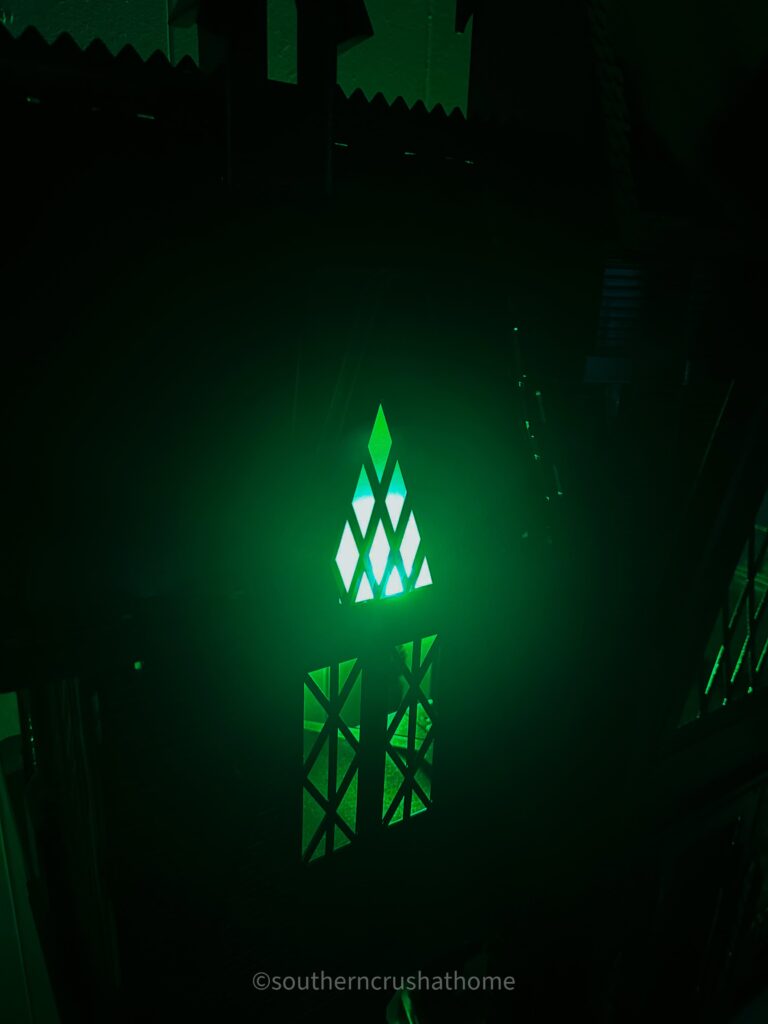
We placed it behind the castle, and the effect was magical—each color shift gave the castle a different eerie glow.
Step 5: Add Spooky Sound Effects
To take things up a notch, we placed our Google Home behind the castle and asked it to play spooky sounds like a haunted house.
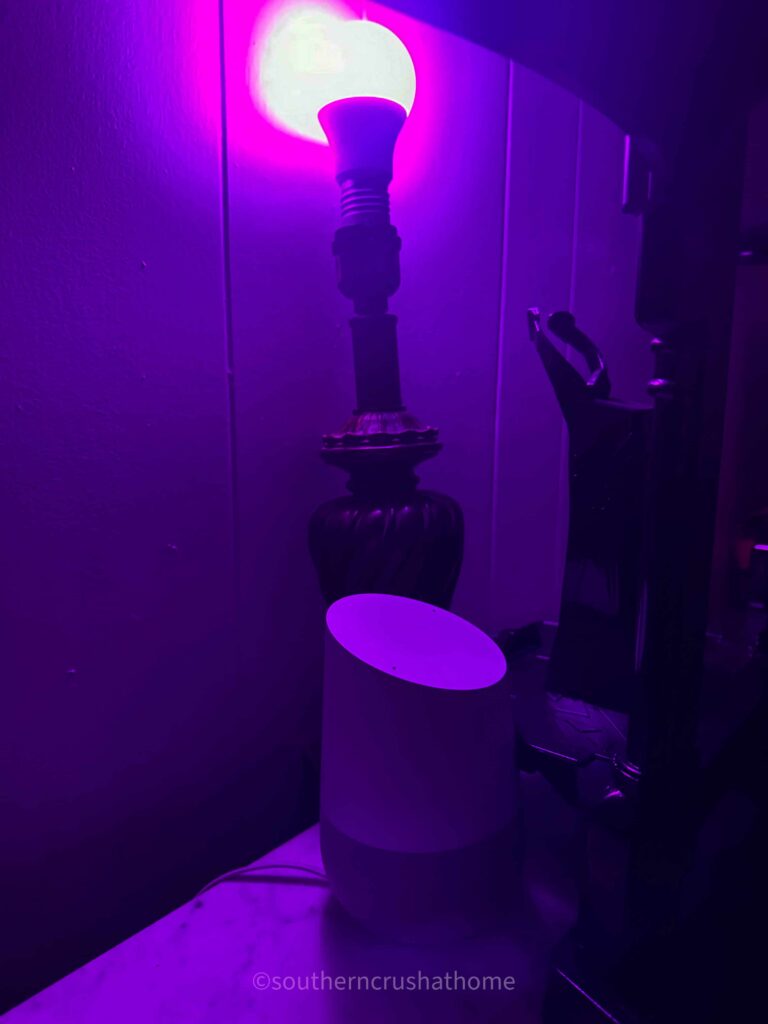
The combination of the eerie lights and creepy sounds made for a chilling experience that’s sure to delight (and maybe spook) our Halloween visitors.
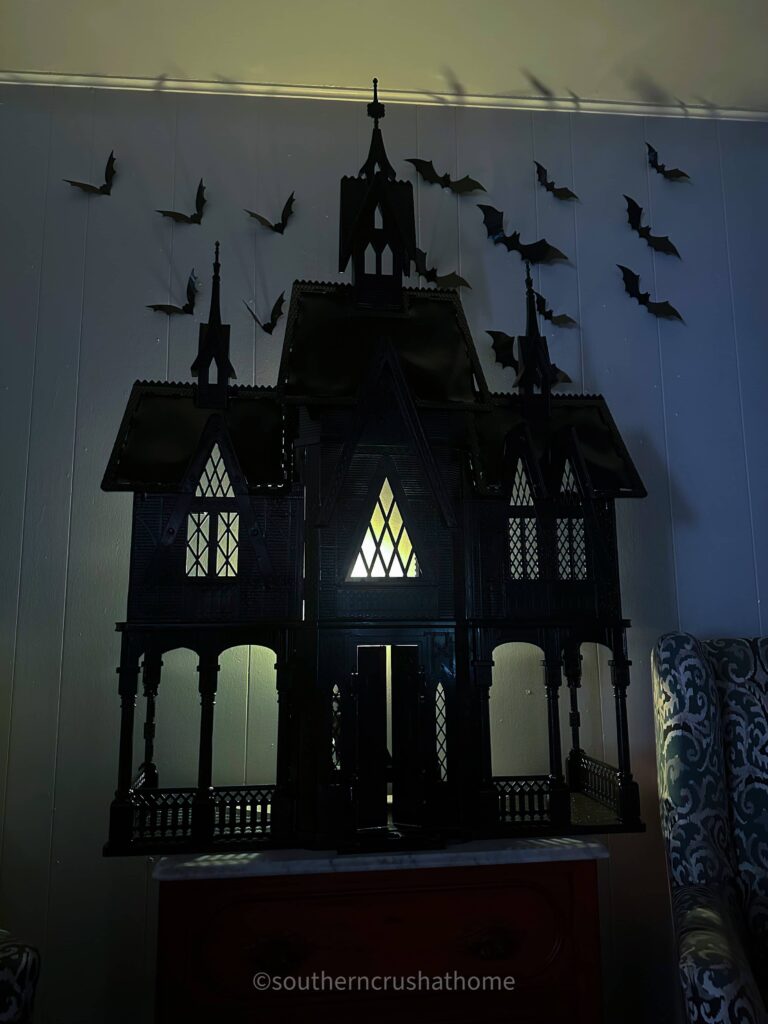
Step 6: Decorate with Sticker Bats
Finally, we added some sticker bats to the wall behind the castle. This simple addition really completed the look, making it feel like the castle was part of a larger haunted scene.
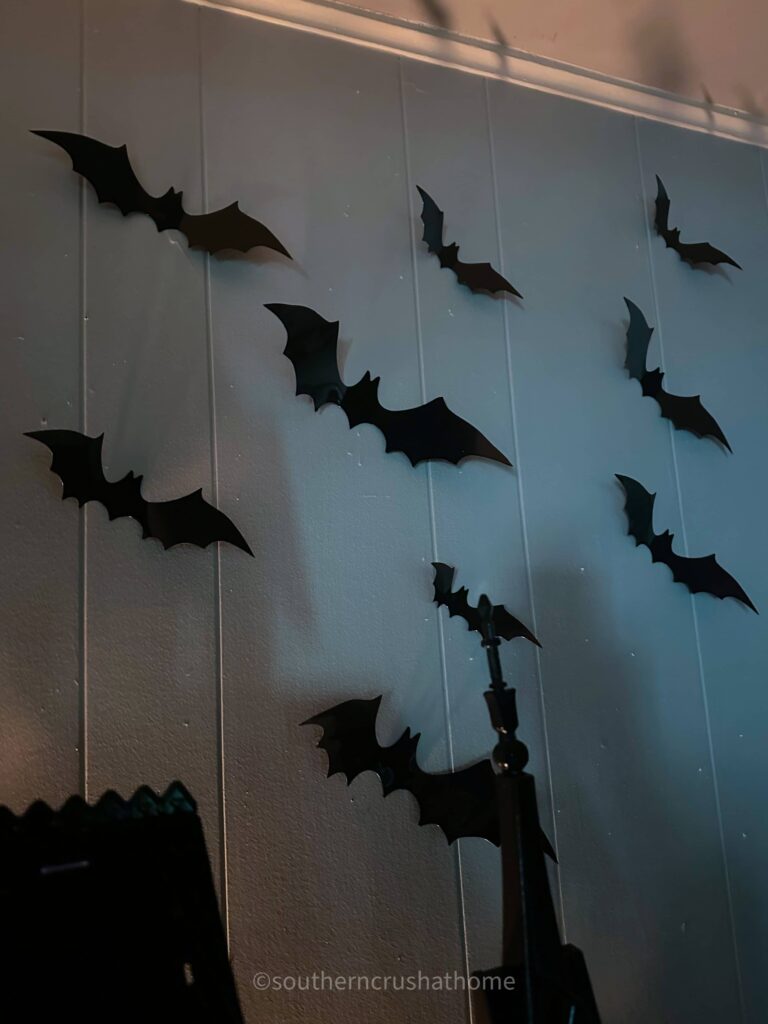
The bats added just the right amount of creepy flair, turning our living room into a Halloween wonderland.
The Final Touch
And there you have it—a Arendelle Frozen Castle dollhouse turned haunted masterpiece! This project was not only budget-friendly but also a fantastic way to get into the Halloween spirit.
The eerie glow of the castle, the spooky sounds, and the bat-covered wall make it a standout piece in our Halloween decor.
Dollar Tree Doll House Haunted House
Last year I also transformed this little Dollar Tree Dollhouse into a haunted house! It was so fun and easy!
Whether you’re a fan of DIY projects or just looking for a fun way to repurpose an old dollhouse, this haunted dollhouse is sure to be a hit.
Plus, the memories of our little adventure to Springtown, TX, make this project even more special.
If you try this project, I’d love to see how it turns out! And don’t forget to check out our travel blog for all the details of our day trip and the other fun stops we made along the way. Happy haunting!