Upcycled Buffalo Check Cross Wall Decor
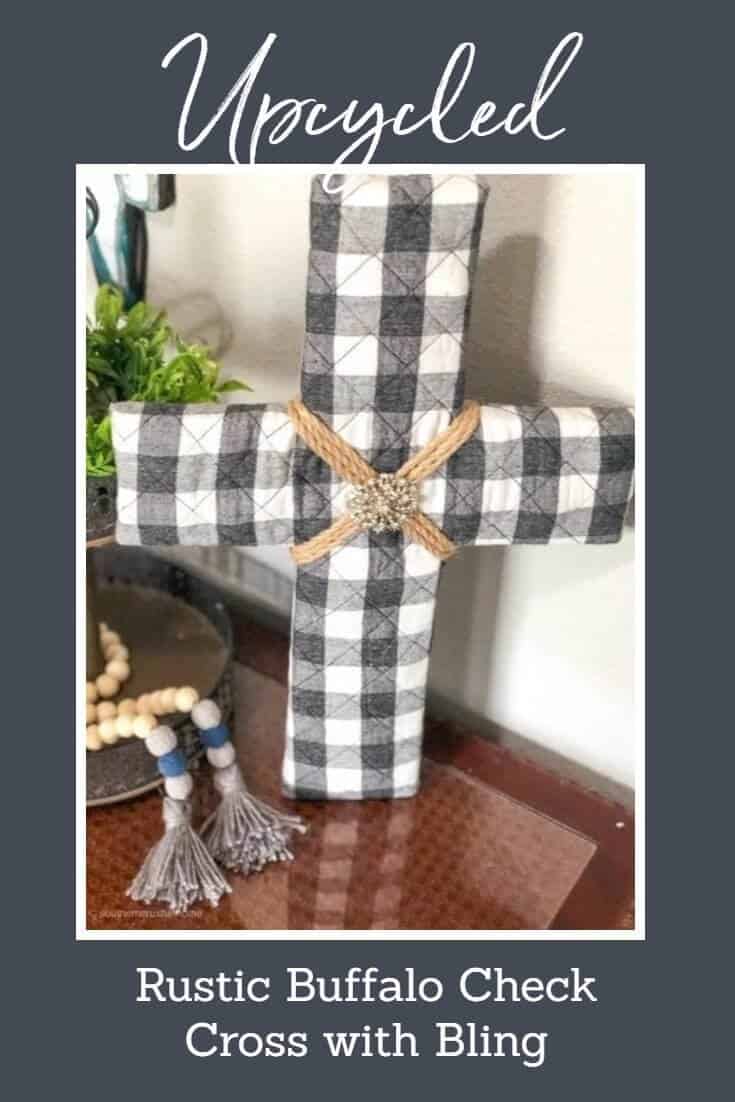
Learn how to upcycle your DIY cross wall decor with buffalo check fabric. It’s so easy to make and you’ll even enjoy adding some pretty bling to your buffalo check cross!
This is truly my most asked-about-project on the blog. I created an updated look to an old rustic cross that I was about to get rid of, and all I had to do was use buffalo check with a little extra bling! It seems there’s almost nothing a little upcycling cannot fix!
The term “upcycled” is new to me; no pun intended. It literally means to take something old or no longer of use and make it into something new that is useful! I didn’t realize it, but I’ve been doing this forever! Regardless of what you call it, this is by far my most requested project tutorial and it took no time at all.
Continue along to see what I mean.
Be sure to Pin this for later!
A Perfectly upcycled Buffalo Check Cross
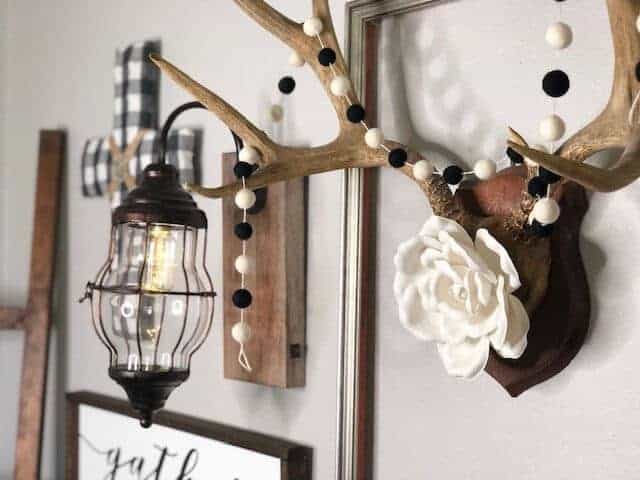
Have you ever heard of a “cross” wall? Well, I had one in my entryway for years. While they can be very pretty, I was officially over mine. So when we had the house completely re-painted, it was the perfect opportunity to start over fresh.
Down came the crosses.
Most found new homes around the house and some of them literally found new homes; however, I held on to a few of them, thinking I would donate them or toss them later.
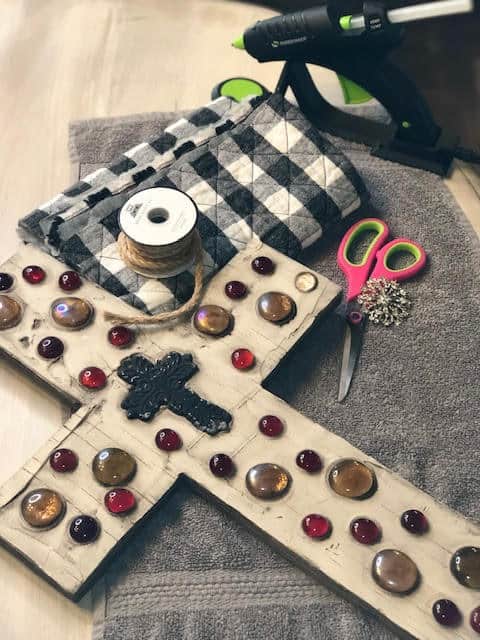
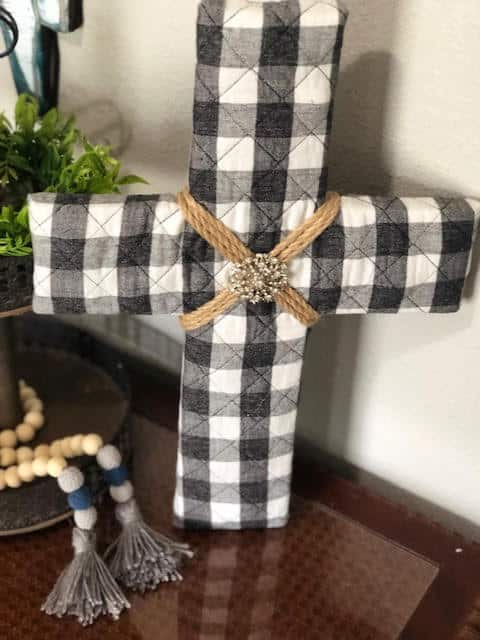
That was until one day when I needed to use some leftover buffalo check quilting fabric and decided to upcycle my old rustic cross with a new look – a buffalo check cross with bling. It was so easy, and it could’ve been done several different ways (a staple gun may have been the best route), but I went with my go-to supplies below.
If you love all things Buffalo Check, you should definitely Join us over in my FREE Buffalo Check Obsessed Group!
How To upcycle an old rustic Cross
Here’s how to make your very own upcycled buffalo check cross. You can hang this up on your cross wall, on your bookshelf, or in your entryway. It fits in perfectly among your rustic decor.
Supplies FOR BUFFALO CHECK CROSS
- cordless glue gun
- cross or cross form you’d like to cover
- buffalo check material (I used about a yard of quilted material from JoAnn Fabrics)
- some jute twine
- scissors
- some bling of your choice
Buffalo Check Cross Tutorial
Just follow these steps to make your very own DIY upcycled buffalo check cross.
- Taking the buffalo check quilting material, cut out a rough outline of the cross leaving about a 2-inch edge around the cross.
- Cut slits at every single corner of the cross to allow for the wrapping of the material.
- Use a glue gun to glue down every flat edge and then wrap the corners and glue them down as well, trimming some of them as you go.
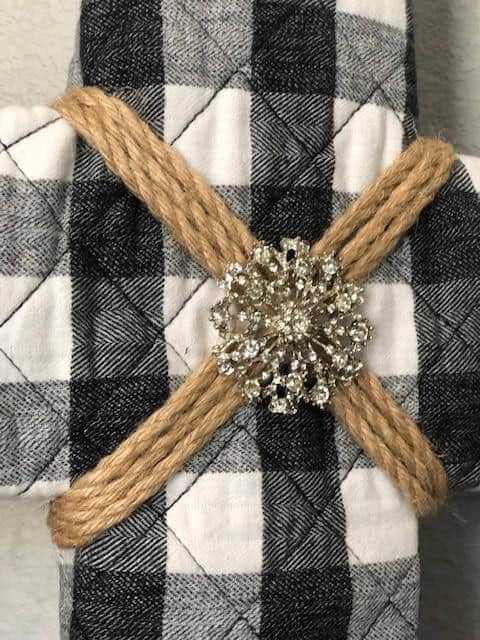
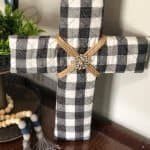
- Decorate the cross. I chose to use a rustic rope to wrap around the middle of the cross and I tied it around the back in a knot. Of course, this could have been glued down instead.
- Add a finishing touch with a huge bling adornment from my new favorite vendor for all things bling, Totally Dazzled! Hot-glue that baby down in the very center and immediately fall back in love with your upcycled buffalo check old cross.
“Upcycling” just might be my new, old favorite thing to do!
DIY Cross wall Decor Video
I put this craft together on a Facebook Live. If you missed it, I have a copy of the video here.
Where To Display Your Cross Wall Decor
Some people dedicate an entire wall in their living room or entryway to displaying crosses of all shapes and sizes.
If you don’t have a cross wall or don’t have a large enough wall to create your own, here are some more ideas and places to display your cross decor.
- Entryway – Surround it with photos of family and your favorite quotes
- Kitchen – Sit it on top of your cabinets
- Home Office – Set it on your desk or on the wall around your computer
- Bedroom – Set it on your wall or nightstand near your Bible
- Bookshelf – Create a special space for your cross to divide different sections of your books.
Where To Buy Cross Wall Decor
I upcycled an old cross wall decor so I didn’t have to spend a lot of money on this craft. Keep your eyes peeled at garage sales, flea markets, and even thrift stores.
Often people will try to donate or sell their wood cross wall decor for cheap prices, making it the perfect opportunity to cover in new fabric.
You can also find some new wooden cross decor at craft stores. Be sure to check all of my SECRET DISCOUNTS before you buy!
Other Fabrics You Can Use To Upcycle Cross Decor
It’s so easy to upcycle an old cross wall decor, you just have to use your imagination. Match the other fabrics around your house. Here are some common decor themes and how to match them with some popular fabrics.
- Modern Farmhouse – Use burlap and white fabric for a clean look
- Feminine – Use pastels or light colors
- Boho – Tie-Dye or batik fabric
- Glam – Silver or gold fabric
- Monochromatic – Black or white
Sign Up For Emails
If you love this kind of DIY project, then you need to be getting my emails, friends! Each week I send out a couple of emails that include updates, crafts, shopping experiences, and decor inspiration. Be sure to get yourself signed up below. I can’t wait to meet you!
Leave your thoughts below in the comments, please… BTW— Life is short—Enjoy the mess! I hope you try this quick and easy DIY project out for yourself, it can make your old crosses look new again! It is part of my popular Gallery Wall that you can find here!
DIY Fabric-Covered Cross
Materials
- cordless glue gun
- cross or cross form you’d like to cover
- 1 yard buffalo check material
- jute twine
- scissors
- some bling of your choice
Instructions
- Trace your cross onto the fabric and add a 2" overhang to each side.
- Cut slits at every corner around the cross to allow for the wrapping of the material.
- Glue down every flat edge with a glue gun, making sure to wrap the corners and glue them down too. Trim excess fabric as needed.
- Decorate the cross however you like.
- Display and enjoy!

Love this tutorial of “out with the old and in with the new”!!! Helps make it easy on your finances when you don’t have to completely buy all new home decor when you are ready to “retire” them. But not only not have too- but finding I don’t even want to when I see re decorating ideas such as this!!
Thank you for your wonderful posts. I just found you not to long ago and then really came to enjoy watching and learning from you while watching the Christmas 2019 you put together. You truly are an inspiration and I am so very thankful I came across your FB page so I could join in, on all this fun!
Thank you so much! I appreciate your kind words and look forward to having you here!
I do too. You are one special lady and I loved how you do crafts!
Thank you so much!
I love that you named this re-loving an old cross. I think this is one I see so many people comment on when your live. Very simple but elegant craft.