Faux Concrete Planter DIY | How to Make a Modern Head Vase
Faux concrete is all the rage right now and for good reason! It’s a great way to add some texture and interest to your décor. In this tutorial, I will show you how to make a simple faux concrete planter that can be used as a modern head vase for your favorite flowers.
My inspiration came from seeing all the great modern concrete planters out there like the ones below, but I didn’t want to spend a lot of money on one. I decided to try my hand at making my own and it turned out great!
If you’re looking for a cheap and easy way to add some personality to your space, this is the project for you. Thanks for reading!
By following this tutorial, you’ll be able to create a lightweight, modern head vase that will add some flair to any space indoors or outside. Be sure to gather all the supplies listed before getting started, then follow the simple instructions for a beautiful end result.
This blog post contains affiliate links. The opinions are wholly my own from my own experience. I may earn a small commission from clicks through to the websites that end in a purchase.
Supplies needed to make a faux concrete planter can be found HERE in my Amazon Shop
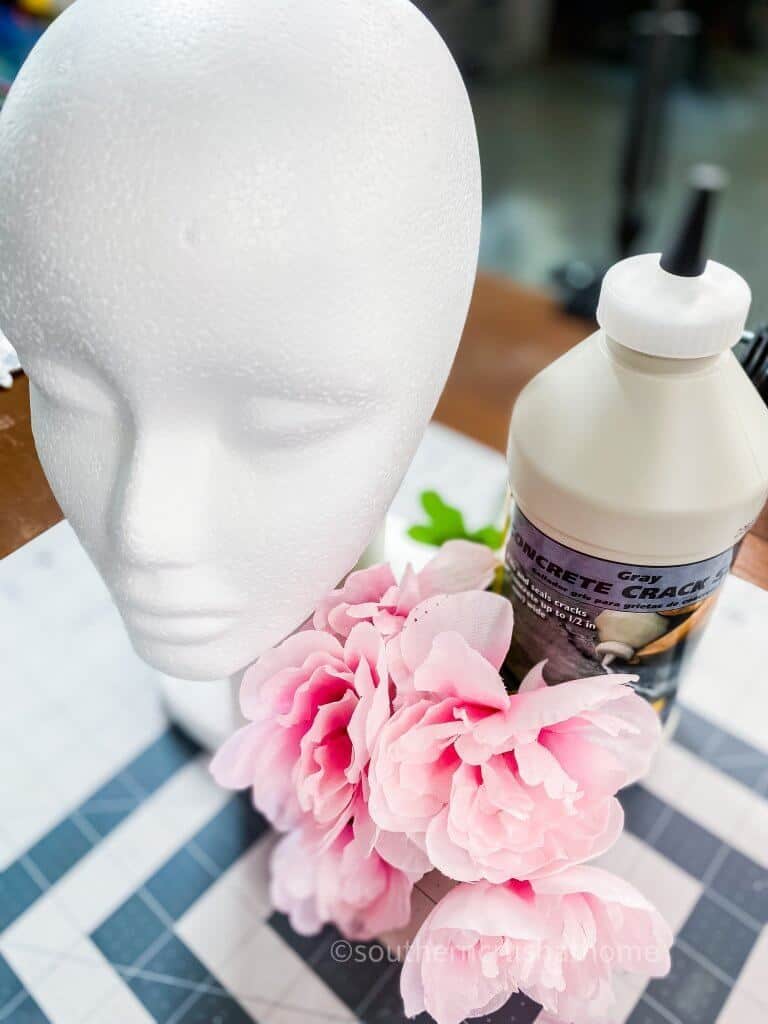
- Styrofoam mannequin head
- Quickcrete
- Faux flowers
- Sharp knife blade
- Hot glue
- Gray chalk paint for any touch-ups
How to make a faux concrete planter head vase
Now I have seen these made out of everything from plastic hairdresser practice heads (you have to remove all of the hair first) to vintage doll heads (again, you have to remove the hair), but I thought it may be easiest to use one of these “bald” styrofoam heads instead.
Step One
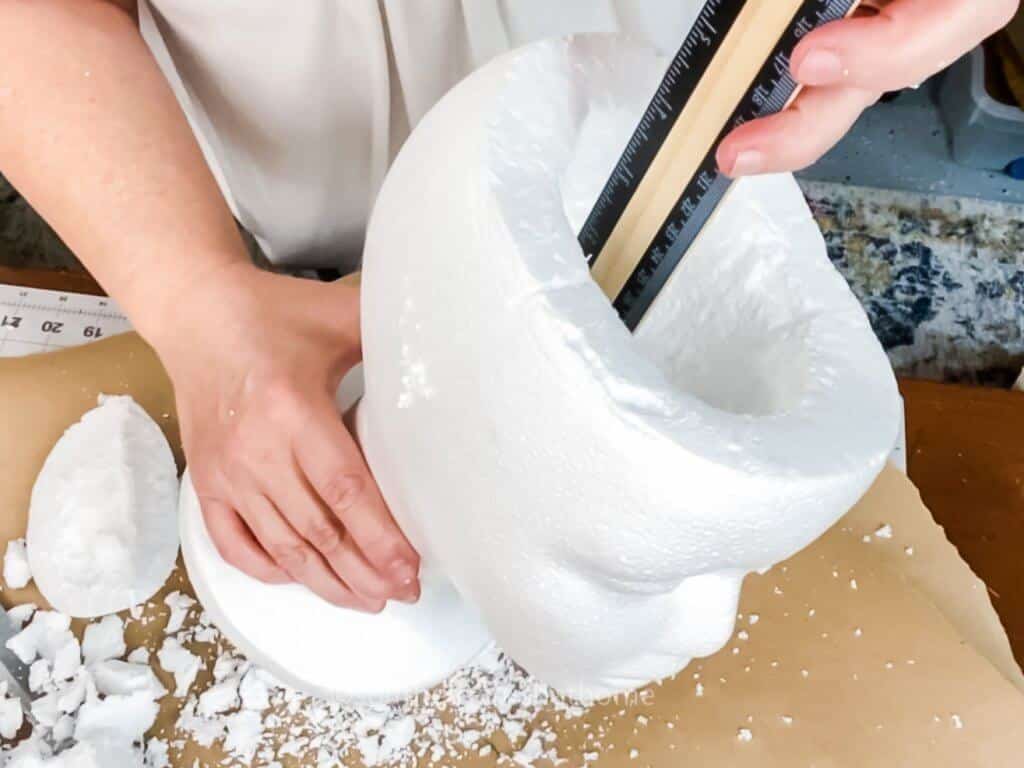
First, using a pencil draw out a circle on the top of the styrofoam head and proceed to hollow out about a 3-4 inch deep section using a sharp knife.
This takes some time and is very messy. I used a piece of kraft paper underneath to catch the mess and for easy clean-up.
Step Two
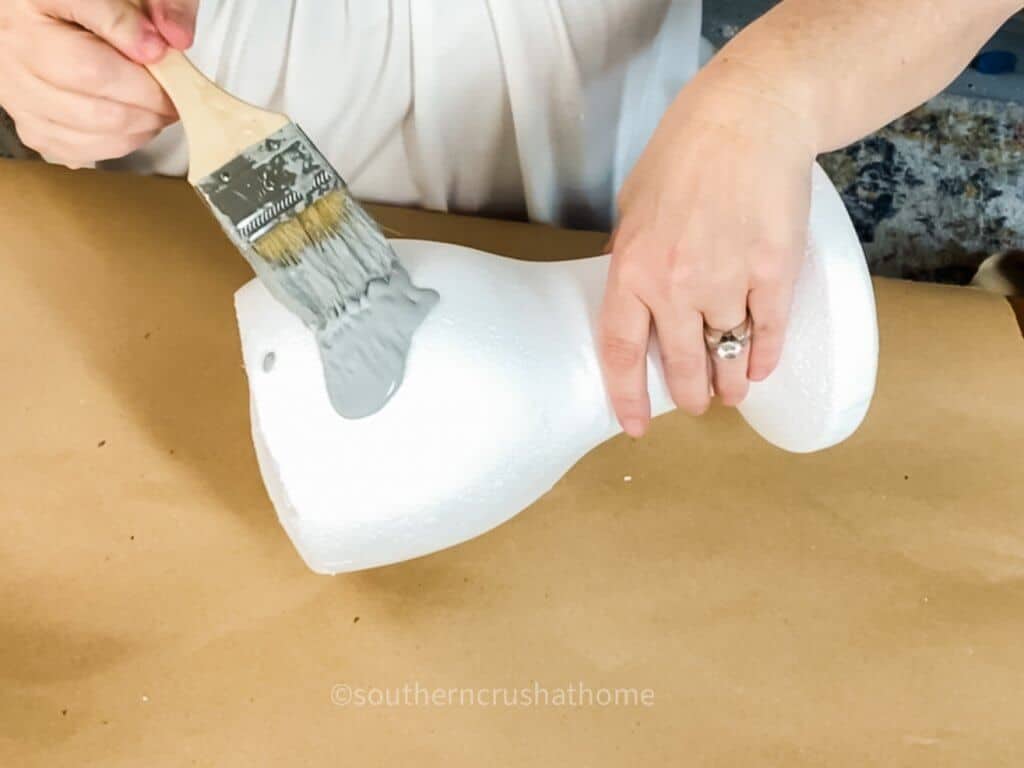
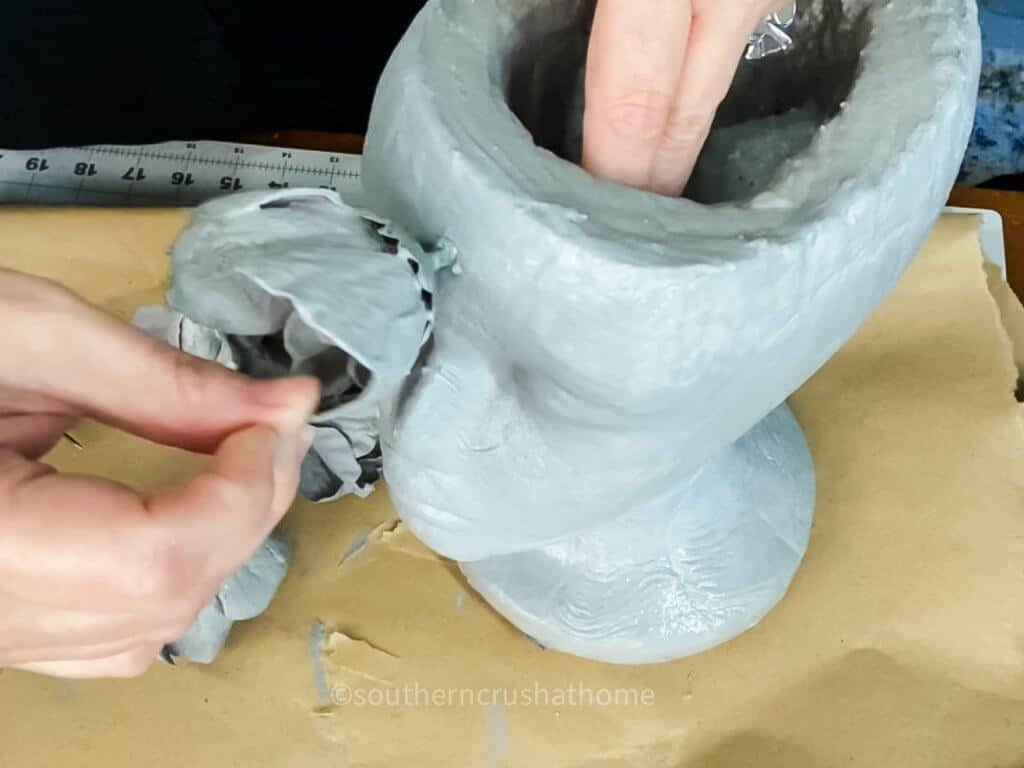
Next, apply a thin layer of the easy-to-use Quickcrete concrete mix using a chip brush over the entire mannequin head.
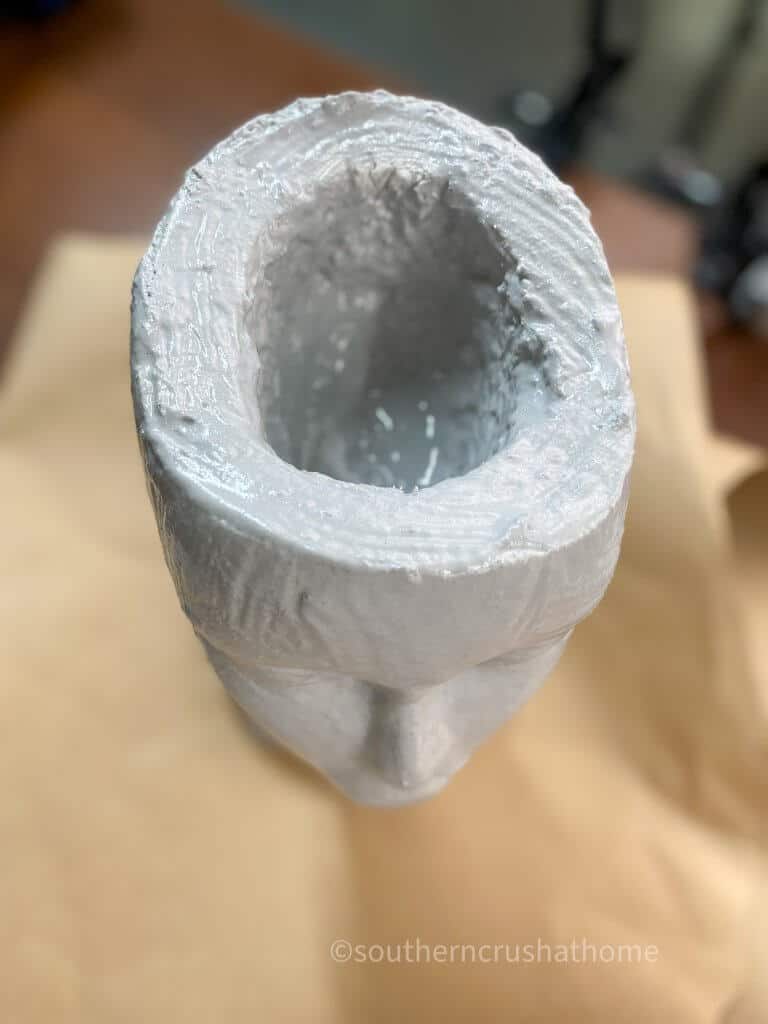
Repeat this process twice allowing it to dry 24hrs in between coats. You will see crackling and that is totally normal and what you want!
Step Three
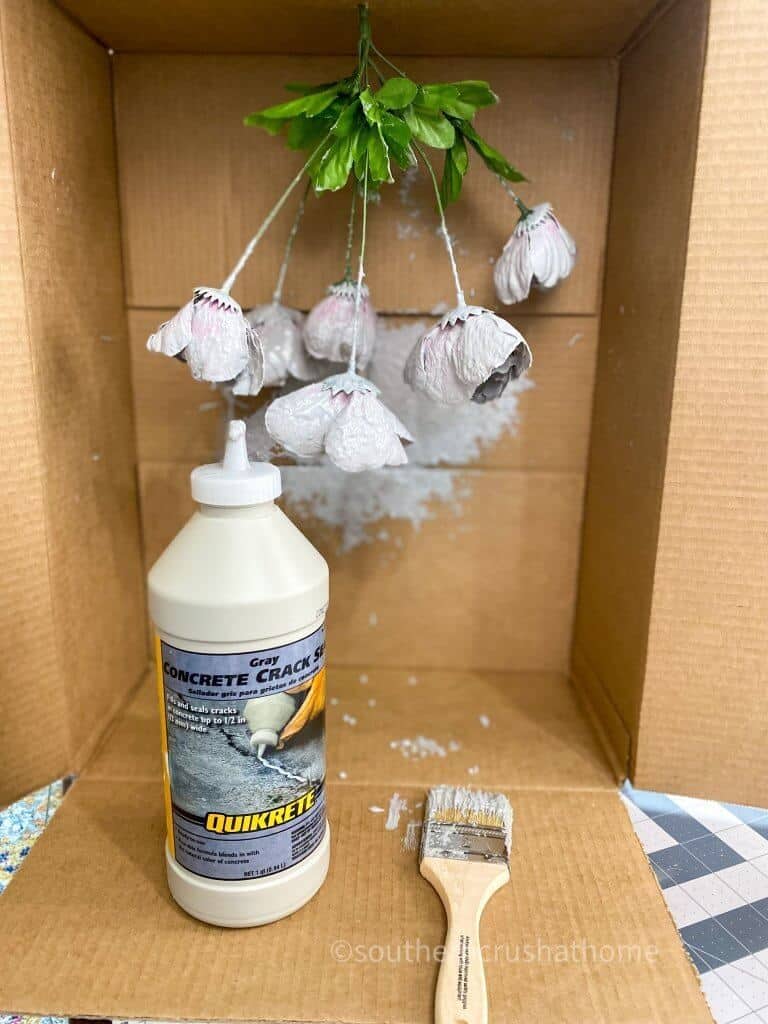
While the planter dries, grab your floral stems and poke them through the top of a cardboard box to hang. Apply the Quickcrete to each petal and allow it to drip dry as shown.
Isn’t this fun? Once everything is completely dry touch up any areas if needed using some gray chalk-type paint. (I had a couple of spots where the concrete missed and white was showing through).
Step Four
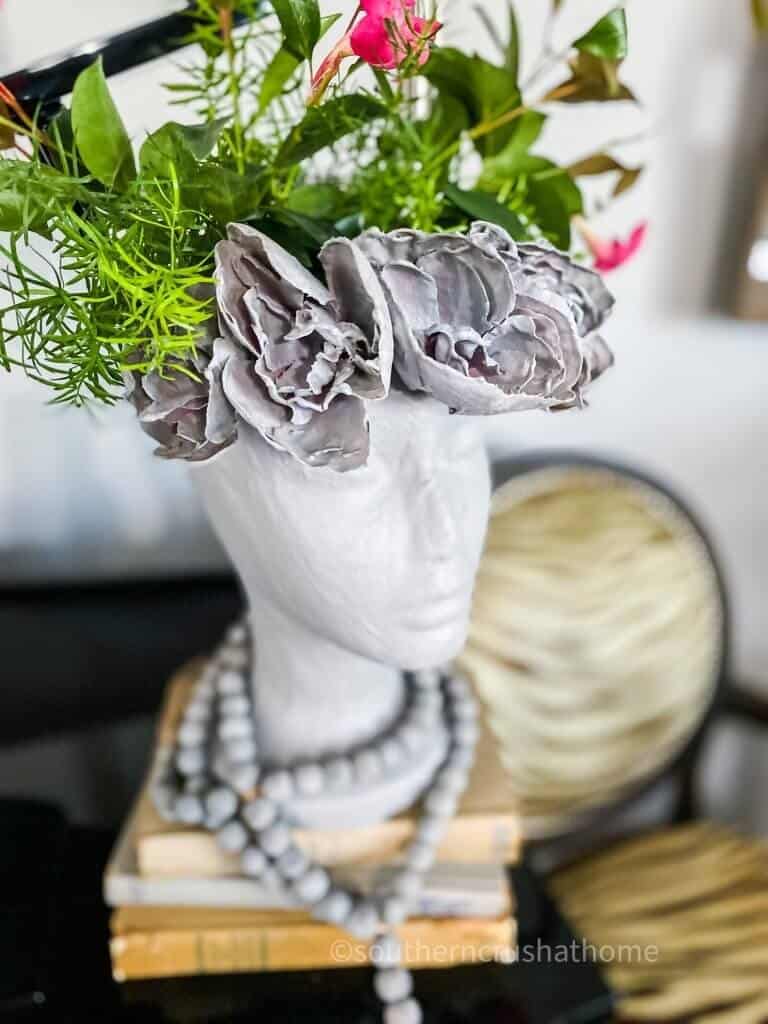
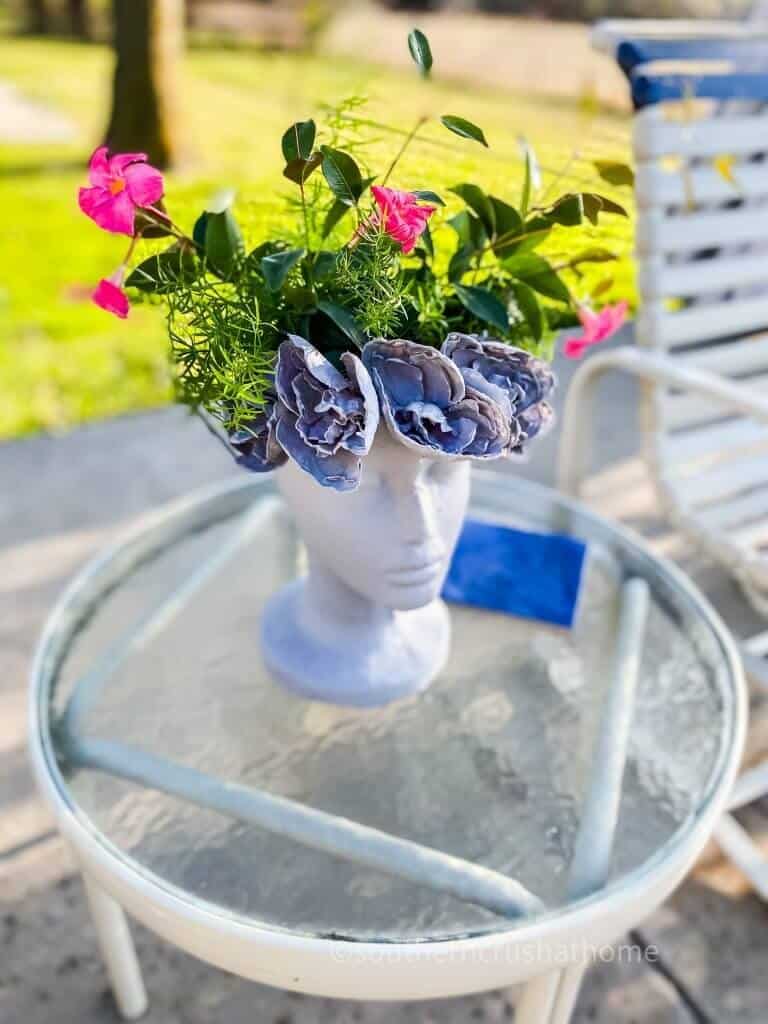
Remove each of the dried concrete flowers from its stem and attach it to the mannequin’s forehead using hot glue to secure. Repeat around the head until all flowers are used.
In retrospect, I would’ve used two sets of floral stems (and possibly smaller flowers) so that I could continue the flowers around the entire circumference of the mannequin’s head– but I used what I had on hand.
Step Five
Now it’s time to plant your planter! You can easily choose to go with faux flowers for this DIY; however, I chose a small fern and a hot pink blooming plant for mine.
I started with some small pebbles and fertilized planting soil as a base and then stacked my little plants in on either side of each other.
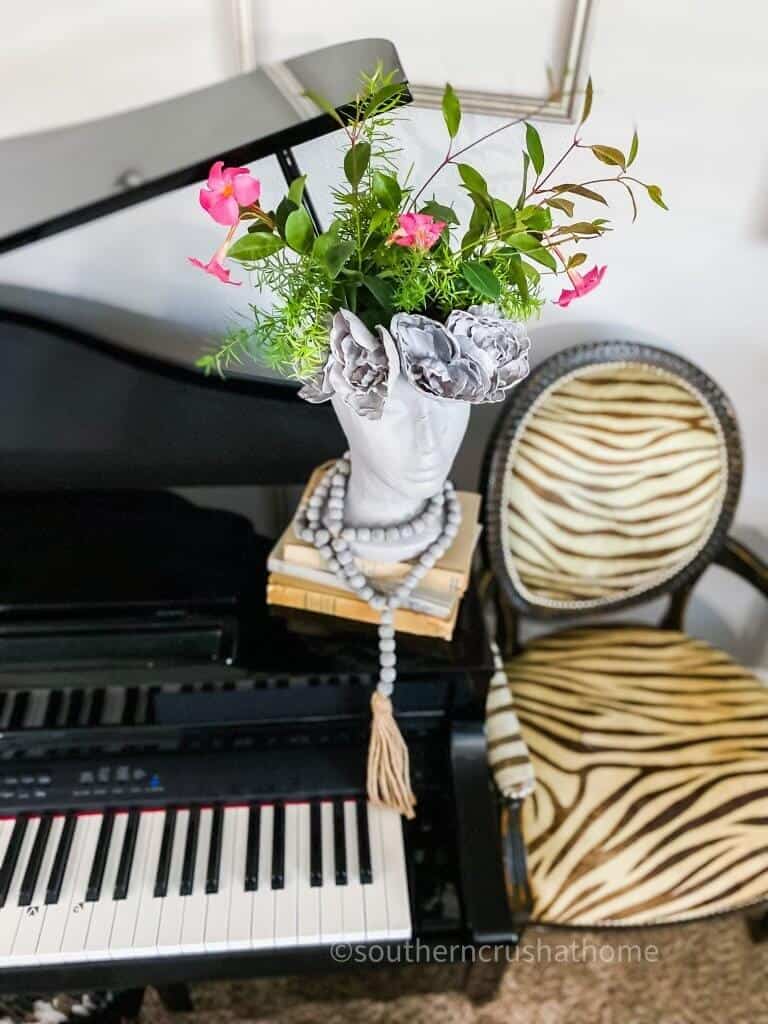
This is how it looks sitting on the edge of my piano on top of a stack of books. I added the wood bead garland for interest.
What do you think? It was my first time trying something like this.
I decided to ultimately keep this as an outdoor planter on a side table by the pool.
As you can see, with just a few supplies and some simple instructions, you can create a faux concrete planter as a modern head vase that will liven up any room. Give it a try today!
I’d love to see how your Faux Concrete Planter turns out! Share pictures of your project in the comments below.
By the way, do you have a green thumb? I’d love your best plant care tips! Drop them in the comments below for me pretty please.
Faux Concrete Planter DIY | How to Make a Modern Head Vase
Equipment
- 1 Exacto Knife
- 1 Cardboard Box
- 1 Chip Brush
Materials
- 1 All supplies can be found HERE in my Amazon Shop
- 1 Styrofoam mannequin head
- 1 Quickcrete Concrete
- 1 Gray Chalk Paint
- 1 Floral Stem
Instructions
- First, using a pencil draw out a circle on the top of the styrofoam head and proceed to hollow out about a 3-4 inch deep section using a sharp knife.
- Apply a thin layer of the Quickcrete using the chip brush. Allow to dry 24hrs and repeat.
- While the planter dries, grab your floral stems and poke them through the top of a cardboard box to hang. Apply the quickcrete to each petal.
- Attach each flower to the mannequin head using hot glue to secure.
- Plant the planter with your favorite flowers.


