Easy Dollar Tree Easter Decorating Ideas
Dollar Tree has everything you need to make your home look festive for Easter. Here are three easy Easter decorating ideas to get you started.
Be Sure to PIN this for Later!
Hello friends! I have been on a roll with Dollar Tree Easter decorating ideas and I’m loving every minute of it! I hope you are too.
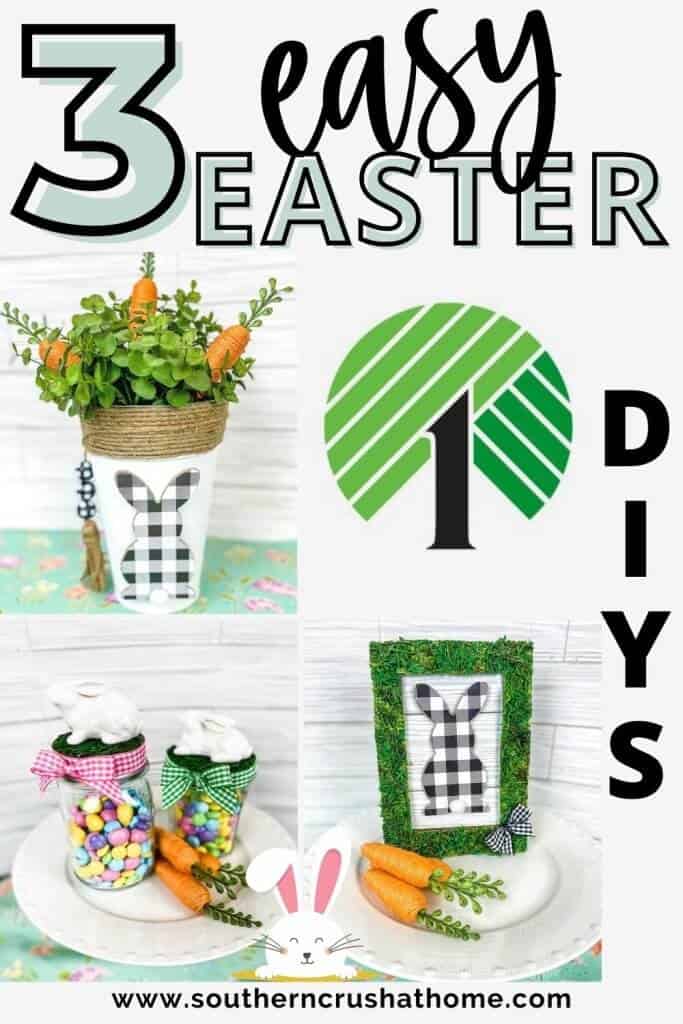
Today I’m sharing 3 brand spanking new craft projects featuring a bunny treat jar, a buffalo check bunny bucket with tassel, and a moss framed bunny for display.
Let’s start with the Easter treat jar first.
How to Make an Easter Treat Jar
Supplies
- Glass Jar
- Ribbon
- Sheet Moss
- Scissors
- Small Bunny
- Hot Glue Gun
- Candy
Step 1. Trace the Jar
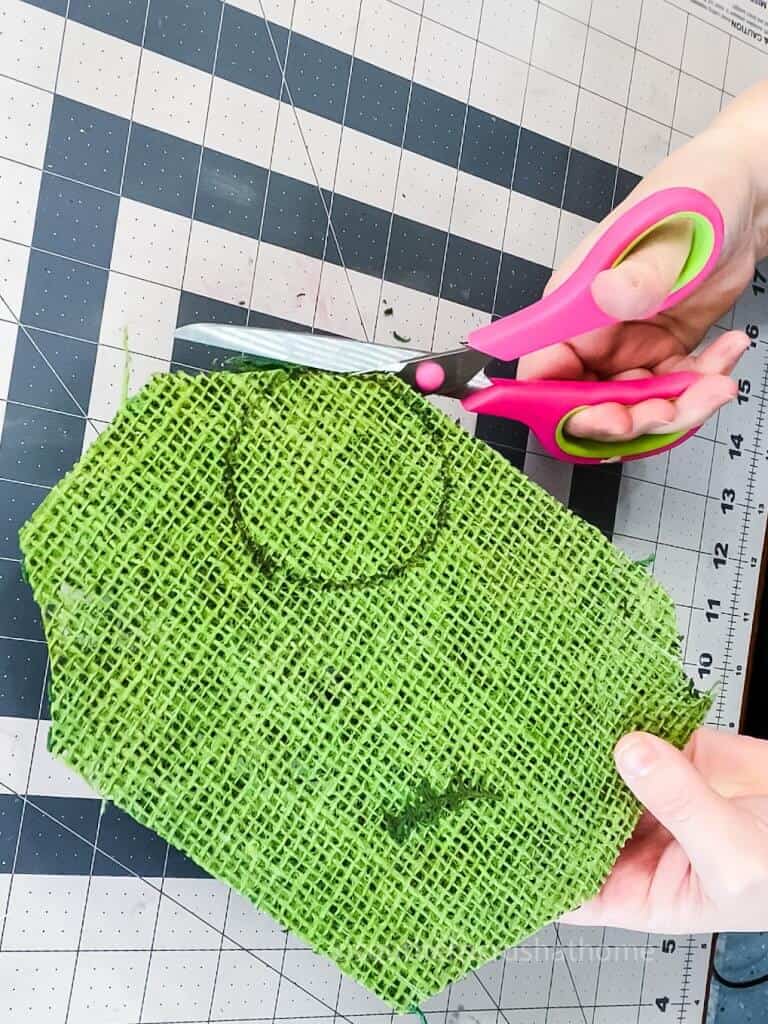
You can use any glass jar for this project. I used a mason jar. Place the sheet moss upside down and trace it around the mason jar lid with a sharpie. Cut out the moss.
Step 2. Hot Glue the Moss
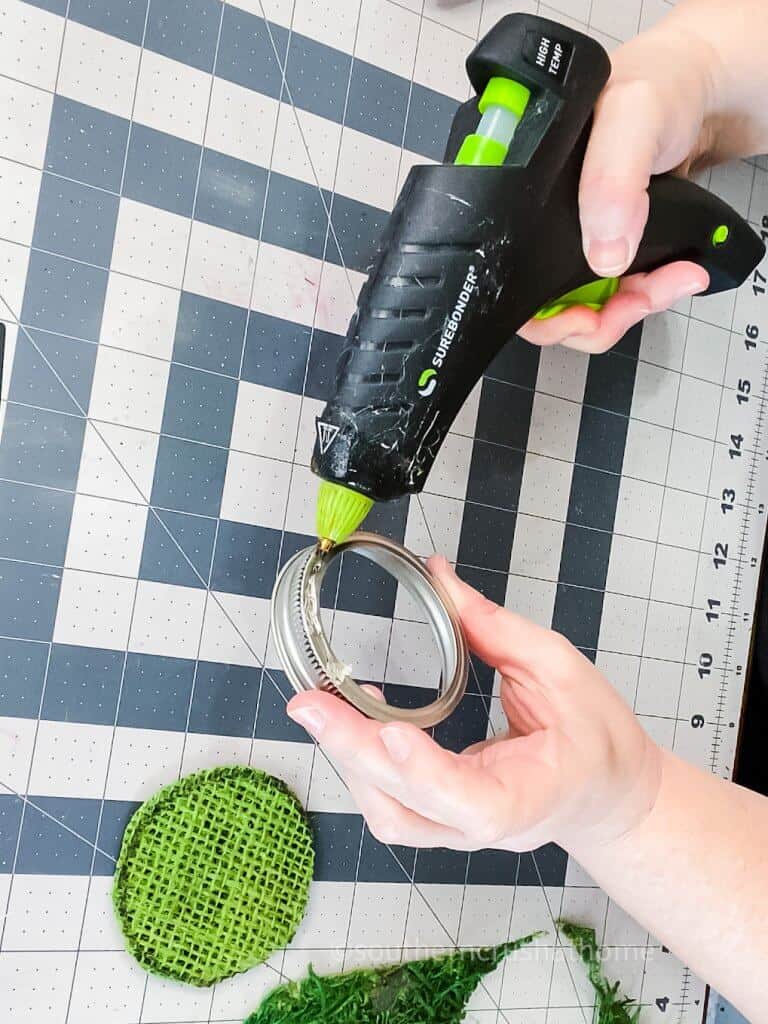
Hot glue the cut moss to the top of the mason jar lid. You don’t need to use the insert for this treat jar. Trim off any excess moss.
Step 3. Add Ribbon
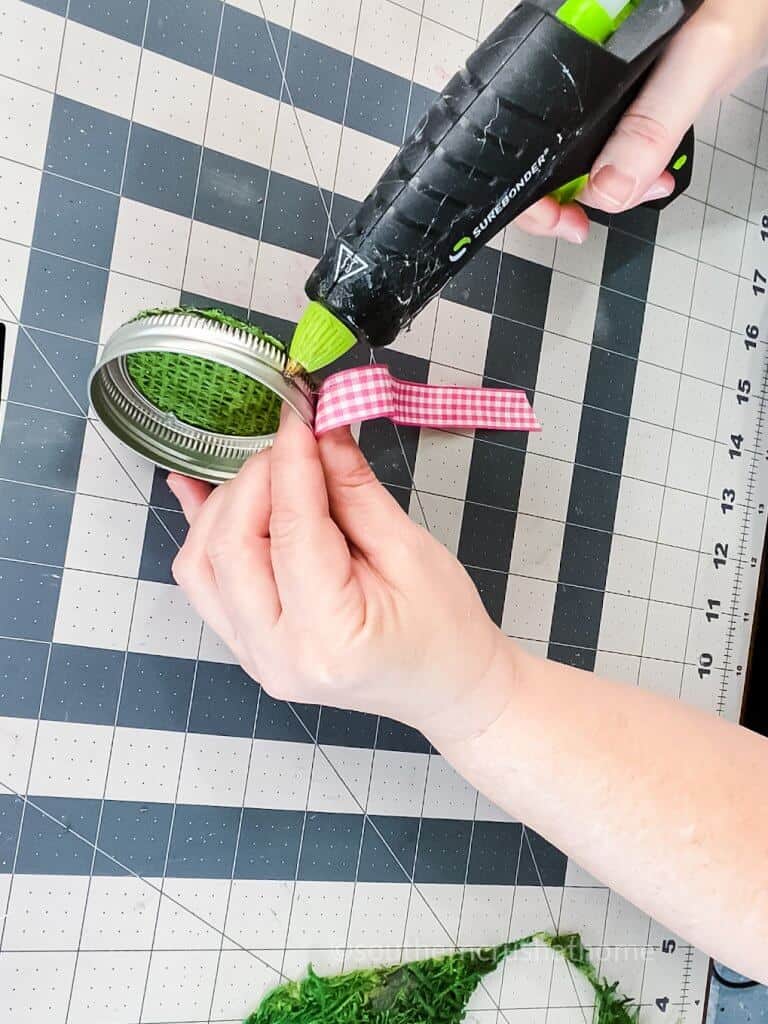
Wrap a pretty ribbon around the mason jar lid and secure it with hot glue. Make sure the ribbon is pulled tight.
Use a zip tie to create a small single bow and hot glue to the front of the treat jar where the ribbon meets.
Step 4. Glue a Bunny to the Top
Add a little Easter bunny to the top of the treat jar with hot glue. I found this little guy at Target. He’s so cute!
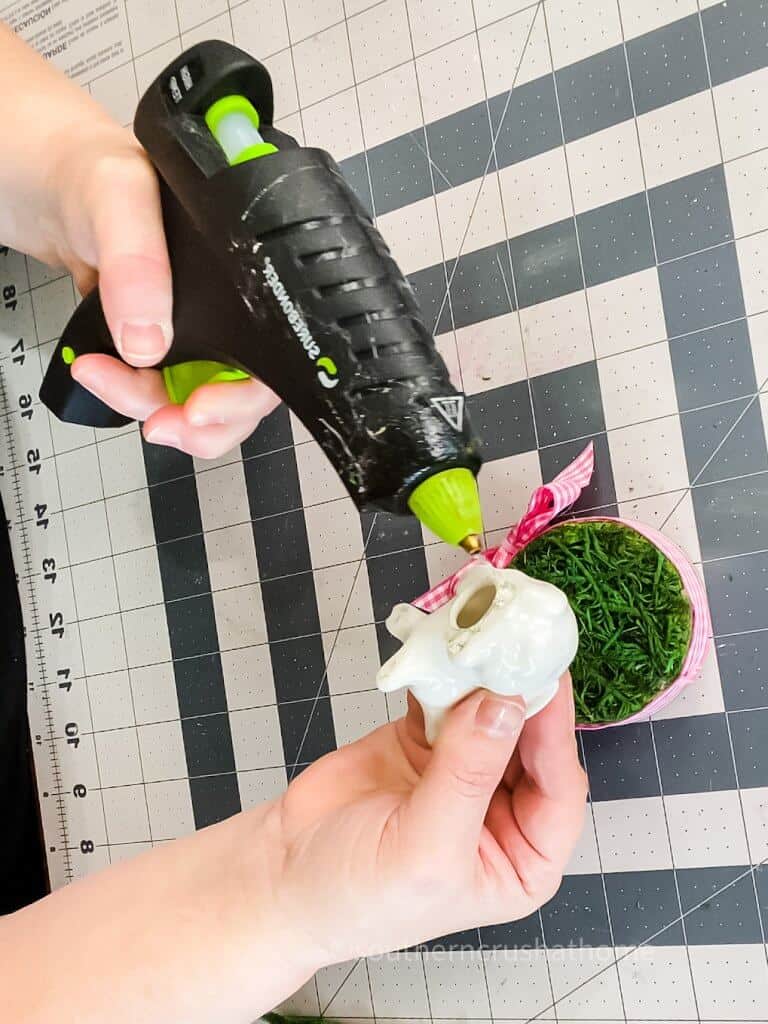
Step 5. Fill with Candy
Now for the best part, fill it with your favorite candy! I used spring M&M’s. Add your lid and this sweet candy jar is ready for gift-giving, or keep it on your desk for a little treat.
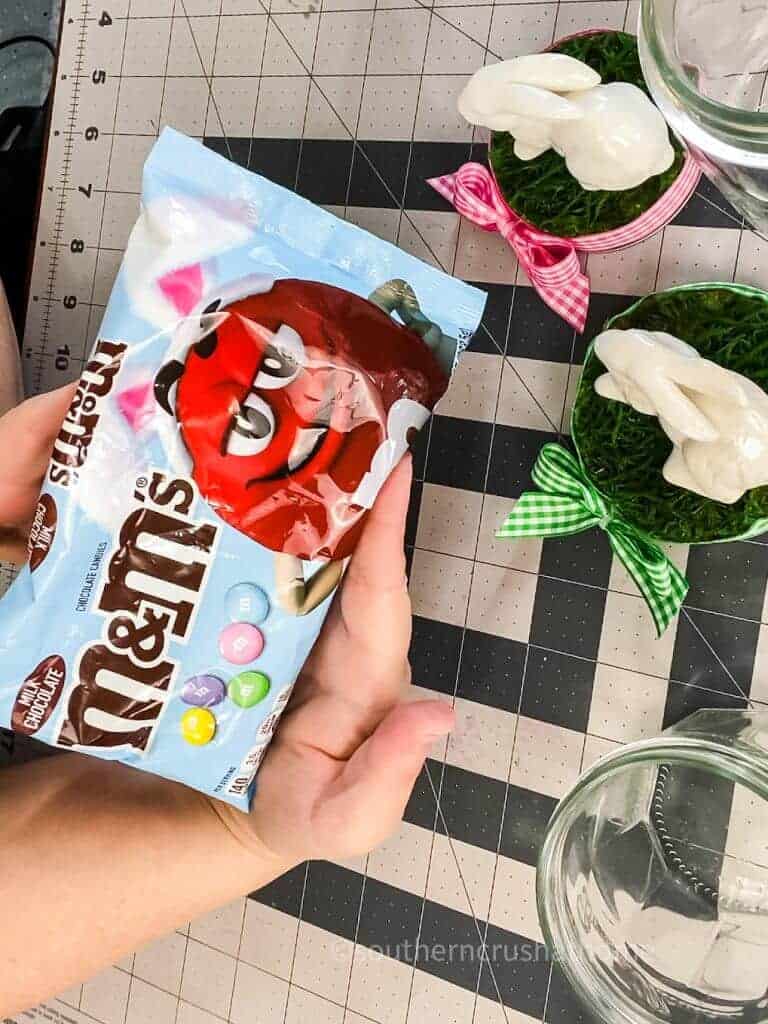
Look at how darling these are:
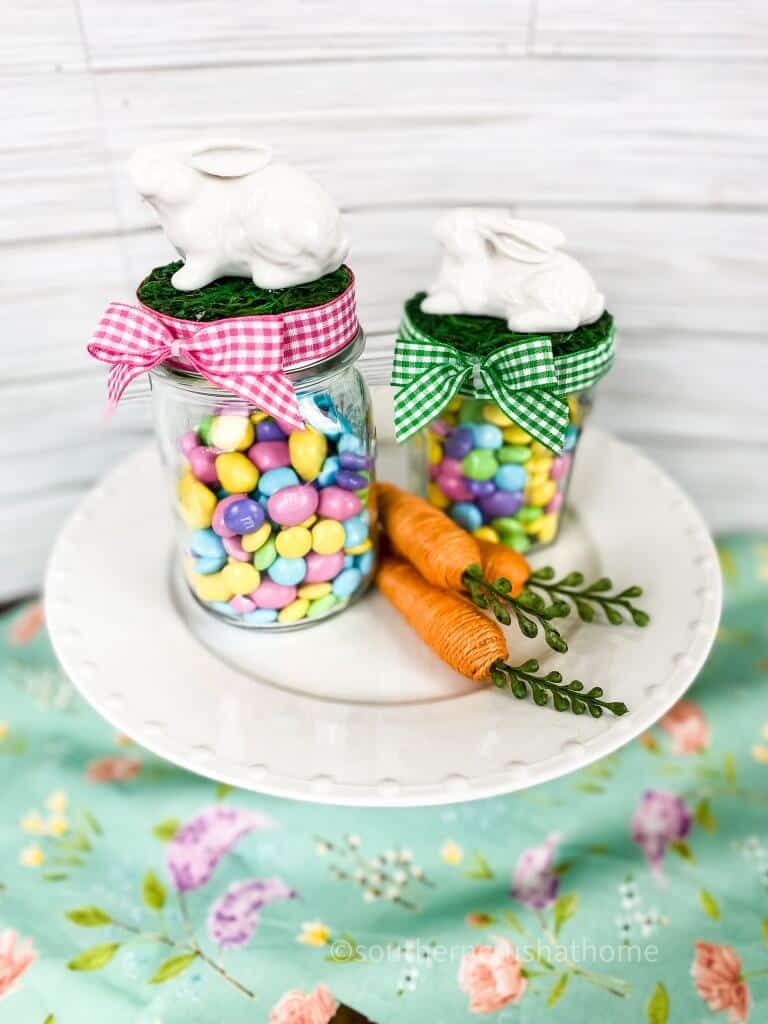
Next up is the beautiful buffalo check bunny bucket that was inspired by one I spotted at Walmart. Don’t you love when inspiration strikes?
Buffalo Check Bunny Bucket
Supplies
- Galvanized Bucket
- White Chalk Paint
- Foam Brush
- Faux Greenery
- Bunny
- DIY Carrots
- Jute Twine
- Beads
Step 1. Paint the Bucket
Use your foam brush to paint the bucket with white chalk paint. Try to paint smooth lines to cover the bucket. You will need at least 2 coats. Let dry, or use a heat gun.
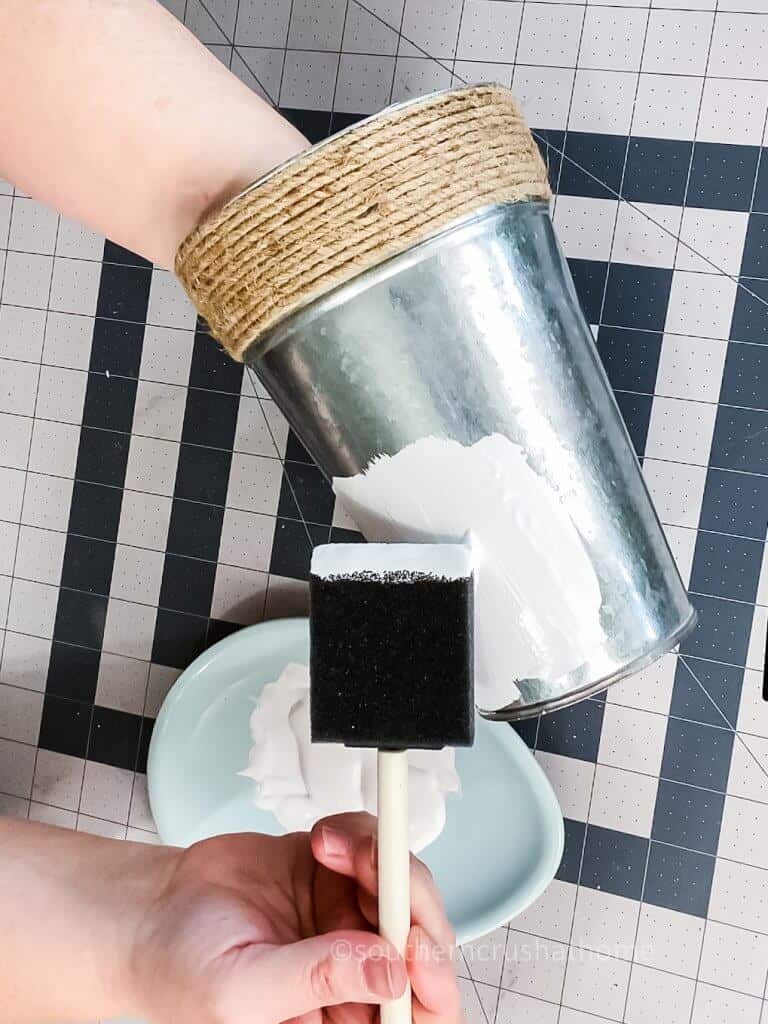
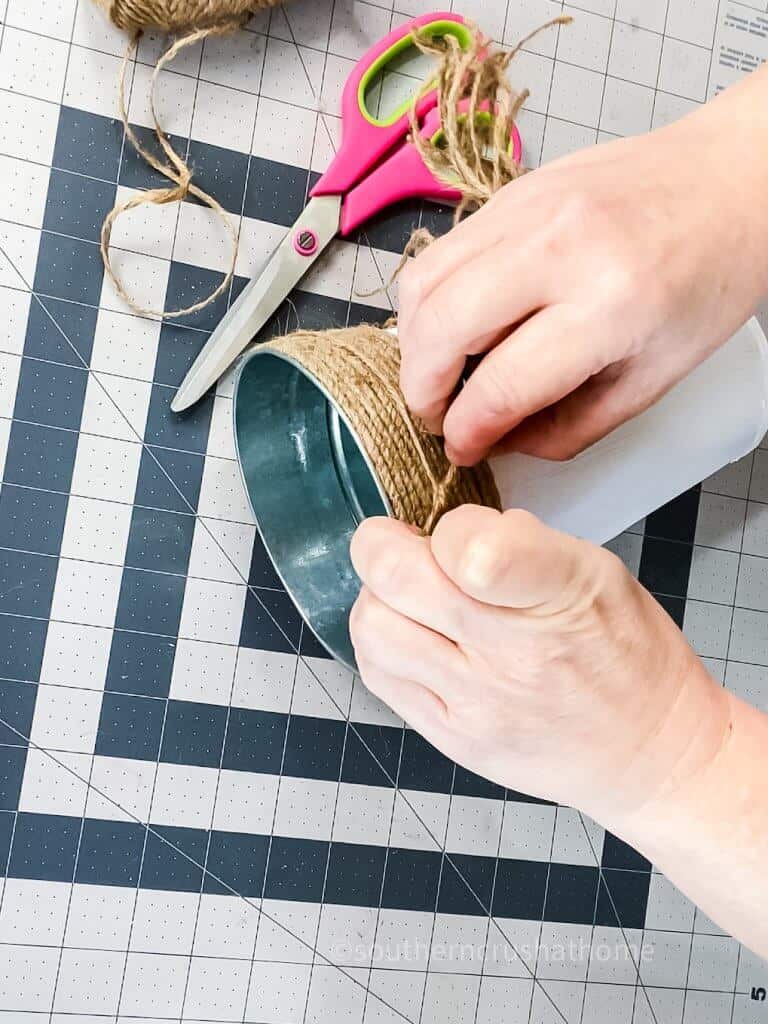
Step 2. Add Extra Twine
Add another couple of layers of twine to cover up any paint. Use hot glue to secure it.
Step 3. Make a Tassel
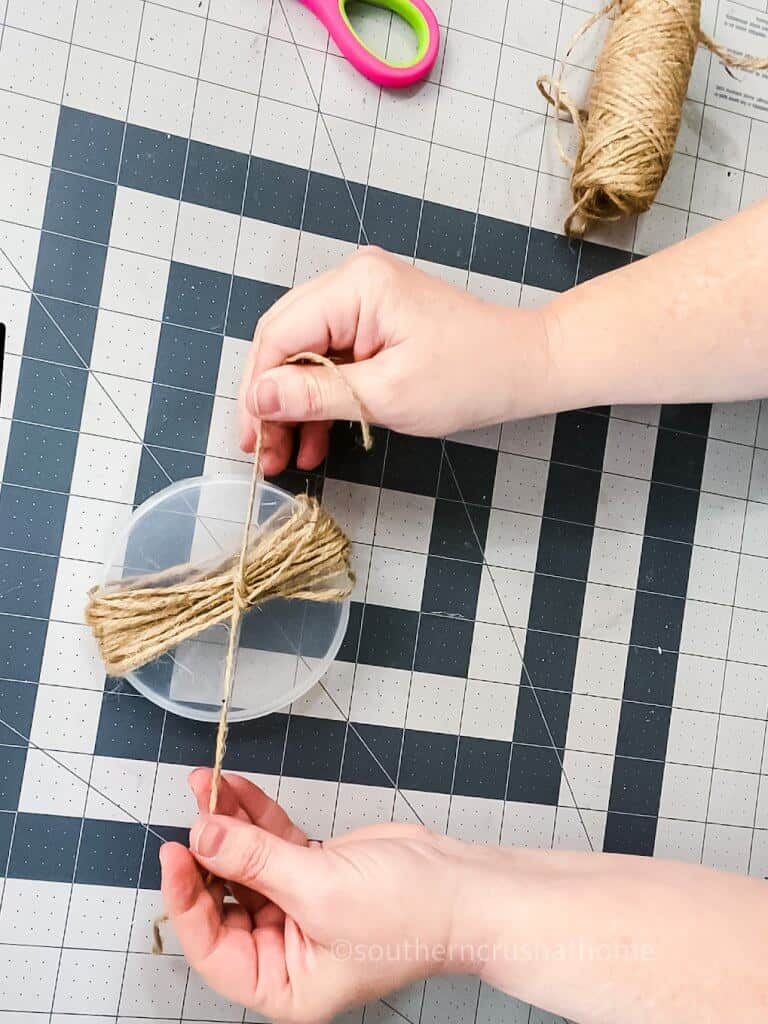
Create a twine tassel using a plastic cover as a template. It makes it so easy to create your tassel. Just keep wrapping the twine around the cover about 20 times.
Tie it off in a knot and remove it from the cover. Cut the ends to create your tassel. See my tutorial on how to make a tassel HERE.
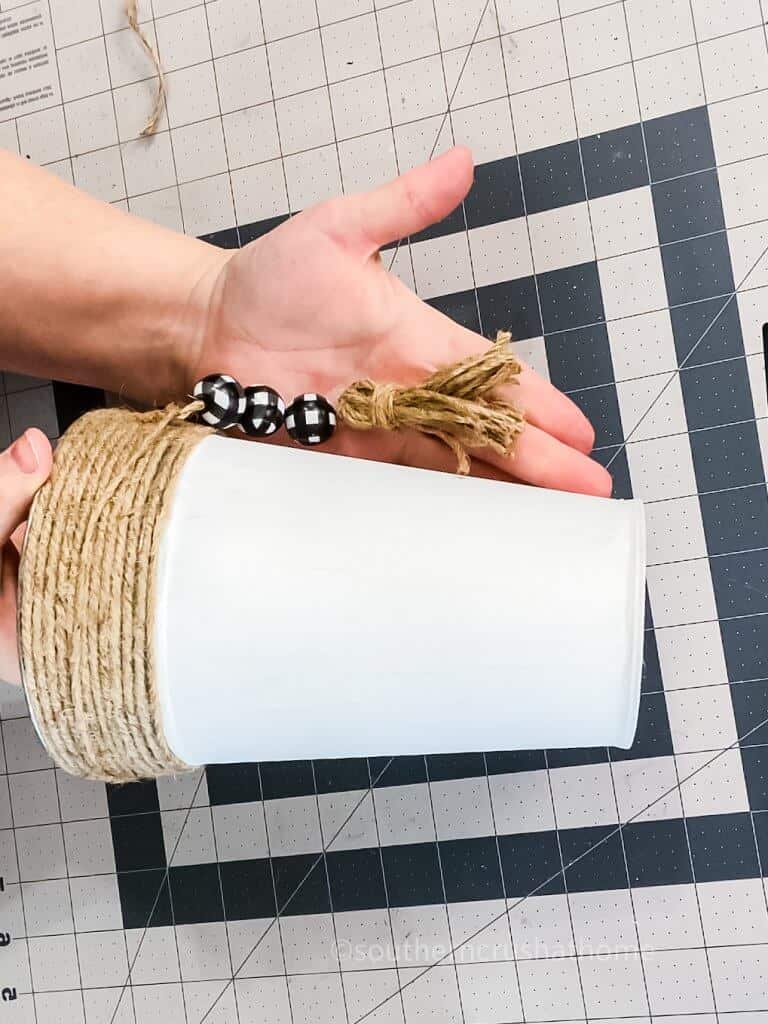
I chose to add buffalo check beads to the tassel but this is totally optional. Tie the tassel around the bucket with extra twine.
Step 4. Attach a Bunny
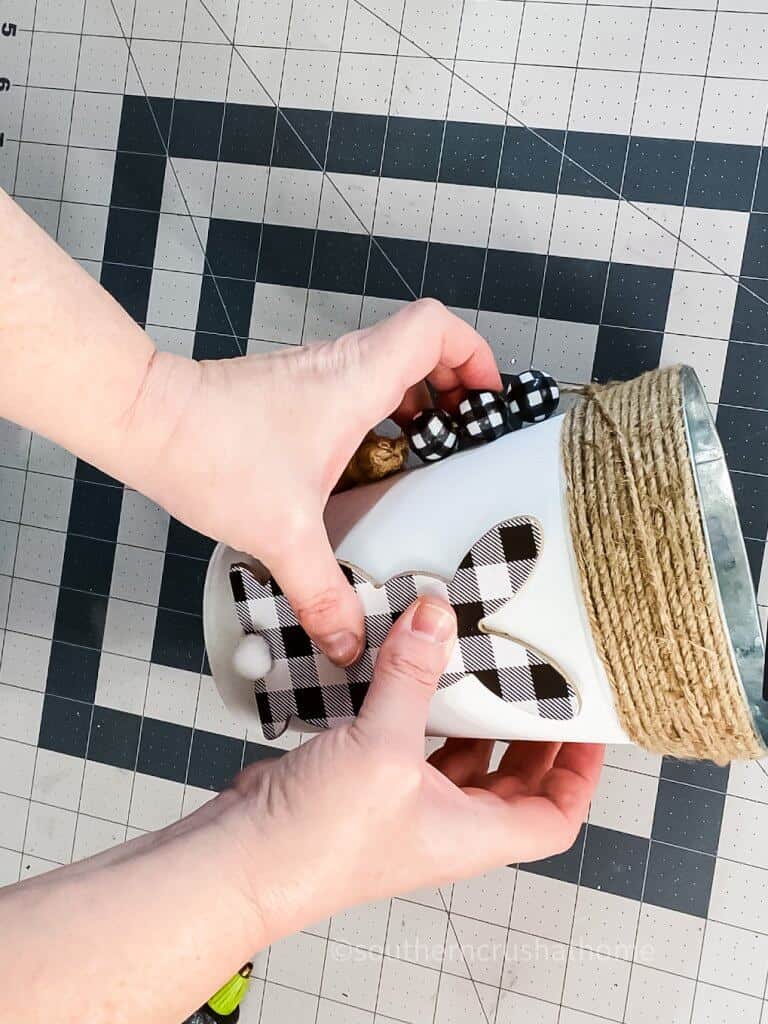
Use your hot glue gun to attach a buffalo check bunny to the center of the bucket. These little bunnies are from a pre-made banner at Dollar Tree. So cute!
Step 5. Fill your Bucket with Faux Greenery
I filled the bunny bucket with faux boxwood and the cute DIY Dollar Tree carrots I made HERE. I’m so in love with how this bunny bucket turned out!
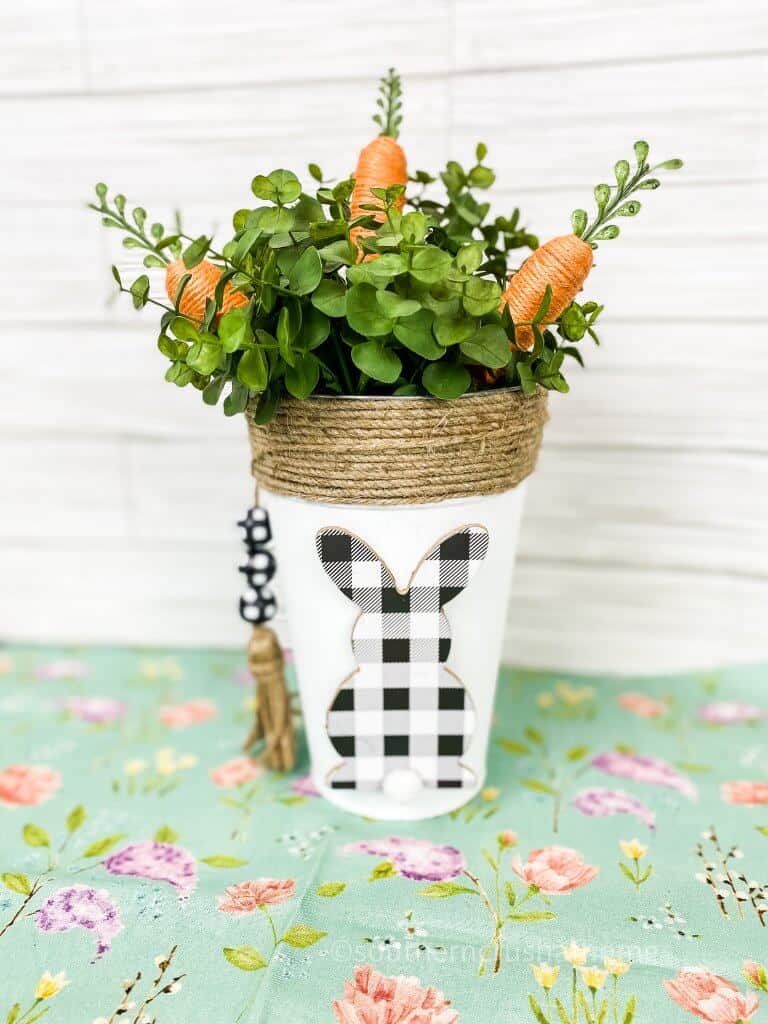
Next up, is the pretty moss bunny frame. This is perfect to display on a mantel or even a tiered tray. Plus, it’s super simple to make.
Moss Easter Frame DIY
Supplies
- Moss Sheet
- Peel & Stick Wallpaper
- Bunny
- Dollar Tree Picture Frame
- Ribbon
- Hot Glue Gun
Step 1. Prepare the Frame
Take apart the picture frame and use the paper insert as a template to cut a piece of the peel and stick wallpaper. You will add this back to the inside of the frame.
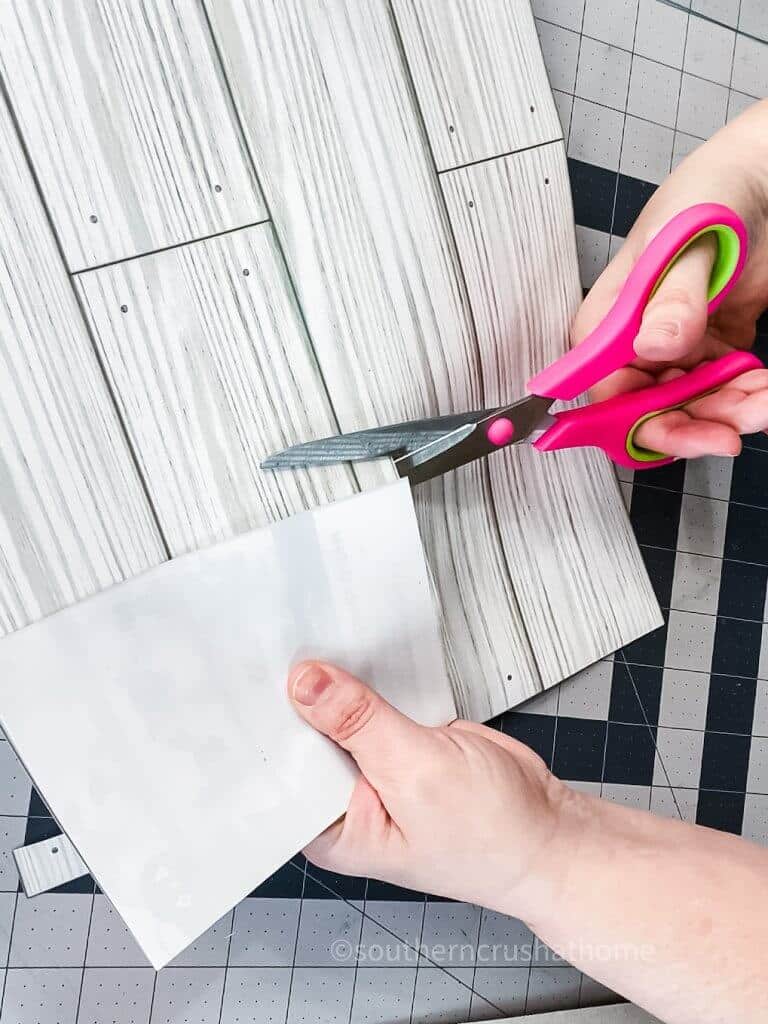
Step 2. Cut the Moss
Cut strips of the sheet moss to fit onto the wood frame. Use hot glue to secure them. You can also glue extra moss to cover the top if pieces fall out. It tends to be very messy!
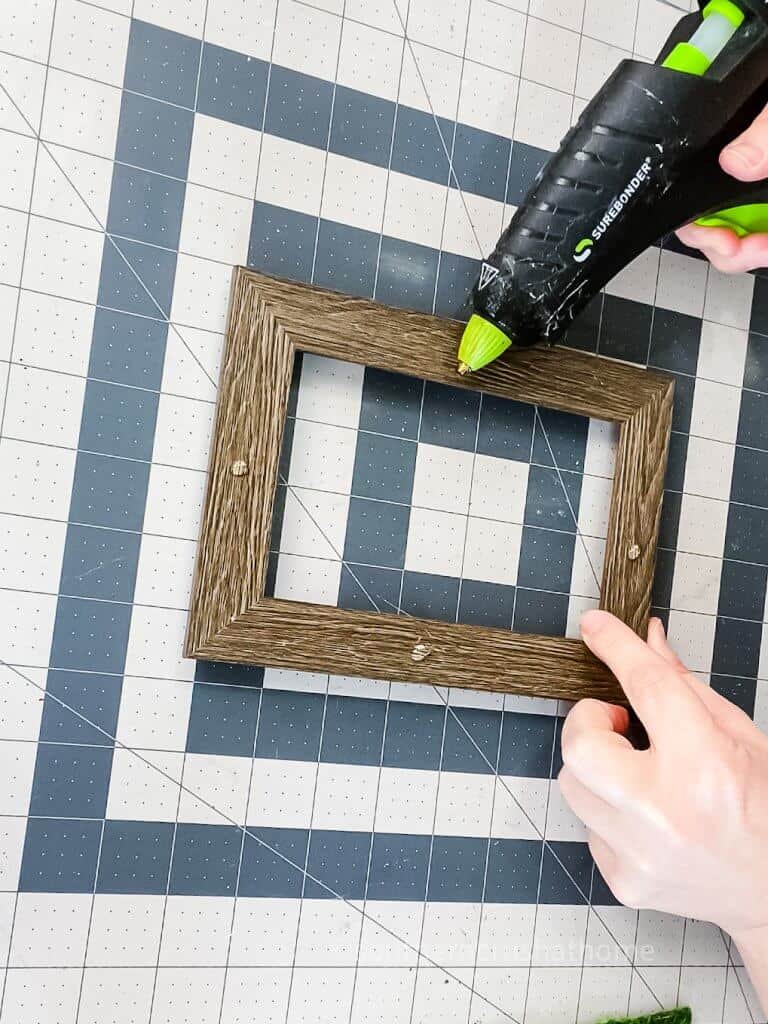
Step 3. Put the Frame Back Together
Now you want to put the frame back together with the wallpaper as the insert.
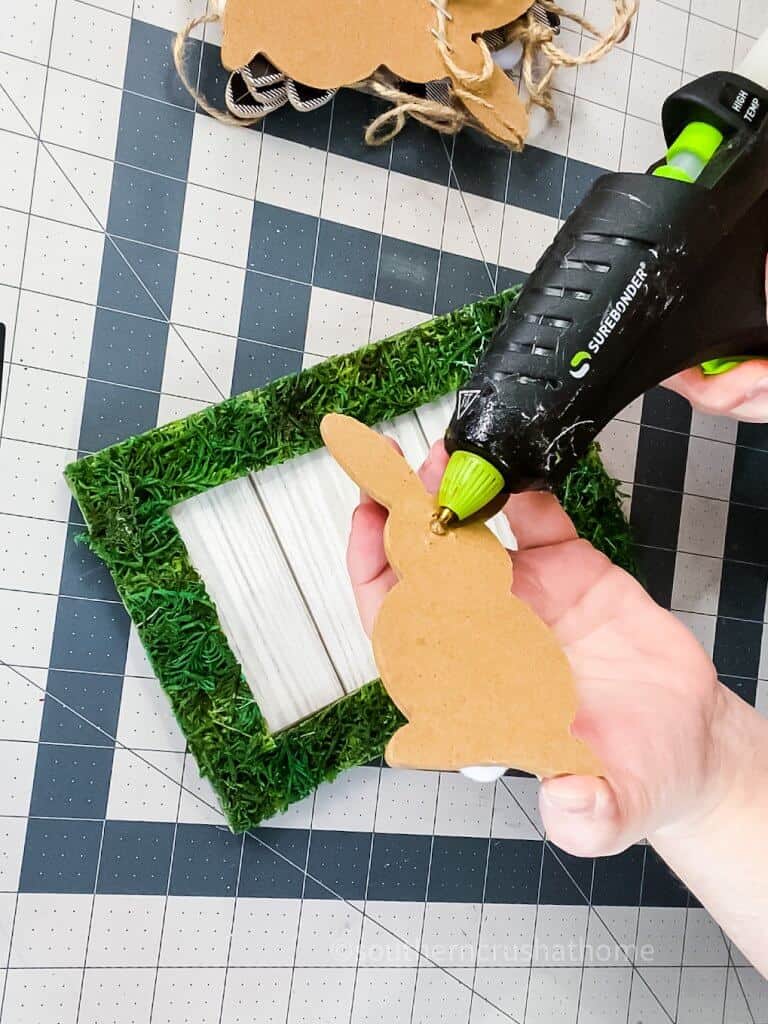
Step 4. Add a Bunny
I decided to glue one of the buffalo check bunnies to the frame for a nice contrast to the moss.
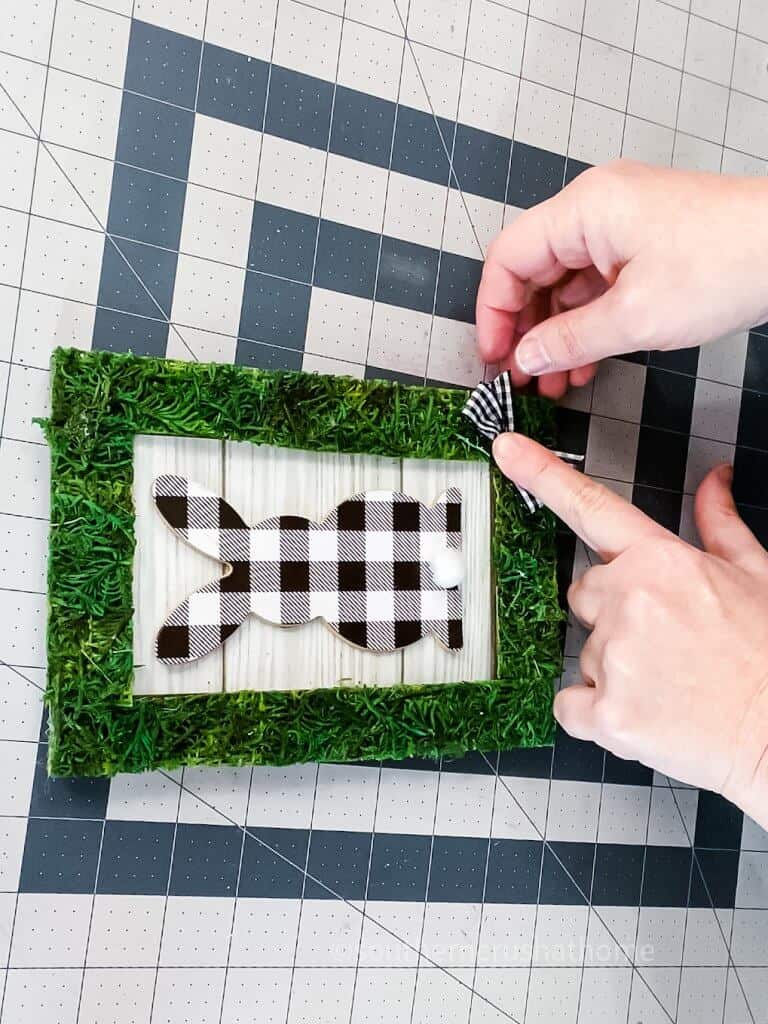
Then just add a small bow to one corner of the moss frame to really finish it off. Look at how sweet this moss frame is:
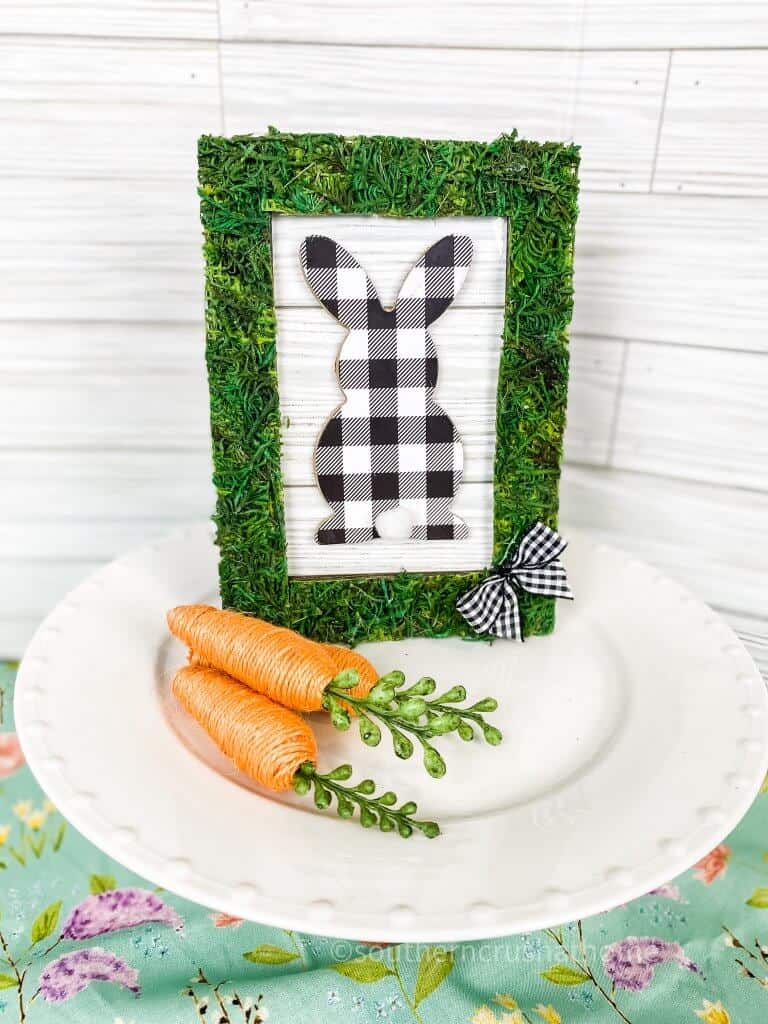
It looks adorable on a cake plate with a couple of DIY carrots. Display it on a bookshelf, or an entryway table. Such a simple yet lovely project.
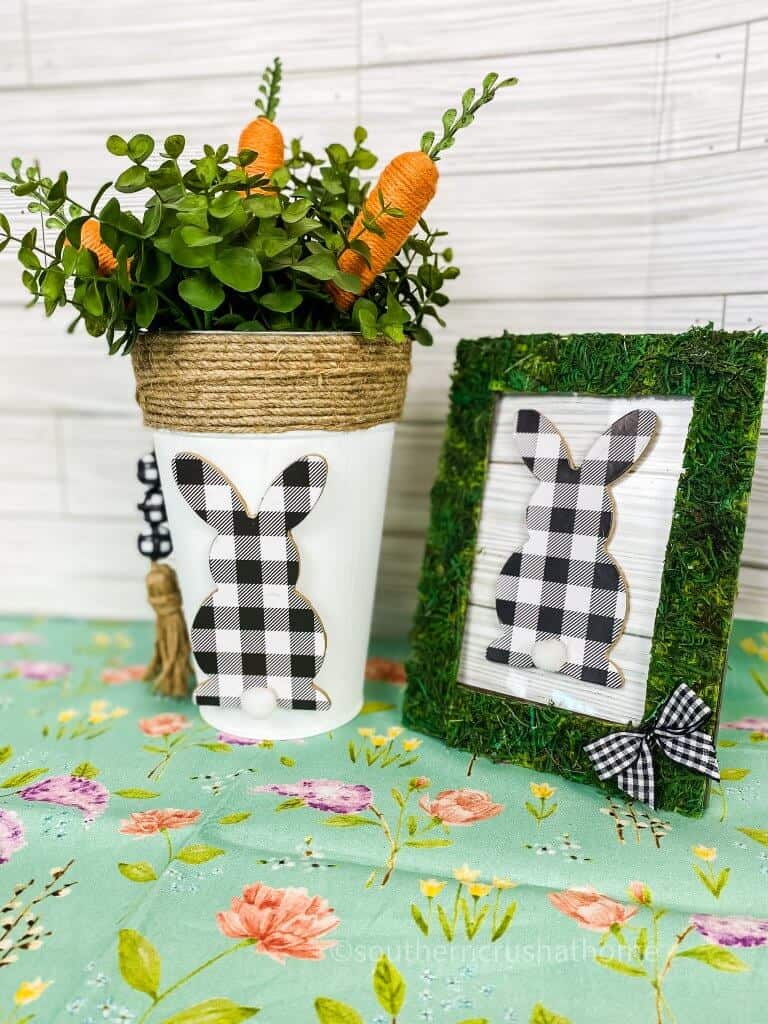
So what do you think of these 3 Dollar Tree Easter DIY’s? Aren’t they so fun? Do you have a favorite? Let me know in the comments below.
step by step video tutorial
If you want to see the exact step-by-step process, be sure to check out this video tutorial below over on my YouTube Channel!
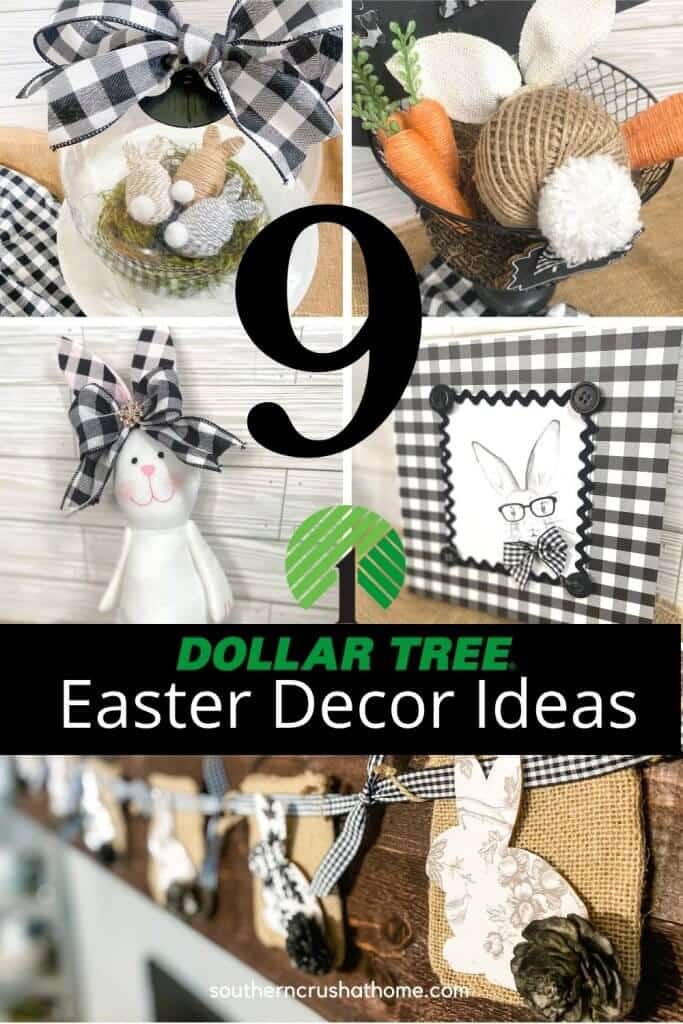
If you liked these DIY decorating projects, I’m gonna take a wild guess and say that you’ll love seeing these nine more! Check them out!
More Easy Easter Decor Ideas
- Adorable Bunny Butt Easter Wreath (featuring my Messy Bow)
- BOHO Dollar Tree Easter Decor
- Decoupage Dollar Tree Easter Burlap Banner
- 12 Neutral Easter DIY Decorating Ideas
- 23 Beautiful DIY Easter Tablescape Decorating Ideas
- How to Color Easter Eggs with Nail Polish
- How to Make an Easter Bunny Wooden Tag DIY

I love all 3 bunny crafts but my favorite is the bunny bucket
I love that one, too! Thank you so much!