DIY Hobnail Milk Glass Pumpkin
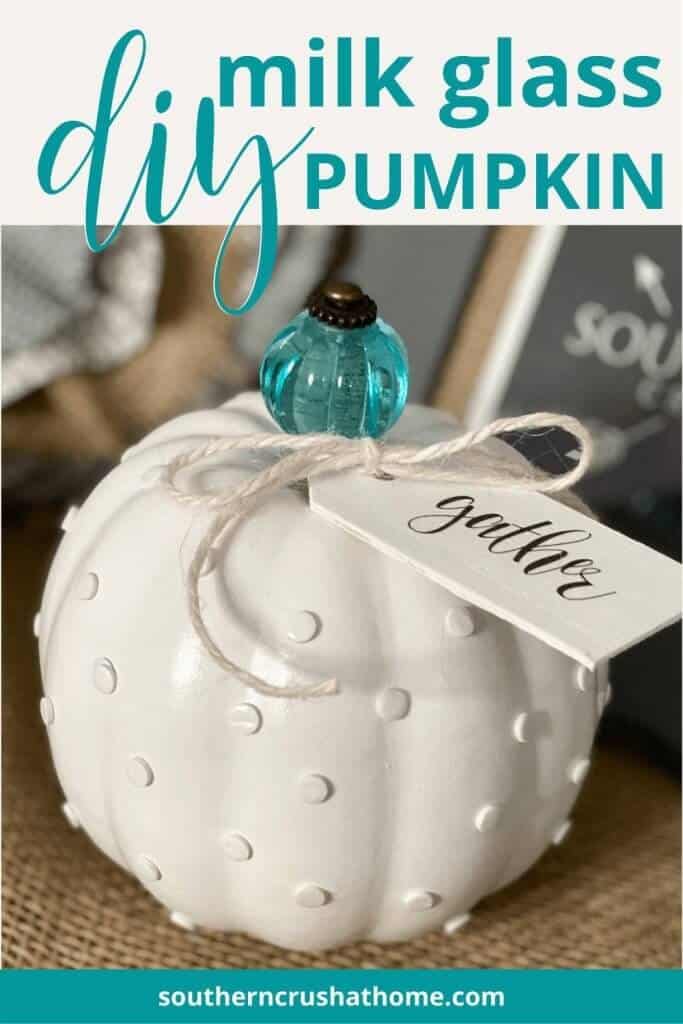
I’ve loved milk glass for as long as I can remember; especially hobnail milk glass. I even have a tutorial on How to Make Hobnail Milk Glass here on the blog! You can literally use this technique on anything you like, that is why I love it so much! This year I decided to try creating my own DIY hobnail milk glass pumpkin and I couldn’t be happier with how it turned out. Read below to learn how you too can recreate this vintage inspired faux pumpkin to add to your fall decor.
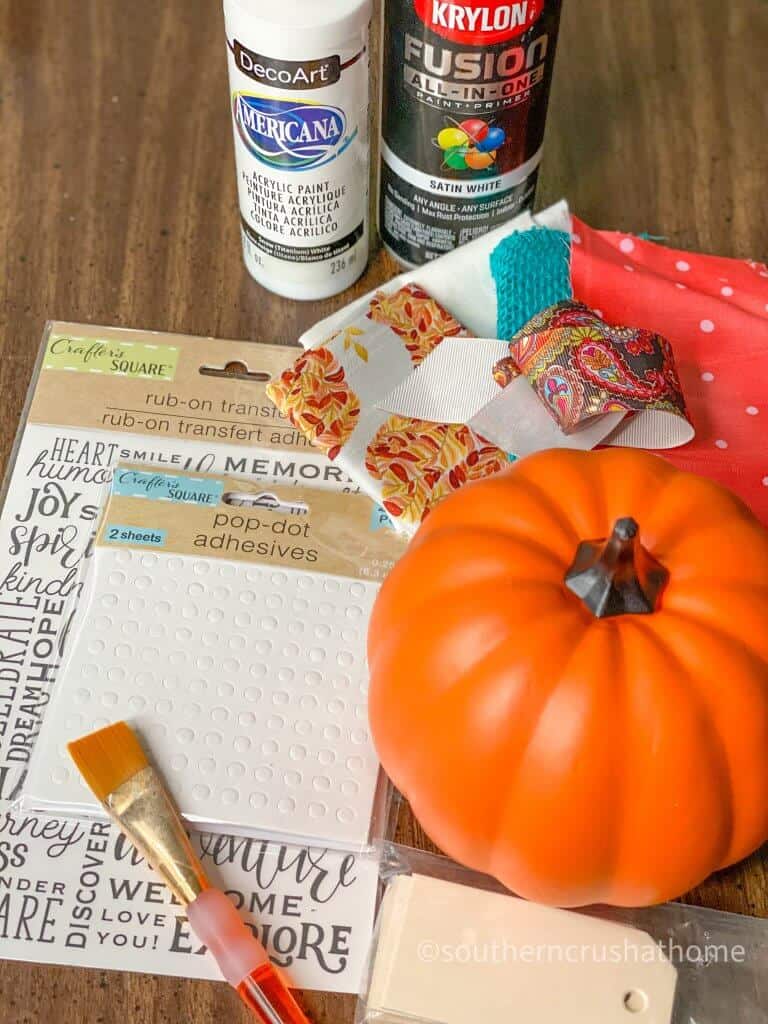
supplies for making a faux milk glass pumpkin
- Dollar Tree pop-dot adhesives
- Dollar Spot pumpkin (or any foam pumpkin you desire)
- Glossy white spray paint
- Ribbon embellishment (optional)
- Stylus (optional)
- Dollar Tree Wooden Tag (optional)
- Dollar Tree Rub On Transfers (optional)
- Cardboard box (optional)
Be Sure to Save this PIN for LATER!
instructions on how to make hobnail milk glass pumpkin decor
- Take your spray paint and lightly spray your pumpkin using light coats. Use a cardboard box to cut down on overspray. Spray outside or in a well-ventilated area.
- Allow to dry for several hours or overnight.
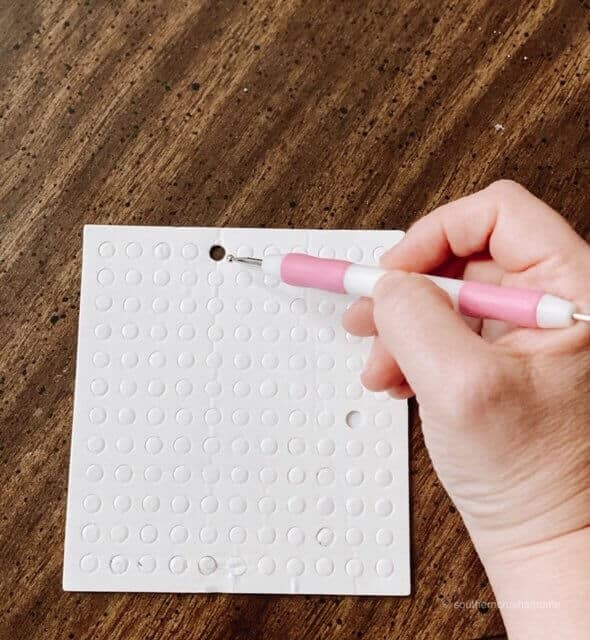
- Separate one side of your pop dot adhesives to expose the stickiness. These are two-sided sticky, but just reveal one side so that it’s easier to work with the dots. Taking the stylus, punch through each dot one at a time.
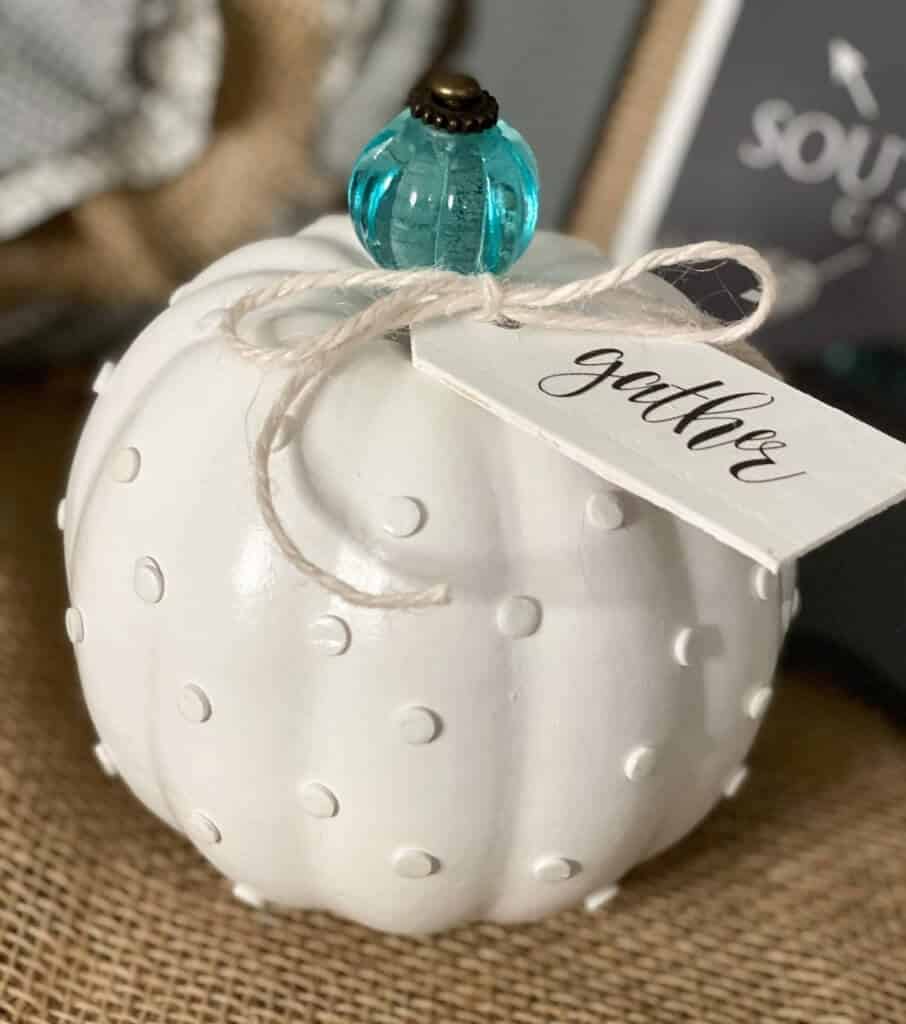
- Then, place your sticky pop dots onto your pumpkin into your desired placement. I chose to use a pattern that mimics the shape of a triangle over and over and then filled in the gaps. Really any pattern will work, get creative and have fun!
ways to embellish your faux pumpkin
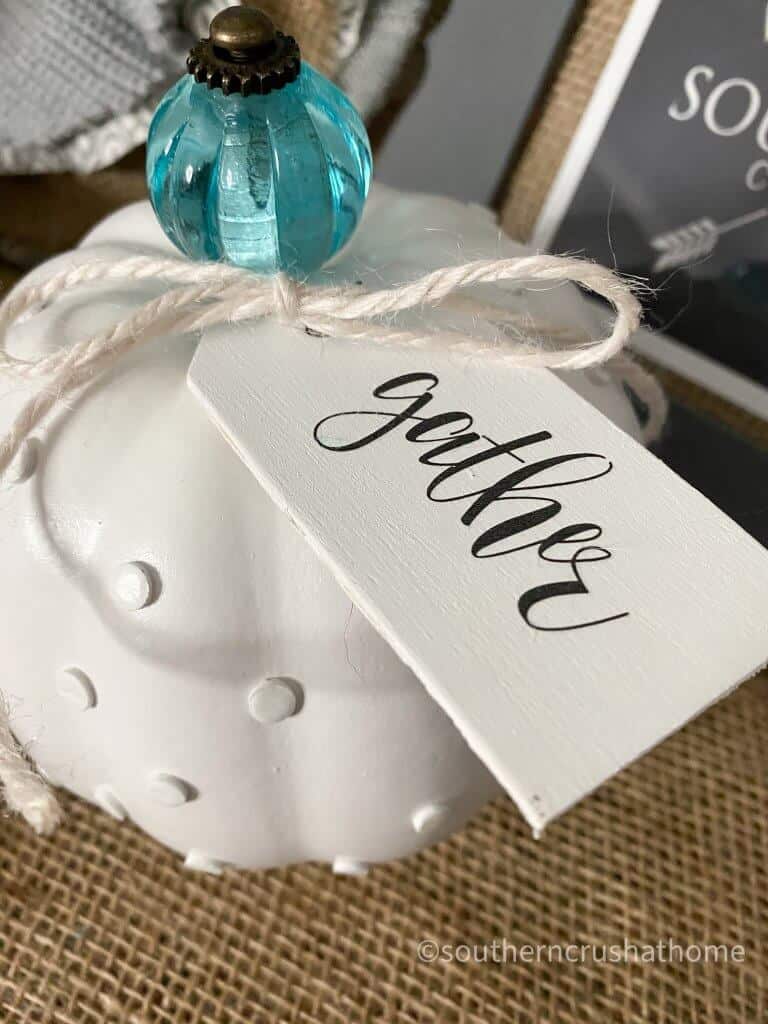
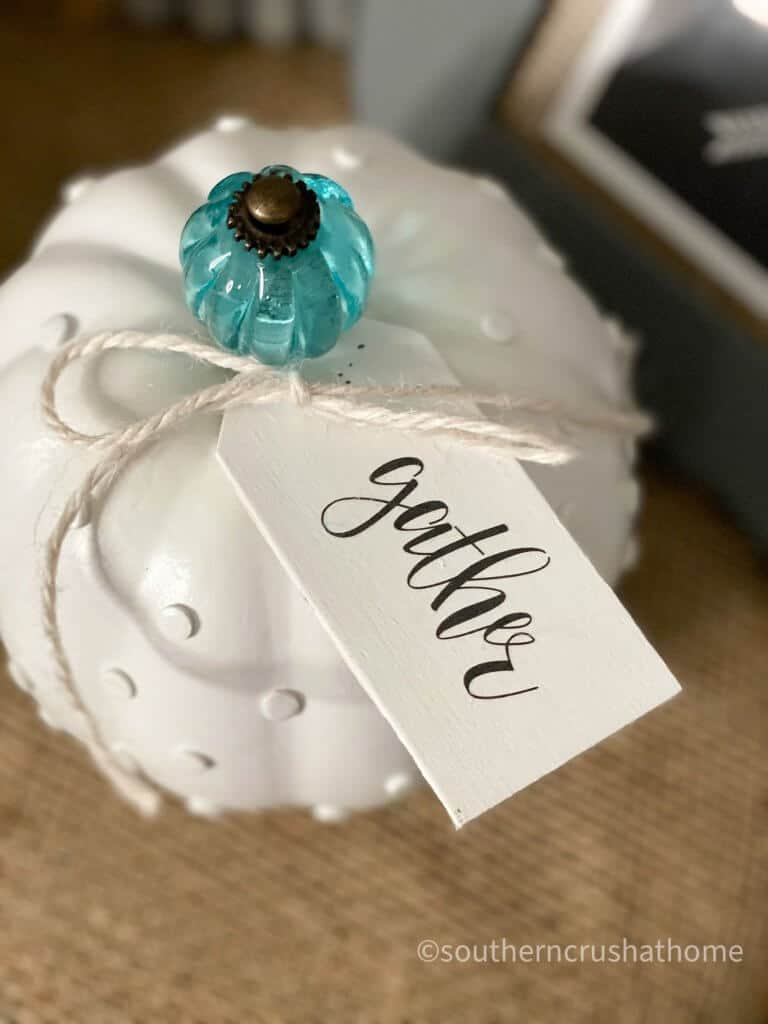
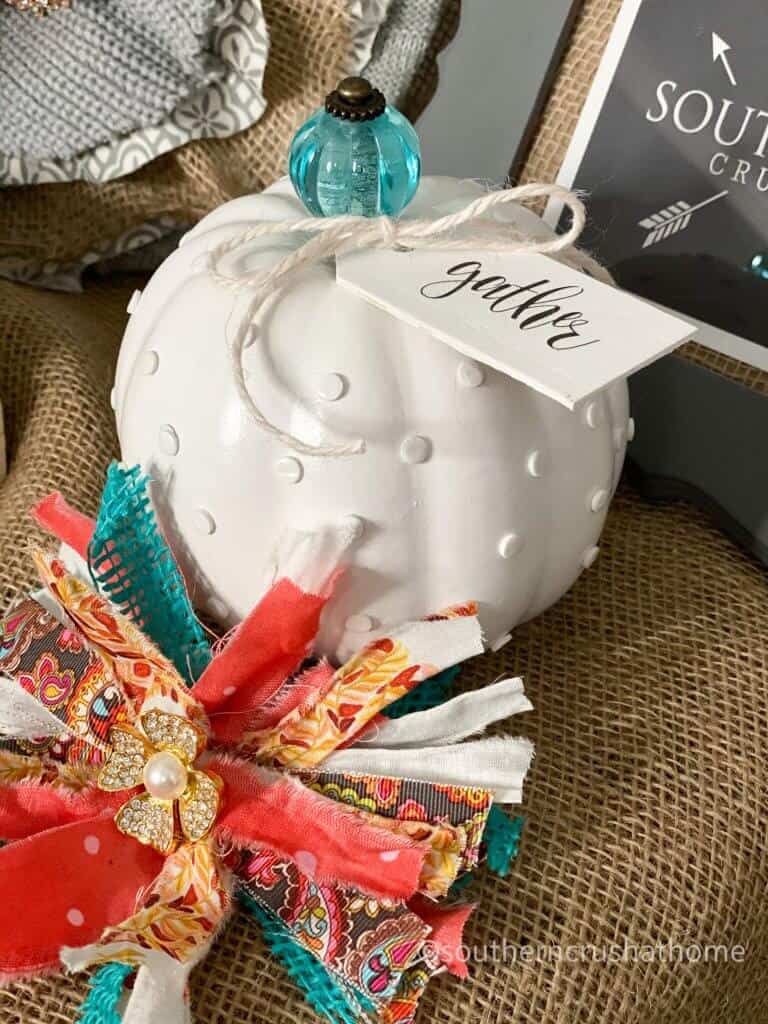
- Remove the stem your pumpkin came with and replace with a decorative knob of your choice if desired.
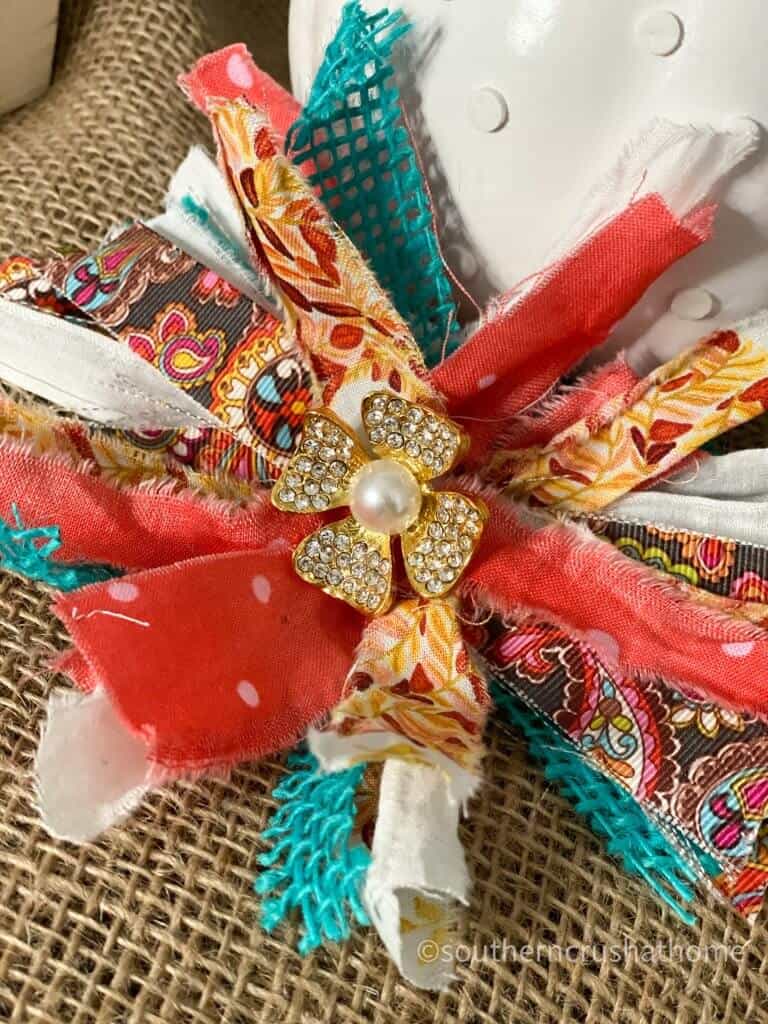
- Tie a decorative MESSY BOW around the knob.
- Style on a tray with a MESSY BOW. See entire step by step process to make your own DIY Messy Bow for any season!
- Tie a cute tag around the knob with twine (as shown). To create the tag; paint and then burnish a fun transfer on top. You could also use a sharpie to hand-letter a fun word onto the tag or cut a SVG file and stick it on.
other fun wording for your pumpkin tag
- DREAM
- CELEBRATE
- WELCOME
- THANKFUL
- CHERISH
- GRACE
- FAMILY
- HOPE
- JOY
- KINDNESS
- HOME
This is a really cute vintage craft that you can decorate with year round. Learn how to make your very own hobnail milk glass vase in this tutorial!
WATCH THE VIDEO TUTORIAL FOR DIY HOBNAIL MILK GLASS Pumpkins HERE
I love making videos for my crafts! If you are a visual learner, then follow along as I make a milk glass pumpkin on my video tutorial.
More amazing DIY Faux pumpkins for decorating
If you enjoyed learning how to make this hobnail milk glass pumpkin, then you will most certainly love these diy craft ideas too. Check them out and have fun creating these new projects.
- Pumpkin Beanie-Easy DIY Pumpkin Decor
- Dollar Tree Braided Pumpkin DIY (Using a Mop Head)
- Easy Pumpkin Painting Idea- Paint Pour Technique
If you like fresh ideas for Fall decorating, you most likely will want to take part in my annual FALL CRAFTATHON that takes place inside of my Southern Crush CRAFTATHON and Creative Club Facebook Group HERE. Don’t miss out on this awesome FREE event!
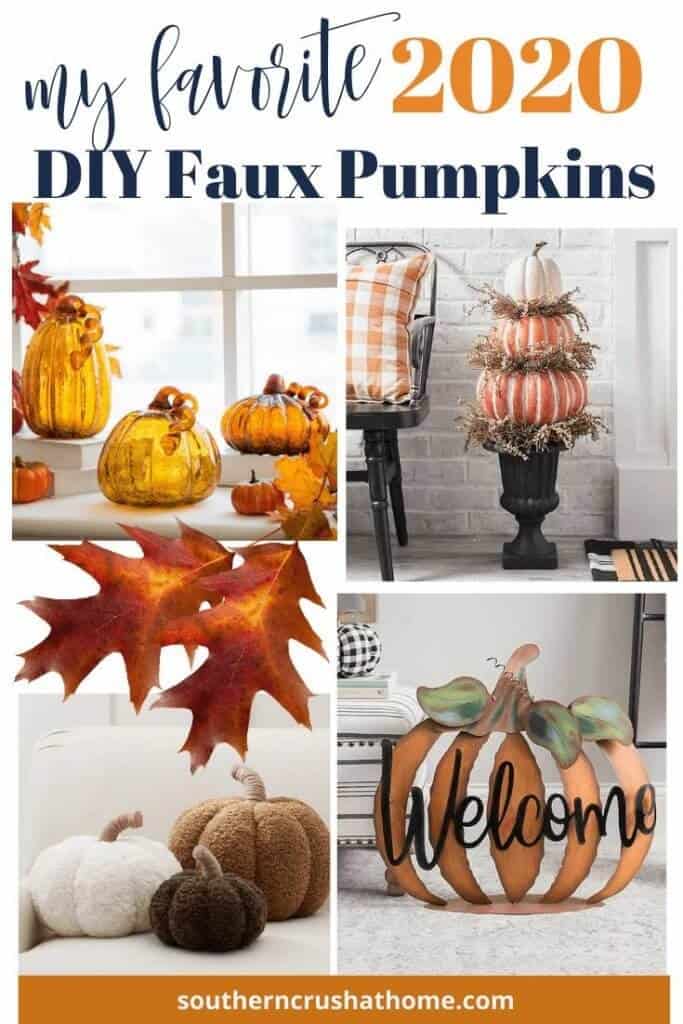
check out all of my favorite faux diy pumpkins here
Sign Up for diy Emails
If you love these kinds of DIY ideas, you need to be getting my emails, friend! Each week I send out a couple of emails that include updates, crafts, shopping experiences, and decor inspiration. Be sure to get yourself signed up below.
I can’t wait to meet you! Leave your thoughts below in the comments, please… BTW— Life is short—Enjoy the mess!

2 Comments