How to make DIY Ceramic Mugs (Using Paint or Sharpies)
Have you ever wanted to create a mug that was personalized just for you? Well, it’s super easy to make a DIY ceramic mug using either stencils or Sharpies, either one! Yes, you heard that correct. Sharpies. This fun DIY will keep you addicted to creating multiple designs for yourself as well as wonderful, thoughtful gifts to give to the special people in your life.
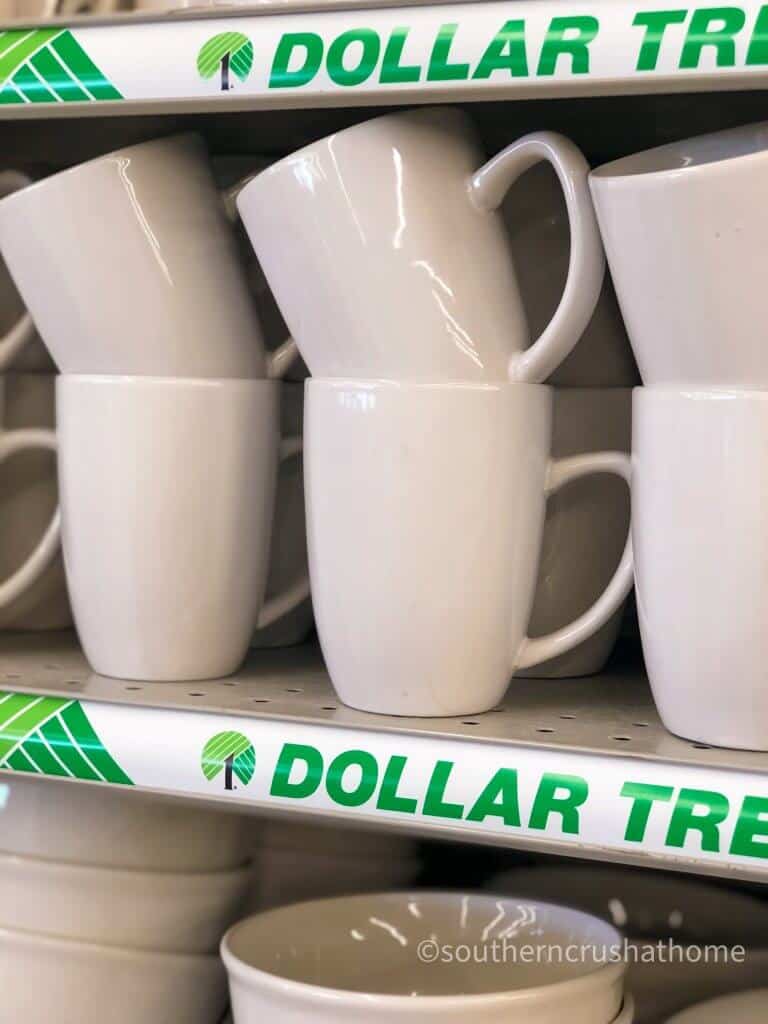
supplies needed to create a DIY mug two ways
- Ceramic mug of your choice. I chose a plain white mug from the Dollar Tree; however, you can choose any color in the rainbow or even start with a mug that already has a design on it. The sky is the limit here with your choices.
- Ceramic Paint Pens, Magnolia Permanent Fabric Pens OR oil based paint Sharpie(s) in any color you choose.
- Optional Stencil of your choice
step by step video instructions for making a two-sided ceramic mug
How to Make a DIY sharpie Mug with Paint or Sharpies
- Choose your stencil and position it on to the ceramic mug.
- Smooth out all bubbles where there is open stencil. The edges don’t matter because no paint will be transferred there.
- Apply your ceramic paint in a thin cover over the stencil.
- Reveal your design.
- Add extra details with the oil-based paint Sharpie of your choice.
- Allow to thoroughly dry. At least 24 hours is recommended.
Baking Instructions for either ceramic paint or Sharpies:
- Place your decorated piece in a COLD oven after allowing your design to dry.
- Set the temperature to 325 degrees and let the oven warm to that temperature with the dish inside, leave for 35 minutes.
- Turn off the oven; allow the piece to cool completely IN the oven.
you’re gonna love your diy ceramic mug
- Create your own custom mugs with vibrant pops of color (best on ceramic, porcelain or fine china).
- It’s so easy! Just apply it to your surface with your favorite stencils and bake for 35 minutes!
- The ceramic paint is food safe and microwave safe. For best results hand wash only.
Simply the most fun you can have in one afternoon. Make these with the kids, make them with your friends. Use every color and every combination of colors you can think of in your design. Make your own stencil using stickers. Write your name, initial or monogram in different ways. Get creative and see these additional DIY ceramic mug inspirational ideas below.
Southern Crush at Home
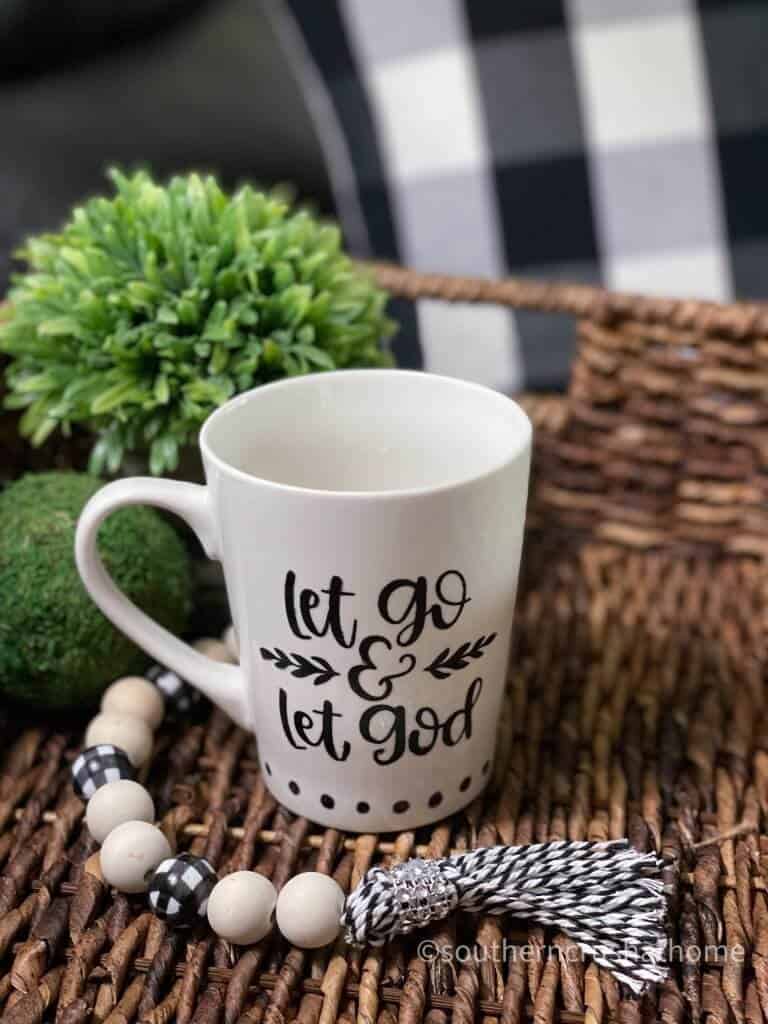
Using a faith-based stencil made my mug meaningful to me. Every morning I can enjoy the gentle reminder that I so need; let go & let God. There are so many faith-based stencils to choose from here on my site. Choose one that speaks to you. You’ll love looking at your DIY mug each morning and reading the inspirational words knowing you made it all on your own! These designs are also great for brightening someone else’s day.
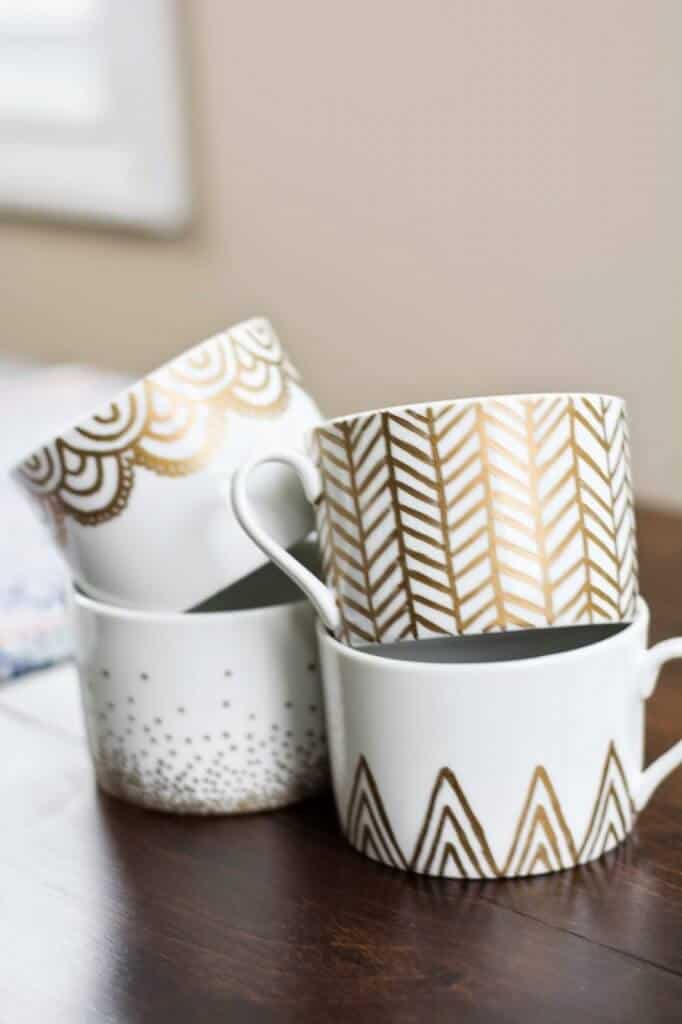
Wow, four different designs all in a striking gold metallic color make this set of mugs special and unique. The combination of dots, triangles, herringbone and lace give them a modern look. This set of mugs would make a wonderful gift for someone who appreciates a personalized item.
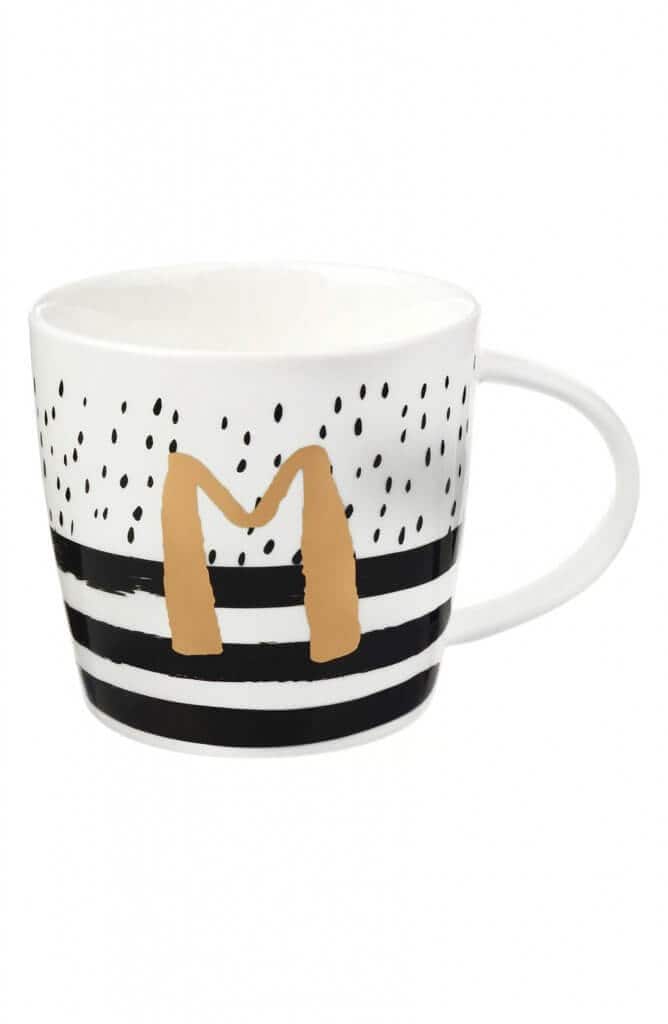
Using initials on your mugs can help keep things straight when it comes to who’s mug it is in the morning. No more arguements over who didn’t clean their mug or which mug of coffee is yours. Using a gold metallic Sharpie makes the initial on this design really pop!
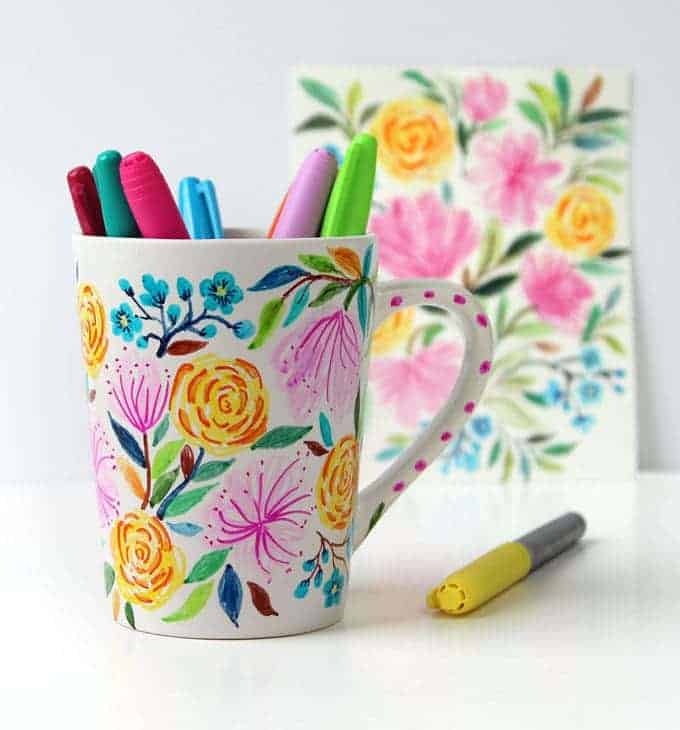
How beautiful are all of the different colors used on this design? By watering down the markers while drawing on the mug and then layering with darker on top, you can create a soft watercolor effect. So pretty!
Evermine
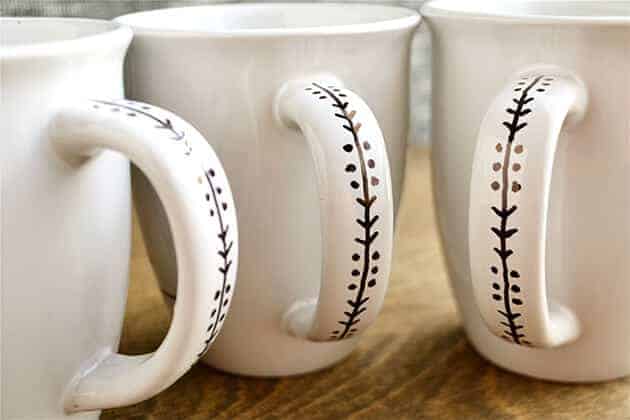
I’m loving the idea to extend your creativity to the handle of the mug! This is such a sweet look and creates a fun expression that can be used as wedding favors like these.
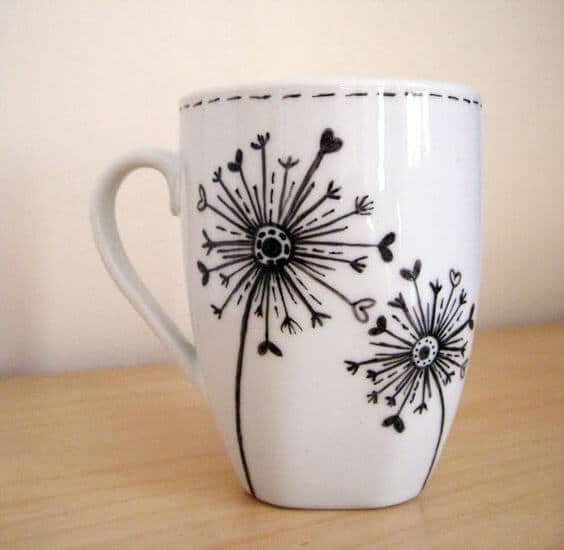
The dandelion details on this mug bring out the creativity in me. I do believe I will be making one of these for my own. Simple designs like this make the Sharpie mug DIY so much fun, it’s even addicting!
What a cute way to make a quick and easy DIY gift for the holidays. Simply grab your ceramic mug and Sharpies and don’t forget to stuff the mug with a fun DIY hot cocoa mix complete with marshmallows. These would be great to gift to neighbors, friends, or service providers as well as to have on hand for any last minute gifts that you need.
do’s and don’ts for creating diy sharpie mugs
- Do clean your mug before you add any design. You can use rubbing alcohol to get a really clean surface to work on.
- Don’t use a regular old Sharpie to make your design. Invest in the oil-based Sharpies so that your design will last.
- Do let your mug dry thoroughly. At least 24 hours is recommended.
- Don’t throw your mug in an already heated oven. Make sure you start with a cold oven and end with a cold oven. Let your piece completely cool inside the oven it is baked in.
- Do be patient. The cooler temp for a longer time will work better and result in less cracking of your design, than a hotter temp for less time. Follow the instructions.
be sure to pin this one for later
join my list for more fun and easy diy ideas
If you love this kind of DIY project, then you need to be getting my emails, friends! Each week I send out a couple of emails that include updates, crafts, shopping experiences, and decor inspiration. Be sure to get yourself signed up below. I can’t wait to meet you!
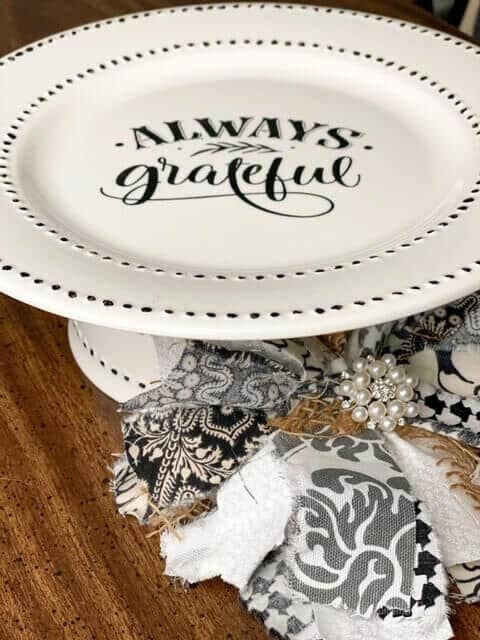
>>>Leave your thoughts below in the comments please… BTW— Life is short—Enjoy the mess! I hope you try this quick and easy diy project out for yourself, it can make any plain mug look beautiful! I love using these ceramic paints! See how I used them on this Dollar Tree decor to make a unique cake stand!
**P.S. Please join us over on our Facebook Page to see more fun projects “Live”.

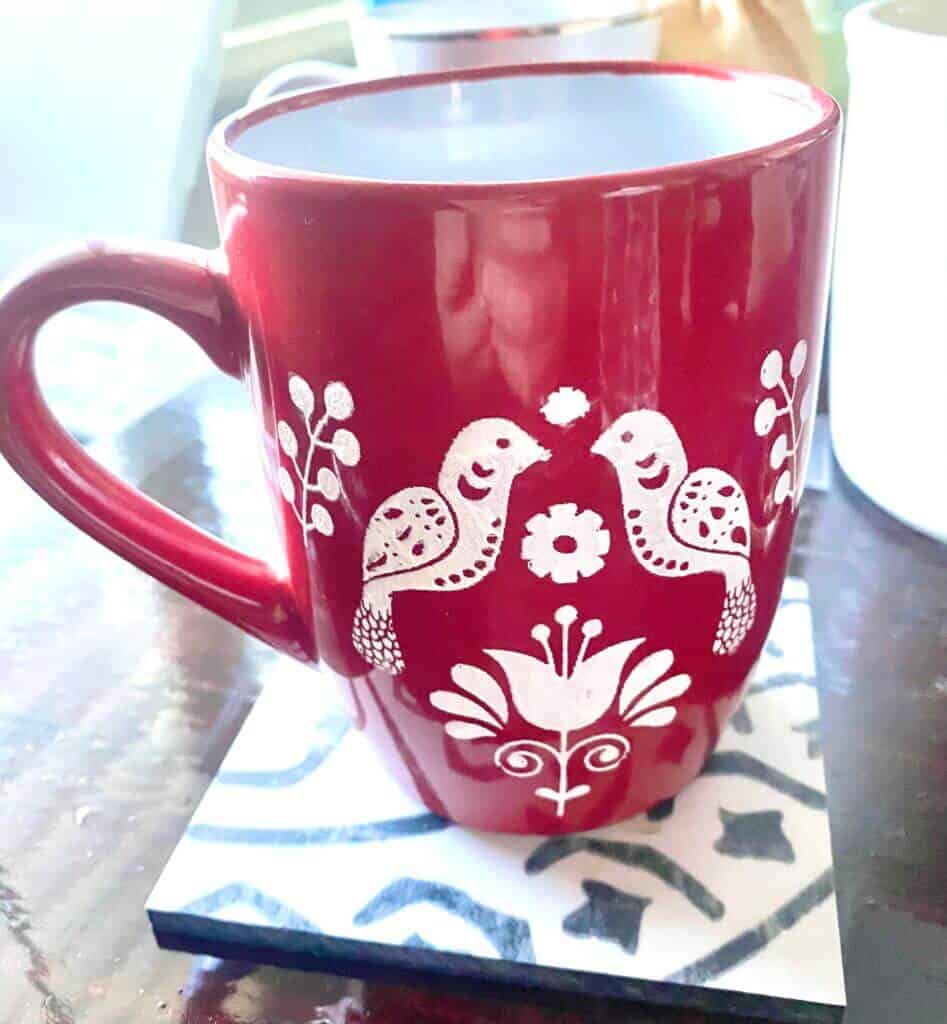

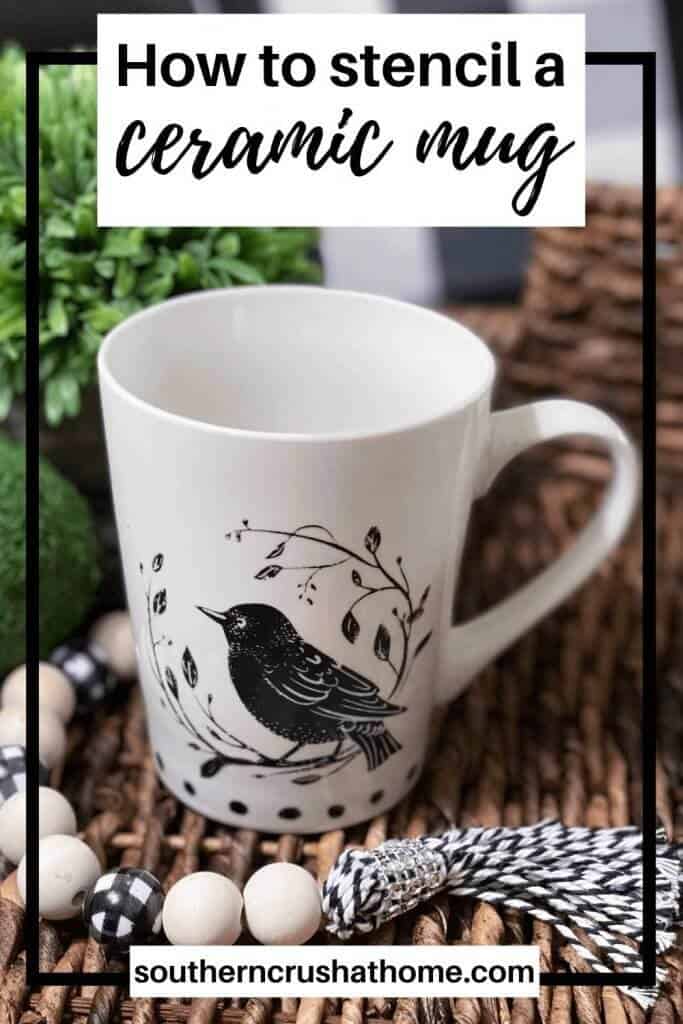
I loved the bird mug you done on the live so cute.
Love this idea
I love this idea!!
These would make great gift ideas too! 💕
Love these!
I did a mug earlier.
Such a cute idea
I’ve made several mugs using the oil based sharpies. I only hand wash and the letters are coming off. Is there a sealant I can use?
Mod Podge makes a dishwasher safe version you could try out.
I did this for my brothers for christmas as a last min gift and it endid up so so great . Thank you
I’m so glad!
I love these!! My mind is working OT.