How to Make Wood Bead Garland with a “Messy” Tassel
You have probably seen these pretty wood bead garlands all over the home decor stores for a while now! They are like pretty wooden jewelry for your decor. It’s one of my favorite trends for home decor accessories and vignettes.
This project is perfect for crafters of all skill levels, and it’s a great way to use up any leftover fabric scraps you have lying around.
This tutorial will teach you how to make a wooden beaded tassel using scrap fabrics and bling.
You can use the same technique with other materials such as ribbon, jute, yarn, string, and more!
The process is simple and quick so gather your supplies and let’s make a pretty wood bead garland with scrap fabric tassel.
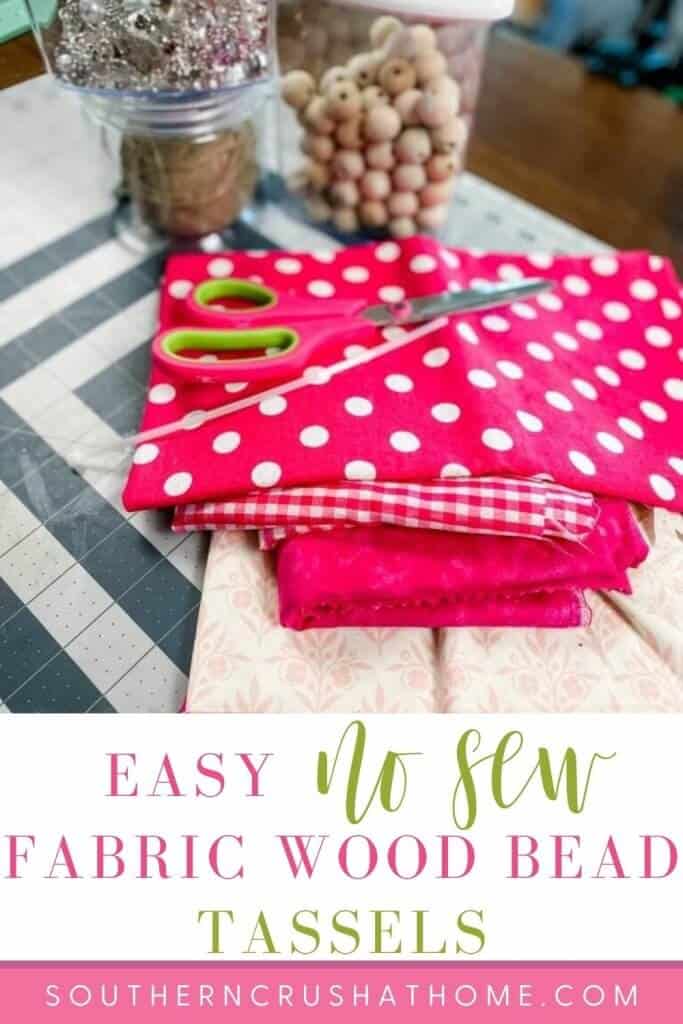
supplies needed TO MAKE A Wood Bead GARLAND Tassel
All the supplies needed can also be found HERE in my Amazon Shop!
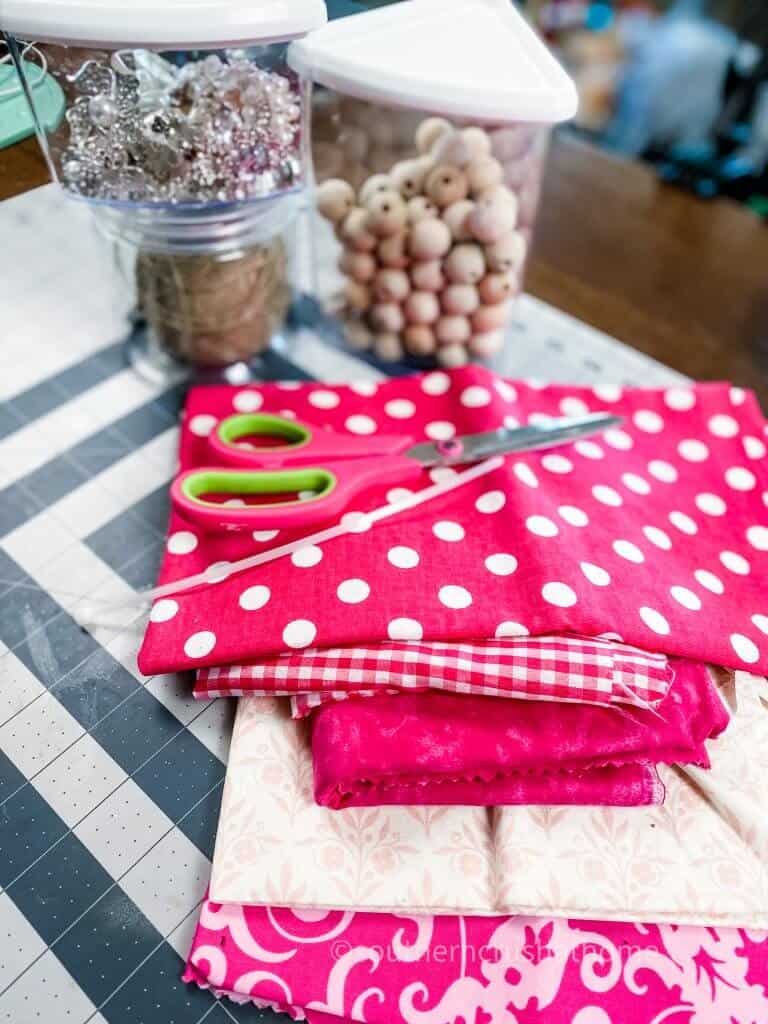
- Wooden Beads
- Assorted Scrap Fabric
- Rhinestone Embellishments
- Fabric Scissors
- Hemp Twine
- Zip Tie
How to Make a Wood Bead door knob garland with Tassel
step 1.
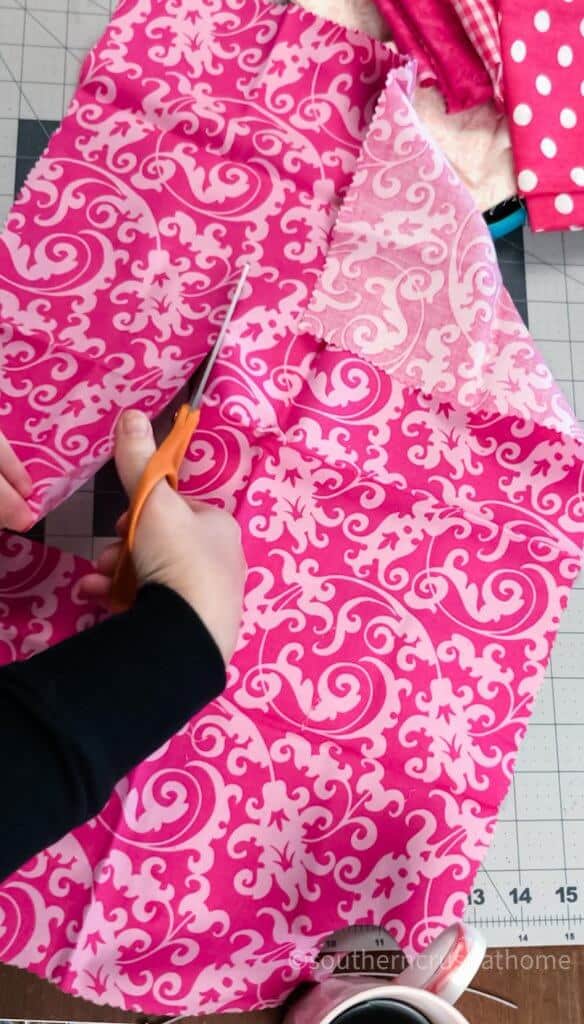
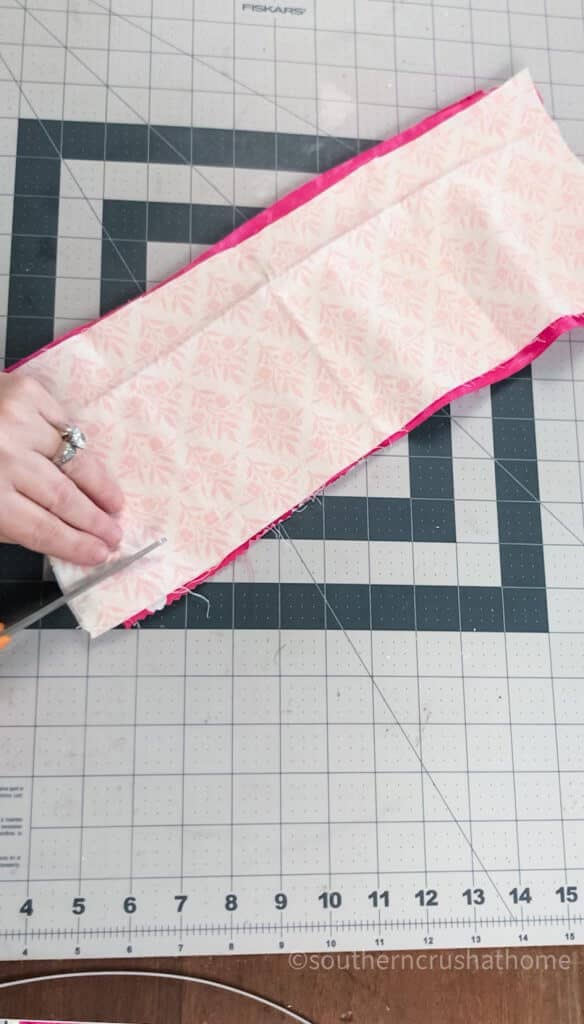
Get started by cutting your fabric about 6″ wide and 12″ in length. The longer the pieces the larger the tassel will be in the end.
Be sure to use a few different pattern prints of fabric in the same color scheme. This will give the tassel lots of dimension. I used about five different patterns in varying shades of pink scrap fabric.
step 2.
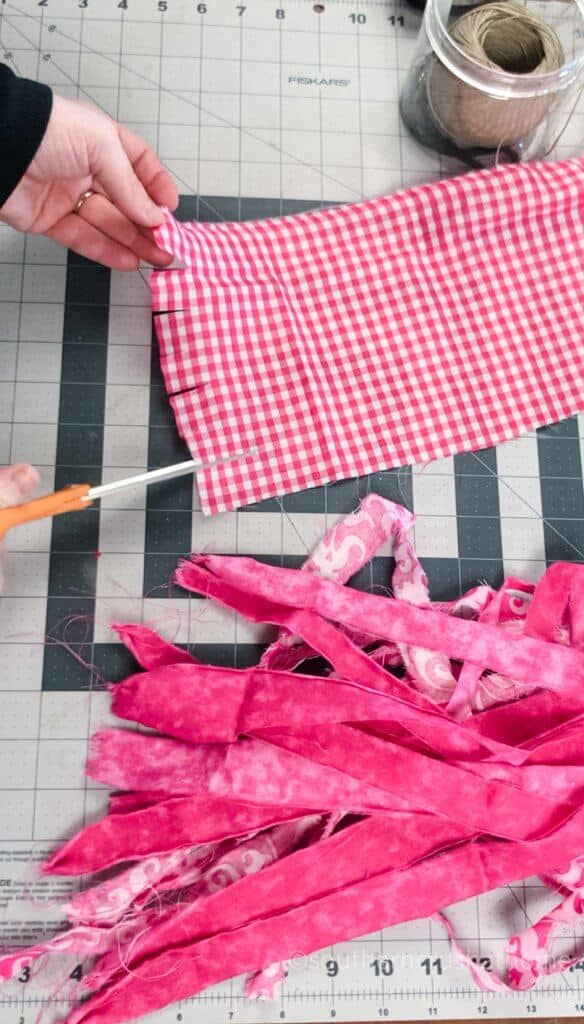
Begin cutting 1″ starter cuts across the width of the fabric. Since we are making a “messy” fabric tassel we want to rip or tear the fabric strips instead of cutting them.
If you’re new here and unsure of what I mean by “messy” refer to my signature Messy Bow Tutorial for all the deets!
Tearing them will give the tassel texture and achieve that shabby, messy look that we love just like our DIY messy bows.
TAKE A LOOK AT SEVERAL OTHER DIY MESSY BOWS I’VE SHARED:
- 5 Minute Lace Messy Bow
- Denim Messy Bow
- Messy Bow Burlap Pillow Wrap
- Christmas Tree Topper
- Messy Bow Fall Wood Block Decor
- Drop Cloth Messy Bow
step 3.
Use the first piece of fabric with starter cuts as a template for your remaining fabric pieces.
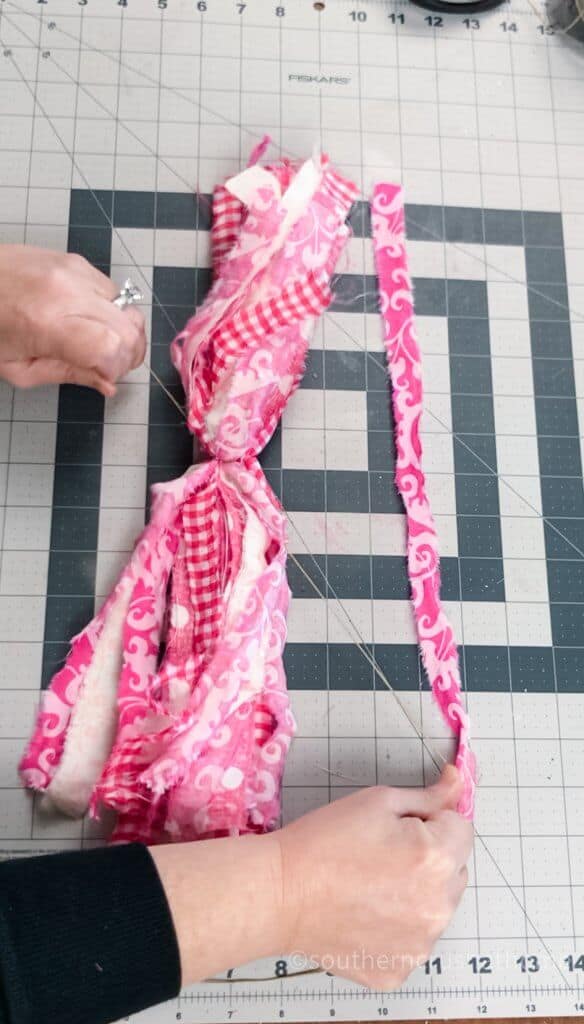
Once you have the cuts started, go ahead and tear the fabric into long strips. It actually tears easily and leaves a great finish with loose threads.
step 4.
Cut as many fabric strips as you want for your tassel. I pretty much never count and just hold it together to see if it is fluffy enough.
The more fabric strips you make, the fluffier and larger the tassel will be in the end.
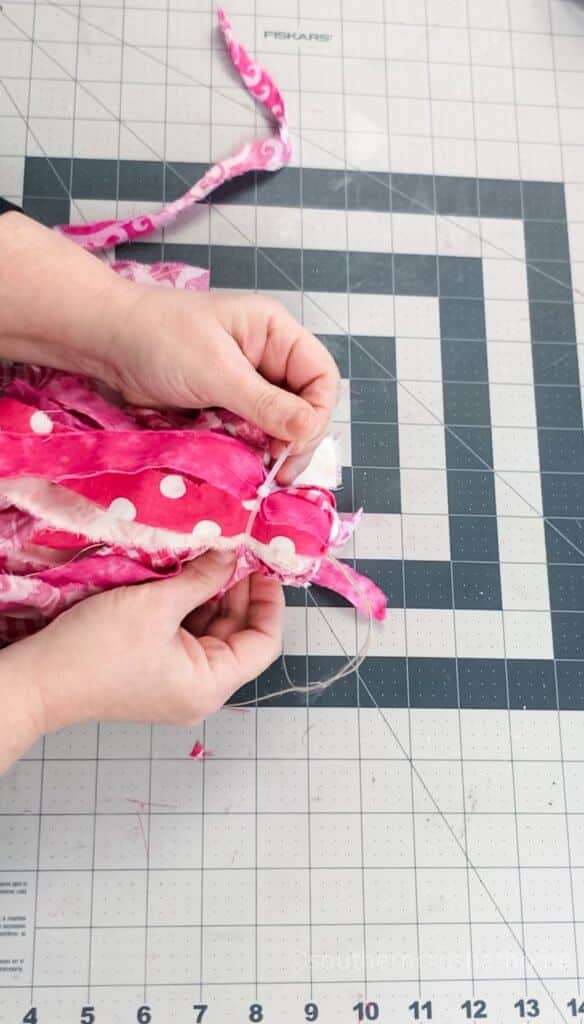
Gather the strips and secure them in the center with the hemp twine. Tie a double knot leaving a short end and a much longer end.
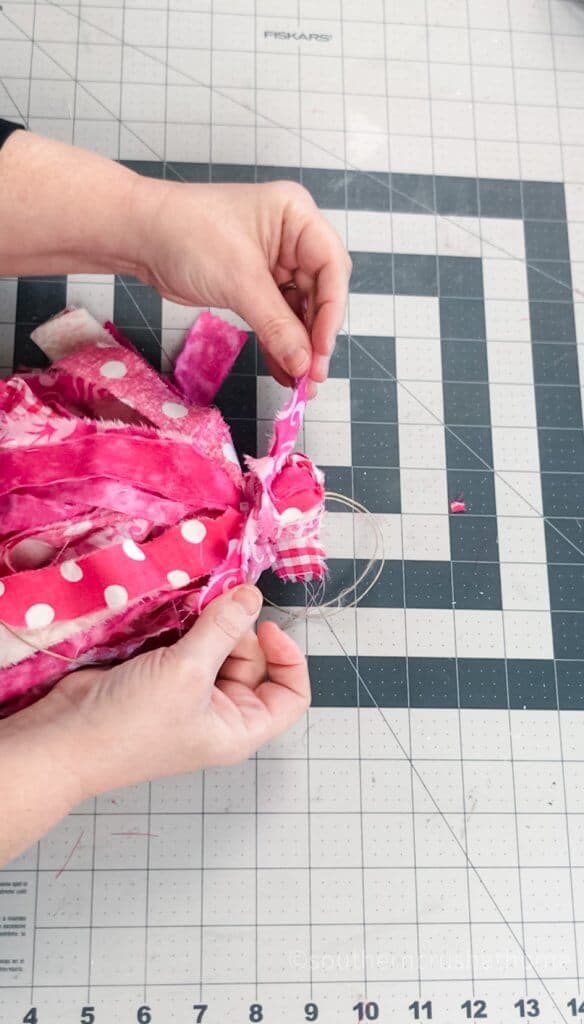
Fold the tassels in half and secure them about 1/2″ from the top using a zip tie.
This creates the “tassel” affect.
step 5.
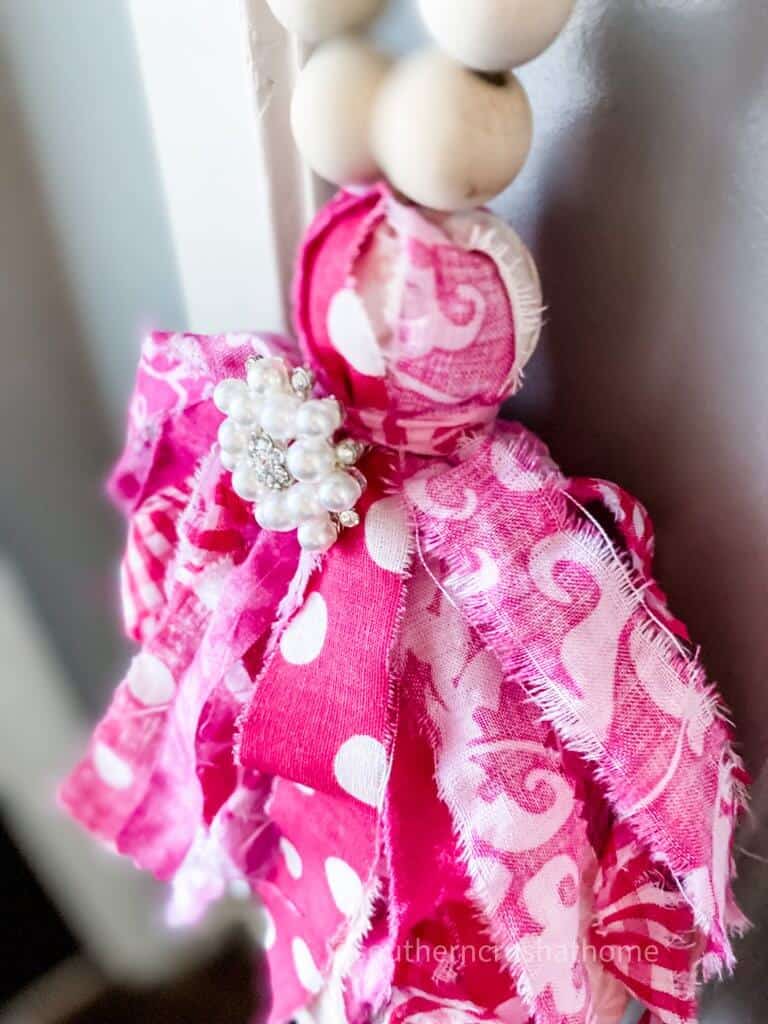
In order to cover the zip tie and keep it from showing; wrap a spare strip of scrap fabric around the zip tie and tie a knot.
step 6.
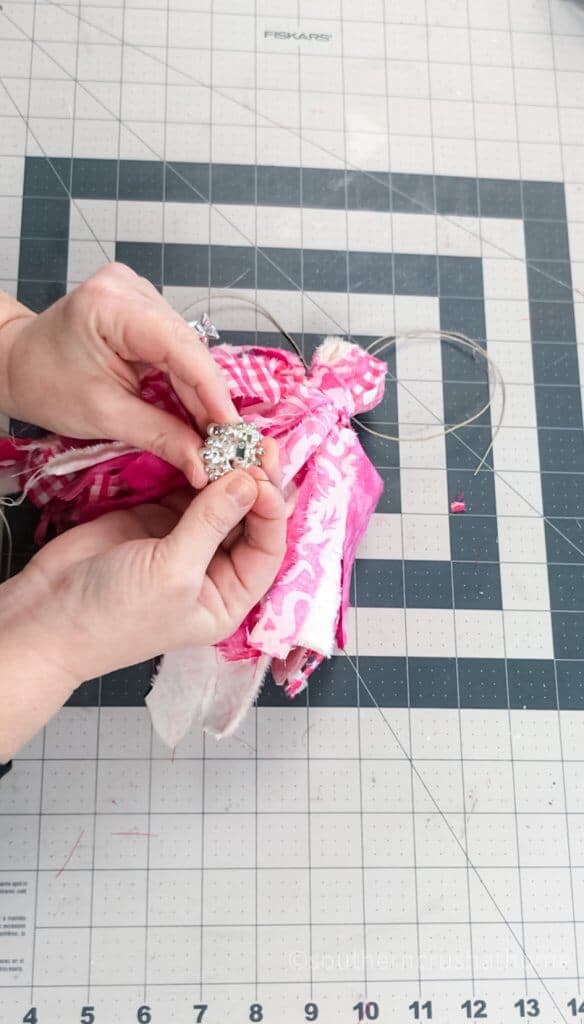
Pin or hot glue a pretty embellishment like this bling rhinestone jewelry piece where you secured the zip tie.
Everything is better with a little bling! This is something I always have in my craft stash. They can be used for everything.
step 7.
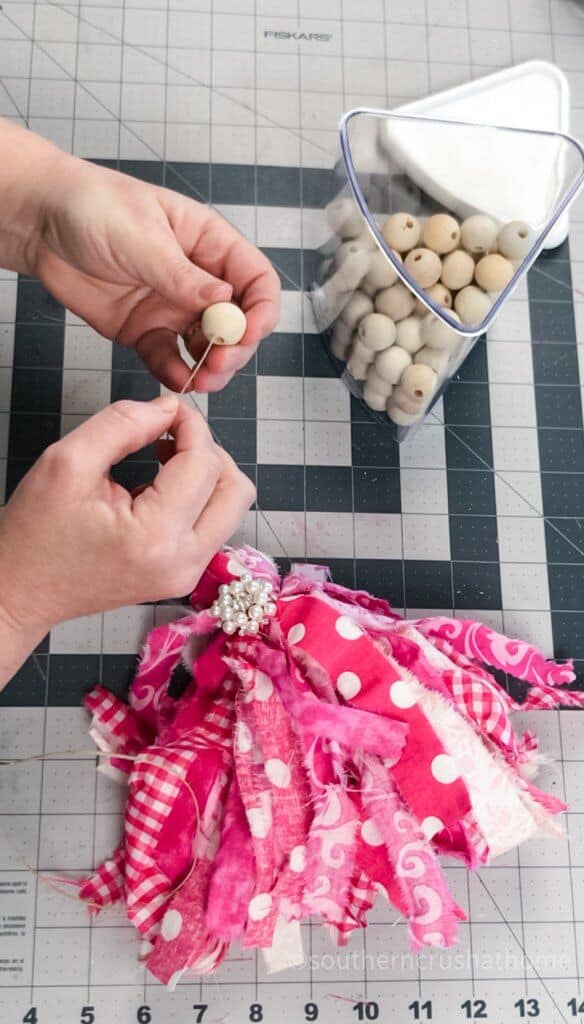
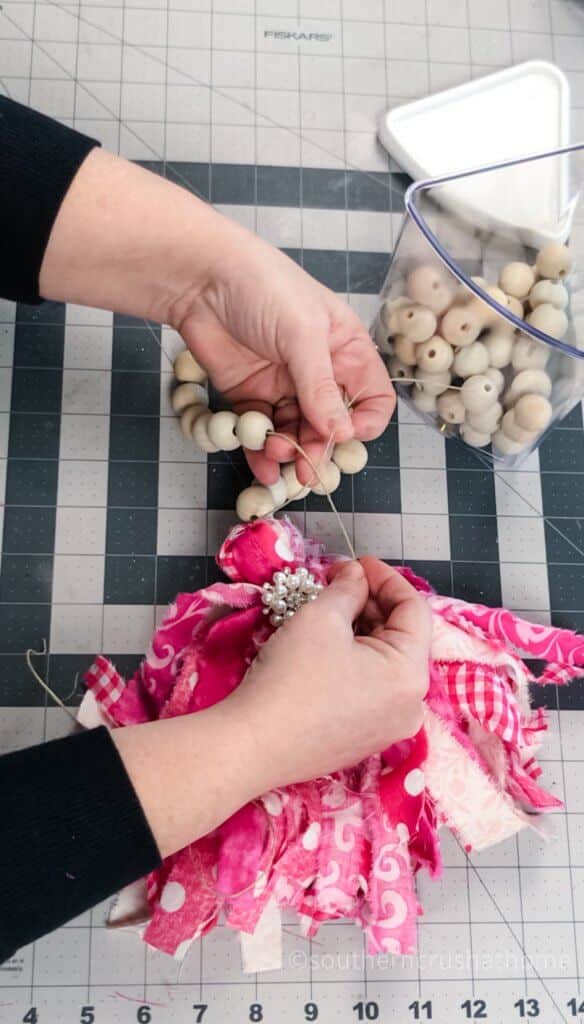
Now it’s time to start stringing the wooden beads onto the twine. This is when it all comes together.
Wooden beads are another thing I keep handy. I love using them to make all things farmhouse-style decor! These are 20mm, but you can use whatever size you like.
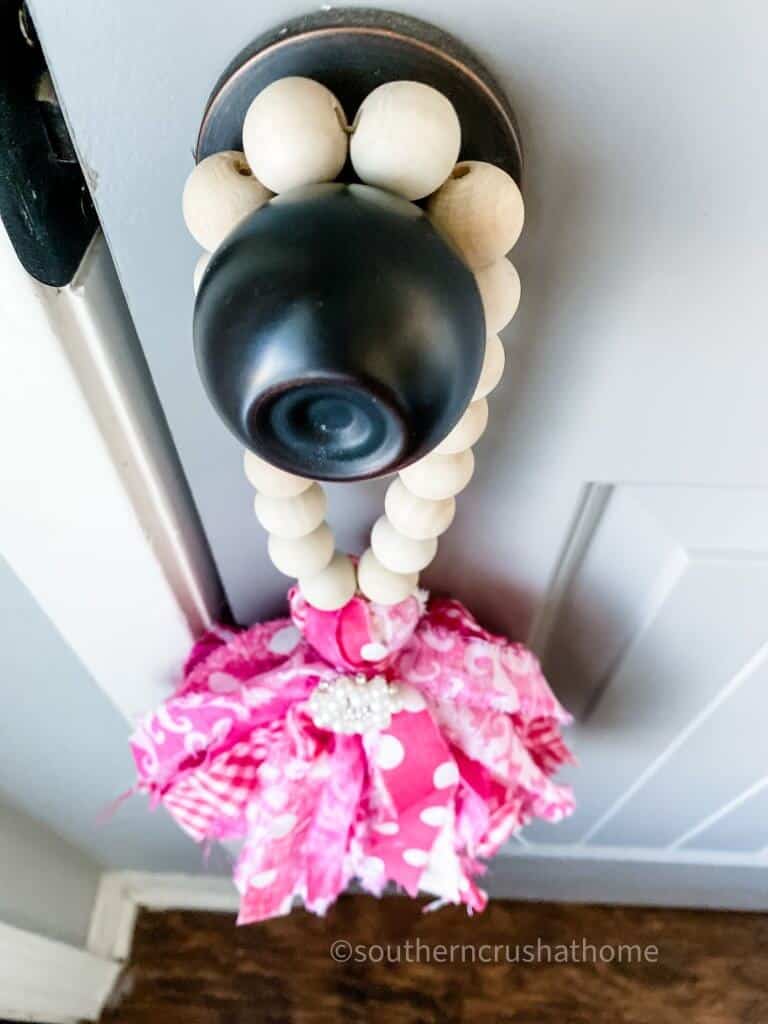
Continue adding the wood beads until you have enough to create a nice size loop that will work with your door knob or bottle or napkin ring.
I used about 18-20 wood beads for this one that is going on my coat closet door knob.
step 8.
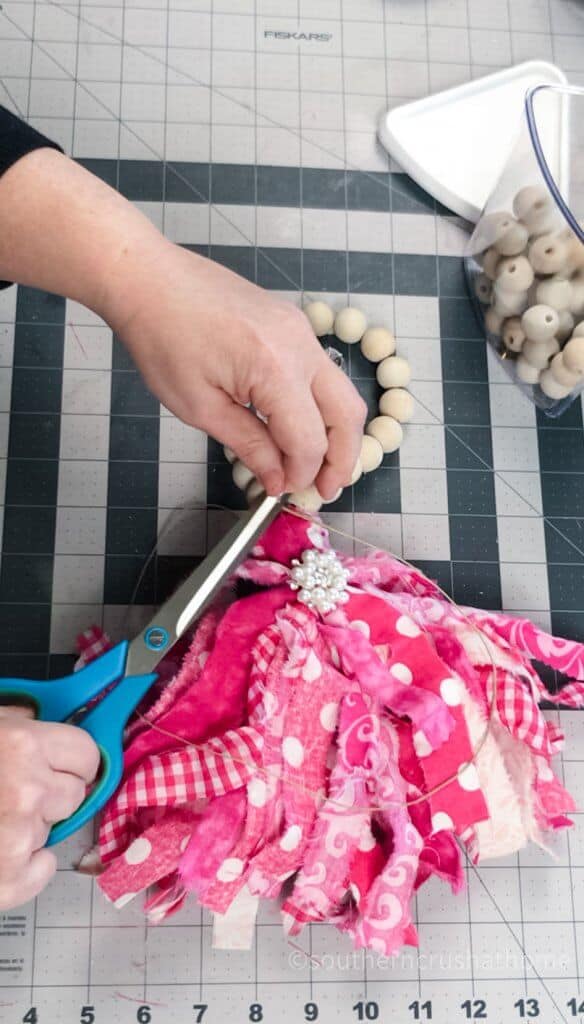
All that’s left is to tie off the two ends of the hemp twine and trim the excess.
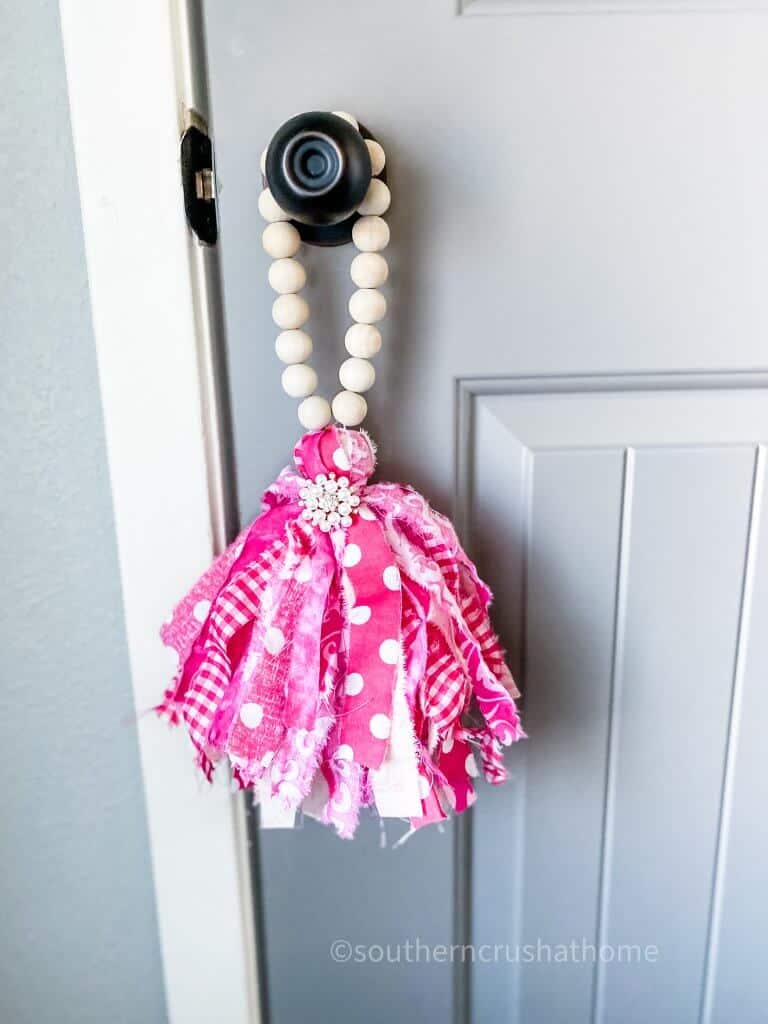
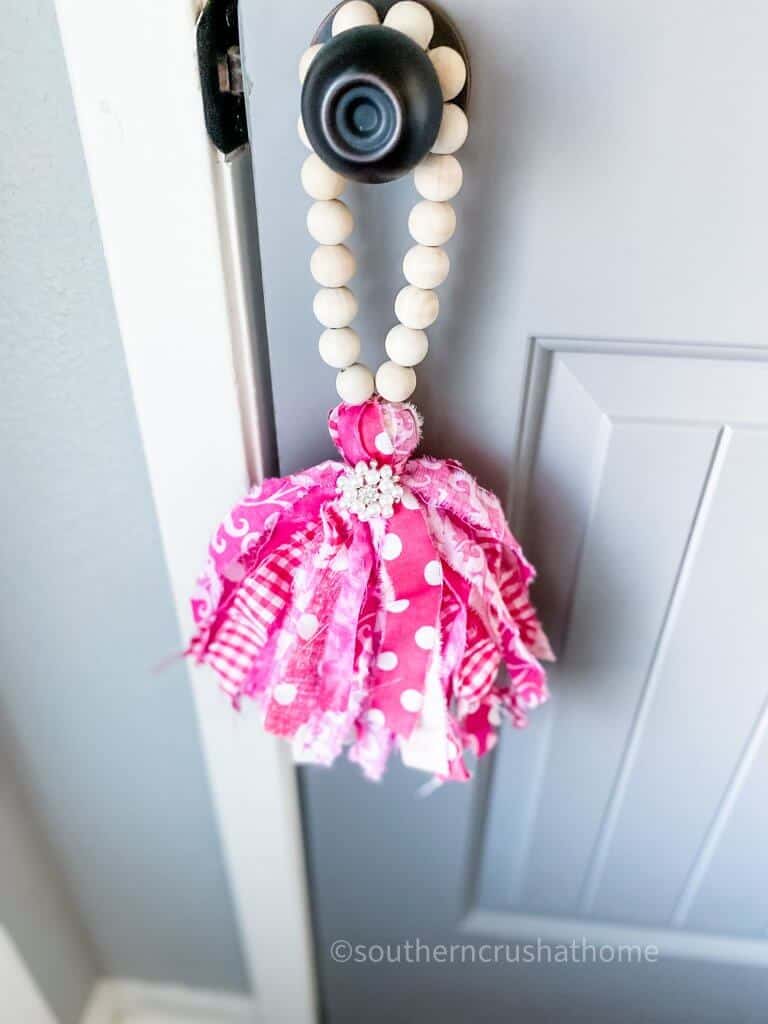
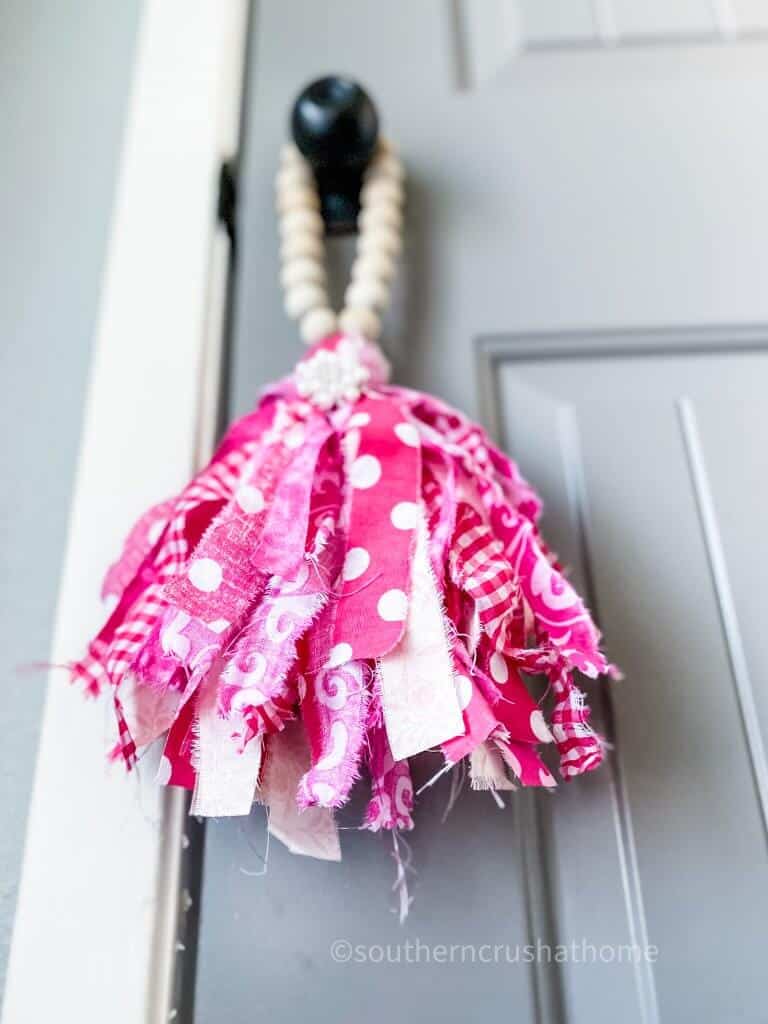
That’s all there is to it. Now you have a beautiful fabric tassel with a farmhouse-style wooden bead garland that you can use to decorate your home.
See how pretty it looks hanging on a doorknob…
The bright pink colors just make you smile, don’t they?
HOW TO DECORATE WITH A WOOD BEAD GARLAND
What do you think of this pretty wooden bead garland? How would you decorate with it?
I could see a wood bead garland used in any of the following ways:
- tabletop vignette
- around the neck of a glass bottle
- hanging on a lamp
- styled on a tiered tray
- hanging from a door knob
- wrapped around a candle
- napkin rings
- around a stack of stamped books
more ideas for wooden bead garlands
These pretty pieces of decor are super versatile. That’s my kind of decor; beautiful, fun and easy to change up!
You could use seasonal fabrics for each holiday. I’m already thinking of ways I can use up my scrap fabric stash every month with a new wood bead garland tassel! So much fun!
You could paint the beads (or buy colored), buy different size beads, add charms to the tassels or use different materials altogether.
The possibilities with this DIY project are truy endless!
STEP BY STEP VIDEO TUTORIAL
If you want to see the exact step-by-step process, be sure to check out this video below over on my YouTube Channel!
I hope you enjoyed this quick and easy tutorial.
Grab some of your favorite fabric and make your own today! I can’t wait to see what you create!
Be sure to PIN this for later!
BE SURE TO CHECK OUT THESE OTHER TASSEL IDEAS!
- DIY Decorative Books with Homemade Tassels
- Dollar Tree Mop Head Ghost Tassel
- Easter Bunny Wooden Tag DIY
Wood Bead Garland with Fabric Tassel
Equipment
- Fabric Scissors
Materials
- Assorted Fabric
- Wood Beads
- Hemp Twine
- Zip Tie
- Embellishment
Instructions
- Cut your fabric about 6" wide and 12" in length.
- Begin cutting 1" starter cuts on your first piece of fabric.
- Use the first piece of fabric with starter cuts as a template for your remaining pieces.
- Tear the fabric into long strips.
- Fold the tassels in half and secure them with a zip tie.
- Tie twine around it and pull it nice and tight.
- Secure a pretty embellishment.
- String the wood beads onto the jute.
- Tie off the two ends of the jute and trim the excess.
- Decorate with your pretty fabric wood bead tassel.





One Comment