Wine Cork Pumpkin DIY
Make a creative Wine Cork Pumpkin DIY using recycled wine corks. If you don’t drink wine, you can ask your friends to save theirs, or you can pick some up at the craft store. This little pumpkin can be used year after year in your fall decor.
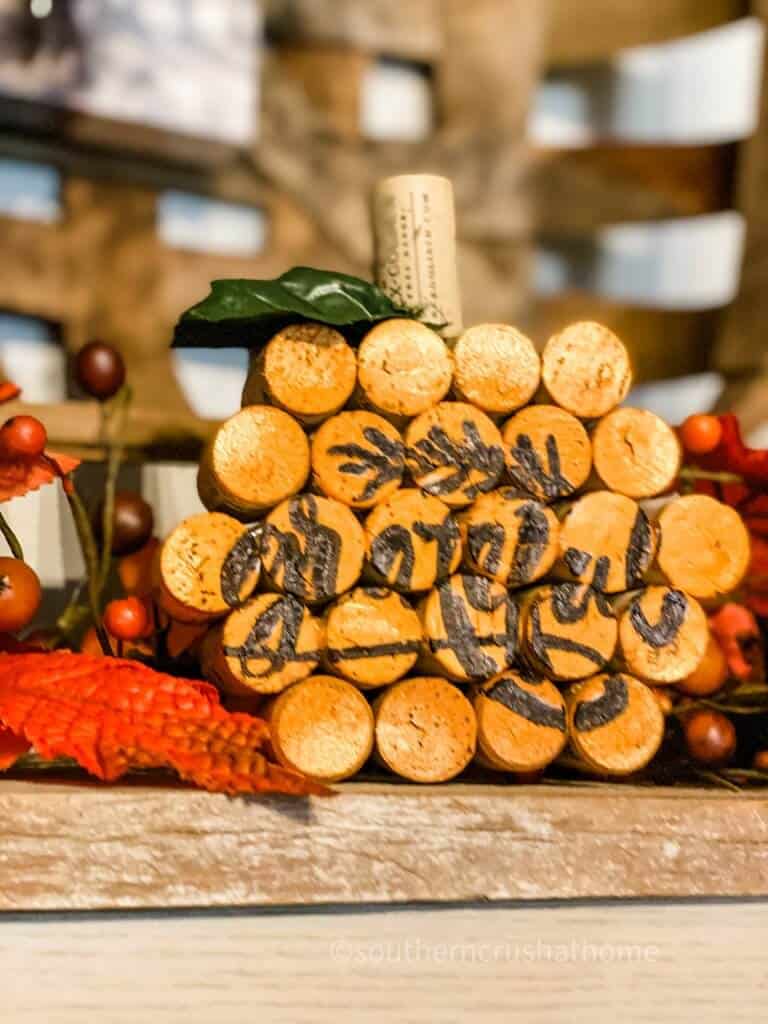
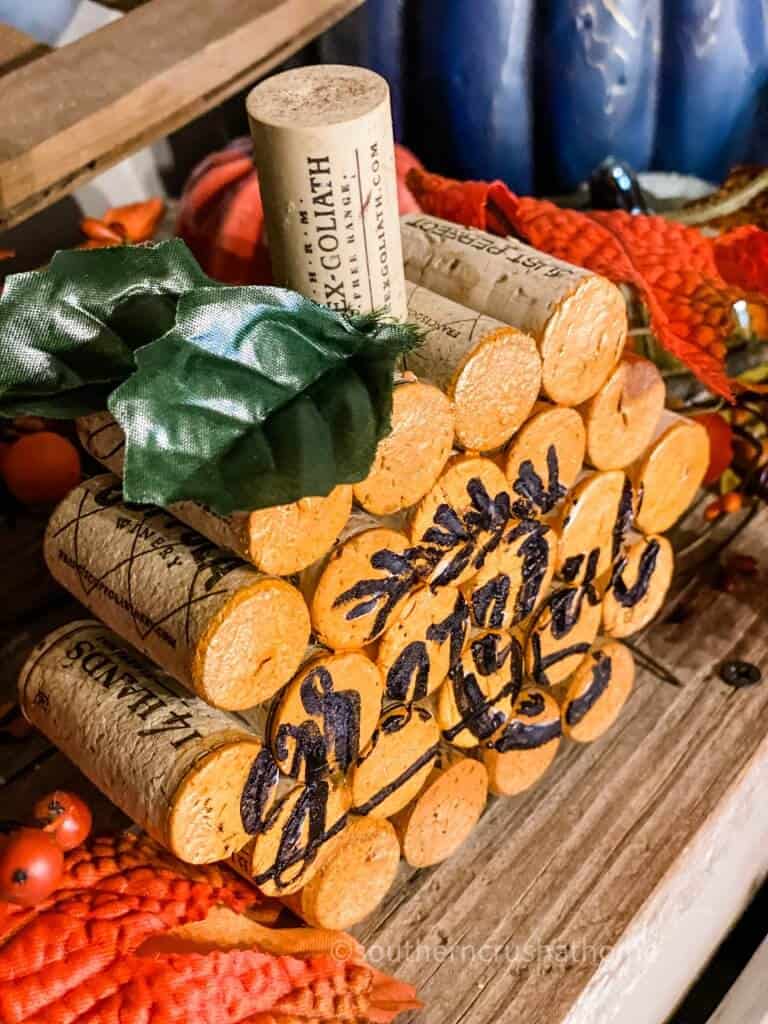
I couldn’t wait to share this adorable wine cork pumpkin DIY. We all love a good upcycled craft and this one couldn’t be easier. Just gather some wine corks and fire up the glue gun to make this little cutie. You can leave it a natural color, or paint it. I finished it off with a pretty grateful stencil. Use your creativity and most of all, have fun!
Are you ready to see the easy steps to make this pumpkin? Let’s get to it!
SUPPLIES needed for Wine Cork Pumpkin DIY
All the supplies needed can be found HERE in my Amazon Shop!
- Wine Corks
- Faux Leaves
- Christmas Stencil Bundle
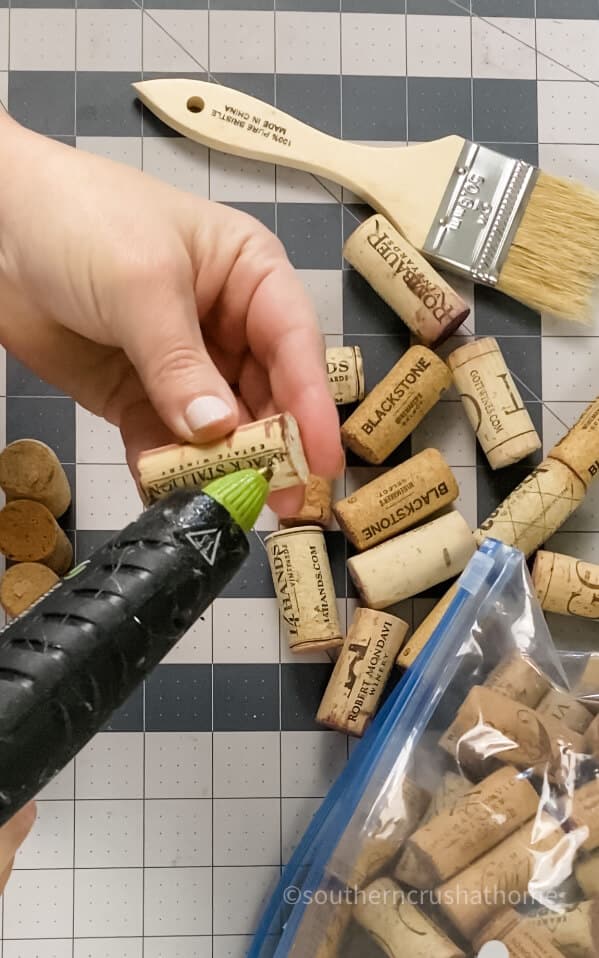
- Hot Glue Gun
- Sharpie Paint Pen
How to make a Wine Cork Pumpkin DIY
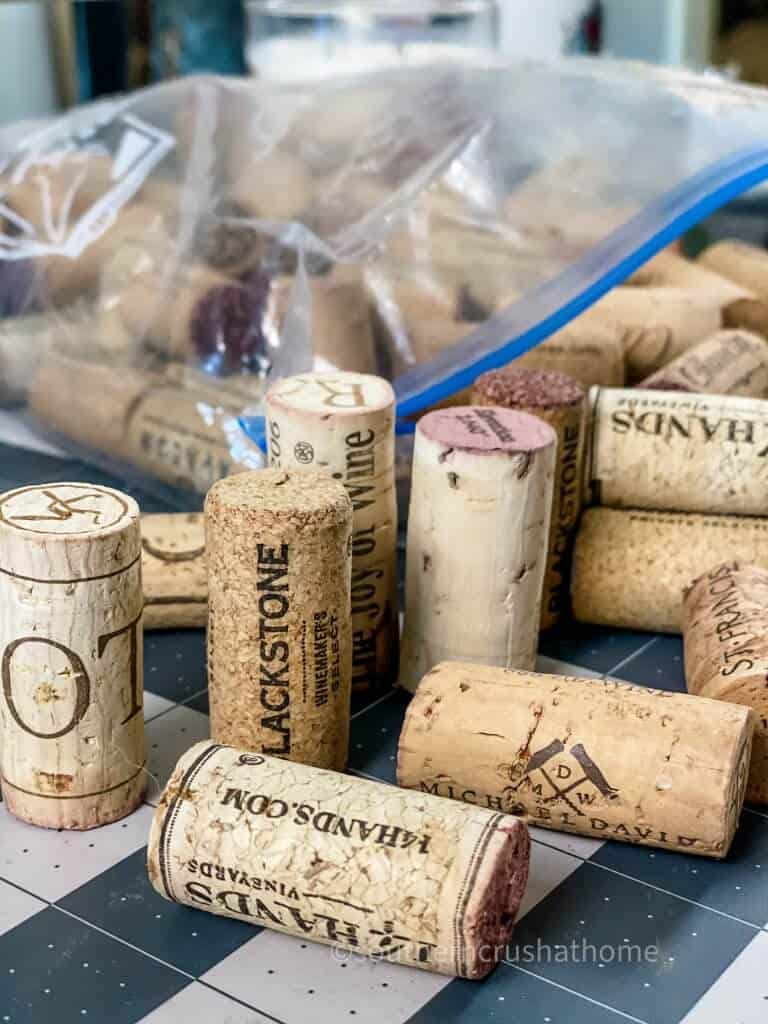
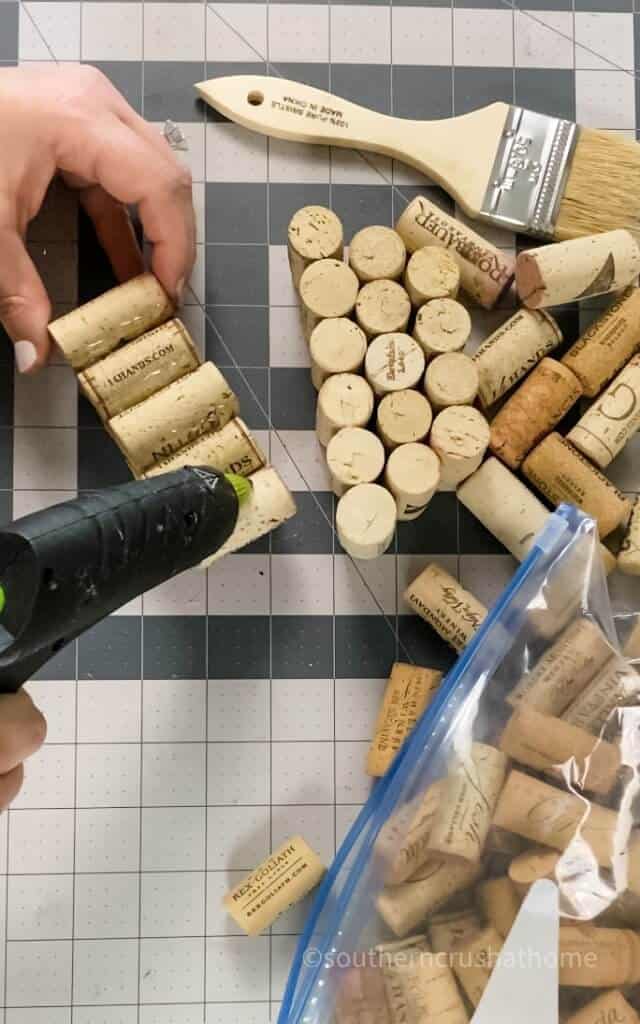
Gather your wine corks. Hot glue the wine corks together trying to choose similar size corks so they will line up properly.
Continue to hot glue wine corks together in a row of four for the bottom of the pumpkin.
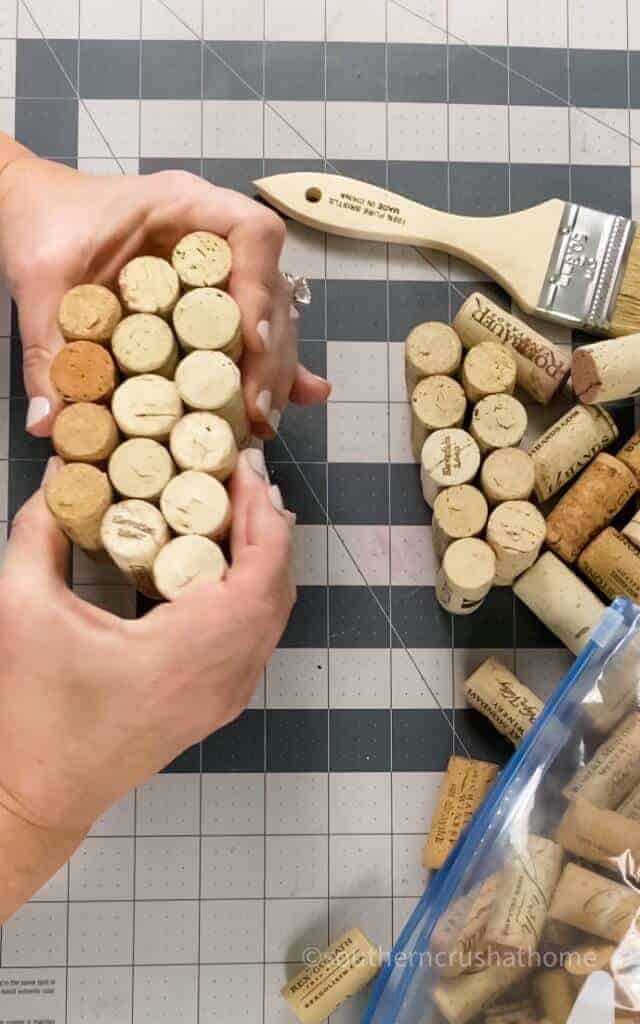
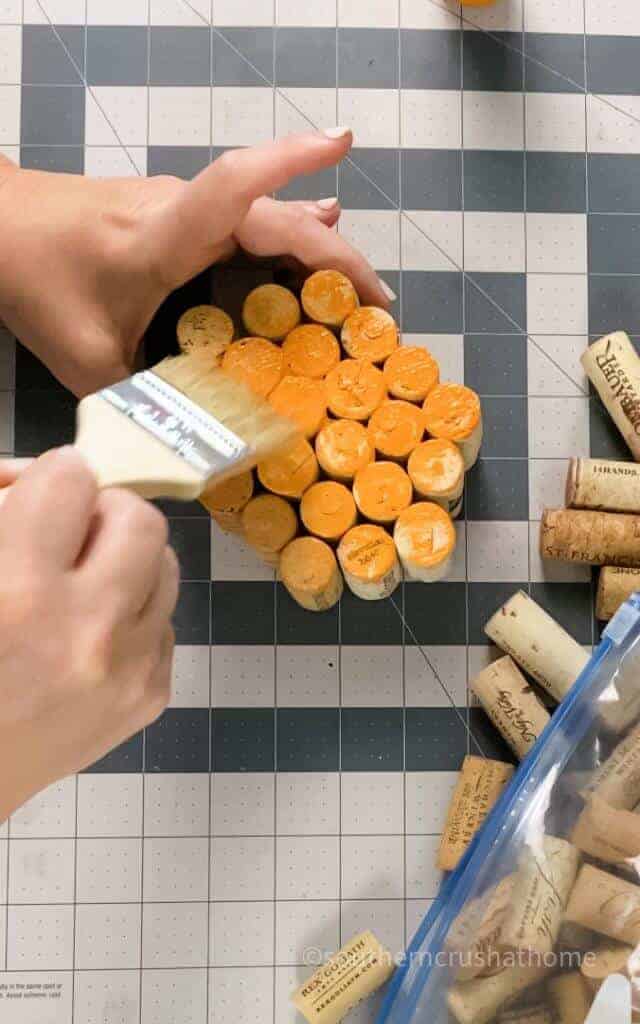
Next up use your chip brush to paint a light coat of orange paint on the pumpkin.
Wine Cork Pumpkin DIY
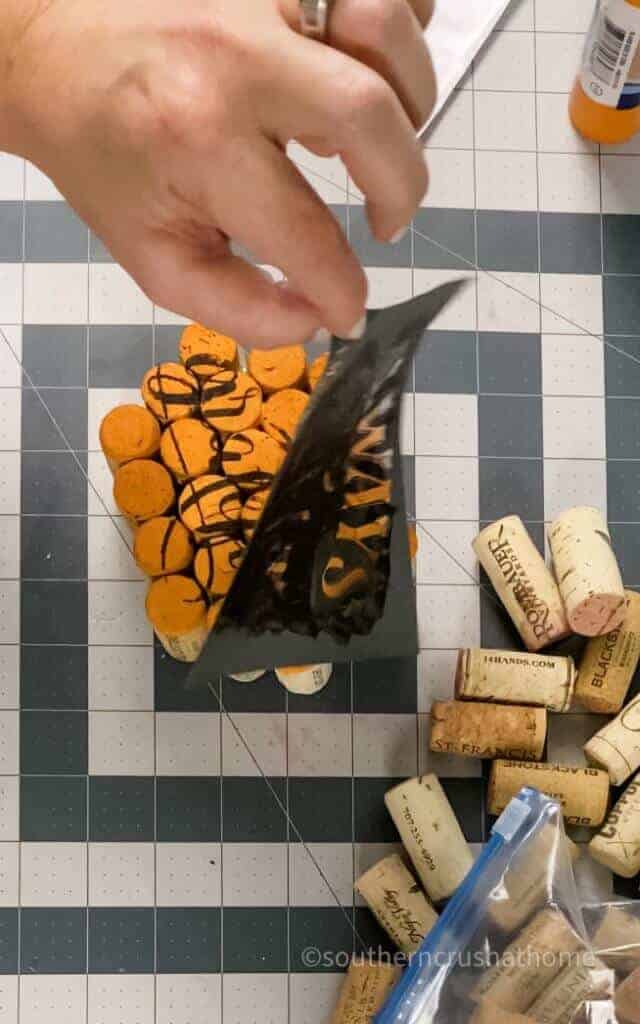
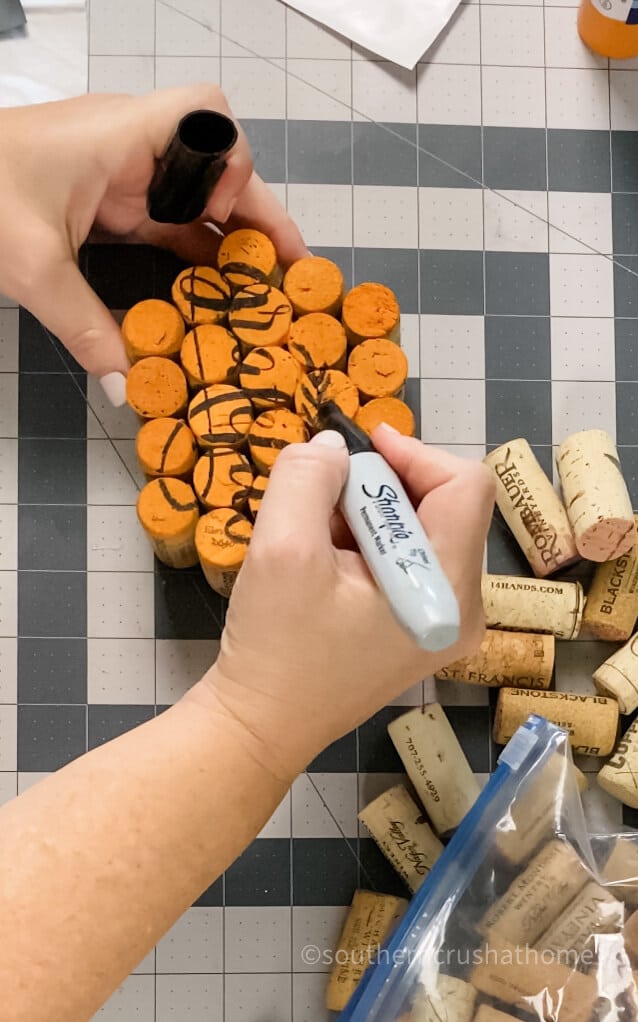
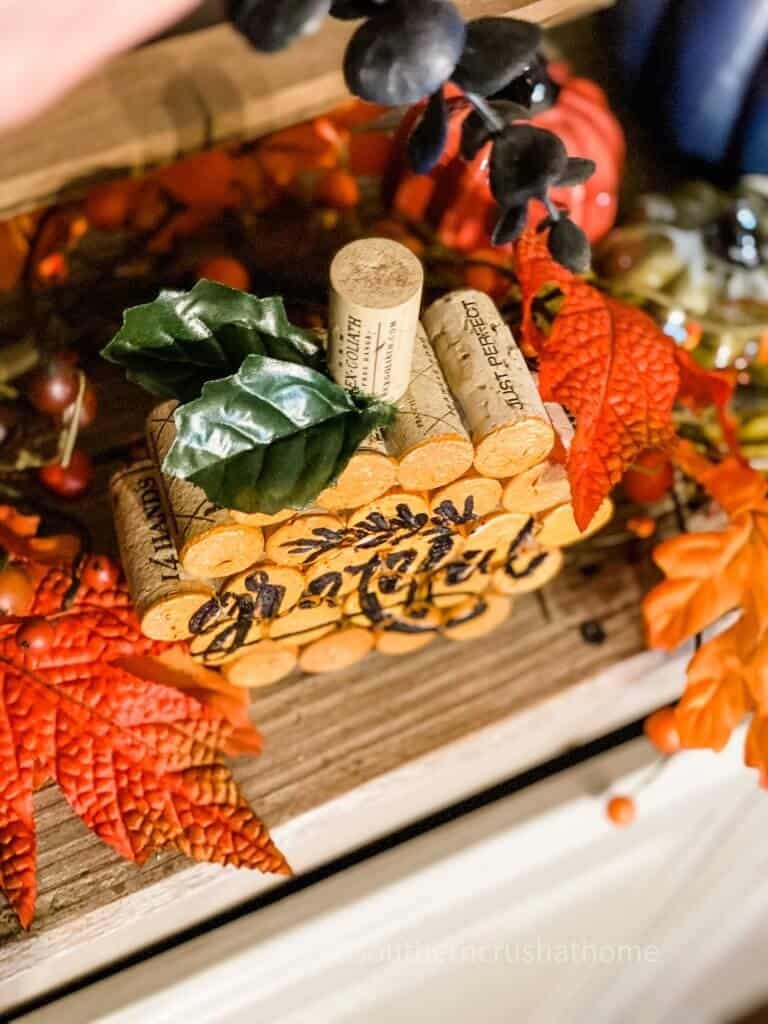
To really make this pumpkin stand out, I added the word grateful to the front of the pumpkin with a stencil and a sharpie paint pen.
Finish it off by gluing a wine cork to the top of the pumpkin to represent the stem.
Add a couple of faux leaves to the top and this little pumpkin is complete!
Doesn’t it look just adorable? And to think this started out as with a bag of wine corks. Now that I’ve made a pumpkin and a tree, what do you think about a snowflake for winter? What idea do you have for a wine cork craft?
Wine Cork Pumpkin DIY
Here are just a few ways you can decorate with your gnome wreath. Of course, hanging it on your front door is the obvious choice, but here are a few more ideas.
- Add it to a tray with other fall pieces for a pretty fall vignette.
- Place it in your kitchen window, or on a mantel.
- It makes a perfect shelf sitter for a tiered tray.
step by step video tutorial
If you want to see the exact step-by-step process, be sure to check out this video tutorial below over on my YouTube Channel!
BE SURE TO CHECK OUT THESE OTHER DIY PUMPKIN IDEAS!
- Dollar Tree Pumpkin Pillow
- DIY Leopard Pumpkin Wall Art: Simple Fall Decor
- 13 Dollar Tree Pumpkin Wreath Form Ideas
Be sure to PIN this for later!
Wine Cork Pumpkin DIY
Equipment
Materials
- Wine Corks
- Faux Leaves
- Grateful Stencil
- Sharpie Paint Pen
Instructions
- Hot glue the wine corks together trying to choose similar size corks.
- Hot glue the second row with five wine corks and six wine corks for the third row.
- Hot glue each row together.
- Glue five wine corks for the fifth row and four wine corks for the final sixth row.
- Paint a light coat of orange paint on the pumpkin.
- Stencil grateful on the front of the pumpkin with a stencil and sharpie.
- Glue a wine cork to the top of the pumpkin along with a couple of faux leaves.


fun!
I like that you added the stencil too! Also, I see you put the tree in a picture frame? Lots of cute ideas! I’m finishing up making the $ Tree metal ribbon pumpkin. I may put a tea light ( battery type) inside with some moss…
Perfect project for the corks I’ve been saving!
I’ve got lots of corks to try this!