Dollar Tree Spiderweb Doormat DIY
This Dollar Tree Spiderweb Doormat DIY is the perfect way to greet trick or treaters on Halloween. Wait until you see just how easy and fast it is to make!
Have you ever had a craft idea and you weren’t quite sure how it was going to turn out? Let’s face it, updating a Dollar Tree doormat could go either way. But, I’m just thrilled with the results. Who knew a boring black $1 mat could be updated to look like a holiday doormat you see at home stores for 10X the price?! You may also like this Halloween Doormat I made with the same Dollar Tree mat last year!
You know I’m already thinking about what type of mat I can create for Christmas. Do you have any ideas? I’m thinking a Santa silhouette would be just darling!
Let me show you what you need so you can whip one up in plenty of time for Halloween. And, you can use this piece next year too!
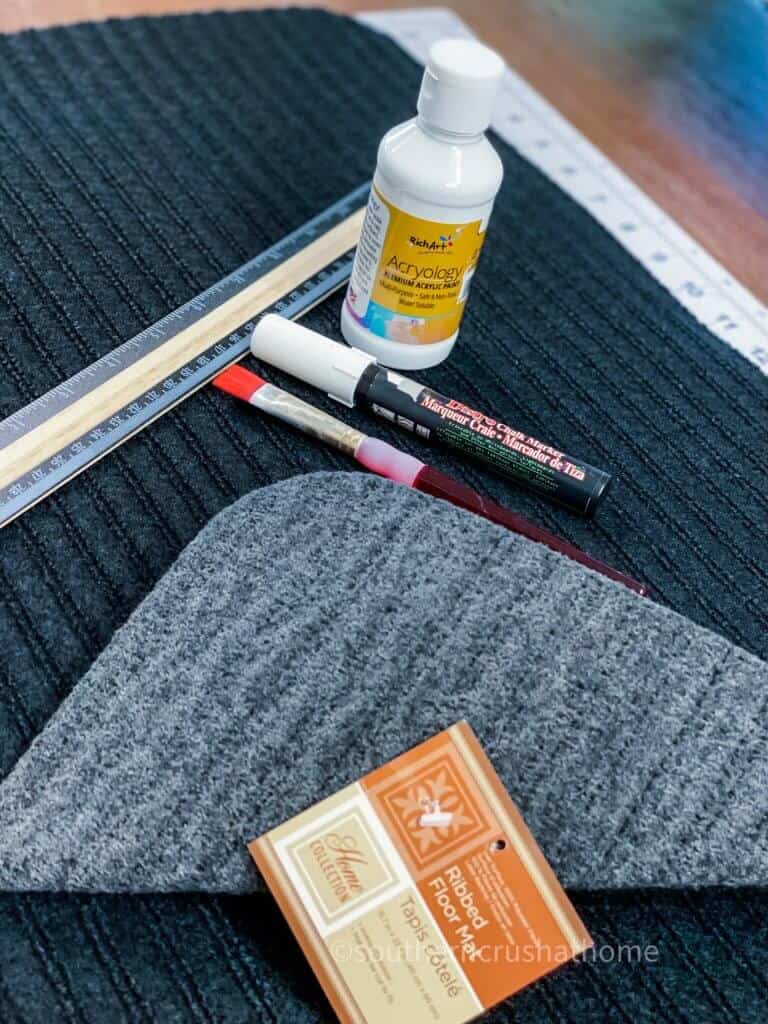
WHAT YOU’LL NEED TO MAKE a Spiderweb doormat
All the supplies needed can be found HERE in my Amazon Shop!
- Black Doormat – Dollar Tree
- White Acrylic Paint
- White Chalk Marker
- Narrow Paint Brush
- Ruler
HOW TO MAKE a Dollar Tree Spiderweb doormat
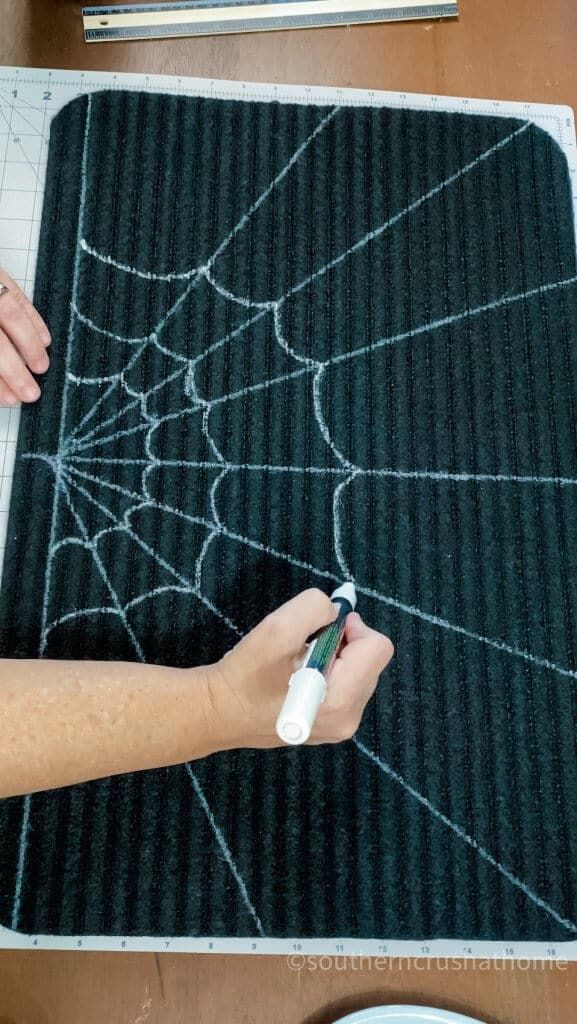
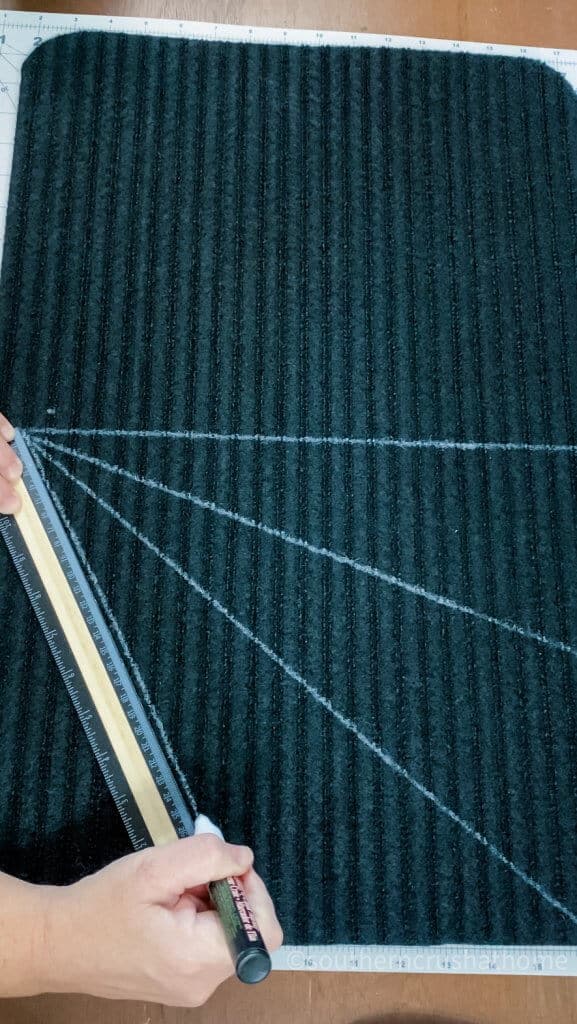
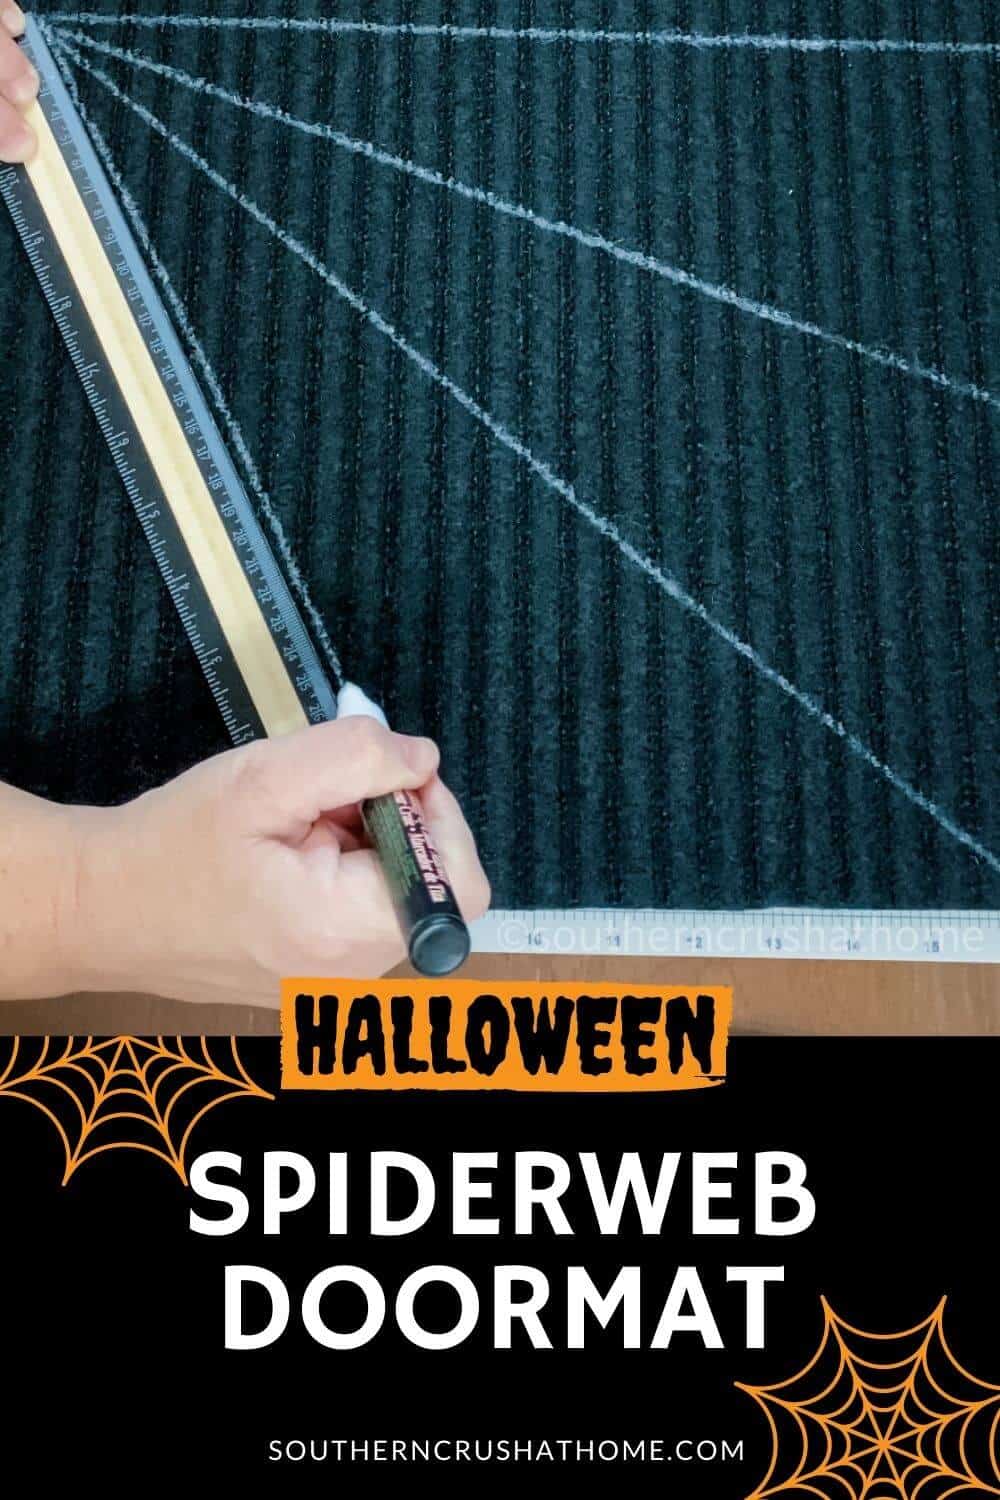
Start by making lines spread out across the doormat using your ruler and the chalk marker. The ruler will be your best friend with this project! You can eyeball the lines, or measure out where you want the lines to be. If you decide to eyeball it, you might want to use a piece of chalk first. That way you can easily remove the lines if it doesn’t look right. It doesn’t have to be exact, so I would just say go for it.
NEXT…
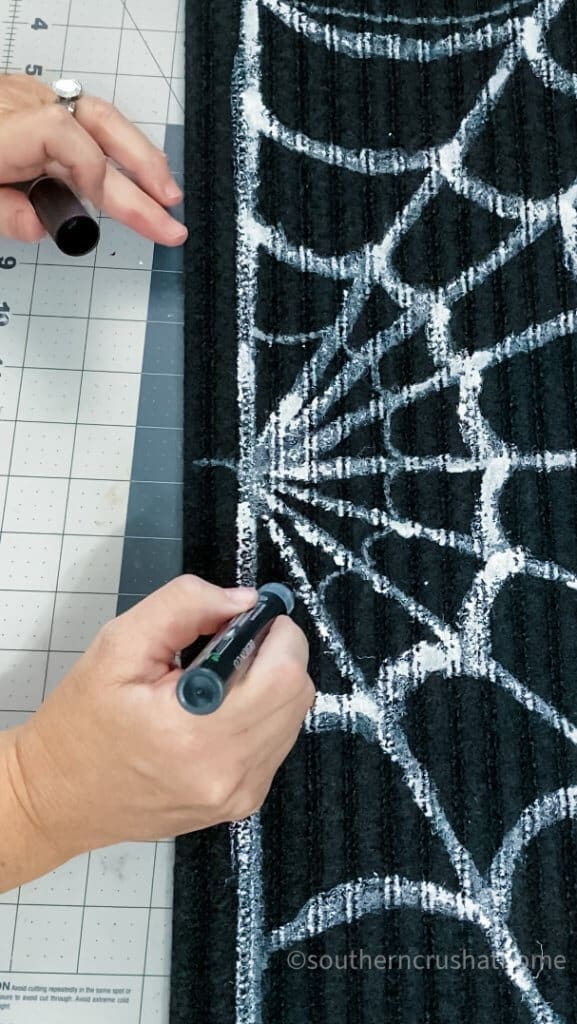
Now that you have the lines drawn with the chalk marker, go back over each line with white acrylic paint. Use a narrow paintbrush for this step. Just take your time and enjoy the process. It really does come together quickly.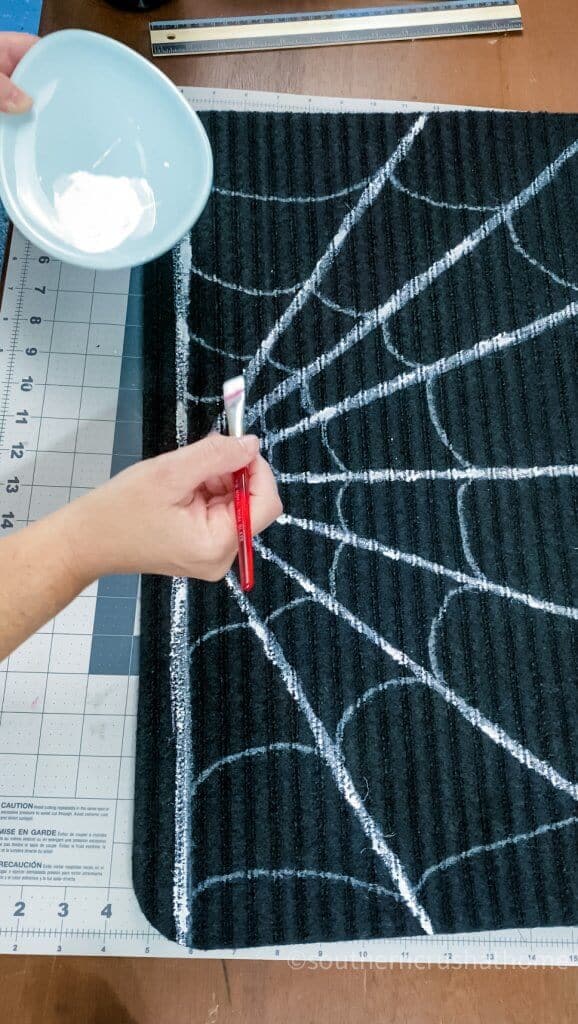
Let the paint dry. You can also go back in with the black chalk marker and fill in any spaces, or highlight any areas to add depth and dimension.
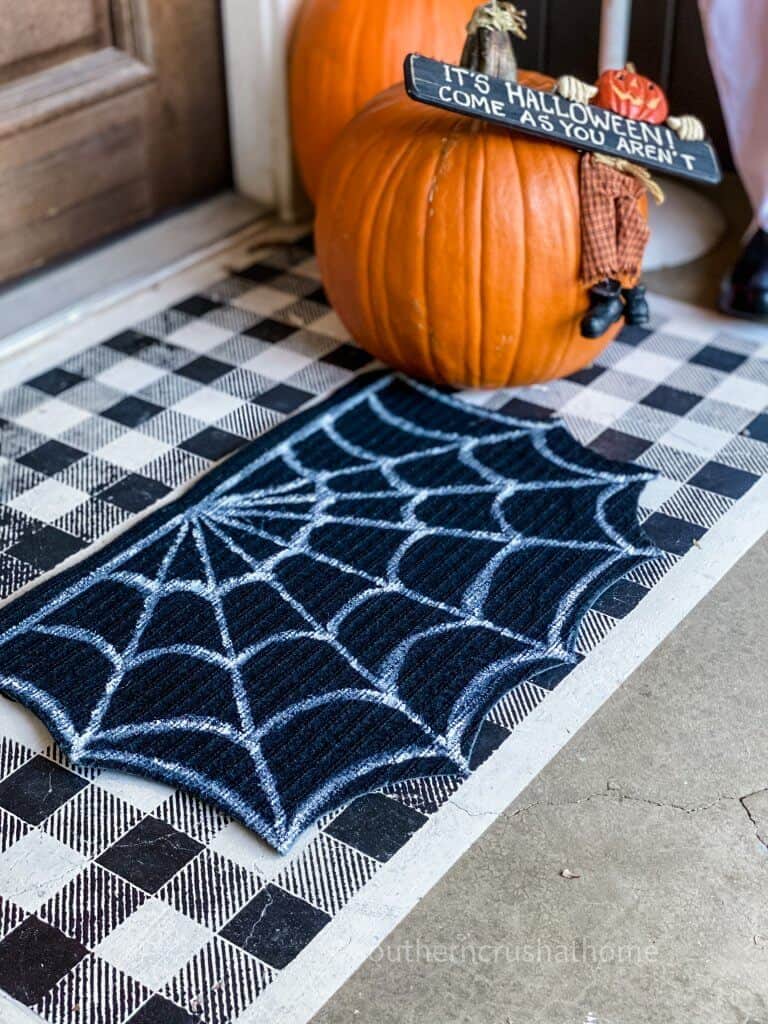
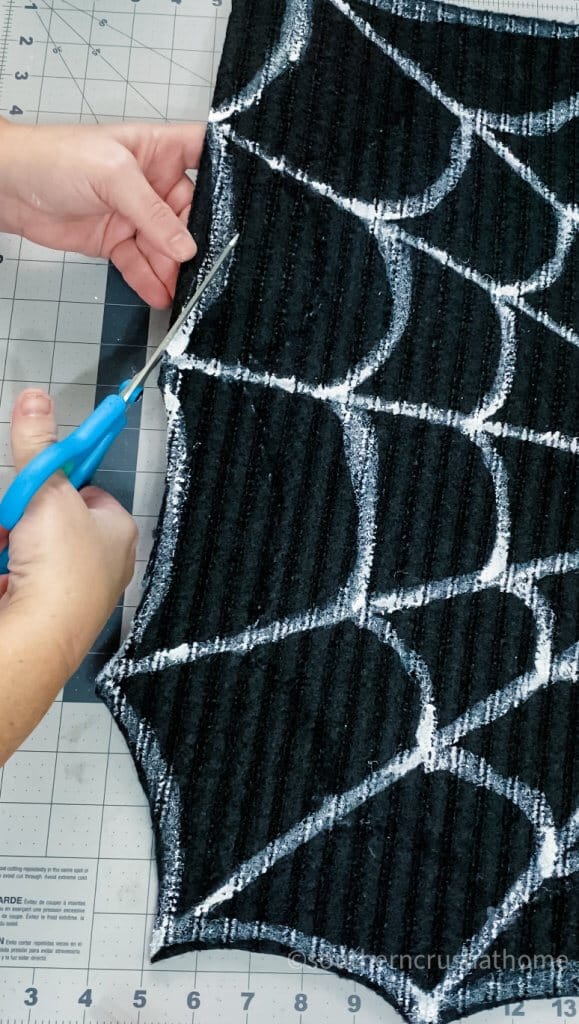
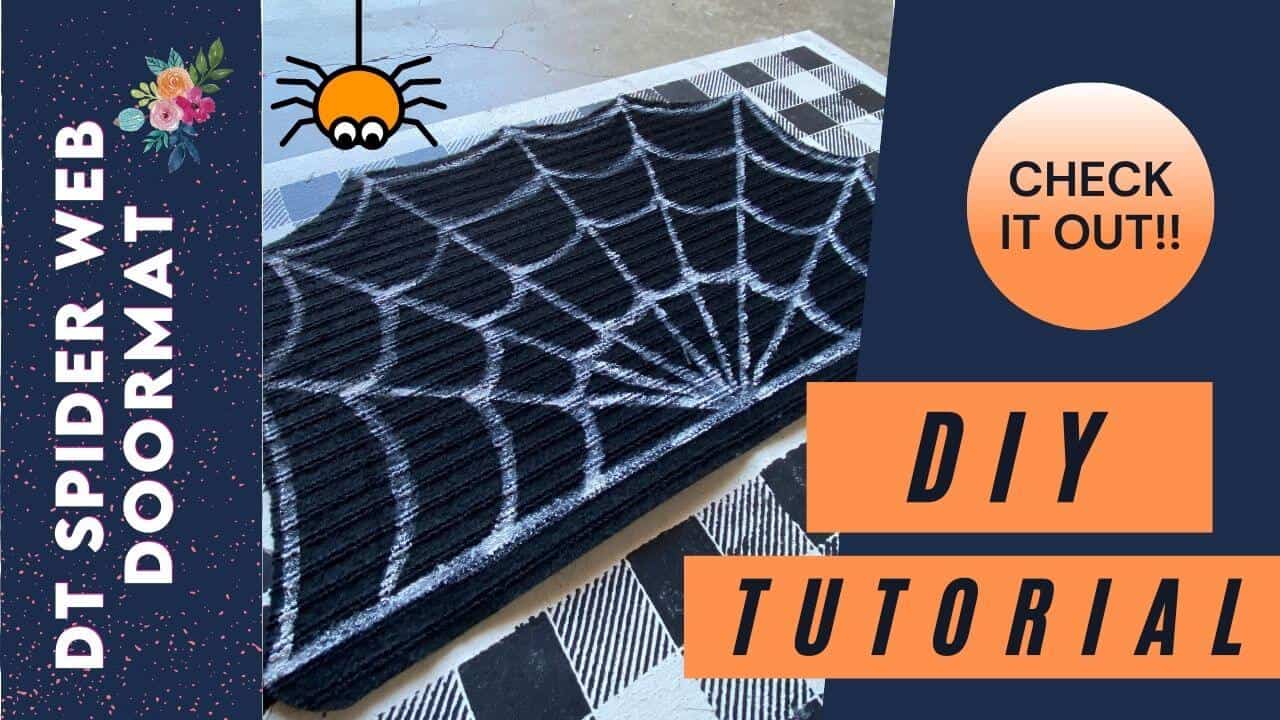
Now for the fun part! What really makes this doormat stand out is having curved edges. You can achieve this look by using sharp scissors to cut out the lines on top of the mat.
THAT’S IT!
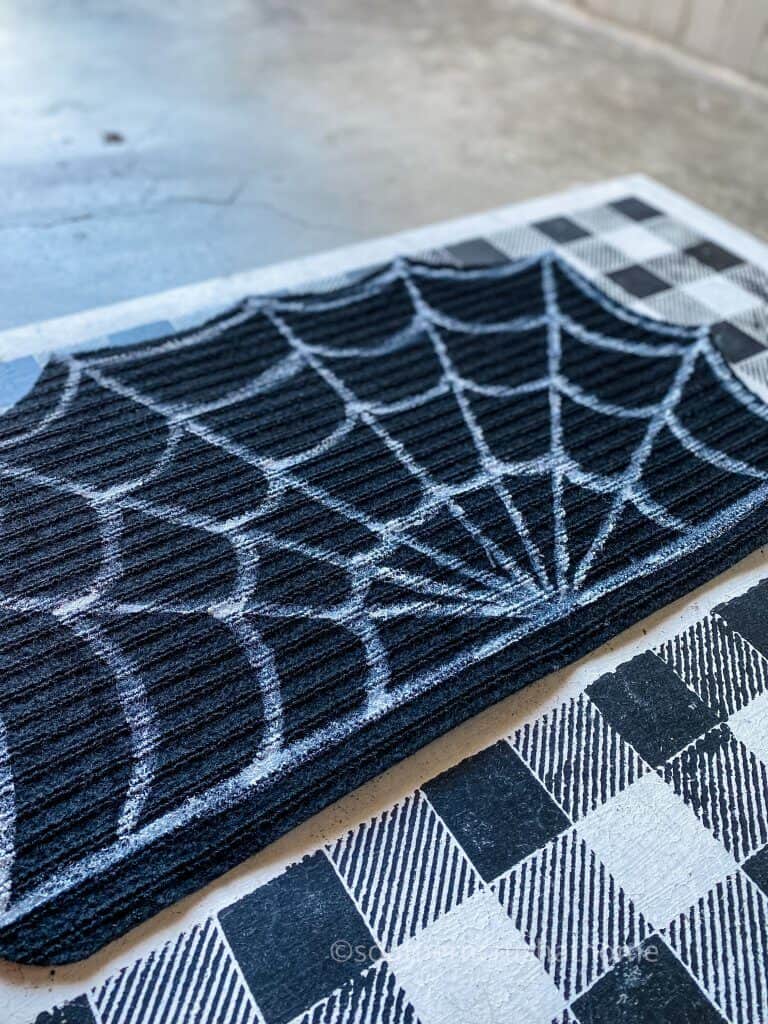
Can you believe this Halloween doormat was made for just about $2? Look how pretty it looks layered on my DIY buffalo check doormat.
Is this something you could see yourself trying? If you do, please share a photo in the comments below. Think about how many different ways you could update a Dollar Tree doormat. If you are not comfortable freehanding, what about using stencils? Experiment and have fun. Even if you mess up, you are only out $1. Though I am a firm believer that there are no mistakes in crafting.
STEP BY STEP VIDEO TUTORIAL
If you want to see the exact step-by-step process for this Halloween doormat, be sure to check out the video tutorial below over on my YouTube Channel!

2 Comments