How to Make a Pool Noodle Halloween DIY Ghost
Are you looking for a fun, easy and inexpensive halloween decoration? It’s almost time for those Halloween parties. Why not take a break from the regular pumpkin carving and make a cute pool noodle halloween diy ghost instead!
They’re easy to make and will be an instant conversation starter at your party. Here is everything you need to know about how to make these spooky ghosts!
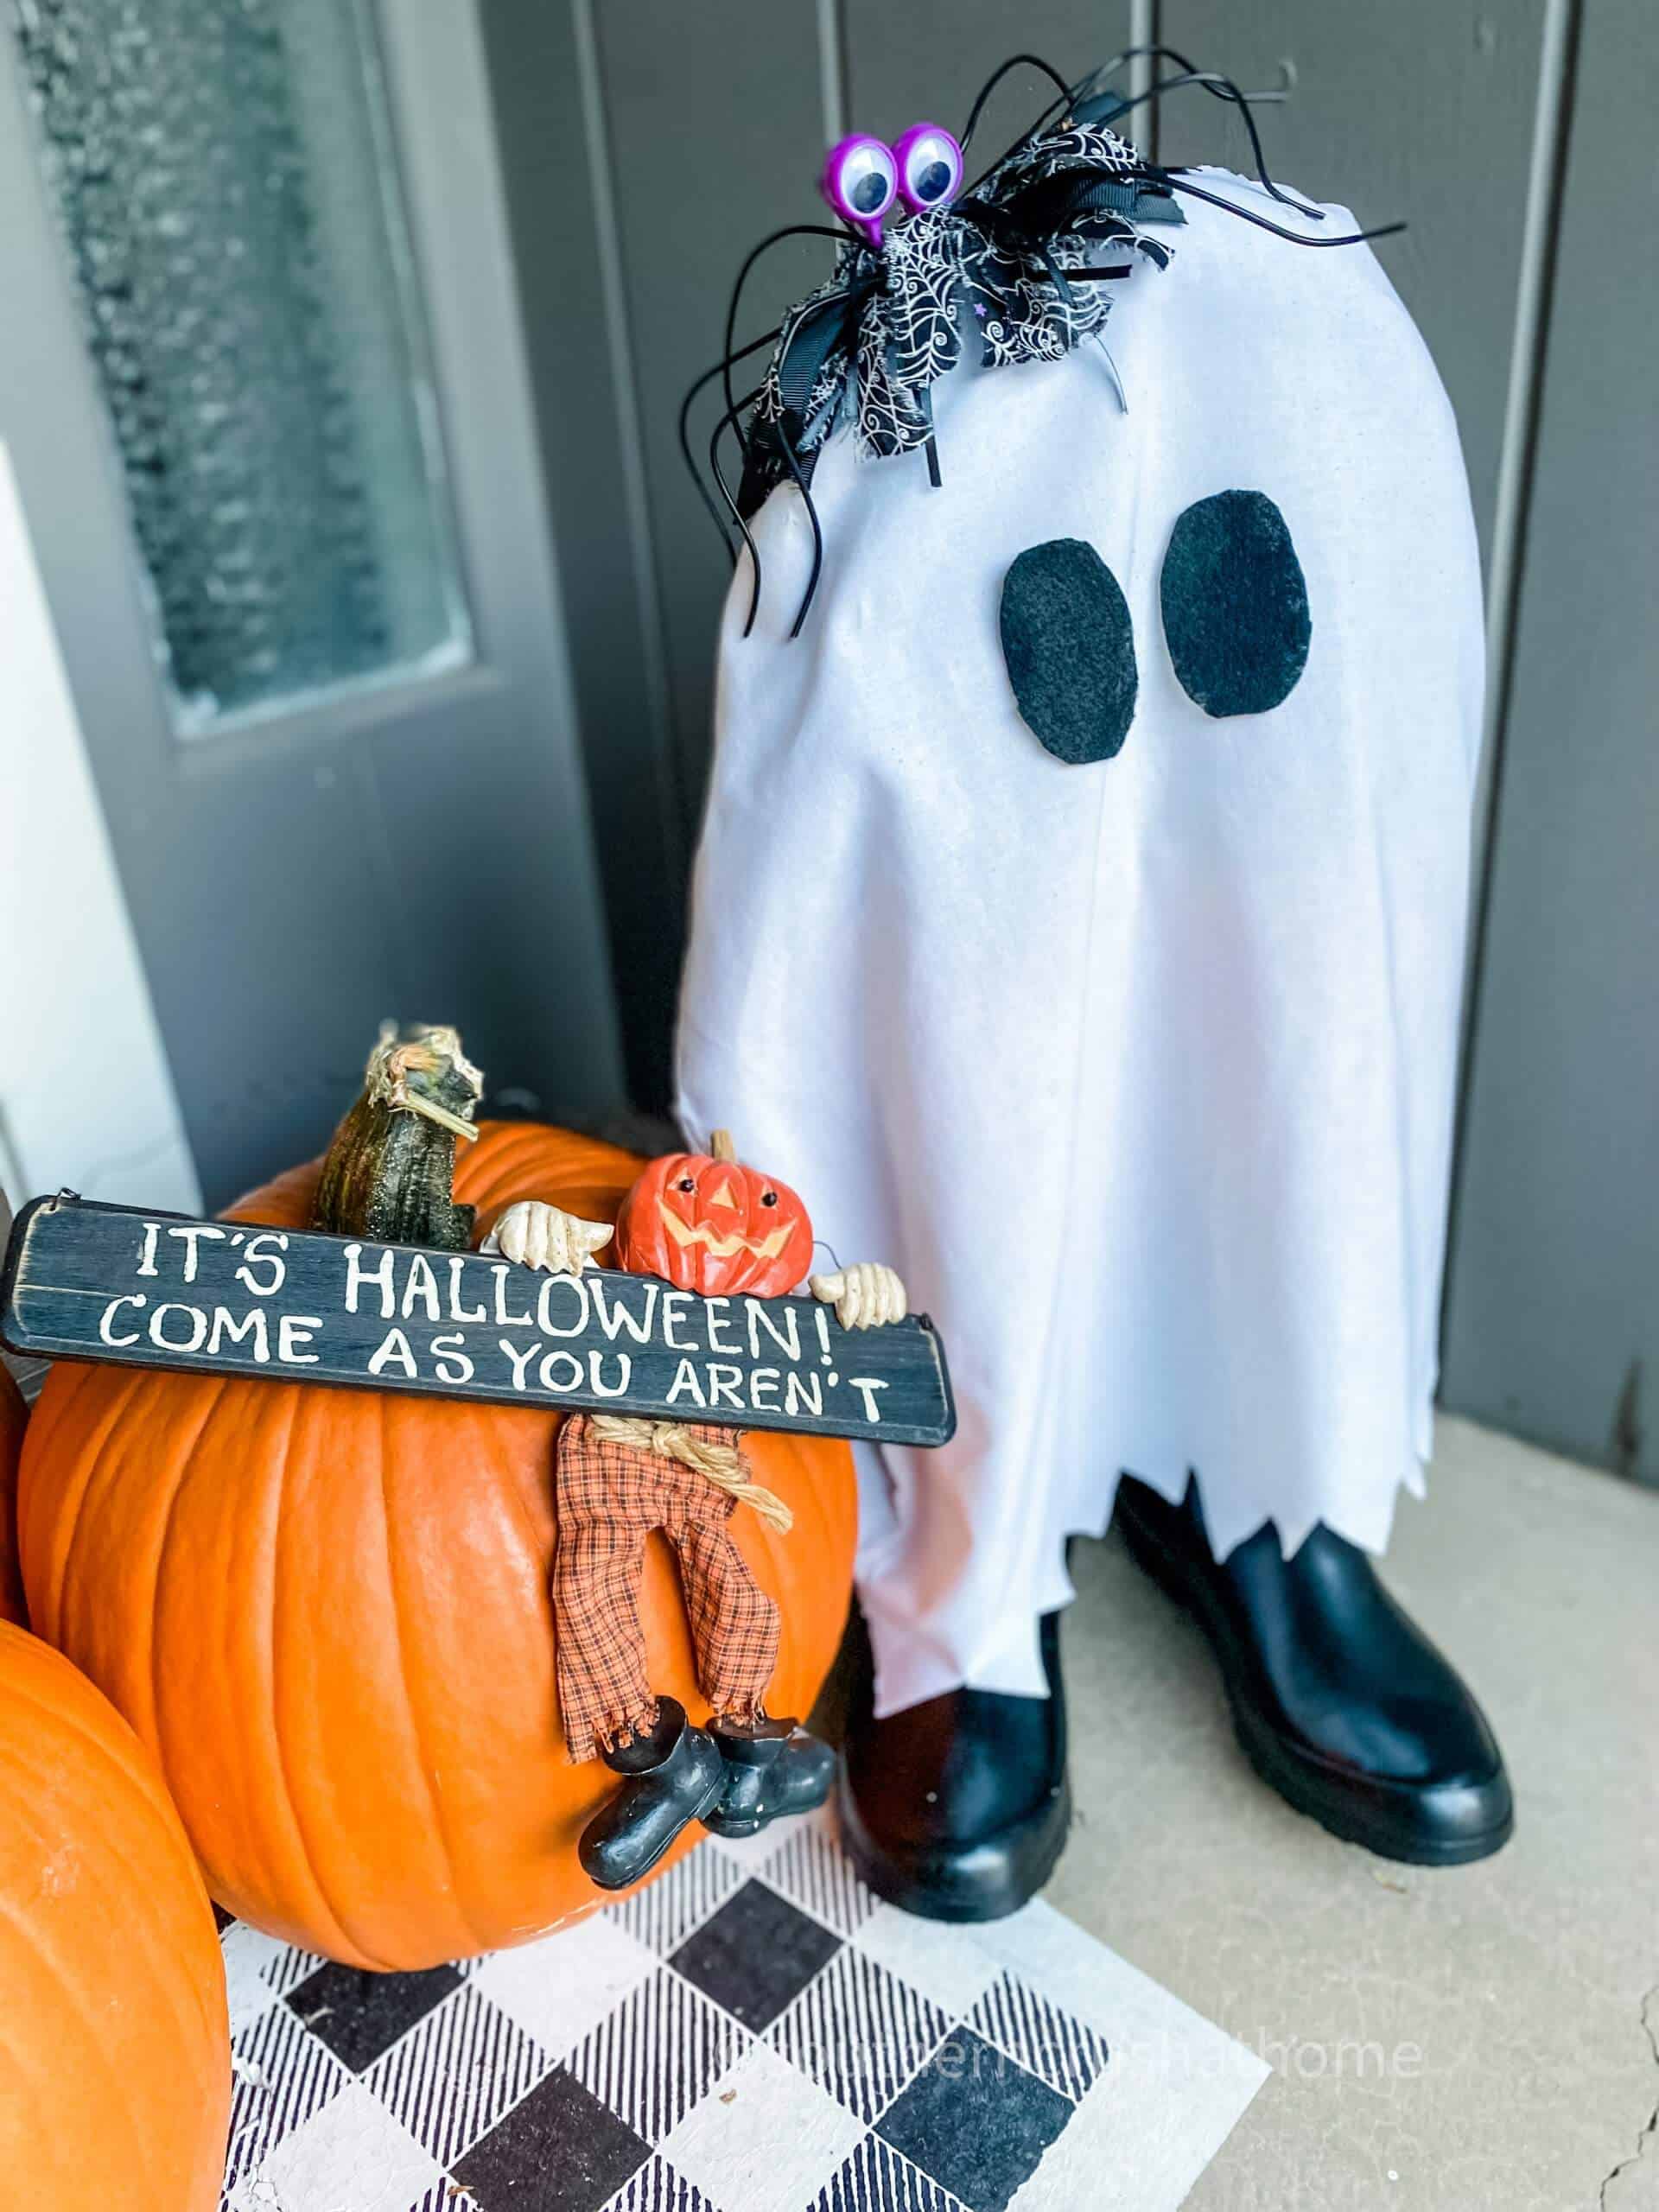
This is a great last minute pool noodle craft that only takes a few supplies and you may already have them lying around your house like I did! It’s a great way to upcycle some old worn out rain boots into a cute ghost.
This blog post contains affiliate links. The opinions are wholly my own from my own experience. I may earn a small commission from clicks through to the websites that end in a purchase.
Supplies You Will Need for this Halloween DIY
- old pair of rain boots
- spray paint if they’re not black
- white pillowcase
- black felt
- scissors
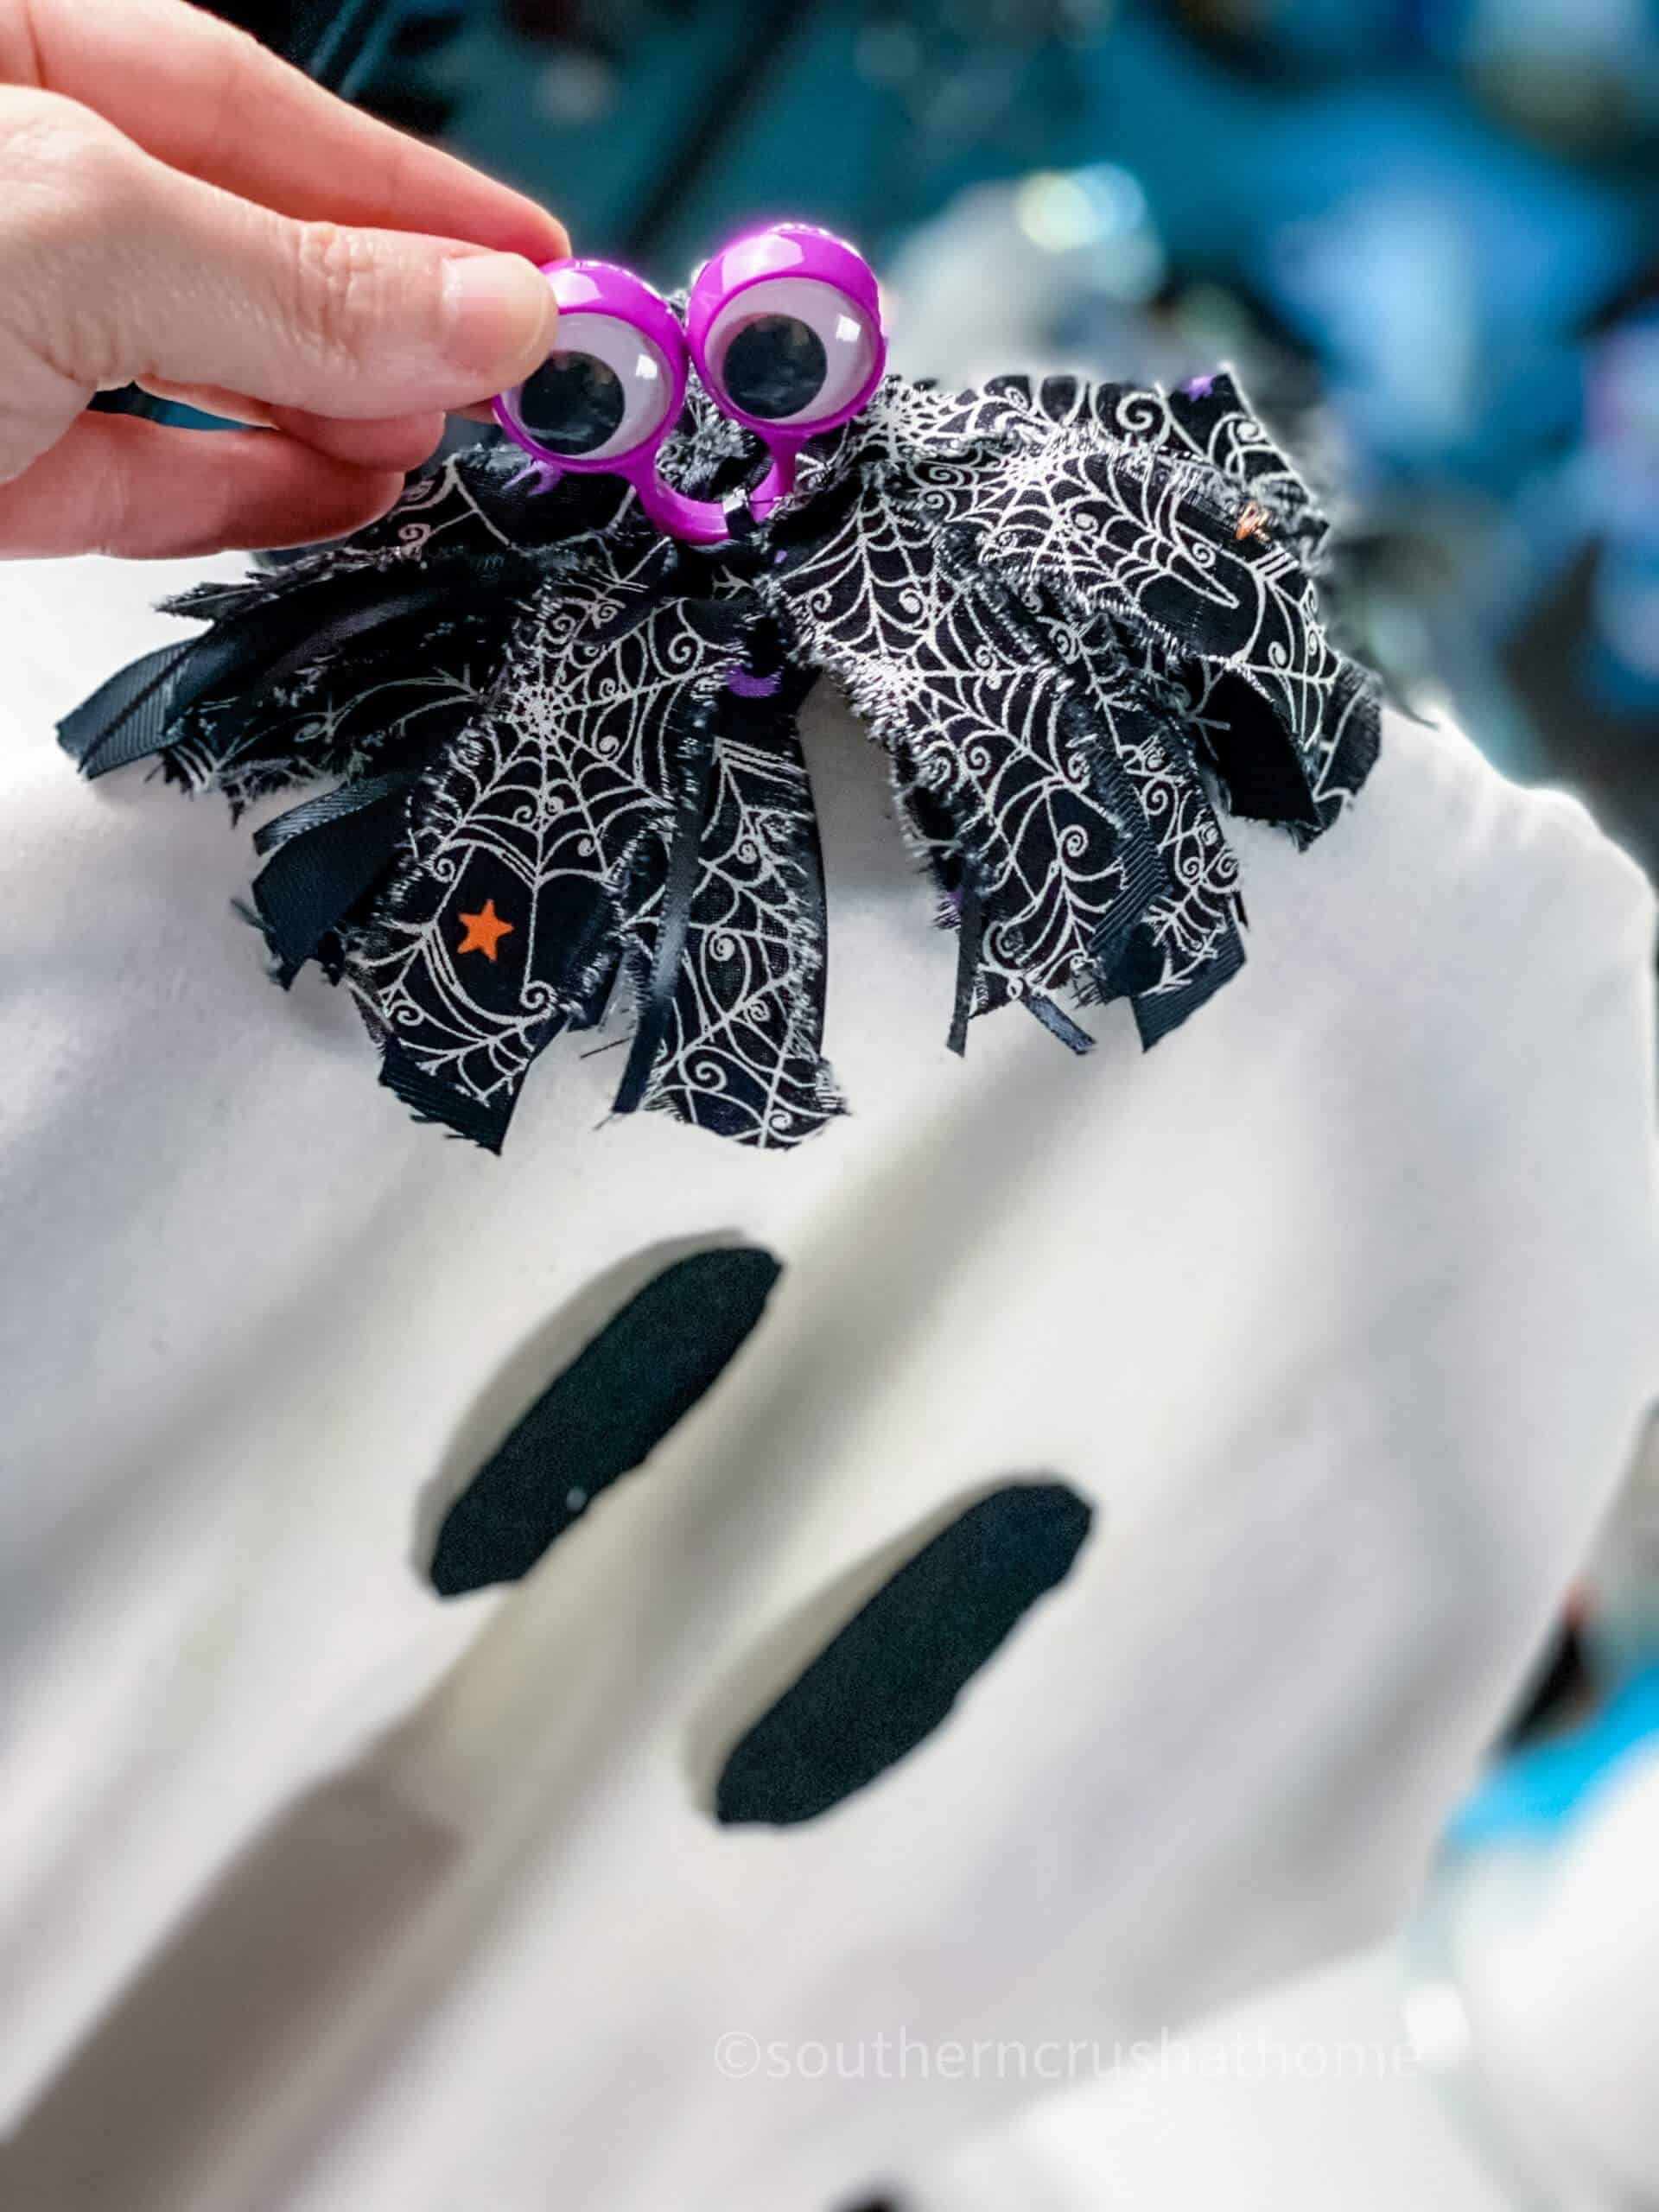
- optional ‘spider’ messy bow
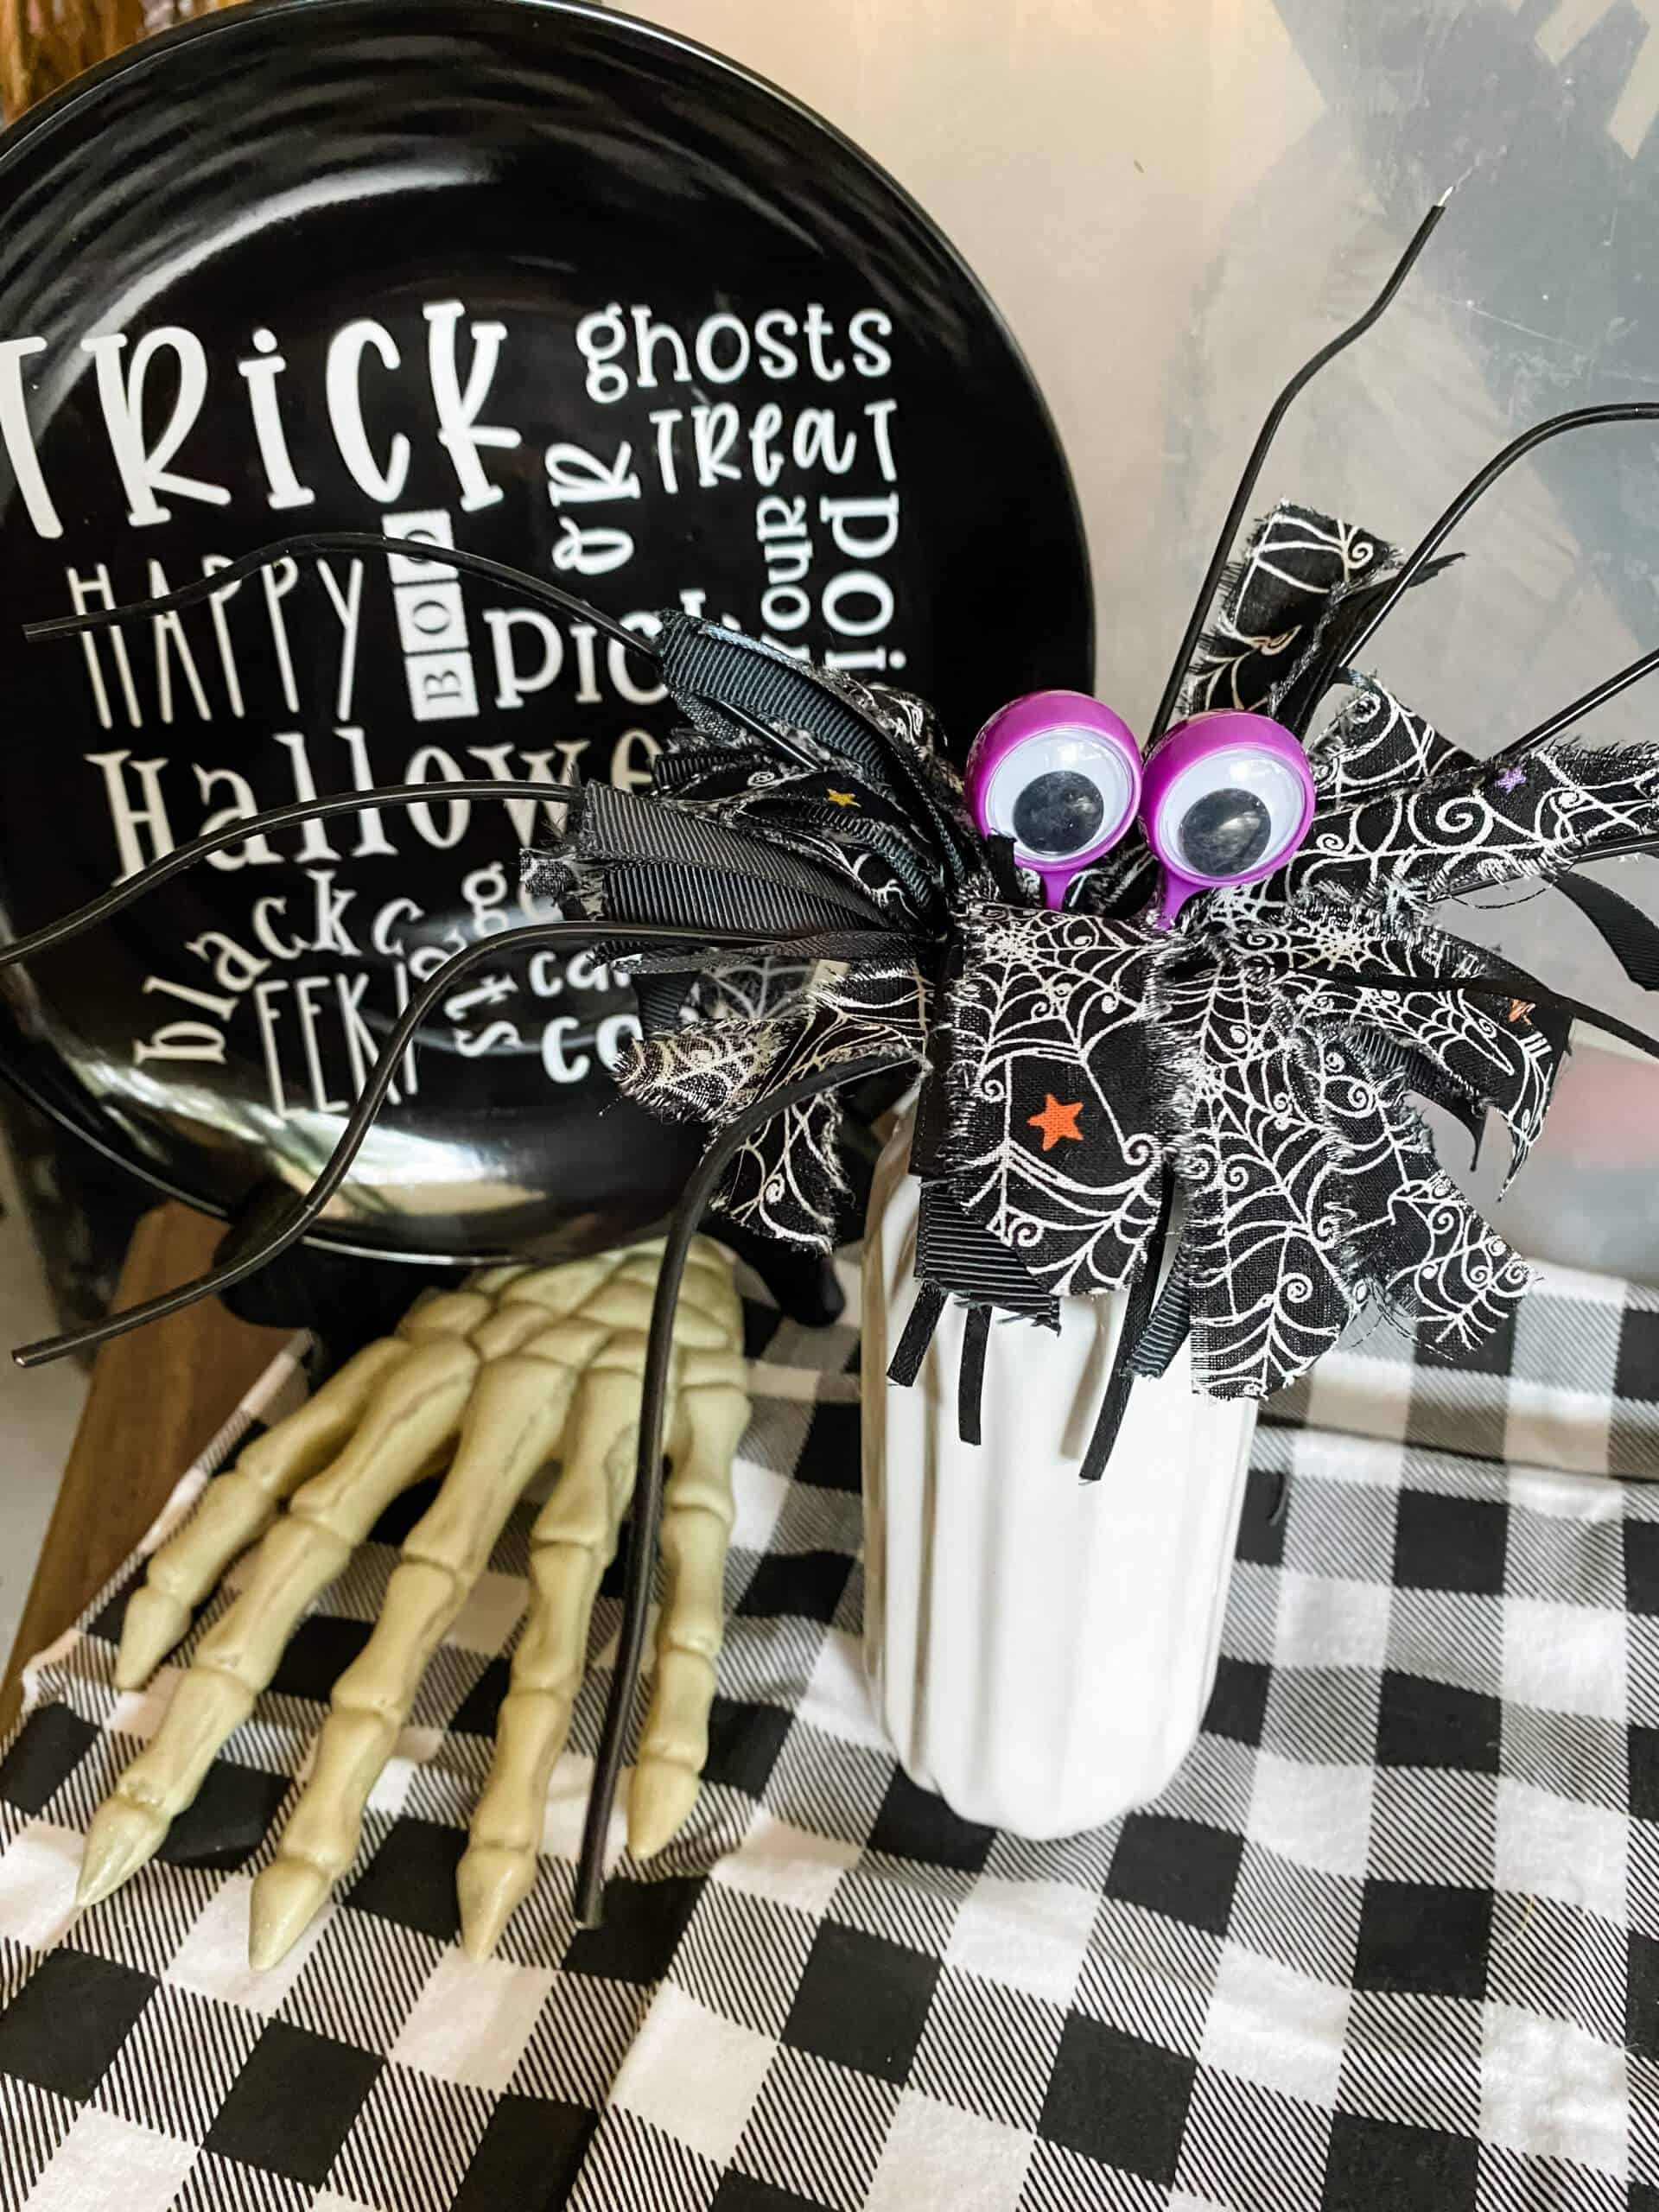
Now, the little ghost I made has my Spider themed Messy Bow on top as a cute decoration. This is an optional addition; however, if you’d like to make one the tutorial is below.
Dollar Tree Whisk Spider (featuring a Spider Messy Bow)
Step by Step Tutorial for Making Pool Noodle Ghost
Let’s get to making this adorable pool noodle ghost for Halloween!
Step One: Prepare the Rainboots
My boots were super old and worn out. Also, they were red… not a very Halloween color. I decided to upcycle them by using them for this diy project.
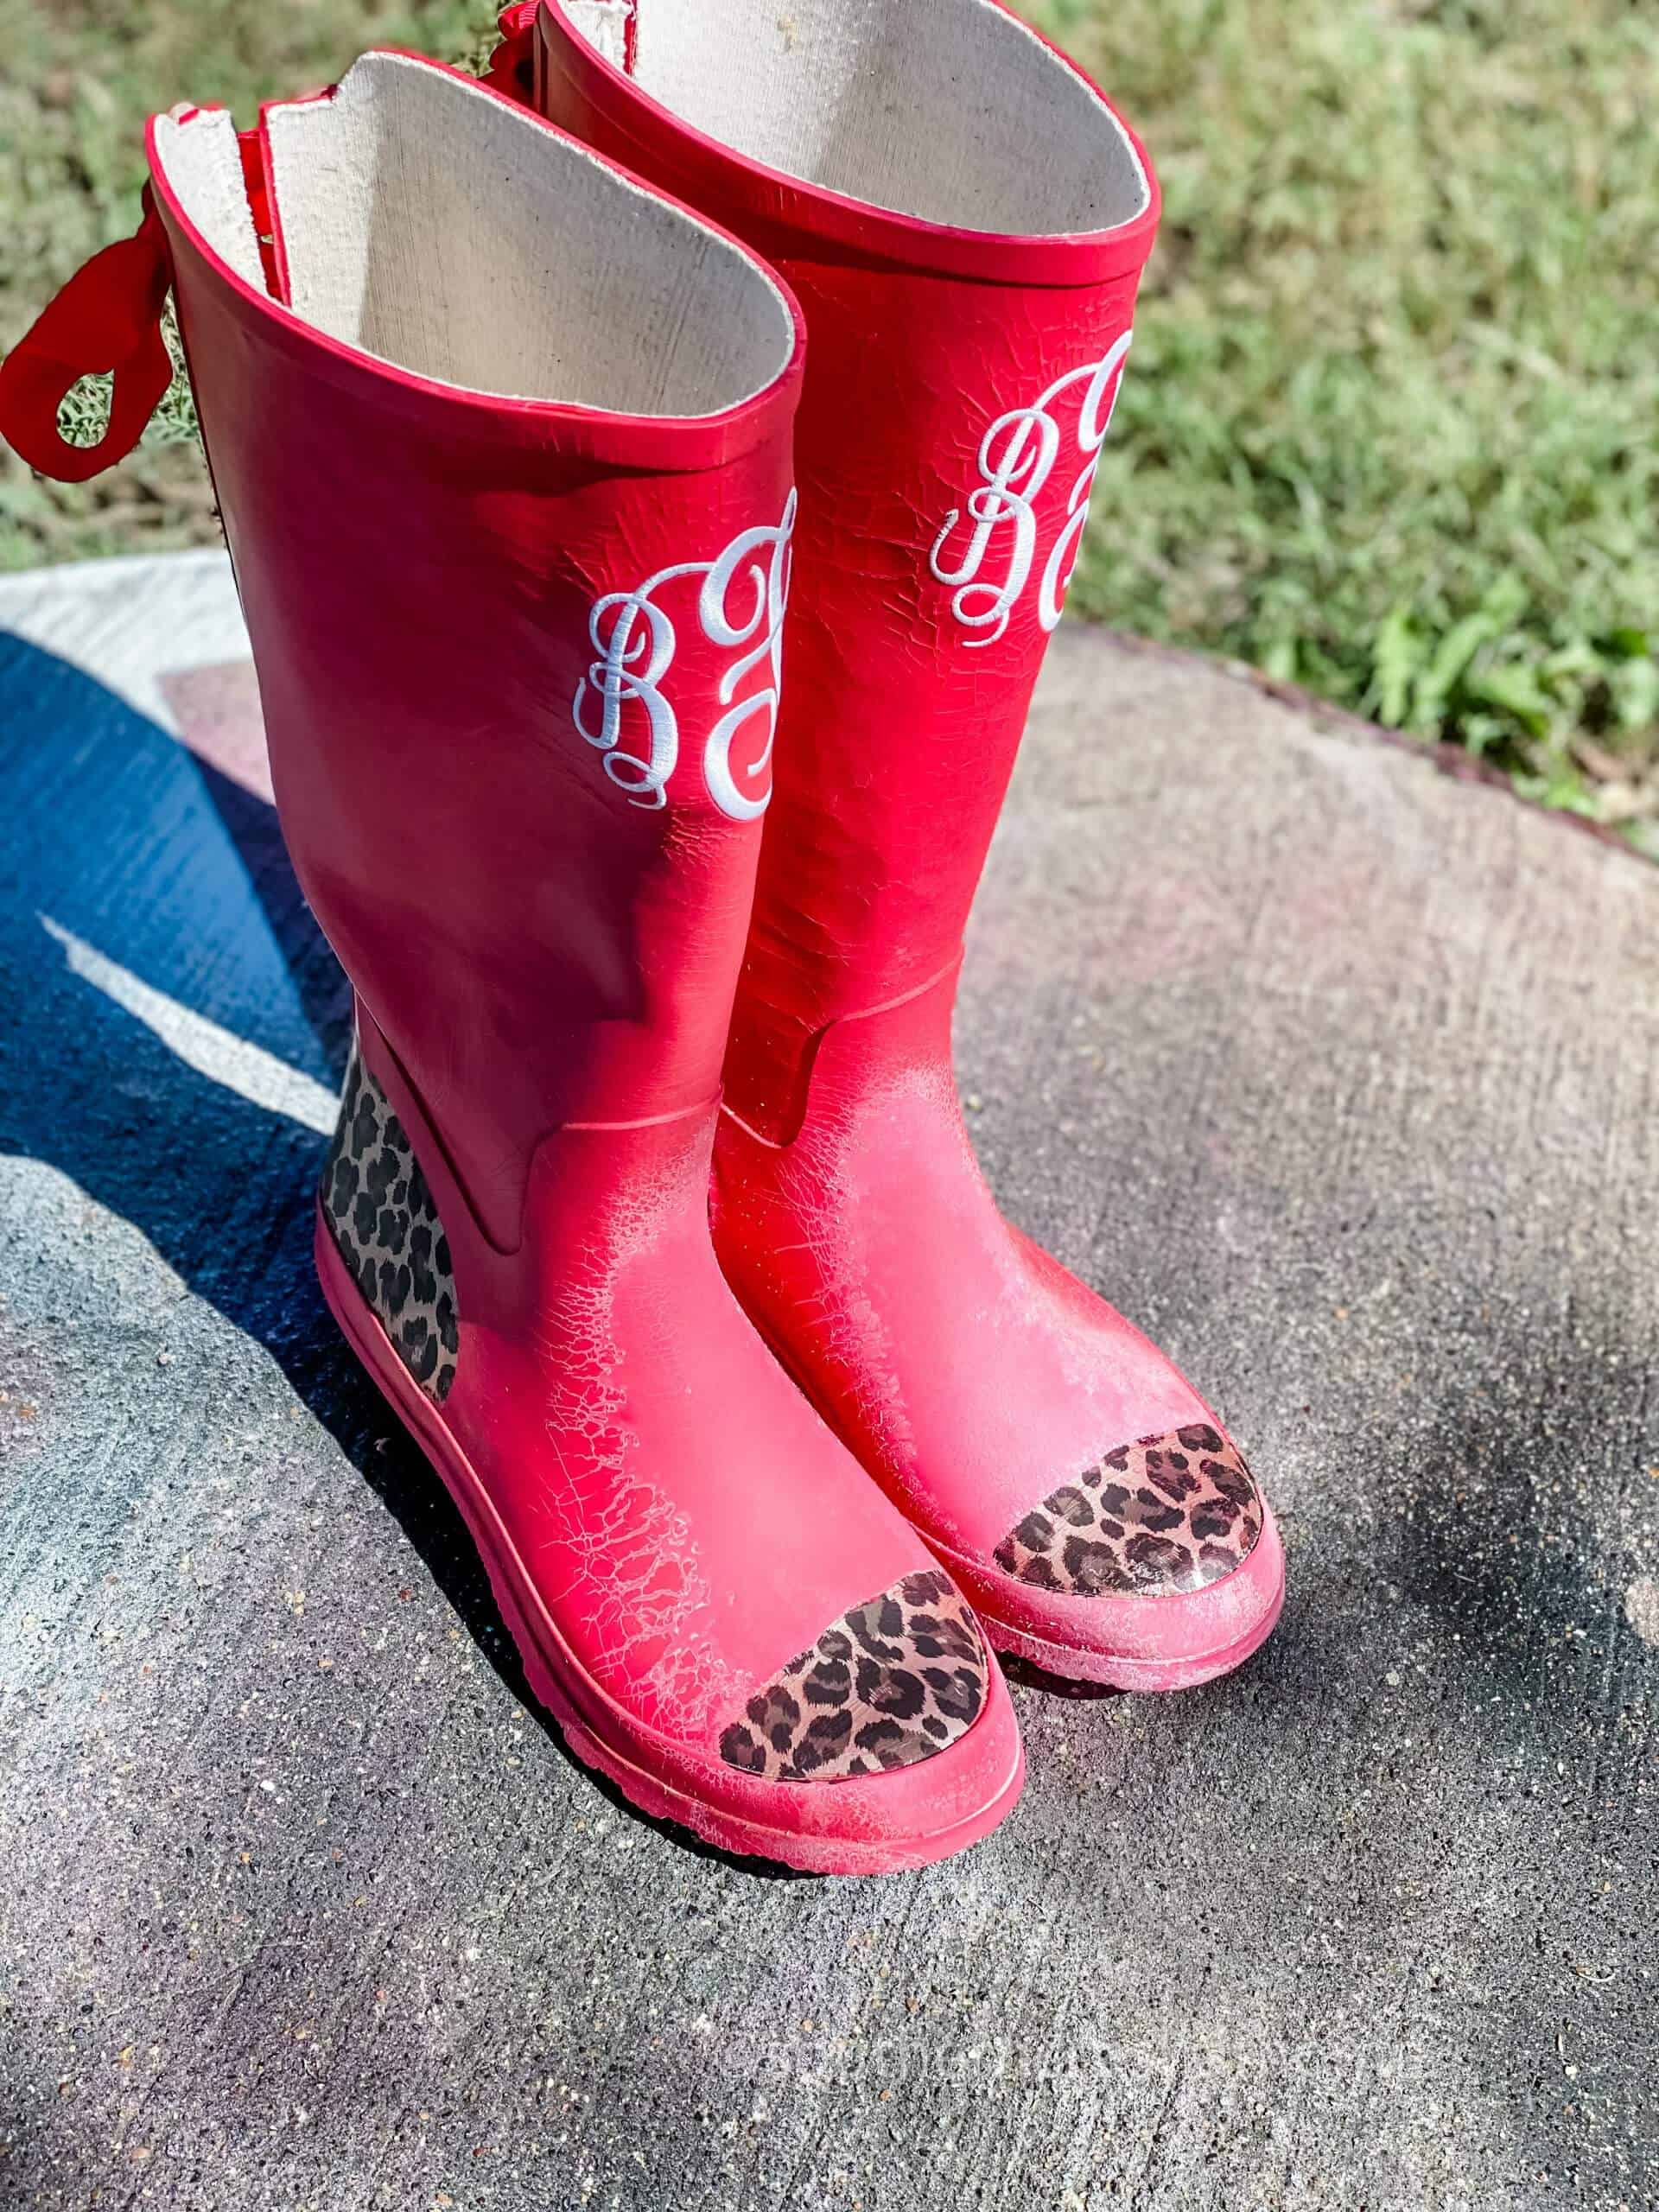
I spray painted the boots black, but did not spray the entire boot because they had ribbons up the entire back of them and spray painting over the ribbon would be a huge mess.
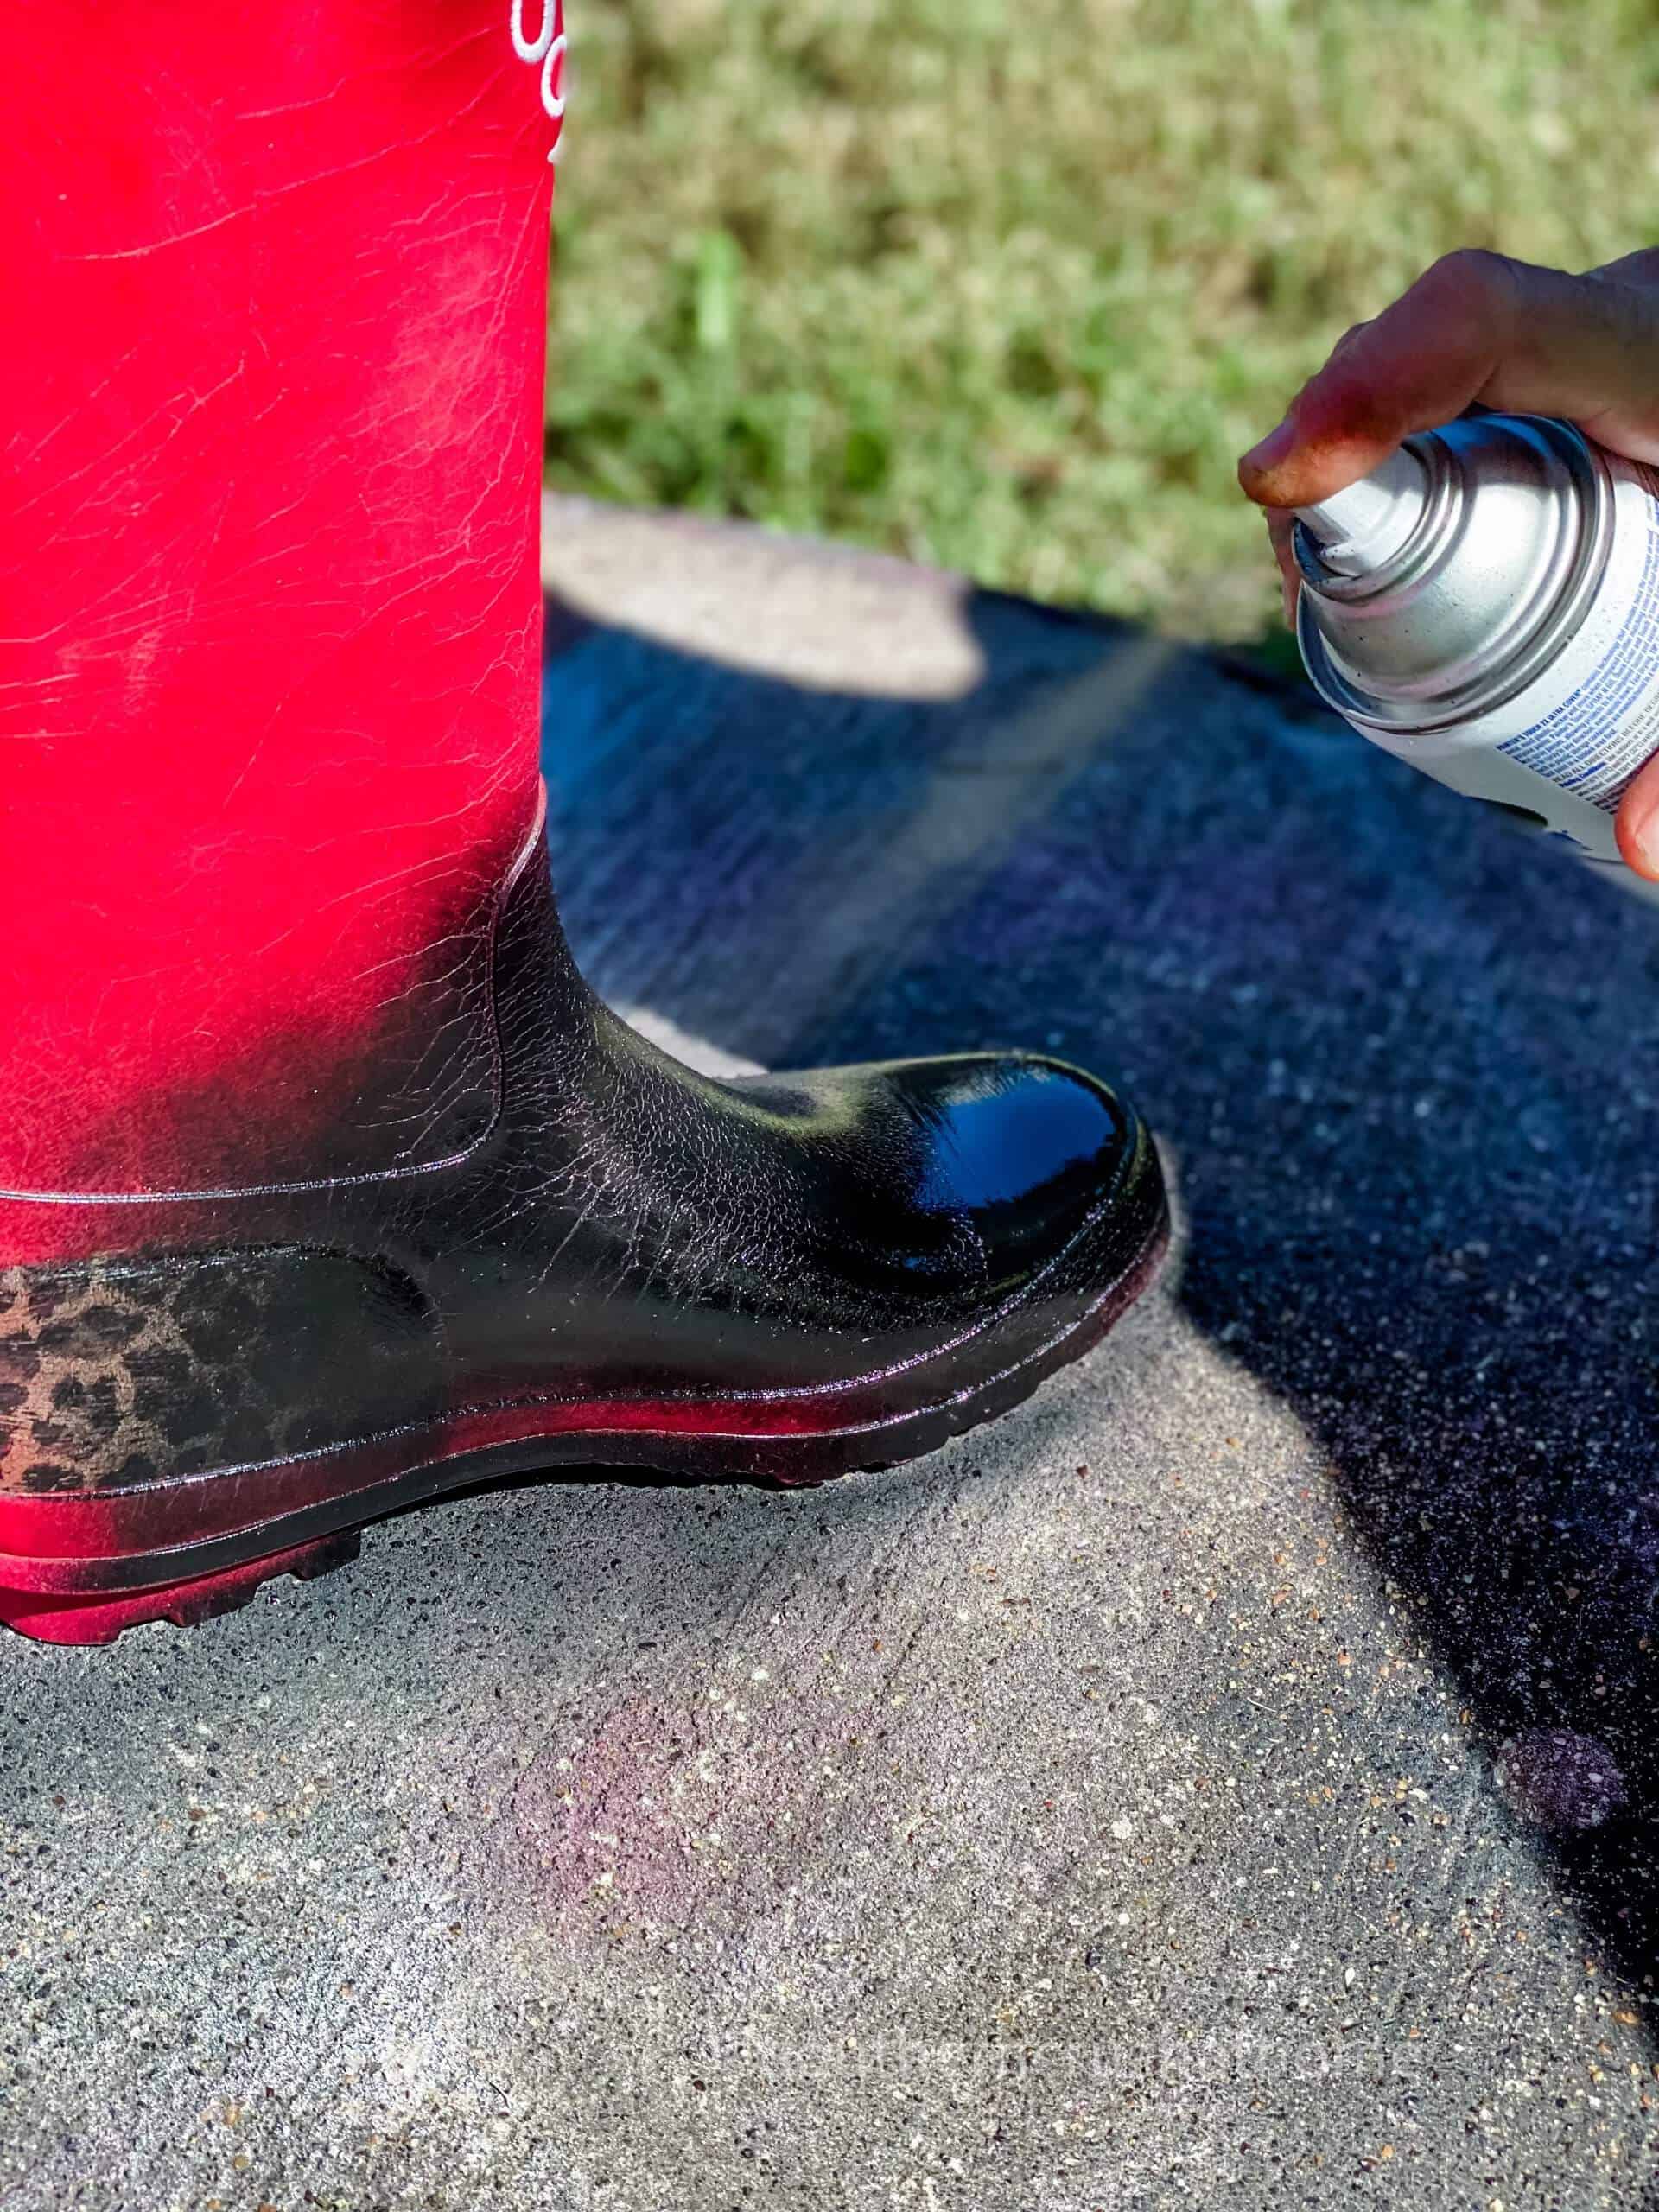
The spray paint went up about halfway on the rubber boots. You can certainly find black boots or paint regular rubber boots all the way black.
This was a great way for me to personally recycle these boots that were otherwise deteriorating.
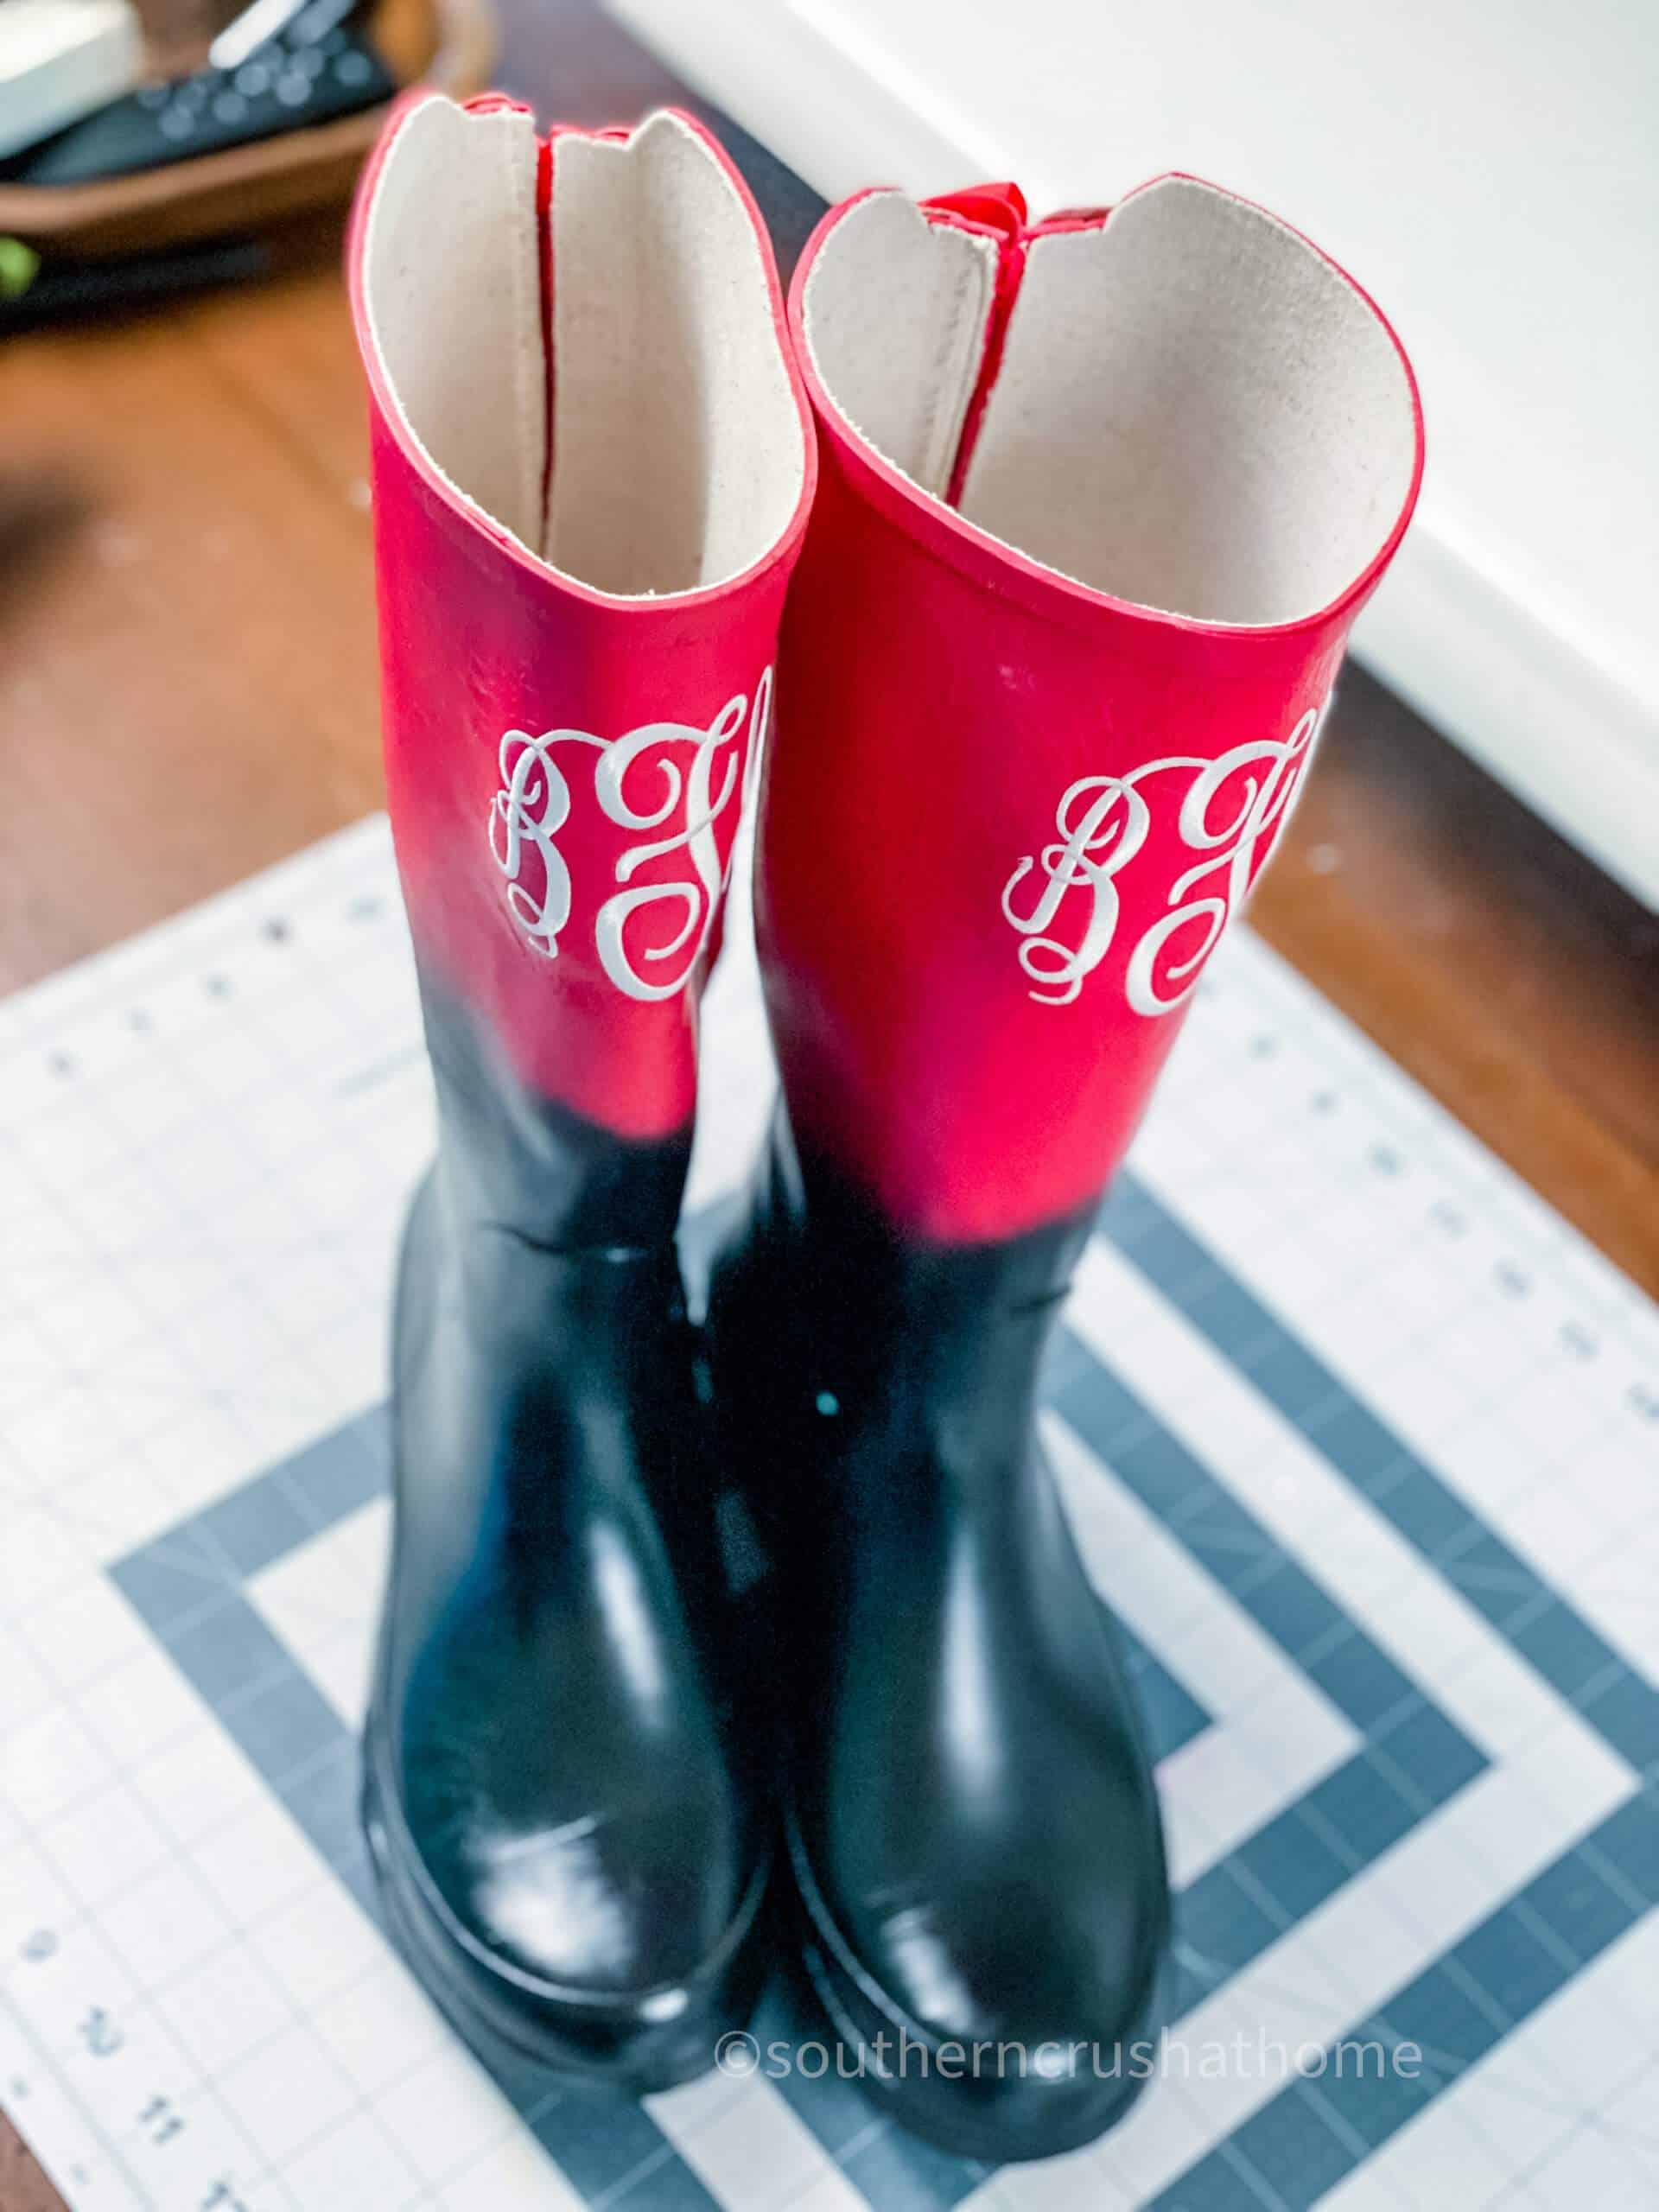
You can find old rain boots at thrift stores, garage sales and even on facebook marketplace. Remember, it doesn’t matter what size they are which is great!
Kids rain boots would probably have been even cuter for this DIY project!
Step Two: Add the Pool Noodle
Grab a pool noodle from the Dollar Tree or anywhere these days really, and tuck it into the boots creating an arch between the two boots.
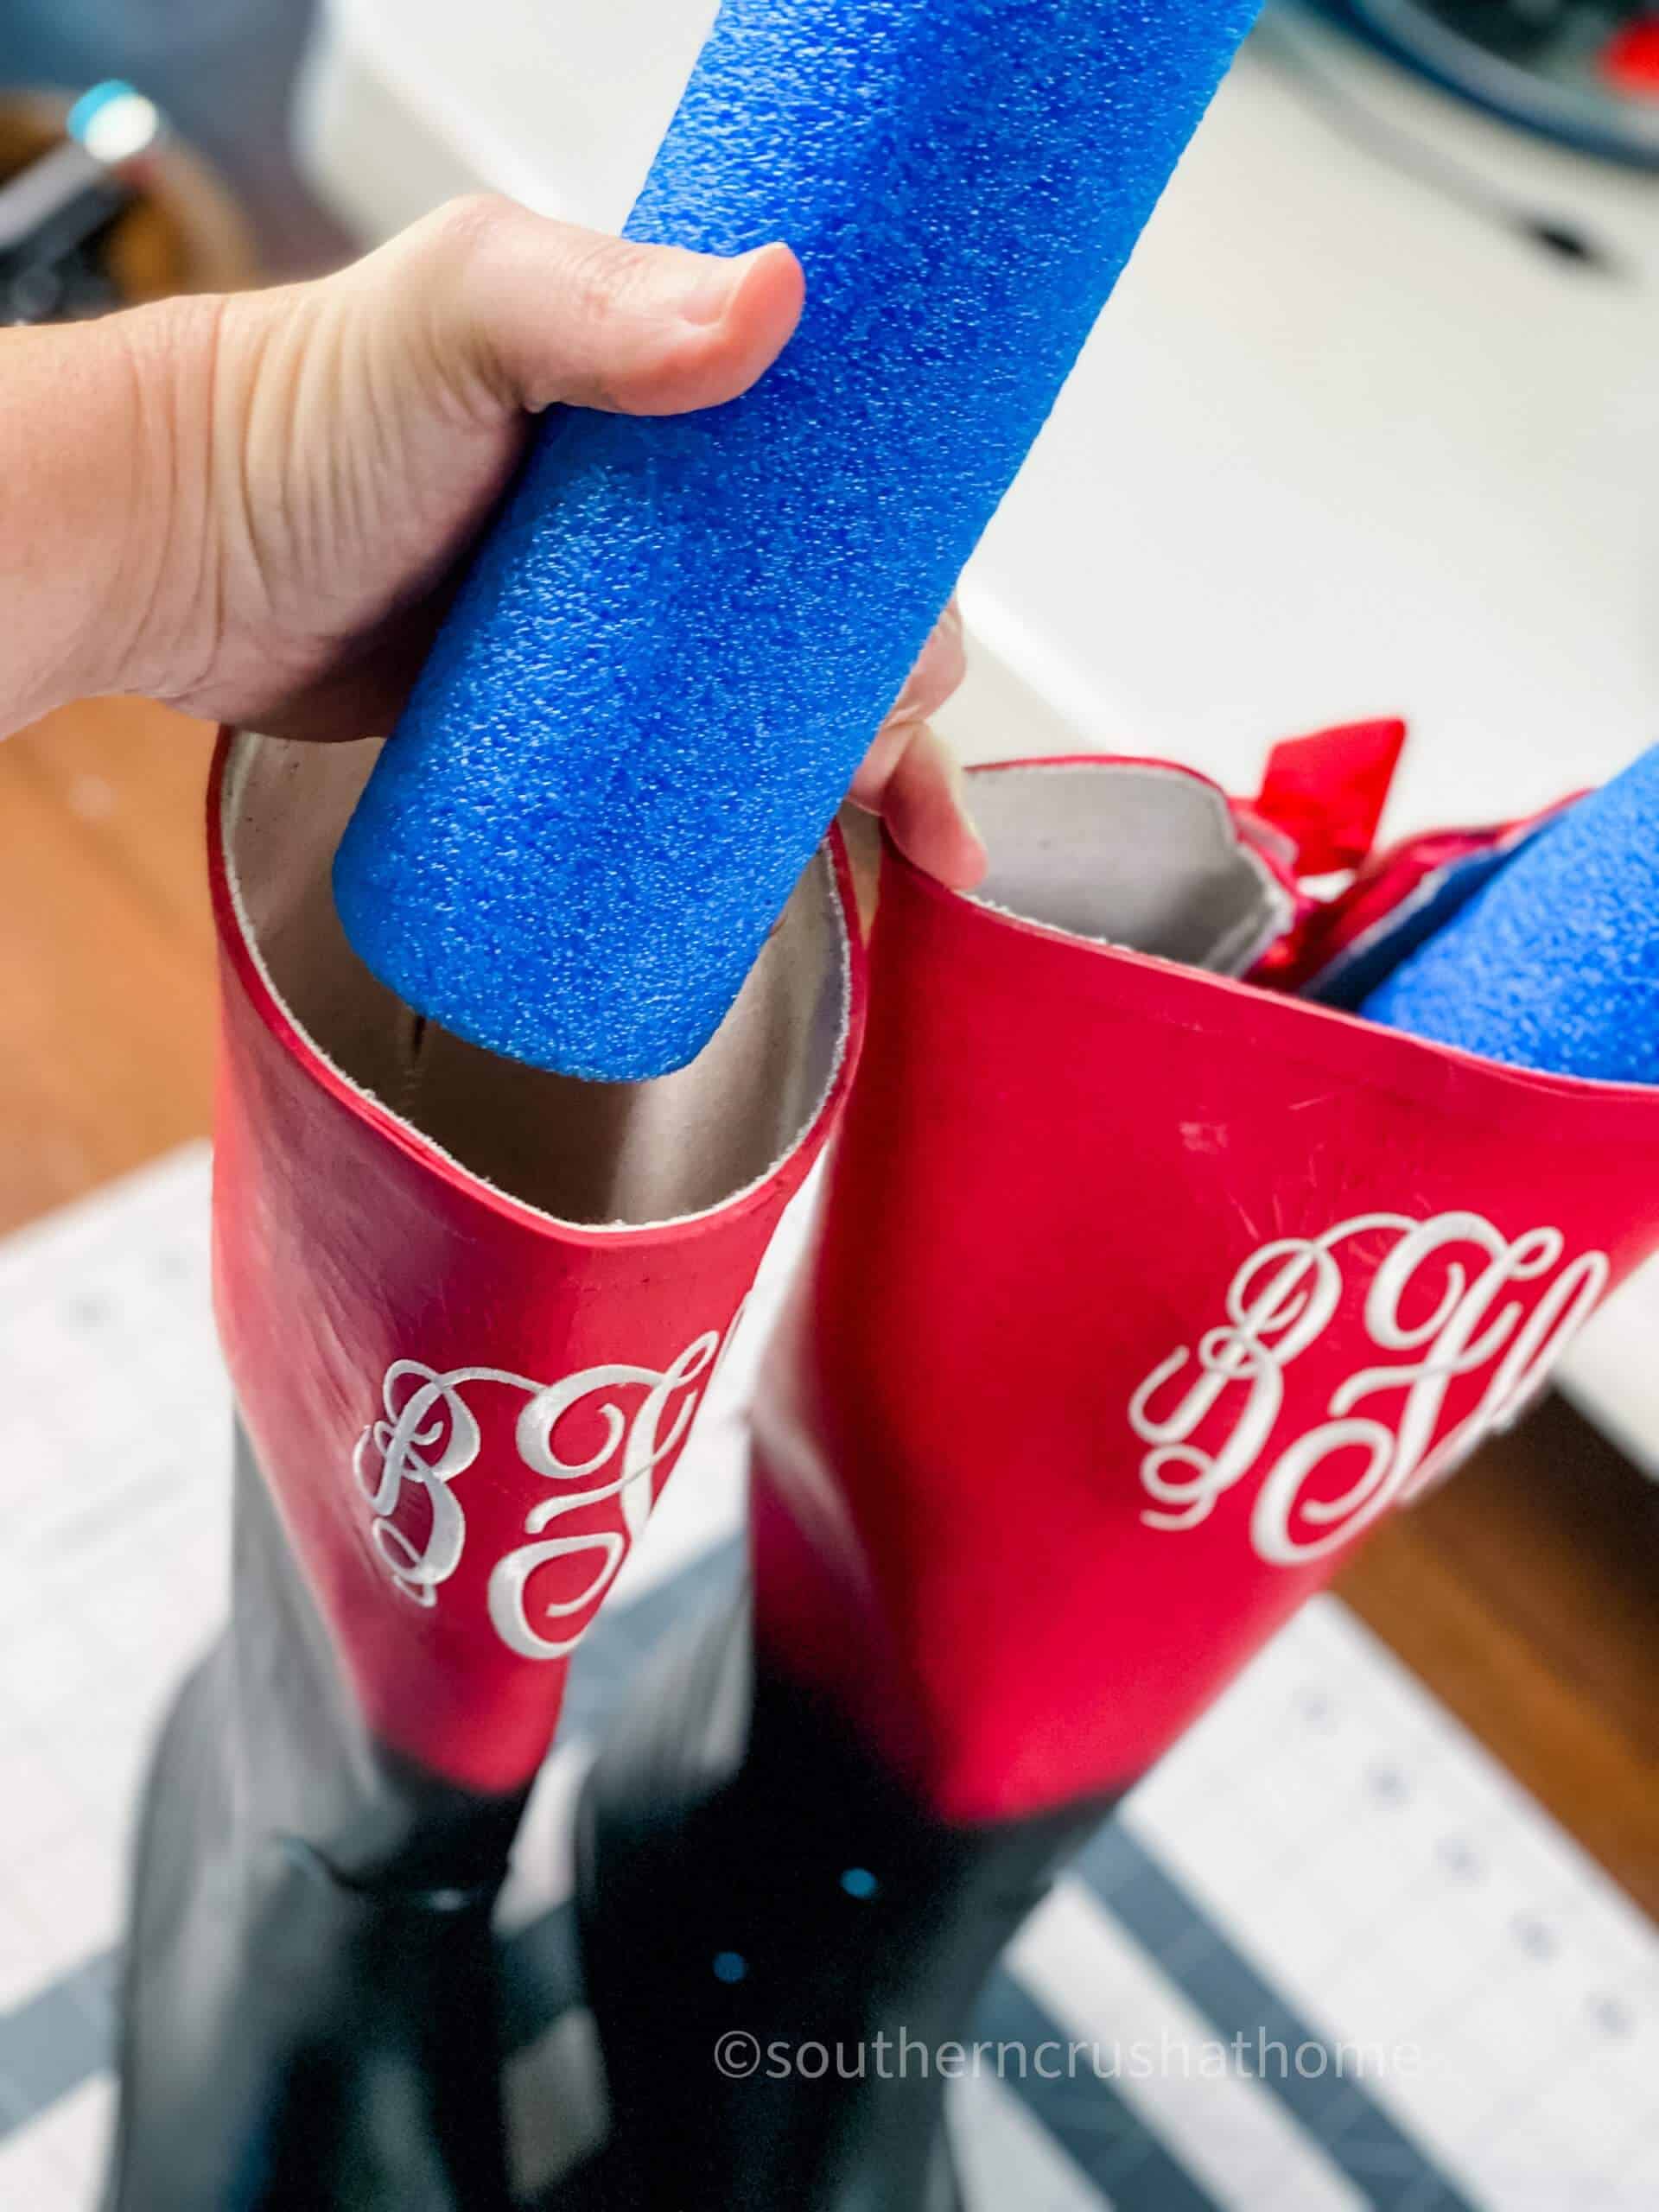
I used the full sized pool noodle and did not cut it down at all. This little arch is the perfect height for my DIY ghost; however, you can always adjust the noodle if you want your ghost to be taller or shorter.
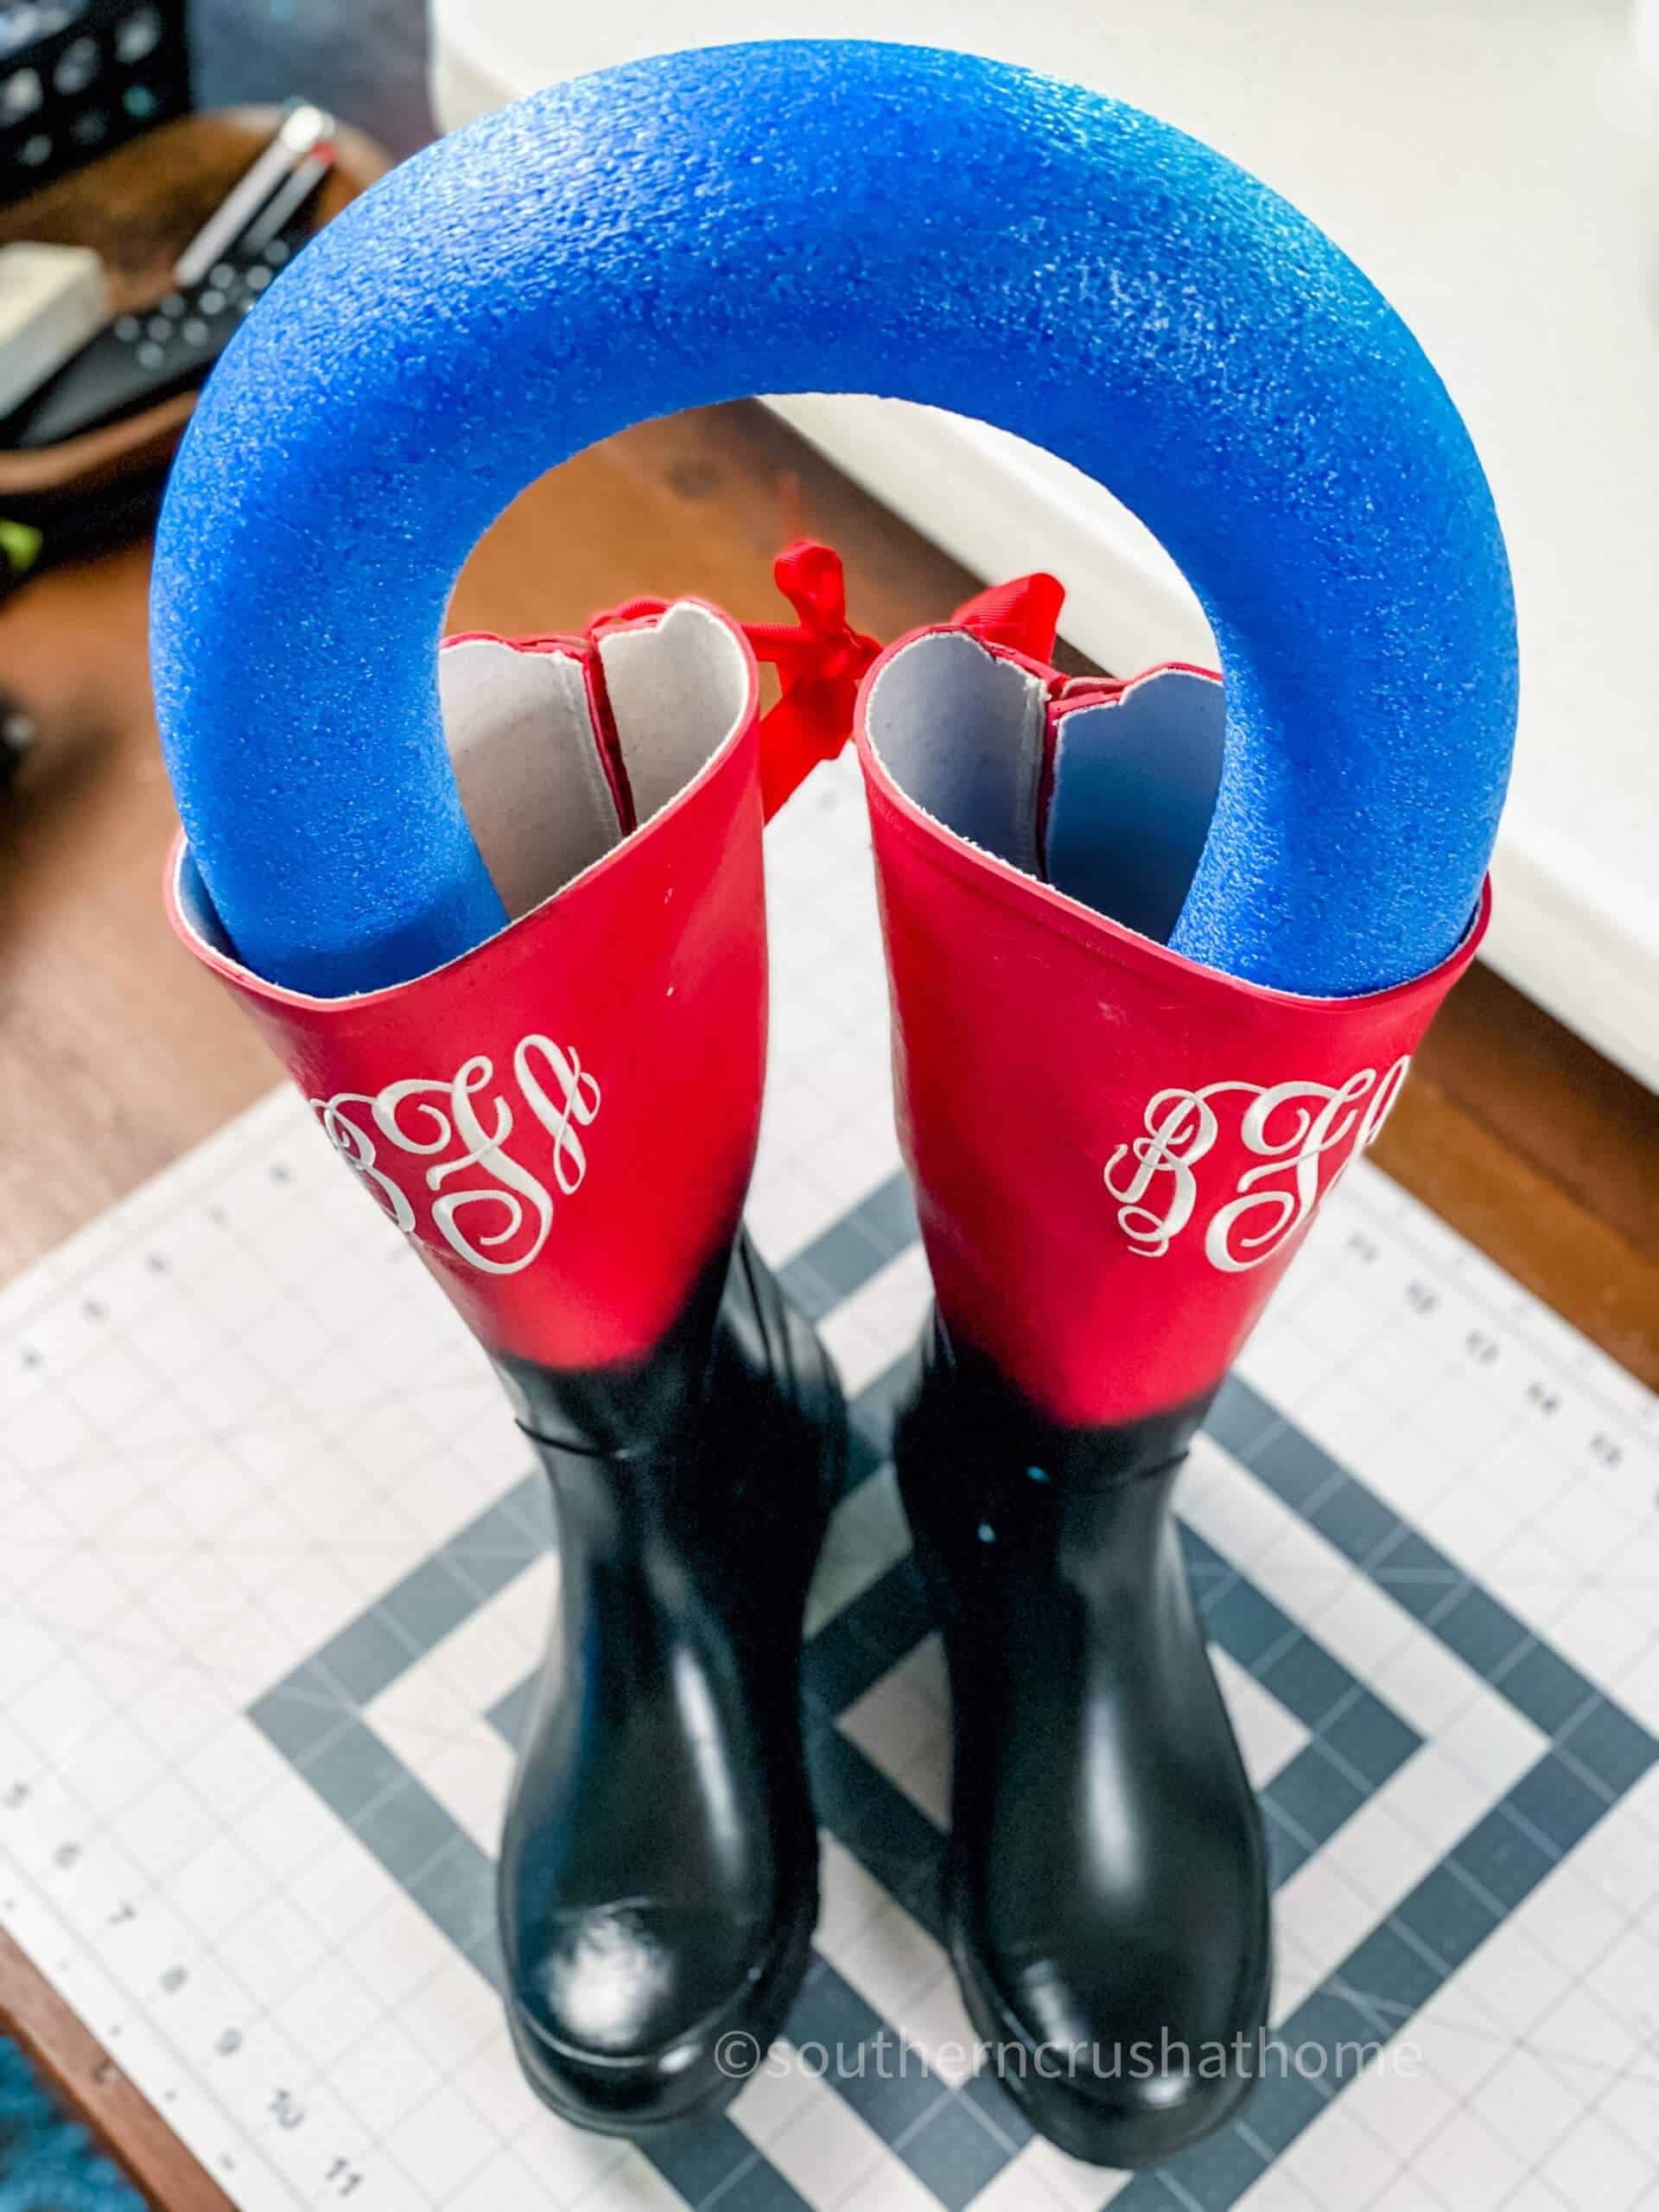
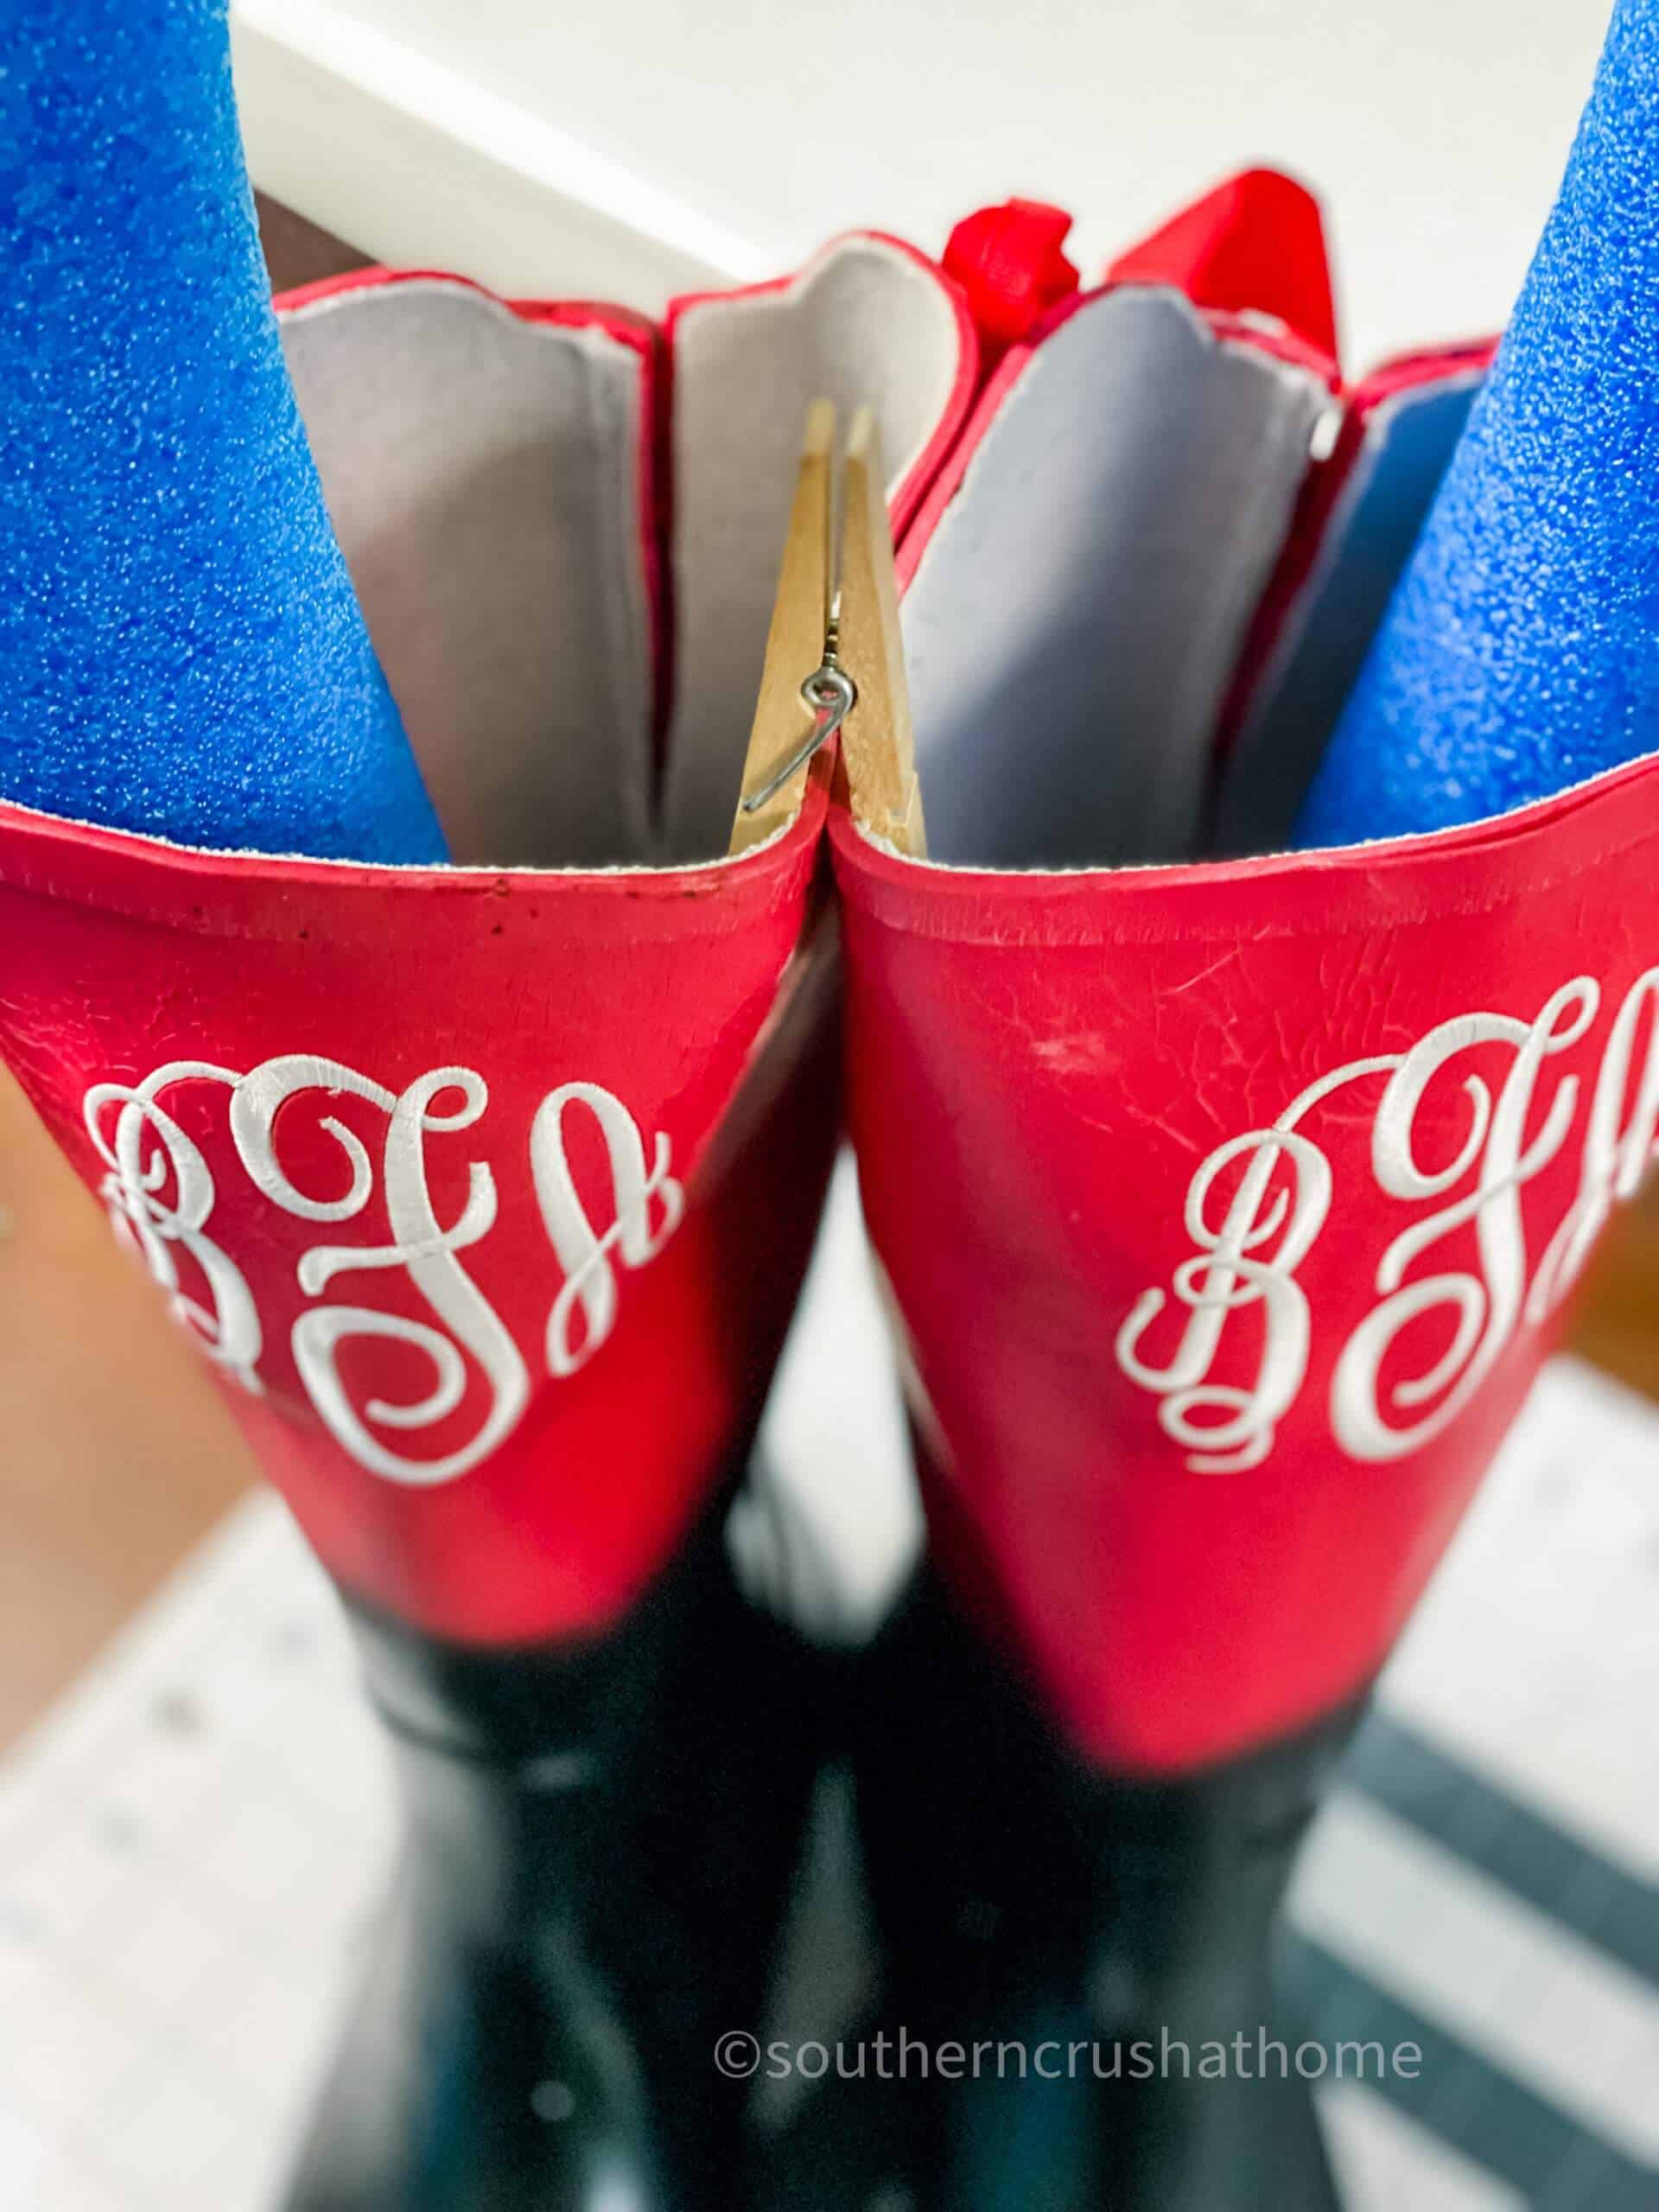
The pool noodle is really strong and will try to pull your boots apart.
The perfect solution is a simple clothespin to clip the two boots snug together at the top as shown below.
Step Three: Prepare the Pillowcase
Either grab an old white pillowcase or pick up one at a dollar store. Mine was so old, it had started to yellow!
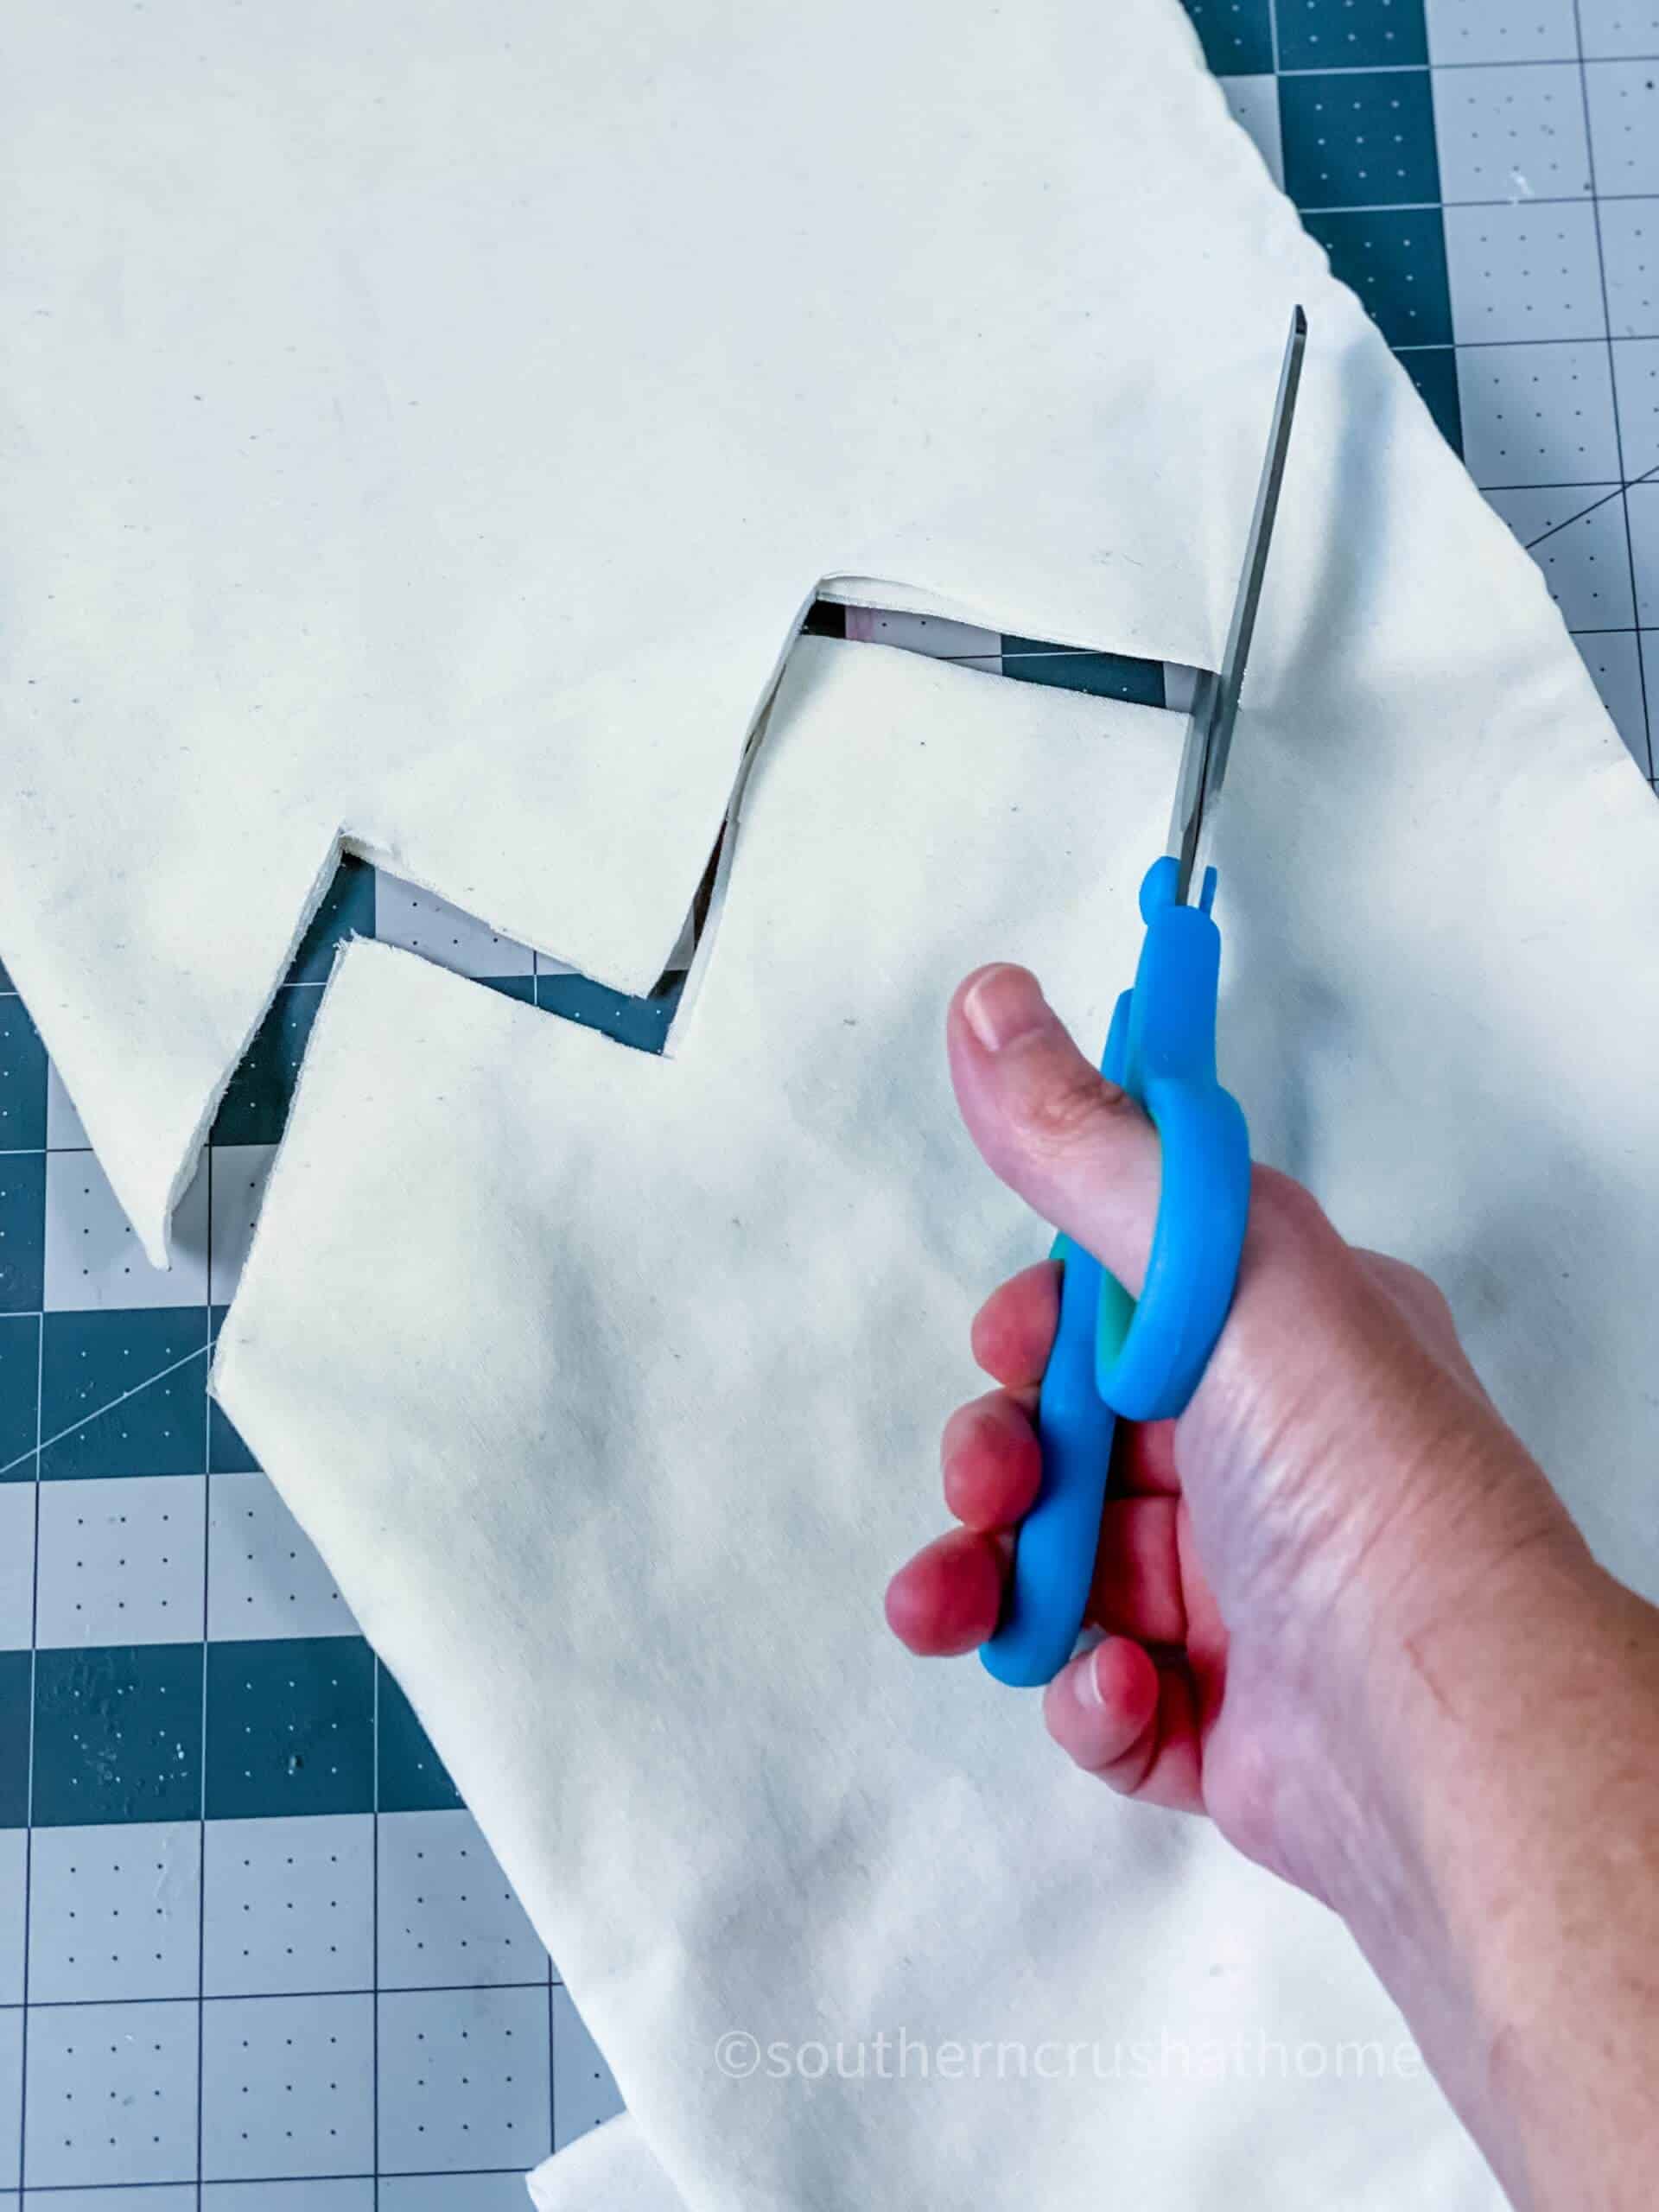
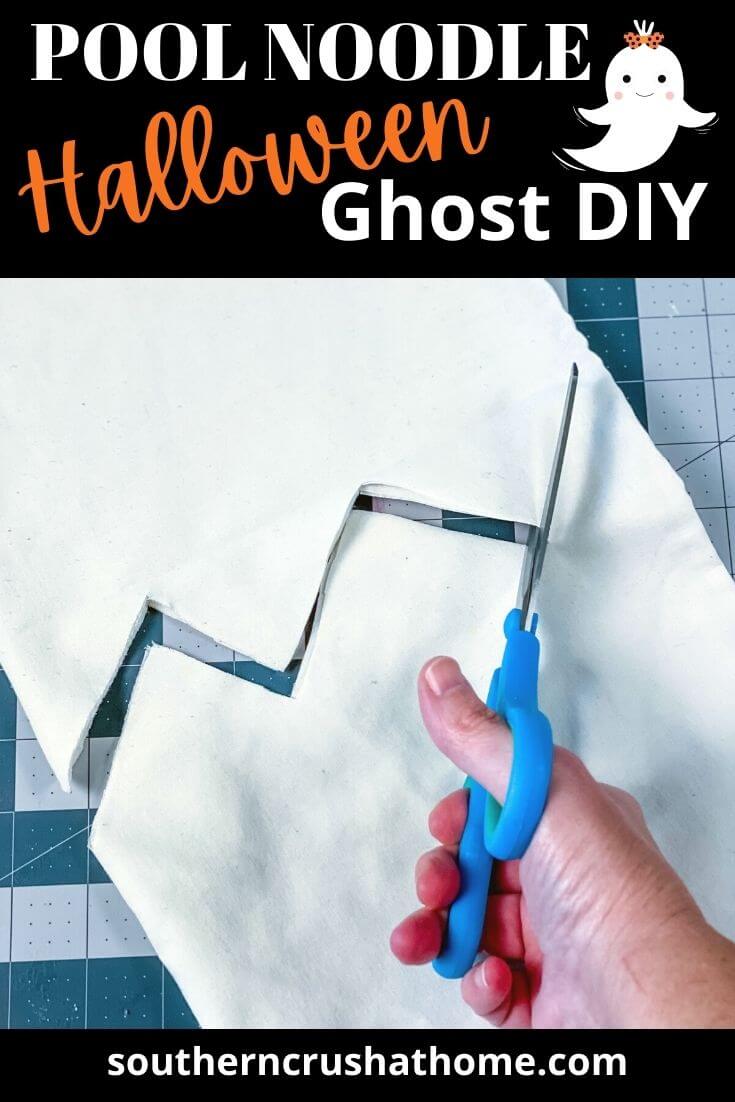
Yet another upcycled item for this project. Cut the bottom hem of the pillowcase in a jagged pattern if you desire.
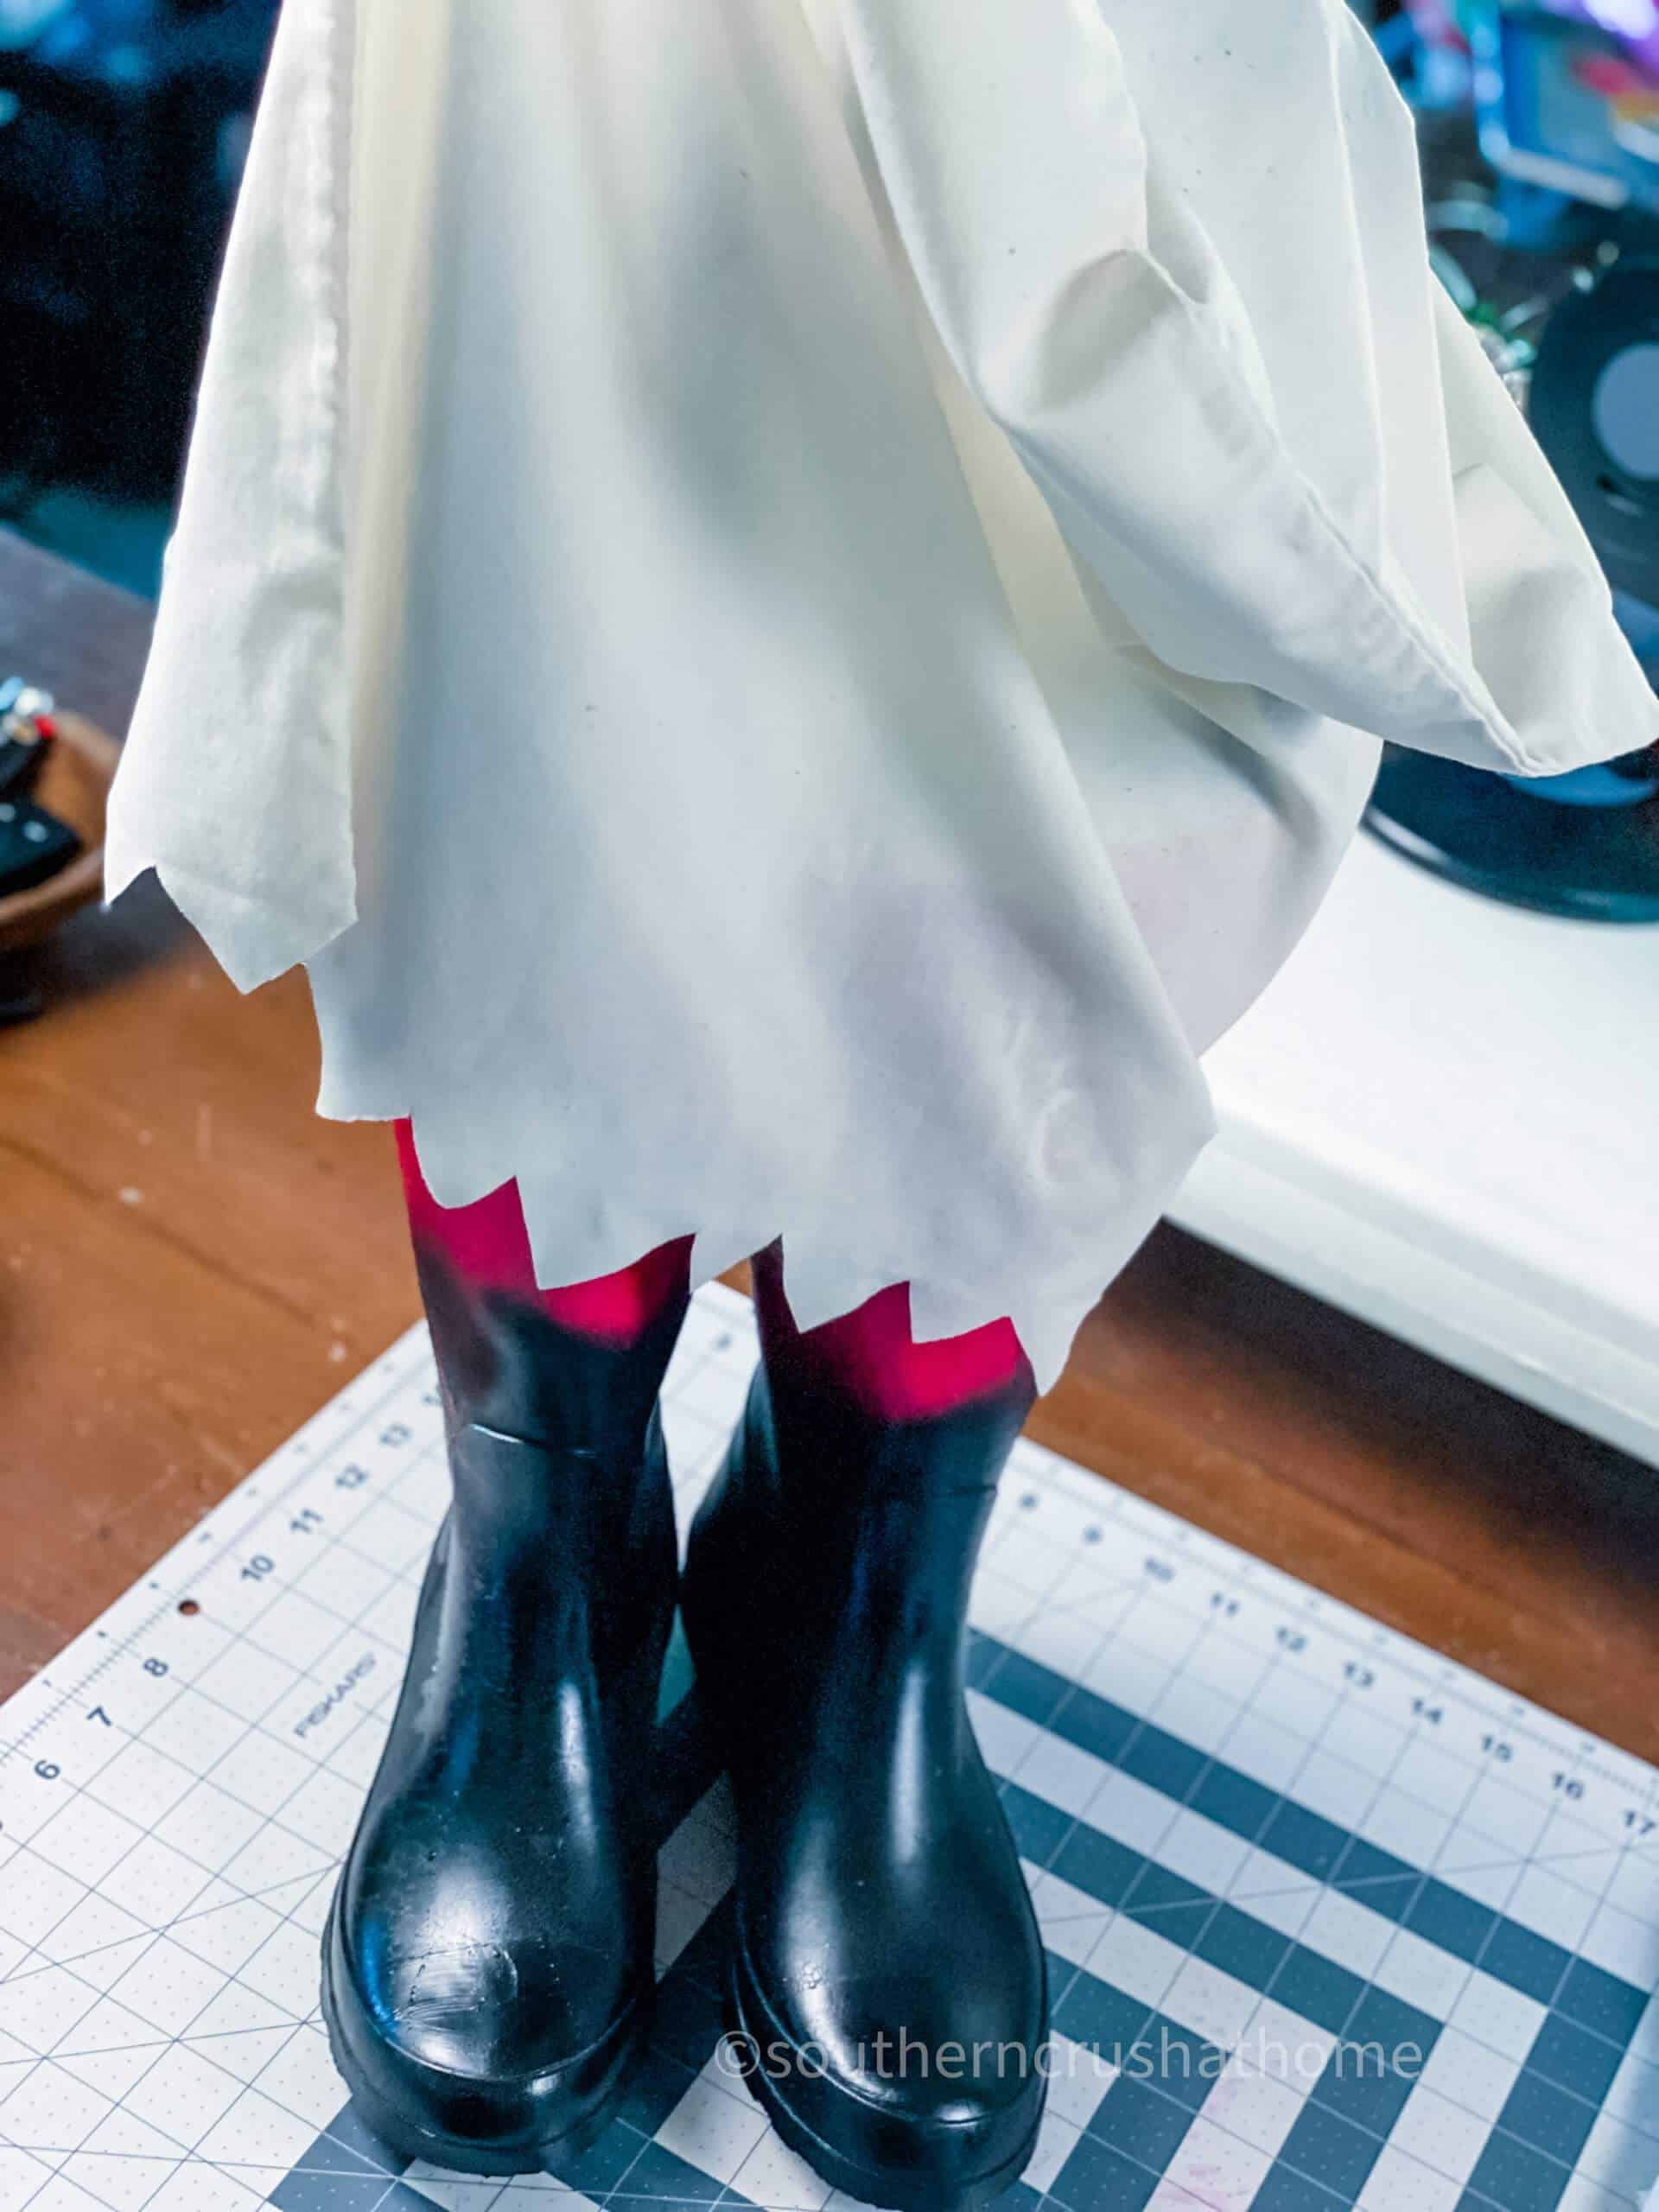
Place the pillowcase over the top of the noodle and the boots. This is how the jagged edging looks on the finished pillowcase.
Step Four: Add Ghost Like Features
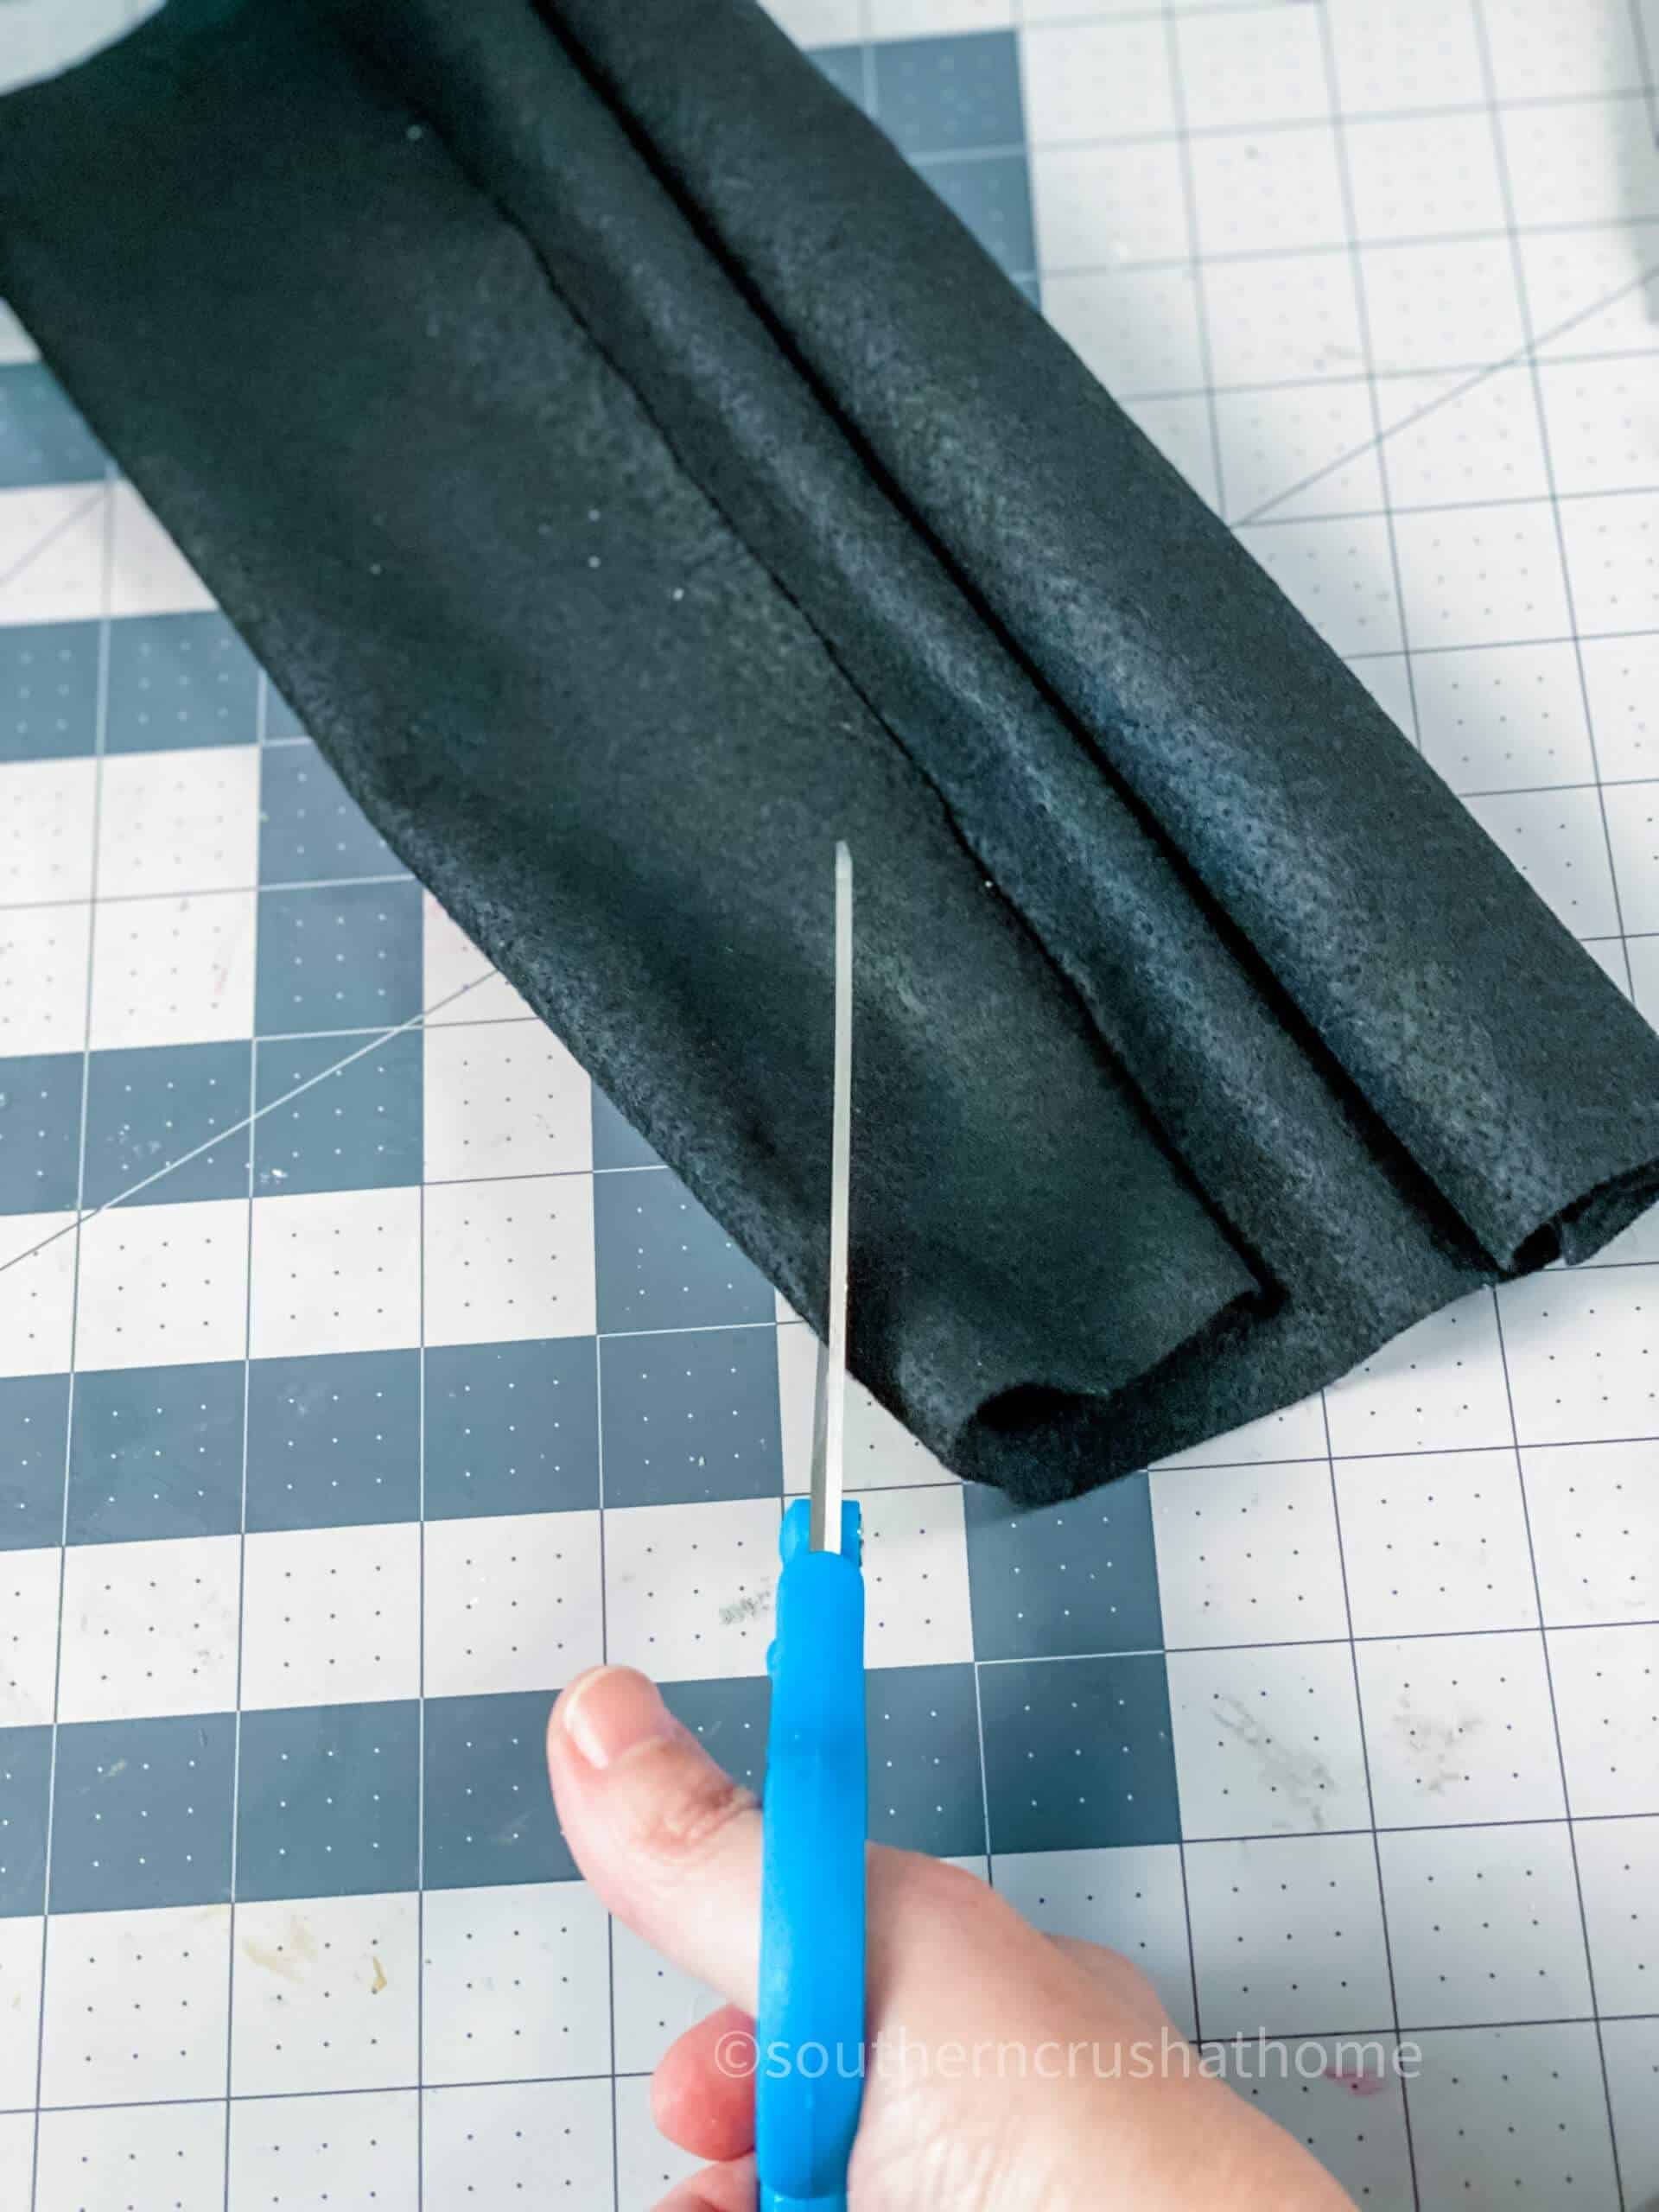
Add the embellishments to make this look more like a ghost. Start with some black felt folded over and cut into oval shapes for the eyes. You can also add little whites to the eyes; however, I decided not to.
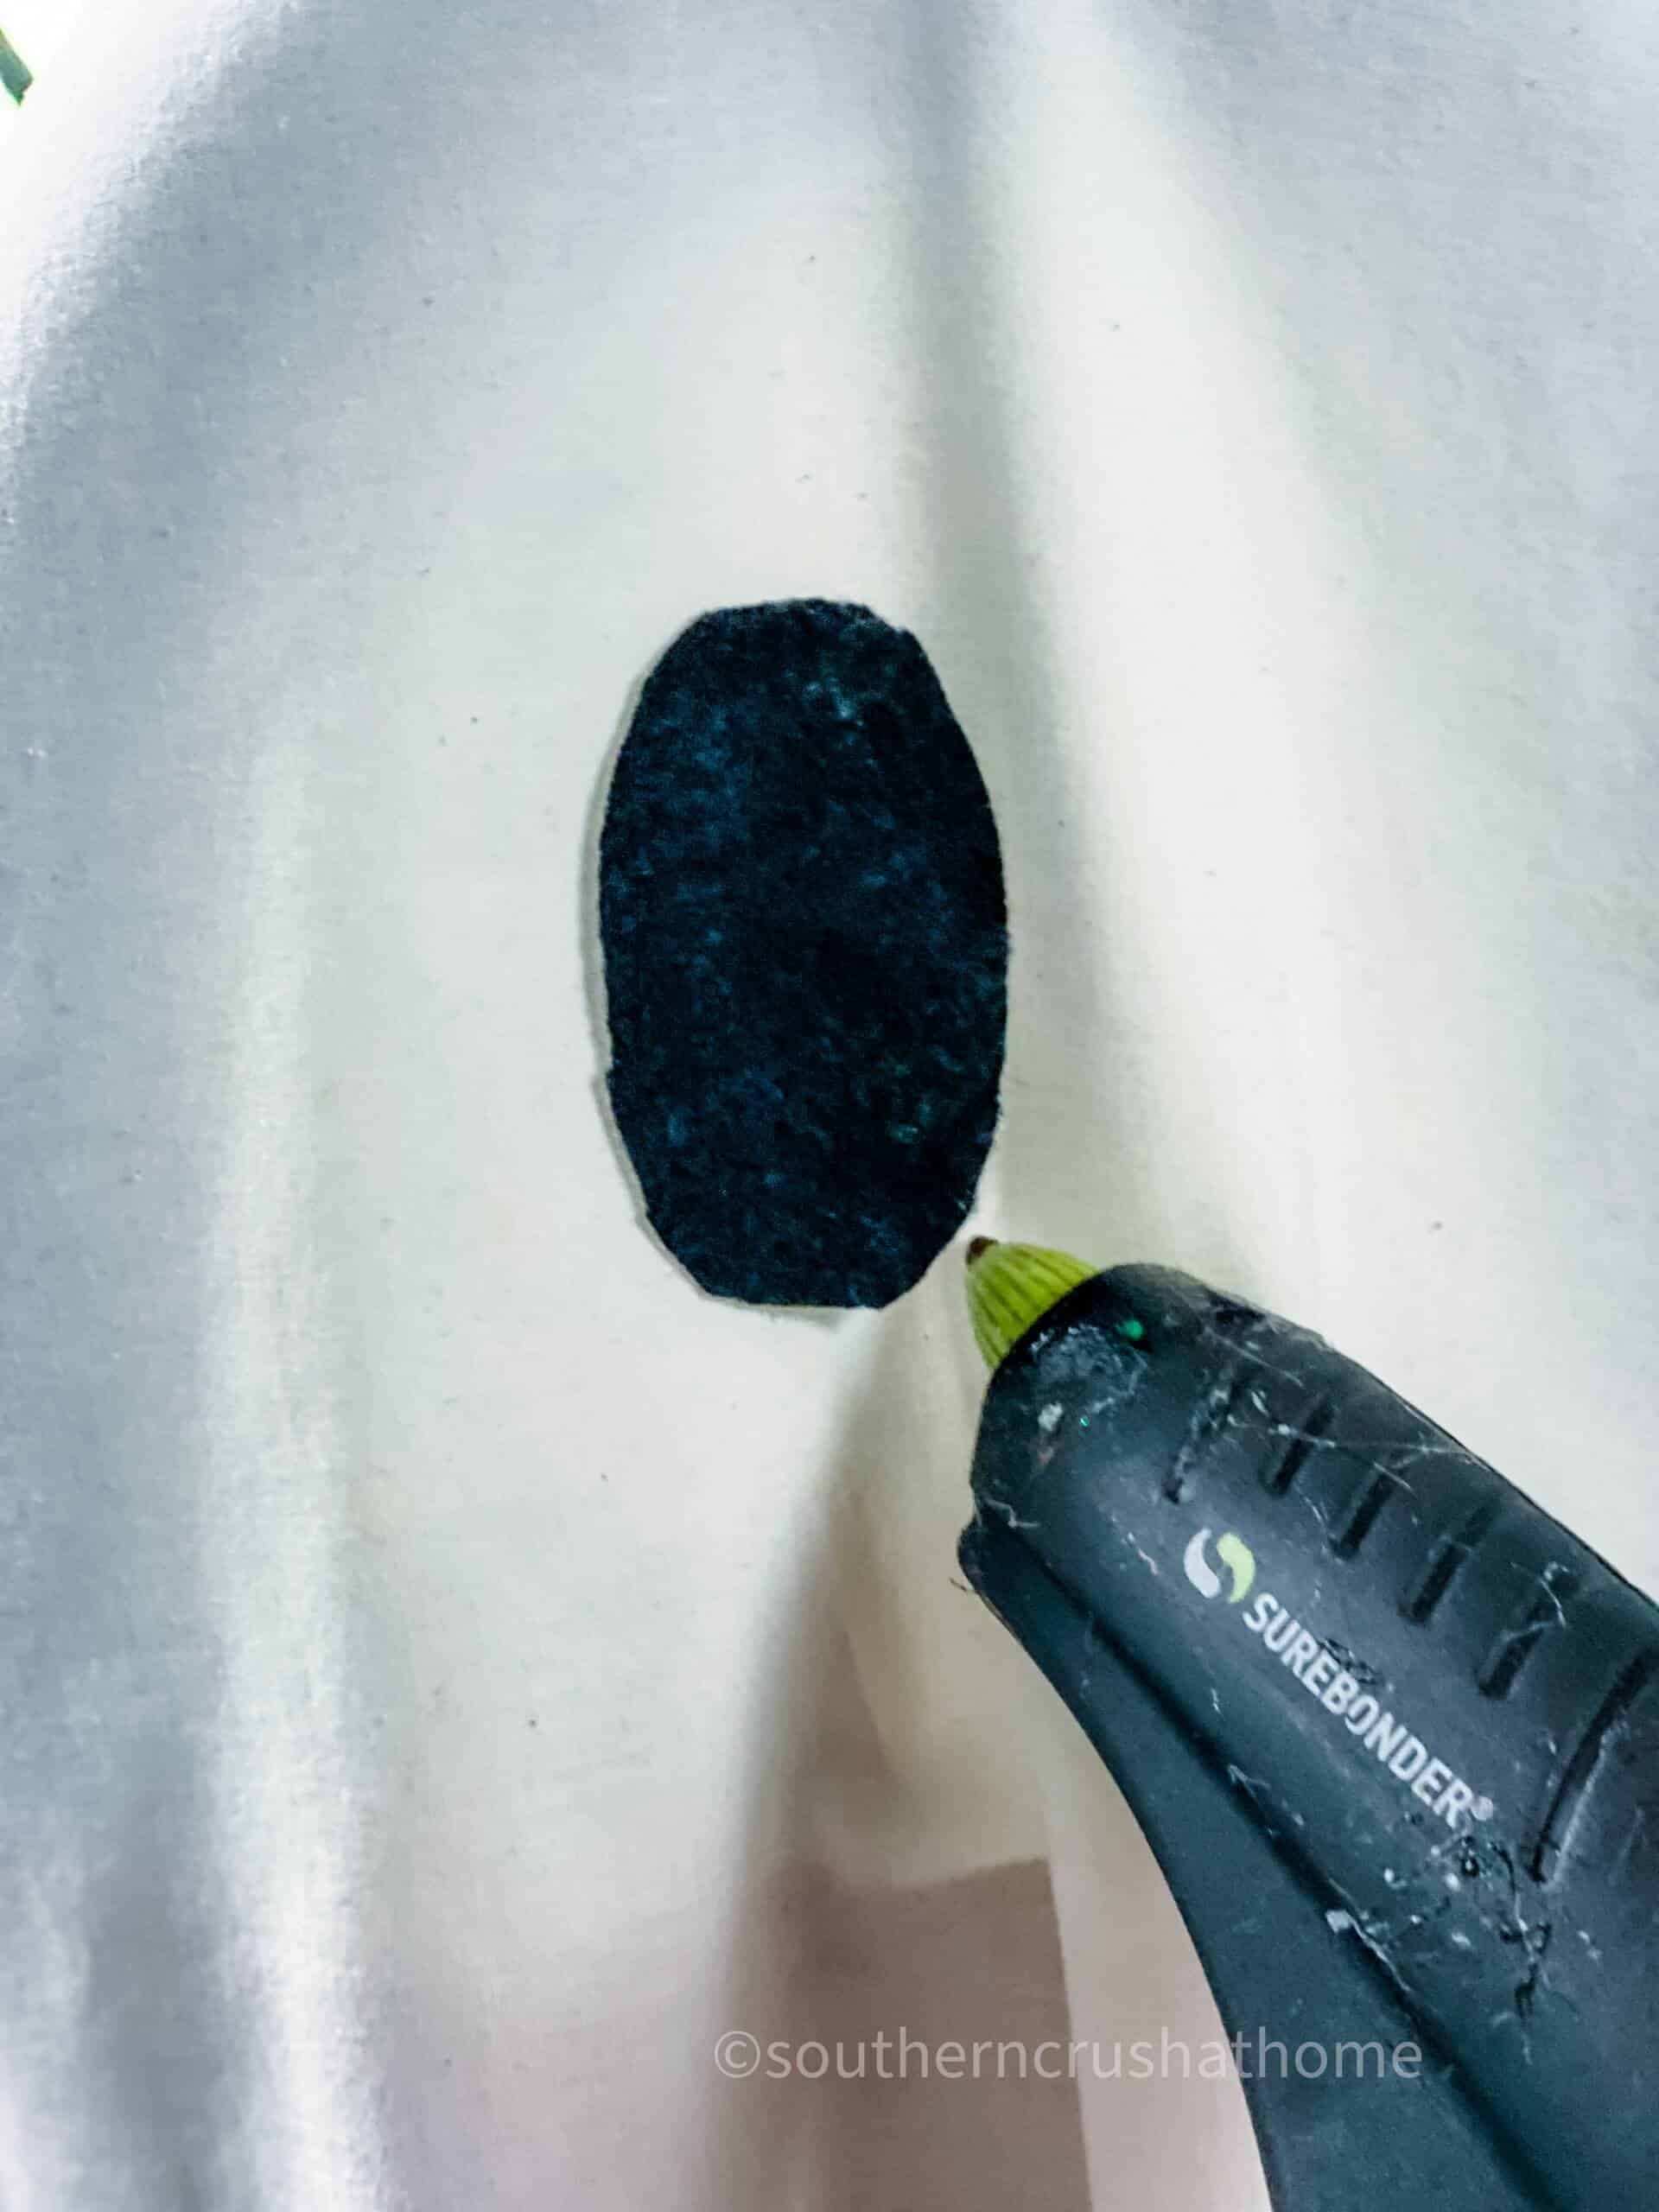
Glue the eyes onto the pillowcase with hot glue. It’s best to not use a lot of glue.
I also staggered the eyes a bit to create a little more of a whimsical look to my ghost.
At this point you can be finished, but I decided last minute to add my spider themed Messy Bow to the top of my ghost’s head with hot glue.
It was the cutest addition and really put the finishing touch on this pool noodle ghost.
How to Display Your Pool Noodle Halloween Ghost
I love to decorate my front porch. Every season brings new seasonal decorations and front porch decor at my house.
Halloween is no exception. This little last minute diy ghost addition fit in perfectly!
You can surround the ghost with pumpkins like I did or add festive lanterns or twinkle lights! Other spider decor would be cute or a little family of these diy ghosts!
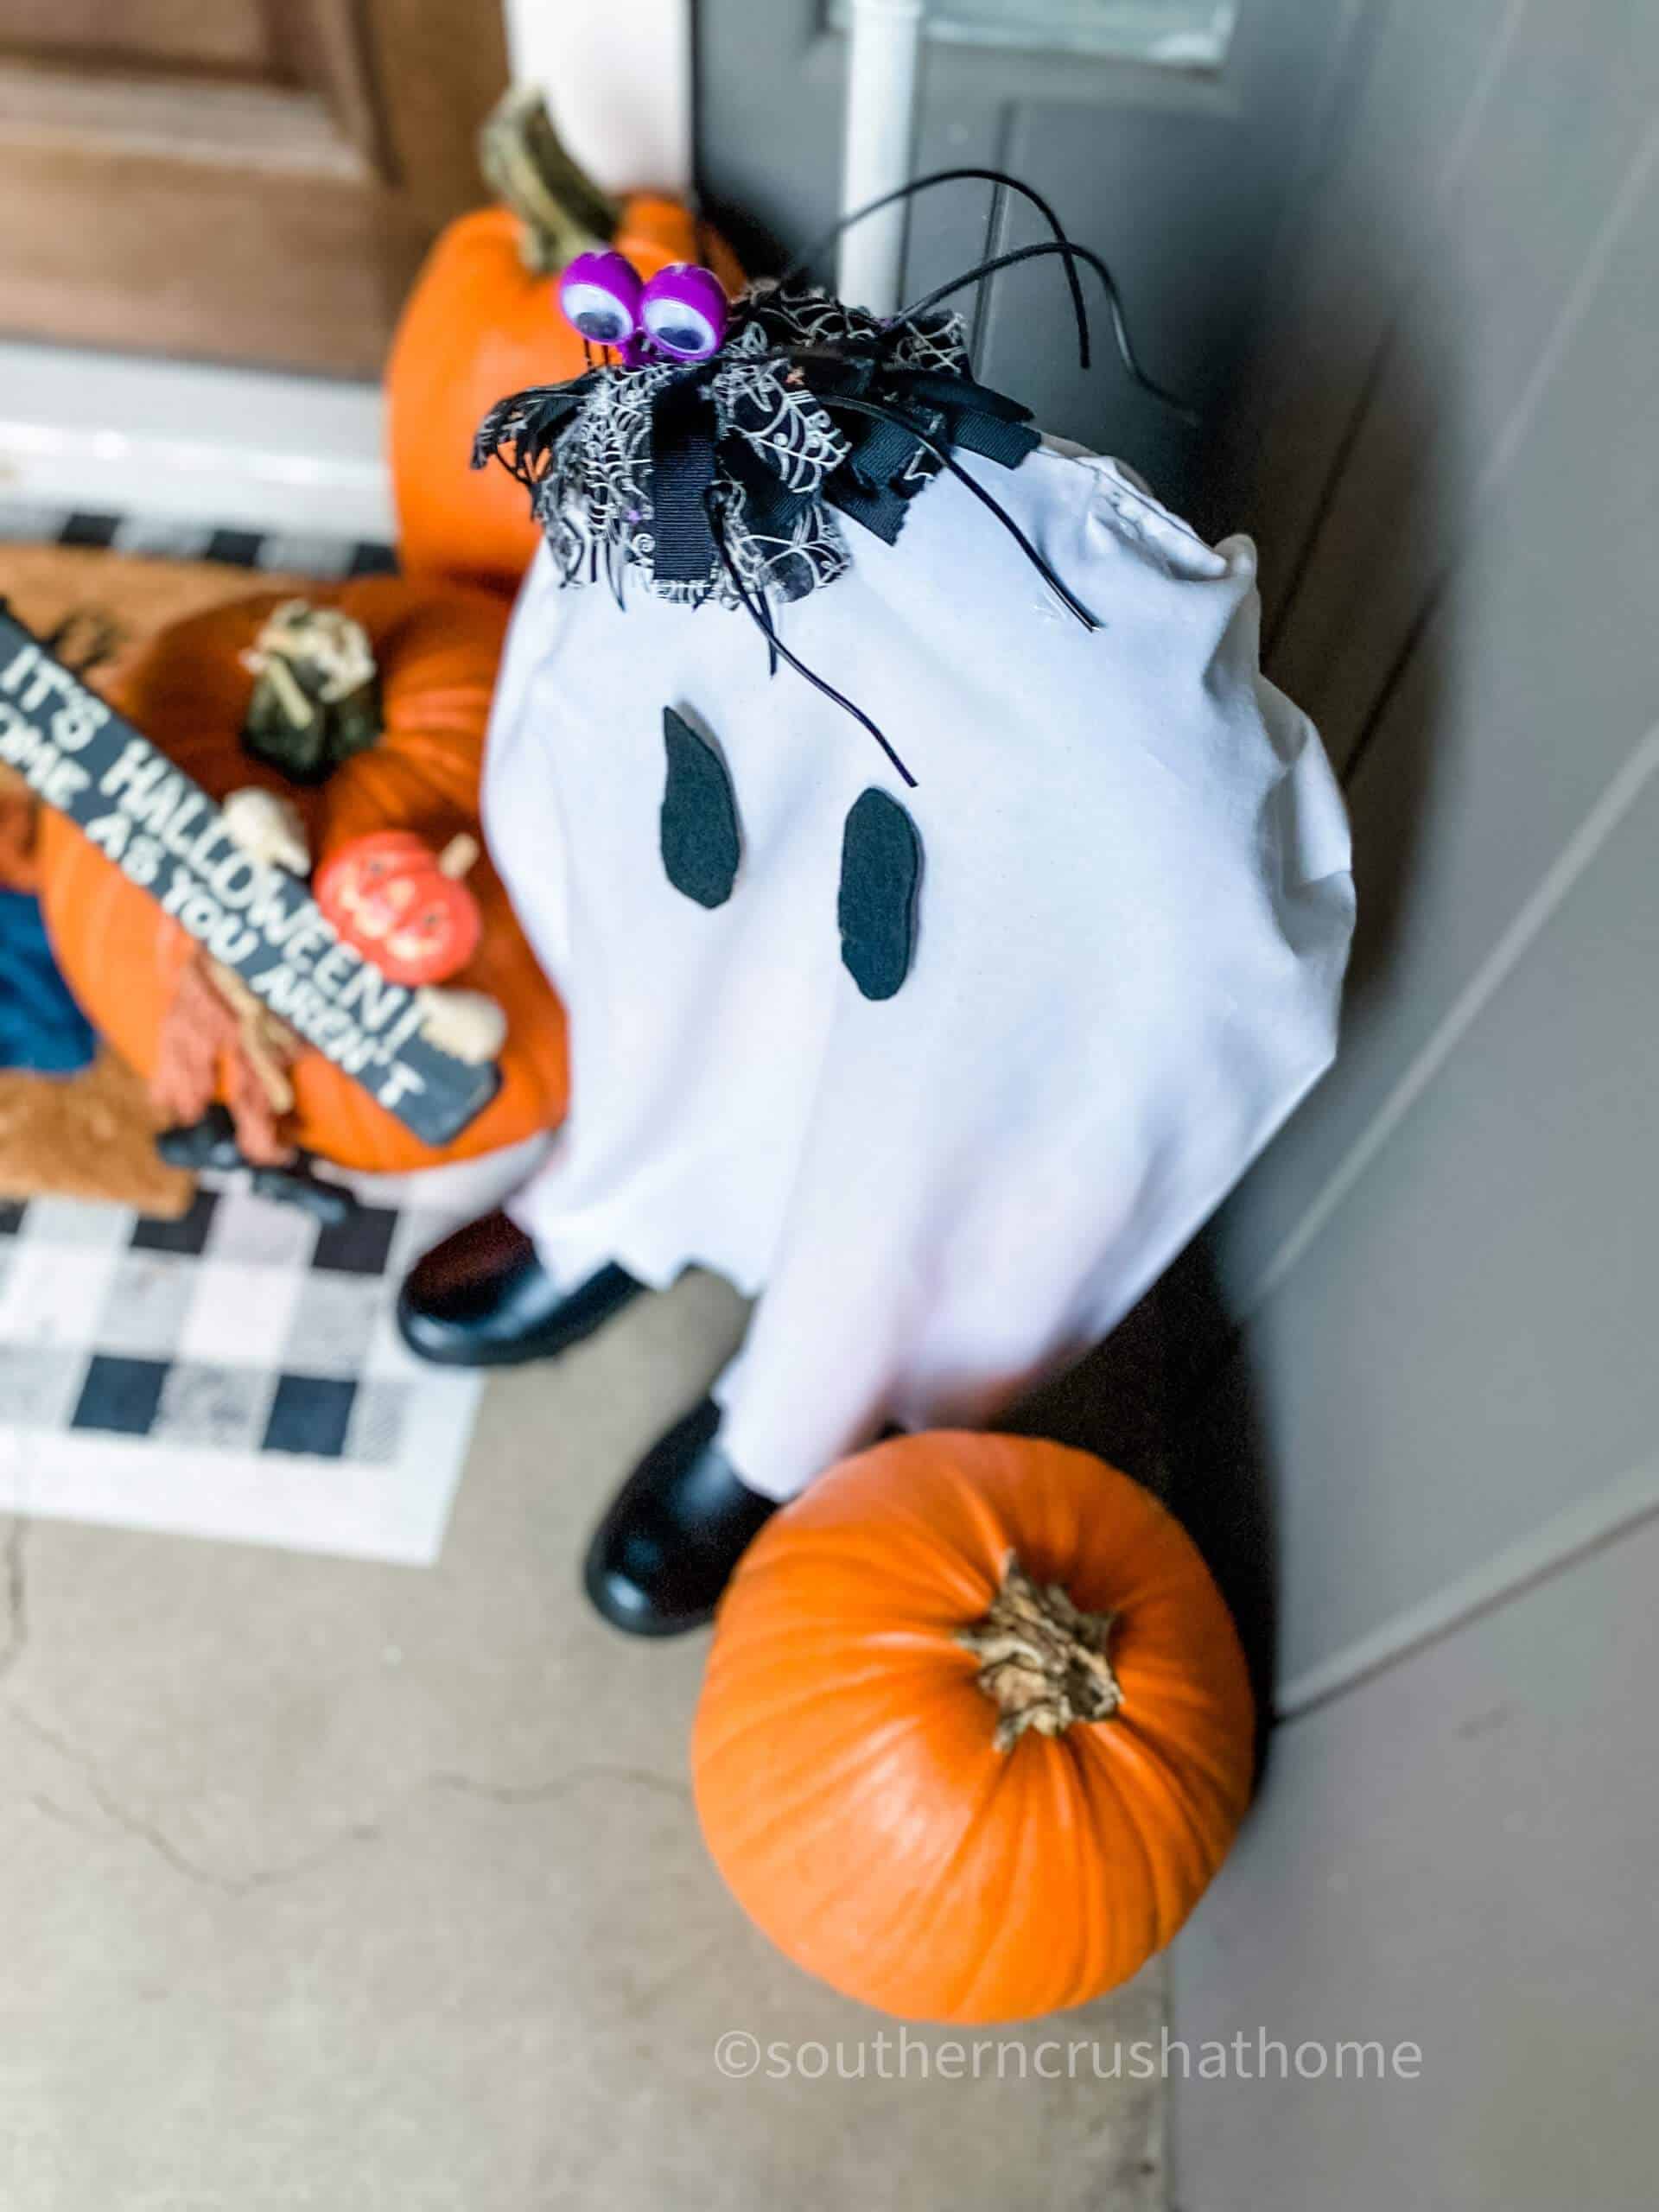
My ghost is actually more sweet looking than scary…I wonder if it’ll scare any of our trick or treaters?
Here is a close up so that you can see the details.
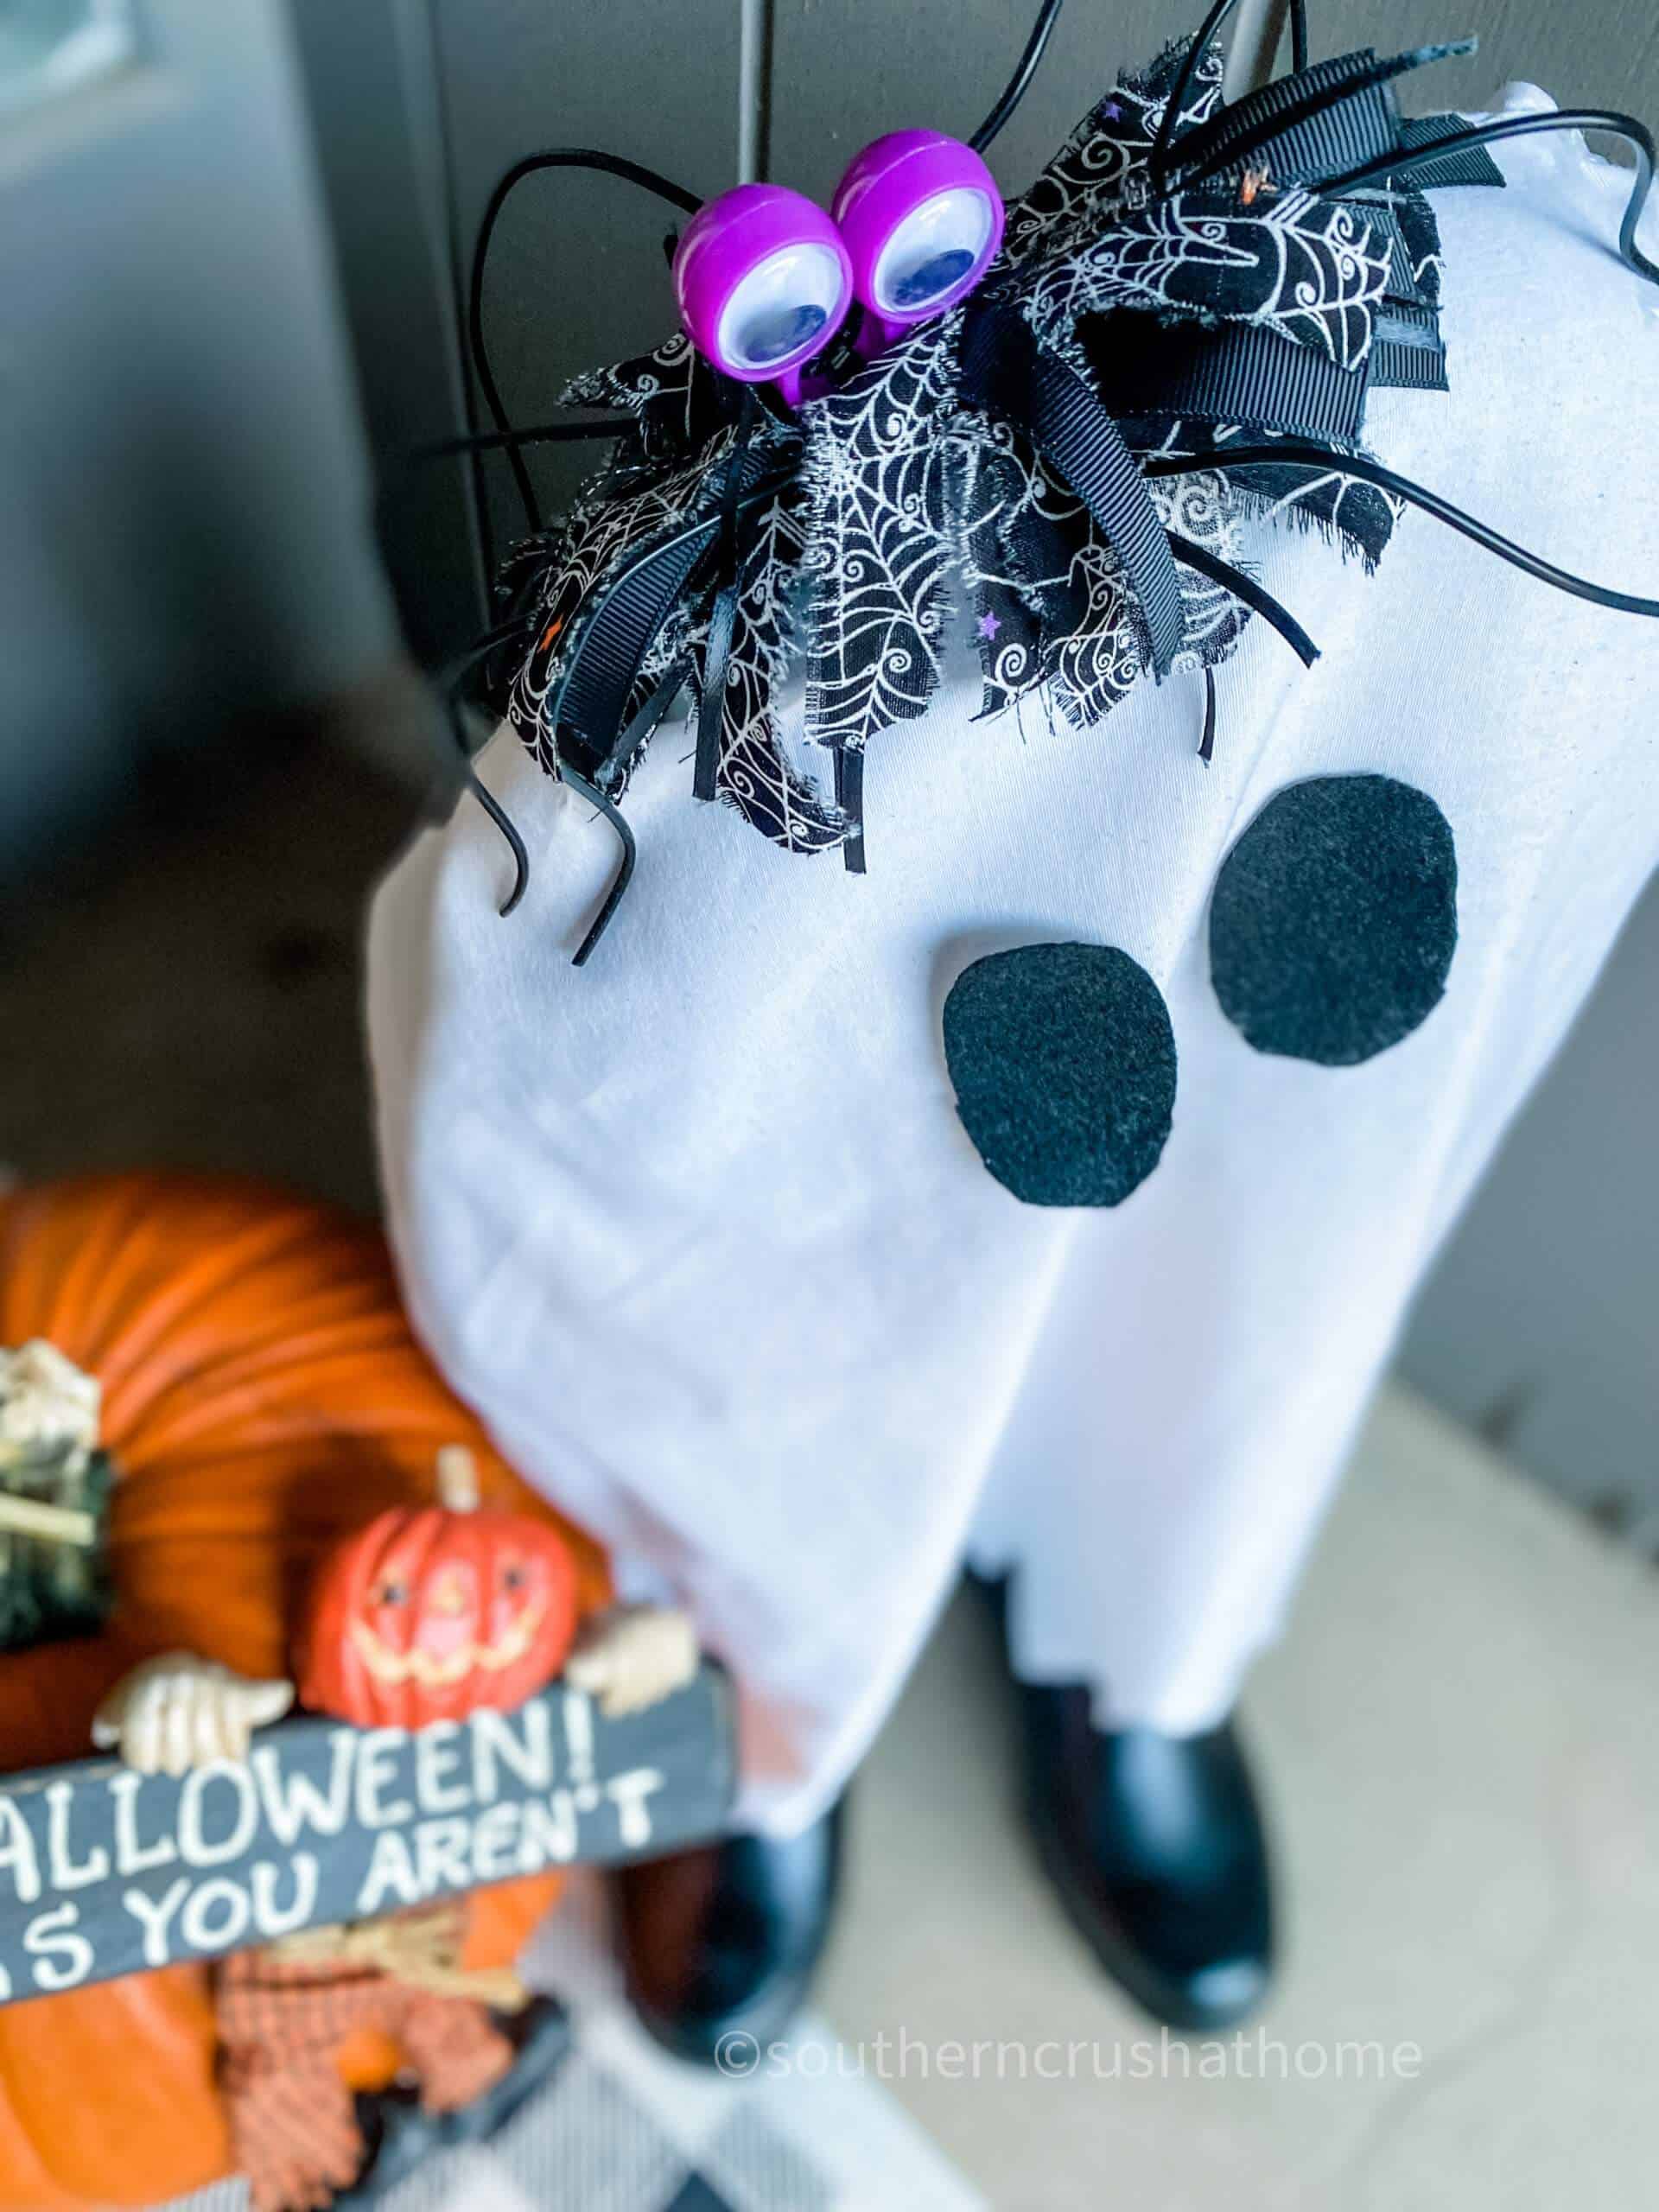
What do you think? Will you throw one of these pool noodle Halloween ghosts together for your last minute Halloween decor?
Do you decorate your front porch? Let me know in the comments please. I cannot wait to hear from you!
PIN this for later!
Here is one other Ghost DIY that you might like to try:
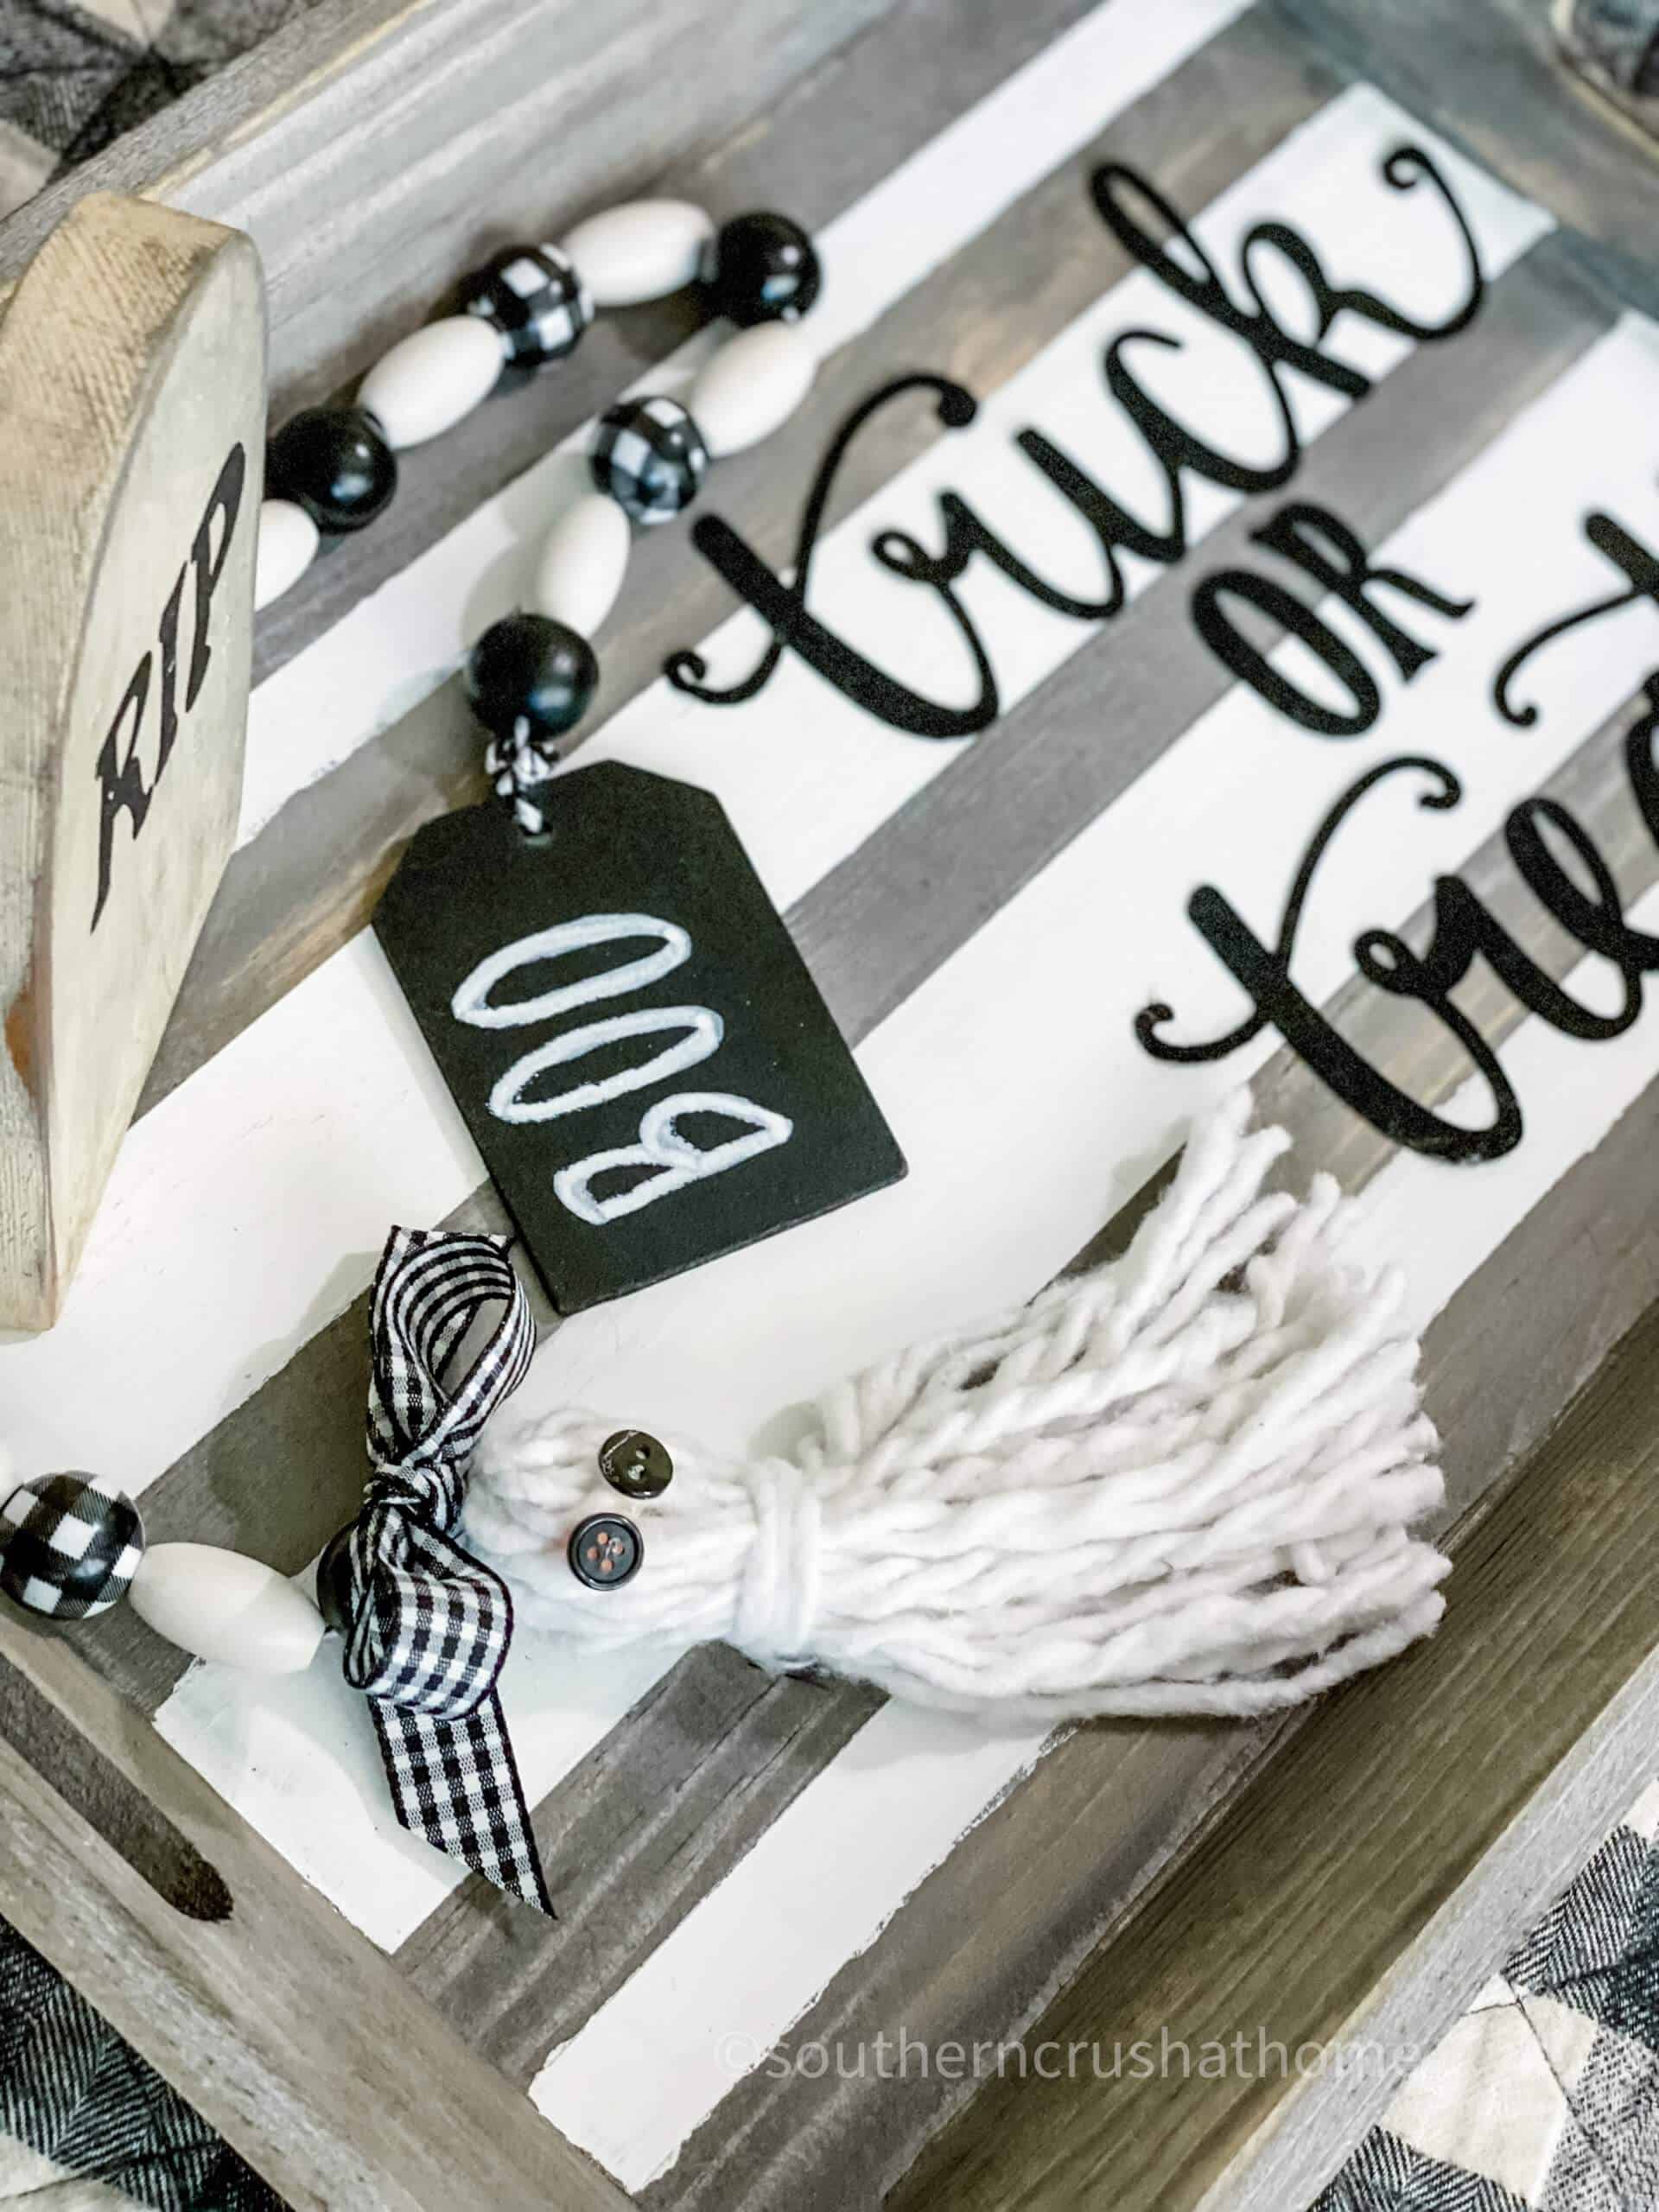
Buffalo Check Wood Bead Garland (with Dollar Tree Mop Head Ghost Tassel)
How about a fun ghost themed recipe?
3 Ingredient White Chocolate Ghost Pretzels
Pool Noodle Halloween DIY Ghost
Equipment
- scissors
Materials
- pool noodle
- rain boots
- clothespin
- pillowcase
- black felt
Instructions
- tuck pool noodle into rain boots
- secure boots with clothespin
- cut jagged edge onto pillowcase hem
- place pillowcase over pool noodle and boots
- cut out black felt ghost eyes
- glue onto pillowcase



Oh my, this is the cutest – easiest lil ghosty I’ve ever seen.
Thx for the idea!👻
So cute! Thank you!