How to Make an Easy Mesh Bow (for a Wreath)
This super easy mesh bow is perfect to add to banners and wreaths. But, it can also be attached to a gift bag or present to really make a fun and unique presentation. Mesh comes in so many pretty colors too, so you can use this same technique for any holiday or occasion.
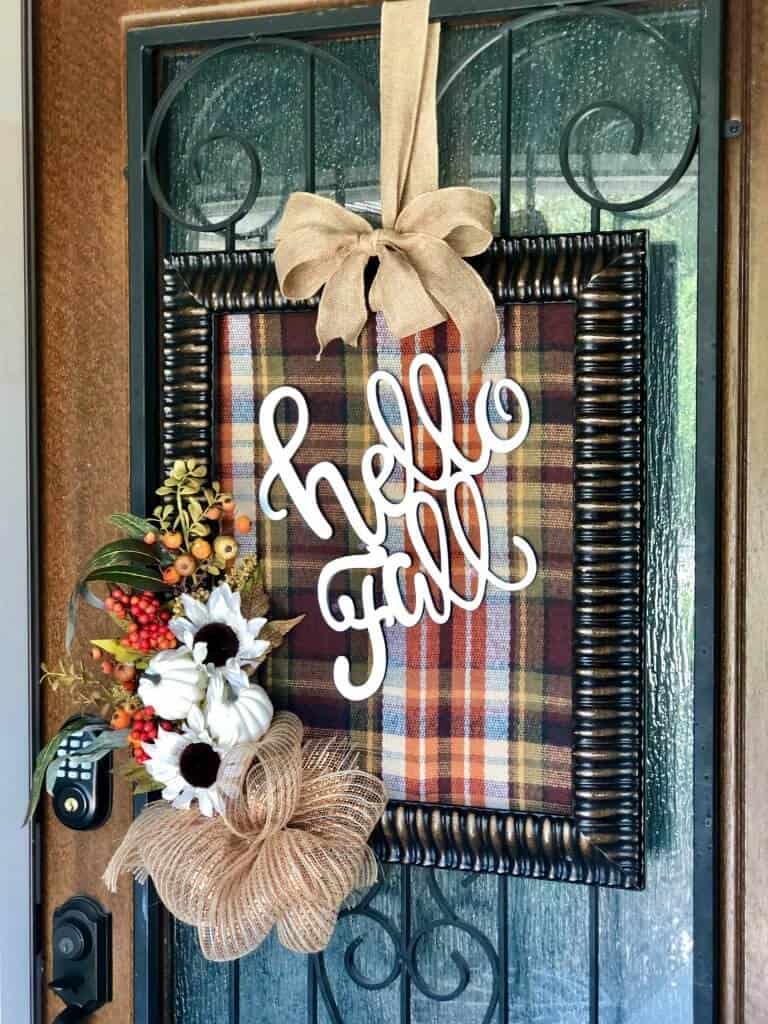
You know I love to make bows of all shapes and sizes in all kinds of materials. This pretty mesh bow DIY is not only easy to make, but it’s inexpensive too. Check out the dollar store for mesh to use for fall, Halloween, Christmas and more.
Take a look at several other DIY bows I’ve made:
- 5 Minute Lace Messy Bow
- Messy Bow Burlap Pillow Wrap
- Christmas Tree Topper
- Messy Bow Fall Wood Block Decor
- Denim Messy Bow
- Bandana Scarf Bow
- DIY Tulle Bow
- Tissue Paper Gift Bow
- T-Shirt Bow
- DIY Knotty Bow
Here is a quick tutorial so you can make your own mesh bow.
STEP BY STEP YouTube VIDEO TUTORIAL
If you want to see the exact step-by-step process, be sure to check out this video tutorial below over on my YouTube Channel!
SUPPLIES Needed for Easy Mesh Bow DIY
All the supplies needed can be found HERE in my Amazon Shop!
- 6″ or 10″ Mesh Ribbon
- Rubber Bands
- Fabric Scissors
How to Make A Mesh Bow
This will be your new favorite way to make bows using deco mesh!
Step One
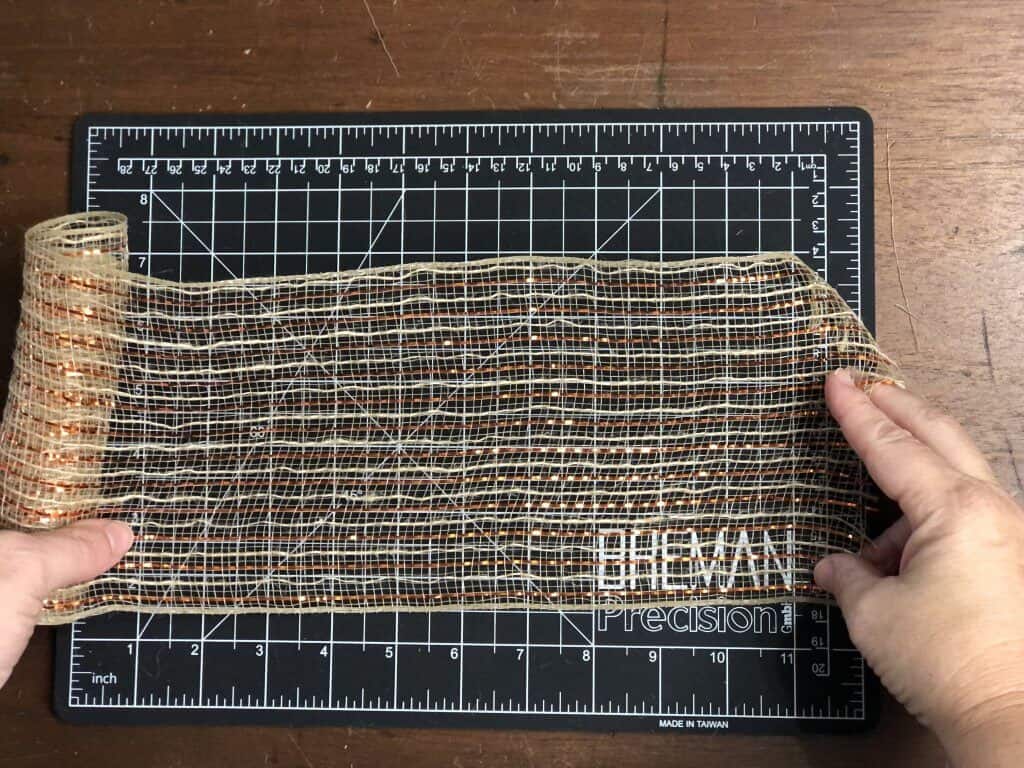
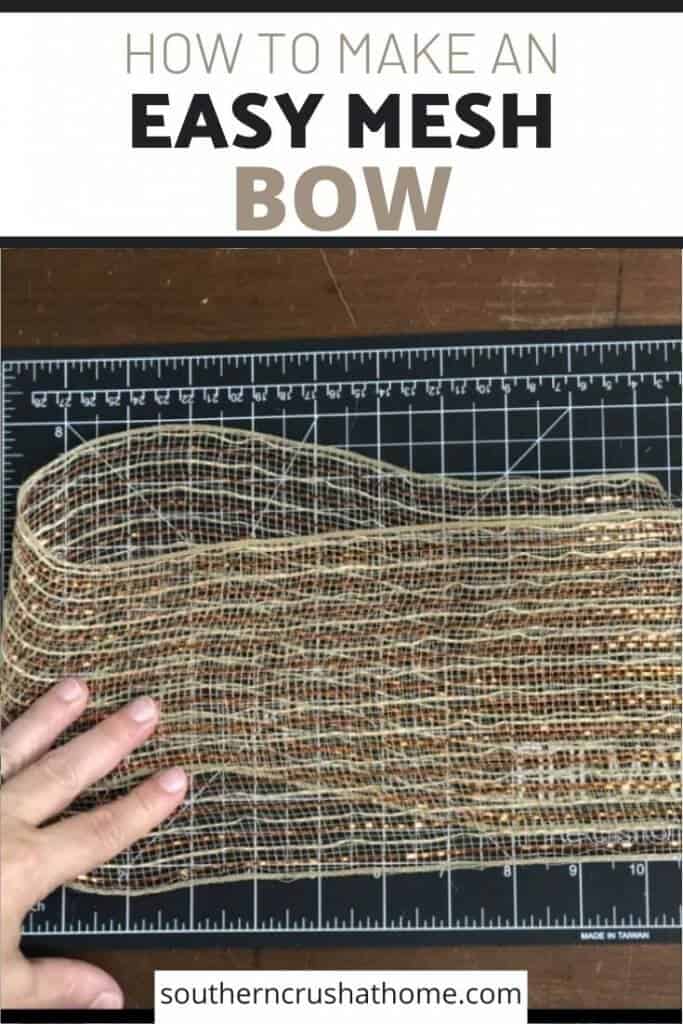
Start by measuring out 12 inches of 6″ mesh.
QUICK TIP: You can adjust the bow size easily by using a smaller or larger length and width of mesh.
Step Three
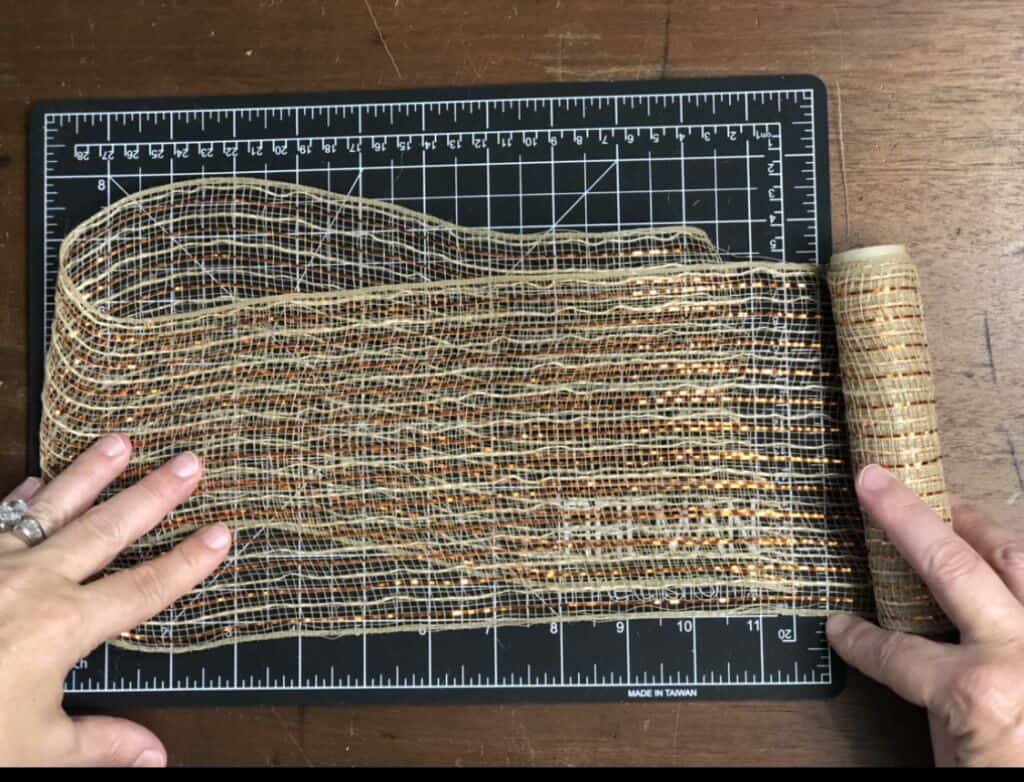
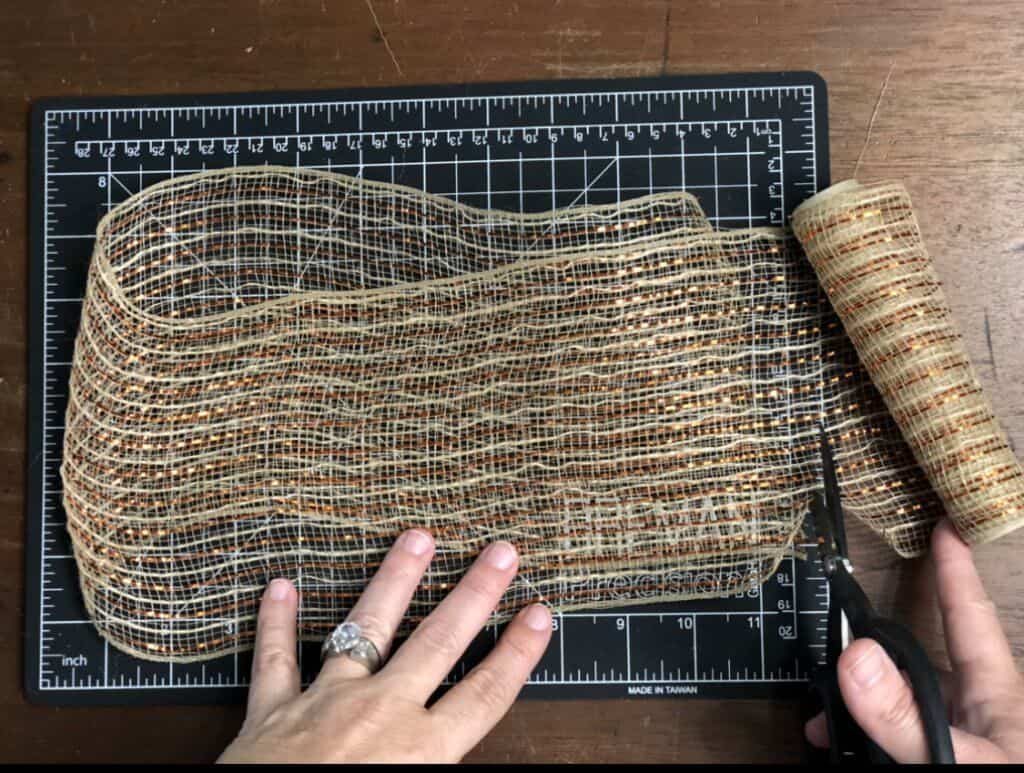
Now, you want to cut the mesh at 24″ with your fabric scissors.
Step Four
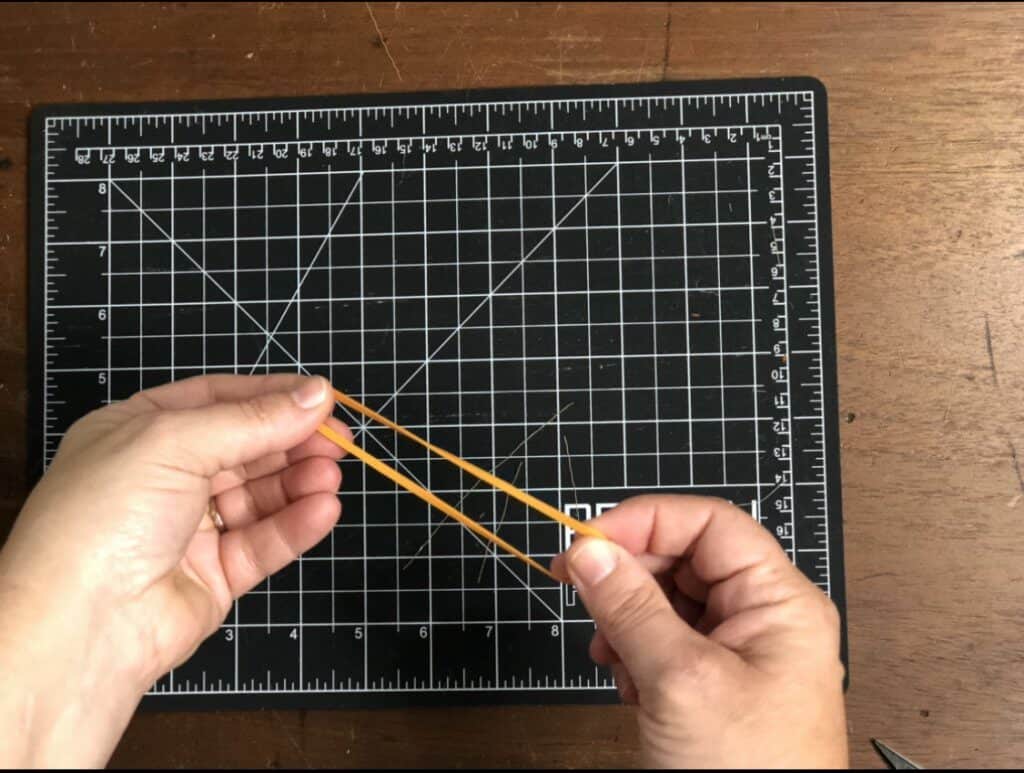
Take a standard rubber band that you will use to wrap around the mesh and secure the bow.
Step Five
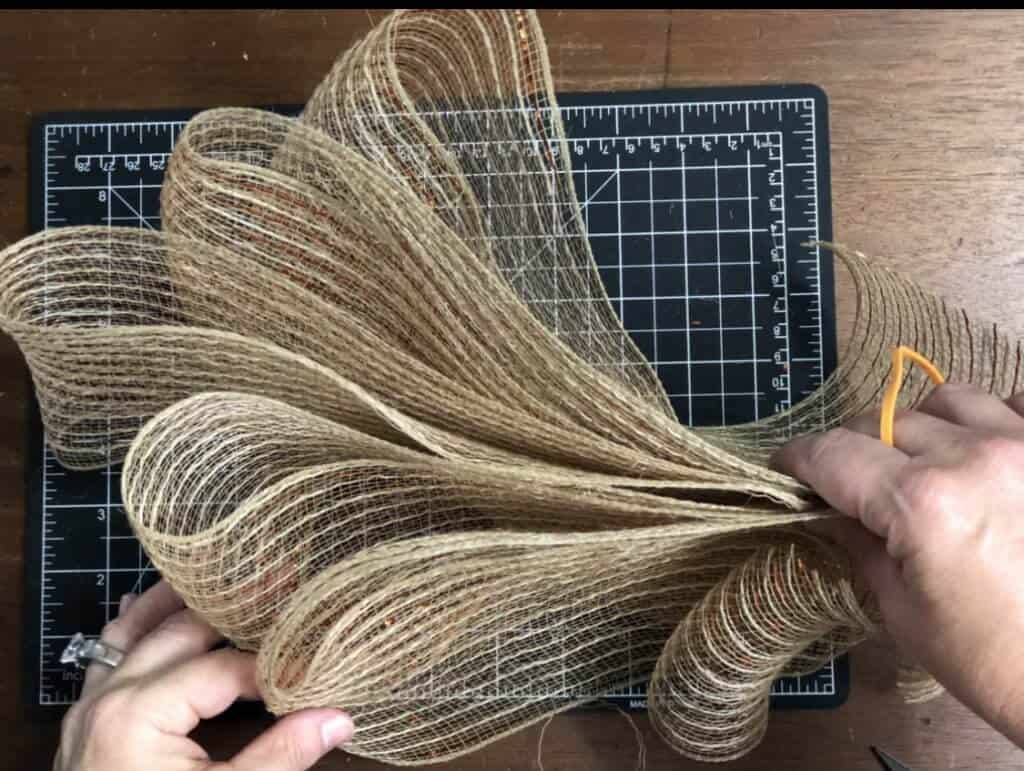
You will need 5 -24″ cuts of 6″ mesh to make this size bow.
Step Six
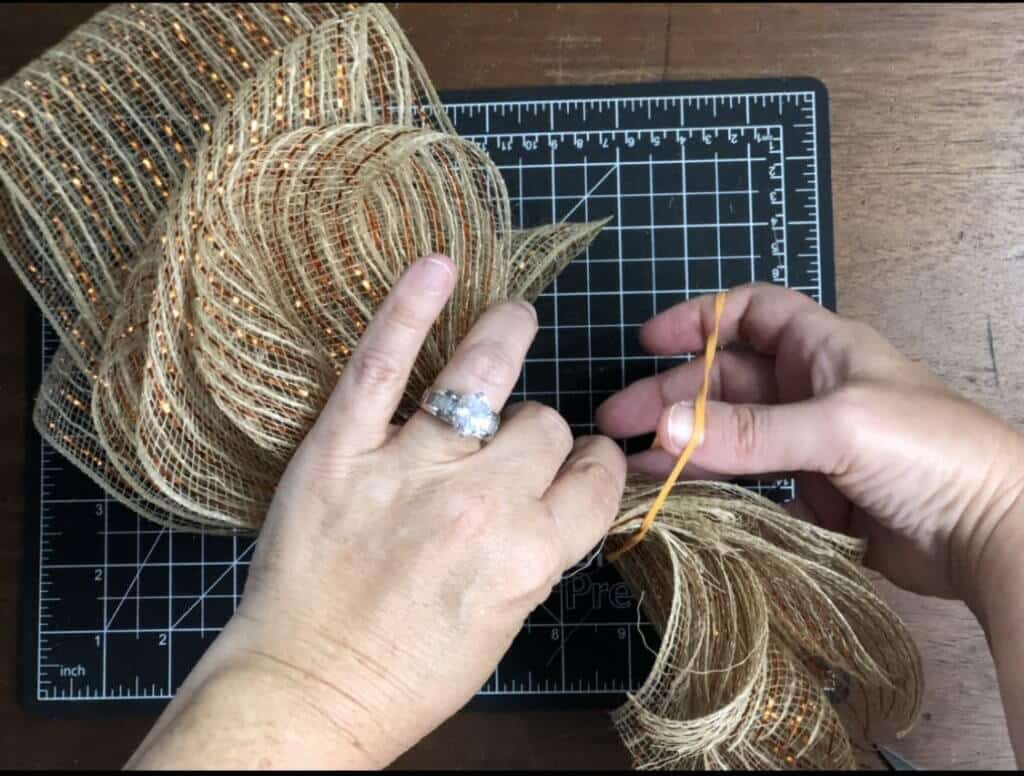
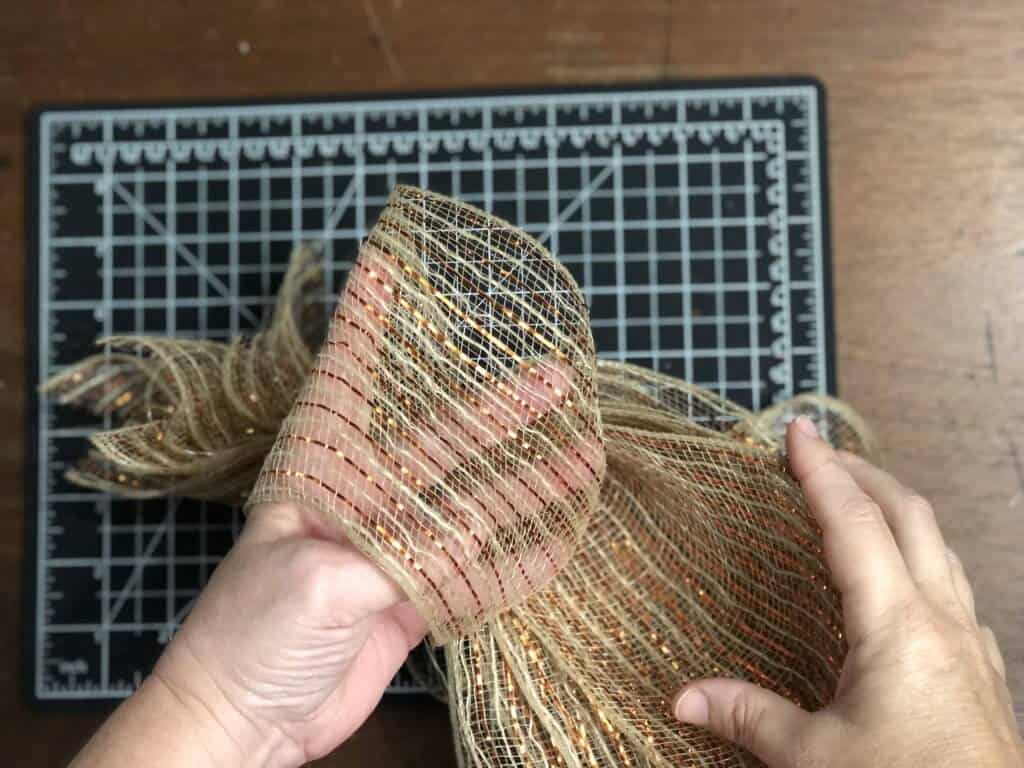
Simply wrap the rubber band around the bottom portion of the 5 pieces of mesh to secure it.
Step Seven
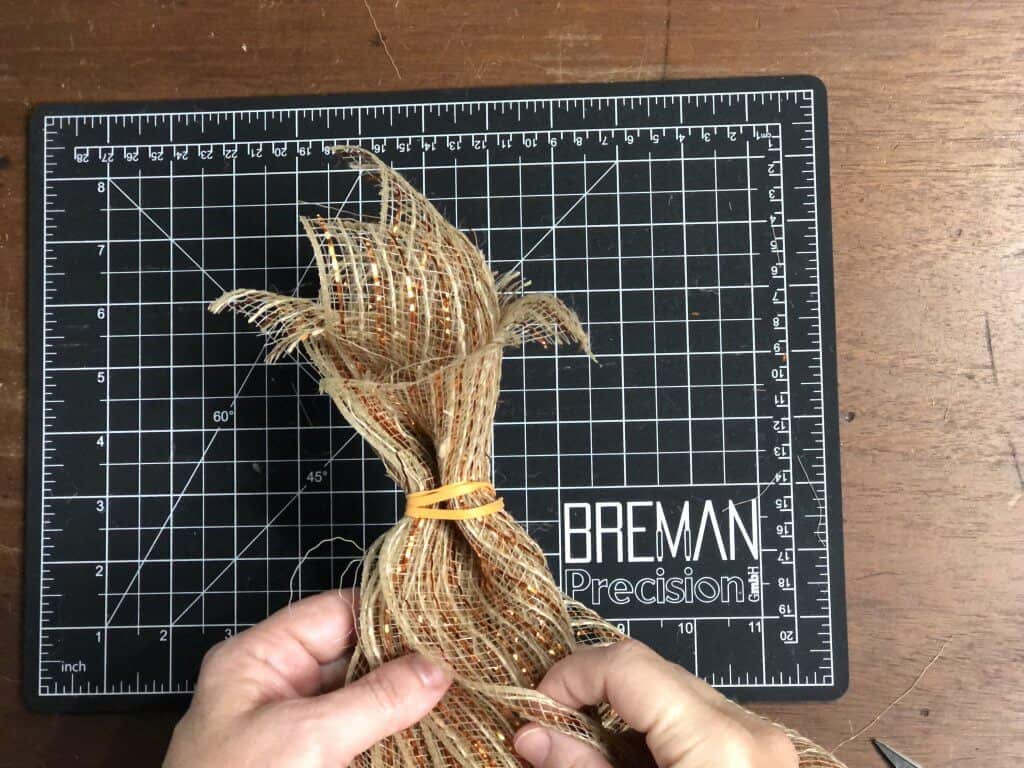
Continue to wrap the rubber band around the mesh until it is nice and tight.
Step Eight
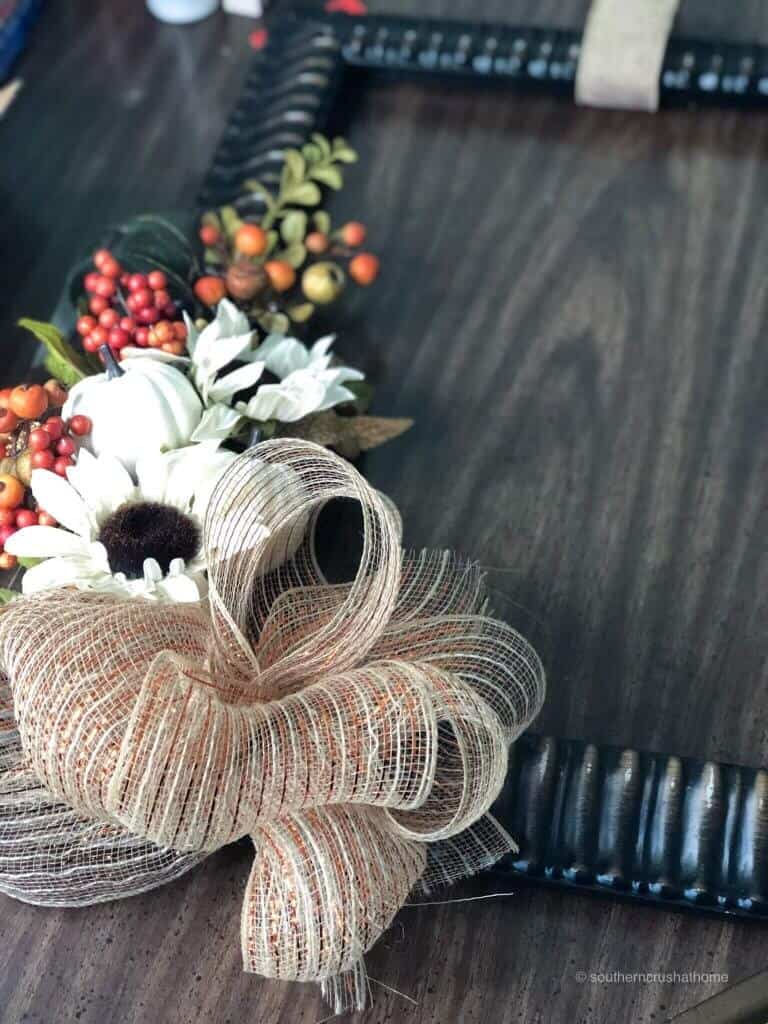
Now you want to fluff the mesh ribbon to form the bow. Fluff each piece of mesh until you have a nicely formed bow.
that’s it!
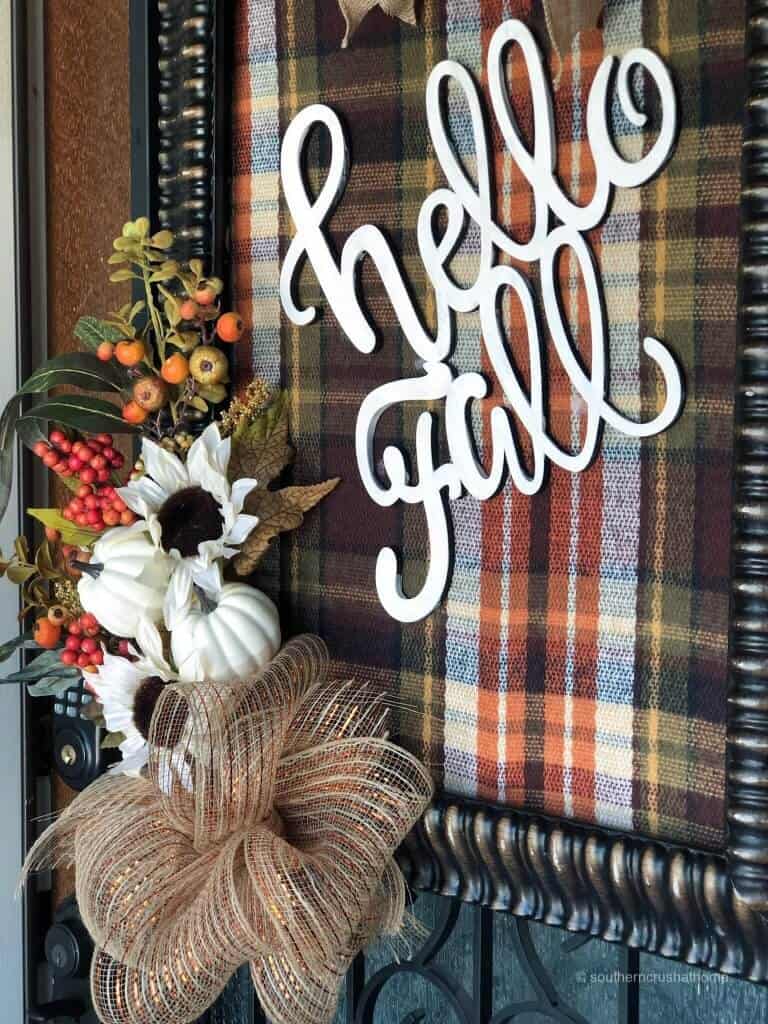
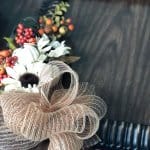
Look how pretty this mesh bow looks on this Fall Plaid Picture Frame Wreath. It really steps up the wreath, especially with the added fall flowers. Get creative with how you are going to use your pretty bow.
How to Use a DIY Mesh Bow
Here are just a few ways you can use mesh bows:
- Attach it to a wreath.
- Secure it to a vase or mason jar.
- Make two to add to a banner.
- Use it as a gift bow and attach it to a gift bag or wrapped present.
I hope you enjoyed this simple DIY bow. Please let me know if you make your own. Leave a comment below and share pictures.
BE SURE TO CHECK OUT THESE Easy ideas to craft with mesh!
Be sure to PIN this for later!
Easy Mesh Bow DIY
Equipment
- Fabric Scissors
Materials
- Mesh Ribbon
- Rubber Bands
Instructions
- Start by measuring out 12 inches of mesh.
- Double the mesh so you have two strands of the 12" length of mesh.
- Cut the mesh at 12" with your fabric scissors.
- You will need 5 cuts of 12" mesh to make this size bow.
- Wrap the rubber band around the bottom portion of the 5 pieces.
- Continue to wrap the rubber band around the mesh.
- Fluff the mesh ribbon.
- Decorate with your pretty mesh bow!

I use the bows ALL the time. I love them since you taught me how several years ago.
Thanks for always inspiring me!
I’m so glad! You’re so welcome!