Easy Heart Wreath with Acrylic Pour Painting
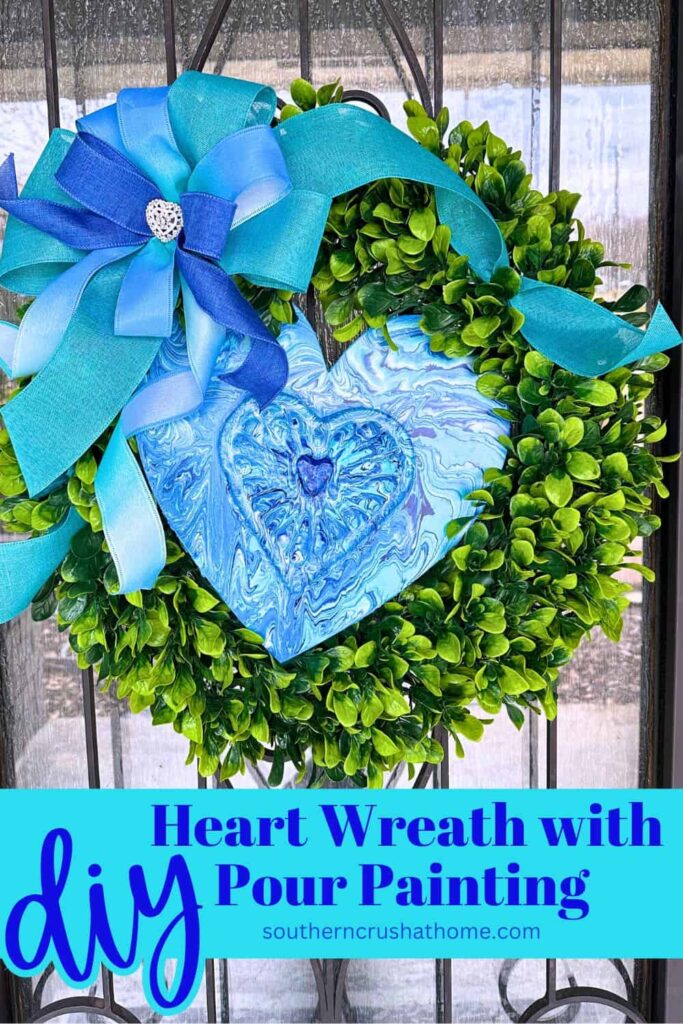
Looking for a fun and creative way to elevate your Valentine’s Day decor? This Easy Heart Wreath with Acrylic Pour Painting combines the beauty of a boxwood wreath with the artistic flair of acrylic pour painting.
PIN this for later!
It’s the perfect mix of rustic charm and modern art, making it a stunning piece to display on your front door or as part of your Valentine’s decor.
This blog post contains affiliate links. The opinions are wholly my own from my own experience. I may earn a small commission from clicks through to the websites that end in a purchase.
With just a few supplies and some easy-to-follow steps, you can create this one-of-a-kind heart wreath that’s sure to impress guests and brighten your space. Whether you’re an experienced crafter or a beginner, this DIY wreath is simple, creative, and so much fun to make!
Supplies Needed for Heart Wreath
- Boxwood wreath
- Dollar Tree wooden blank heart
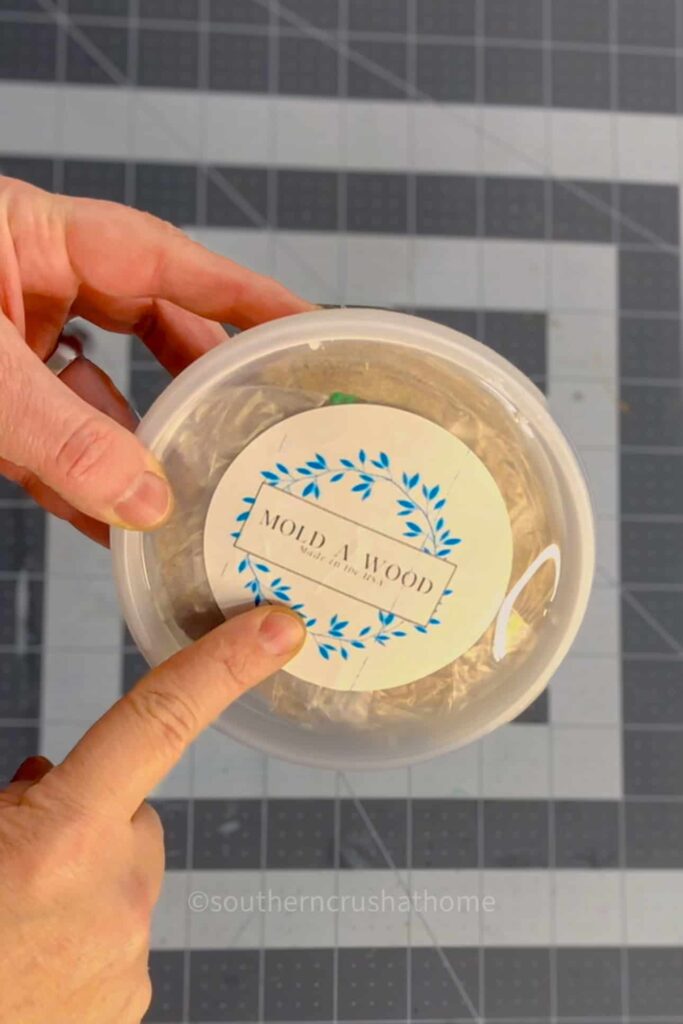
- Mold-a-Wood product
- Copper heart-shaped mold
- Assorted ribbons
- EZ Bow Maker (optional)
- Hot glue gun and glue sticks
- Zip ties
- Heat tool
- Poly or clear sealant spray
- Rhinestone embellishment
- Acrylic pouring paints
- Divided silicone cup
YouTube Tutorial
Step-by-Step Instructions
Step 1: Create the Wooden Heart Centerpiece
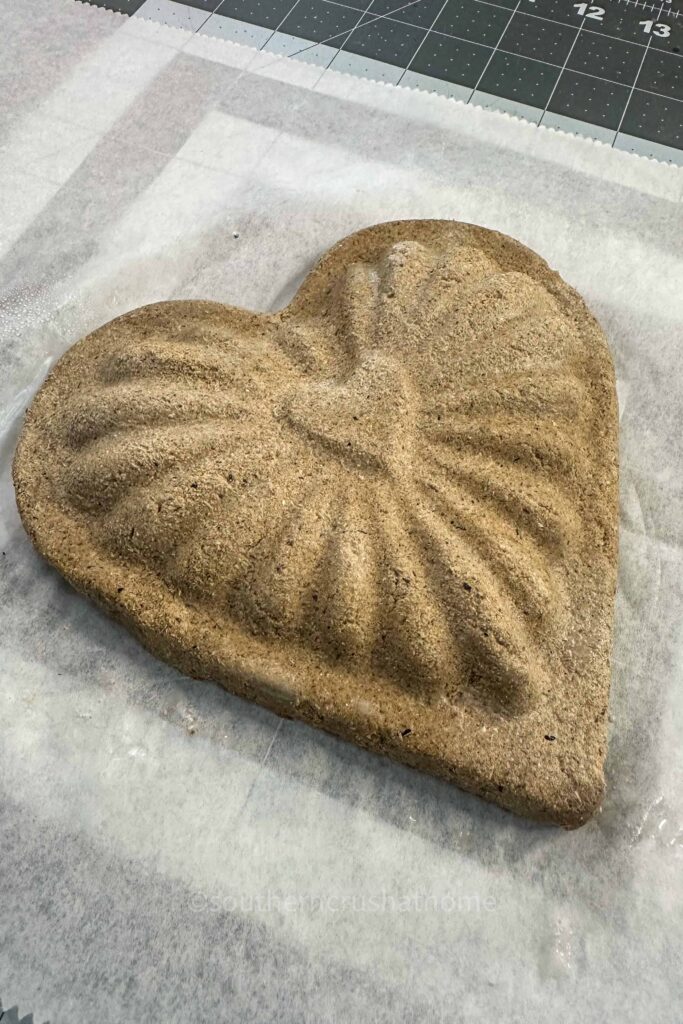
Start by using the Mold-a-Wood product to craft a heart-shaped embellishment.
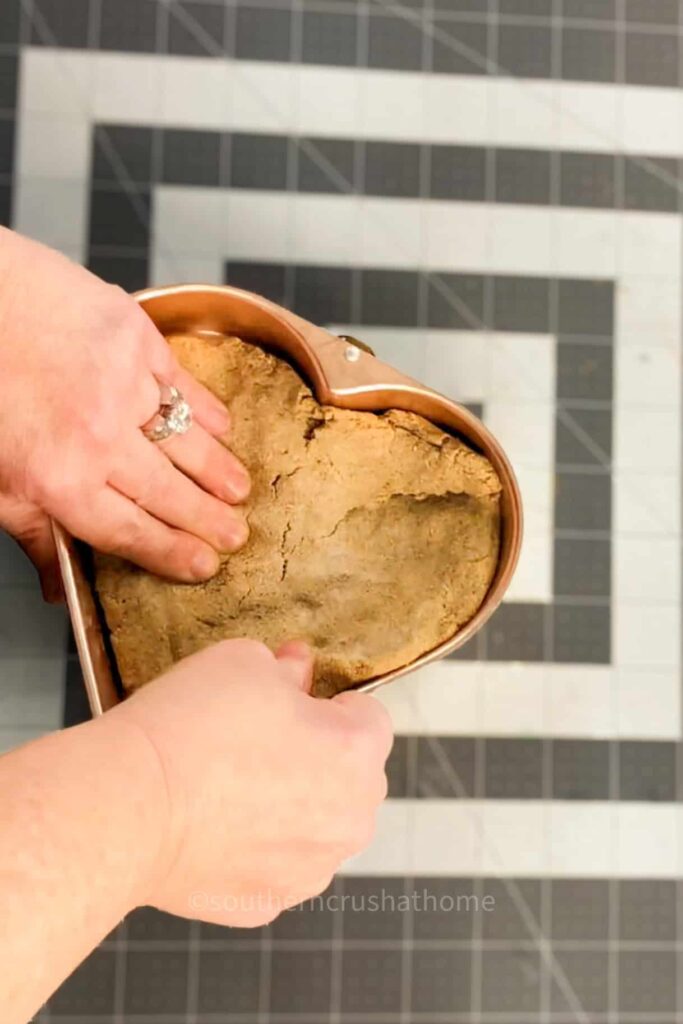
Press the Mold-a-Wood into the copper heart mold, ensuring the material fills all the edges for a smooth shape.
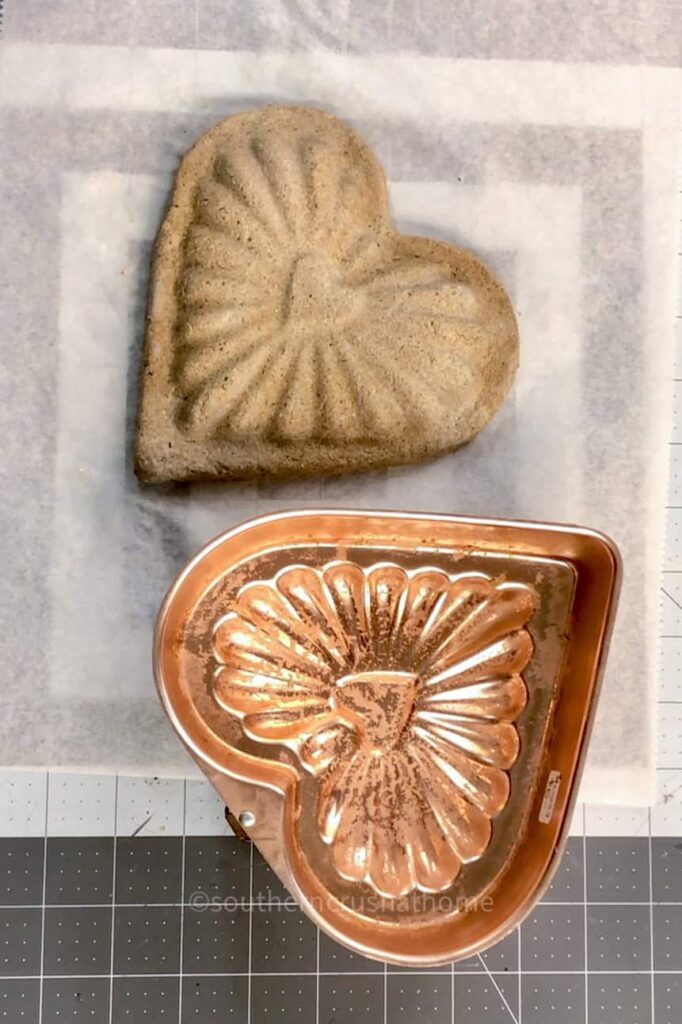
Let it cure for 24-48 hours to fully harden.
Step 2: Attach to the Blank Wooden Heart
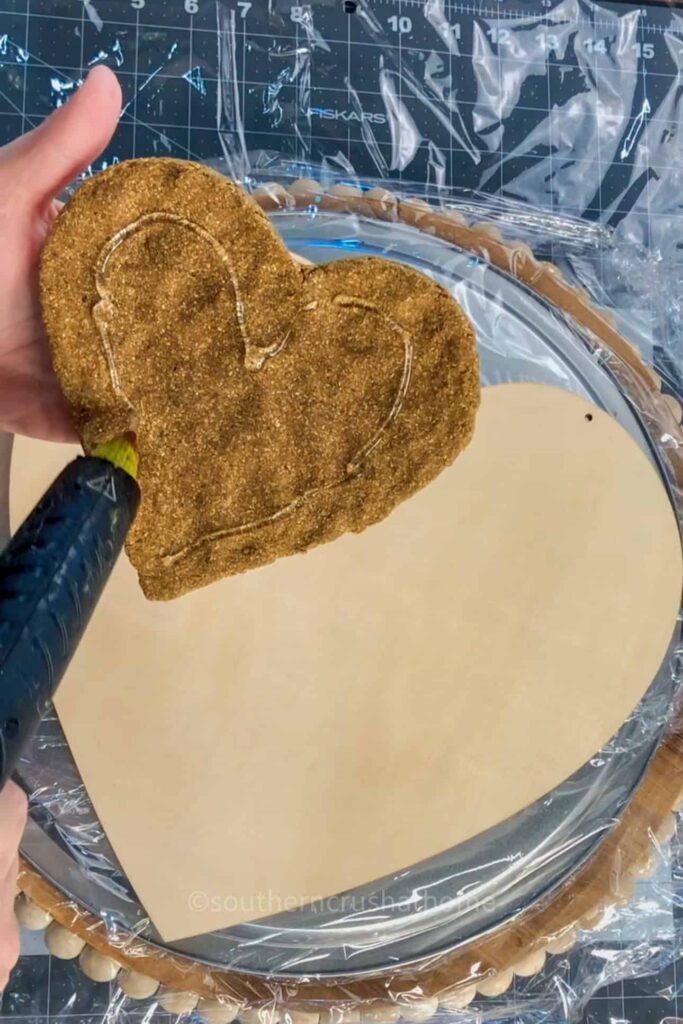
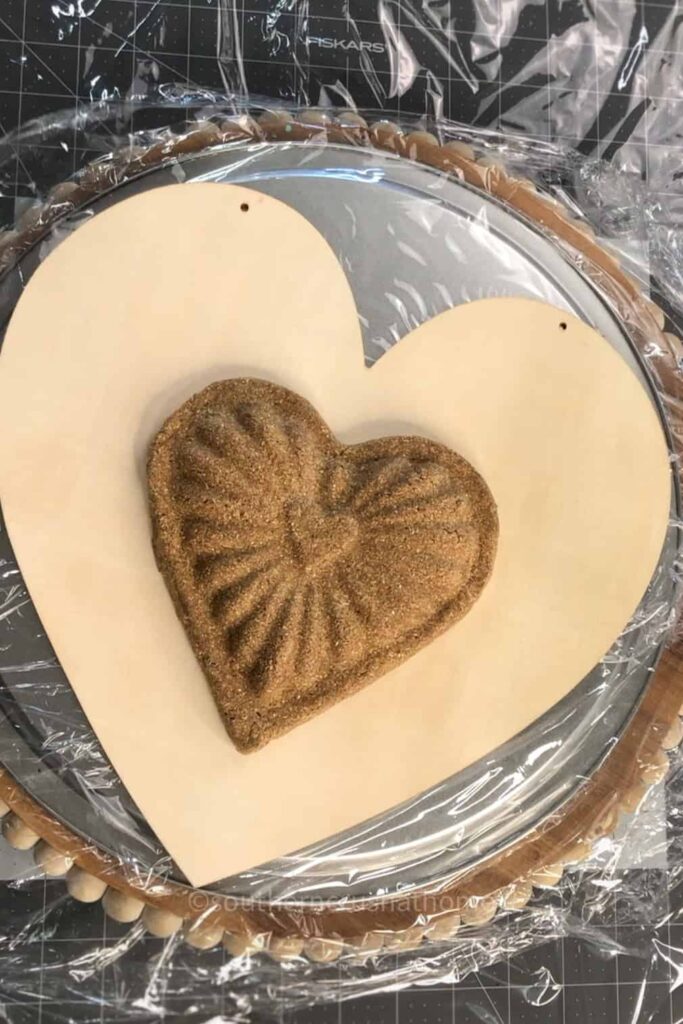
Once the Mold-a-Wood heart has cured, remove it from the mold and attach it to the Dollar Tree wooden blank heart.
Use hot glue to secure it firmly to the surface.
This creates the base for your centerpiece and adds depth to the wreath design.
Step 3: Pour Acrylic Paint Over the Heart
In a divided silicone cup, layer your acrylic pouring paints in complementary colors (e.g., blue, aqua, whites, and teal for a unique look).
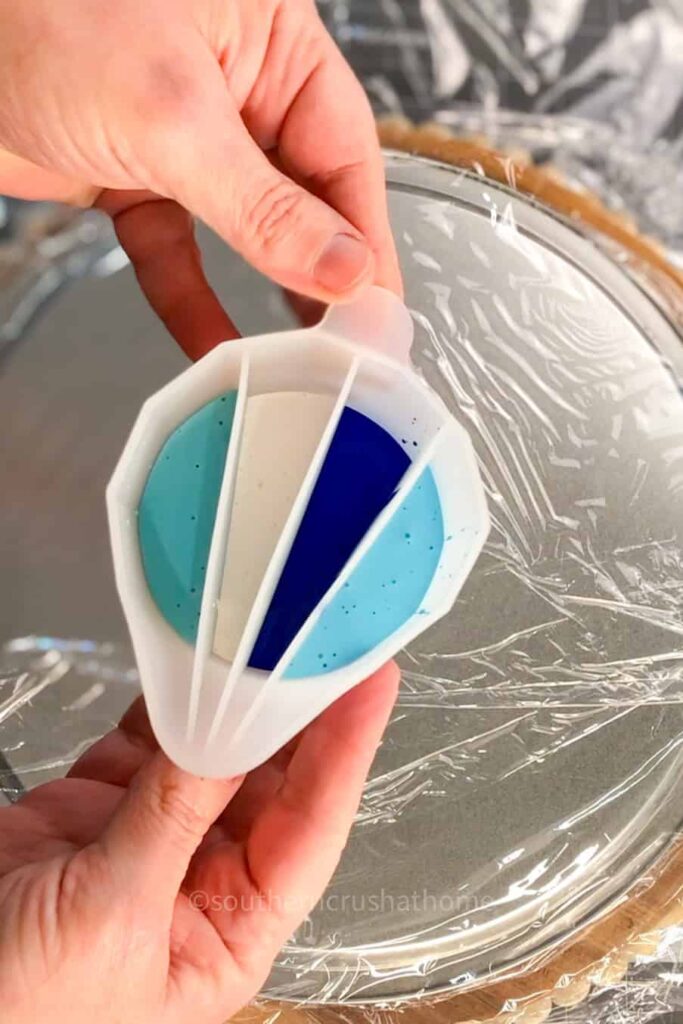
Pour the paint directly over the wooden heart, allowing it to flow naturally for a marbled, artistic effect.
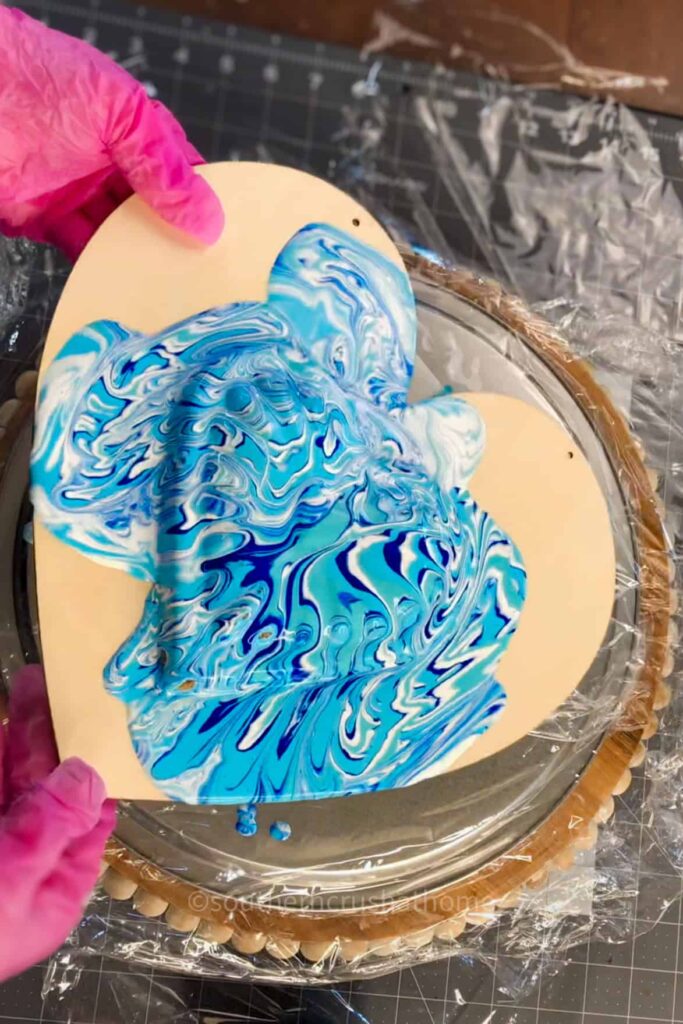
This is the super satisfying and fun part of the project! Enjoy!
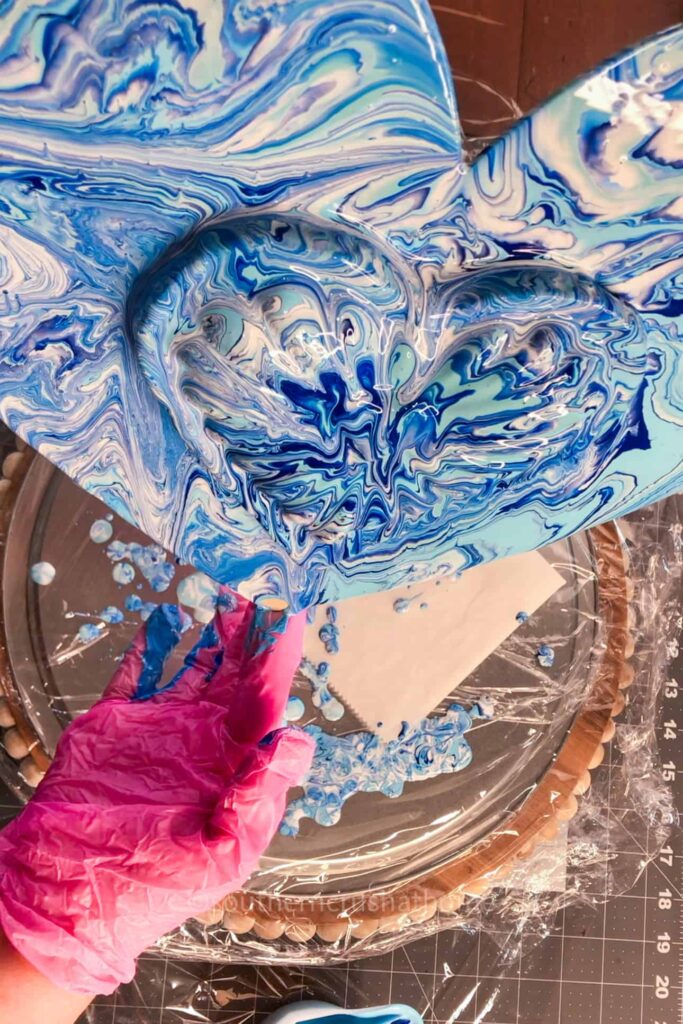
Step 4: Use a Heat Gun to Remove Bubbles
Immediately after pouring, use a heat tool to pop any air bubbles in the paint. This ensures a smooth, professional-looking finish. Set the heart aside to dry overnight.
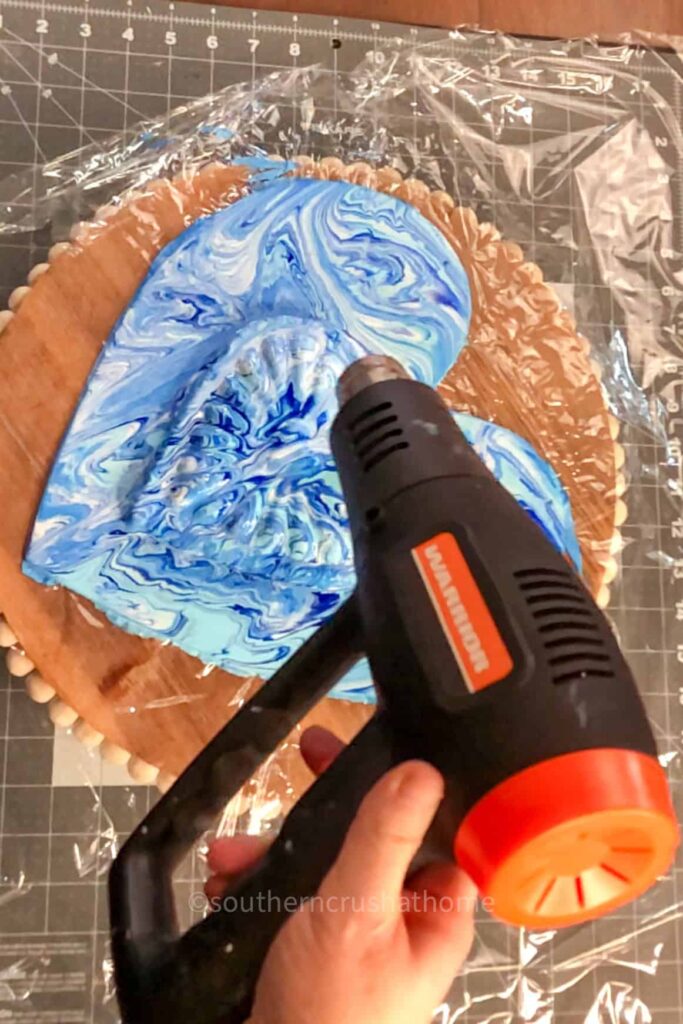
Step 5: Seal the Painted Heart
Once the paint has dried, apply a light coat of poly or clear sealant spray to protect the design and give it a slight sheen. Allow the sealant to dry before moving to the next step.
Step 6: Create the Bow
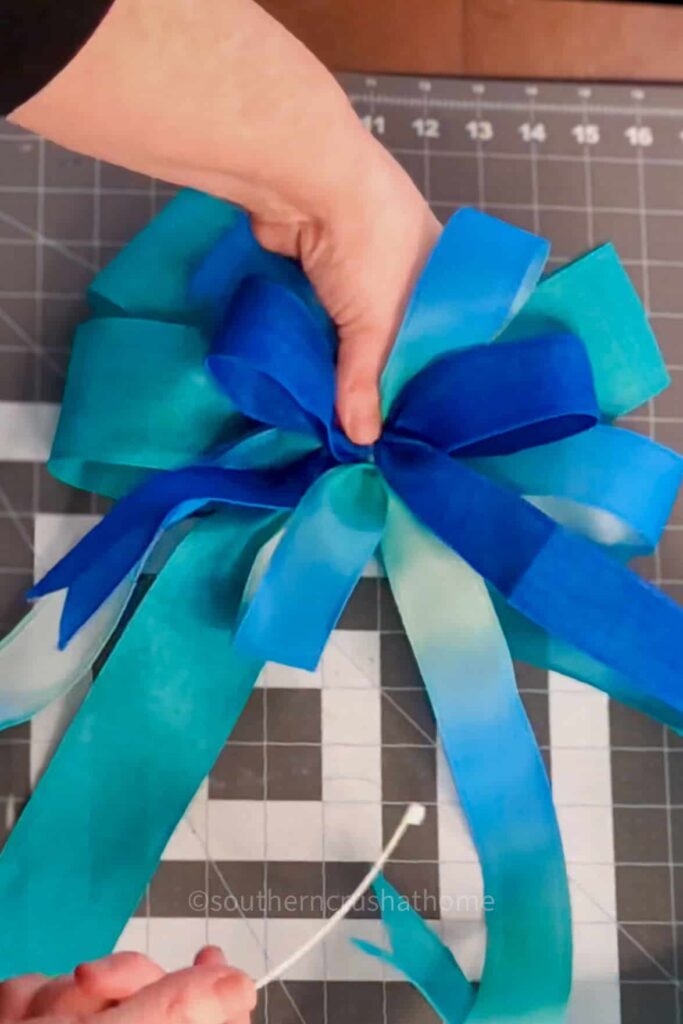
Using your EZ Bow Maker (or by hand), create a multi-layered bow with assorted ribbons in colors like blue, teal, and royal blue.
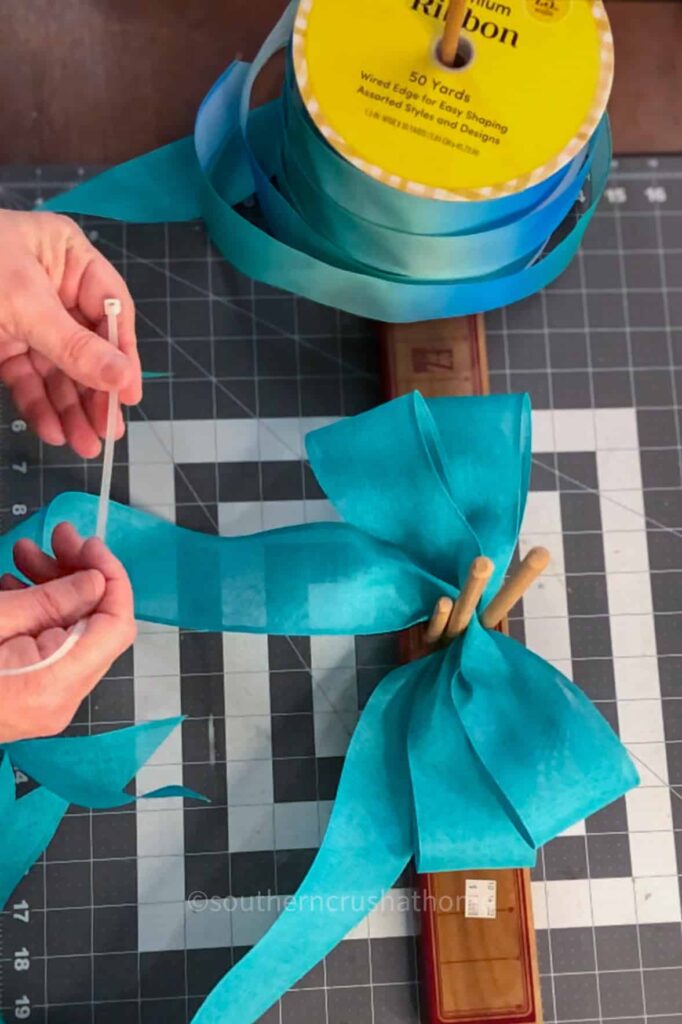
Secure the bow with zip ties.
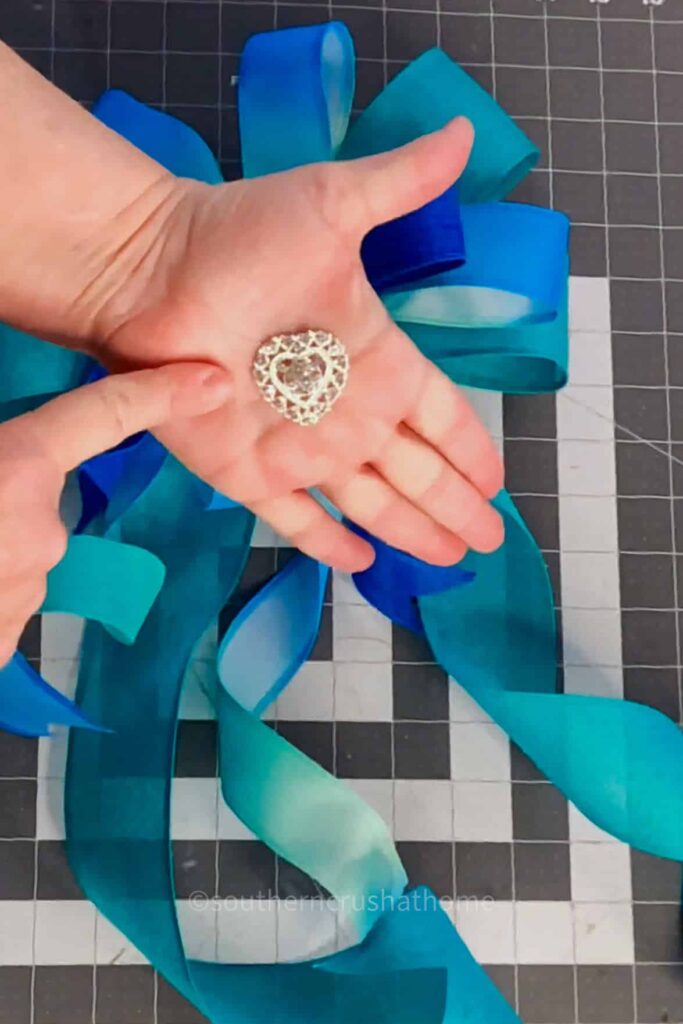
For a touch of sparkle, hot glue a rhinestone embellishment to the center of the bow.
Step 7: Assemble the Wreath
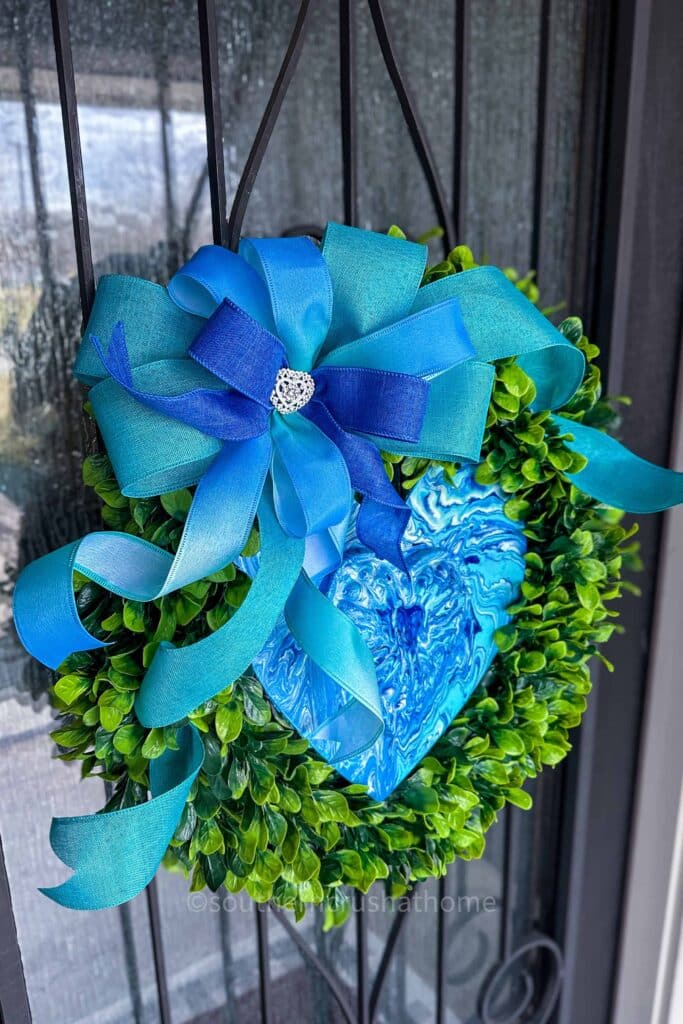
Attach the painted wooden heart to the boxwood wreath using zip ties for stability. Add your bow above or below the wooden heart centerpiece, securing it with hot glue or zip ties as needed.

Step 8: Display Your Wreath
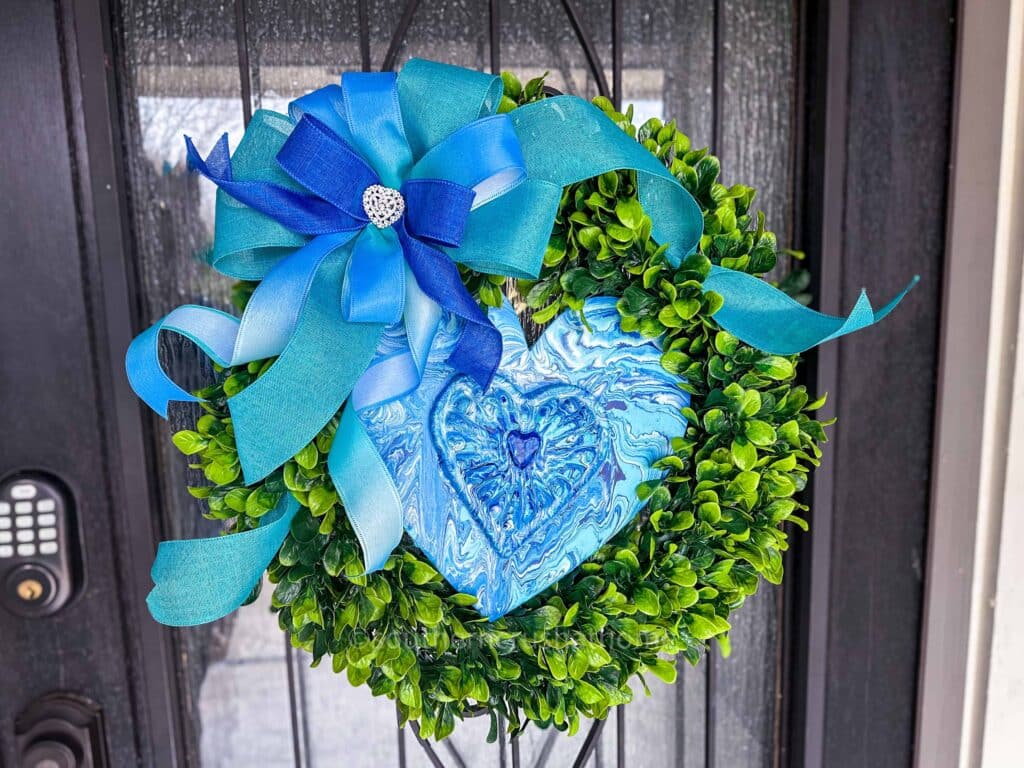
Your heart wreath is now complete! Hang it on your front door using a ribbon or wreath hanger. This unique piece will add whimsical flair and festive charm to your Valentine’s decor.
Creative Ways to Display Your Heart Wreath
This heart wreath isn’t just for your front door! Here are a few additional ways to incorporate it into your Valentine’s Day decor:
- Over a Mantel: Center the wreath above your fireplace mantel and pair it with candles, faux flowers, or a string of heart-shaped garlands.
- On an Accent Wall: Add it to a gallery wall or hang it solo to create a seasonal focal point in your home.
- Table Centerpiece: Lay the wreath flat on your dining or coffee table and place a vase of fresh flowers or a candle in the middle.
- Gift It: This heart wreath makes a thoughtful handmade gift for someone special who loves artistic and personalized decor.
This Easy Heart Wreath with Acrylic Pour Painting is a beautiful and unique way to celebrate Valentine’s Day—or any occasion that calls for a little love and creativity!
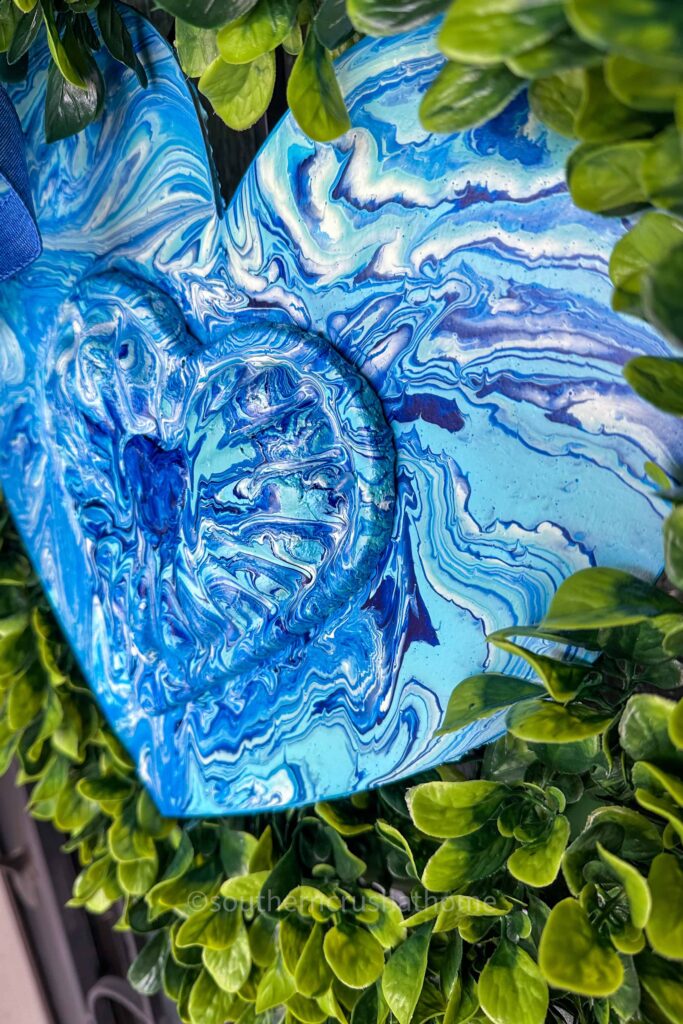
With the perfect mix of rustic boxwood greenery and the bold, artistic touch of acrylic pour painting, this wreath is as eye-catching as it is fun to make.
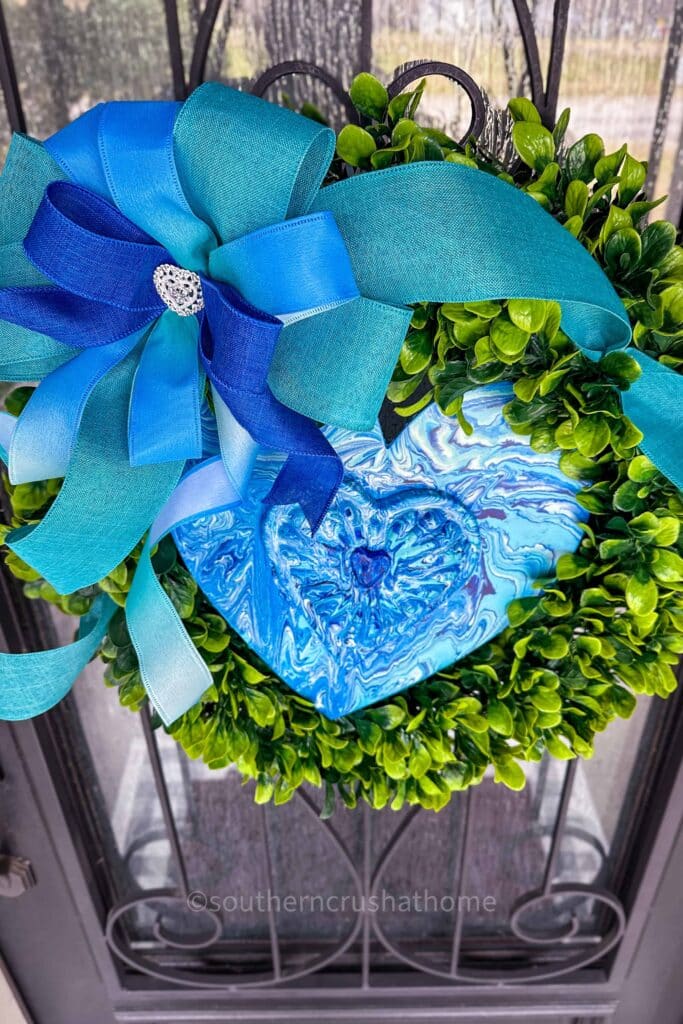
Not only is it a stunning addition to your seasonal decor, but it’s also a versatile piece that can be displayed in multiple ways throughout your home.
Whether you’re hanging it on your door, incorporating it into your mantel decor, or gifting it to someone special, this heart wreath is sure to spread love and artistic flair.
So grab your supplies, get creative, and make a wreath that’s truly one-of-a-kind!
For even more Valentine’s inspiration, check out my YouTube video tutorial featuring five other Valentine’s wreath ideas to help you craft your way into the season of love. Happy crafting!
Easy Heart Wreath with Acrylic Pour Painting
Materials
- Boxwood wreath
- Dollar Tree wooden blank heart
- Mold-a-Wood product
- Copper heart-shaped mold
- Assorted ribbons
- EZ Bow Maker optional
- Hot glue gun and glue sticks
- Zip ties
- Heat tool
- Poly or clear sealant spray
- Rhinestone embellishment
- Acrylic pouring paints
- Divided silicone cup
Instructions
Step 1: Create the Wooden Heart Centerpiece
- Start by using the Mold-a-Wood product to craft a heart-shaped embellishment.
- Press the Mold-a-Wood into the copper heart mold, ensuring the material fills all the edges for a smooth shape.
- Let it cure for 24-48 hours to fully harden.
Step 2: Attach to the Blank Wooden Heart
- Once the Mold-a-Wood heart has cured, remove it from the mold and attach it to the Dollar Tree wooden blank heart. Use hot glue to secure it firmly to the surface.
- This creates the base for your centerpiece and adds depth to the wreath design.
Step 3: Pour Acrylic Paint Over the Heart
- In a divided silicone cup, layer your acrylic pouring paints in complementary colors (e.g., blue, aqua, whites, and teal for a unique look).
- Pour the paint directly over the wooden heart, allowing it to flow naturally for a marbled, artistic effect.
Step 4: Use a Heat Gun to Remove Bubbles
- Immediately after pouring, use a heat tool to pop any air bubbles in the paint. This ensures a smooth, professional-looking finish. Set the heart aside to dry overnight.
Step 5: Seal the Painted Heart
- Once the paint has dried, apply a light coat of poly or clear sealant spray to protect the design and give it a slight sheen. Allow the sealant to dry before moving to the next step.
Step 6: Create the Bow
- Using your EZ Bow Maker (or by hand), create a multi-layered bow with assorted ribbons in colors like blue, teal, and royal blue. Secure the bow with zip ties.
- For a touch of sparkle, hot glue a rhinestone embellishment to the center of the bow.
Step 7: Assemble the Wreath
- Attach the painted wooden heart to the boxwood wreath using zip ties for stability. Add your bow above or below the wooden heart centerpiece, securing it with hot glue or zip ties as needed.
Step 8: Display Your Wreath
- Your heart wreath is now complete! Hang it on your front door using a ribbon or wreath hanger. This unique piece will add whimsical flair and festive charm to your Valentine’s decor.

