Three Must-Try Christmas Bows to Make Your Holiday Decor Pop!
Nothing says holiday cheer like a beautiful, handmade Christmas bow adorning your gifts, wreaths, garlands, or tree. DIY Christmas bows allow you to add a personal touch to your holiday decor, and they’re surprisingly easy to make!
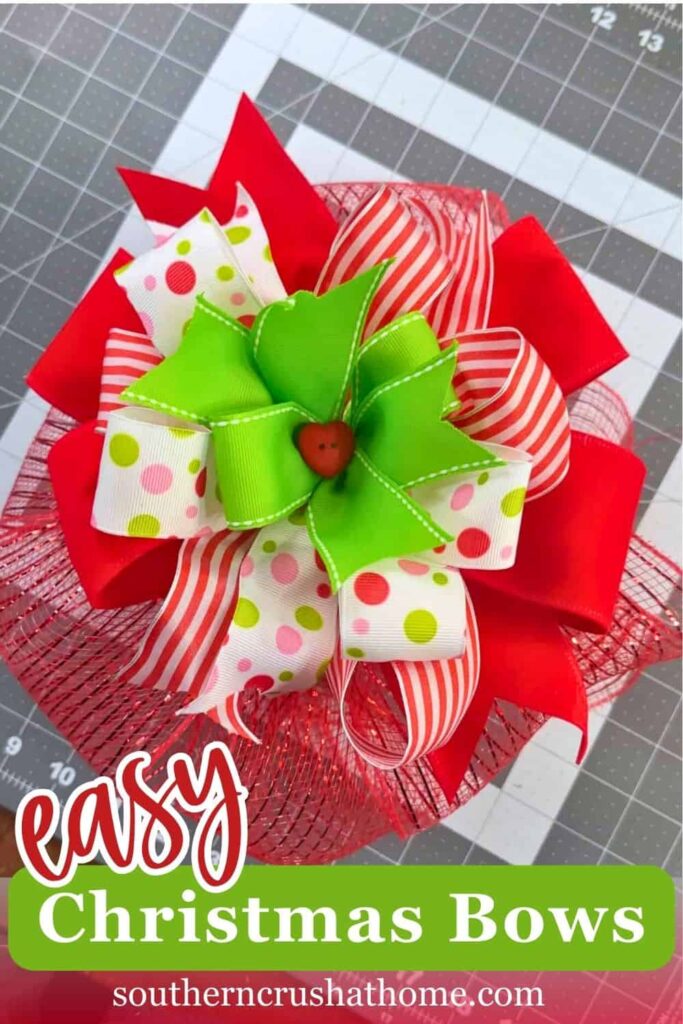
PIN this for later!
I’ll show you how to create each of these, complete with a supply list and step-by-step bow making instructions to make it as easy as possible.
Let’s get crafting!
This blog post contains affiliate links. The opinions are wholly my own from my own experience. I may earn a small commission from clicks through to the websites that end in a purchase.
Listen to the Audio Podcast
Easy Christmas Bows to Make for the Holidays
With just a few materials and a bit of creativity, you can make these three show-stopping bows that are sure to add sparkle to your holiday season.
YouTube Video Tutorial
Watch this YouTube video I made for you to see how all three of these Christmas Bows come to life!
The Whimsical “Messy” Bow
My signature “messy” bow is playful, easy, and a perfect way to use up scrap fabric.
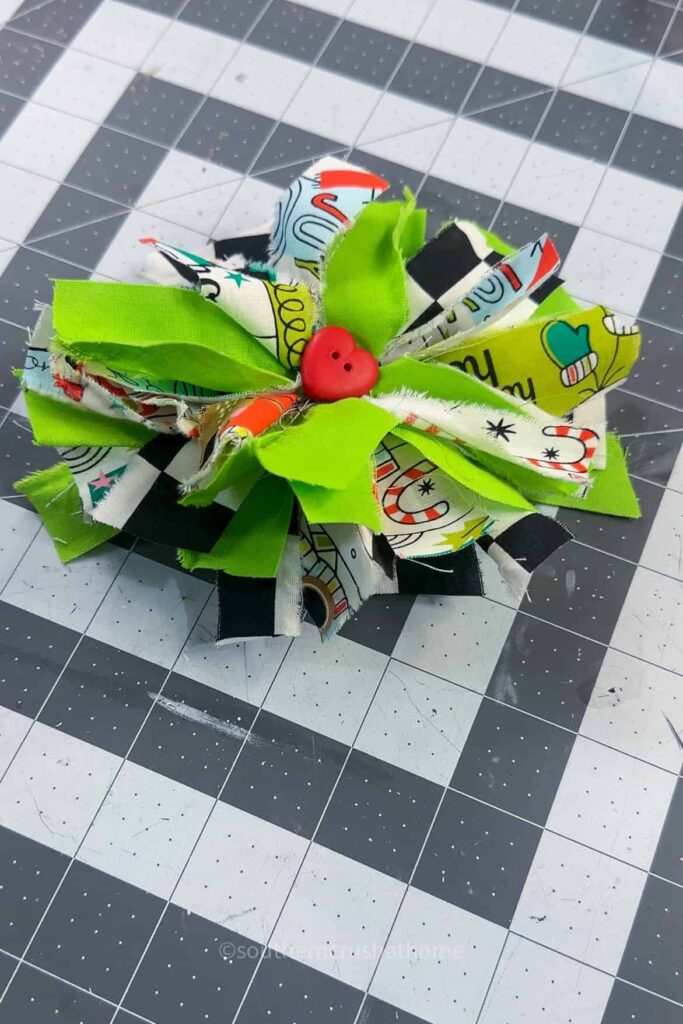
The raw edges and layered look make this rag bow charmingly rustic, while a tiny Grinch heart button in the center adds a whimsical, holiday-ready touch. It’s perfect for wreaths, gifts, or garlands, and it’s a breeze to make!
Supplies Needed:
- Assorted holiday fabric scraps (in red, green, white, or patterns like polka dots or stripes)
- Scissors
- Zip Tie
- Tiny heart button or embellishment
- Hot glue gun
Step-by-Step Instructions for Christmas Messy Bow:
- Prepare the Fabric Strips: Cut or tear your fabric scraps into strips approximately 1 inch wide. The length of each strip will depend on how large you want the bow to be—around 6 inches works well for most sizes.
- Layer the Strips: Start by laying the fabric strips crisscrossed over each other in a messy, layered fashion. Alternate colors and patterns to create a full, textured look.
- Secure the Center: Once you’re satisfied with the layering, gather the strips in the middle and tie them tightly with a zip tie or floral wire. This will hold the bow in place and give it a nice shape.
- Fluff and Arrange: Pull and adjust the fabric strips to make the bow look full and fluffy, arranging the ends so that they stick out in different directions.
- Trim the Bow: Using the scissors, take the bow in your hand like a bouquet and trim the strips of fabric down to an even top, then shake the “mess” off.
- Add the Grinch Heart: Place a small Grinch heart button or other cute embellishment in the center and secure it with a dab of hot glue.
This adorable bow is now ready to be placed on a wreath, gift, or garland, adding a playful and festive touch to any space!
Grinch-Inspired Loopy Bow
This Grinch-inspired loopy bow is fun, colorful, and packed with layers that give it a full, festive look.
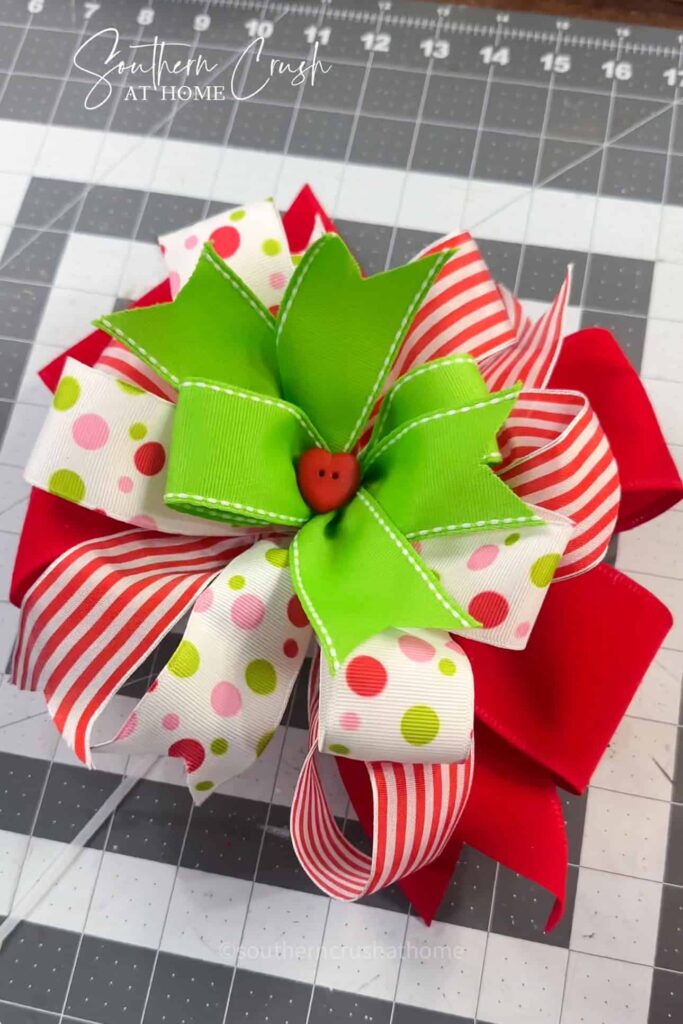
Using the EZ Bow Maker, this bow is easy to make and perfect for anyone who loves a structured, classic style with a bit of Grinchy flair.
Supplies Needed:
- EZ Bow Maker
- 4 types of wired ribbon: solid red, red and white stripes, colorful polka dots, and Grinch green
- Floral wire, zip tie or pipe cleaner
- Tiny heart button or embellishment
- Hot glue gun
Step-by-Step Instructions for Christmas Grinch Inspired Bow:
- Start with the Base Layer: Place your solid red ribbon on the EZ Bow Maker and make your first loops. These loops will be the largest and will give the bow structure, so make sure they’re the longest of the four layers.
- Add the Striped Layer: Next, add your red and white striped ribbon, making loops slightly shorter than the red base layer. This adds the perfect holiday feel and a candy-cane look.
- Incorporate the Polka Dot Ribbon: Add in the polka dot ribbon, making loops that are slightly smaller than the previous layer. This layer brings a burst of color and fun, perfect for a whimsical look.
- Top it with Grinch Green: Finish with the Grinch green ribbon as the final layer, with loops just slightly smaller than the polka dots. This color brings in that signature Grinch hue, making it distinct and festive.
- Secure the Bow: Remove the bow from the EZ Bow Maker and wrap floral wire or a pipe cleaner around the center to hold everything in place.
- Add a Heart Center: Attach a small heart button in the center with a dab of hot glue for a sweet, Grinch-themed finishing touch.
This full, layered bow is ready to make a statement on any wreath, garland, or even a Christmas tree. Its colorful design and Grinch-inspired look bring a fun twist to holiday decorating.
Deco Mesh Bow
The deco mesh bow is a holiday favorite for its volume and versatility. This bow is perfect for wreaths, garlands, and even trees, adding a luxurious, fluffy touch.
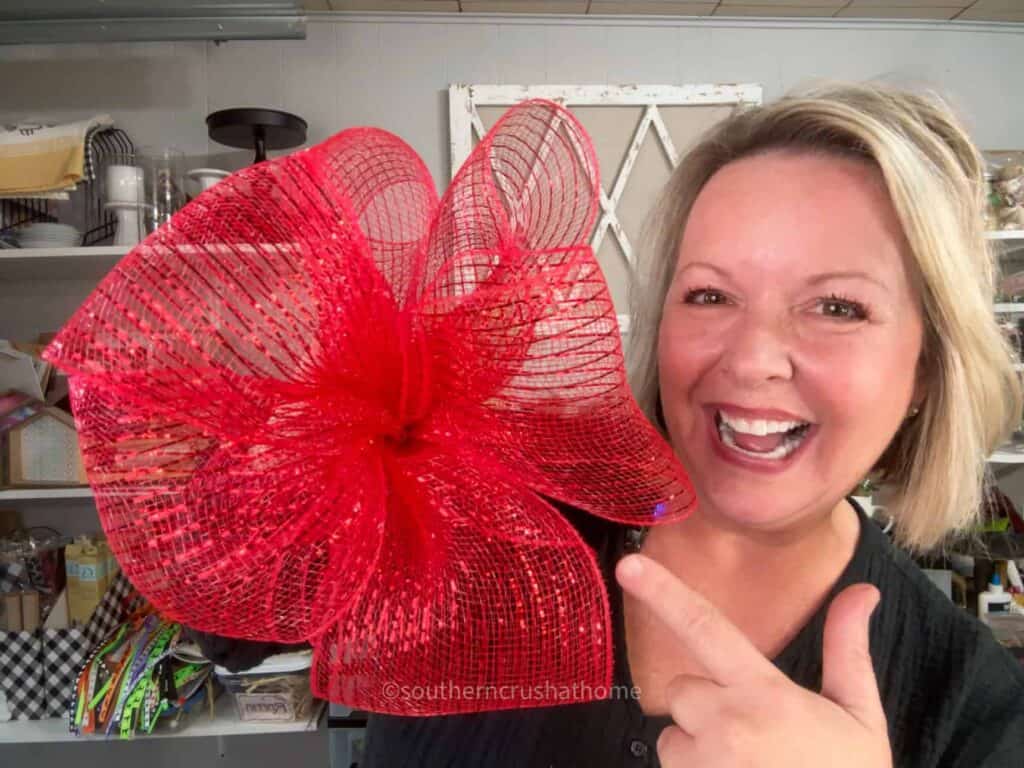
Deco mesh bows can be made in any size, and you can layer them with other bows for an extra fancy effect.
Supplies Needed:
- Deco mesh in your choice of colors
- Scissors
- Rubber band
- Zip ties (if layering)
- Additional small bow (optional)
Step-by-Step Instructions for Christmas Mesh Bow:
- Cut the Mesh Strips: Cut your deco mesh into strips, each about 10-15 inches long. The length depends on the size of bow you want, so feel free to adjust as needed.
- Layer the Strips in Your Hand: Gather each strip in the middle and stack them in your hand, one on top of the other, until you have a nice bundle. This will create a fluffy, layered look.
- Secure with a Rubber Band: Wrap a rubber band around the center of the mesh bundle to hold everything in place. This step gives the bow its basic shape.
- Fluff and Arrange: Pull the loops apart, spreading them out to create a full, rounded shape. The deco mesh’s natural volume will make the bow look substantial with very little effort.
- Use as a Bow Backer: If you’d like to make an extra-fluffy bow, stack a smaller bow on top of your deco mesh bow and secure the two together with a zip tie. This “bow backer” method adds dimension and flair, creating a luxurious, layered look that stands out.
The deco mesh bow’s size and texture make it a versatile addition to any holiday decor, whether used alone or as a base for a layered bow.
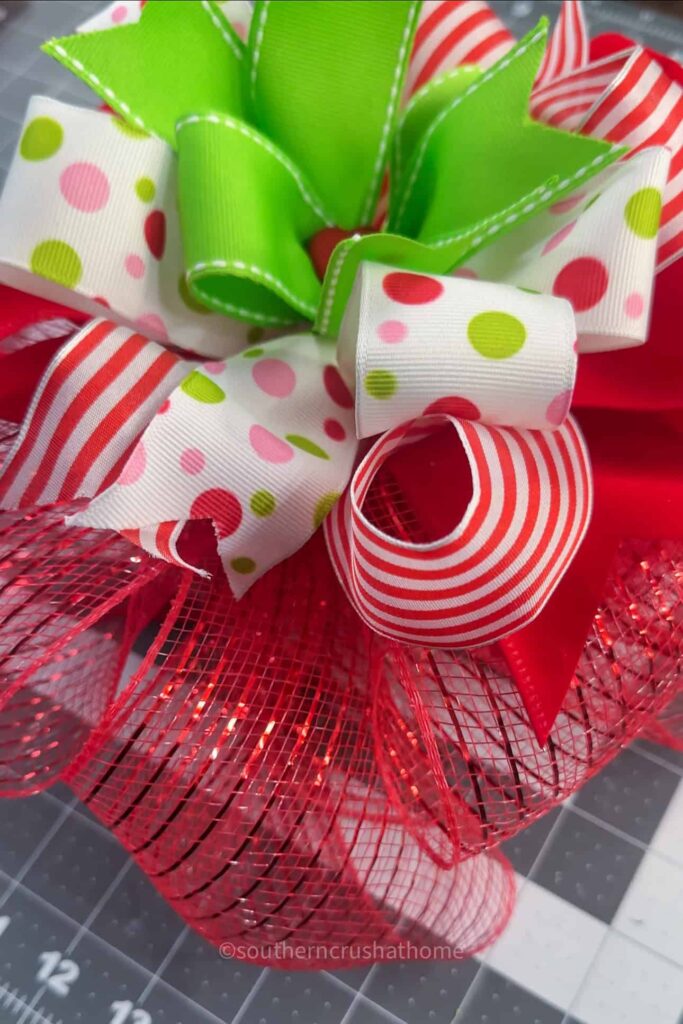
These three DIY Christmas bows each offer their own unique style and charm, from the whimsical, scrappy messy bow to the structured loopy bow and voluminous deco mesh bow.
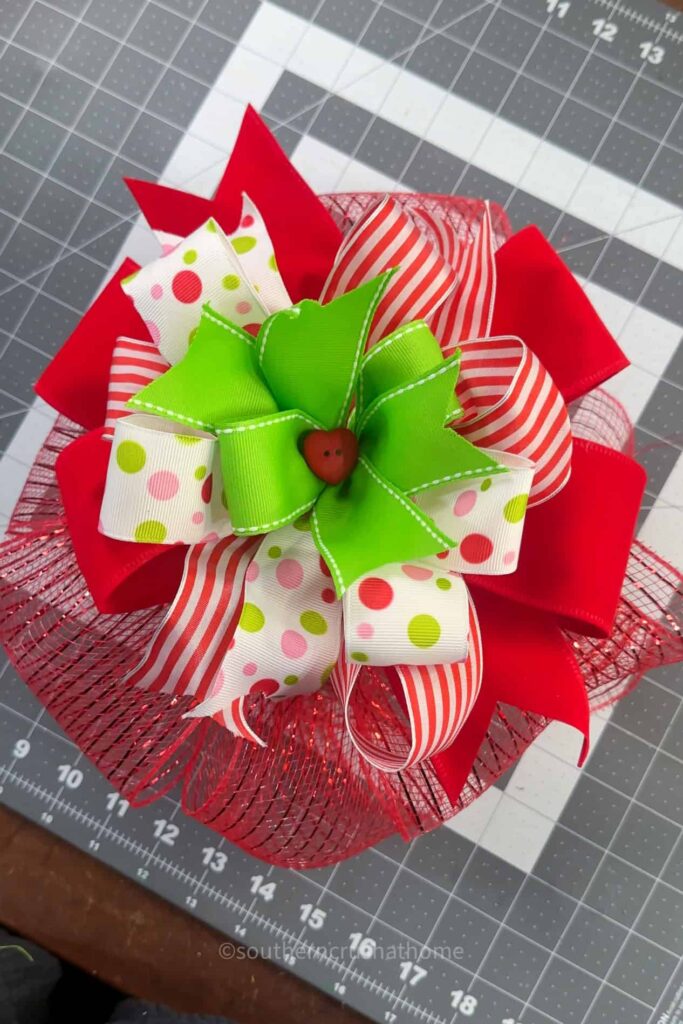
Creating your own holiday bows allows you to add a personalized touch to your decor, and it’s a fun and rewarding way to get into the holiday spirit.
Whether you’re decorating wreaths, garlands, or gifts, these bows are sure to add that perfect pop of festive cheer.
Grab your materials and get crafting—your holiday decorations will look better than ever with these beautiful DIY bows!


