Super Cute Halloween Ghost Using Buttons
Halloween is the perfect time to get crafty, and what better way to add some spooky charm to your decor than with a super cute Halloween ghost made with buttons?
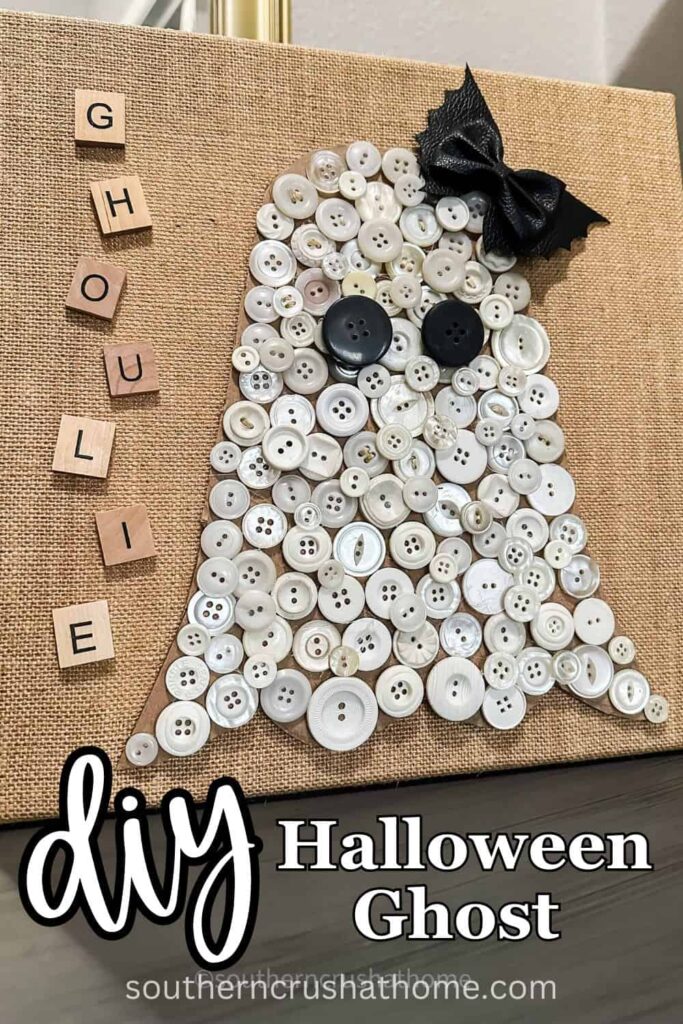
PIN this for later!
This adorable project is easy to make and uses simple and affordable materials, including an Amazon box, buttons, and a few creative touches.
Whether you’re decorating your home for the Halloween season or looking for a fun activity to do with the kids, this DIY ghost is sure to be a hit!
This blog post contains affiliate links. The opinions are wholly my own from my own experience. I may earn a small commission from clicks through to the websites that end in a purchase.
Materials You’ll Need to Make a Halloween Ghost:
- An Amazon box or any sturdy cardboard
- Pearl white button assortment (mine are from a thrift store and vintage mall)
- Two black buttons (for eyes)
- Hot glue gun and glue sticks
- Scissors
- Burlap canvas
- Leather or faux leather bat bow (optional)
- Scrabble letters spelling out “ghoulie”
- Pencil for tracing
In this tutorial, I’ll walk you through how to create a button ghost using an Amazon box as the base, decorated with a pearl white button assortment and finished with a burlap canvas backing.
We’ll also add a cute leather bat bow and spell out “ghoulie” with Scrabble letters to give it that extra Halloween flair. Let’s get started!
Step 1: Create Your Ghost Template
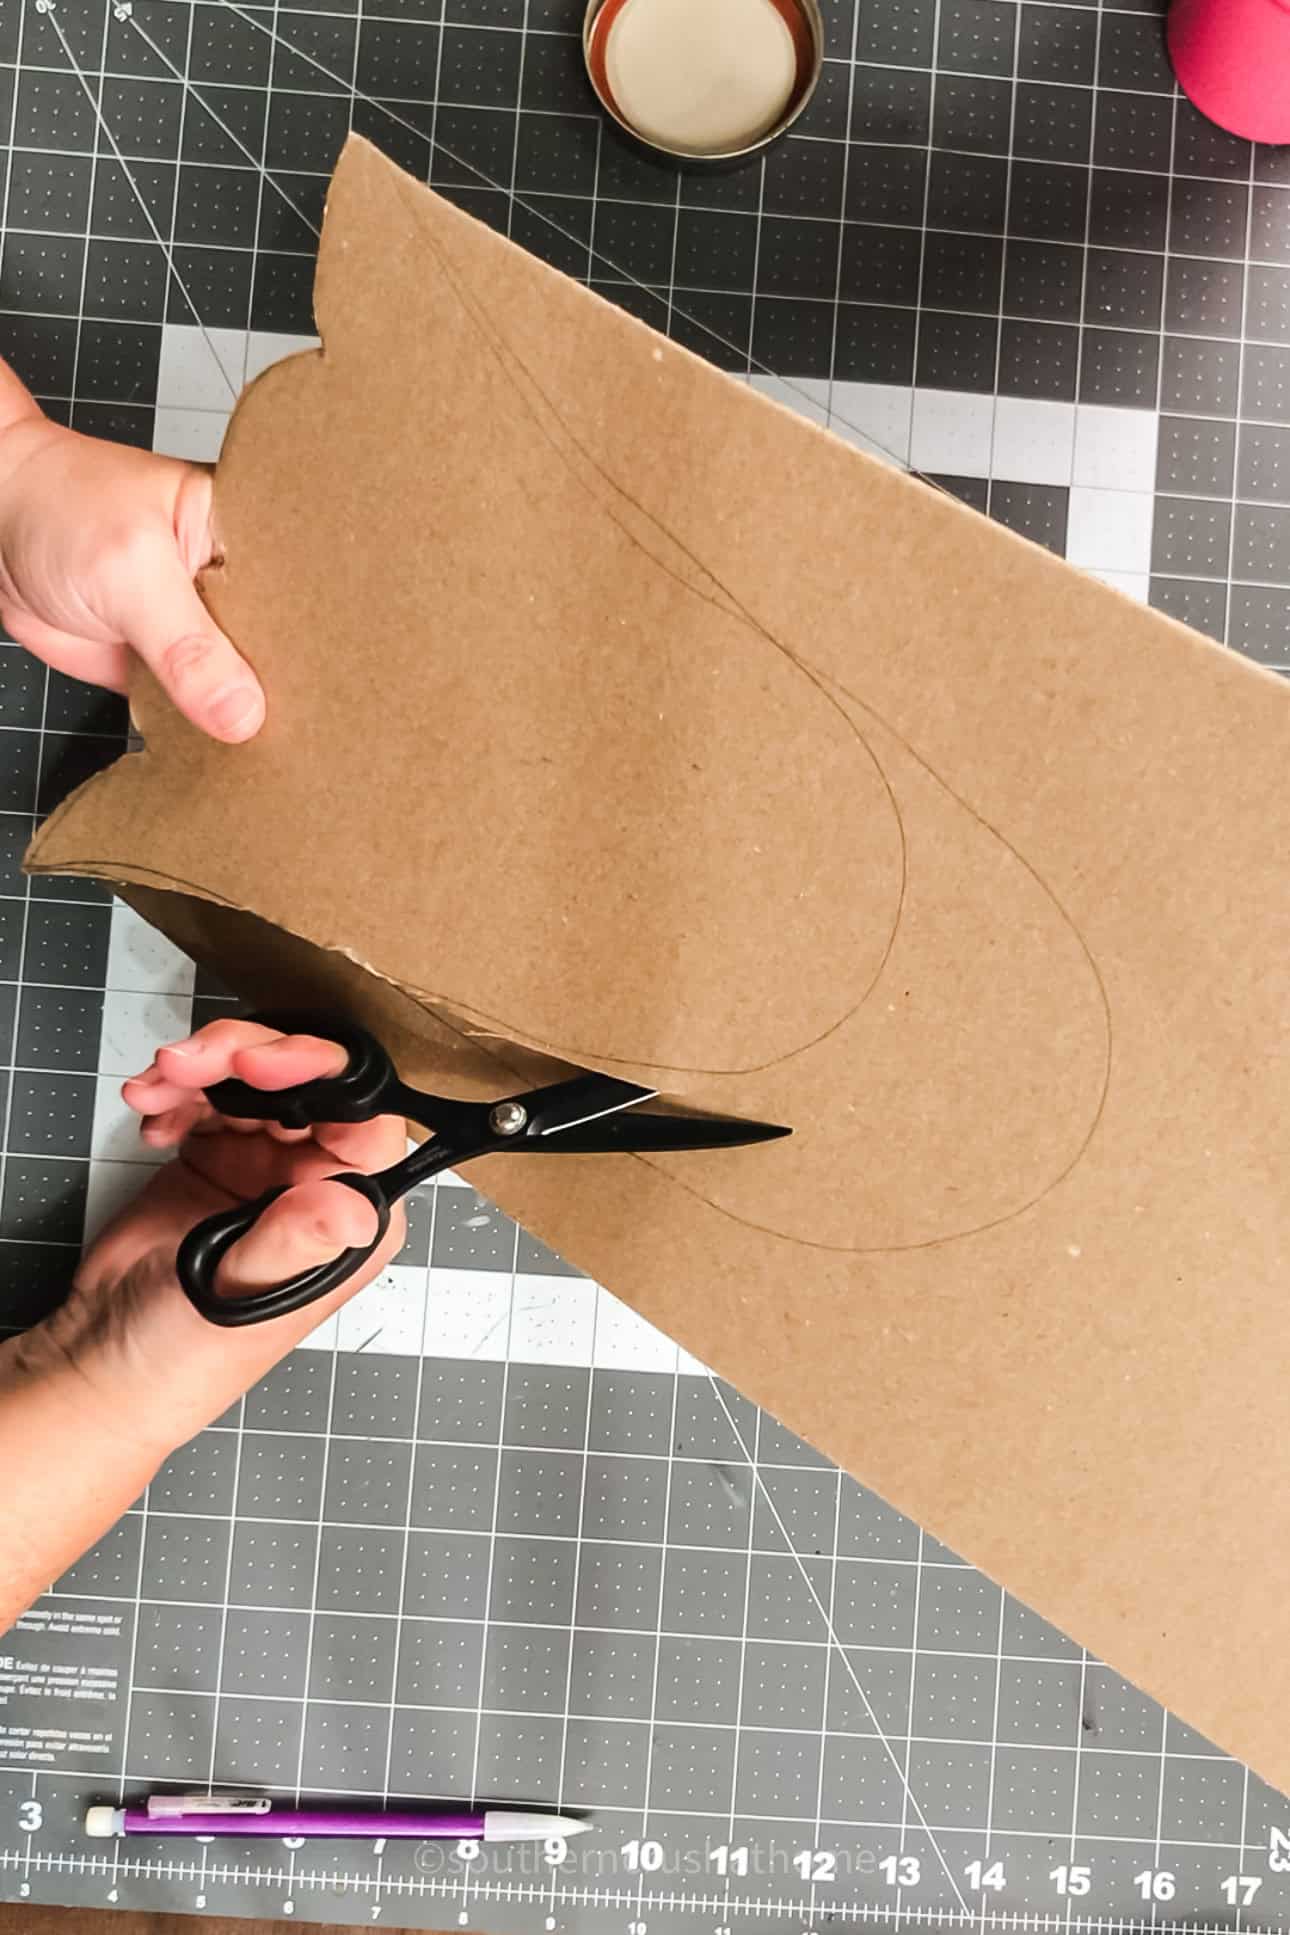
Start by drawing a ghost shape on your Amazon box or cardboard. You can freehand it or use a template if you prefer.
Think classic ghost shape—round at the top, with a flowing, wavy bottom. The size of the ghost can vary depending on how big you want your final piece to be.
Once you’re happy with your ghost shape, carefully cut it out using scissors or a craft knife.
Step 2: Start Gluing Buttons
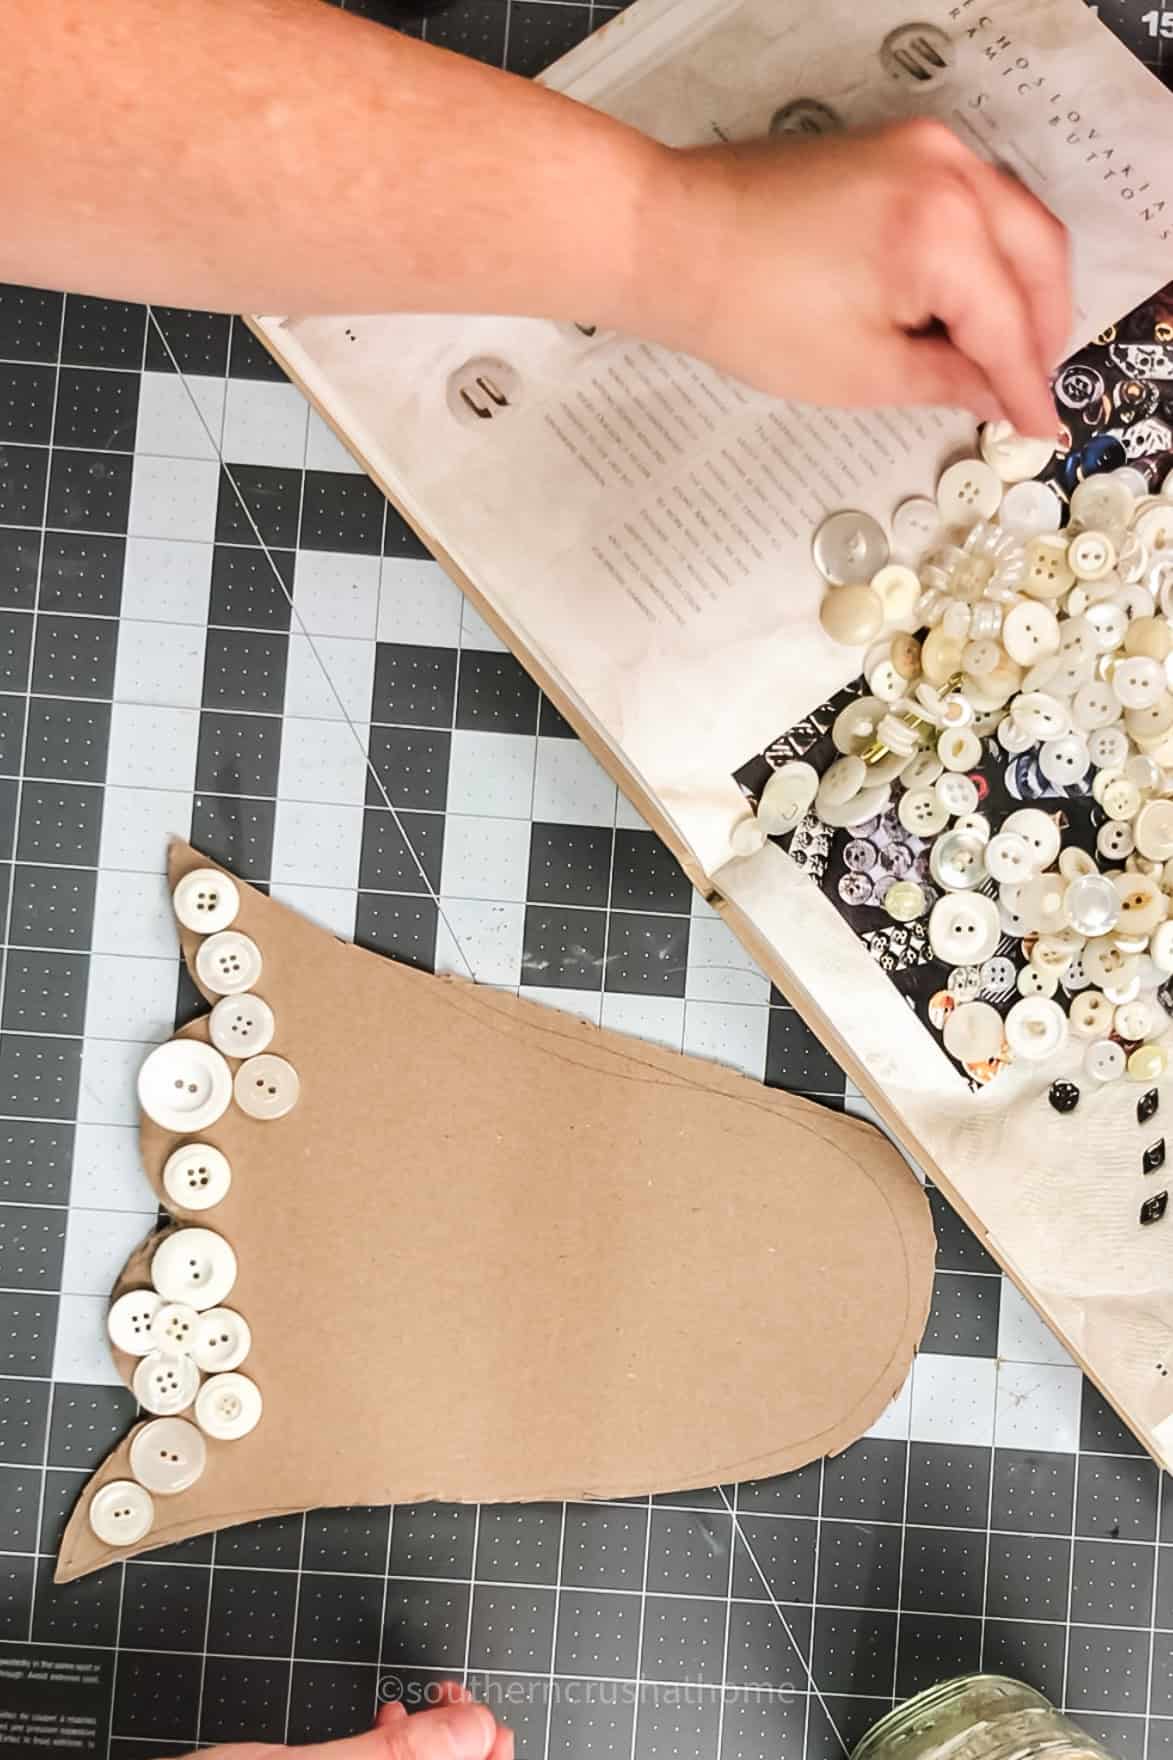
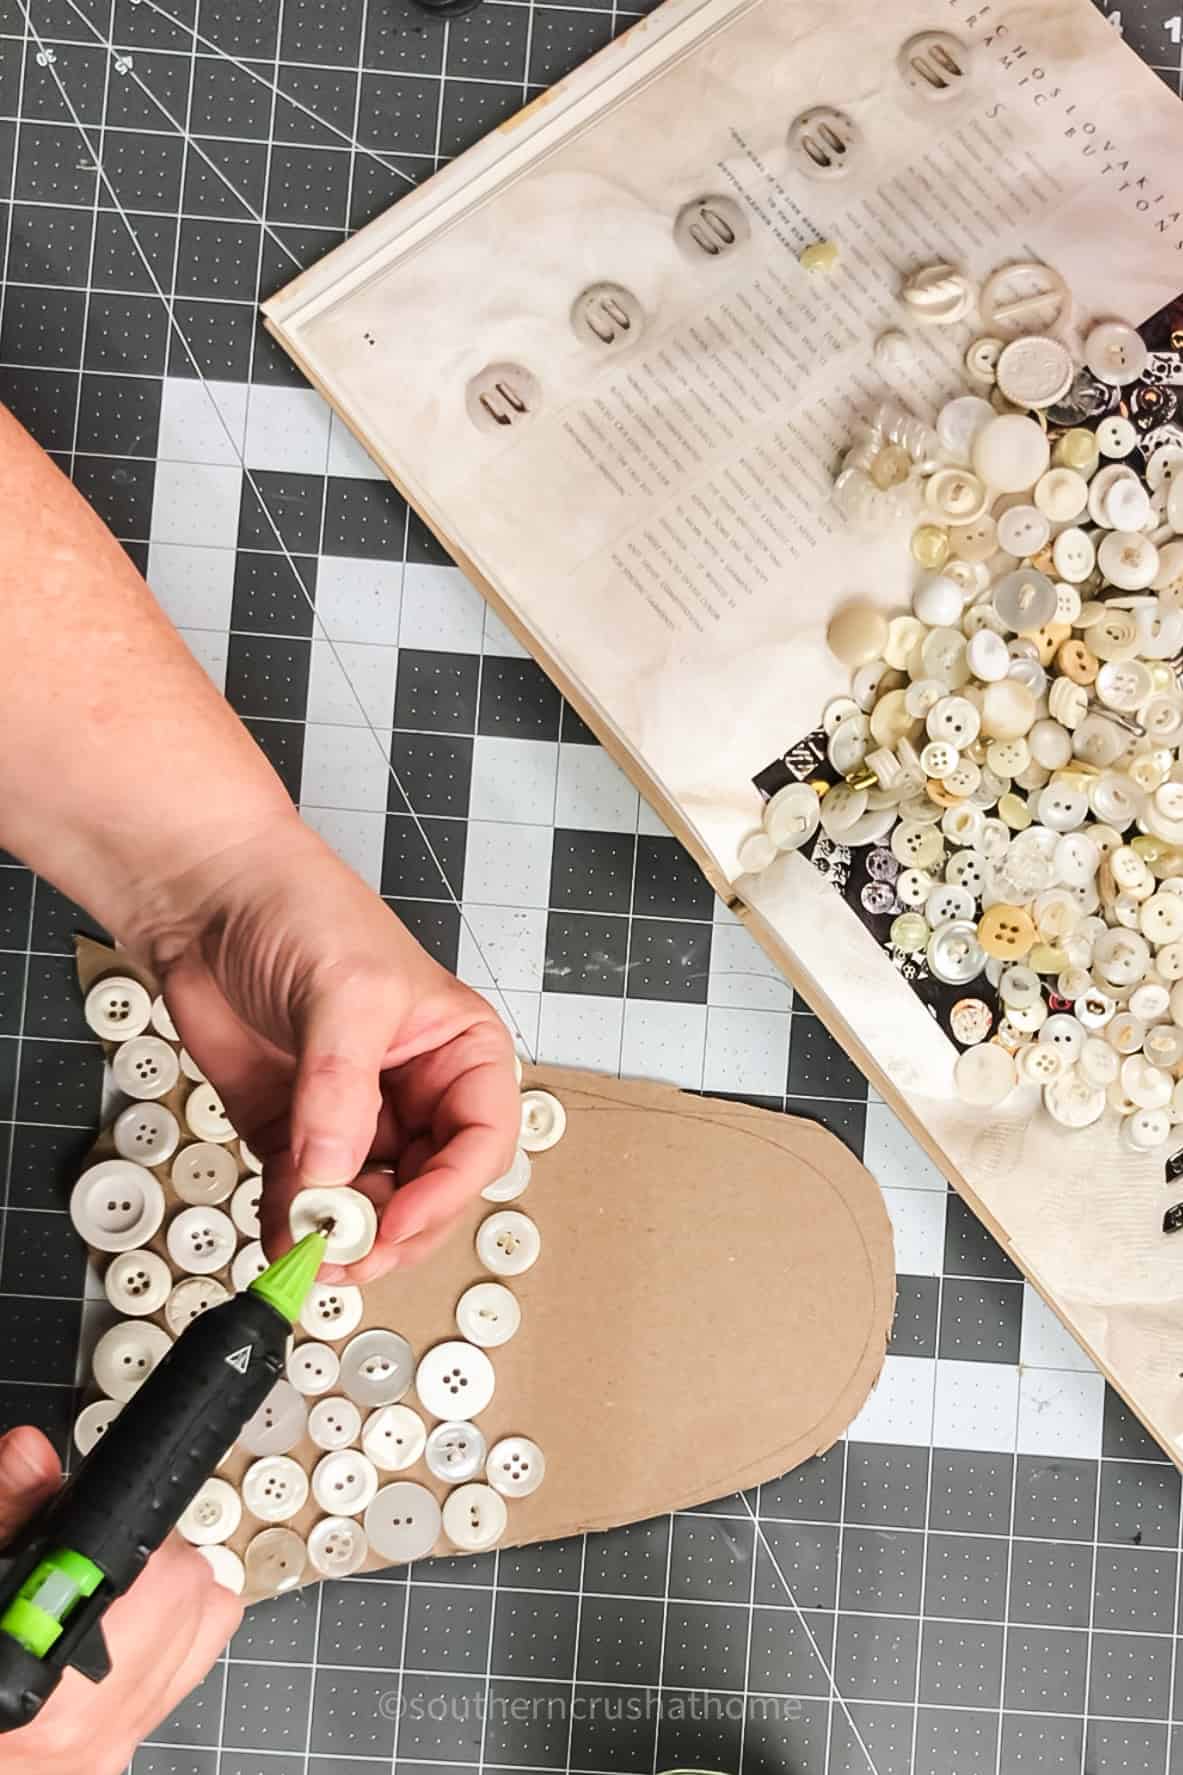
Heat up your hot glue gun and start gluing the assortment of pearl white buttons onto the ghost-shaped cardboard.
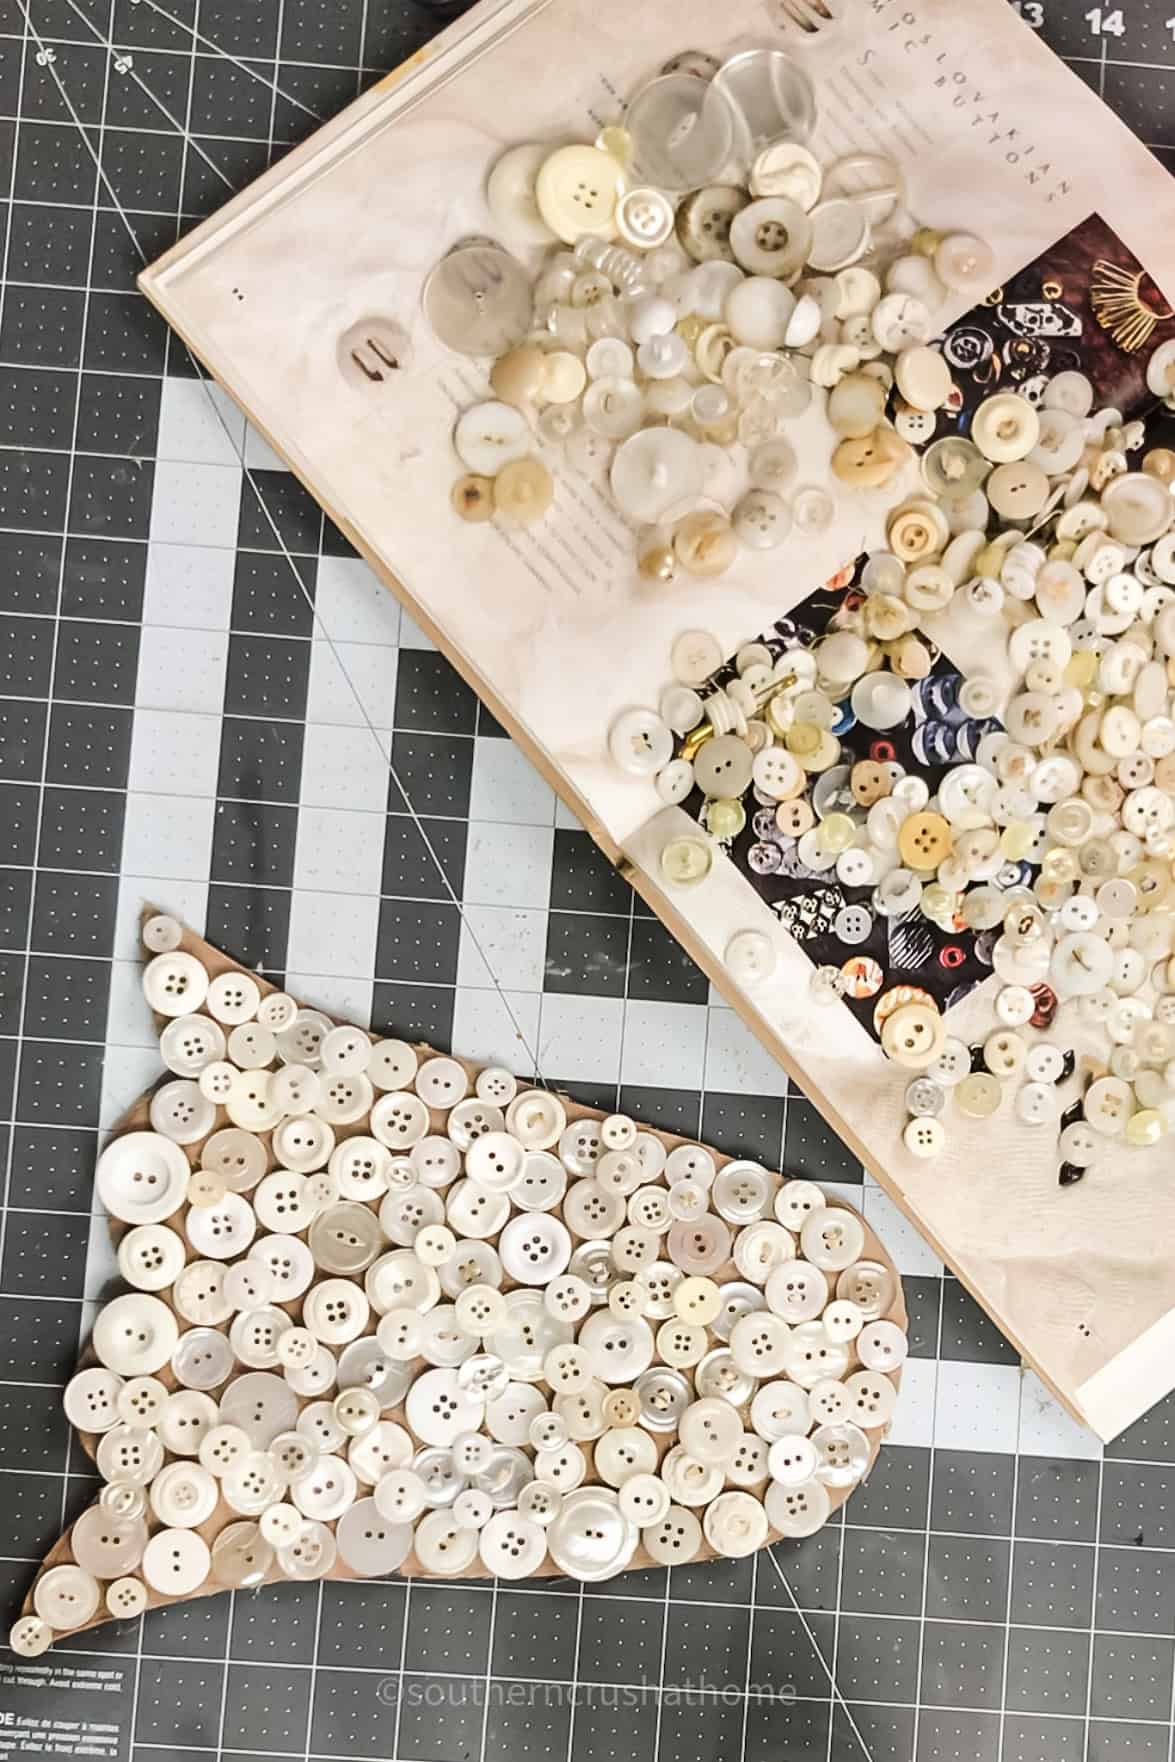
Begin at the bottom of the ghost and work your way up, placing the buttons as close together as possible to cover the entire surface.
Feel free to mix and match button sizes to create texture and interest.
Don’t worry if some cardboard shows through initially; you can go back and fill in any gaps later.
Step 3: Add the Eyes
Once the ghost is fully covered in buttons, it’s time to add the eyes. Take your two big black buttons and glue them near the top of the ghost.
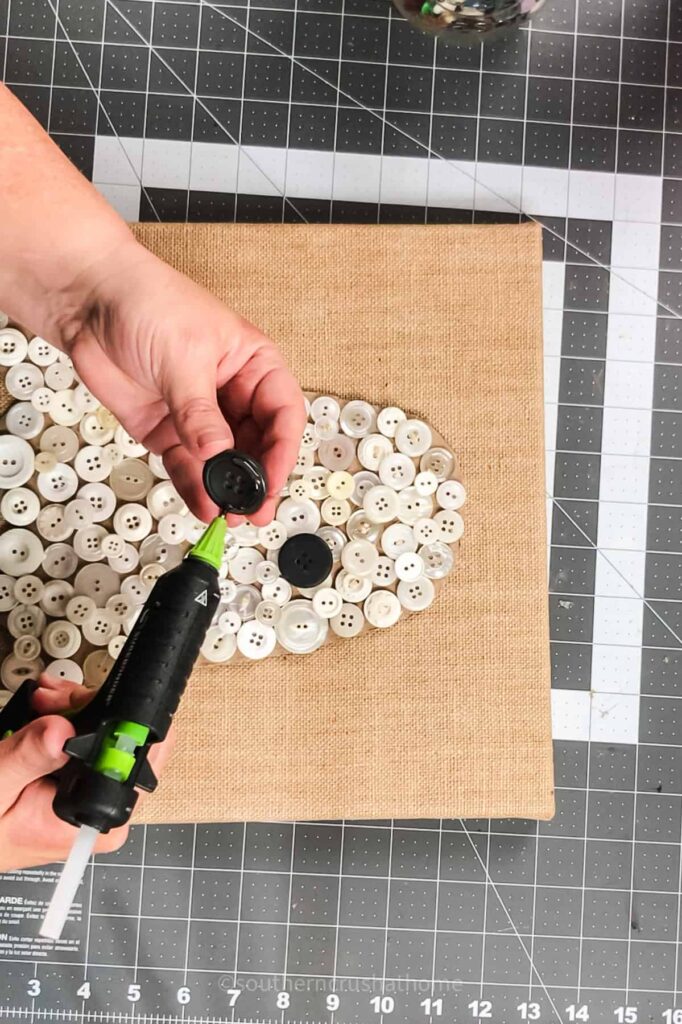
Position them where you want the ghost’s eyes to be, giving it that cute, spooky look.
Step 4: Assemble the Halloween Ghost
Now that your ghost is complete, it’s time to add it to a canvas. Center the button ghost on the burlap canvas and glue it down securely.
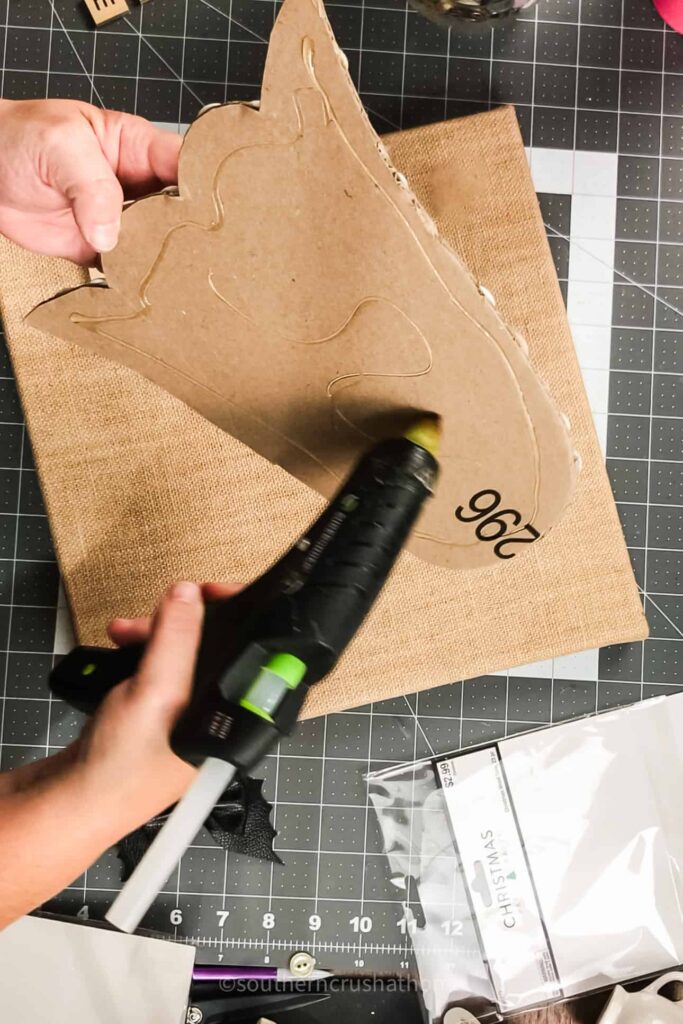
Make sure to press down firmly so it adheres well to the burlap.
Step 5: Attach the Leather Bat Bow
For the finishing touch, glue on a small bat-shaped bow. Alternatively, you can create a simple bow.
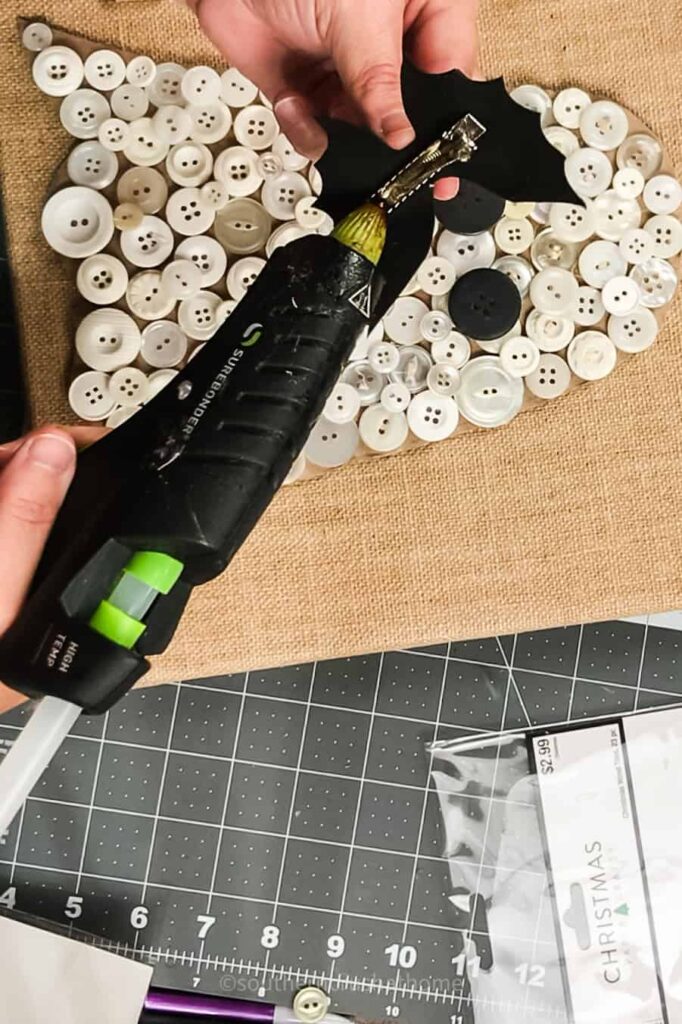
This adds a whimsical touch to your ghost and makes it even cuter!
Step 6: Add the Scrabble Letters
To complete the project, spell out the word “ghoulie” using Scrabble letters. Arrange the letters vertically along one side of the canvas, next to the ghost, and glue them in place.
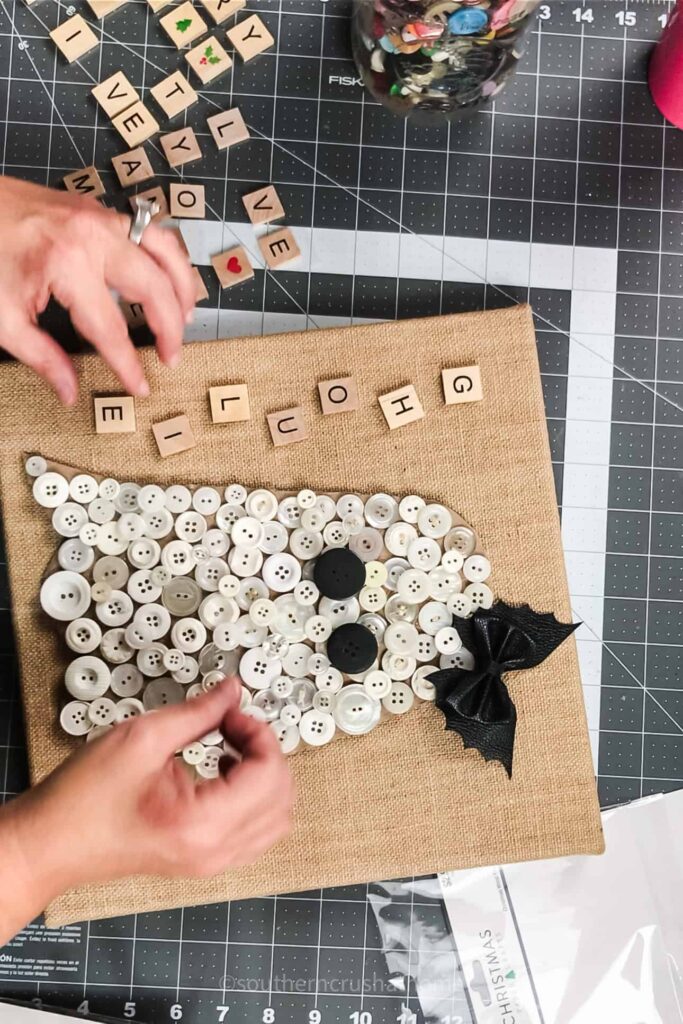
This adds a playful, personalized touch to your Halloween decor.
Step 7: Display Your Button Ghost
Your super cute Halloween ghost is now ready to be displayed! Hang it on a wall, prop it on a shelf, or use it as a festive centerpiece.
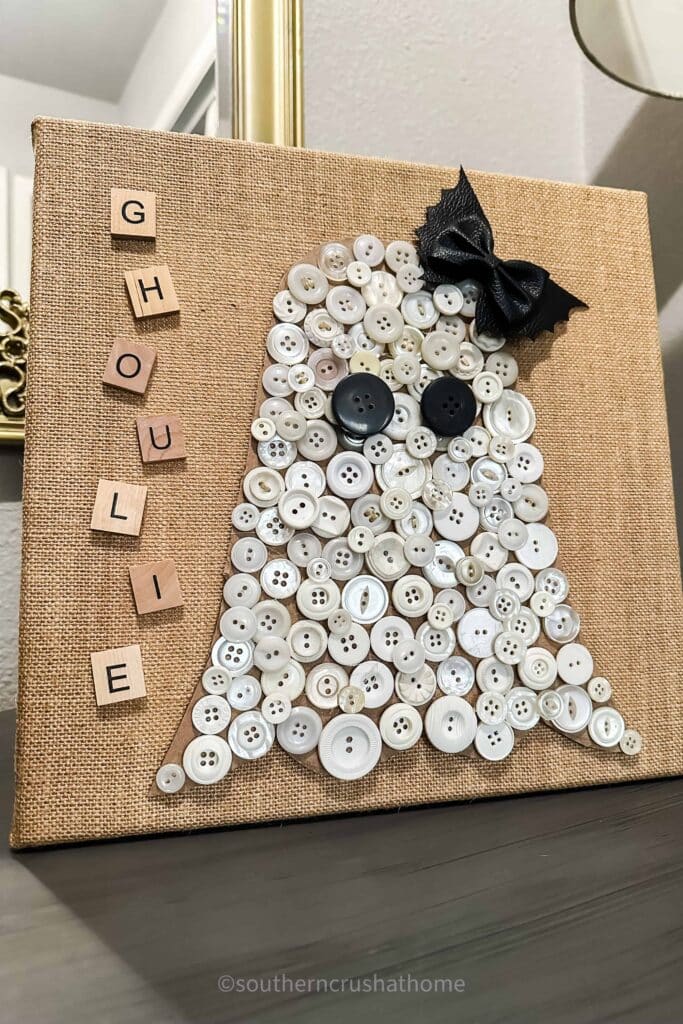
This adorable ghost will bring a touch of handmade charm to your Halloween celebrations and is sure to be a conversation starter.
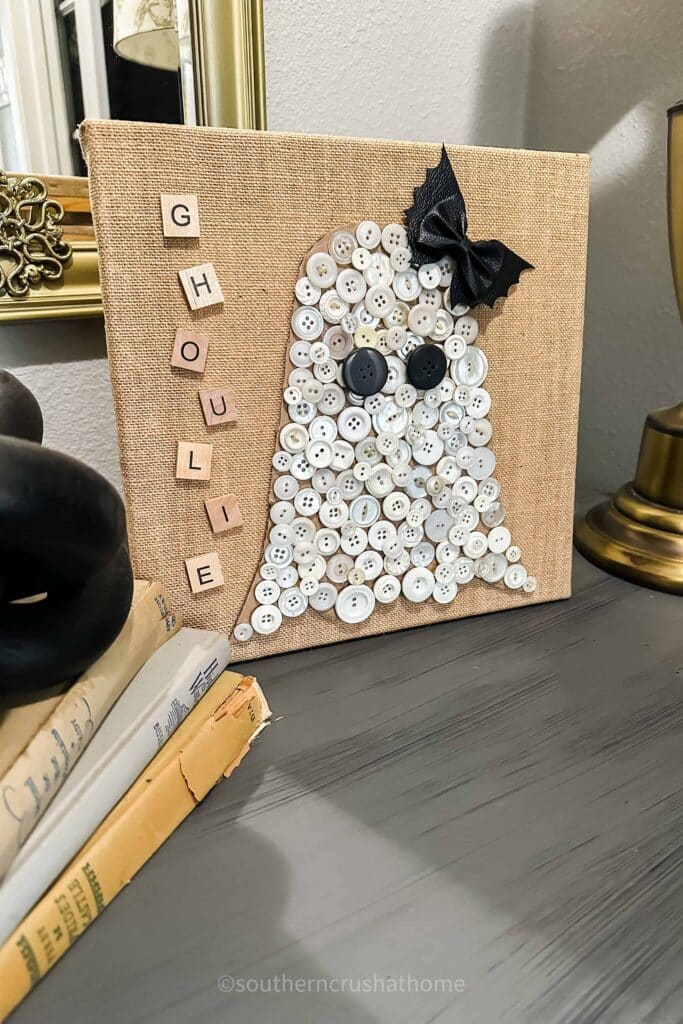
This DIY button ghost project is a fun and easy way to get into the Halloween spirit. Using simple materials like an Amazon box, buttons, and burlap, you can create a charming piece of decor that’s both spooky and cute.
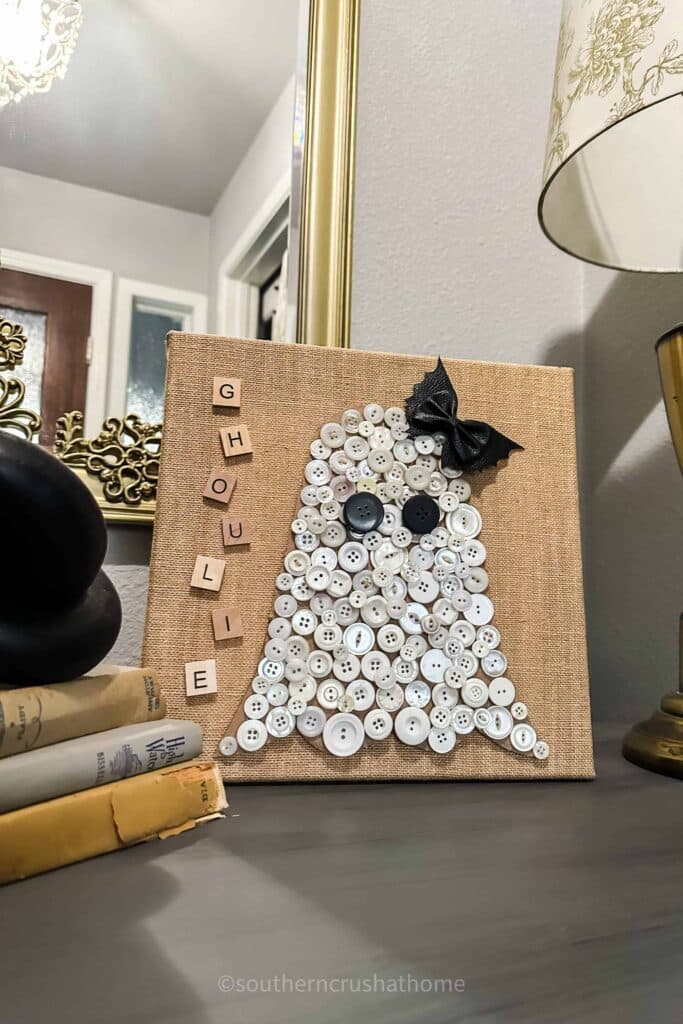
Whether you’re crafting with kids or just looking for a creative outlet, this ghost is a delightful addition to your Halloween festivities.
So grab your glue gun, gather your buttons, and start crafting your own ghostly creation today!


