DIY Pottery Barn Gus the Ghost Pillow: A No-Sew Halloween Craft You’ll Love
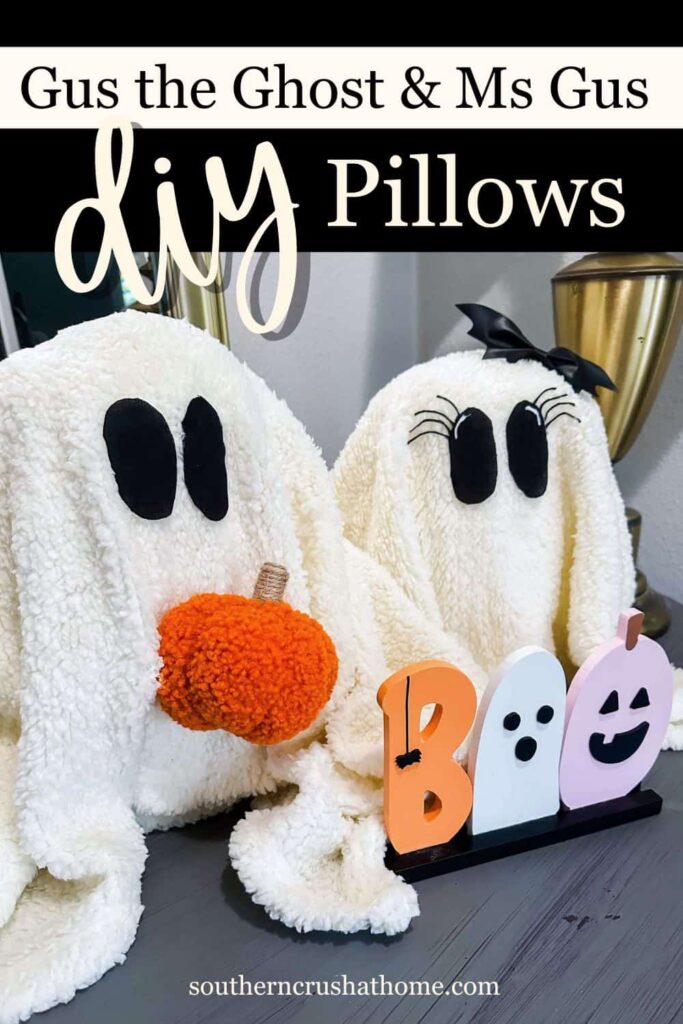
I’m excited to share a super easy and affordable way to make your own DIY Pottery Barn Gus the Ghost pillow—without sewing a single stitch!
PIN this for later!
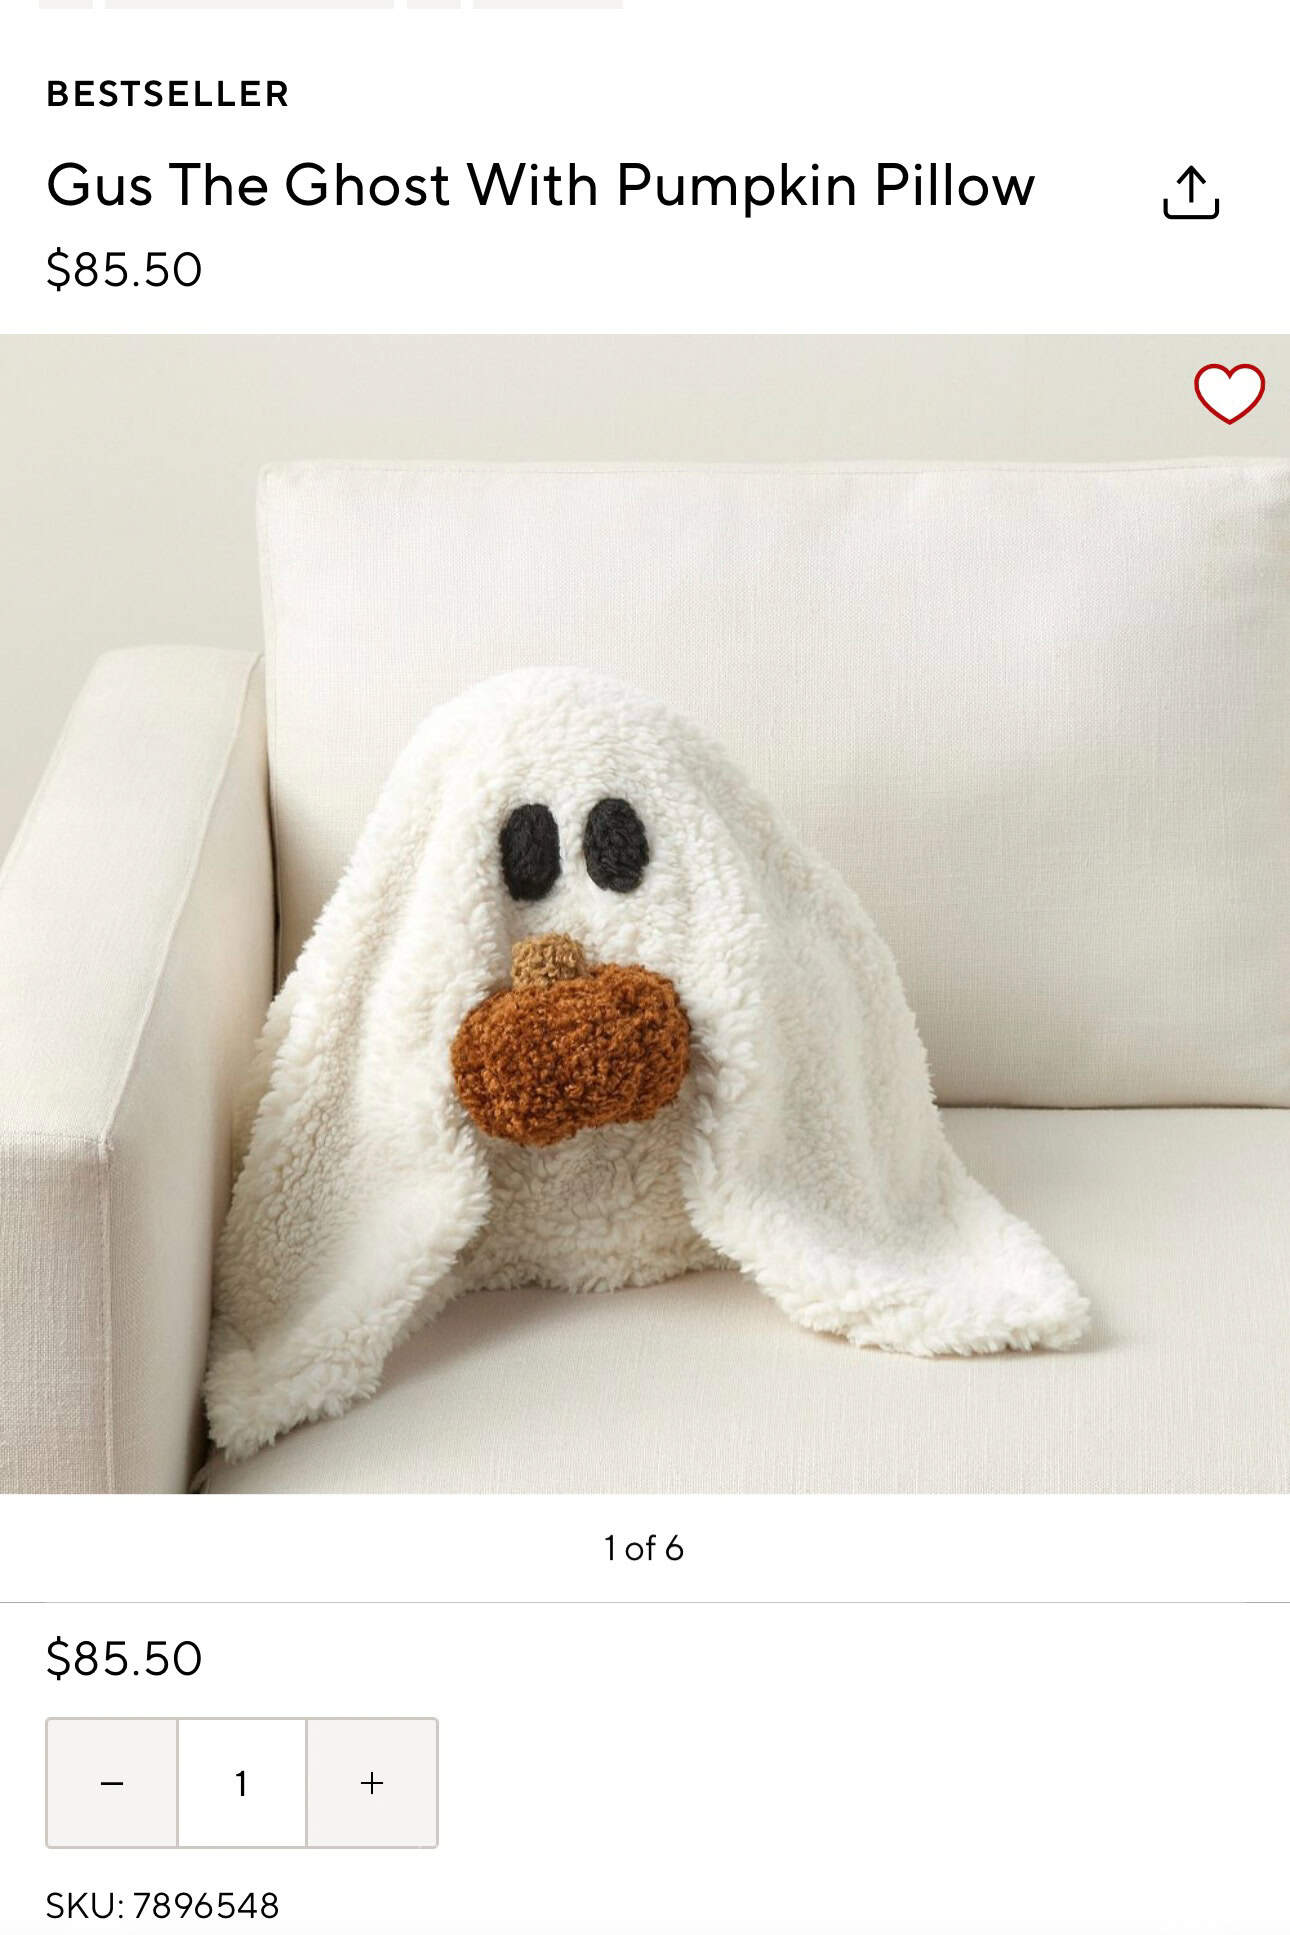
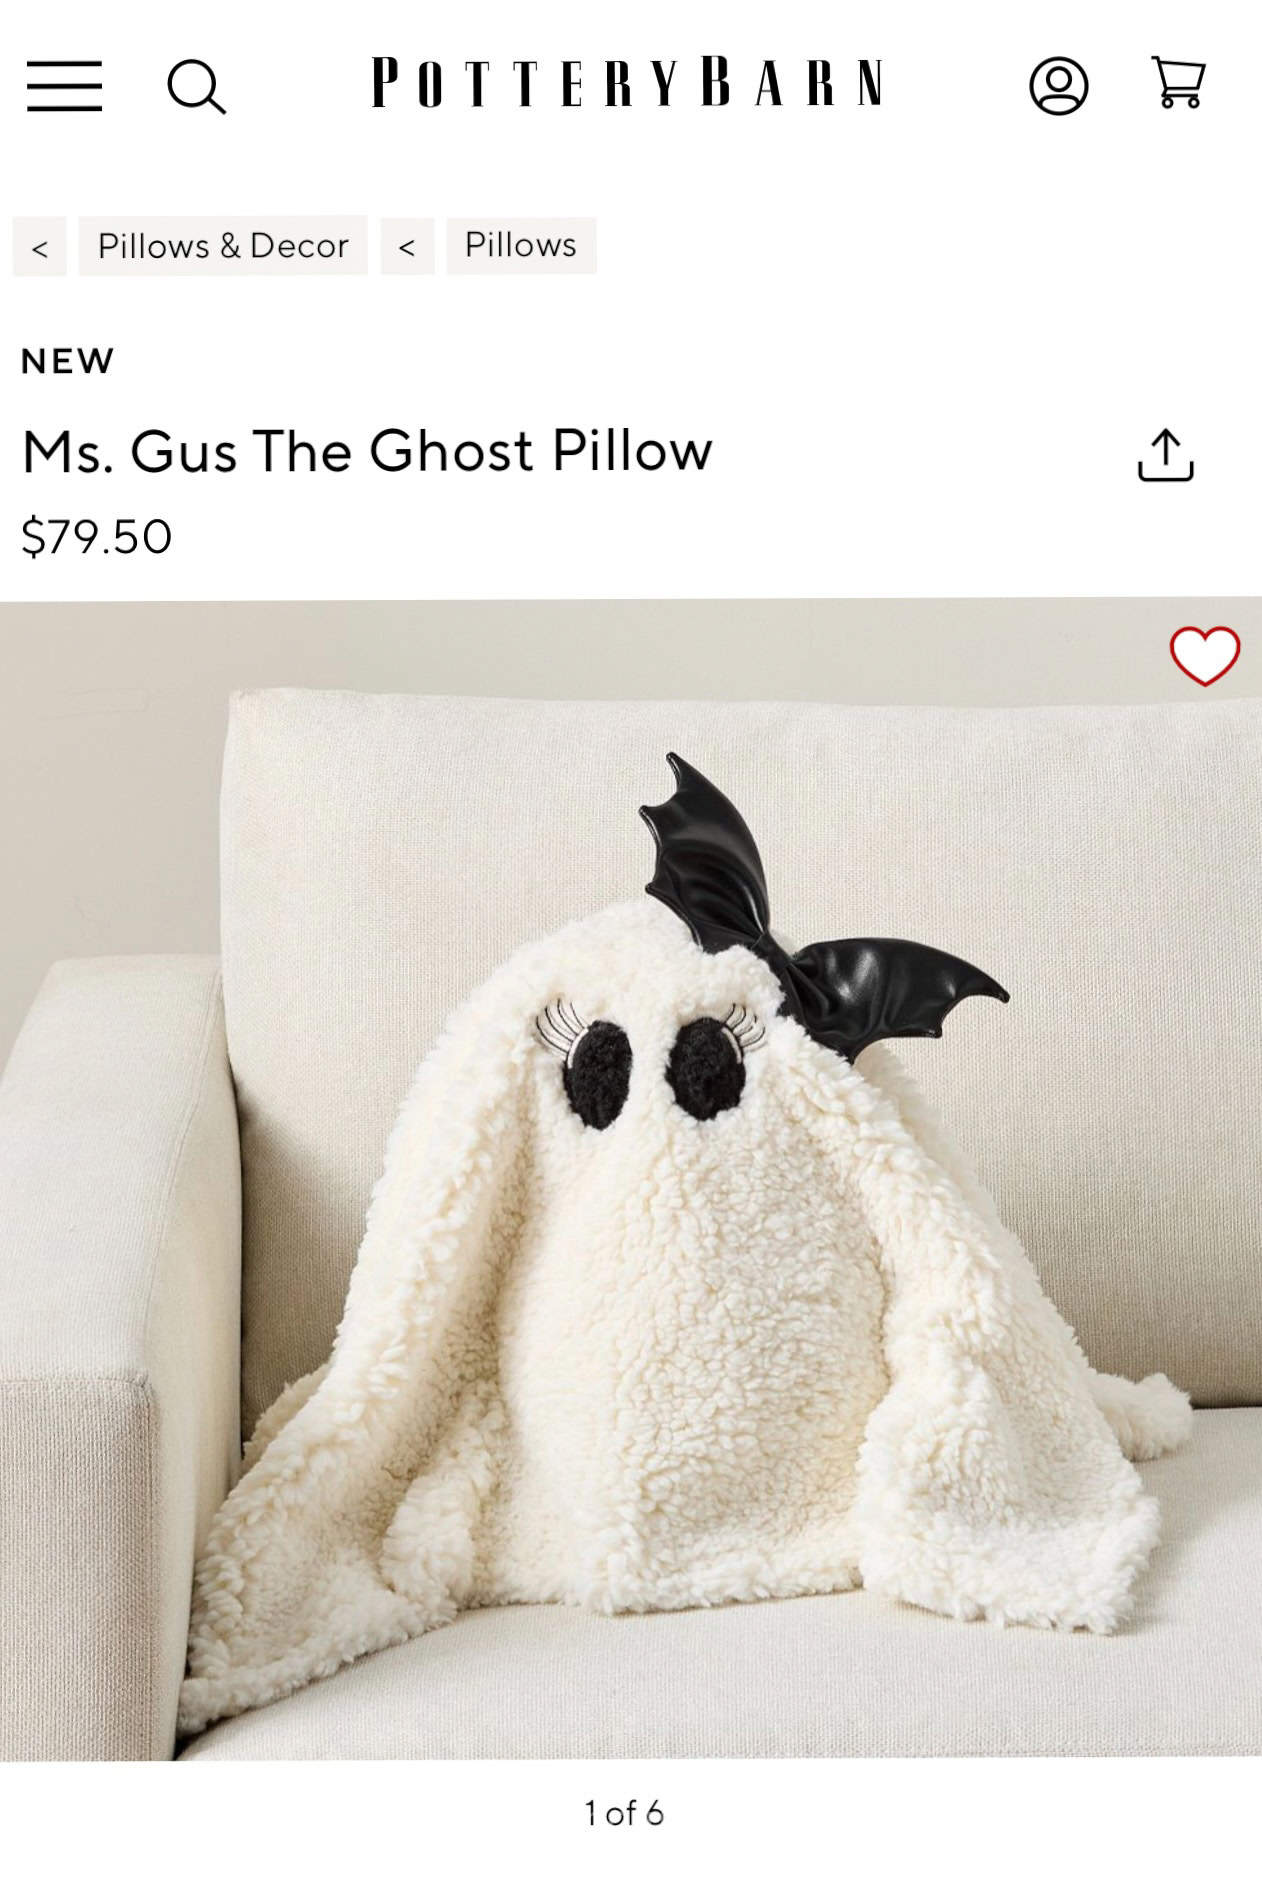
There’s nothing quite like the thrill of creating something for tons less than the real deal~like these precious ghost pillows from Pottery Barn.
They were priced up to $85 a piece and can be made by you for just a few dollars.
This project is perfect for adding a cozy, whimsical touch to your Halloween decor.
We’ll be using sherpa blankets from Five Below, black felt for the eyes, and a cute little sherpa pumpkin from Michael’s to bring our ghostly friend to life.
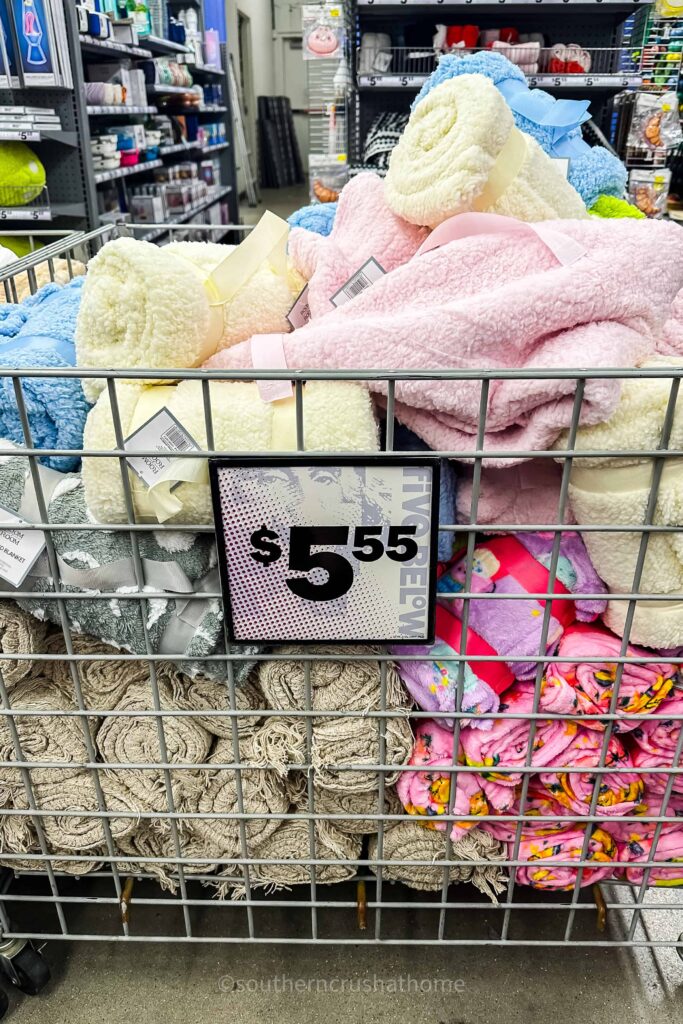
The best part? The pillow is simply draped over a rolled-up blanket, making it a quick and fuss-free craft.
This idea was inspired by Brooke Riley at Re-Fabbed.
This blog post contains affiliate links. The opinions are wholly my own from my own experience. I may earn a small commission from clicks through to the websites that end in a purchase.
Materials You’ll Need
Let’s gather our materials before we begin. This DIY project is as budget-friendly as it is adorable, with most of the supplies available at your local discount stores.
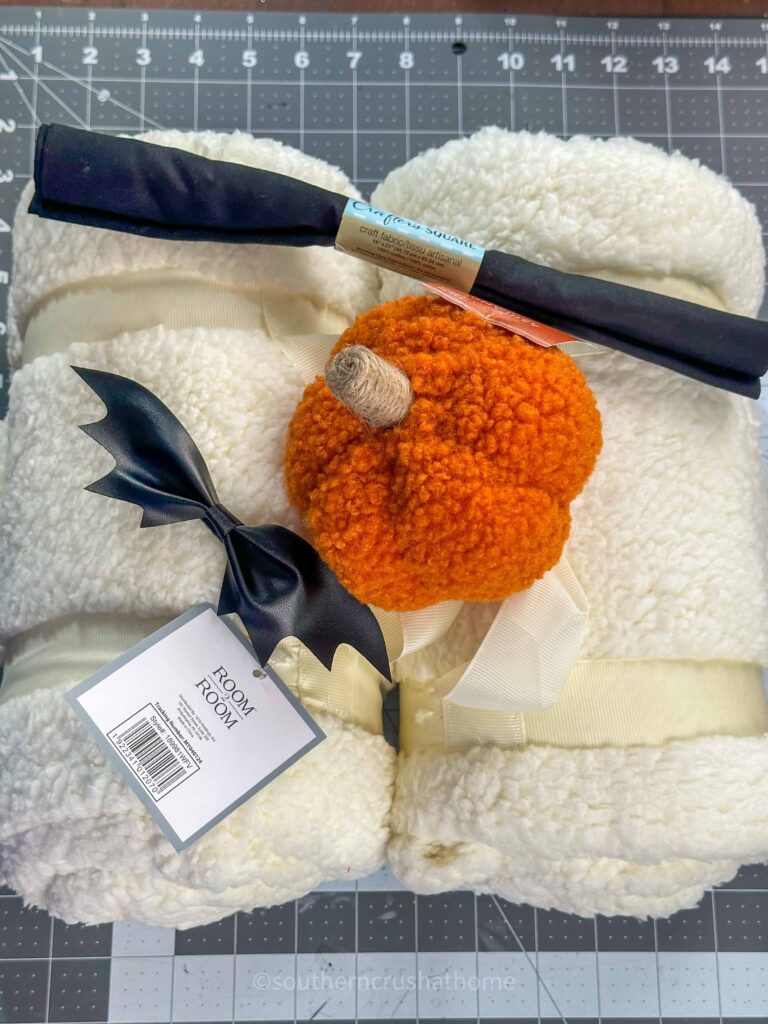
- Two Sherpa Blankets (Five Below): One blanket will serve as the main body of the ghost, while the other stays rolled up inside to give the pillow its shape or….Car Towels (Dollar Tree): As a more affordable alternative to the sherpa blankets, these work just as well!
- Black Felt (for eyes): You’ll need just a small piece to cut out two round eyes.
- Sherpa 4″ Plush Pumpkin (Michael’s): This adorable pumpkin adds the perfect finishing touch but any small pumpkin will do.
- Hot Glue Gun and Glue Sticks: For attaching the eyes and securing the fabric if needed.
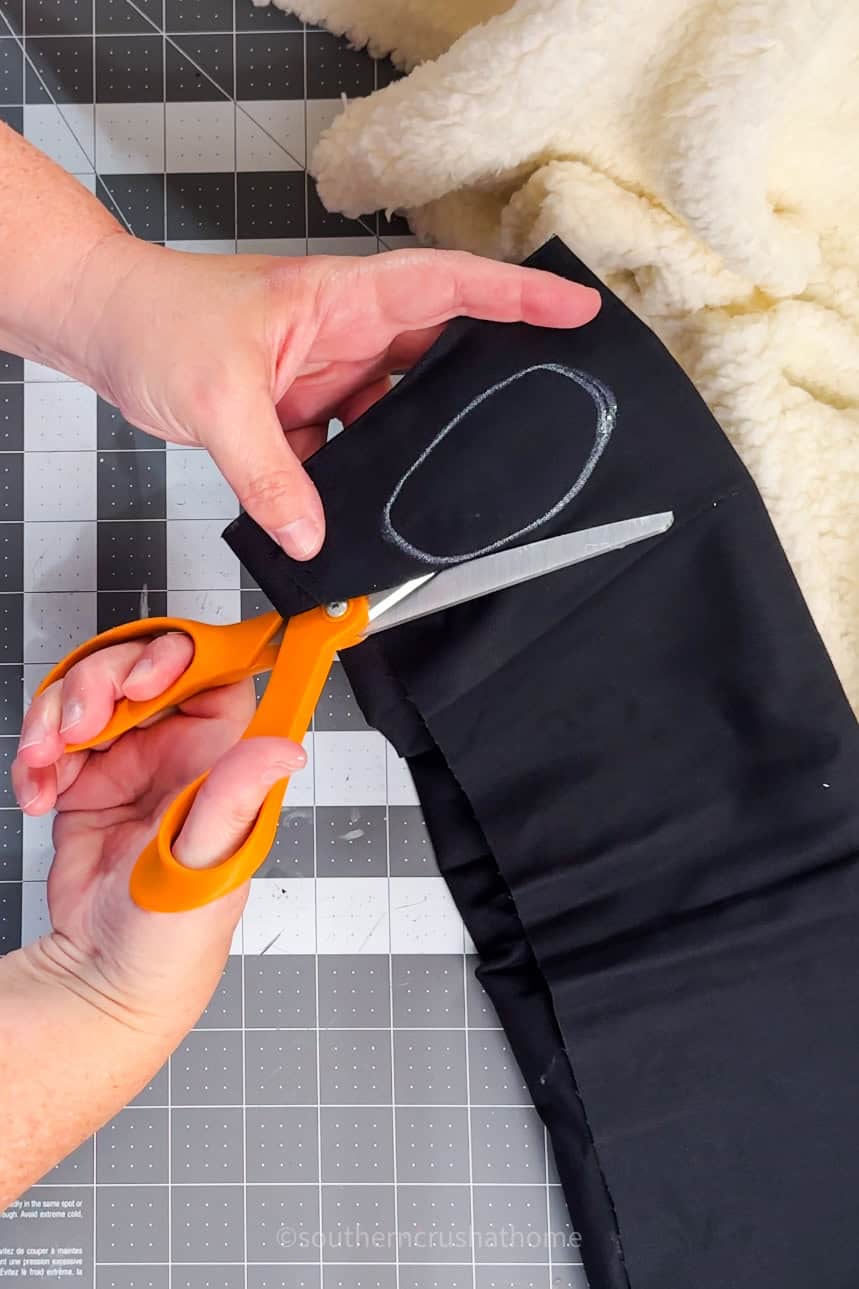
- Scissors: To cut the felt and trim any excess fabric.
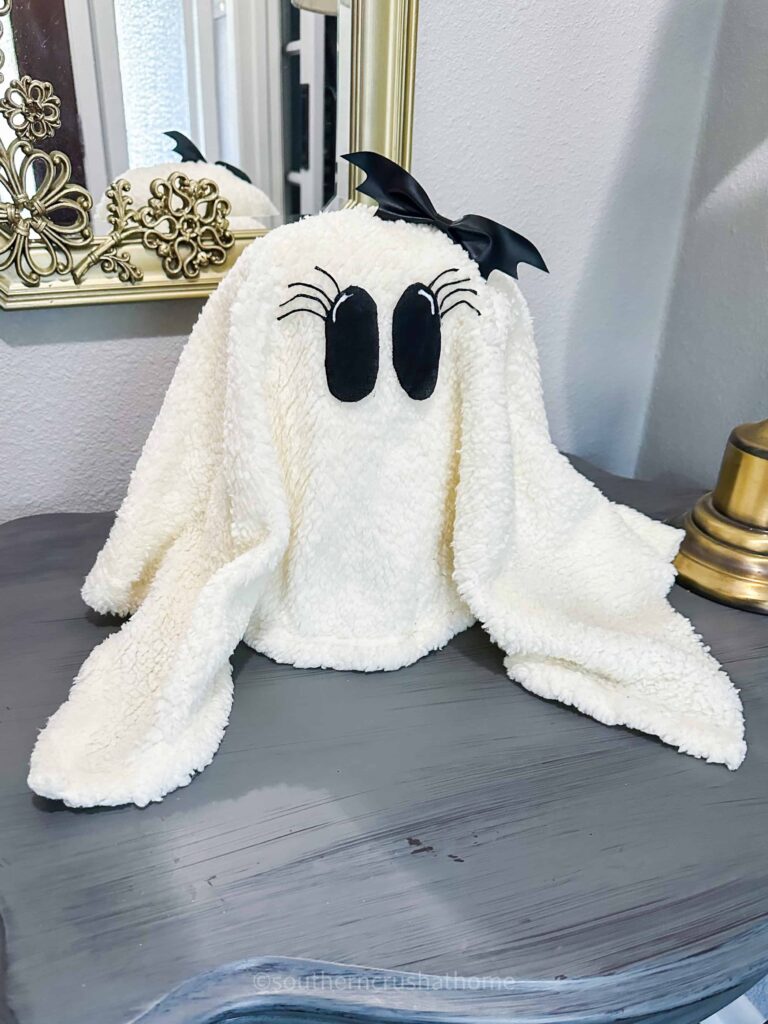
- Optional Black Bats for Ms. Gus
Step-by-Step Guide for Making a Gus the Ghost Pillow
This project is all about simplicity, so let’s keep it easy and fun. Follow these steps to create your very own ghost pillow in no time.
YouTube Video Tutorial
Step 1: Prepare Your Sherpa Blanket
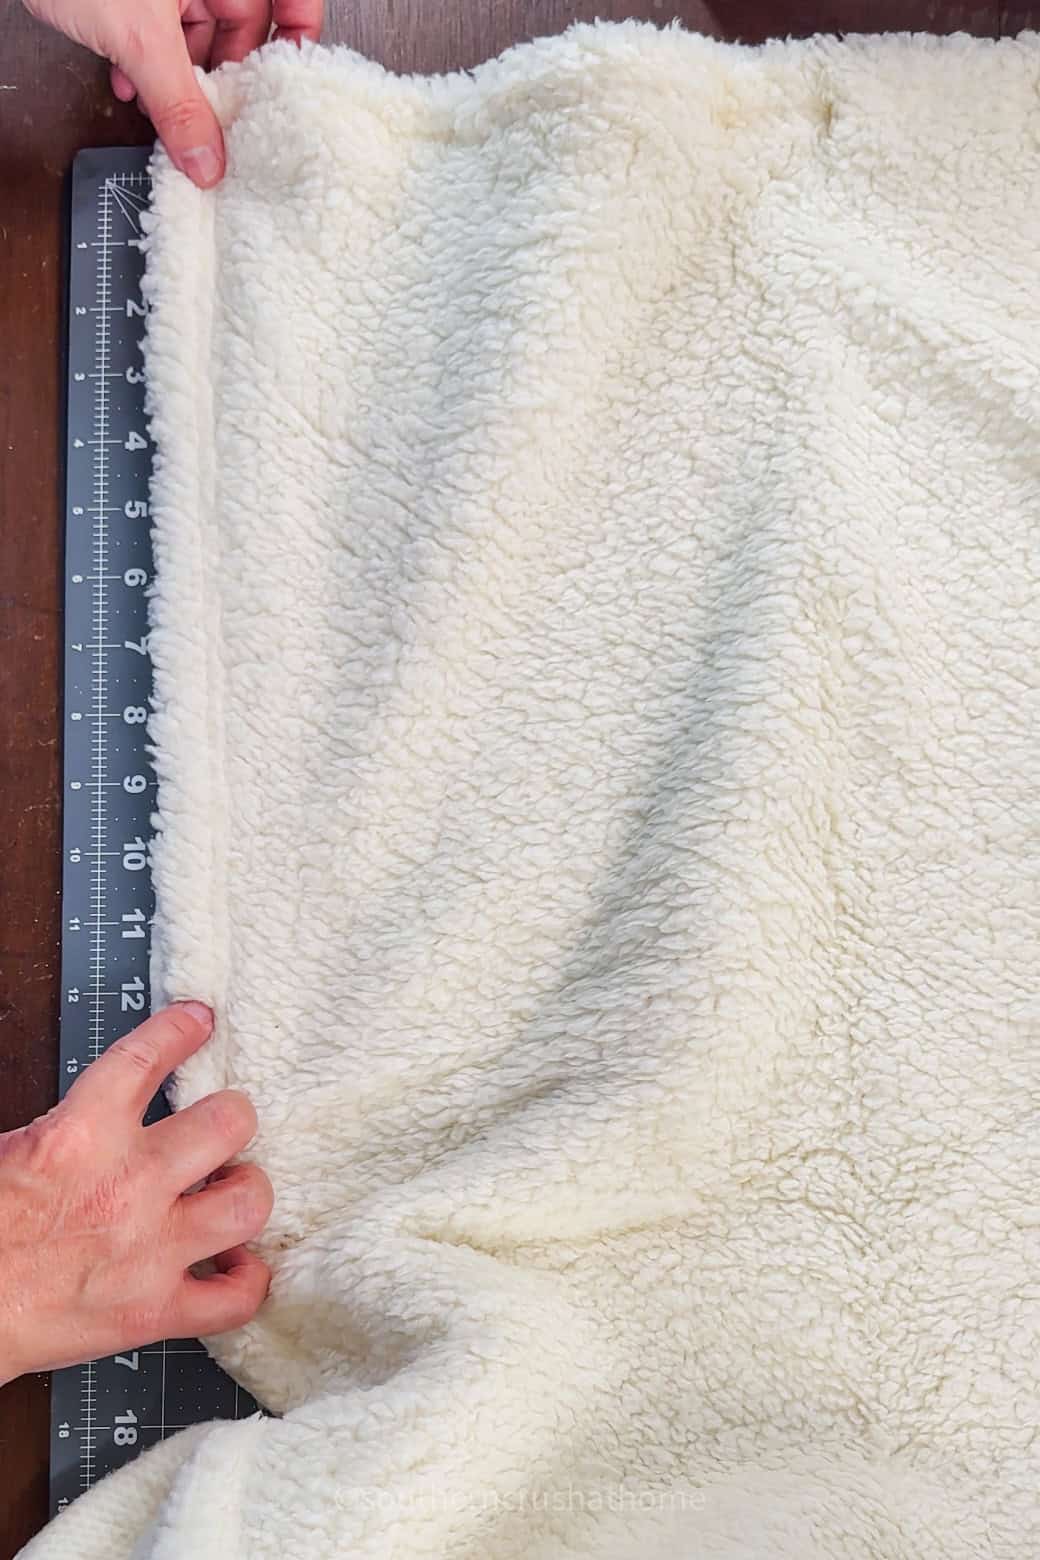
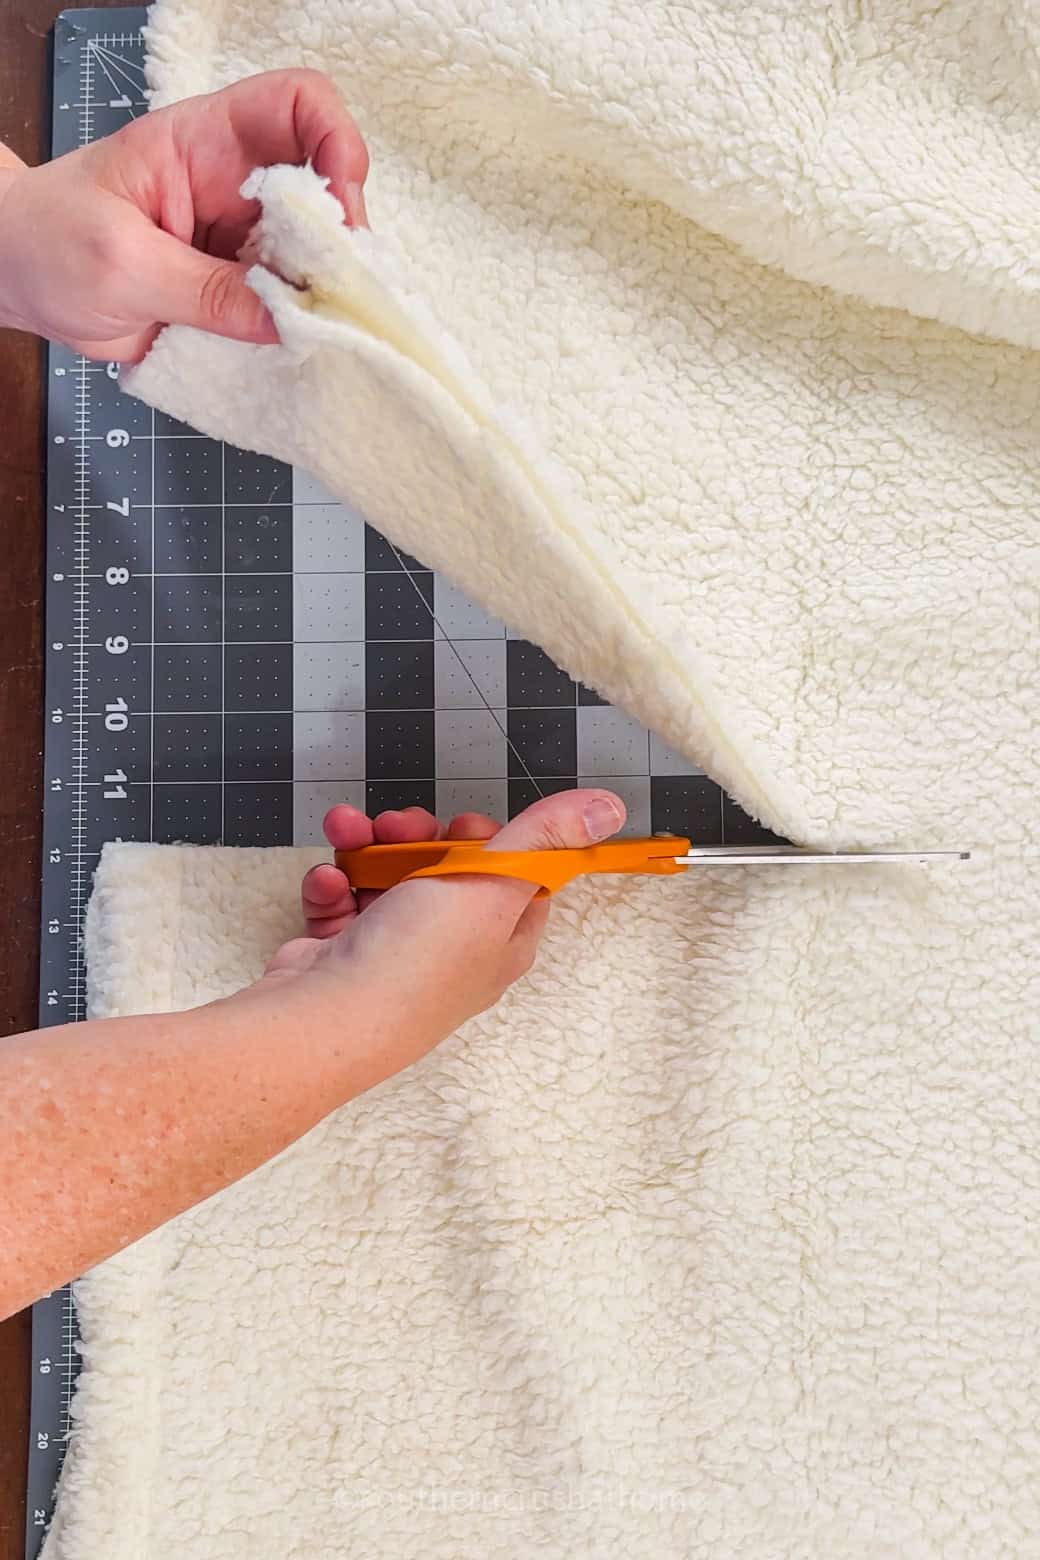
Start by unrolling one of your sherpa blankets. Lay it flat on a clean surface because it attracts anything it touches. Fold it in half and cut it to a 36″ x 24″ piece. Then repeat to make two ghosts.
Step 2: Position the Rolled-Up Blanket
Take the leftover sherpa material and roll it all back up to create another ghost body. The smaller body will be for Ms Gus.
Take your second sherpa blanket, keeping it rolled up just as you bought it. This roll will create the soft, plush shape of your ghost pillow.
Place the rolled-up blanket horizontally in the center of the flat blanket, about halfway down. This gives the pillow its rounded, ghostly shape without the need for any stuffing.
Step 3: Wrap the Blanket Over the Roll
Next, drape the flat sherpa blanket over the rolled one. You want to completely cover the roll so that it looks like a cozy, ghost-shaped pillow. The edges of the blanket should hang down, forming the flowing “body” of the ghost.
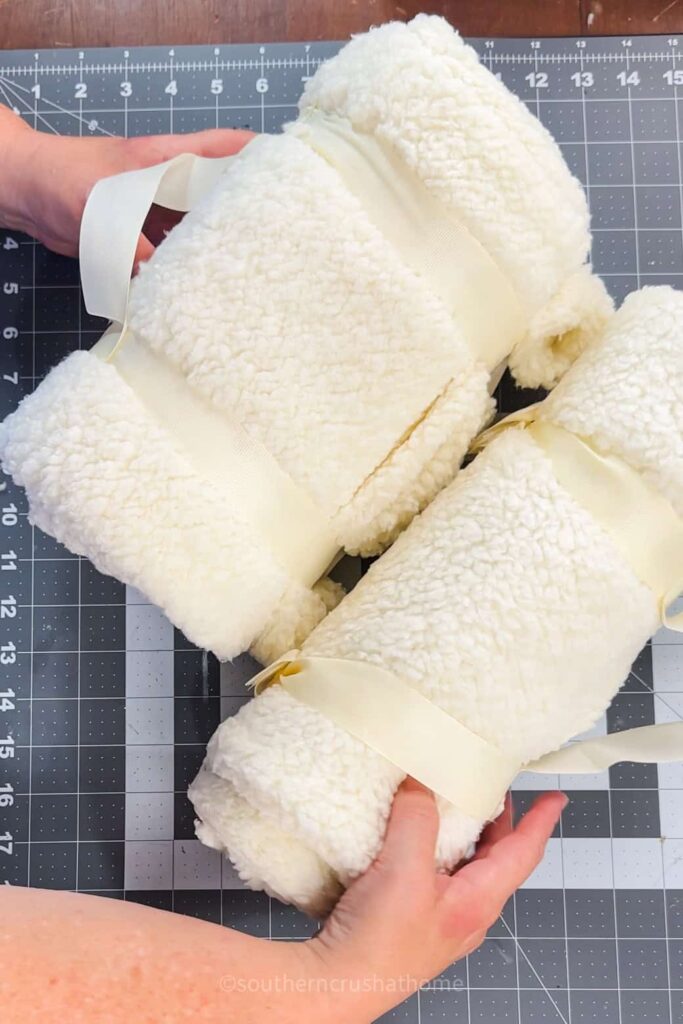
If the blanket is too large or you prefer a smaller ghost, simply fold the fabric at the back and tuck it in to adjust the size.
You can use a bit of hot glue to secure the fabric in place, but it’s not necessary—the weight of the material usually holds everything together nicely.
Step 4: Create and Attach the Eyes
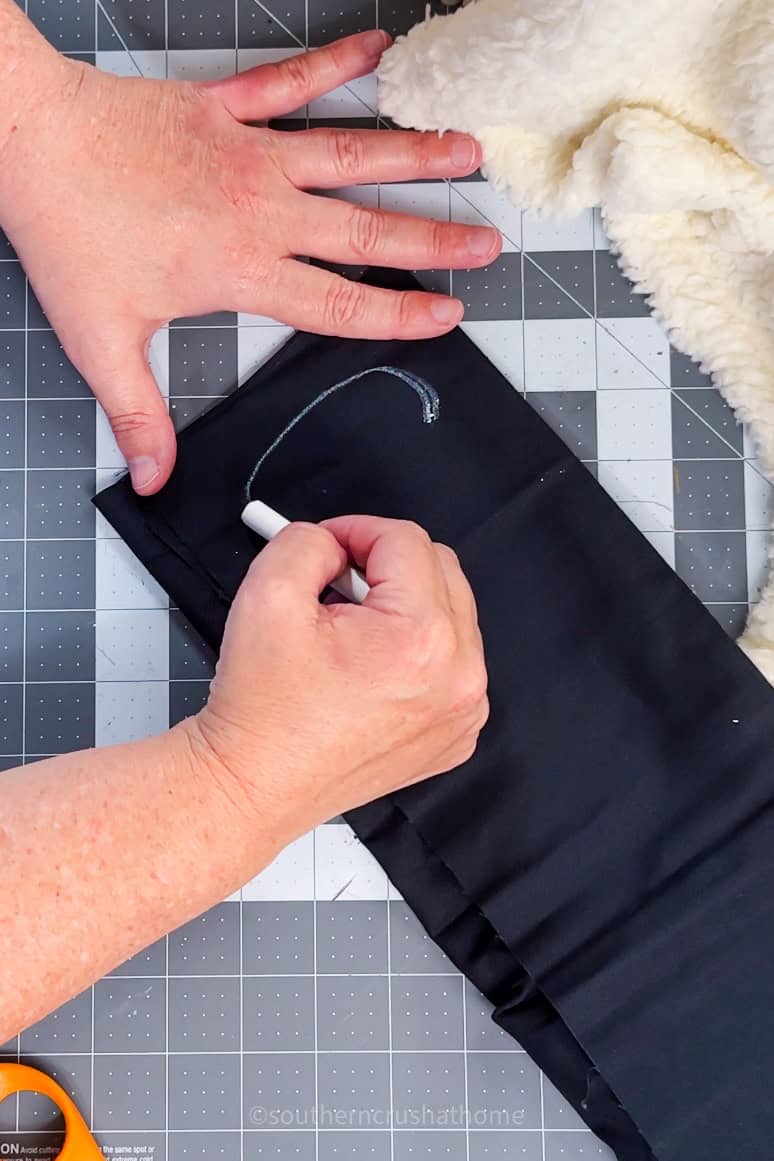
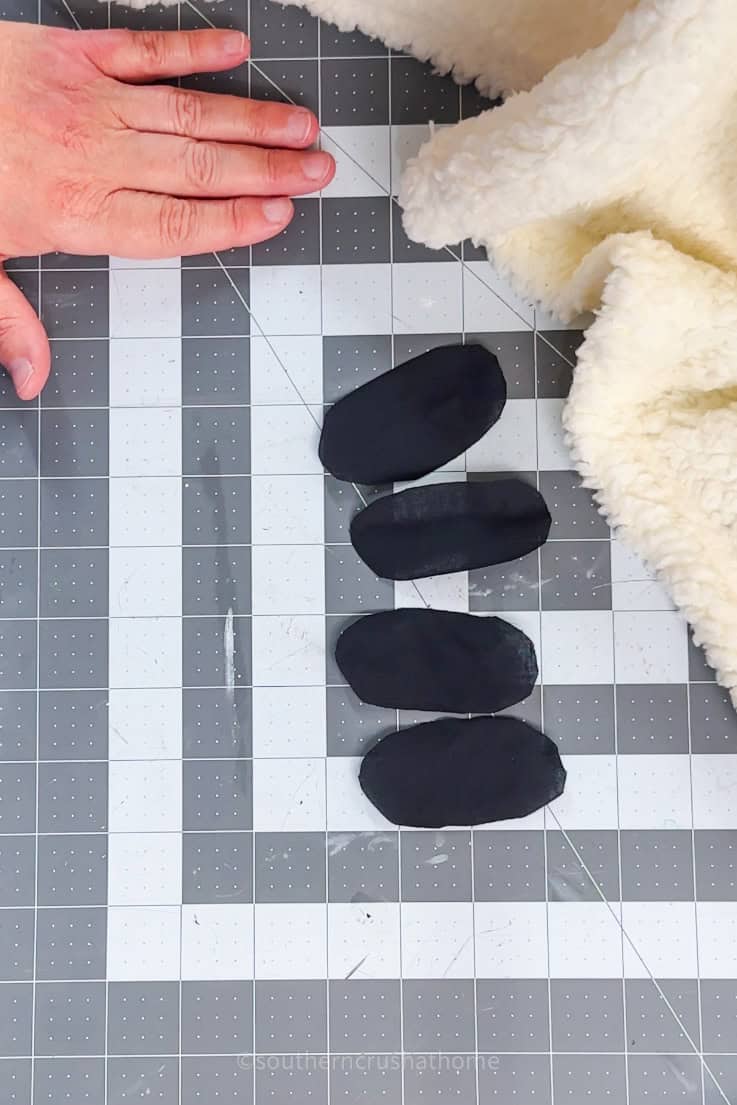
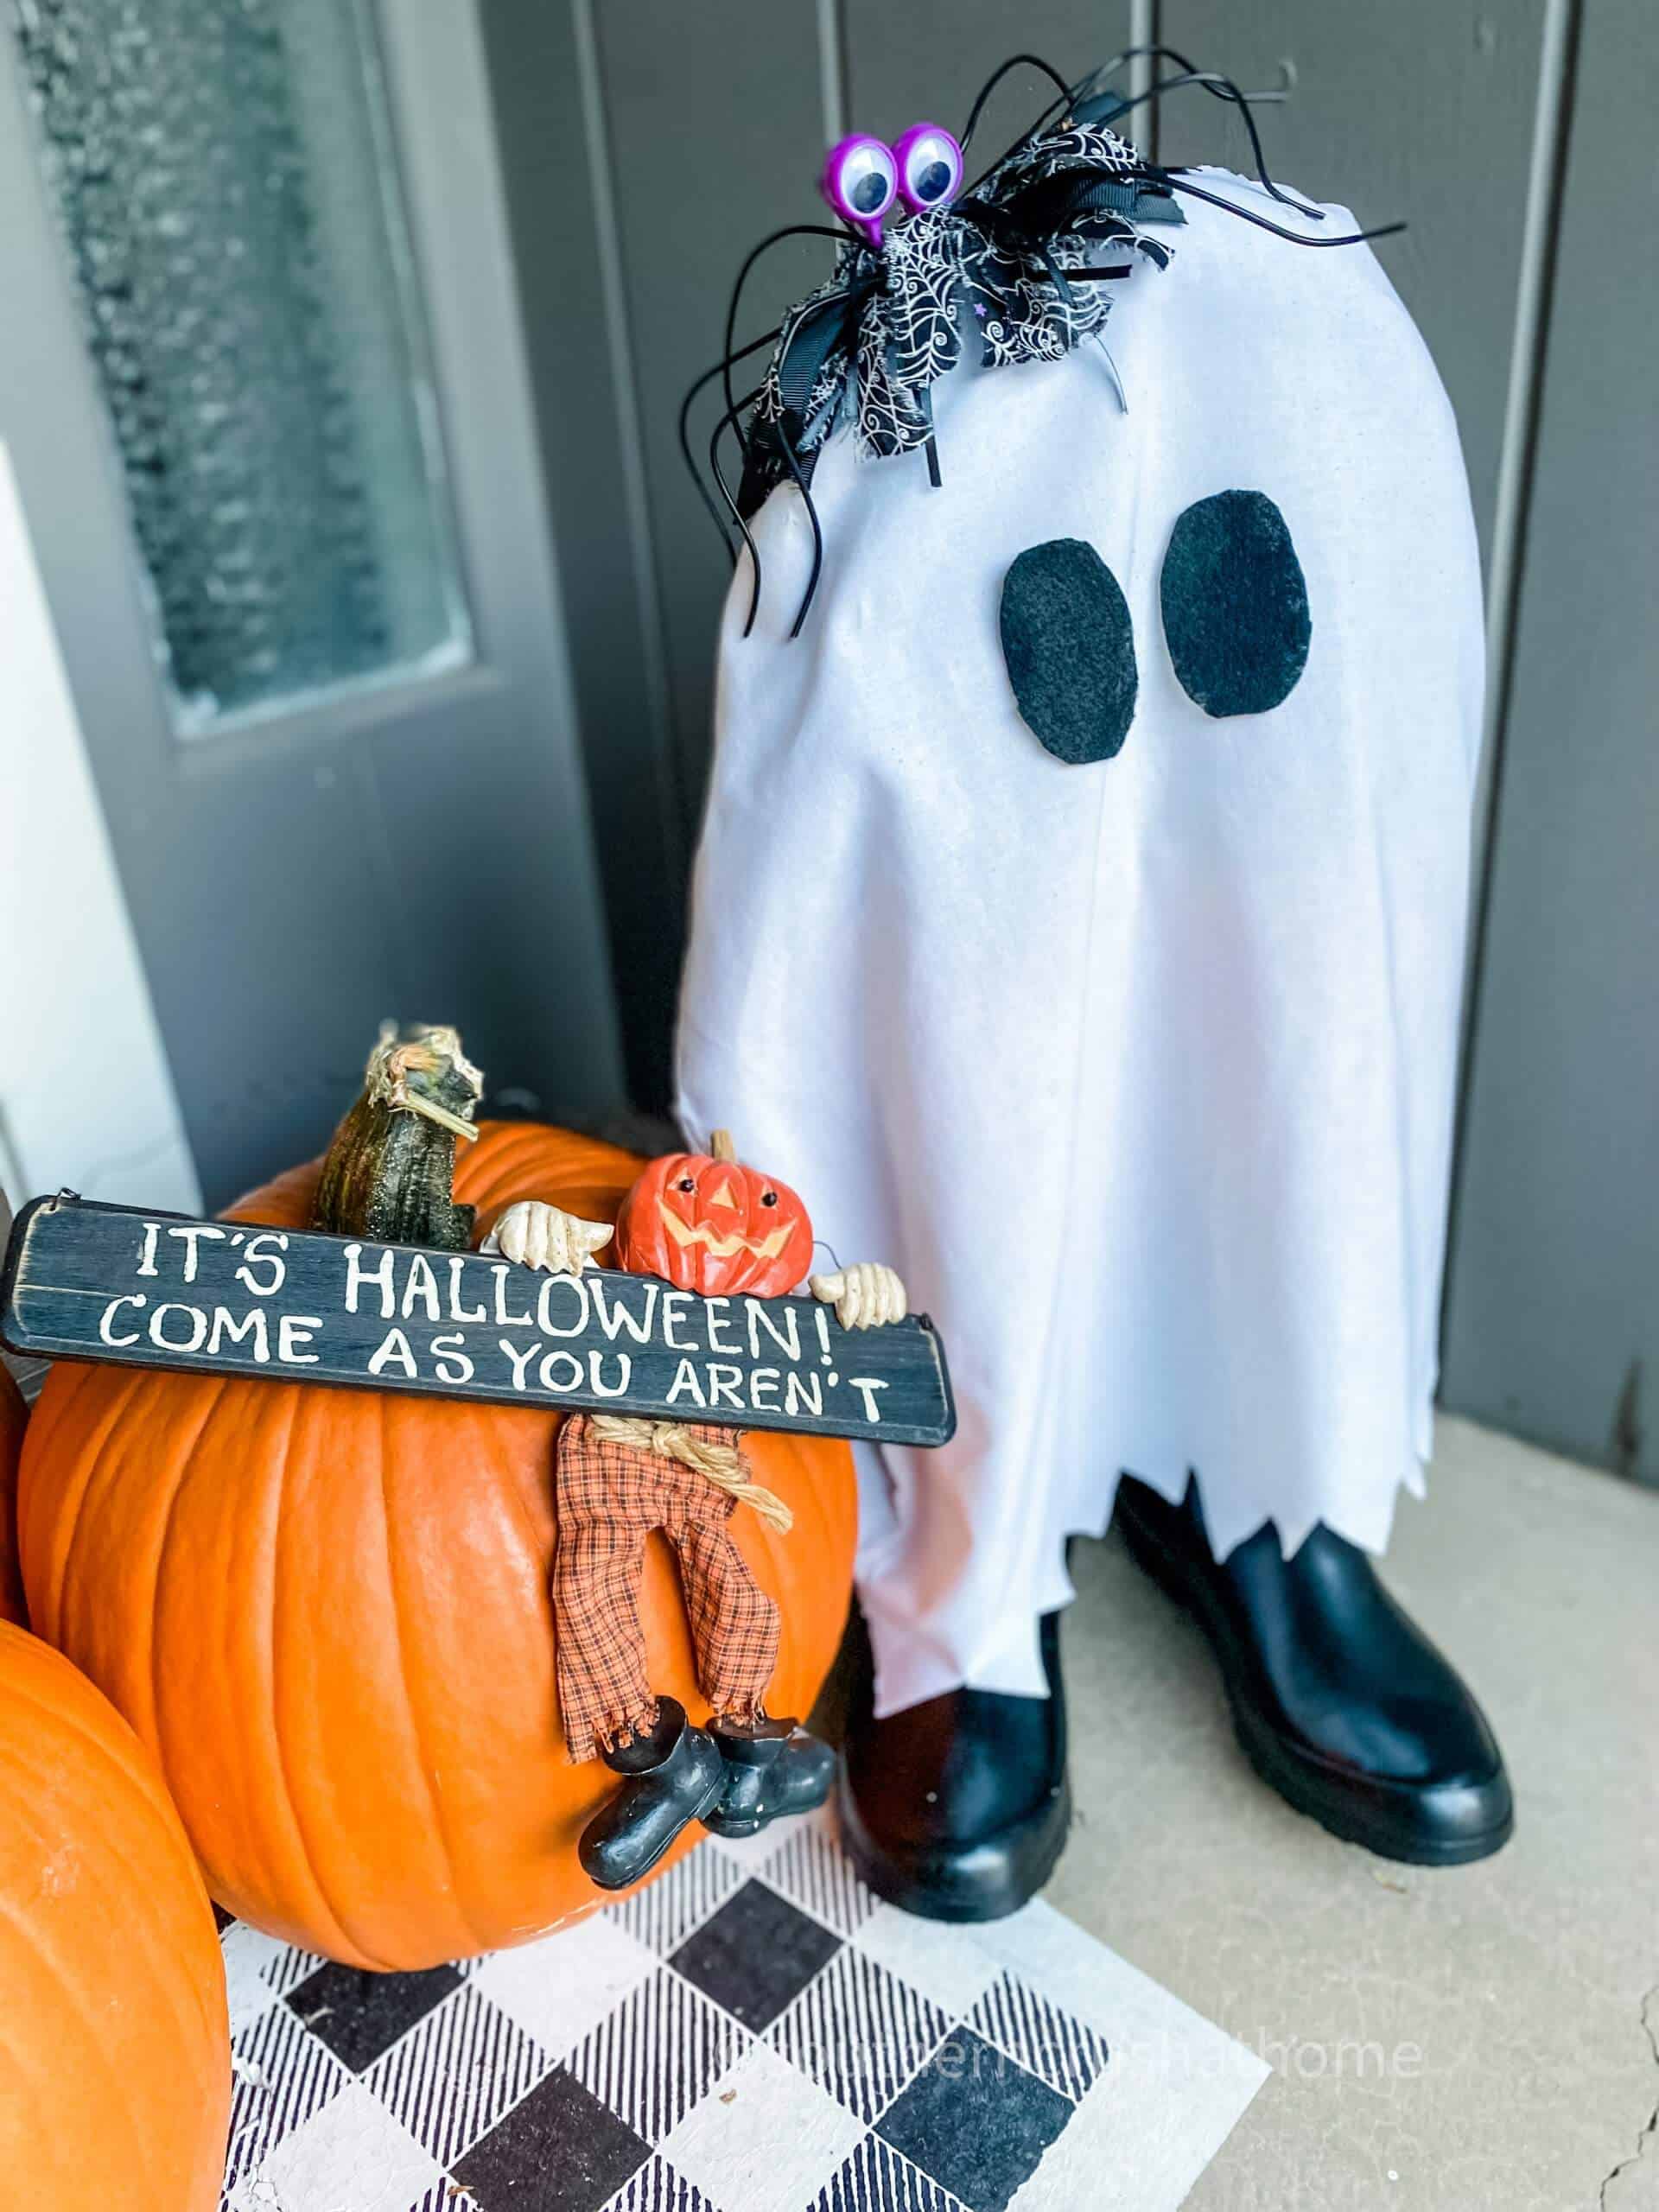
Now for the eyes! Cut two small, round shapes out of your black felt or fabric. The size of the eyes is up to you—big, wide eyes will give your ghost a friendly look, while smaller ones can make it look more mysterious.
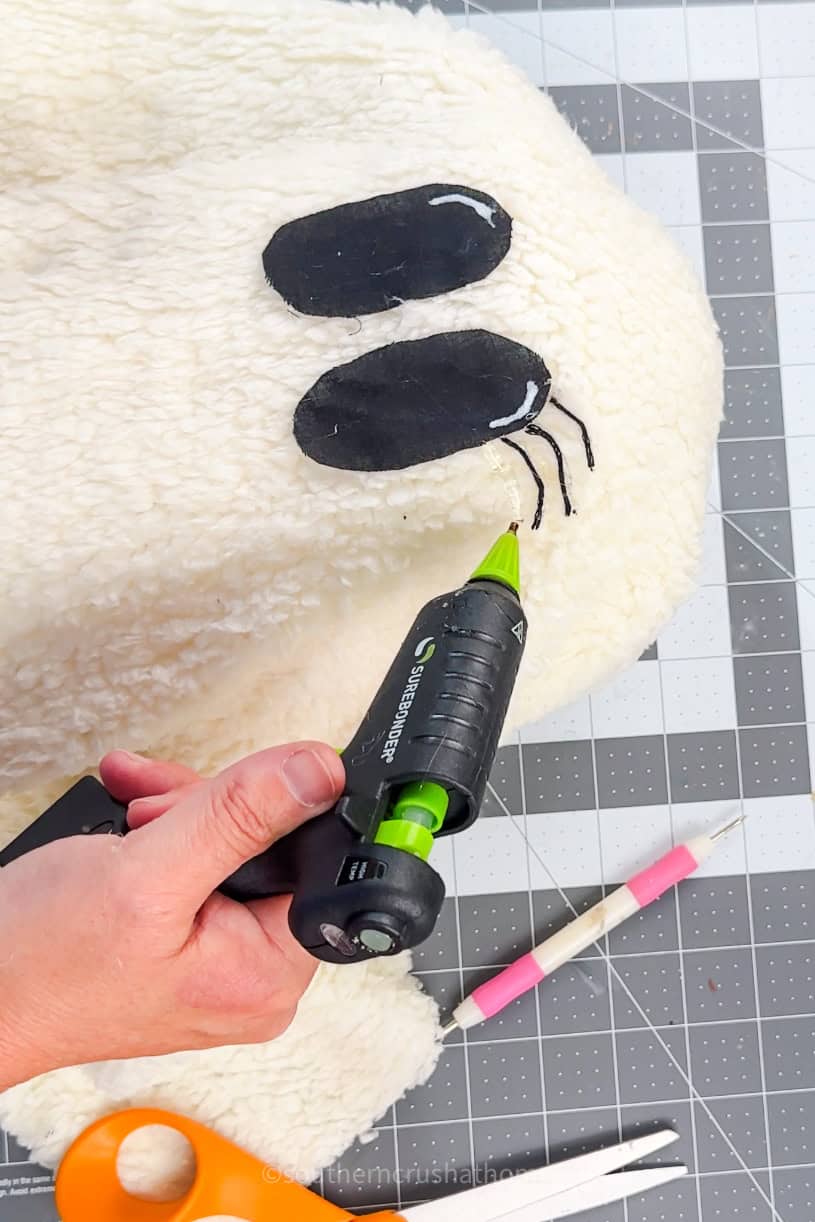
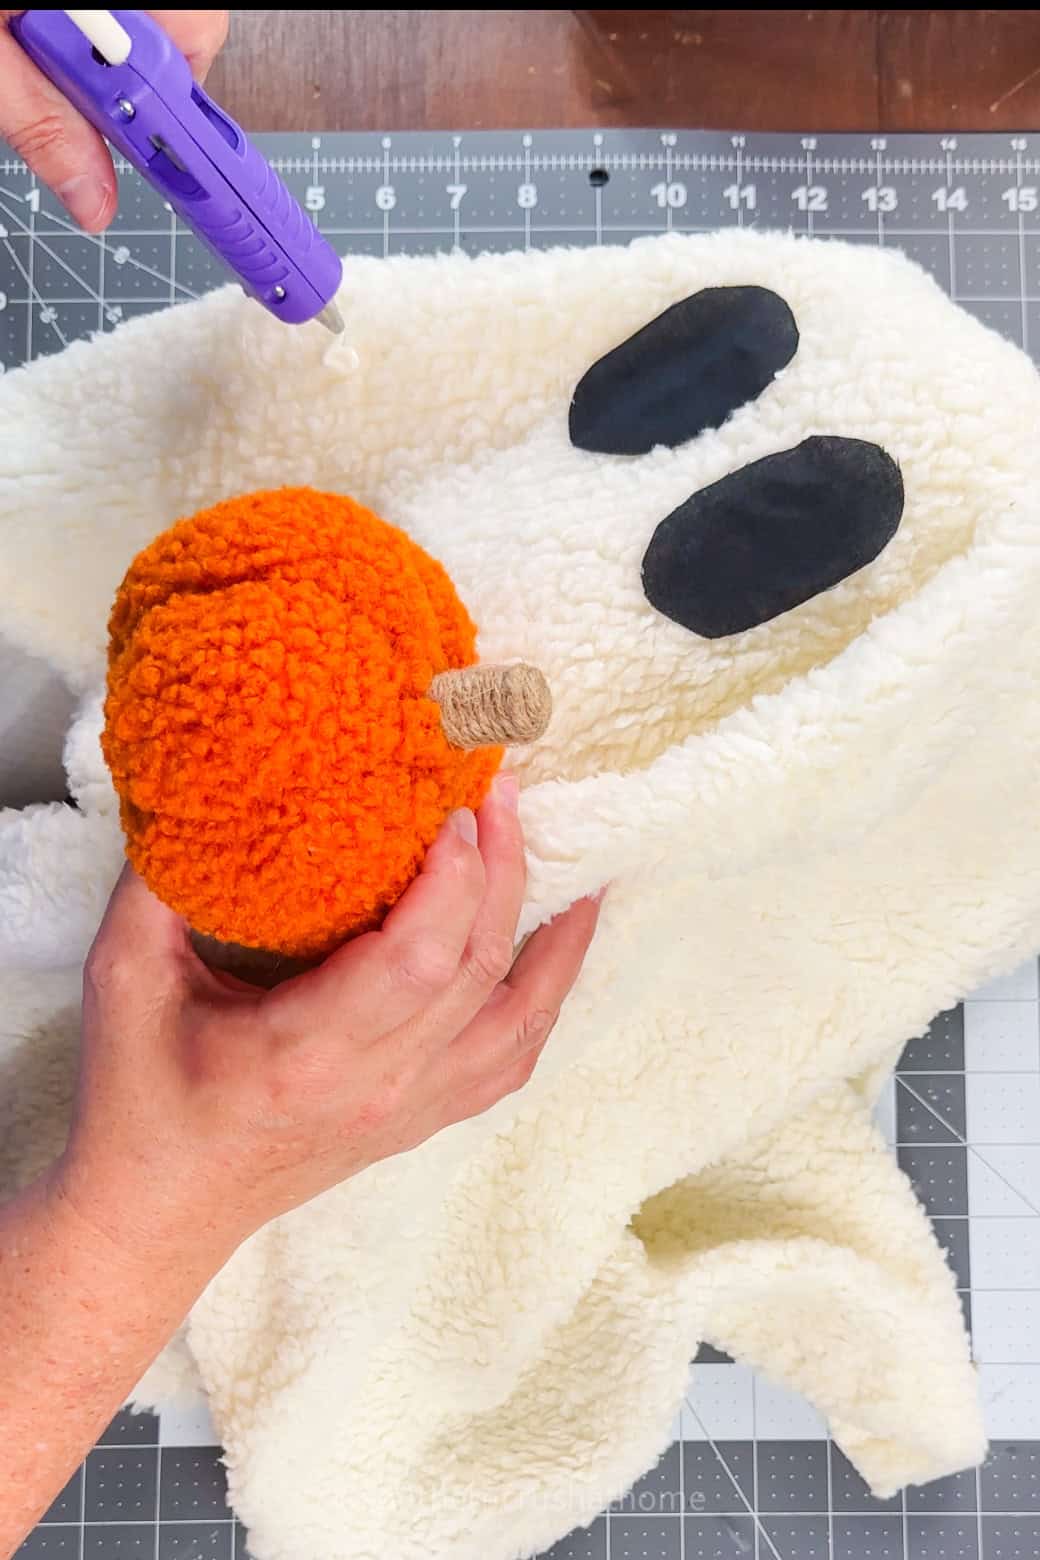
Once you’ve got your felt eyes, use a dab of fabric hot glue to attach them to the front of your ghost pillow.
Place the eyes evenly spaced near the top of the ghost to give it a cute, welcoming expression. Glue them down with fabric hot glue.
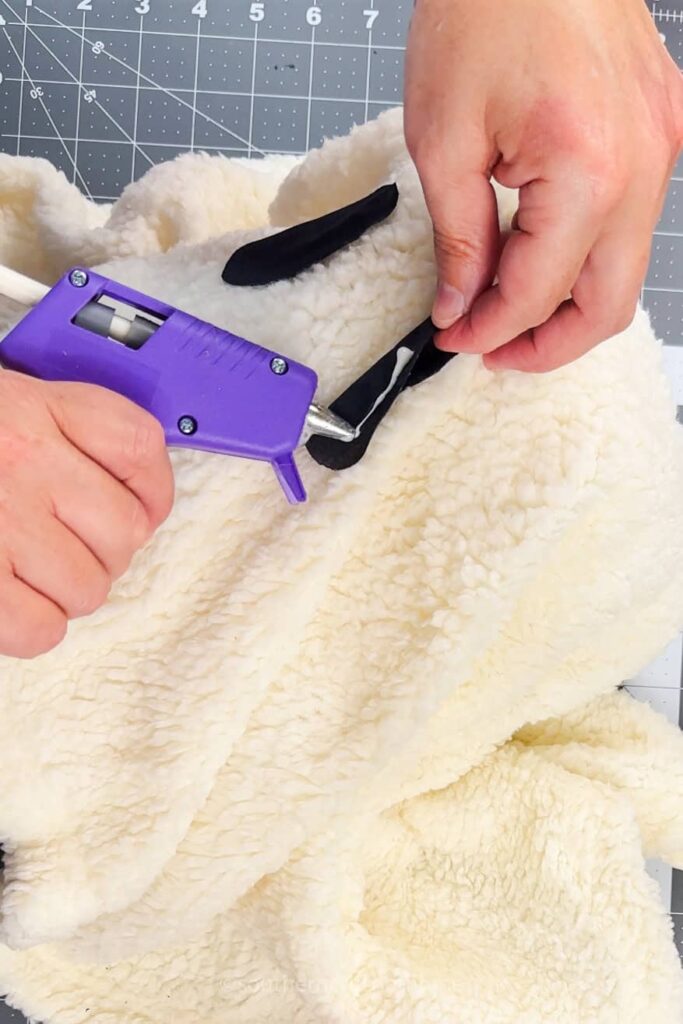
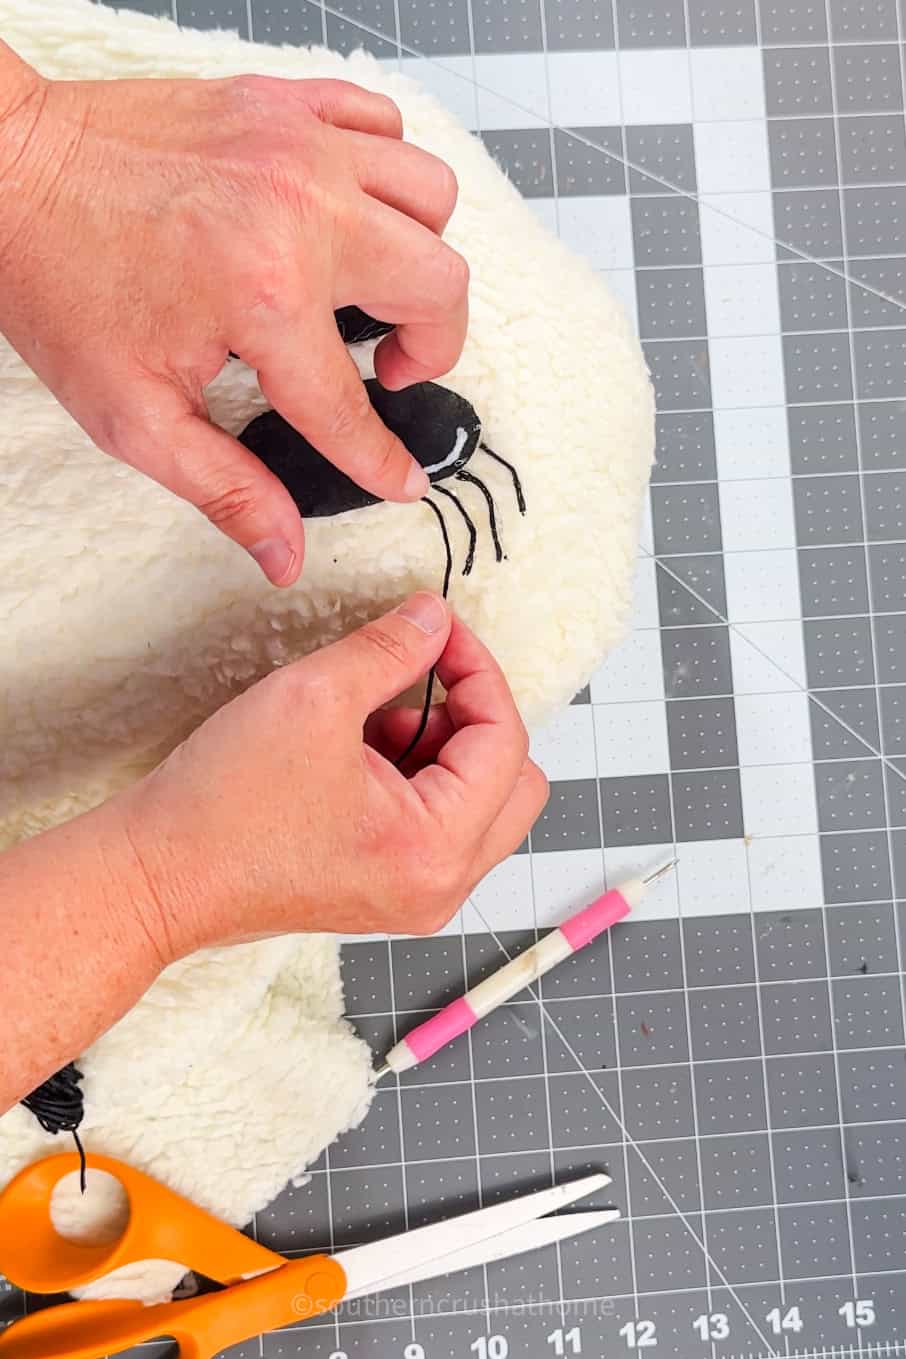
Press down gently to ensure they stick well. Add lashes using black string if you’re making a Ms. Gus pillow.
Step 5: Add the Sherpa Pumpkin
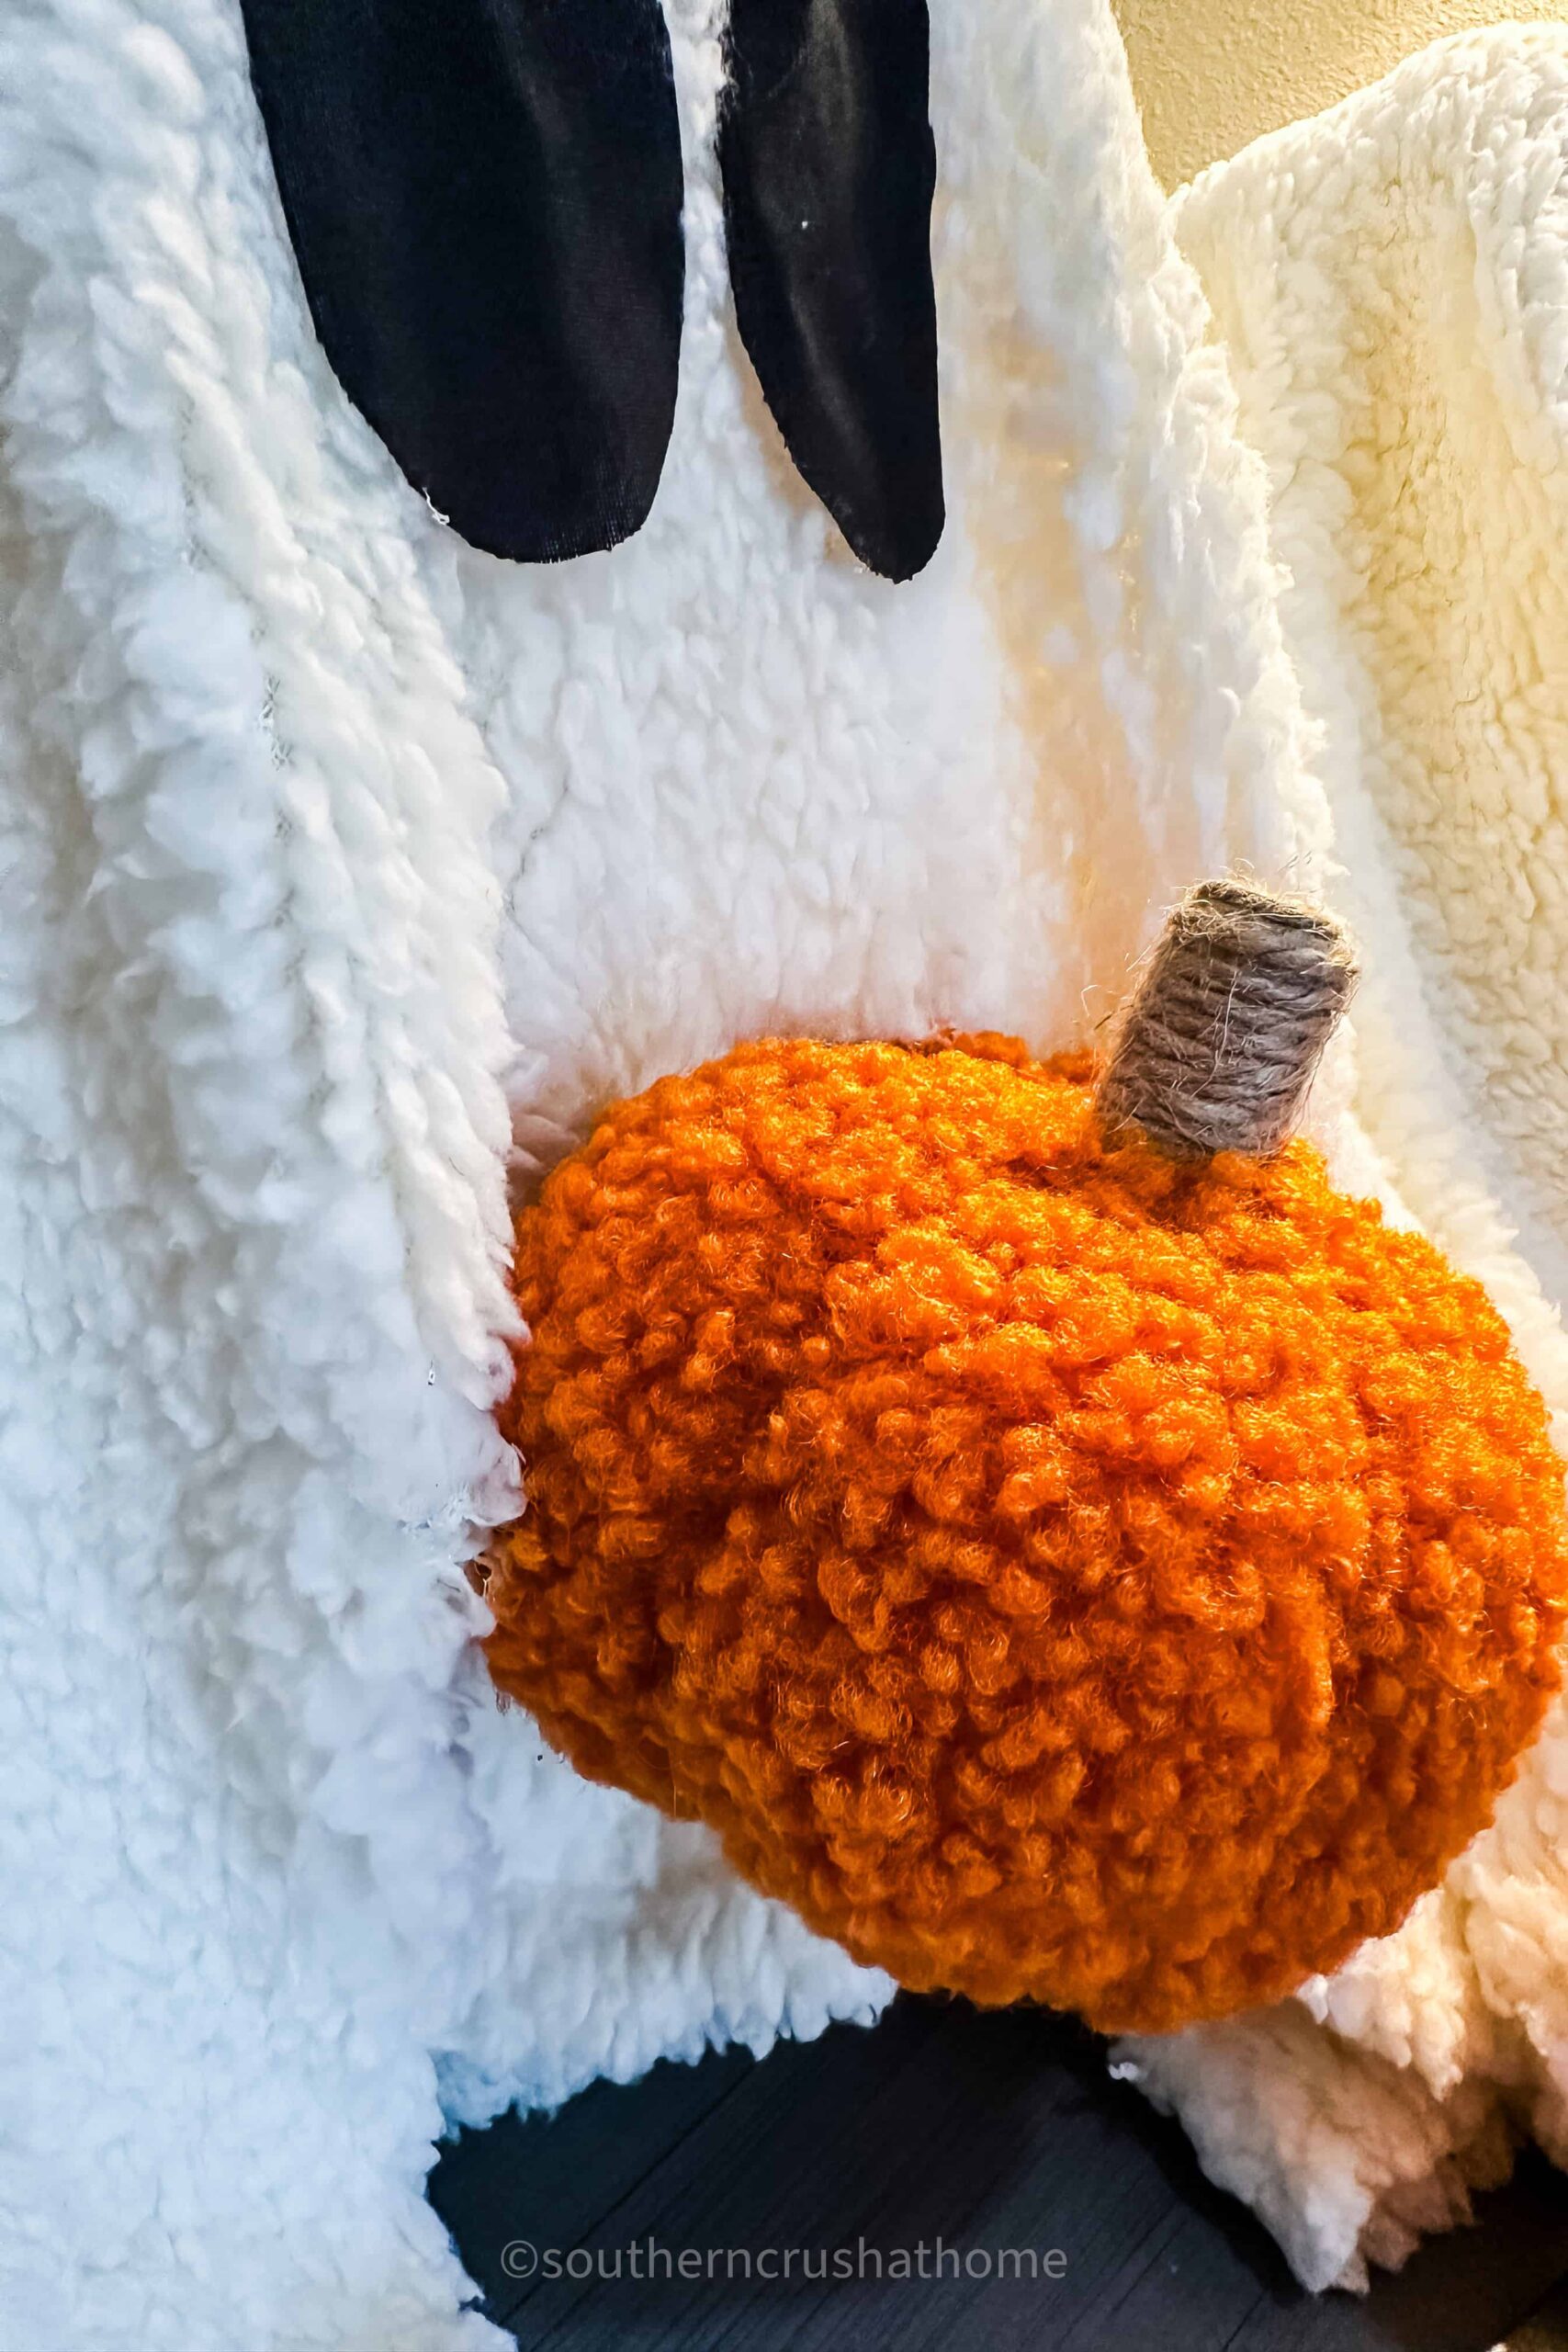
For the final touch, take your sherpa plush pumpkin and glue it to the ghost’s “hands”. This little pumpkin adds a whimsical touch and ties the look together.
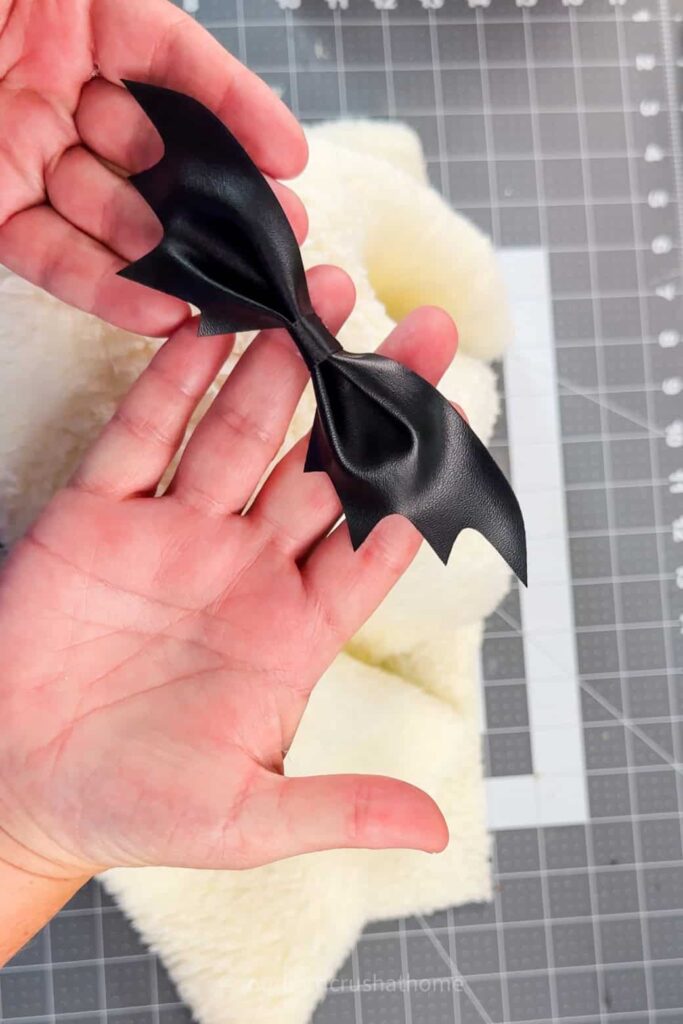
Alternatively, if you’re making a Ms. Gus pillow now is the time to clip on her cute bat bow!
Display and Enjoy
And just like that, your Pottery Barn-inspired Gus the Ghost pillow is complete!
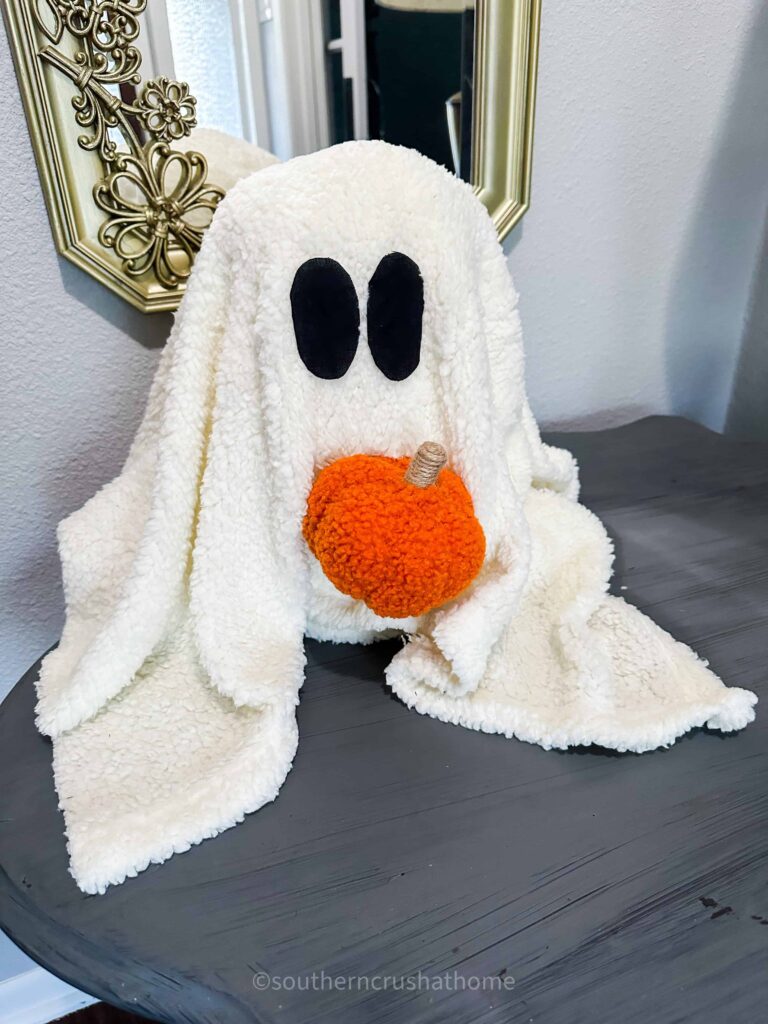
This no-sew project couldn’t be easier, and the result is absolutely charming.
Whether you place it on your couch, bed, or a cozy corner, this ghost pillow is sure to be a hit with family and guests alike.
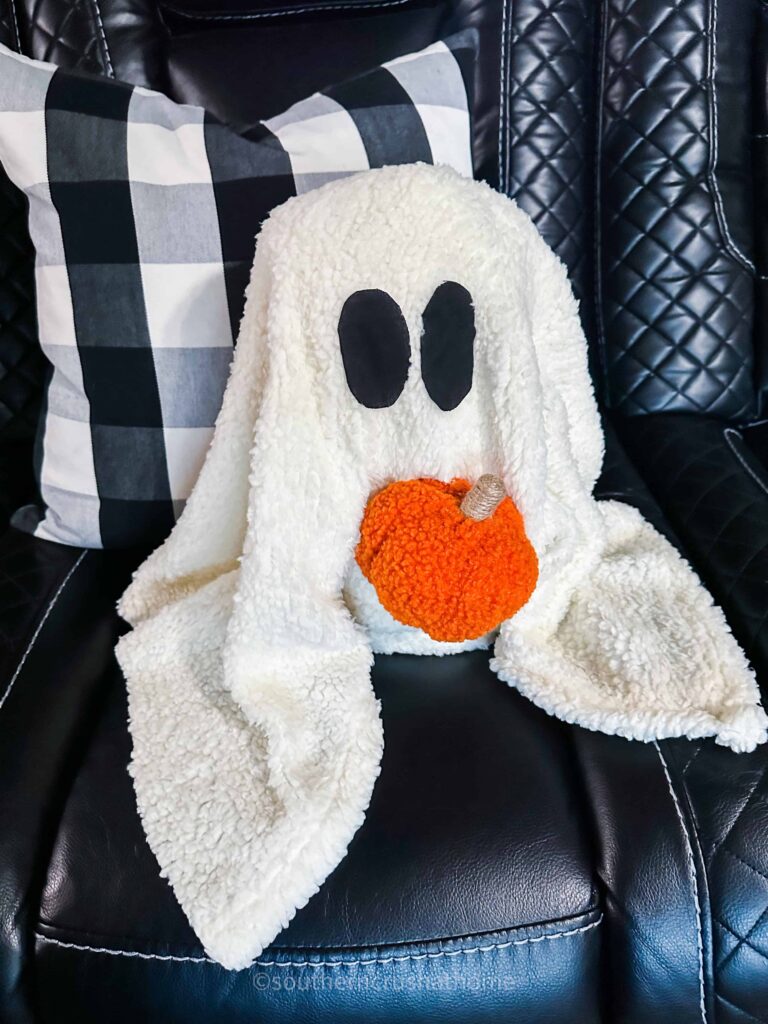
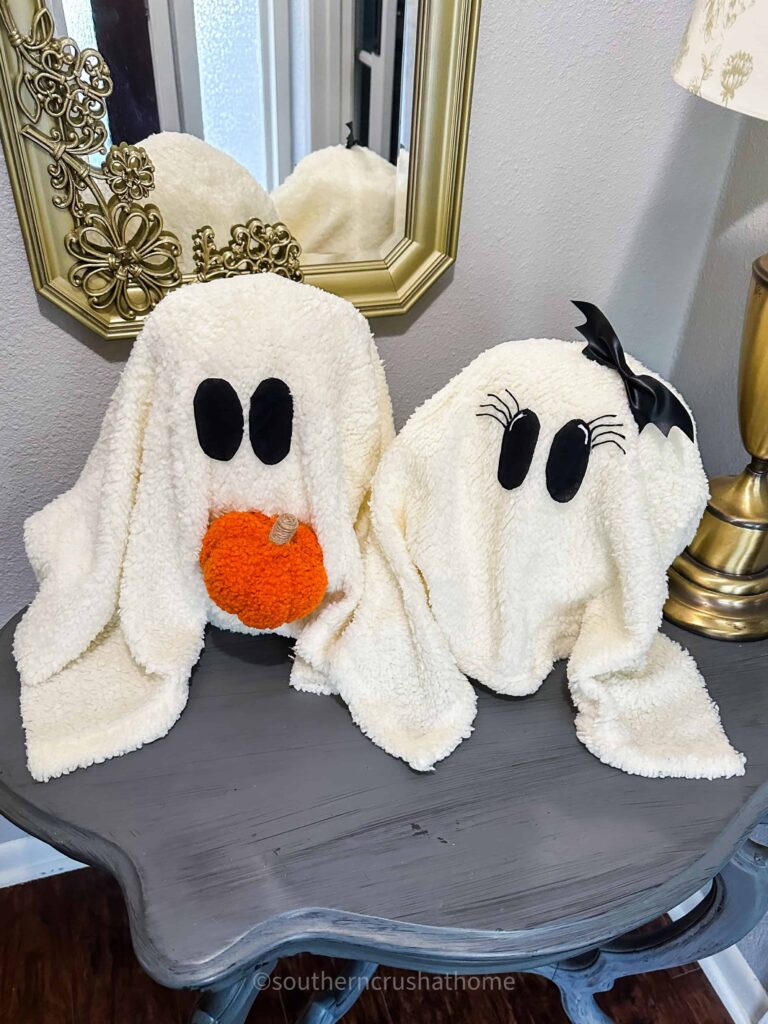
Ms. Gus is super cute too! I can’t decide which one I like better~ how about you?
And they’re even better together!
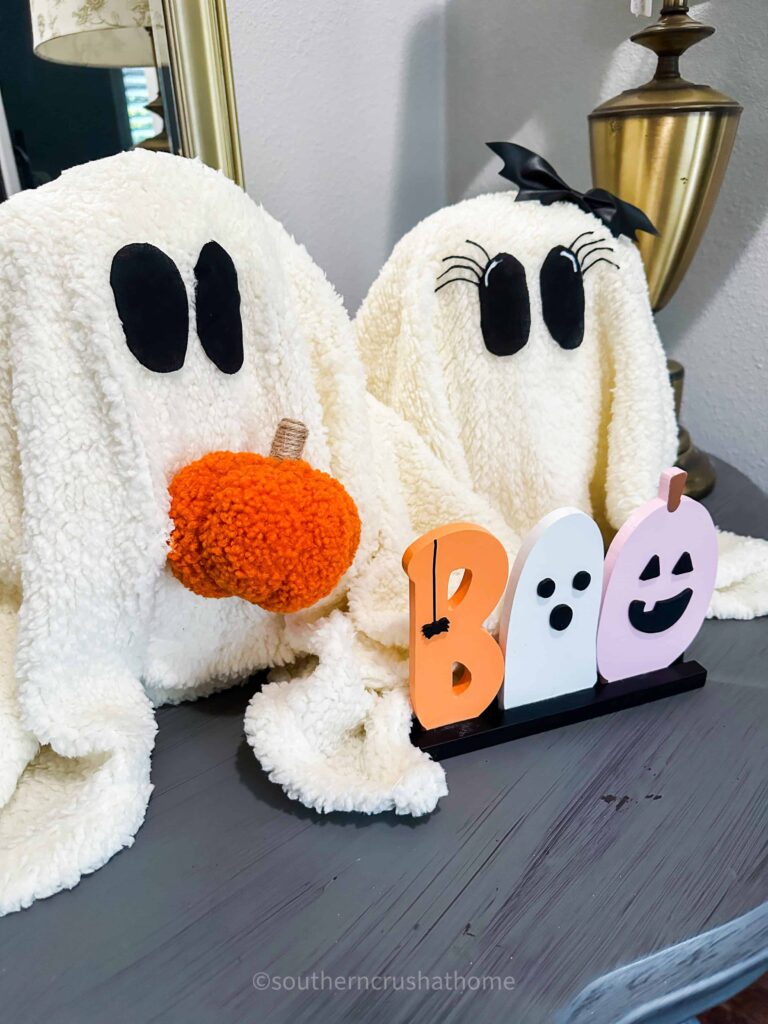
I have them sitting on a little entry table with a “boo” sign for now.
Why You’ll Love This Ghost Pillow
- Budget-Friendly: With materials from Five Below, Dollar Tree, and Michael’s, this project won’t strain your wallet.
- No Sewing Required: Perfect for crafters of all skill levels, this project comes together quickly without the need for sewing.
- Versatile Decor: The ghost pillow is not only great for Halloween but can also add a touch of whimsy to your decor all fall long.
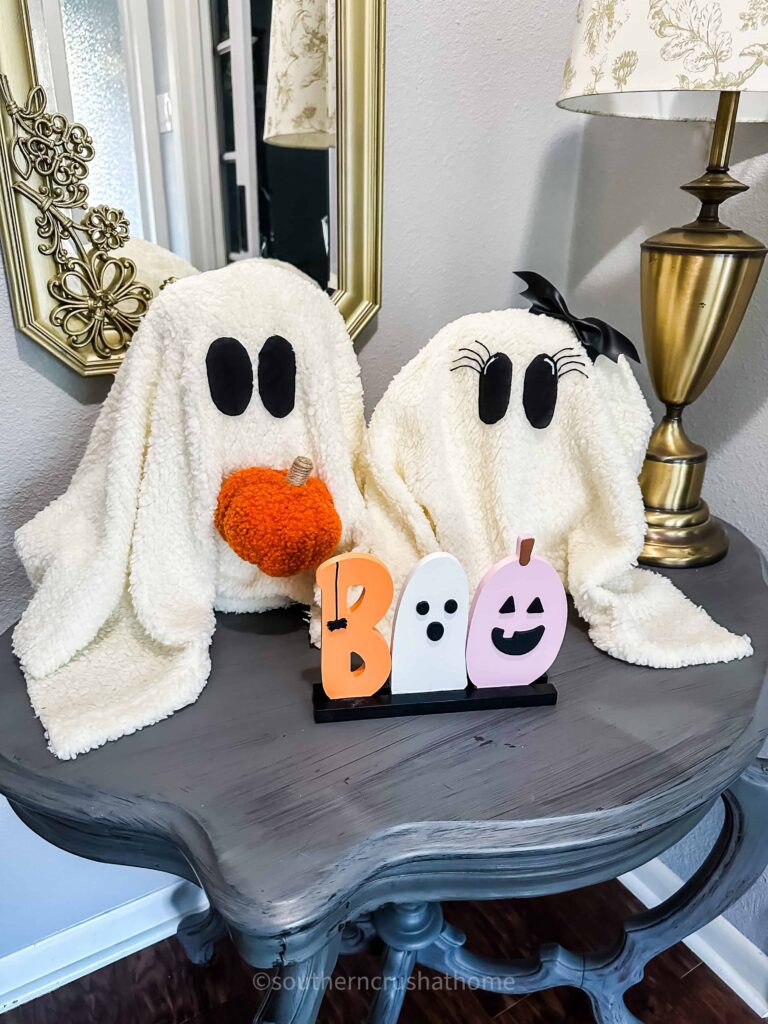
So, why spend a fortune on Pottery Barn when you can create your own ghost pillow that’s just as adorable—and much more budget-friendly?
I’d love to see your take on this project! Share your creations and let’s celebrate the season with a little DIY magic.



Melanie,
How did you make the bat clip for Ms Sherpa Ghost?? Pattern or just freehand the pleather?
So cute, can’t wait to try making them.
You could certainly make them, but I bought them here https://rstyle.me/+m5G5VByj7MG-nubxF7XcrQ
let me know how yours turns out!! Thank you for stopping by~
So smart to go to Five Below for blankets!! I’m in love. I just had my cabinet painting done in my kitchen and have been wanting some cute fall decor for my countertop corner to help spice up the space even more. I think this is exactly what I’ve been looking for!!
I’m so glad!