37+ Amazing Dollar Tree Plus Stackable Pumpkins Ideas
Fall is finally here, and so are these amazing $5 Dollar Tree Plus stackable pumpkins! Ideas for making these over are going viral all over TikTok.
While the traditional orange pumpkins are always a classic look for a pumpkin topiary, there are so many other ways to add some seasonal charm to your home decor with these versatile stacking pumpkins ideas.
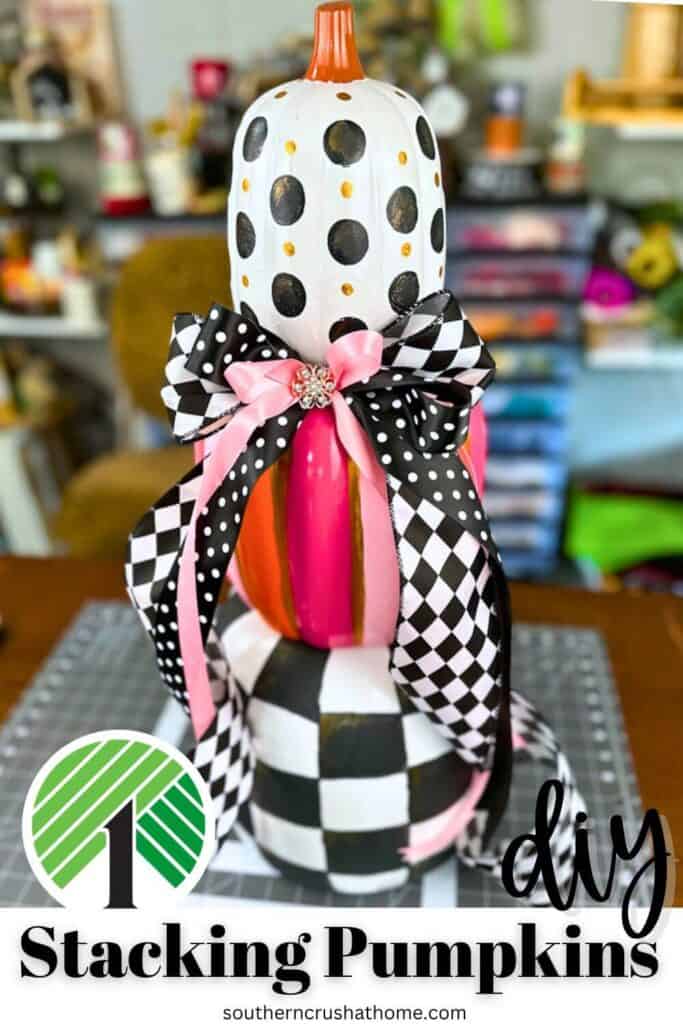
PIN this for later!
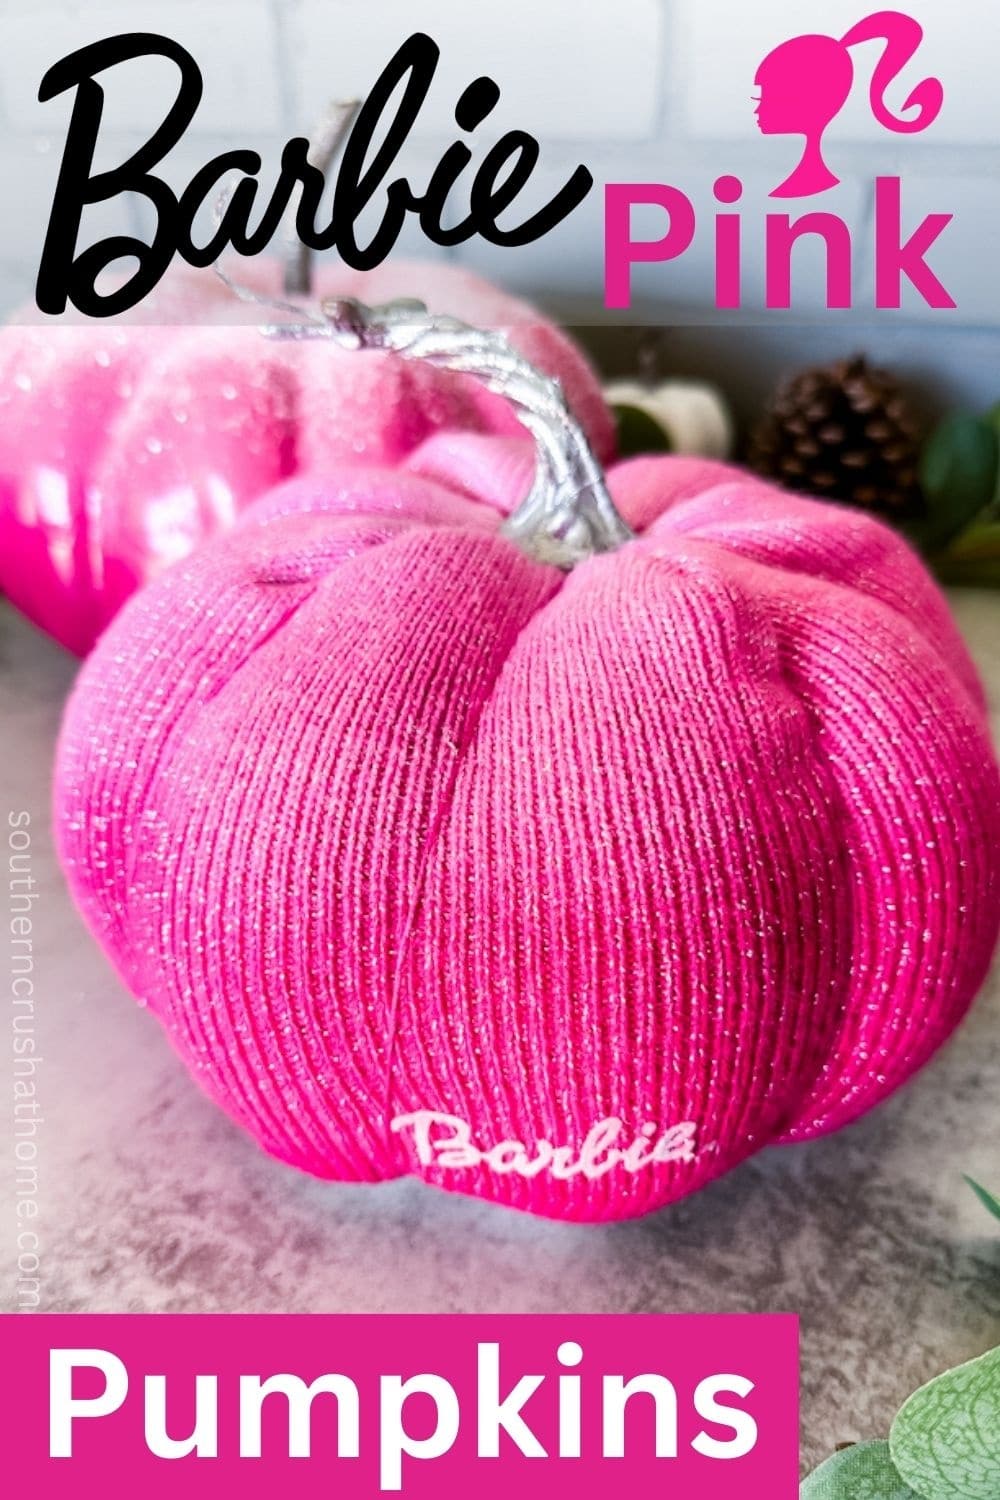
Why not try painting them in trendy shades of teal or a bright Barbie pink like these pumpkins I made for a modern twist?
Or use stencils to create eye-catching patterns like polka dots or chevron stripes. Adding some glitter or metallic accents can also take your pumpkins to the next level.
Whether you’re a DIY expert or just starting out, the Dollar Tree Plus stackable pumpkins offer endless possibilities to get your creativity going all season long.
Here are a few of my other pumpkin decorating ideas for you!
I didn’t want to miss out on this fun trend, so I found my very own stack of Dollar Tree stackable pumpkins and decided to give them a makeover. Here is the quick tutorial below followed by more ideas to inspire you!
This blog post contains affiliate links. The opinions are wholly my own from my own experience. I may earn a small commission from clicks through to the websites that end in a purchase.
Supplies Needed
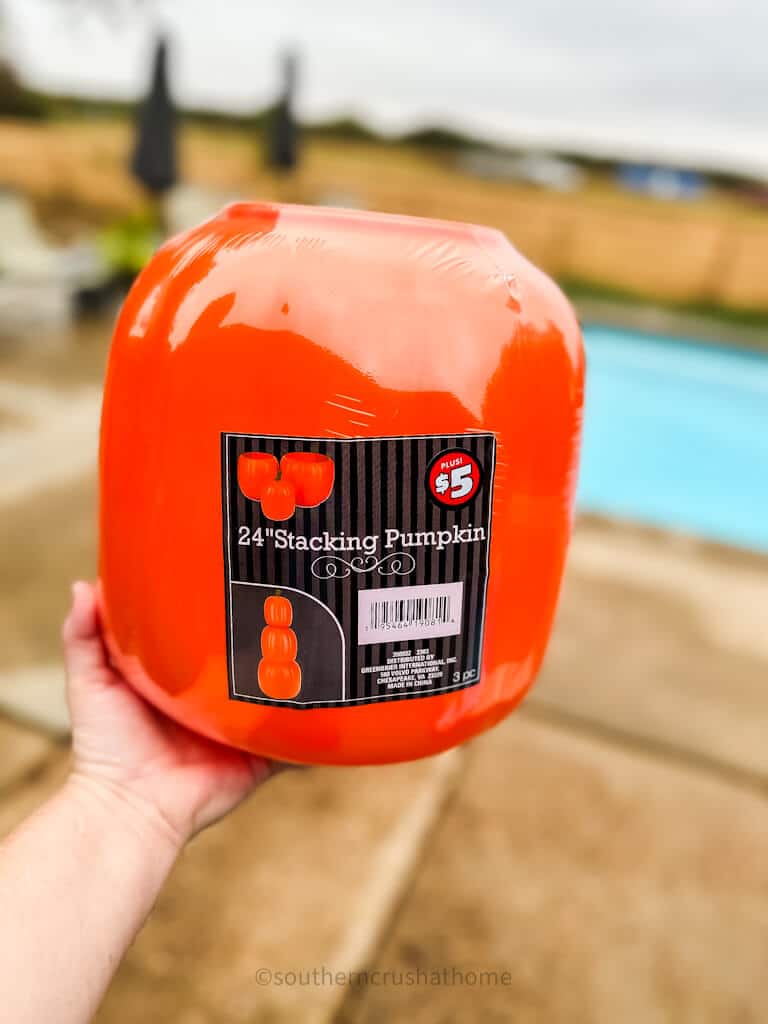
- Dollar Tree Plus $5 24″ stacking pumpkins trio I found some more stacking pumpkins here! (aff link) 👇👇https://rstyle.me/+PHGboCATfId6dFyMU1TT6g
- Chalk-type paint or Spray Paint in white
- Acrylic paints in black, white, pink, gold
- Painter’s tape
- Spouncer
- 24 Karat Gold Paint by Paint Pixie
- Scrap ribbon for a bow (optional)
YouTube Vidoe Tutorial
A step-by-step video tutorial is below for your convenience! Don’t forget to subscribe while you’re over there! Thank you!
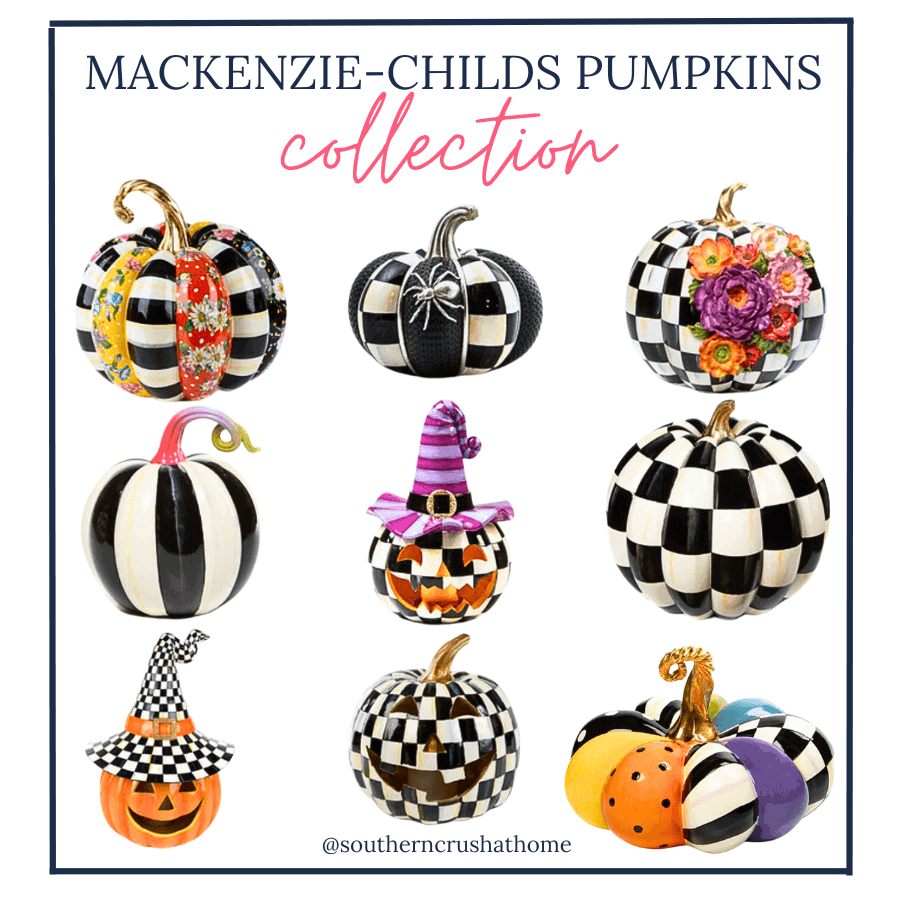
Steps for Painting a MacKenzie Child’s Pumpkin Topiary
If you’re looking everywhere for these pumpkins, be sure to try Dollar Tree Plus or Five Below. They both have a version that will work great for this DIY project!
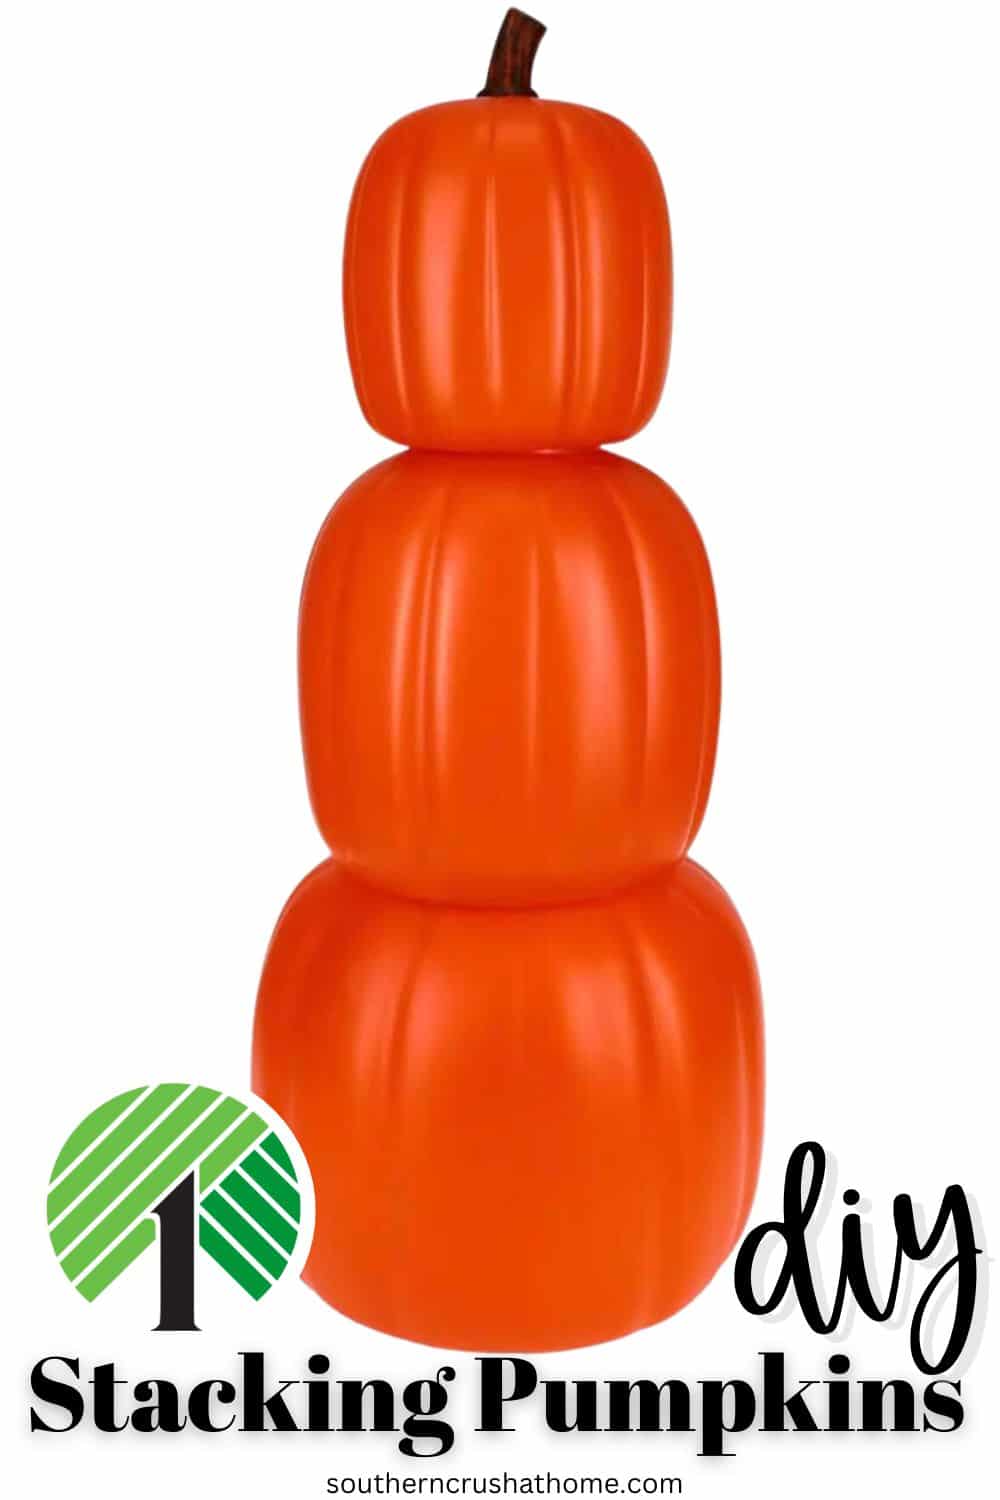
PIN this for later!
Step One
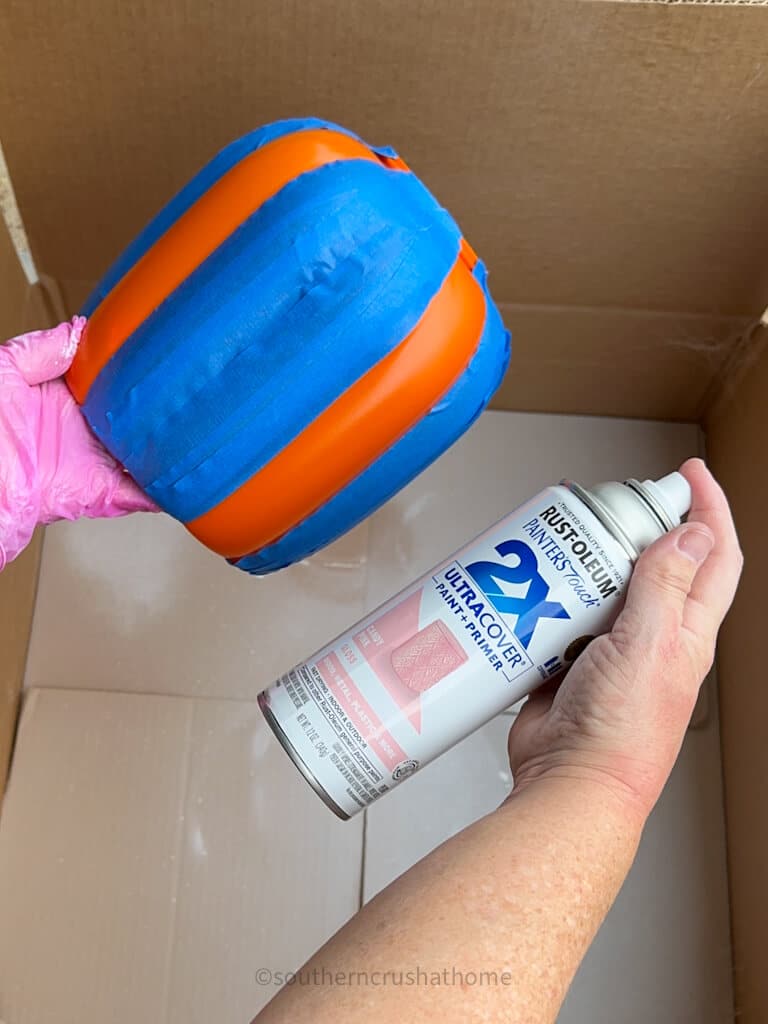
Tape off two segments on the middle pumpkin, skipping every third segment as shown below. Paint the exposed orange segments with the light pink color.
Step Two
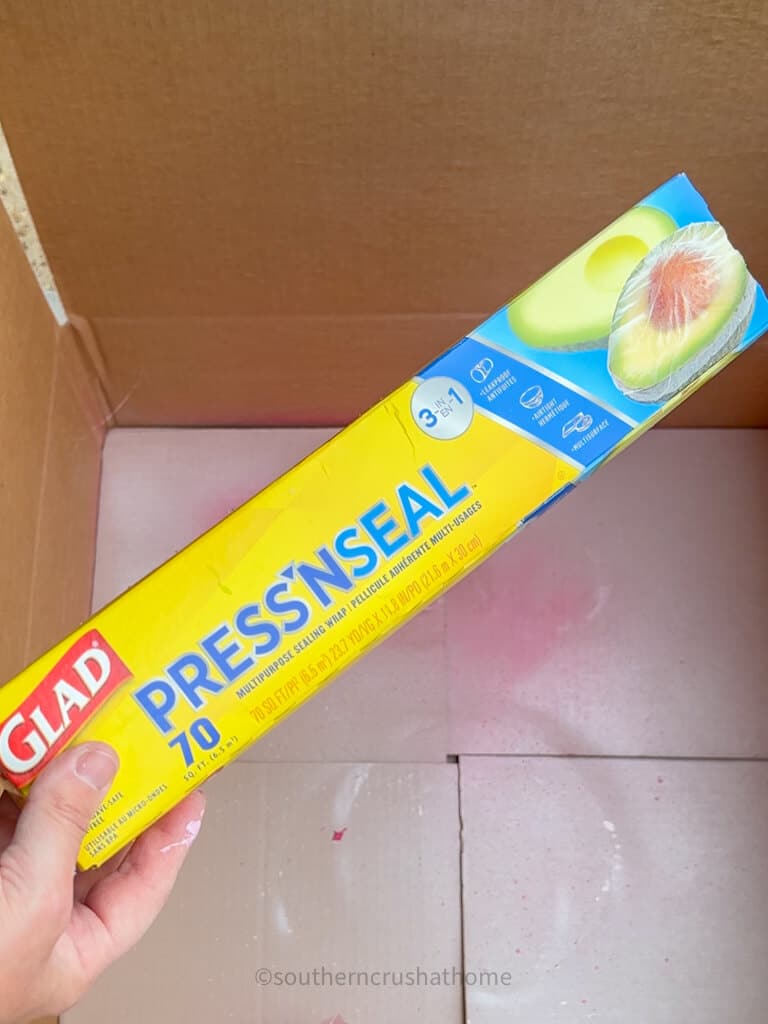
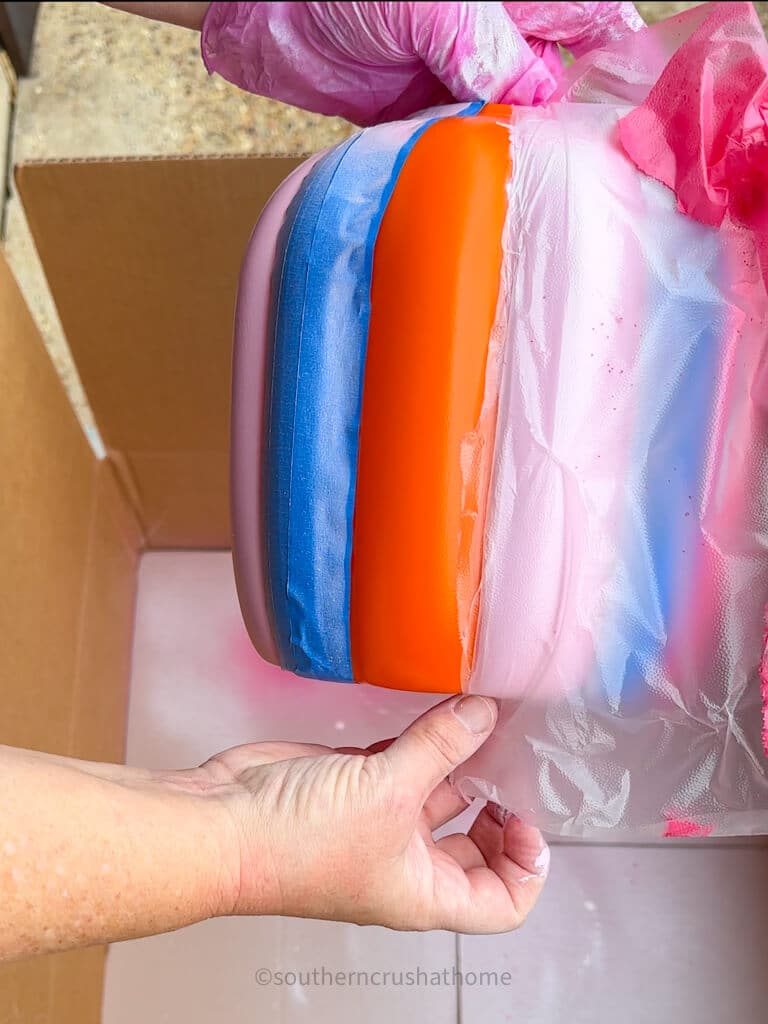
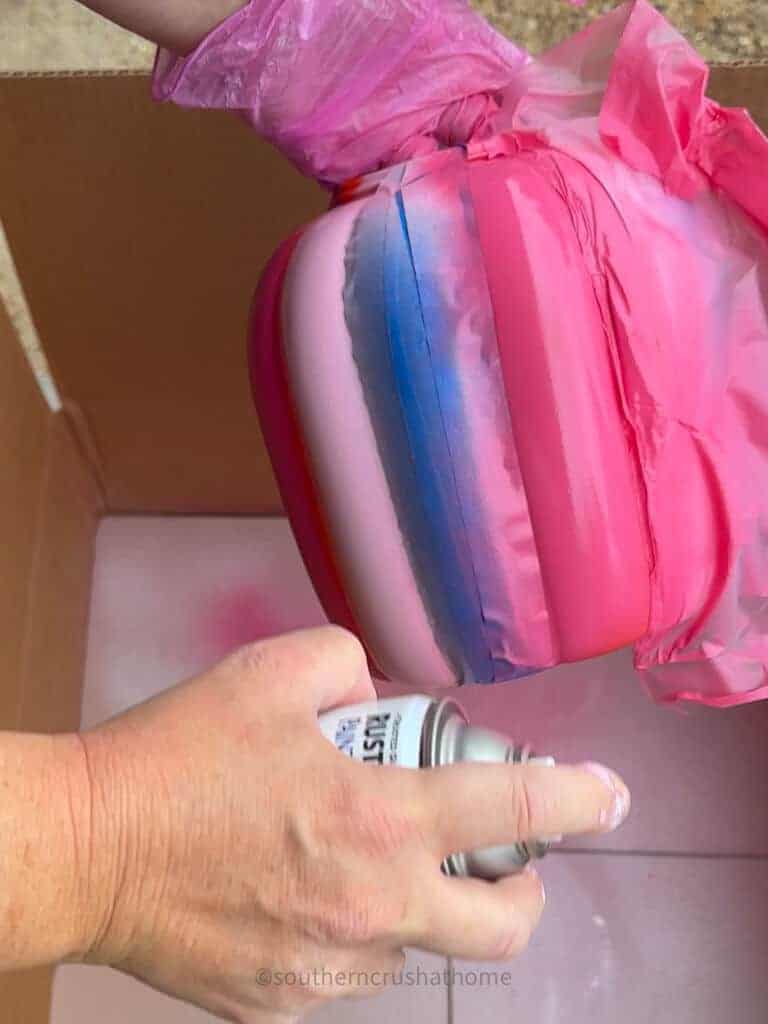
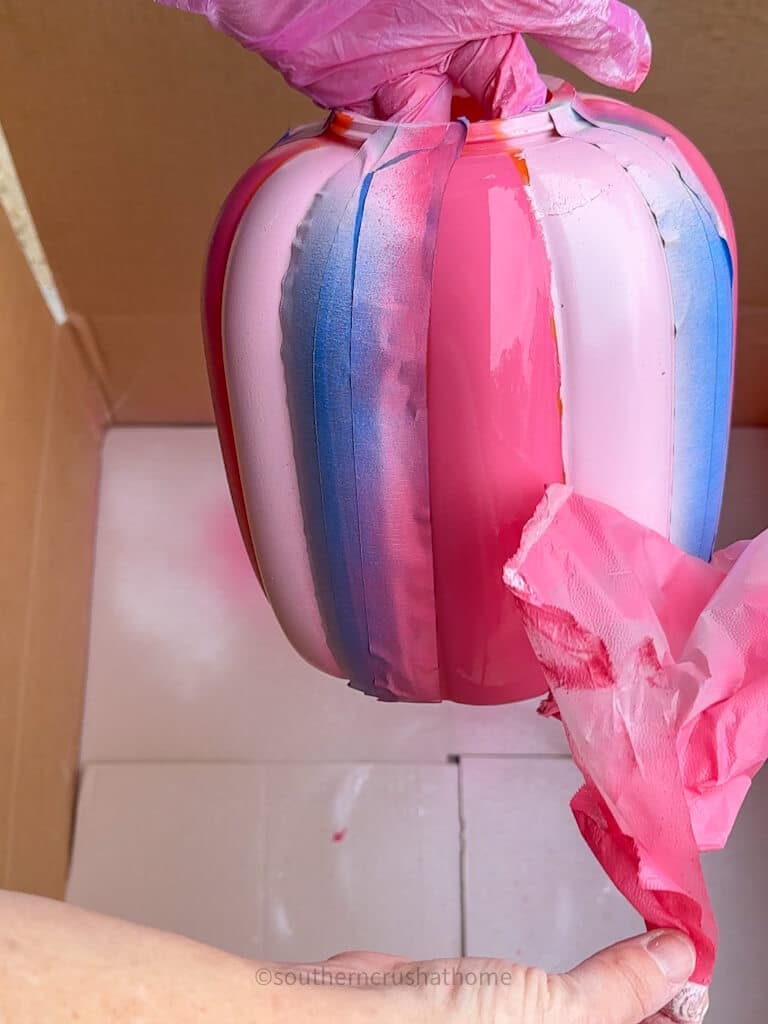
Next paint the next segment with the hot pink paint. I used press n seal to protect the freshly painted light pink segments as shown below.
Step Three
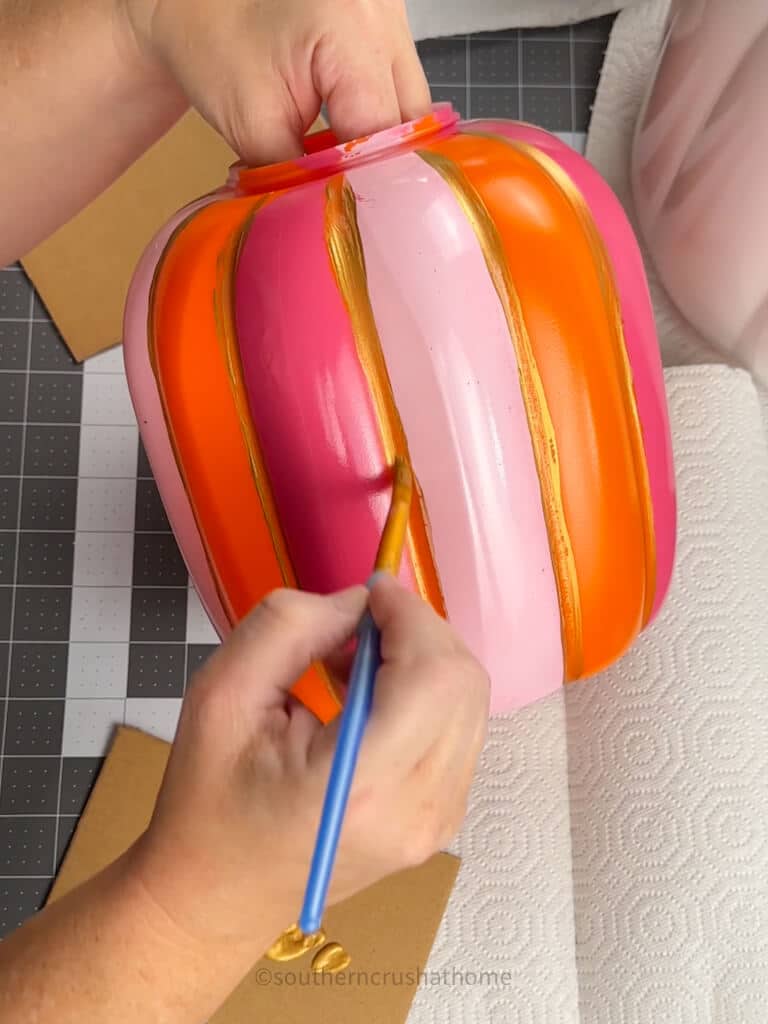
Remove the painter’s tape to reveal the original orange panels and paint gold stripes in between each segment filling in any gaps.
Step Four
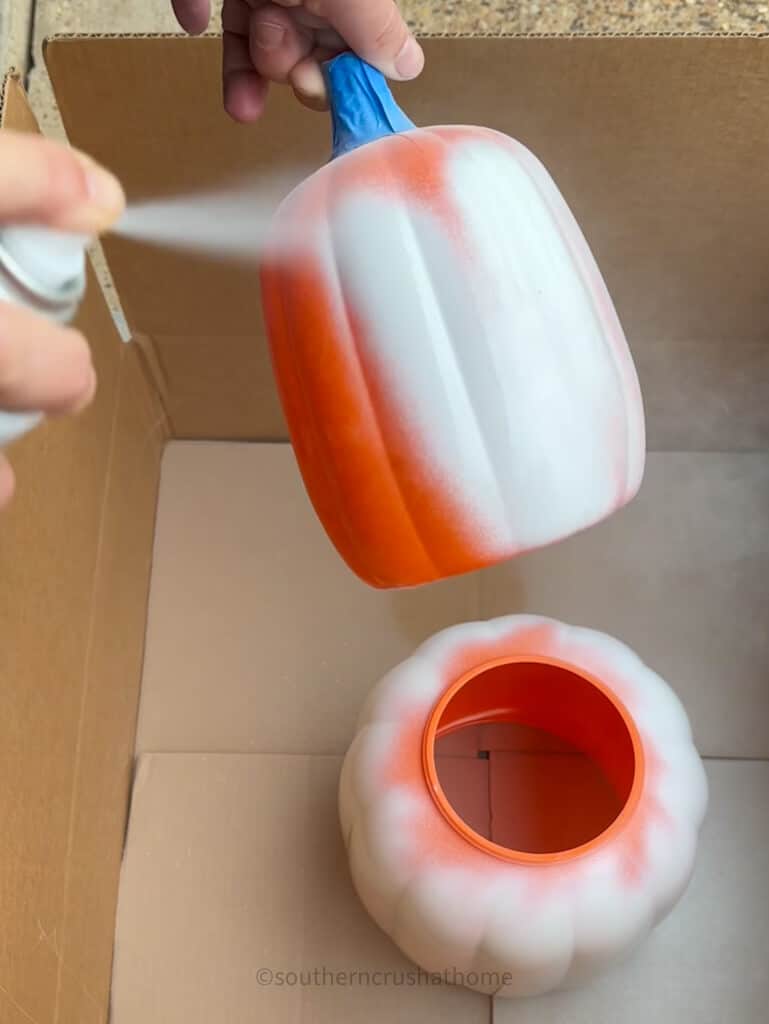
Cover the stem of the smallest pumpkin with painter’s tape and then add a thin base layer of chalk-type paint or spray paint to cover the top and bottom pumpkins.
Step Five
Now add black polka dots to the top pumpkin using a spouncer. It’s easy when you use a pattern like two dots on one pumpkin segment and three on the next as shown below.
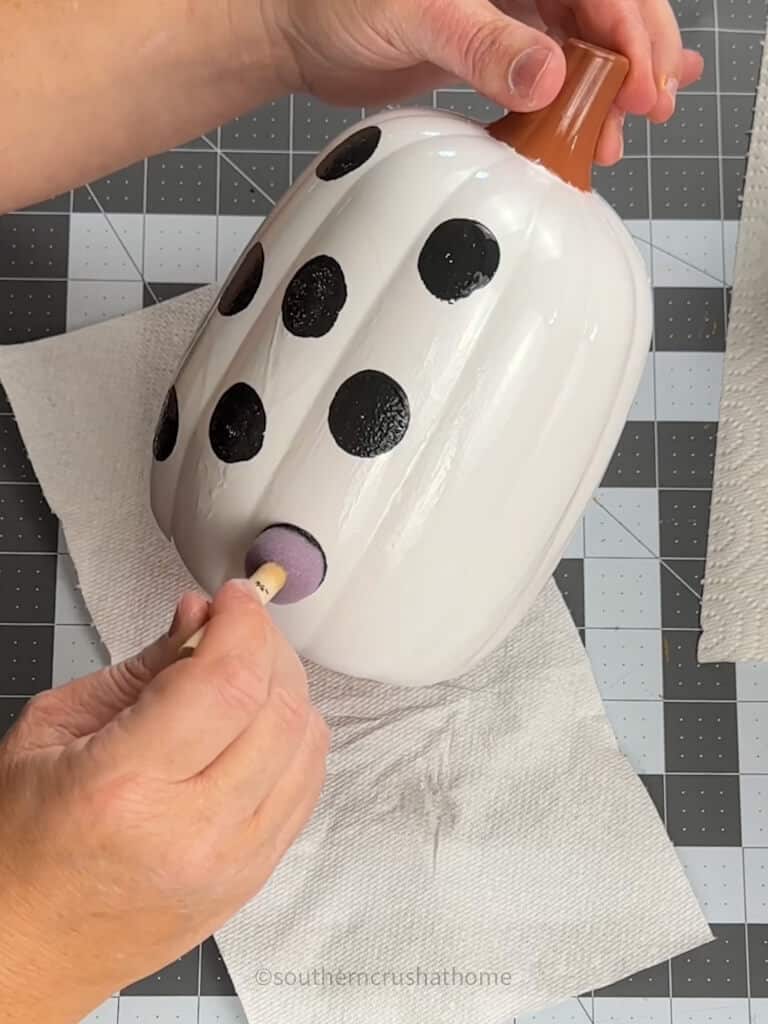
You can also paint the stem gold or black, I just left my pumpkin stem brown.
Step Six
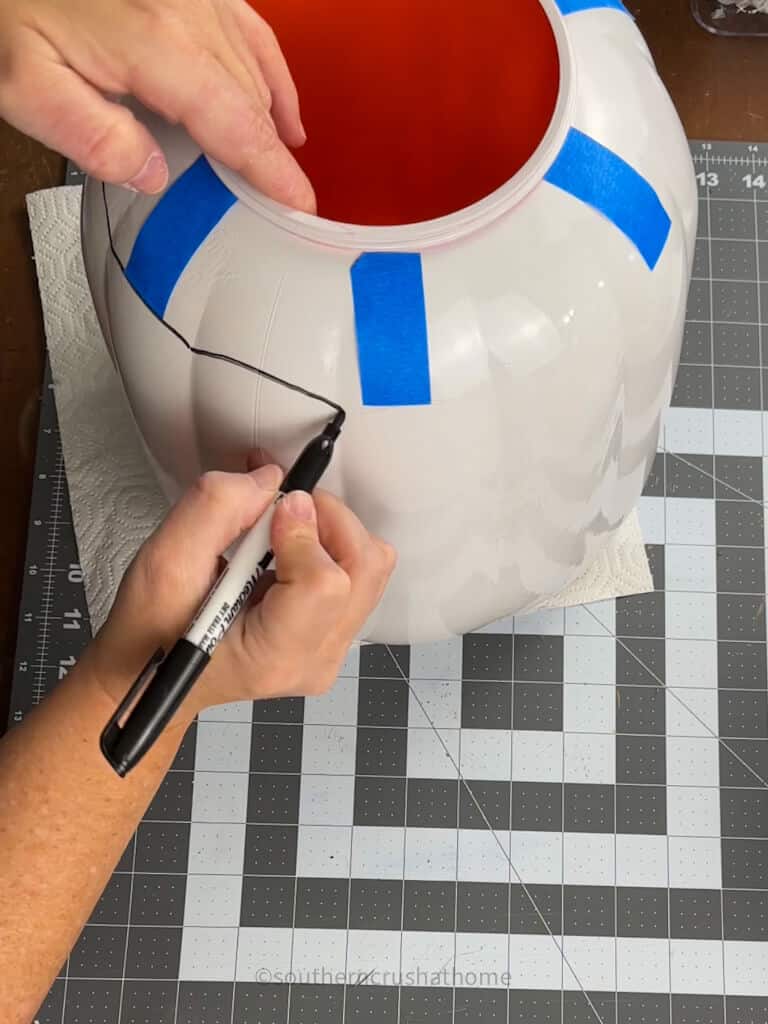
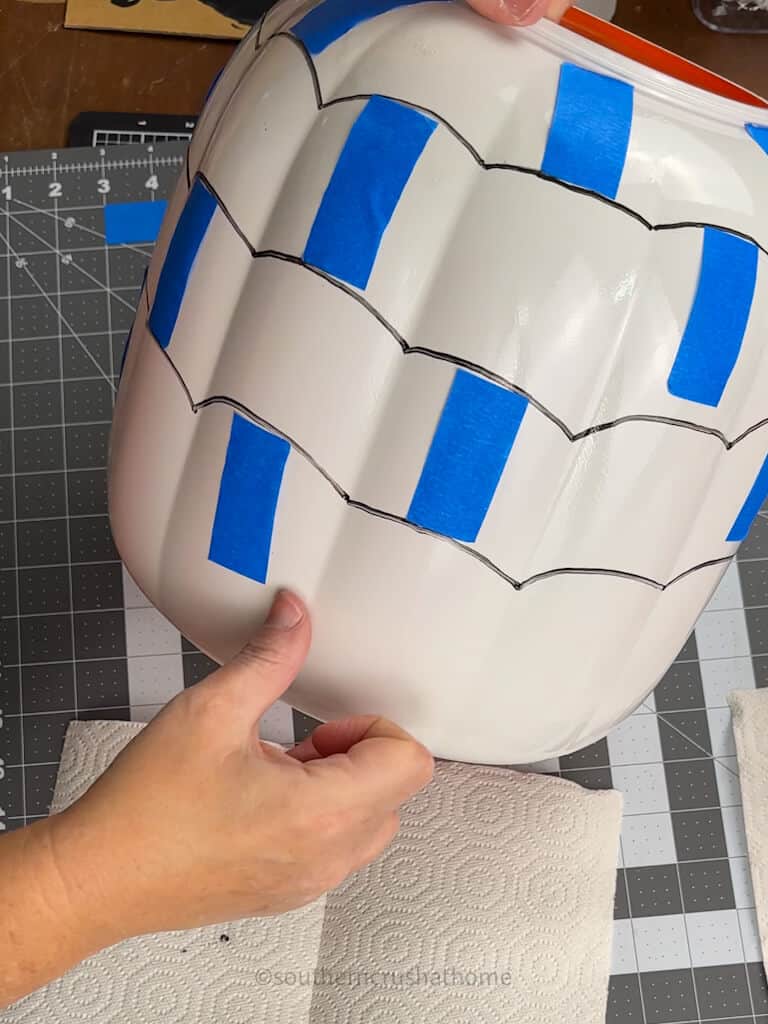
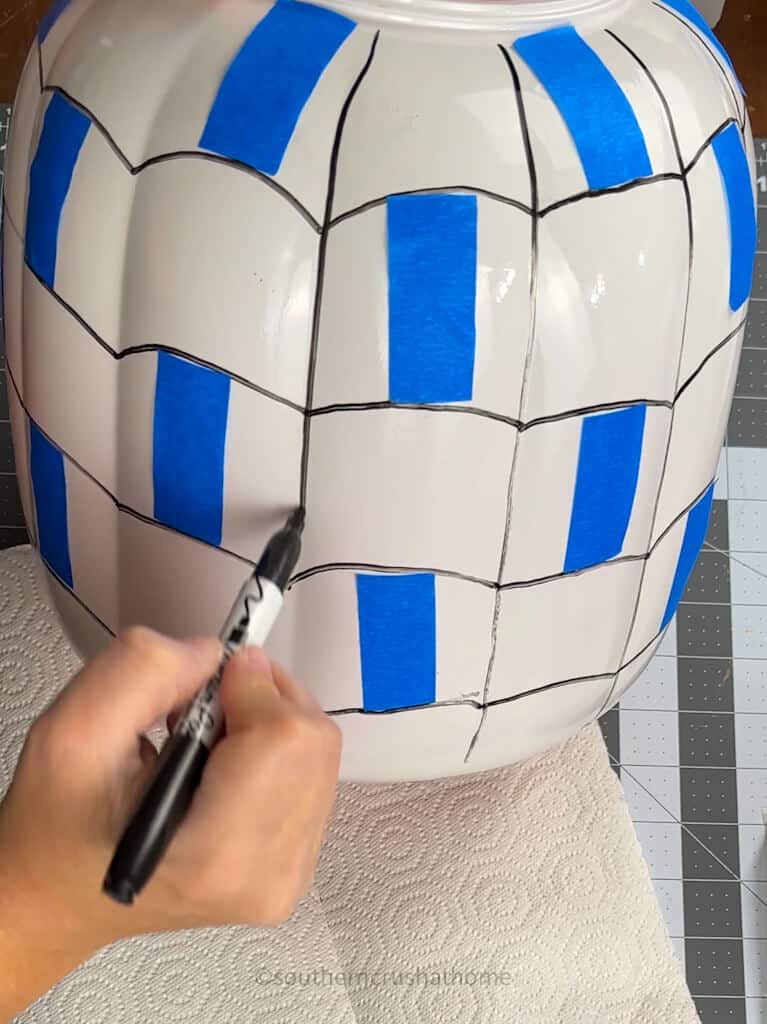
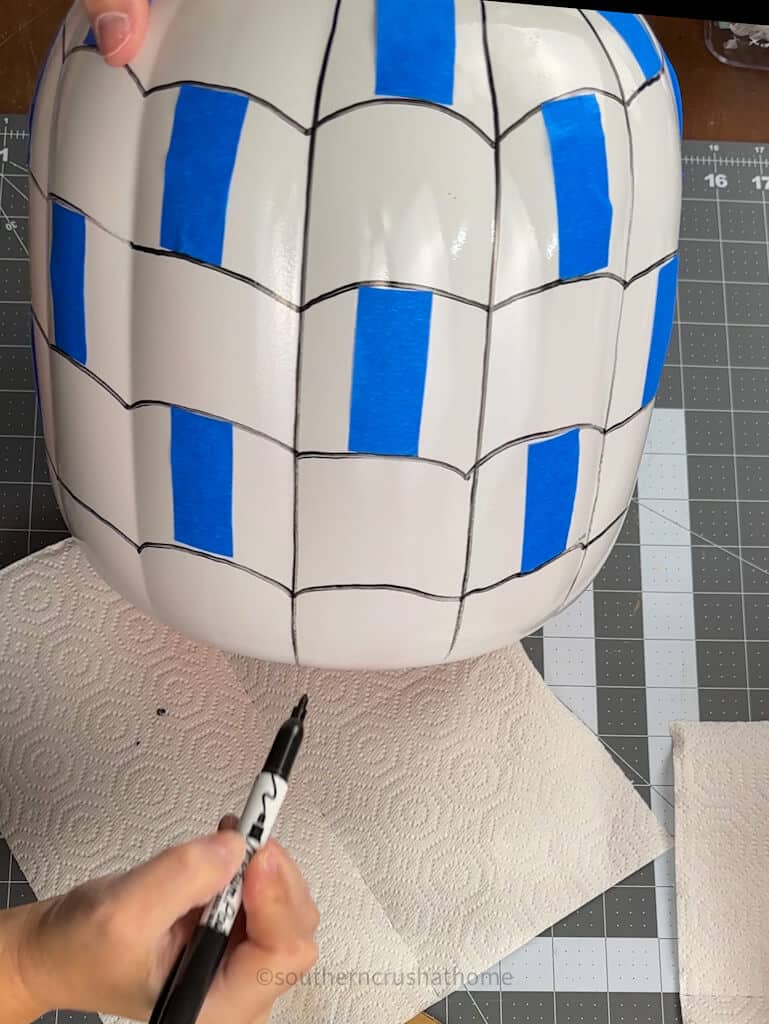
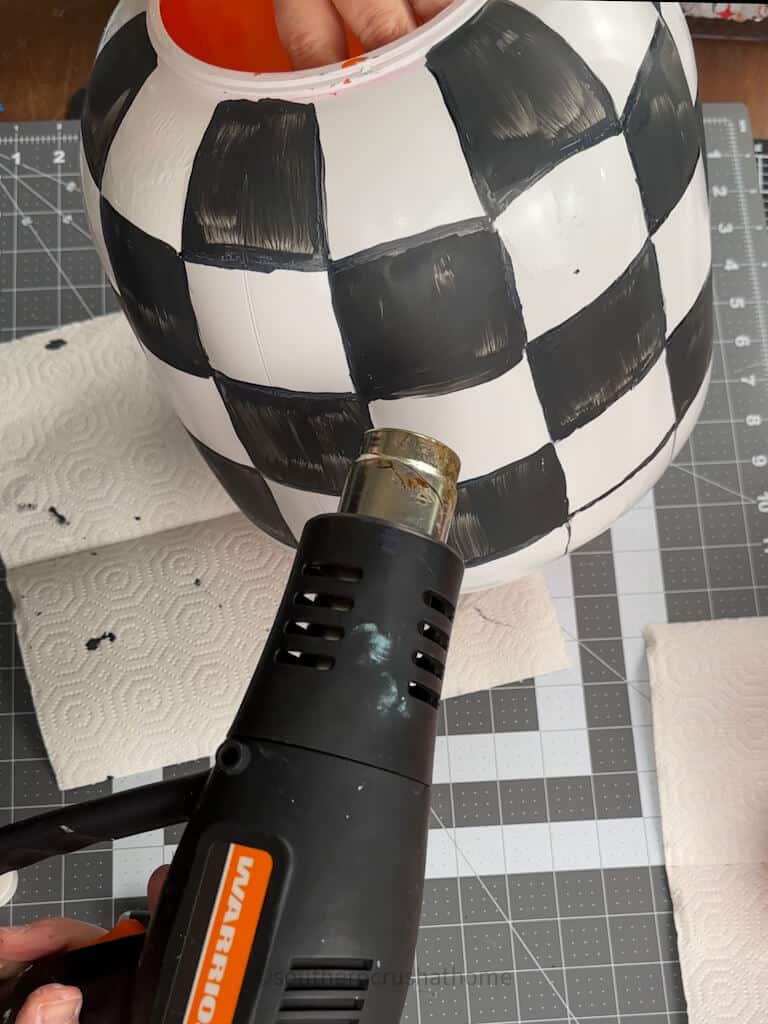
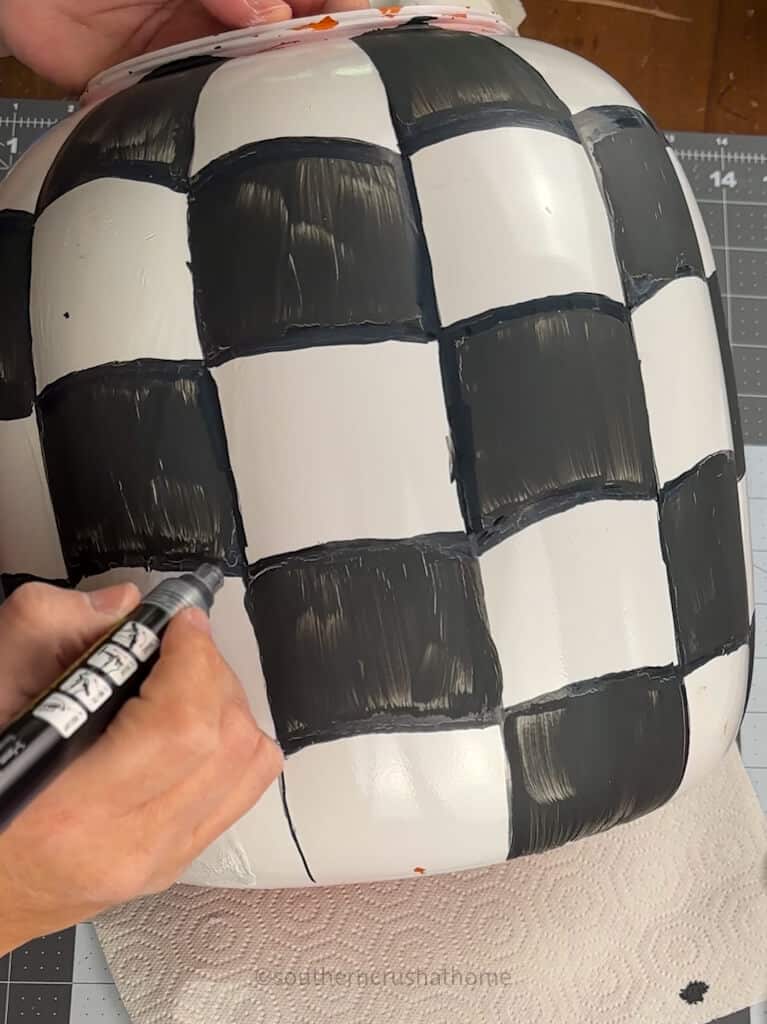
Now it’s time to paint the MacKenzie Childs black checks onto the bottom pumpkin. Start by using two inch pieces of tape to mark every other pumpkin segment as shown below. Then draw in your check lines using the tape as your guide. When all of the checks are drawn, add lines down between each segment as shown. Then carefully remove your painters tape as to not remove any paint.
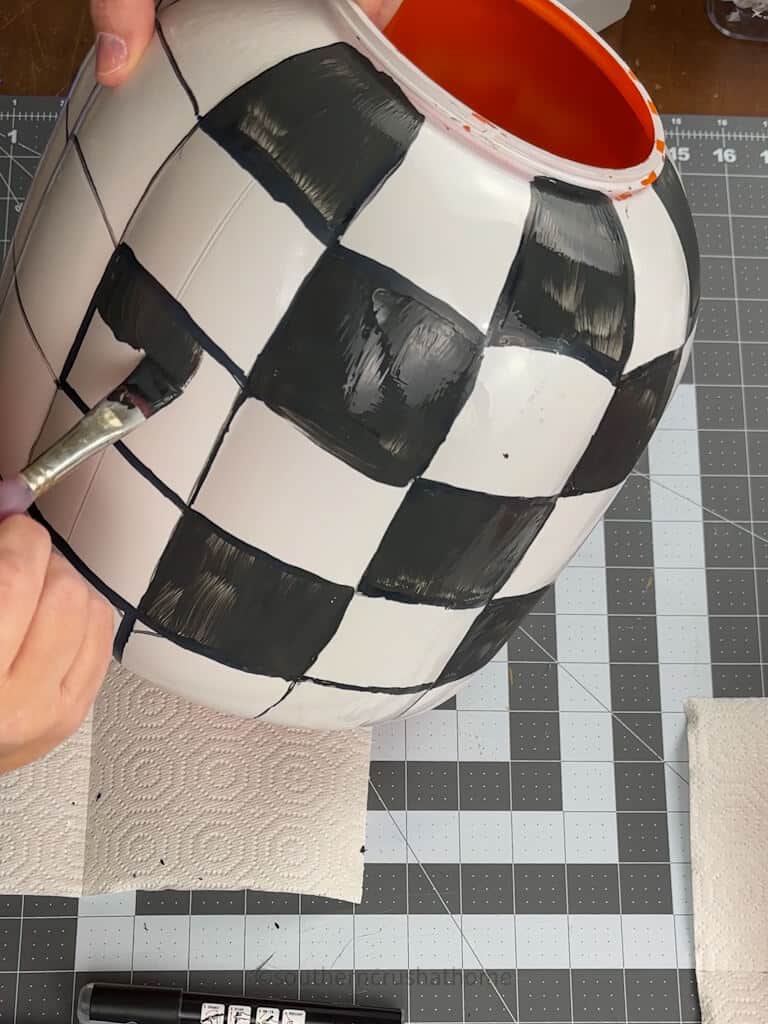
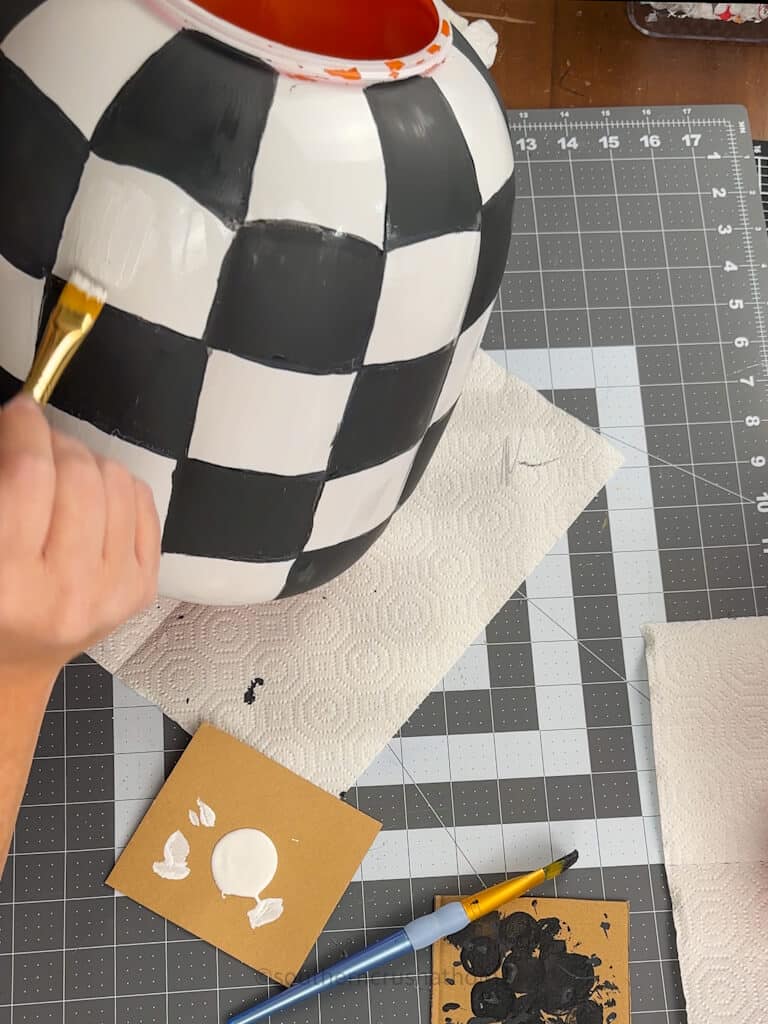
Fill in each square with black paint. It took mine two coats, drying in between. Fix any uneven lines with a black paint pen.
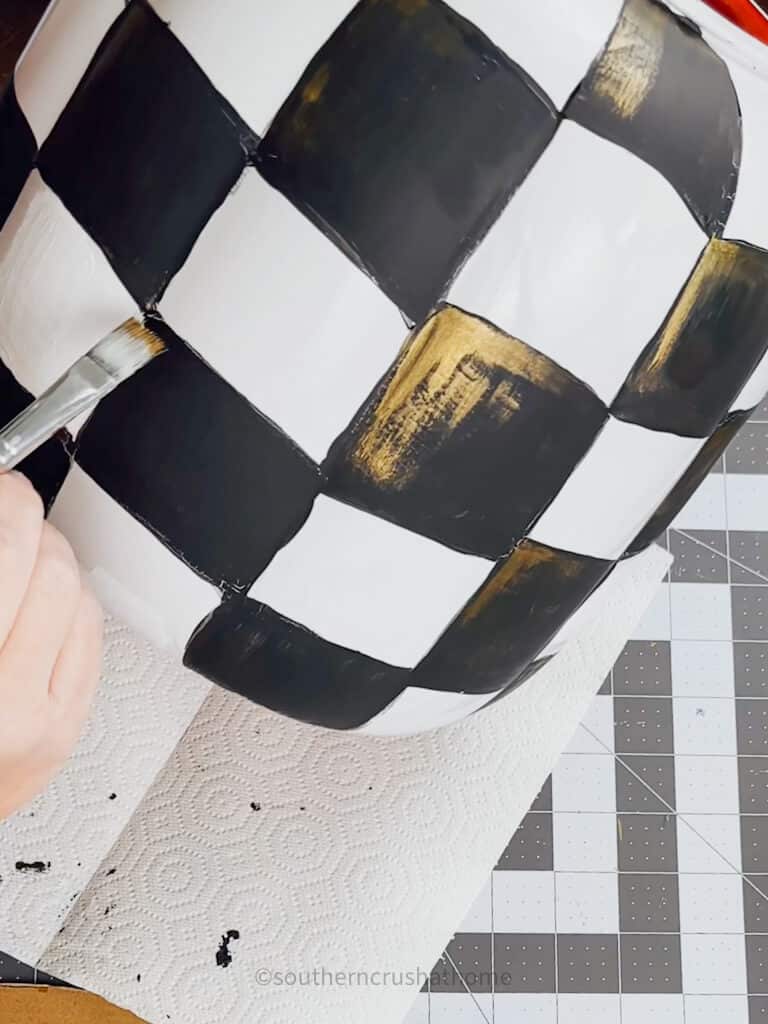
Then fix any other spots with white paint if needed. Don’t forget to add a hint of gold with your brush stroke at the end if desired.
Step Seven
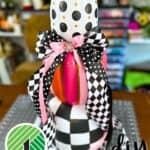
Stack your pumpkins back together and optionally add a cute bow with coordinating colors!
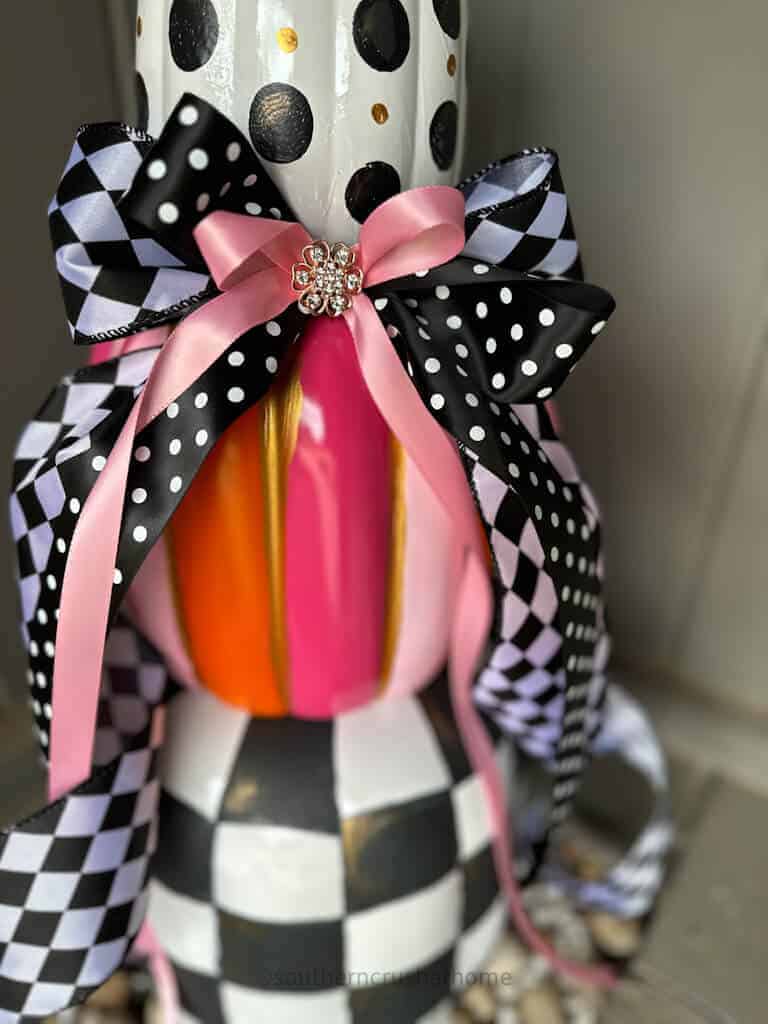
That’s it for this one! Isn’t she pretty?
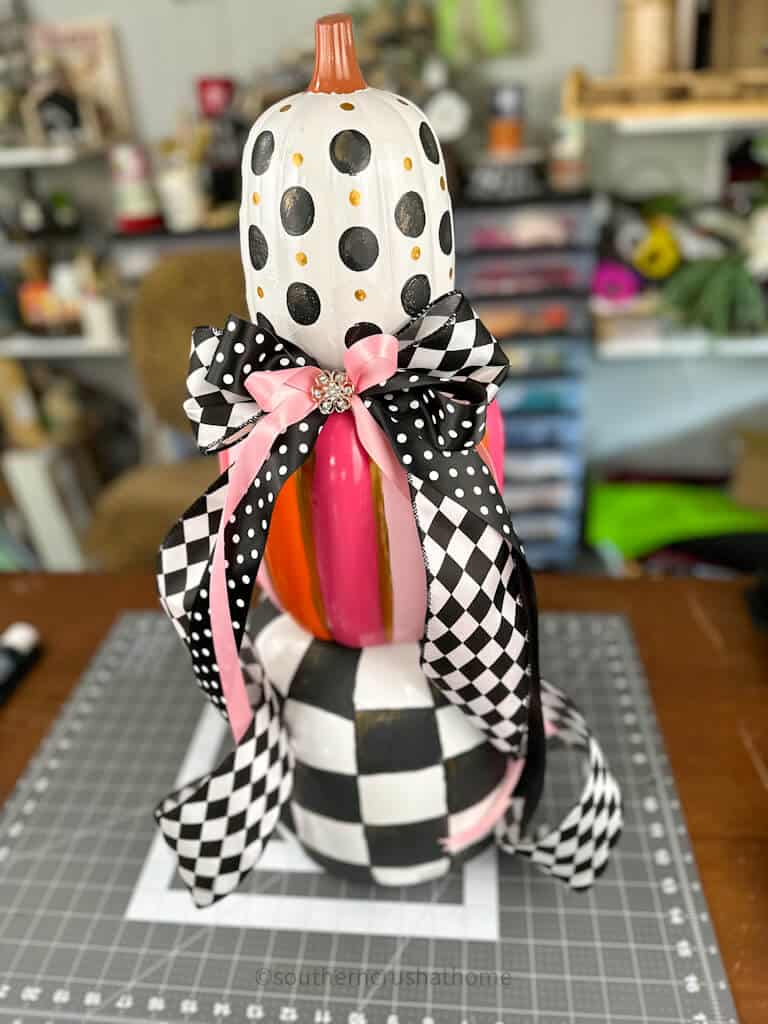
Now proudly display your pumpkin topiary!
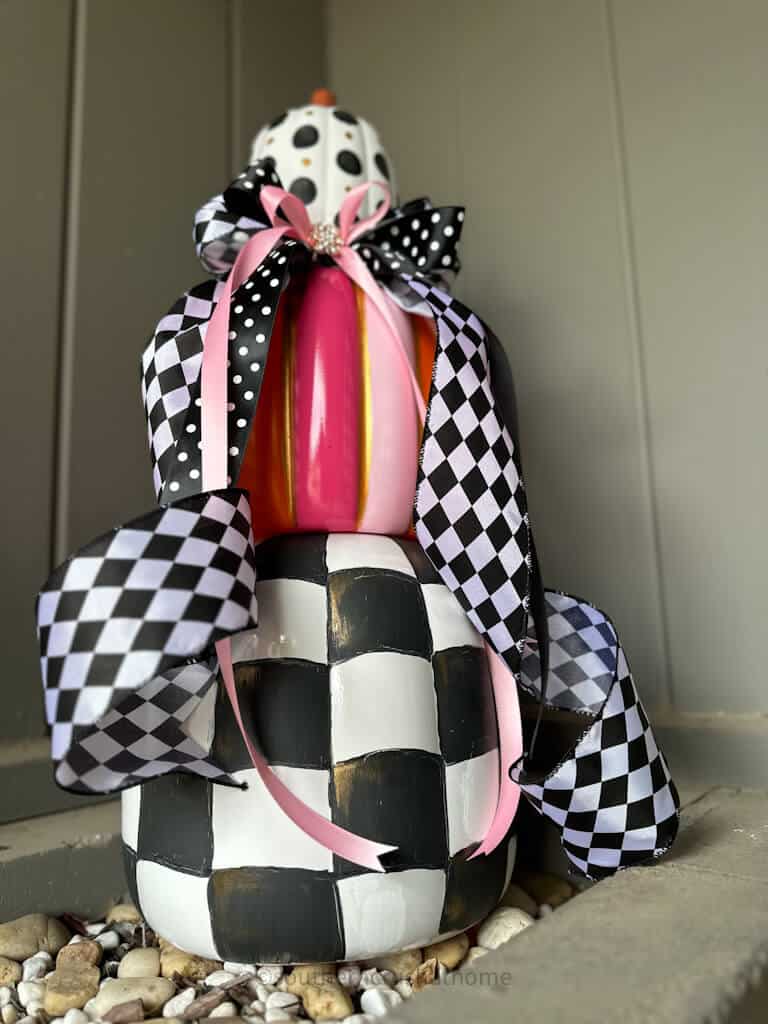
Place it on a hearth, in a corner, or on a front porch, or on a back porch.
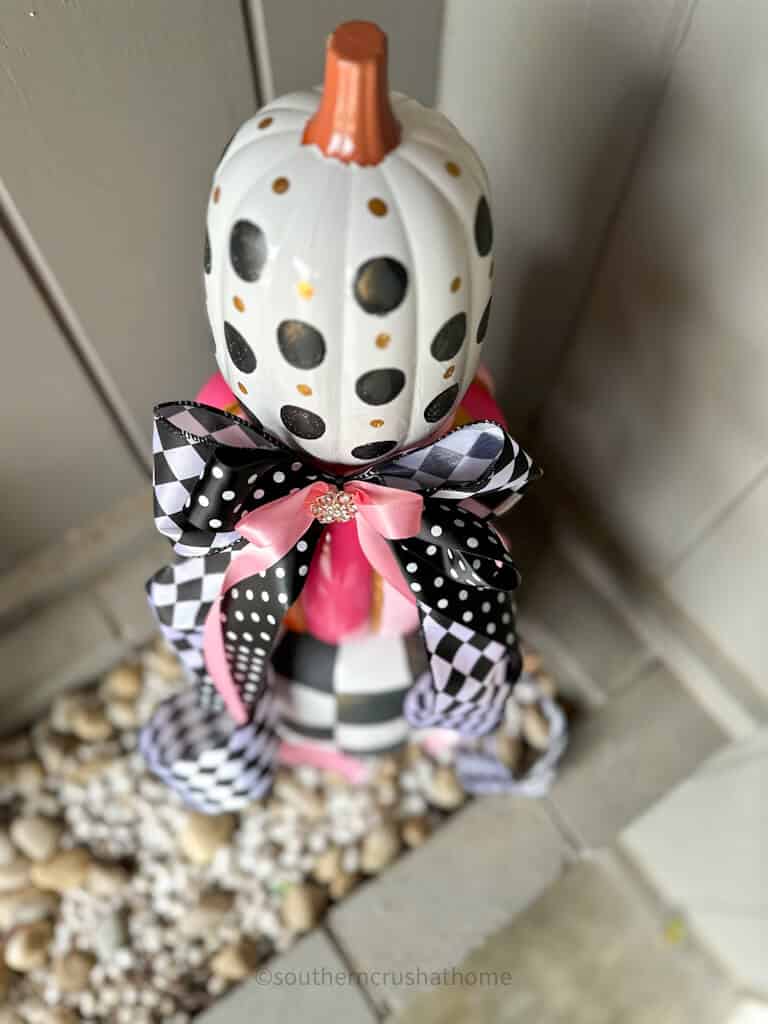
This was so easy to do in an afternoon! Have fun and get creative!
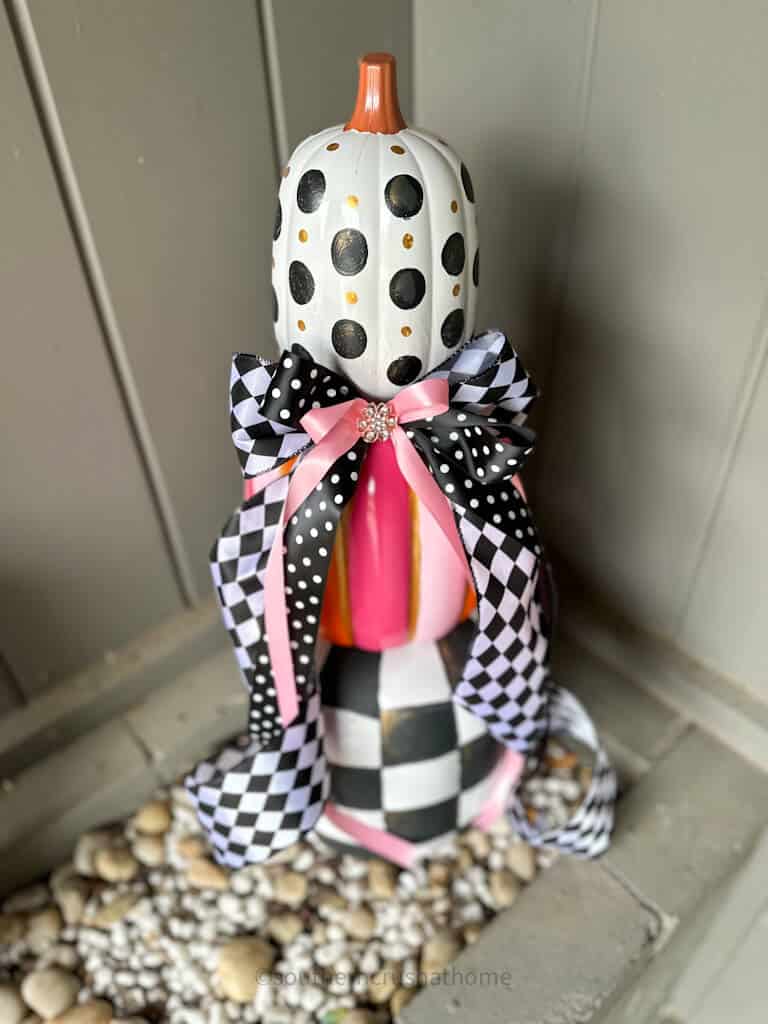
And here’s a look at the back without the bow! You can really see the details of each pumpkin!
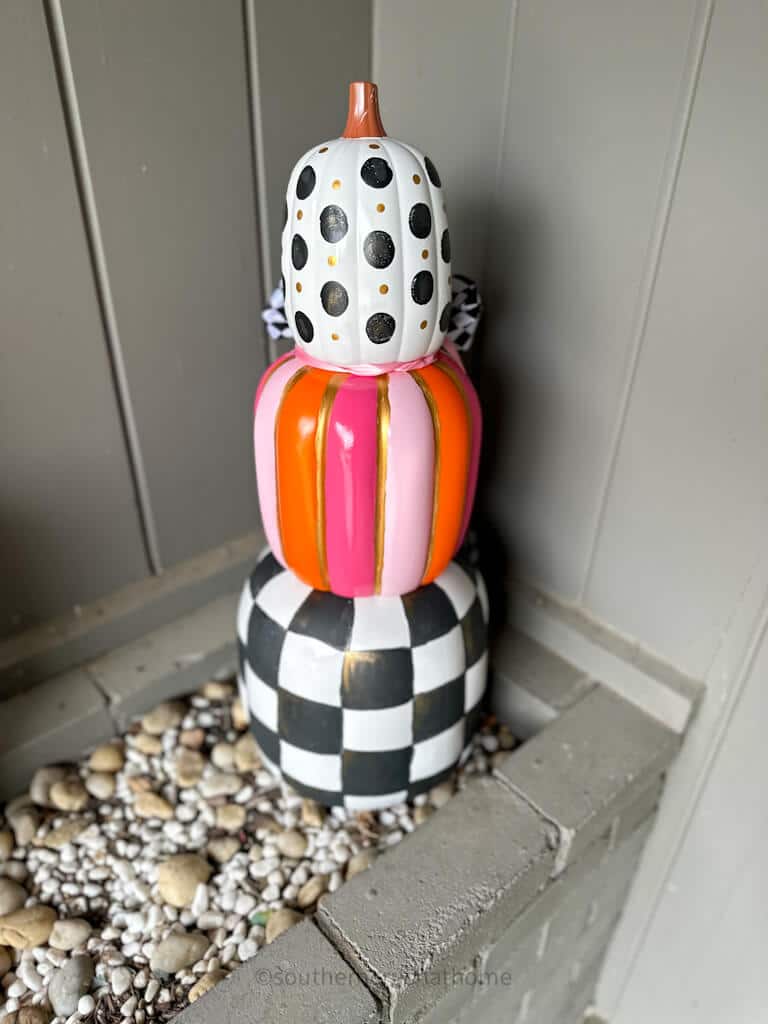
What do you think of this MacKenzie Childs-inspired look? Would it fit your decor? Let me know in the comments.
More $5 Stackable Pumpkins Ideas
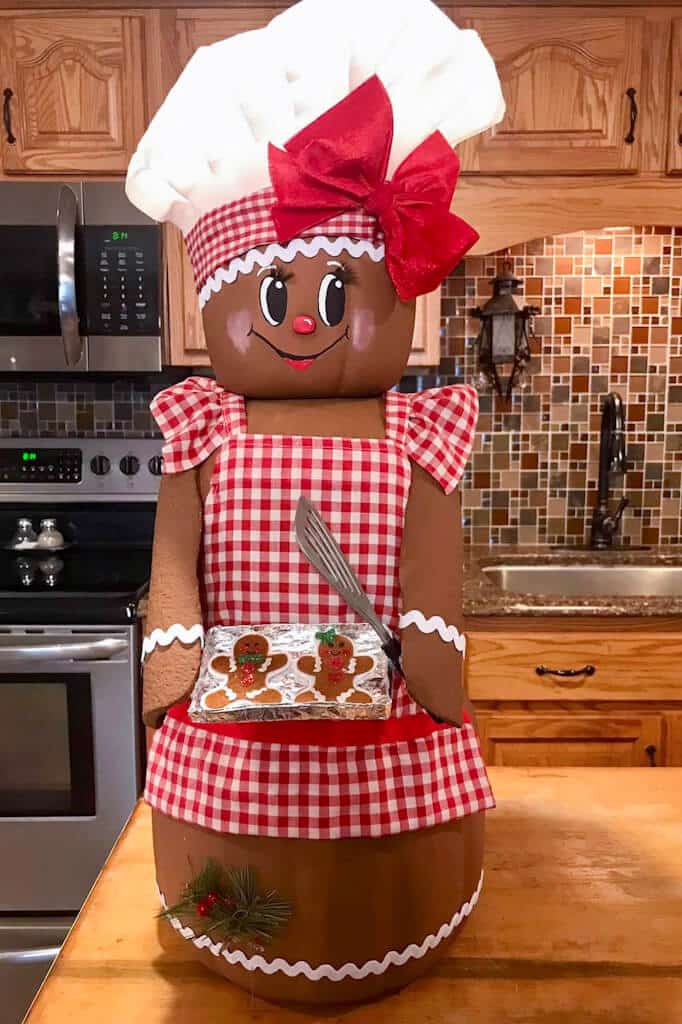
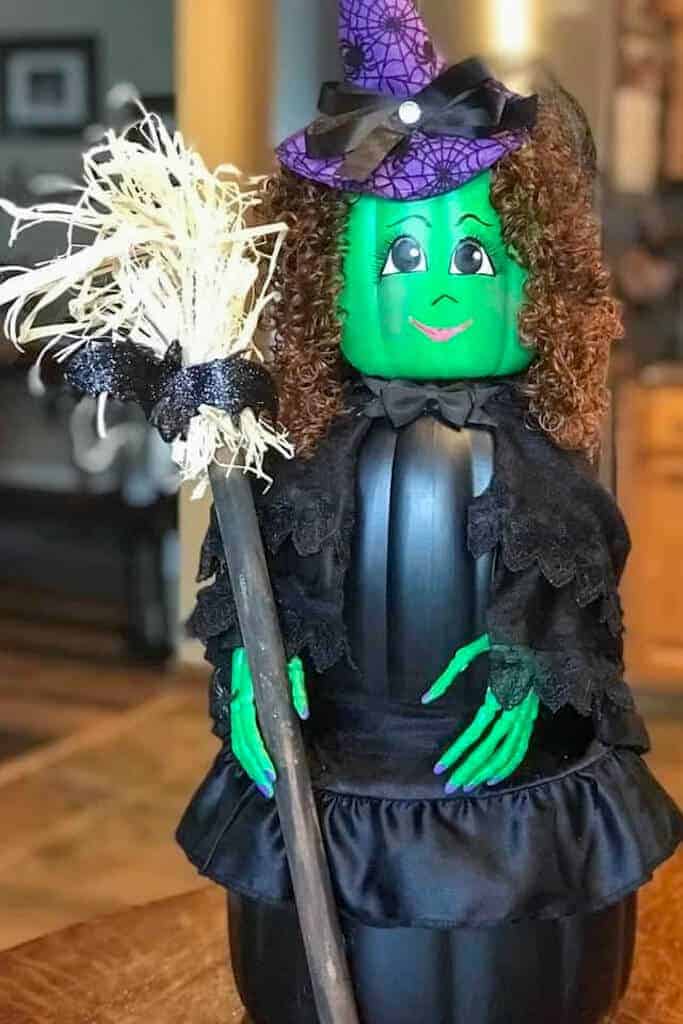
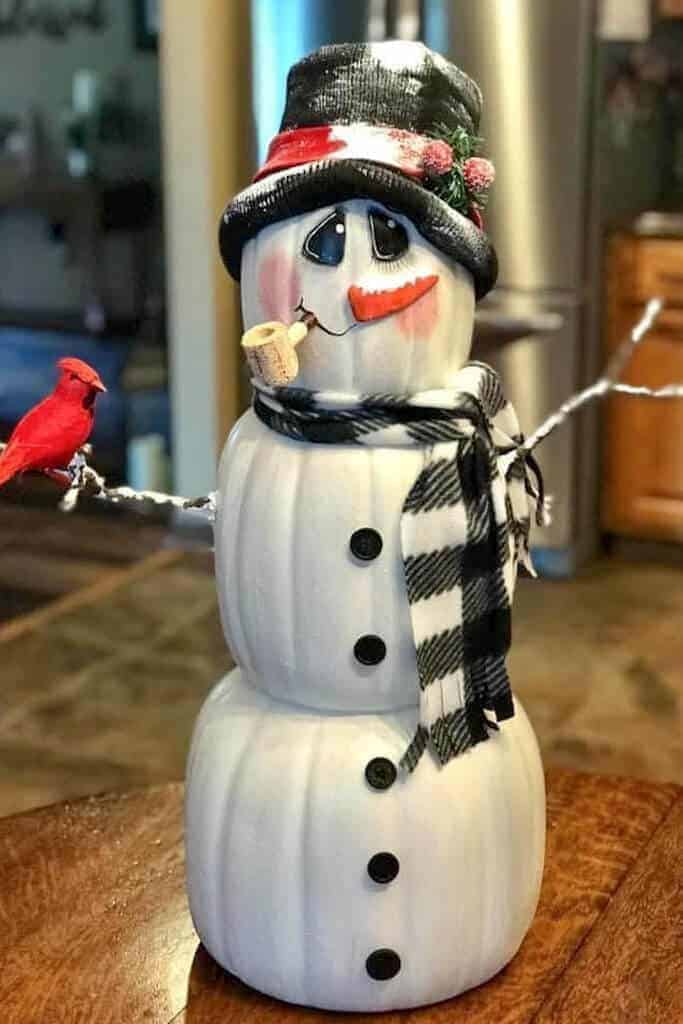
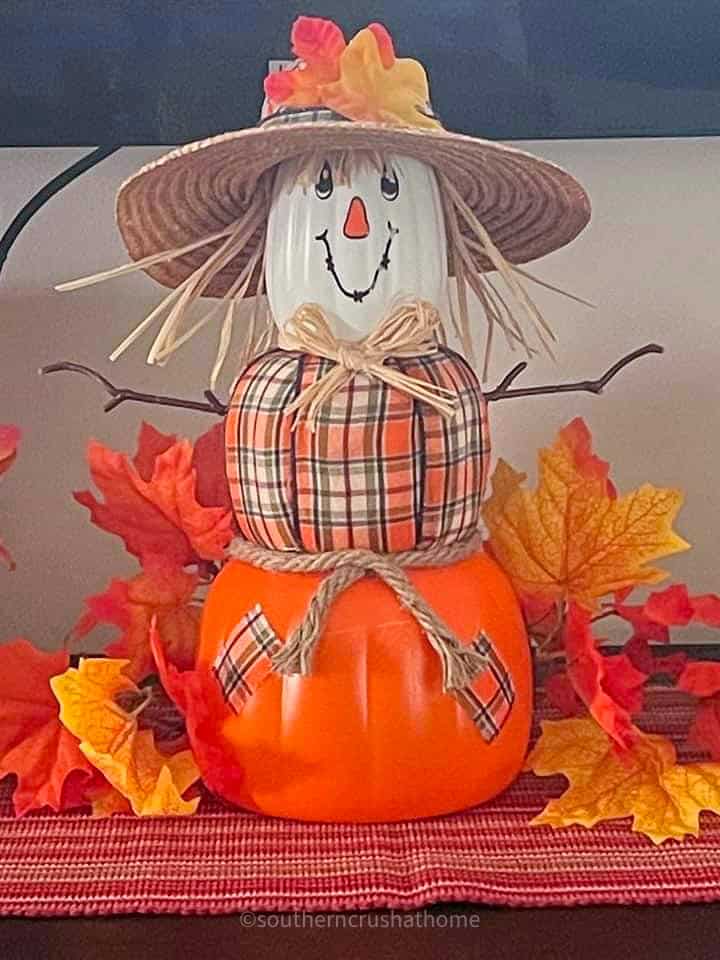
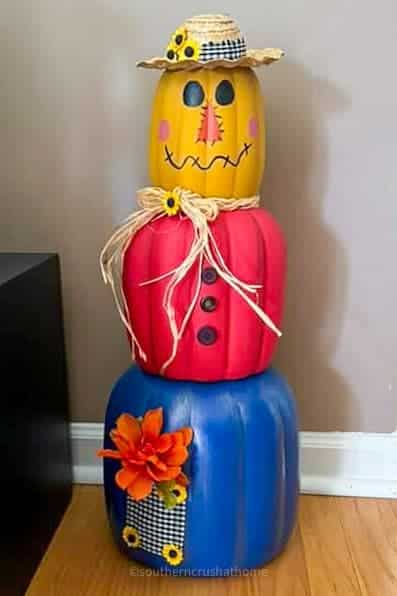
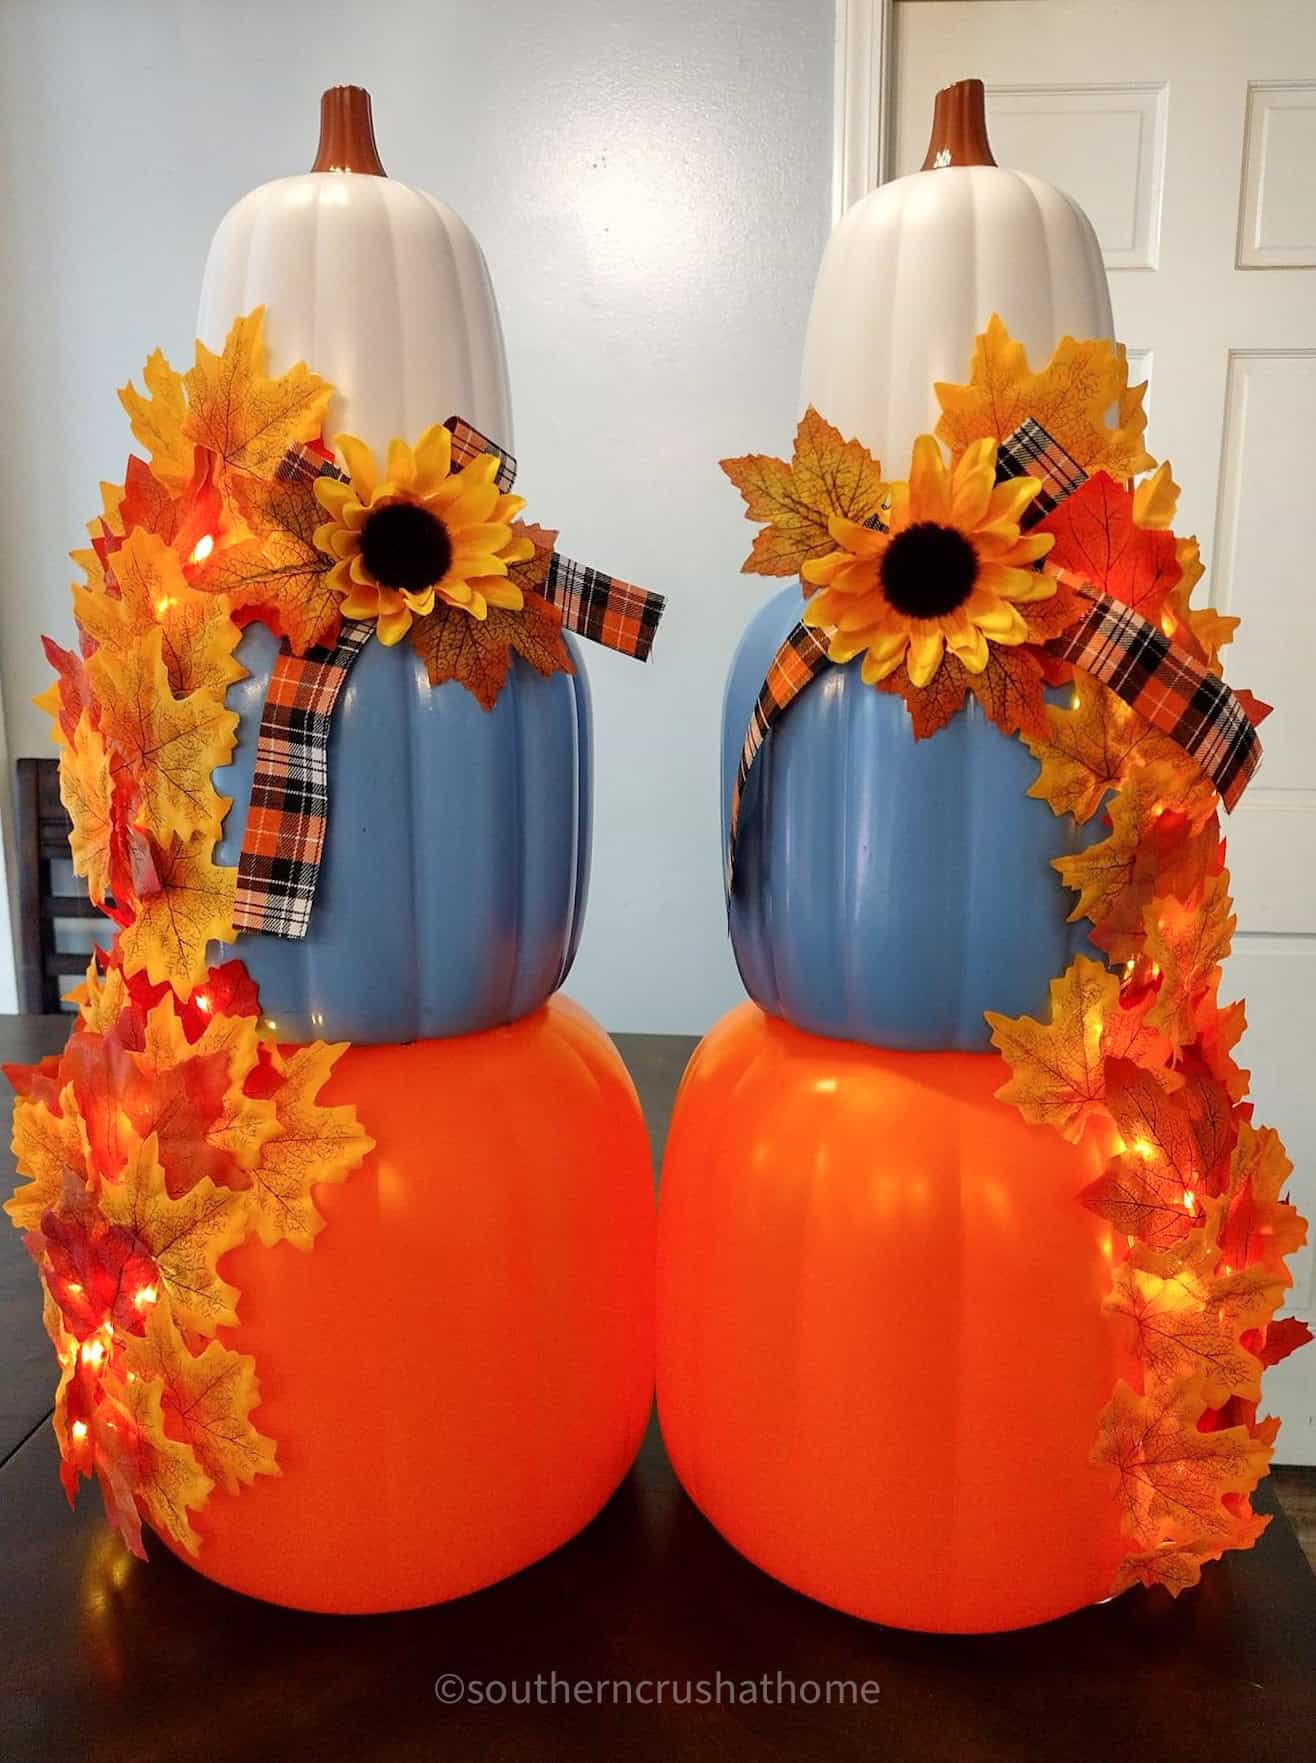
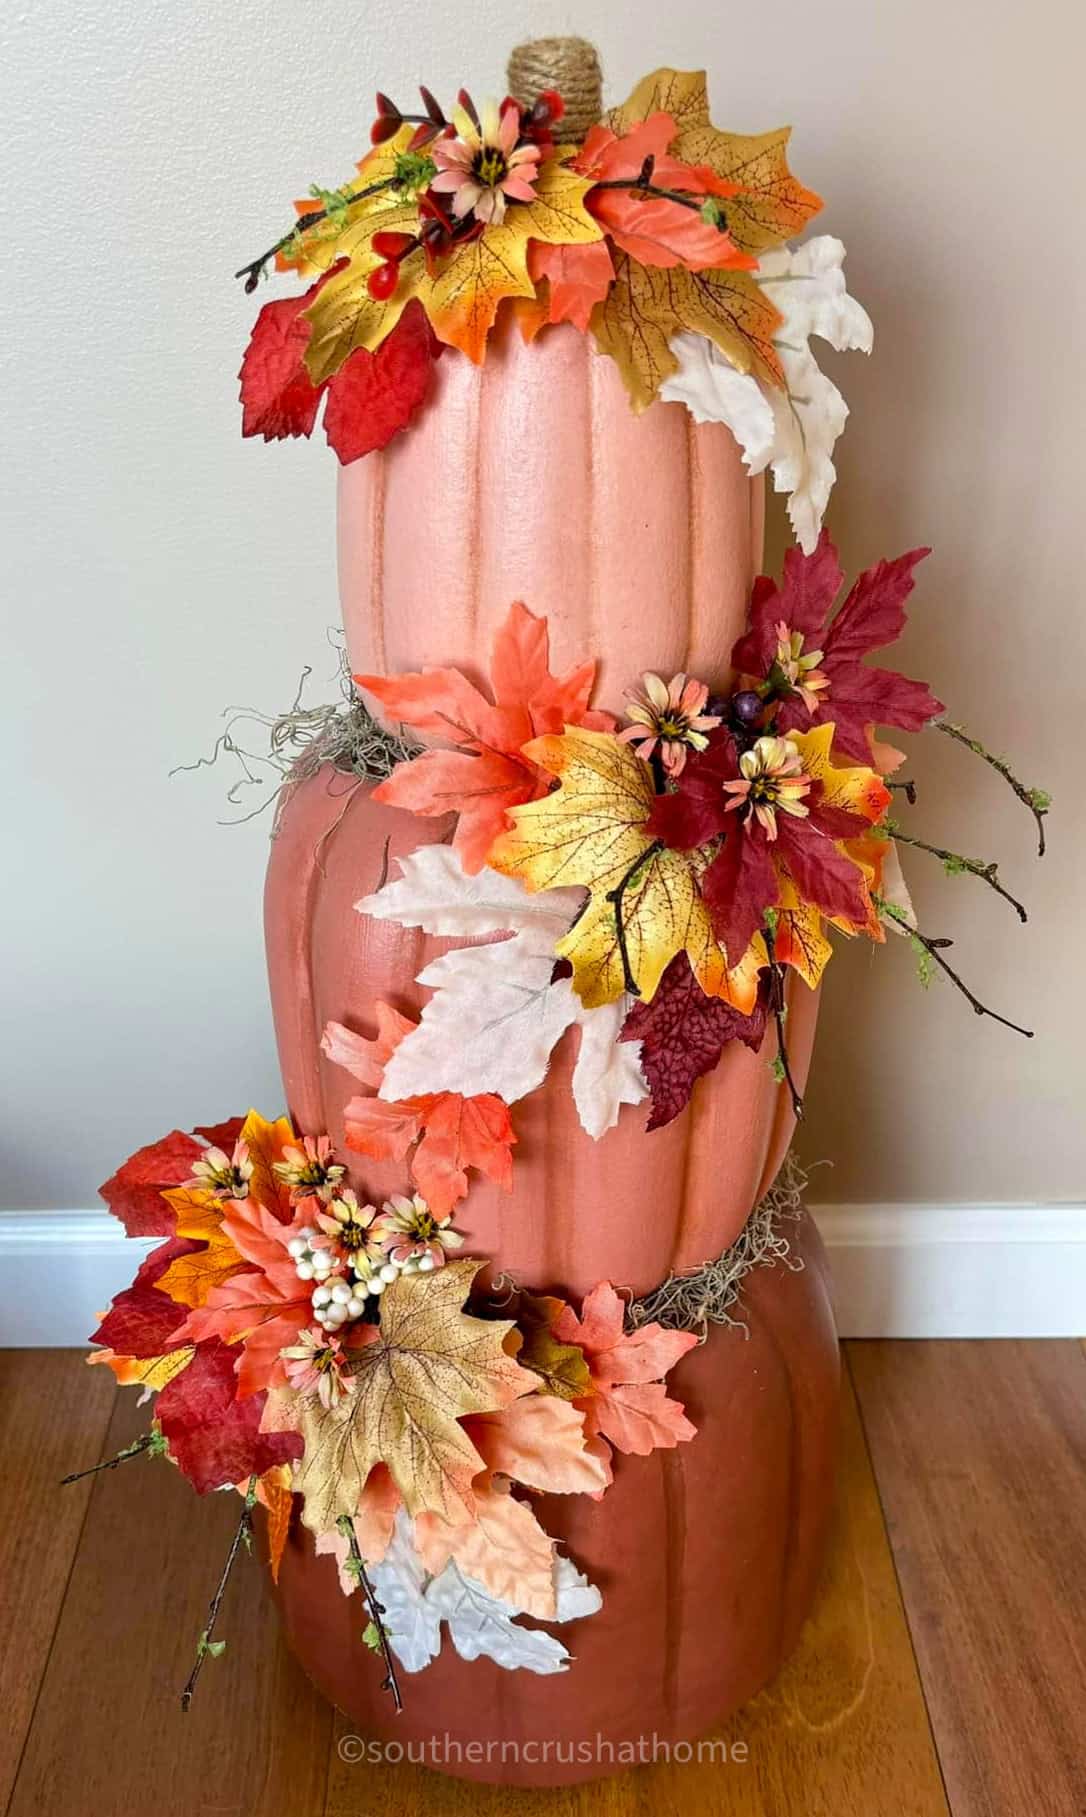
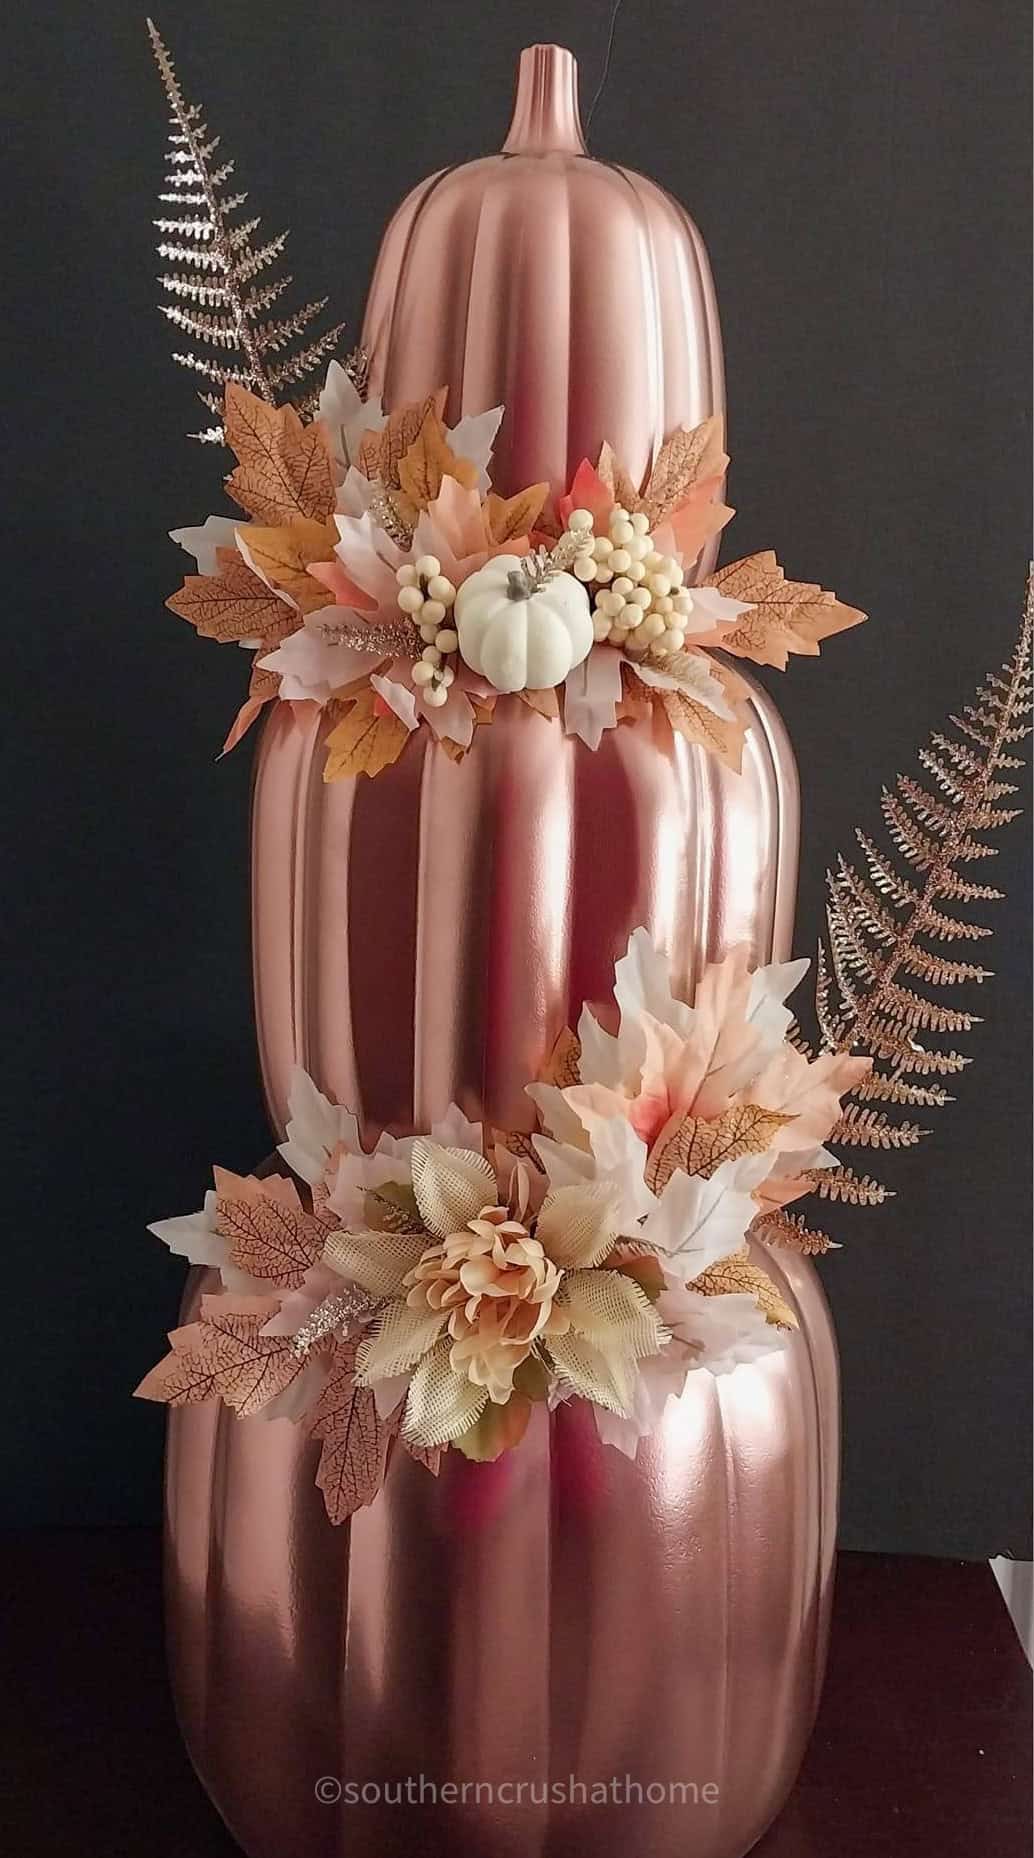
There are so many cute and amazing ideas for these budget-friendly pumpkins around the web! Below are a few that I found that really stood out to me. Let me know your favorites in the comments below.
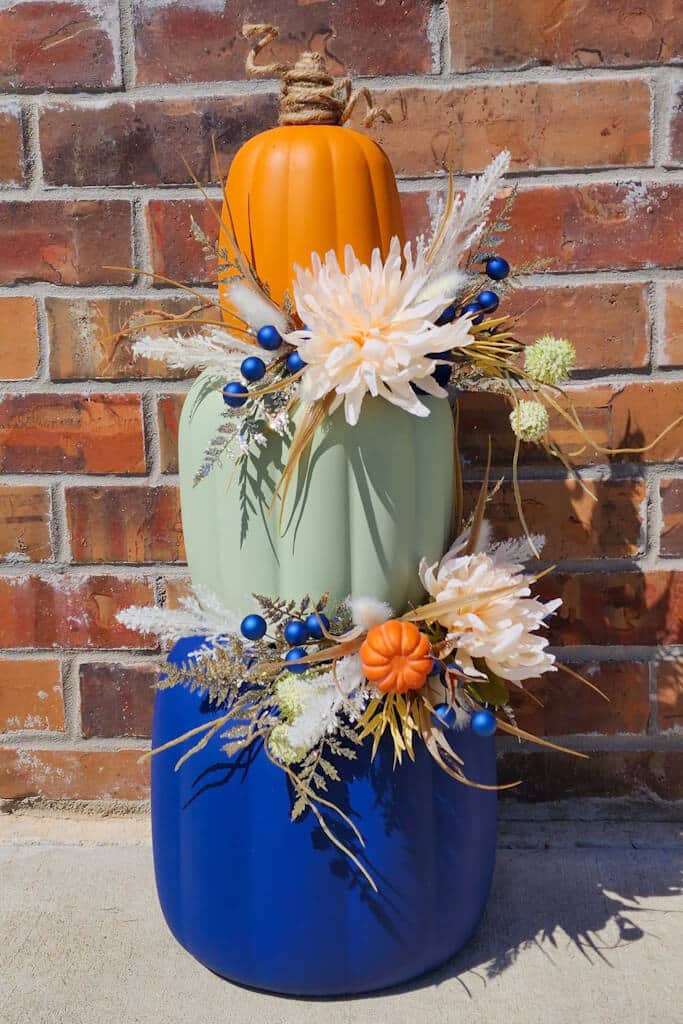
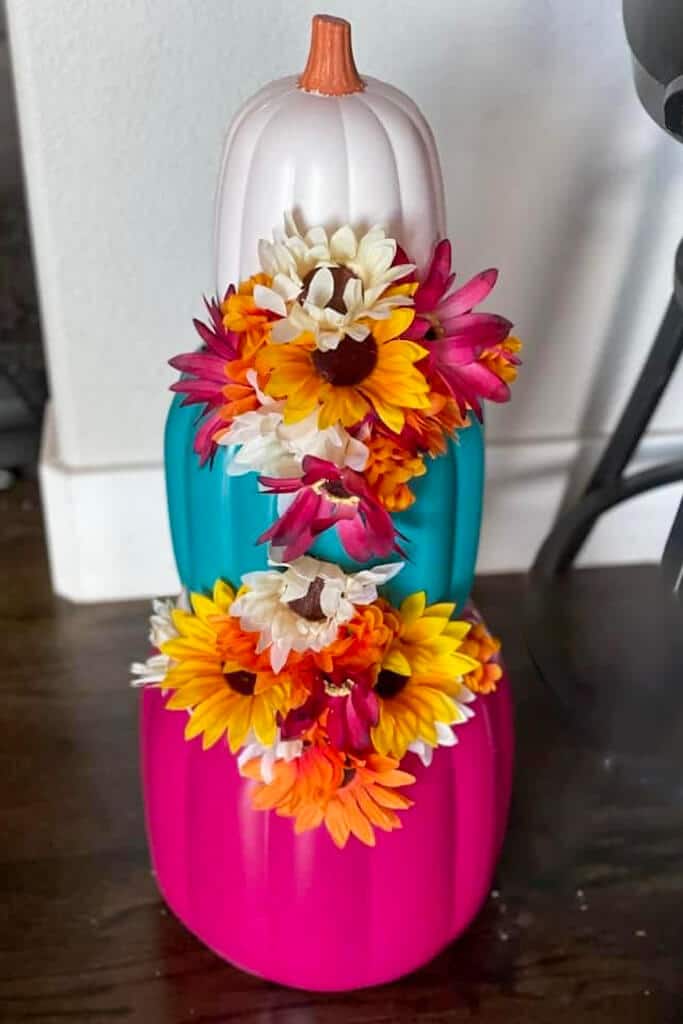
This one shows off the gorgeous boho colors of fall.
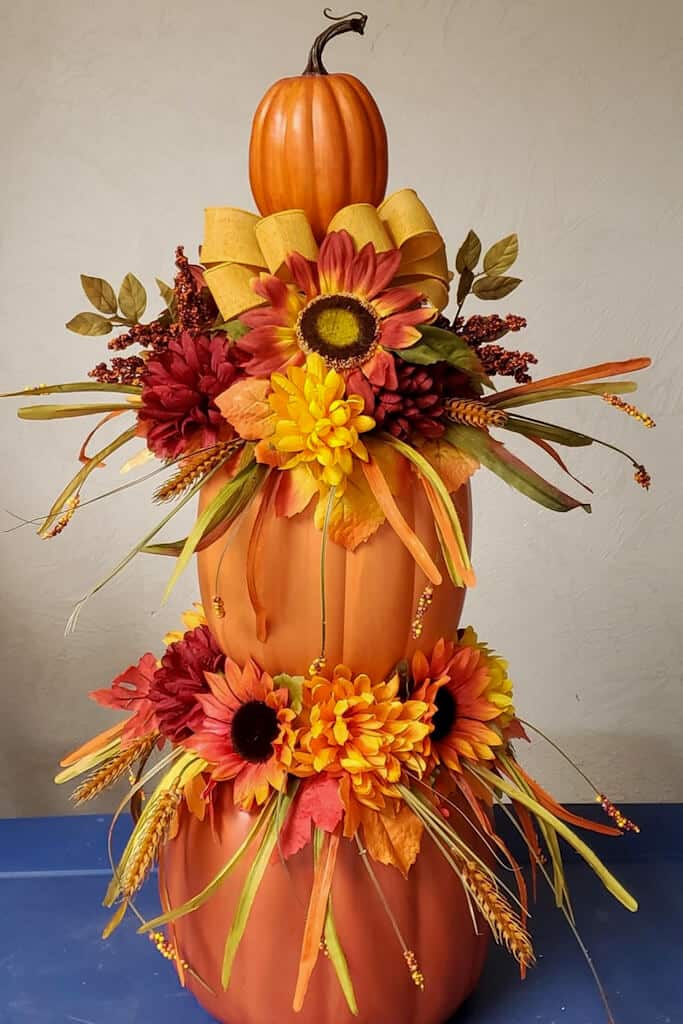
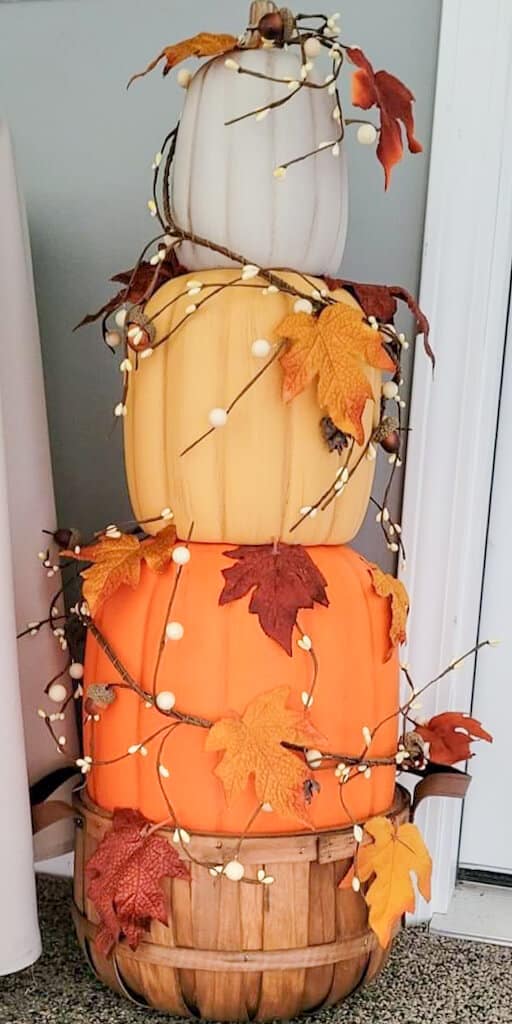
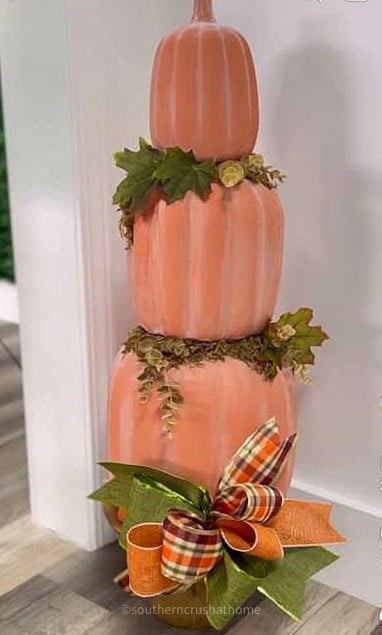
Adding fall foliage is always a good idea!
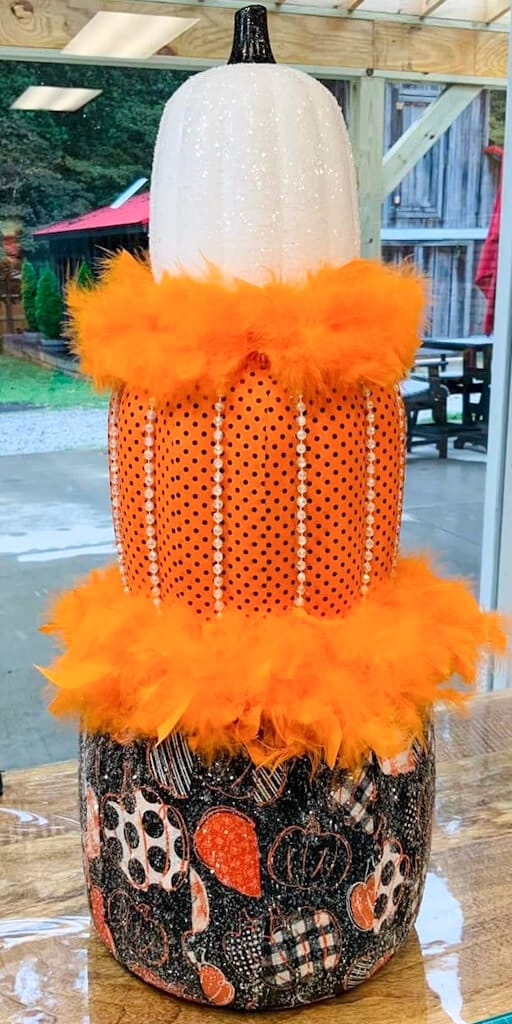
You can always get a little fancy with these boa feathers, diamond dust, and bling!!!
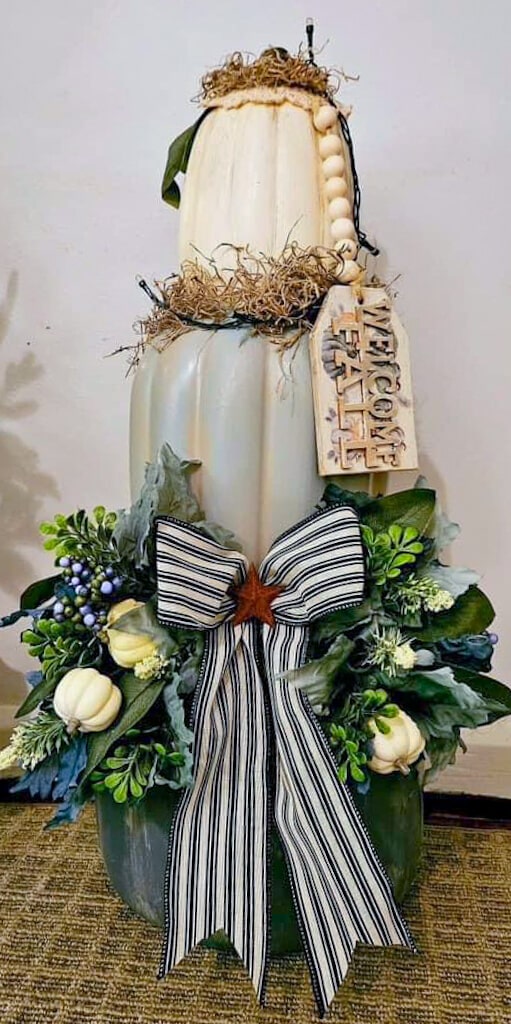
How about a fantastic farmhouse-style pumpkin topiary? This one is amazing!
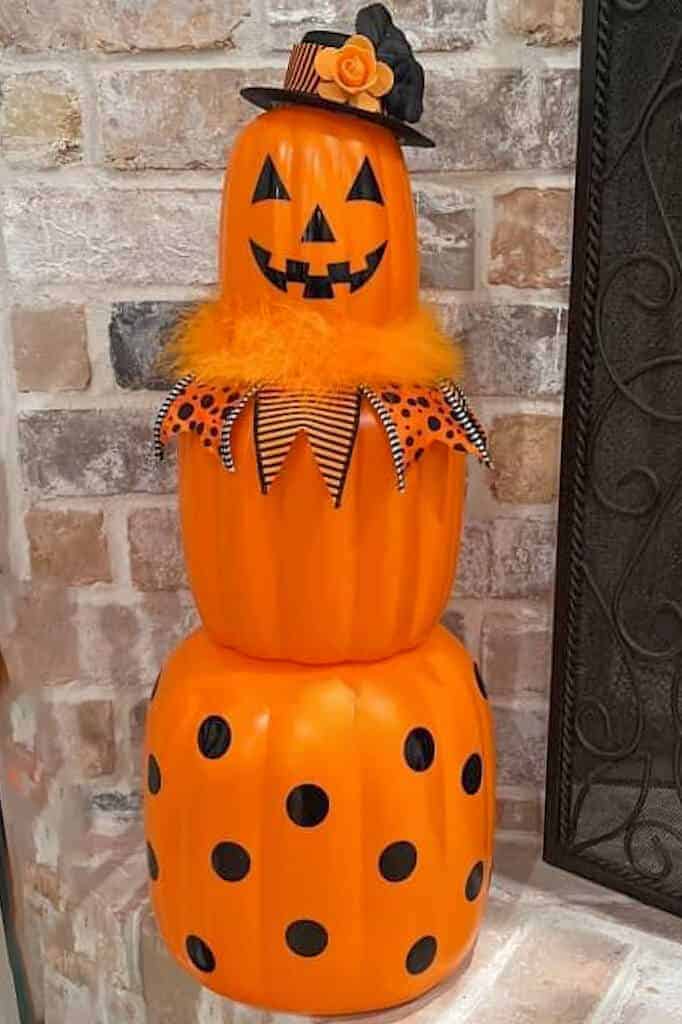
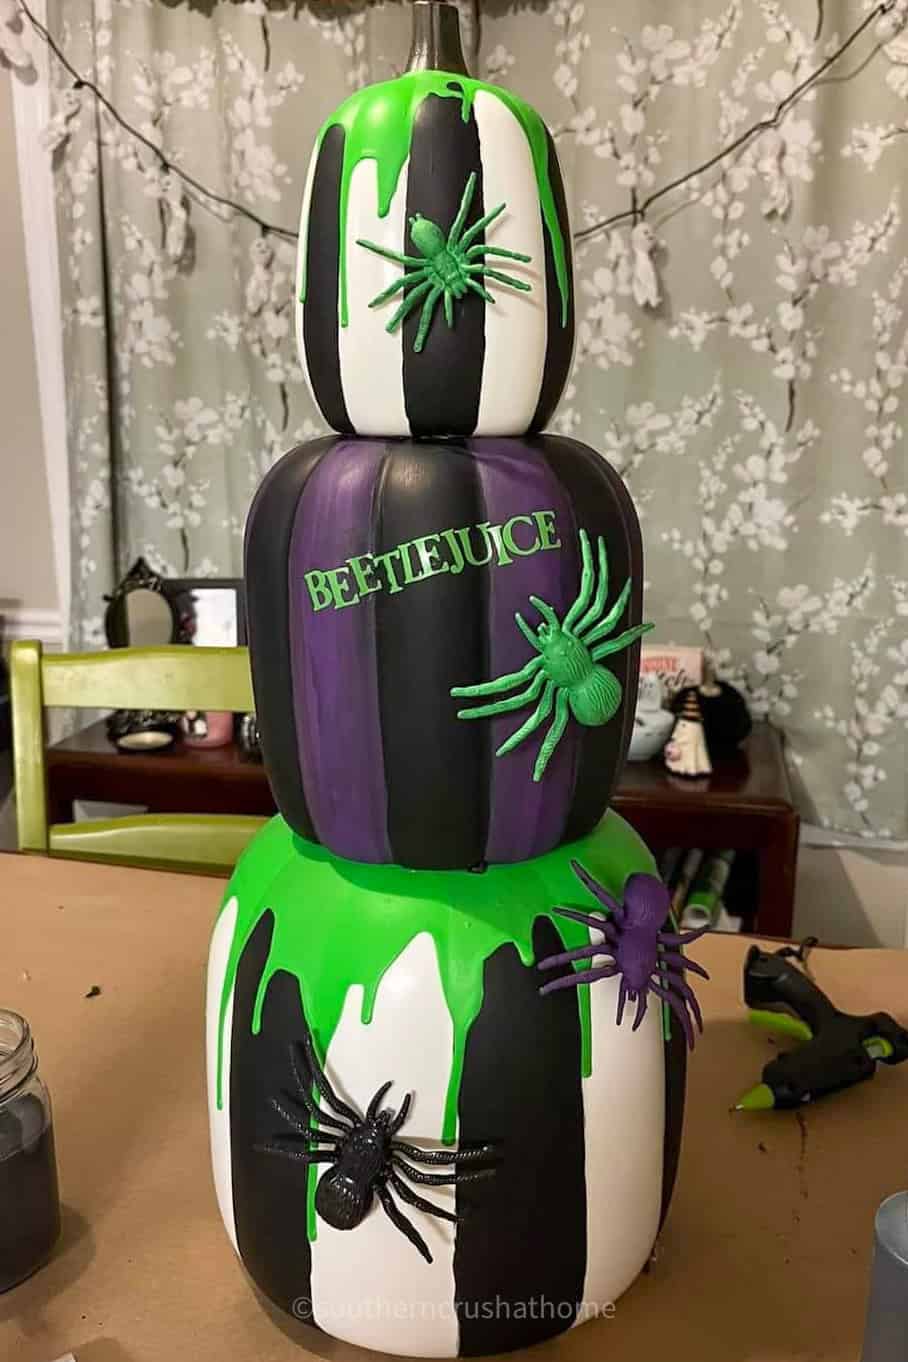
You could go with a more traditional Halloween pumpkin look like the one below!
These brightly colored stacking pumpkins are so on trend! I love them…how about you?
How about this neat idea? Add the stackable pumpkins to a bushel basket and finish off with a fall garland!
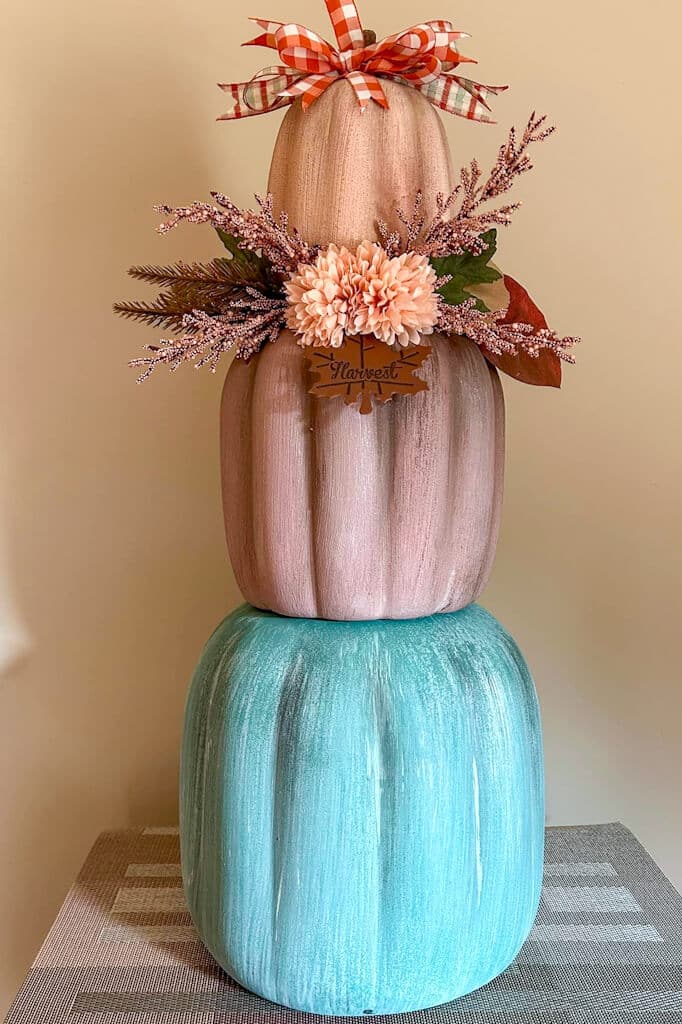
This version of the Dollar Tree stackable pumpkins is screaming fall farmhouse vibes! Look at that blue one!
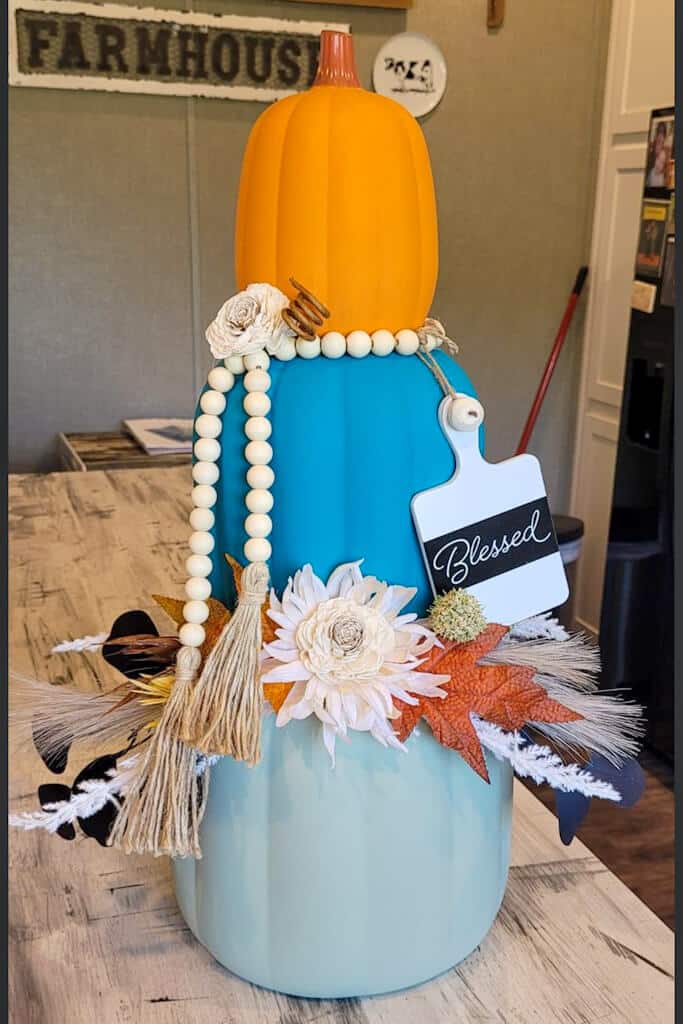
Another take on the boho look! How fun is this one with a wood bead garland and a cute little cutting board?
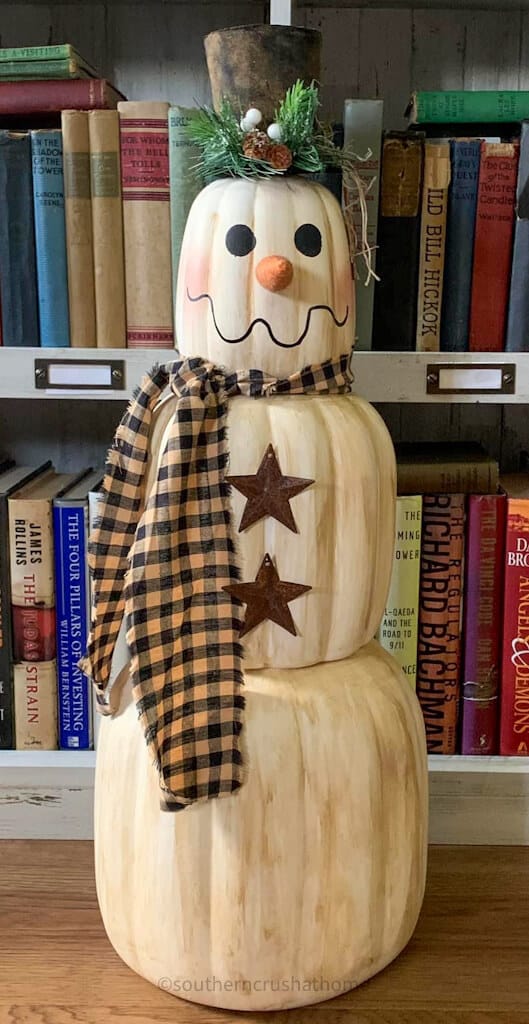
This rustic snowman stacking pumpkins idea is so creative!
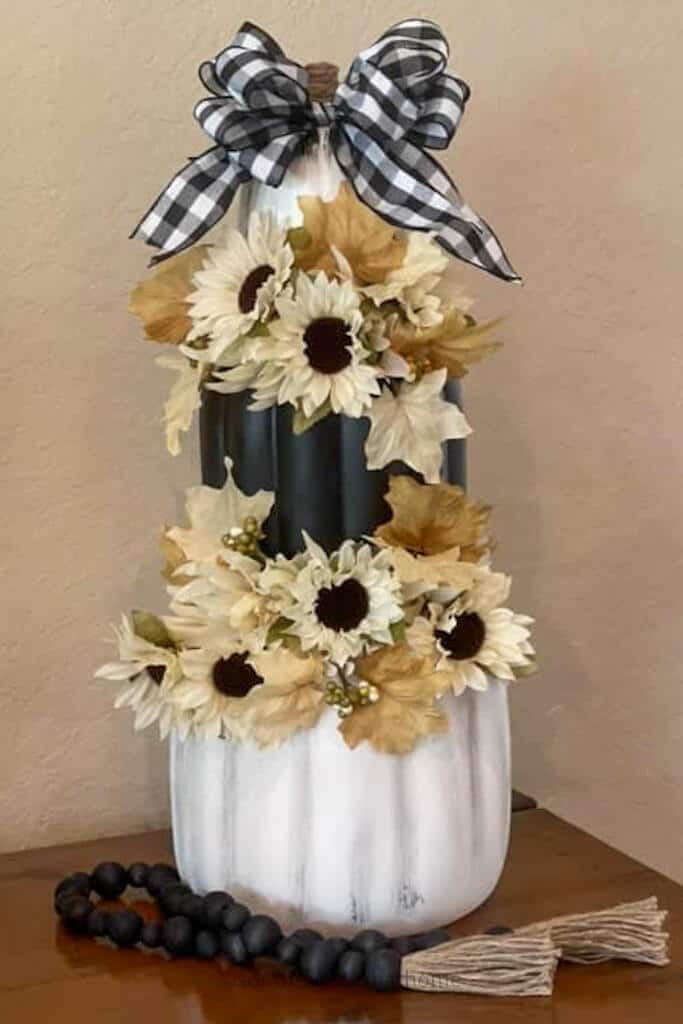
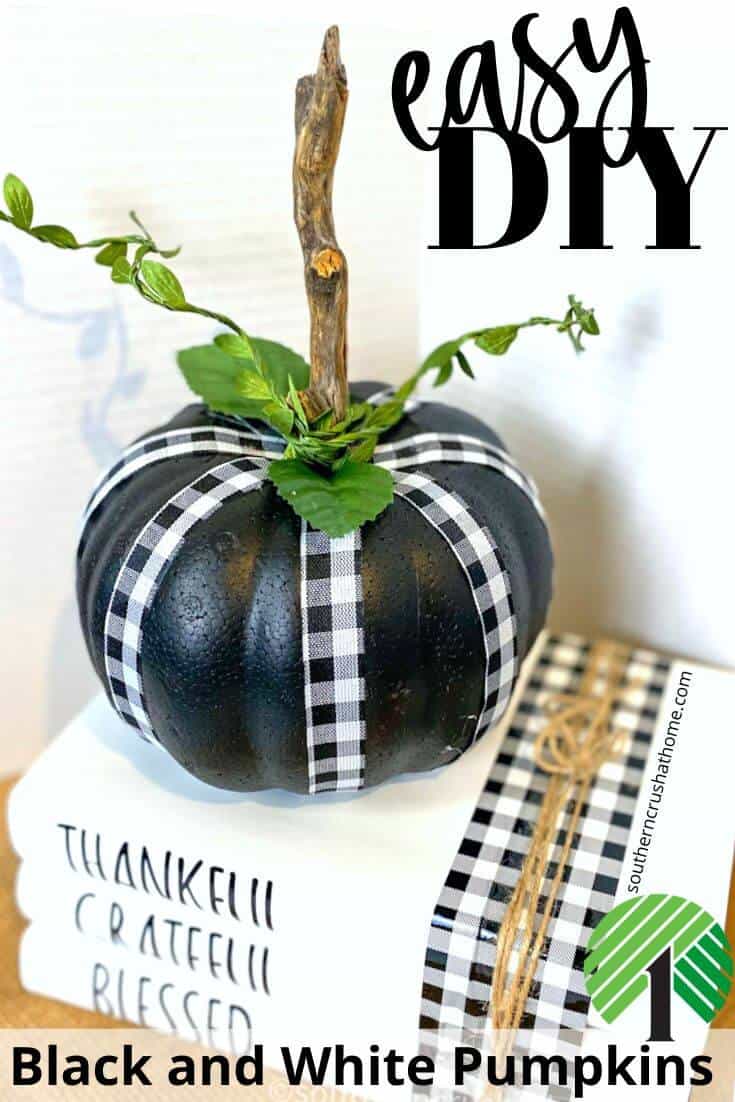
The only thing that could make black and white pumpkins better is adding a black and white buffalo check bow!
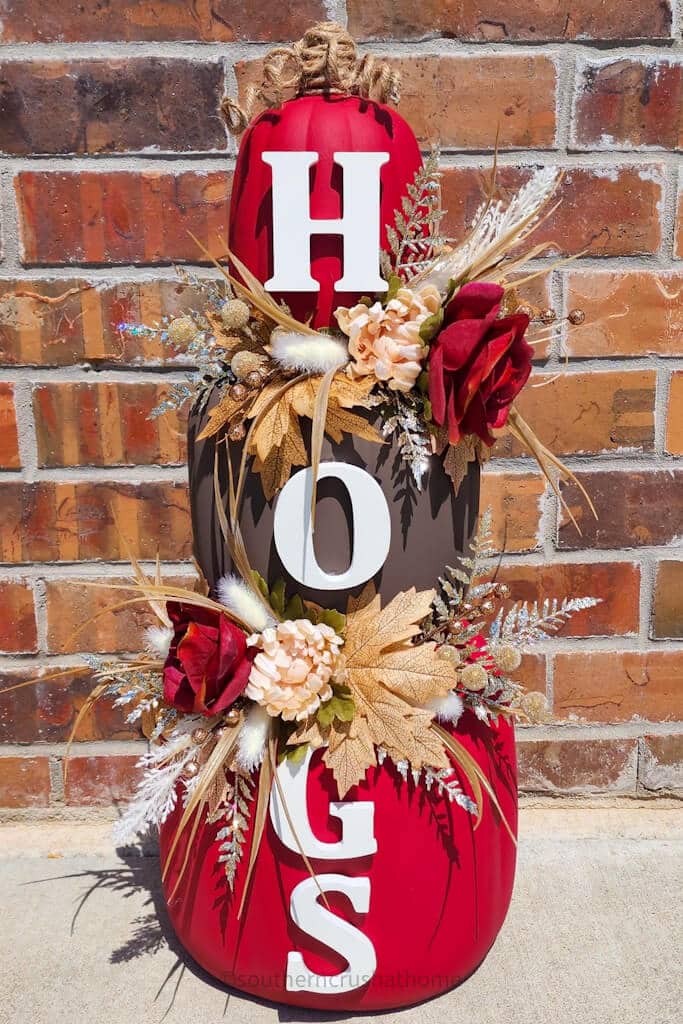
Nothing says team spirit like a home team pumpkin topiary! Think of all of the possibilities with this one! What is your home team?
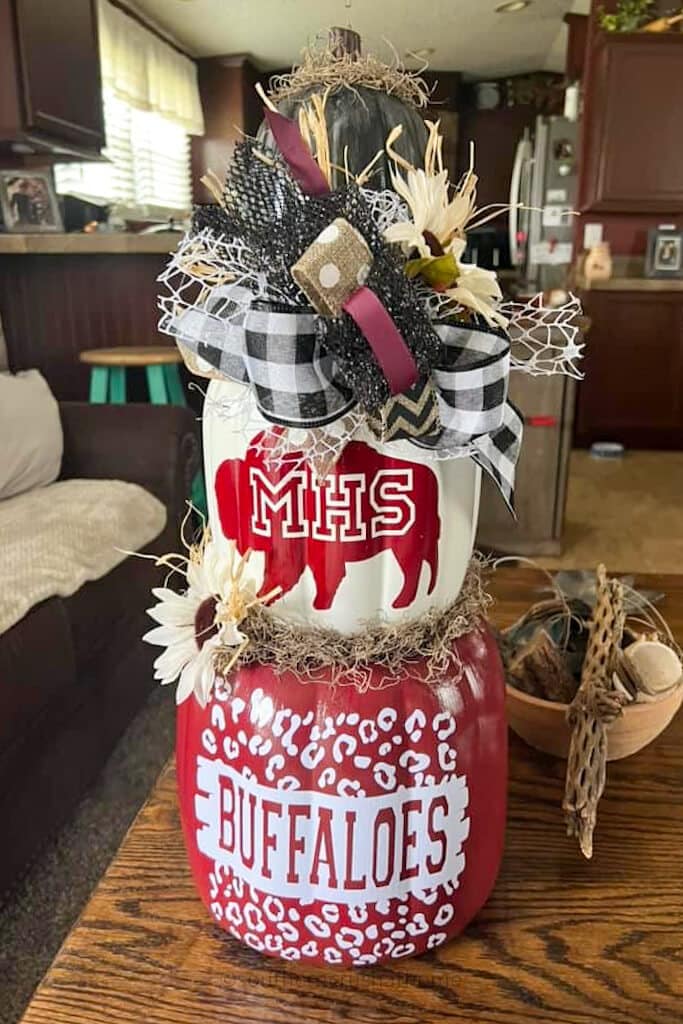
How about team spirit pumpkins with 3-D letters and the boho look? This pumpkin idea is incredible!
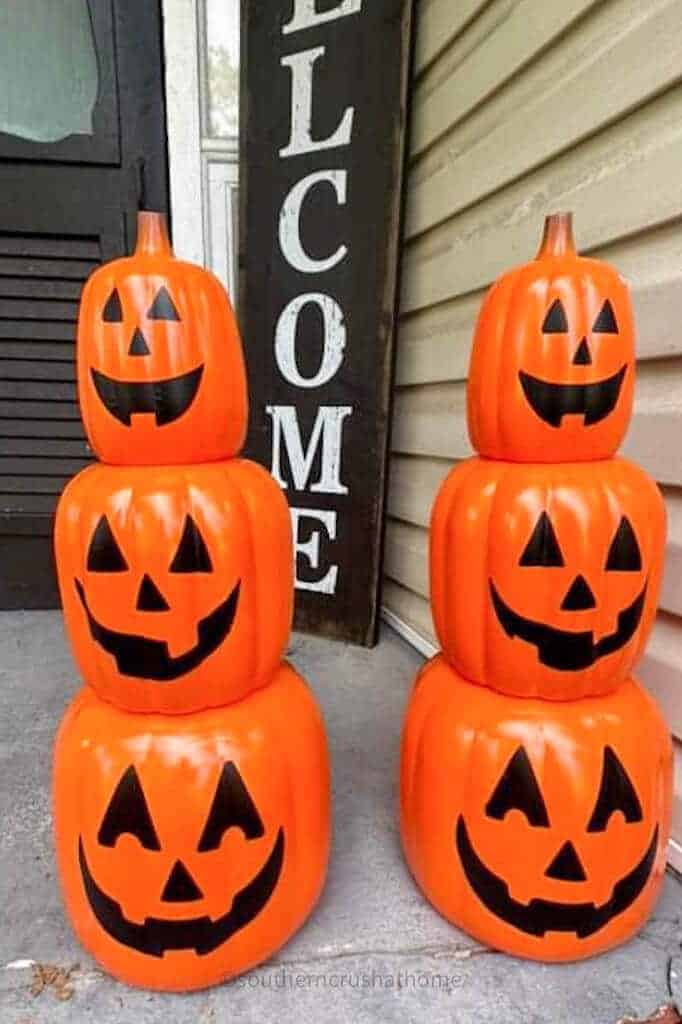
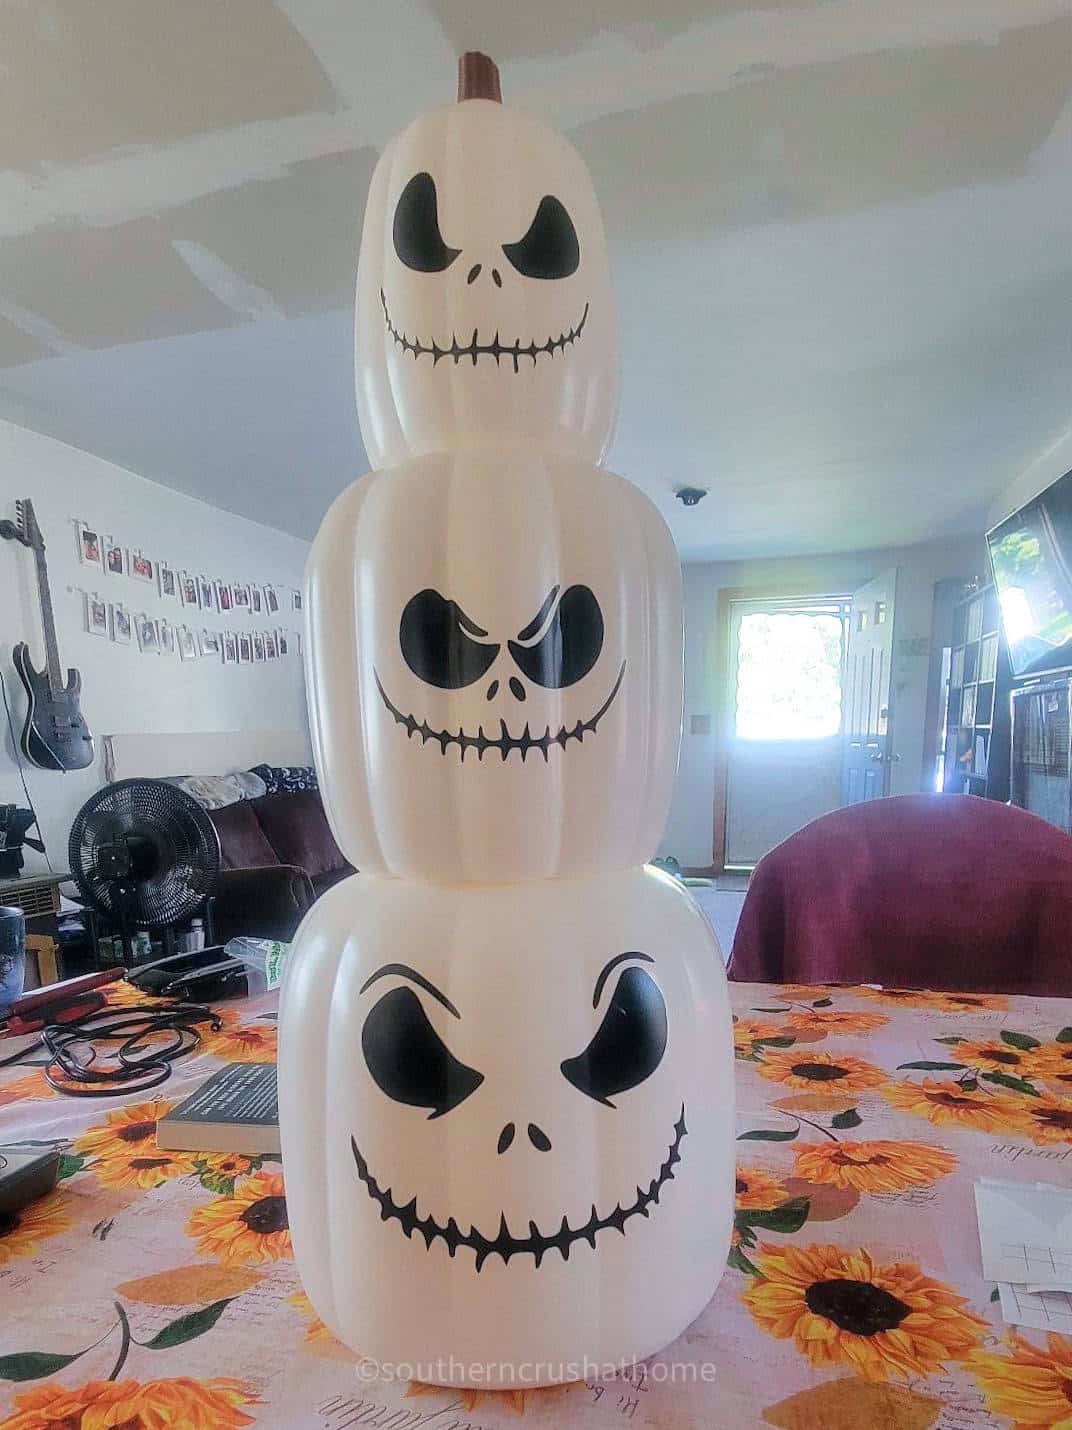
Traditional jack-o-lantern pumpkins scream Halloween. This duo is perfect for a front entryway. Don’t you think?
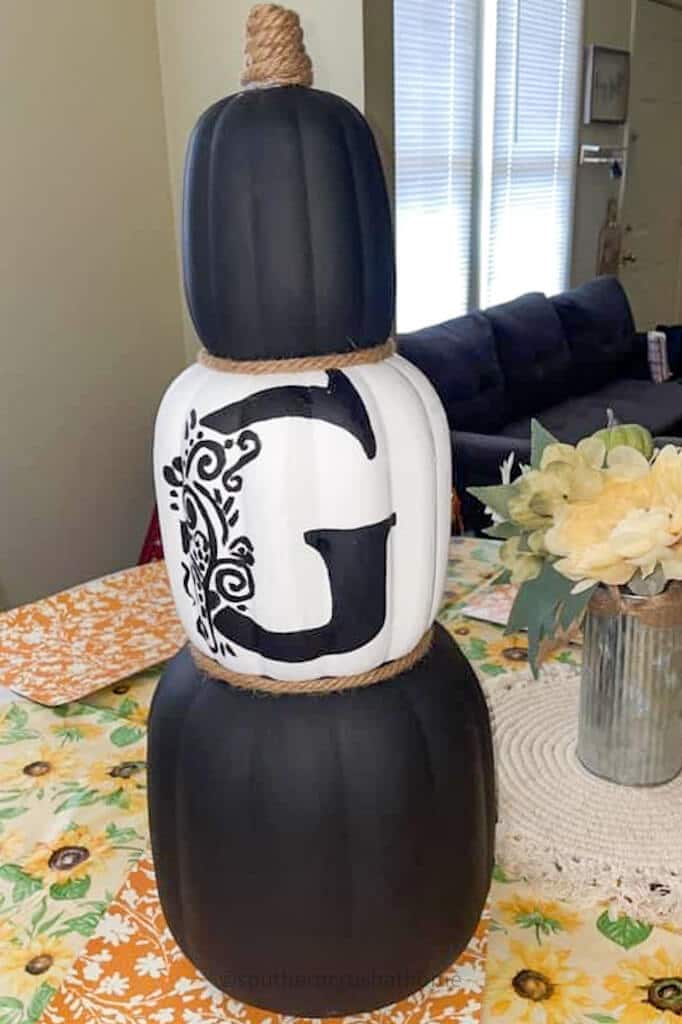
Monograms are a fun idea for a stackable pumpkin topiary!
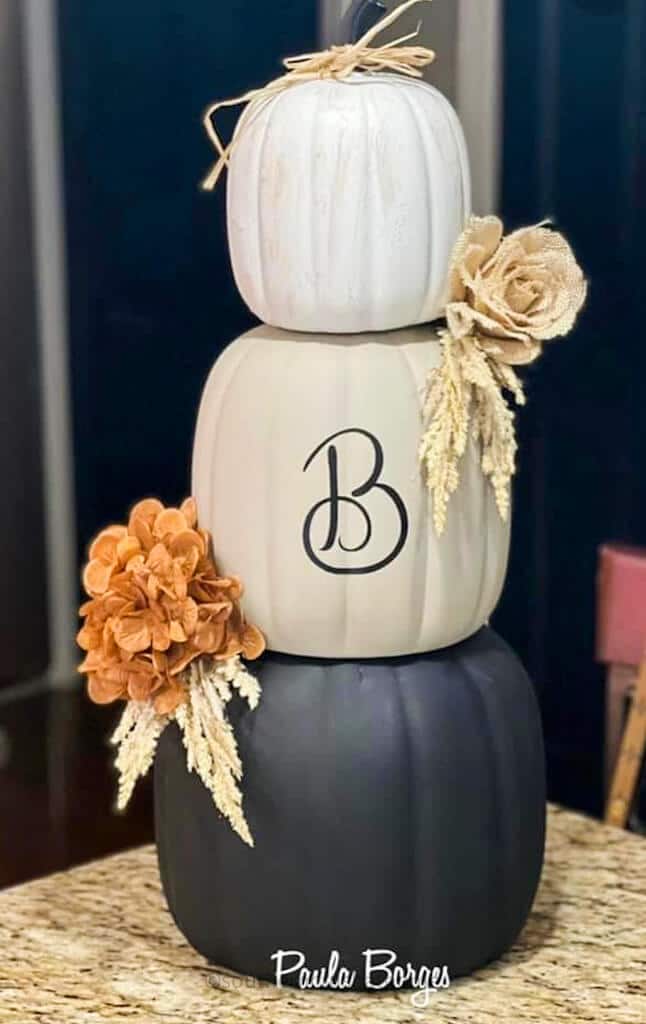
How about adding a single letter monogram using your Cricut machine and then some sola wood flowers for a boho look? I love this one!
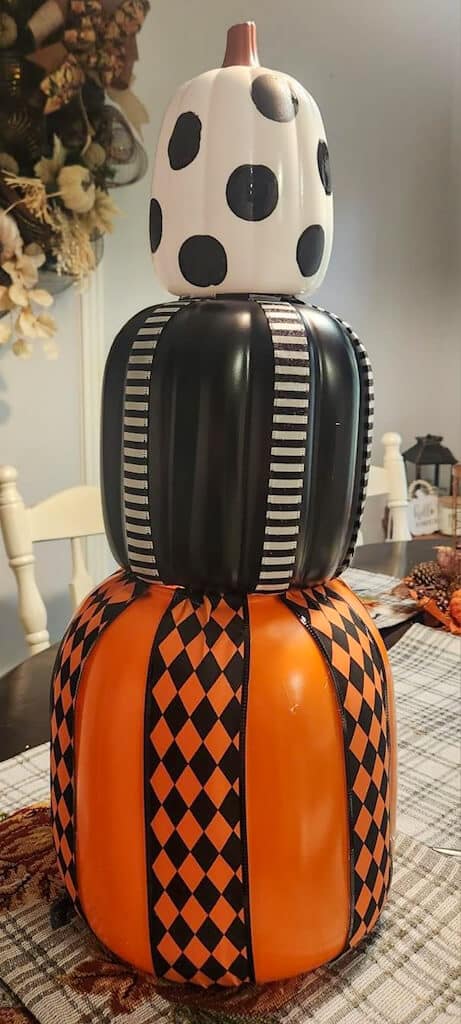
For a simple look, just use some dollar tree ribbon to create this fun, whimsical stackable pumpkins idea!
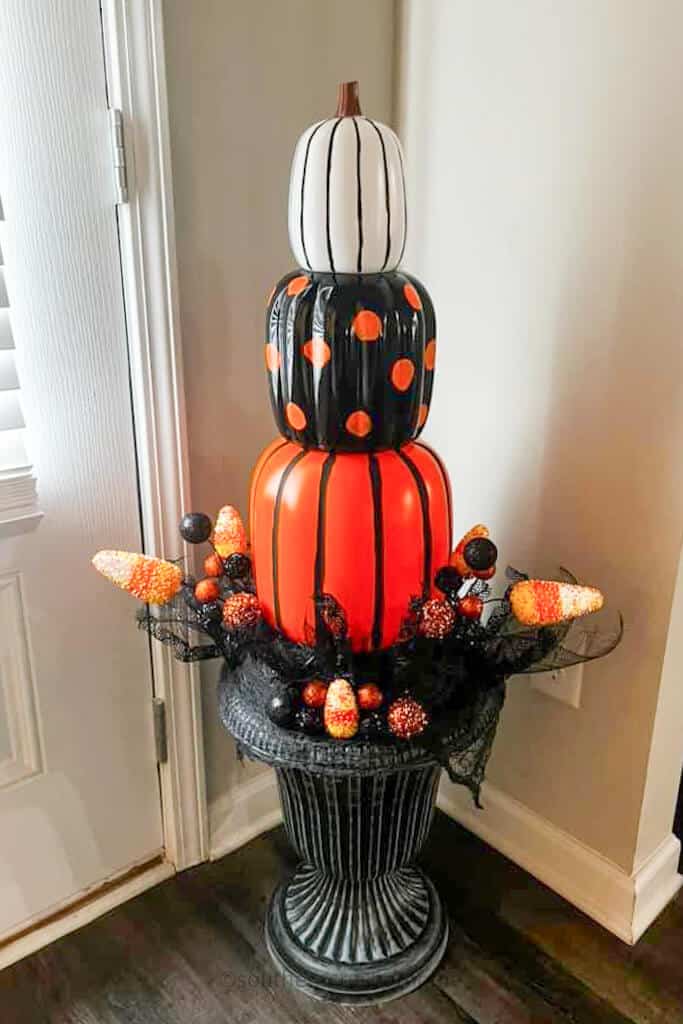
Speaking of simply how about adding designs with a Sharpie marker? I love how she added this pumpkin trio to a decorative urn with some fun candy corn decor. This turned out adorable!
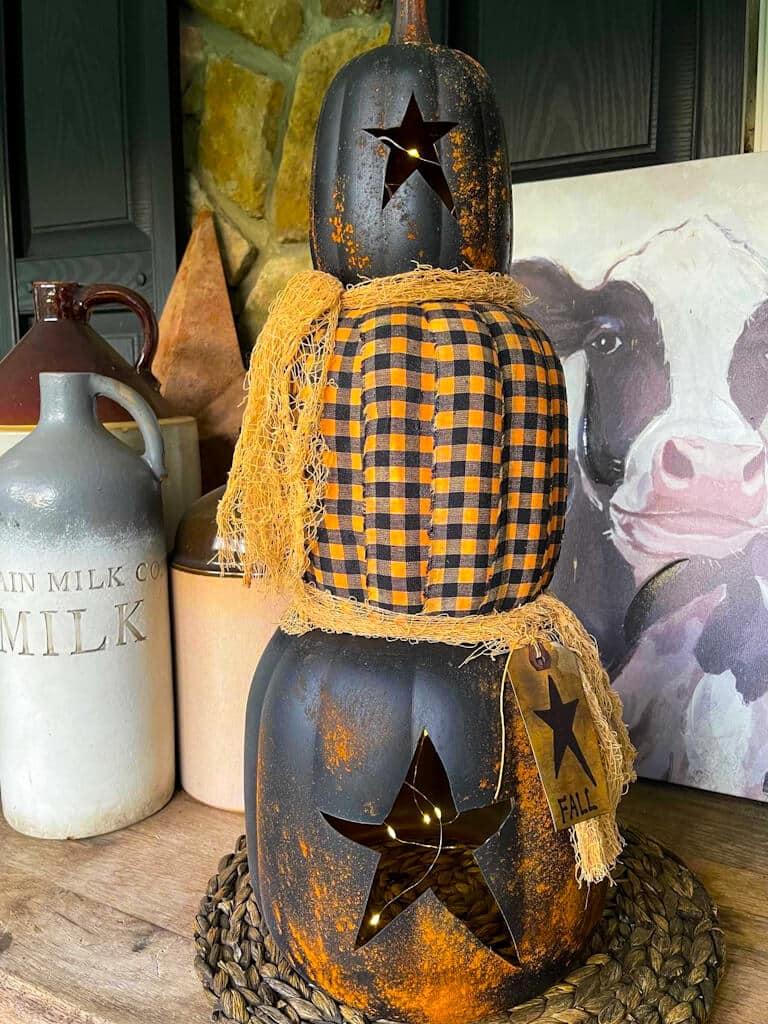
You could go all-out rustic with this fantastic cutout stars look by The Silver Farmhouse.
These last three are amazing alternatives to the traditional fall decor ideas above. Which one is your favorite? Let me know in the comments below.
credit: Pam Wirges credit: Pam Wirges credit: Pam Wirges
More Dollar Tree Stacked Pumpkins Ideas
The arrival of fall brings with it so many fun DIY ideas. This Dollar Tree Plus stackable pumpkins DIY trend is one of the more eye-catching pieces of seasonal decor that anyone can make with just a little creativity and some readily available supplies.
credit: gale troup credit: sherry smith credit: jessica rae
credit: robin wilson credit: natasha stewart credit: eileen shutt
credit: tracy miller credit: odally gaziano credit: emily lahtinen
credit: jennifer poling credit: unknown credit: mmichelle somogyi
Whether you opt for the timeless look of traditional orange pumpkins or venture into more trendy shades and patterns, these pumpkins are a canvas waiting for your imagination to run wild. With endless inspiration available here on the blog, the only limit is your imagination. Happy Fall!
37 Amazing Dollar Tree Plus Stackable Pumpkins Ideas
Materials
- Dollar Tree $5 stacking pumpkins trio
- MacKenzie Childs Tissue Paper
- Chalk type paint
- Acrylic paints in black white, pink, gold
- 24 karat gold paint
- Painter’s tape
- Scrap ribbon for a bow optional
Instructions
- Start by taping off two segments of the middle pumpkin with painter's tape.
- Paint every third segment with the light pink paint.
- Then paint the hot pink segments.
- Remove the painter’s tape to reveal the original orange panels.
- Paint gold stripes in between the segments.
- Now add a thin base layer of chalk-type paint or spray paint to cover the top and bottom pumpkins. Allow to dry completely.
- Now the black polka dots to the top pumpkin.
- Next, paint the black checks onto the bottom pumpkin.
- Stack your pumpkins and add a cute bow with coordinating





I like the stacked pumpkin ideas. Loved the monogram idea . We don’t have a Cricuit machine. I still love it. I happened to find some black mini houses at 5 below a few days ago. I want to grab one and uses the battery tea lights .
Great idea! I’m so glad you love the pumpkins!
I love these!
Absolutely adorable! I tried to Pin, but was unsuccessful…..
Love these but have been unable to find them.
Do you have to sandpaper the pumpkins before using chalk paints?
I did not. But it may help prevent chipping, but so would a top coat with a sealer.
What did you use for the gingerbread arms . Are they pool noodles
I did not make the gingerbread one myself. I’m sharing here for inspiration. Isn’t it cute?