DIY Throw Pillow Covers: How to Make Pillow Panels
Looking for a cute and fun throw pillow idea? How about making your own interchangeable throw pillow covers using drop cloth? This DIY project couldn’t be any easier and is a great way to change out your pillows on a budget. This tutorial will show you how to make throw pillow cover panels that you can personalize for each holiday.
Where can I buy Pillow Panels?
My inspiration for this project came from an amazing company that makes these pillow cover panels. If you are in a hurry or prefer to purchase your pillow panels instead, I’m sharing my affiliate link HERE below. Use Discount Code: CRUSH15
They make pillows in several styles and colors to match your decor. The panels are interchangeable and are extra cute! I own the buffalo check pillow and a pillow panel for each and every holiday!
They are super easy to change out whenever you like. In fact, this is a viral video of my husband changing out the pillow panel for the holiday.
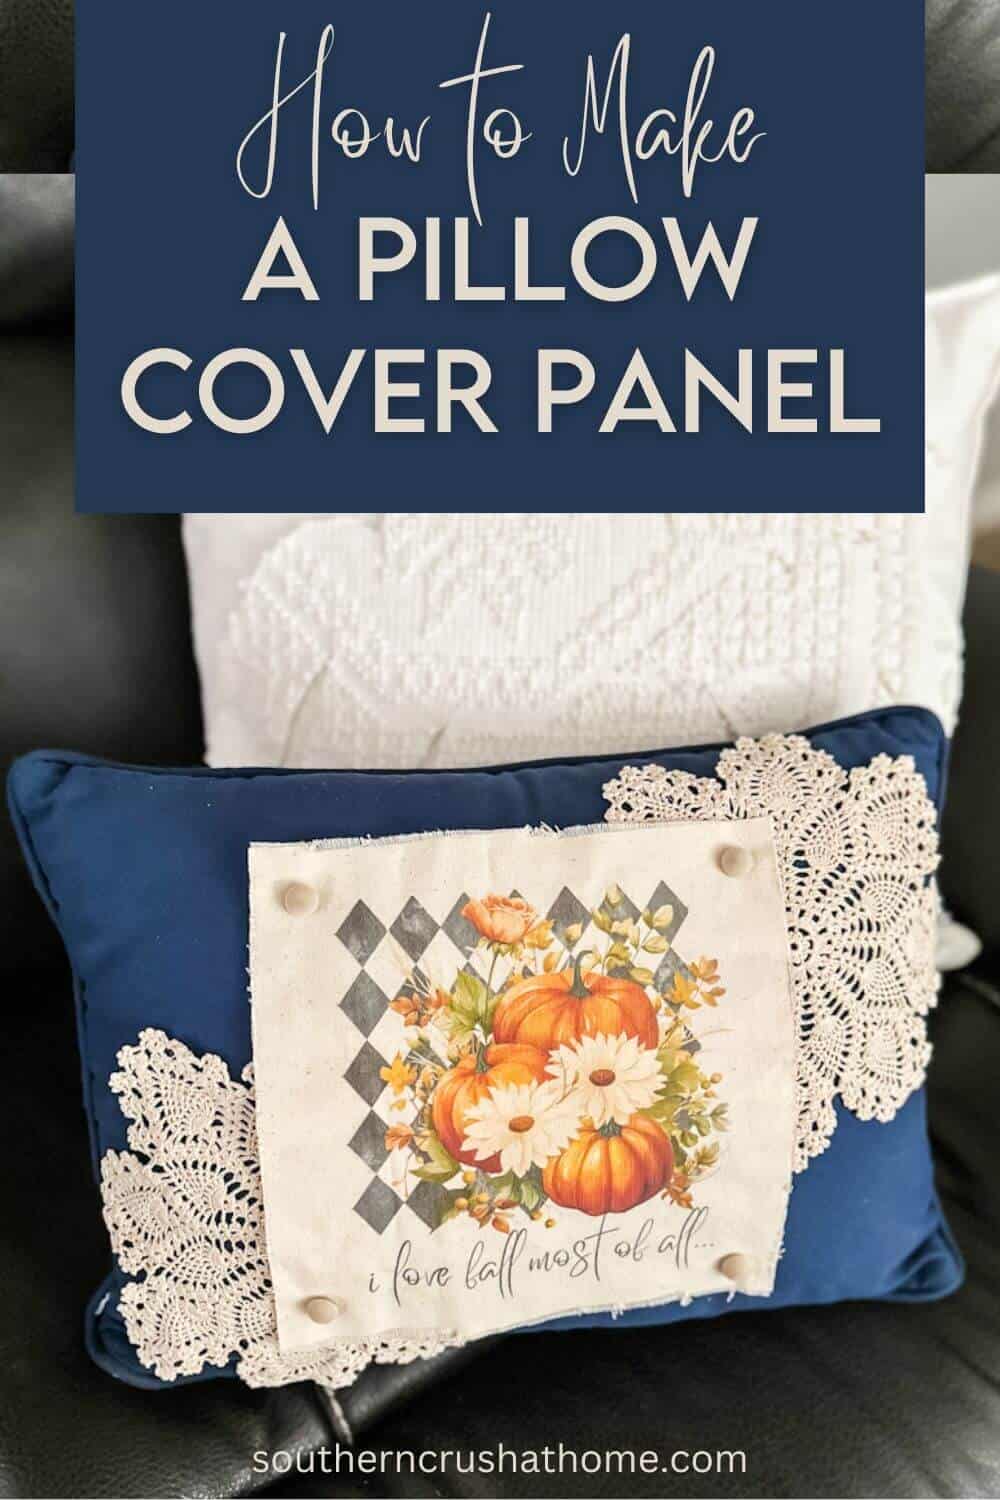
PIN this for later!
This project is one that you can make each season over and over to suit your changing tastes. It’s also a great gift idea for friends and family. They’ll be asking you to make throw pillow covers for everyone they know. Get ready to be busy!
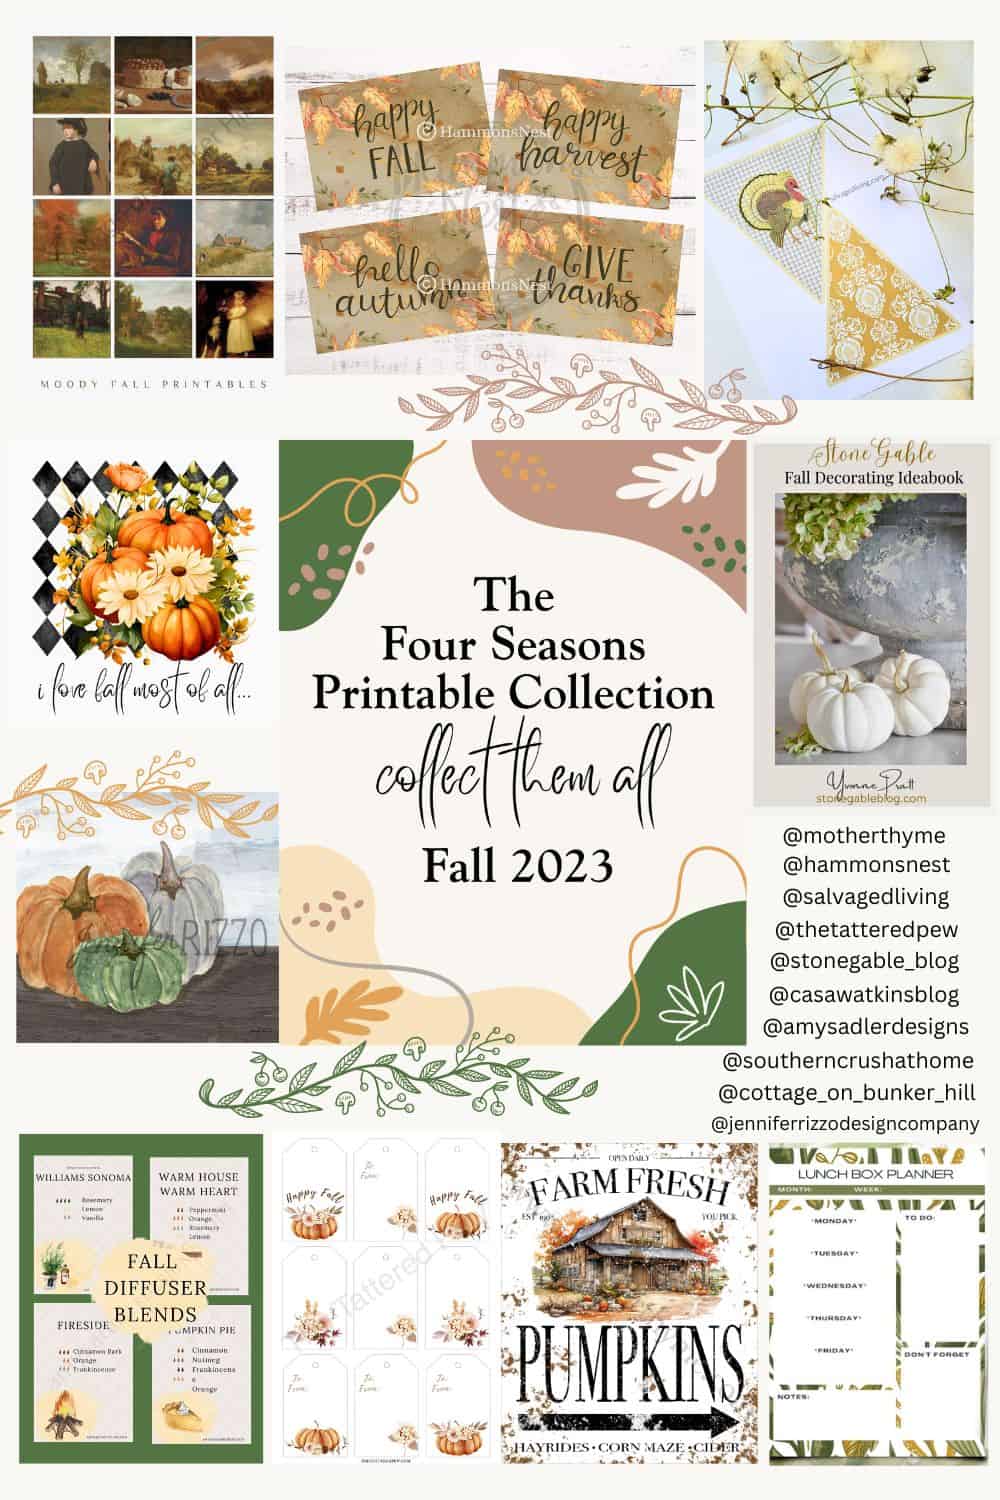
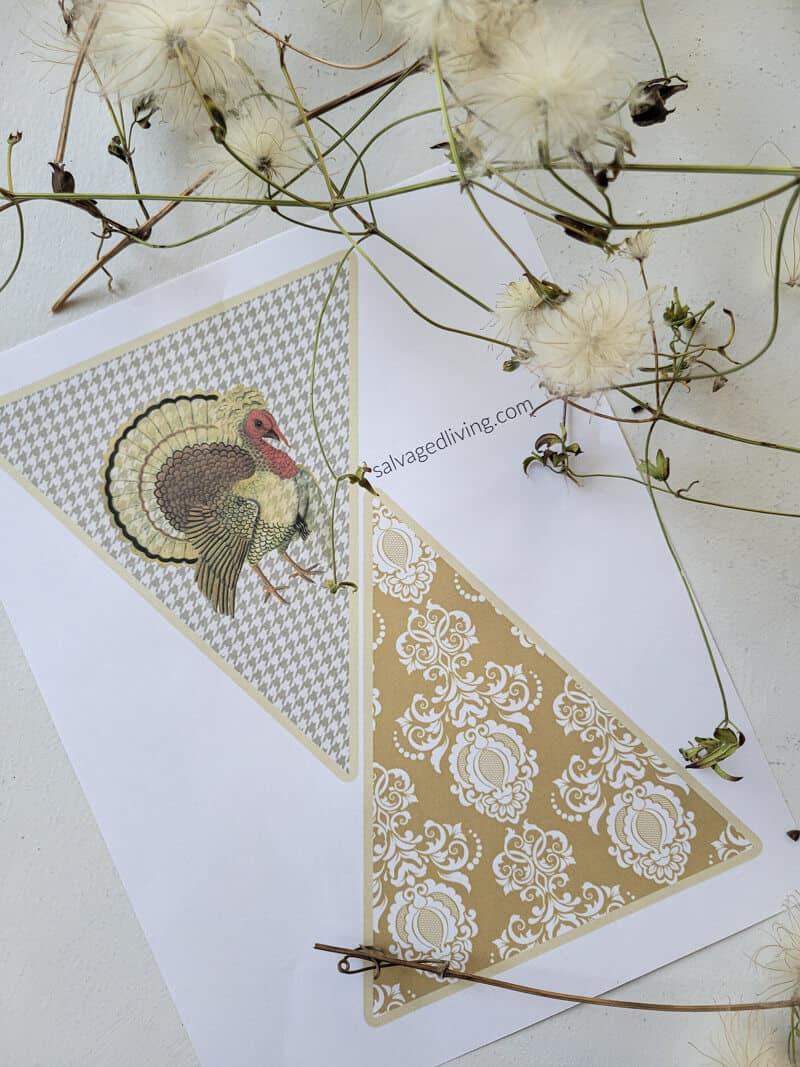
This fall-inspired printable is part of The Four Seasons Printable Collection of FREE printables I’m sharing today in collaboration with several of my amazing blogger friends! Be sure to collect them all at the bottom of this post!
PIN this for later!
This blog post contains affiliate links. The opinions are wholly my own from my own experience. I may earn a small commission from clicks through to the websites that end in a purchase.
More DIY Pillow Inspiration
Here are several more DIY pillow projects to keep you inspired.
Supplies Needed to Make Your Own Throw Pillow Covers
- drop cloth
- scissors
- rotary cutting tool
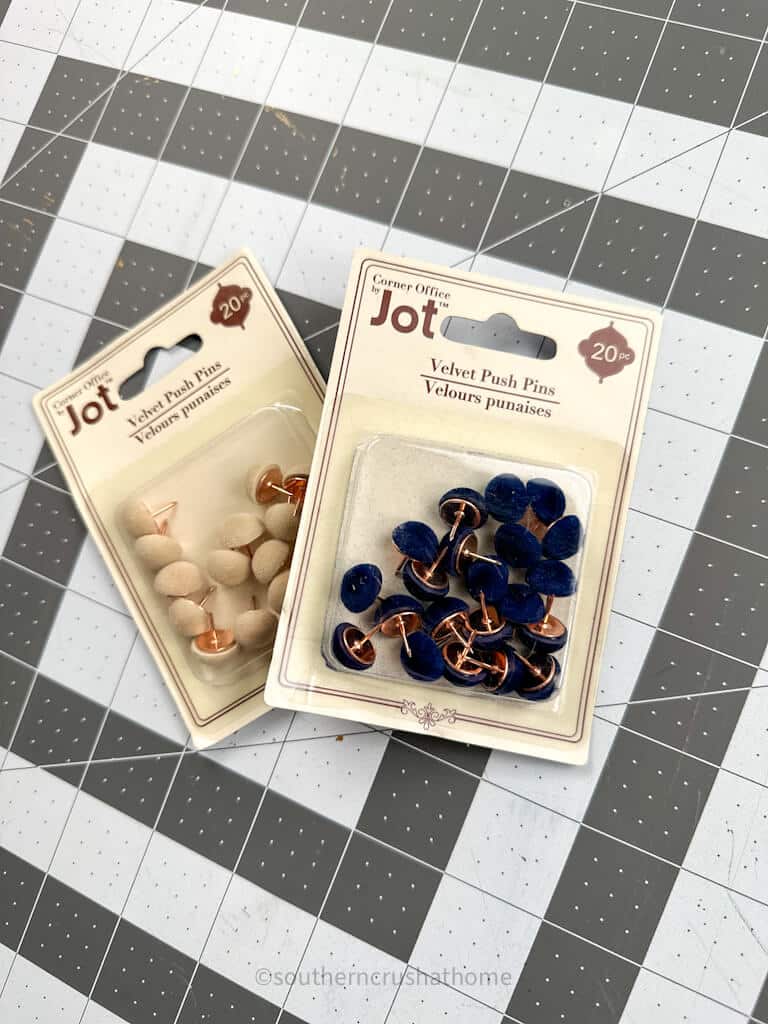
- 4 buttons or velvet-covered tacks (Dollar Tree)
- inkjet printer
- printer sticker paper
- fabric glue sticks
- doilies (optional)
- printable of your choice
If you’re in a hurry, below is a direct link to MY FALL PRINTABLE.

How to Make Throw Pillow Covers
“I love fall most of all!” This is true my friend… how about you? I made this fun printable with you in mind. Feel free to use it as a framed piece of art or… make one of these easy pillow covers with the following step-by-step instructions.
Step One
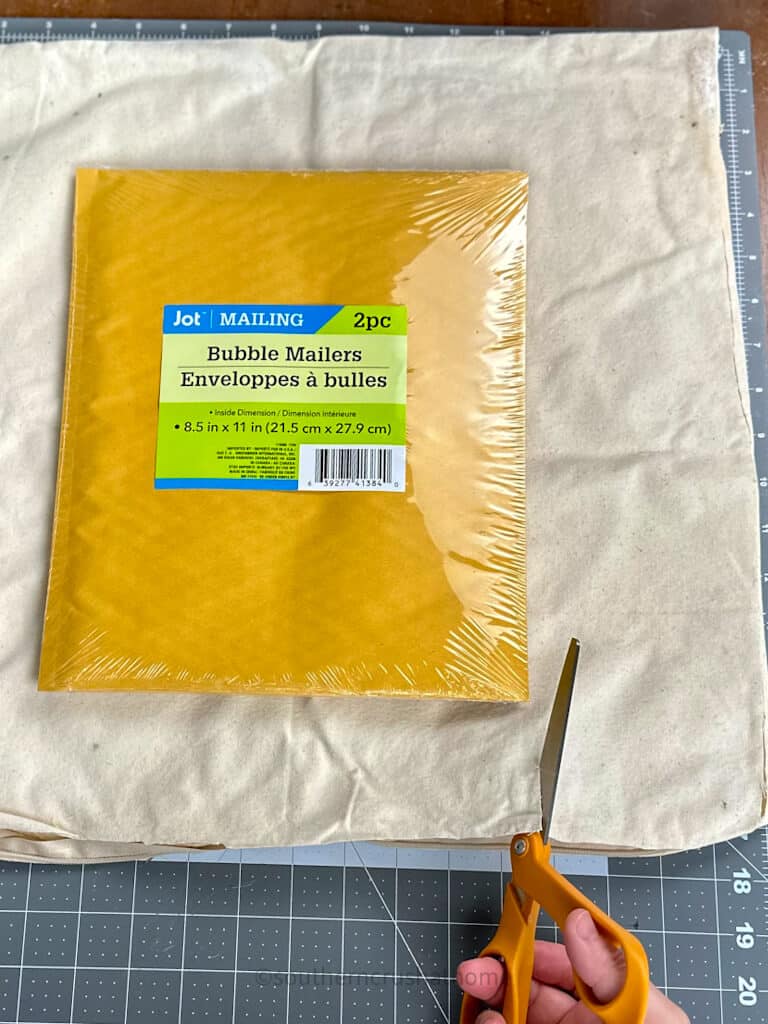
Start by cutting out a piece of drop cloth or canvas approximately 8.5″x 11″ in size.
Step Two
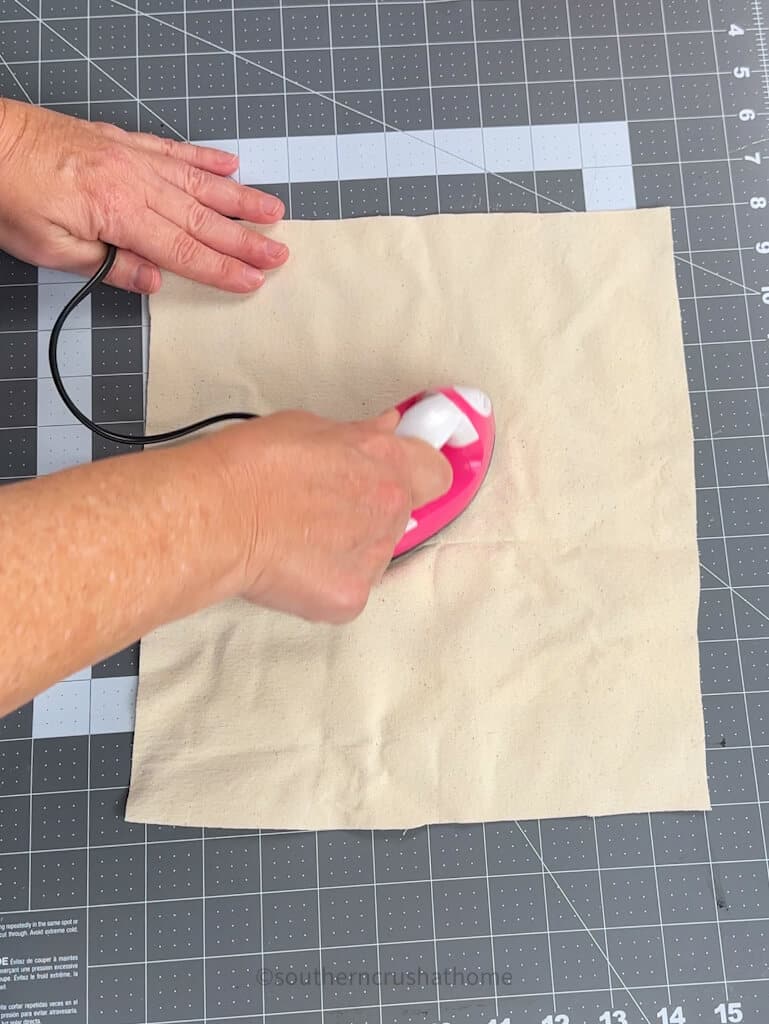
To ensure your fabric is flat, you can use a fun little craft iron to smooth out any wrinkles.
Step Three
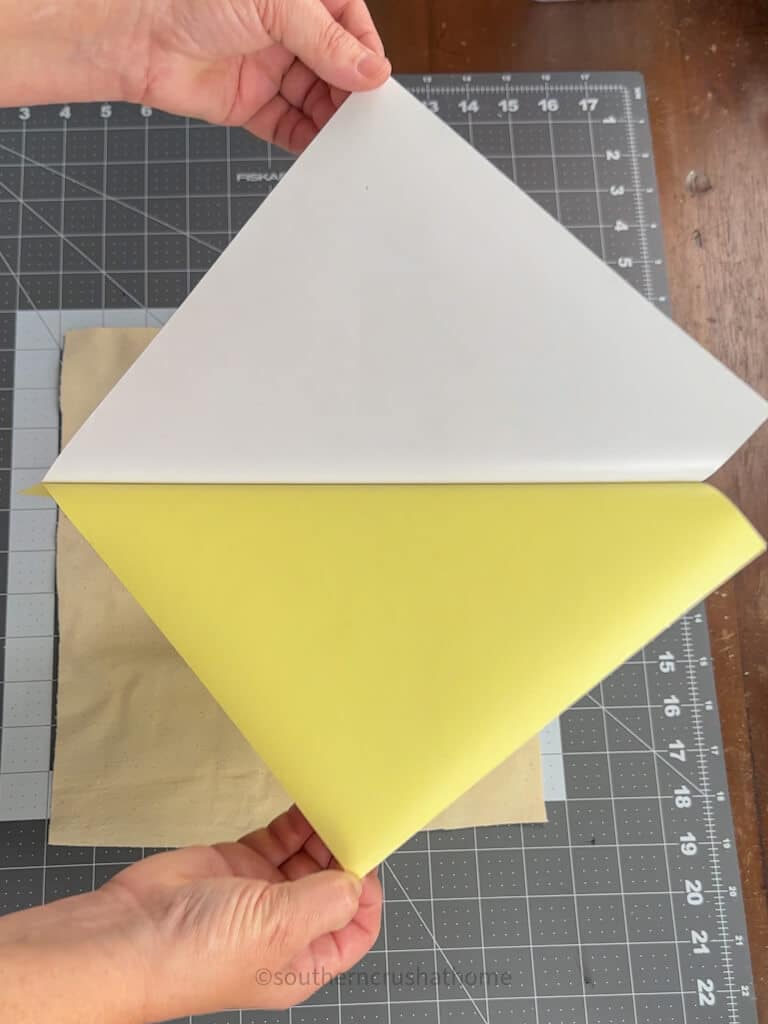
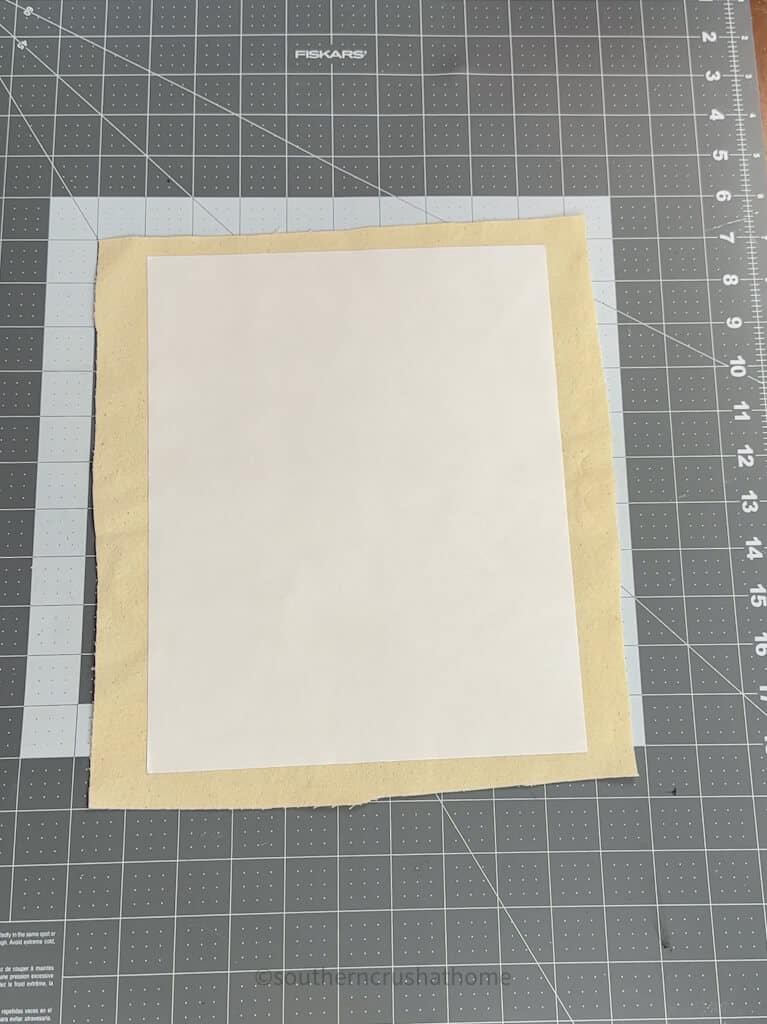
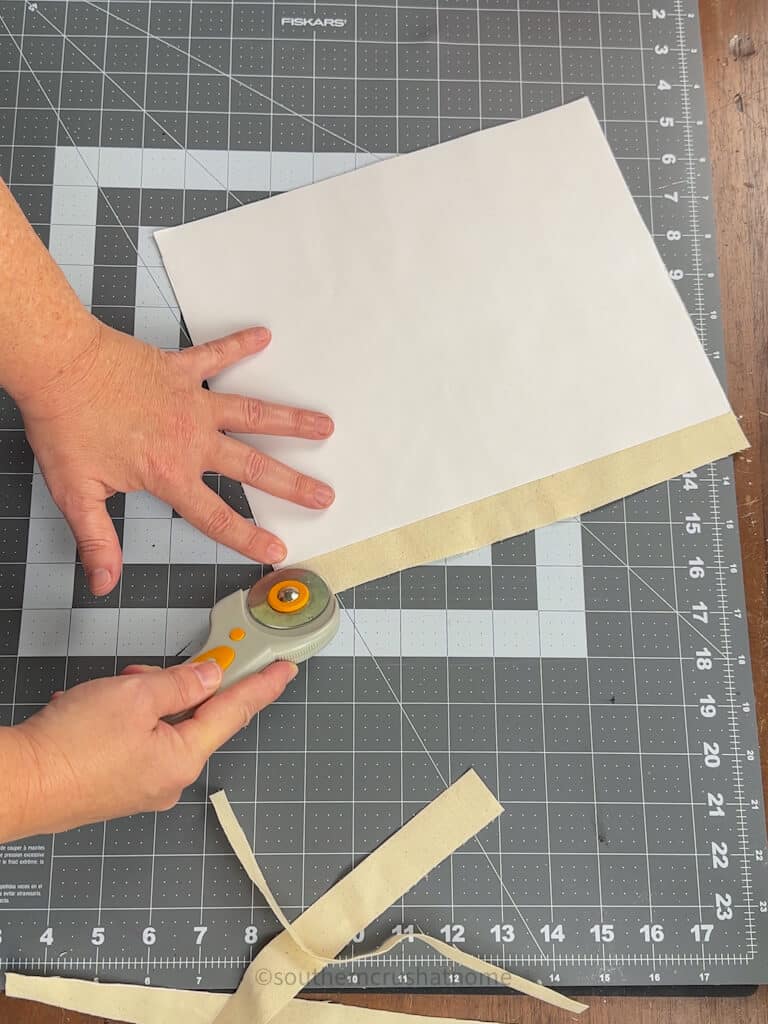
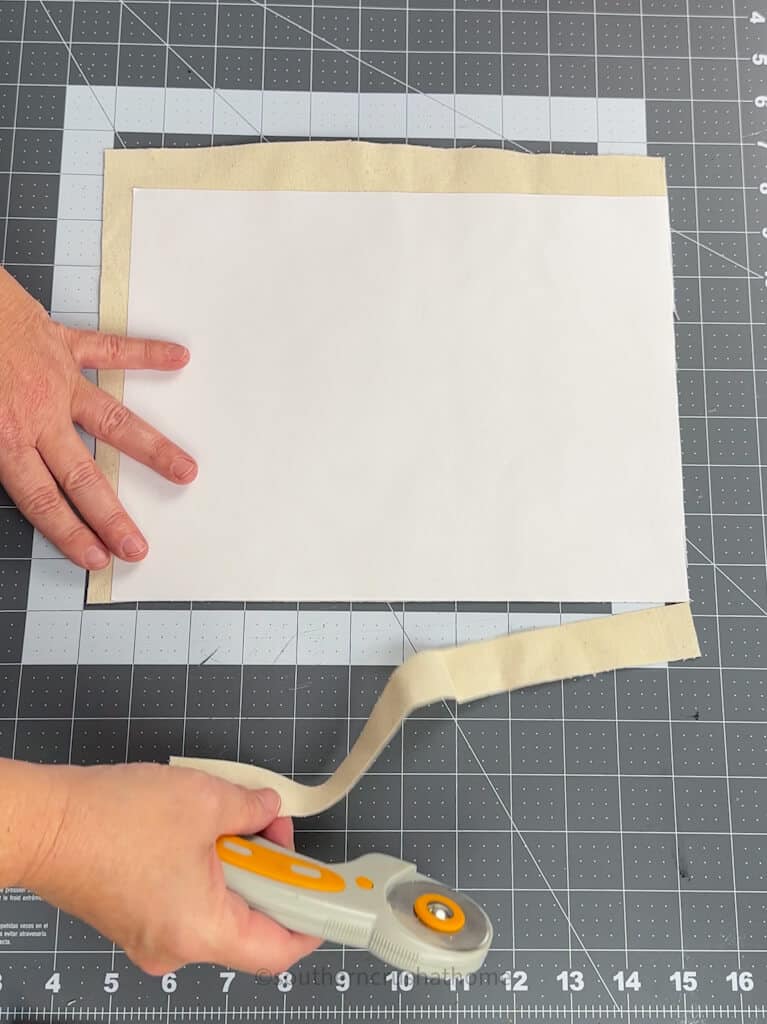
Next, adhere the sticker paper to the fabric and trim the edges to fit using a rotary cutting tool.
Step Four
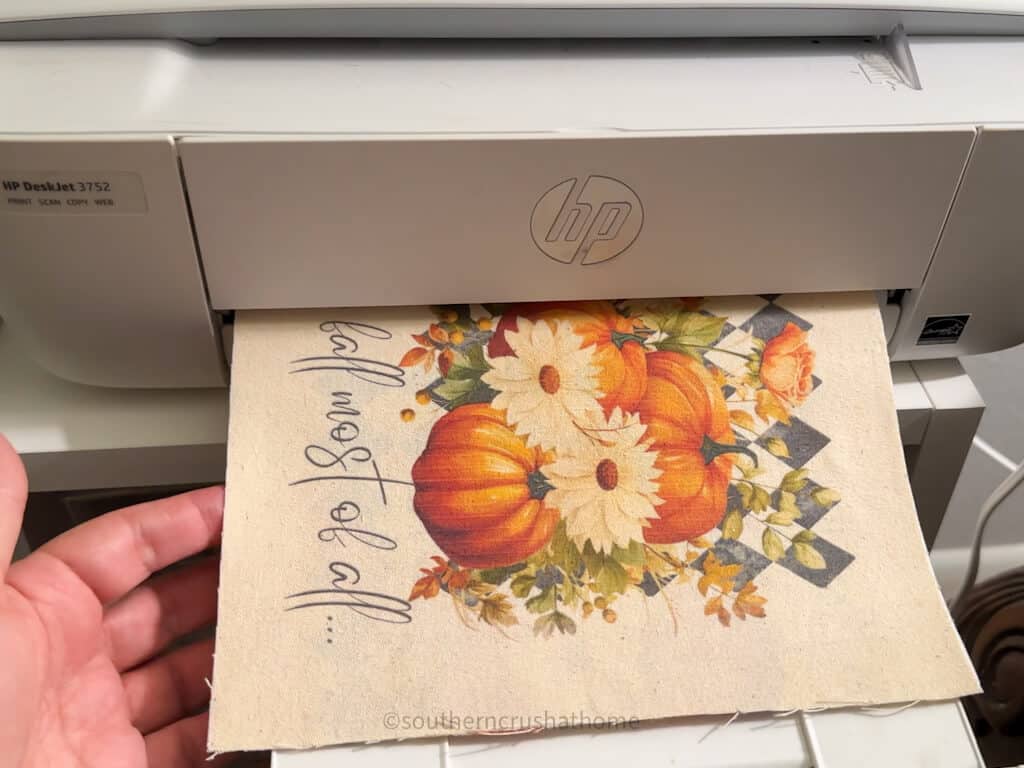
Feed your paper-backed fabric into your inkjet color printer and print out your printable design.

Step Five
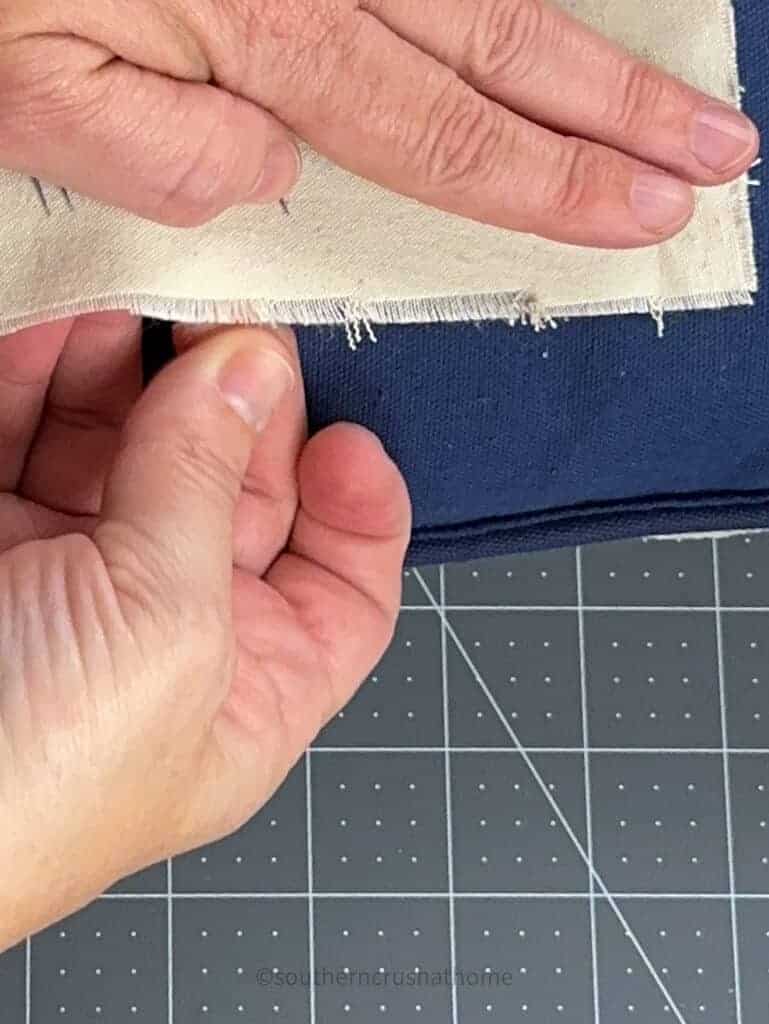
Remove the paper from the fabric and fray the edges of your drop cloth.
Step Six
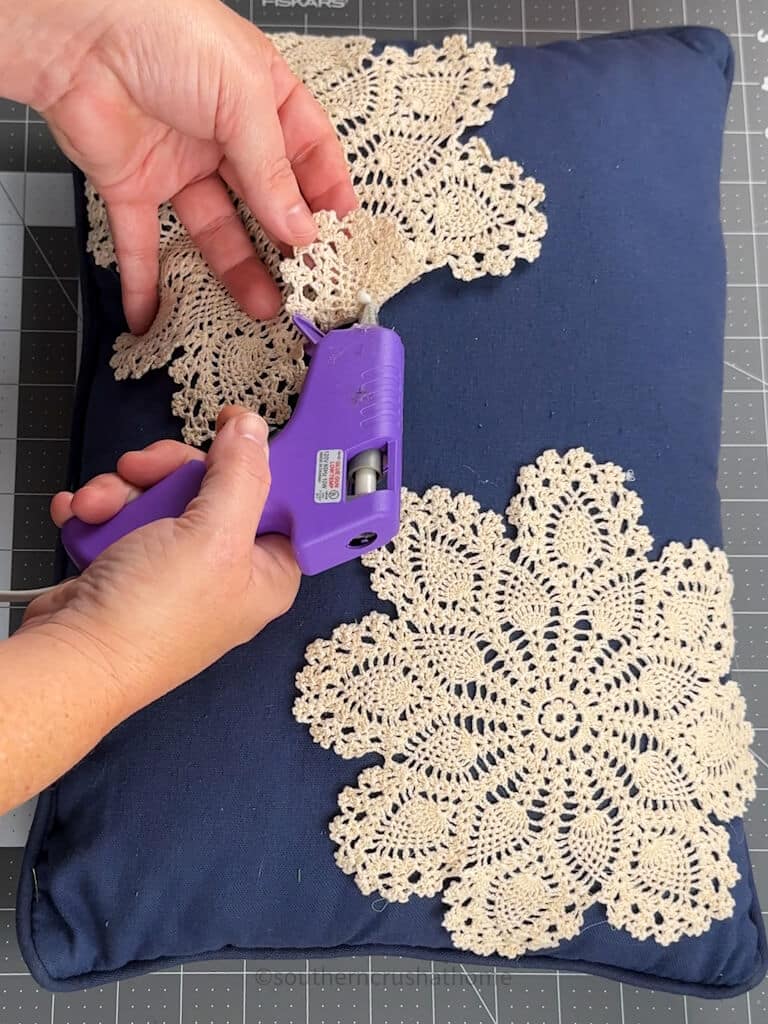
Optionally, you can add pretty doilies to the corners of your pillow front using fabric glue.
Step Seven
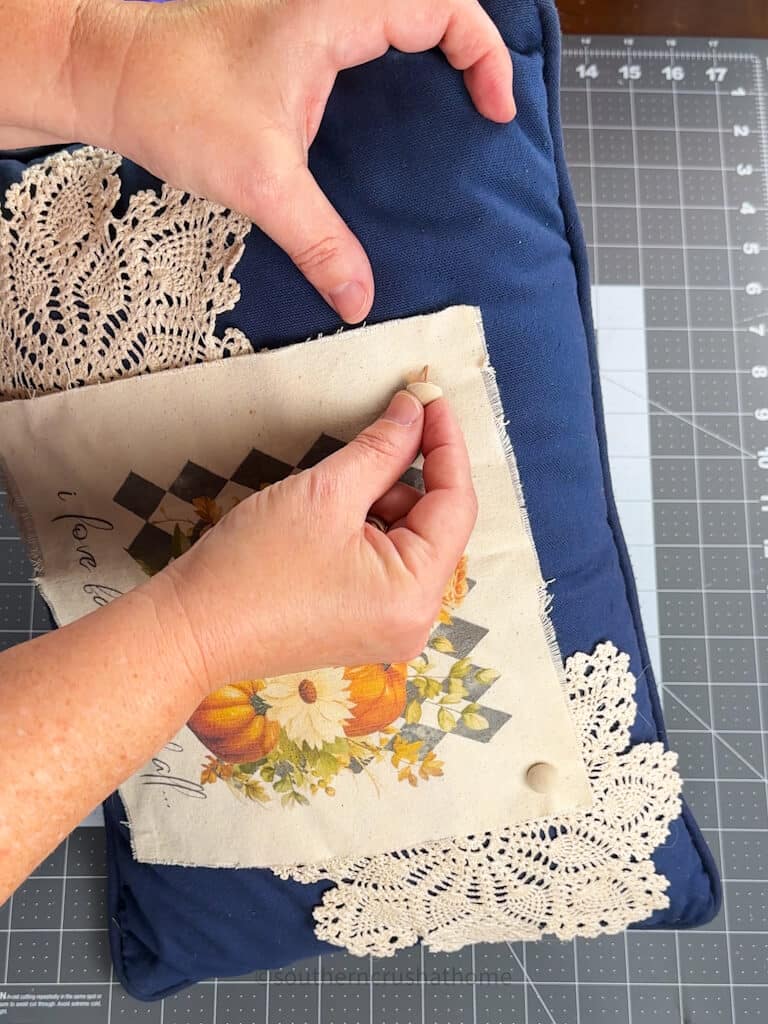
Attach the pillow panel using buttons or velvet tacks! (Remember, this is home decor for display only)
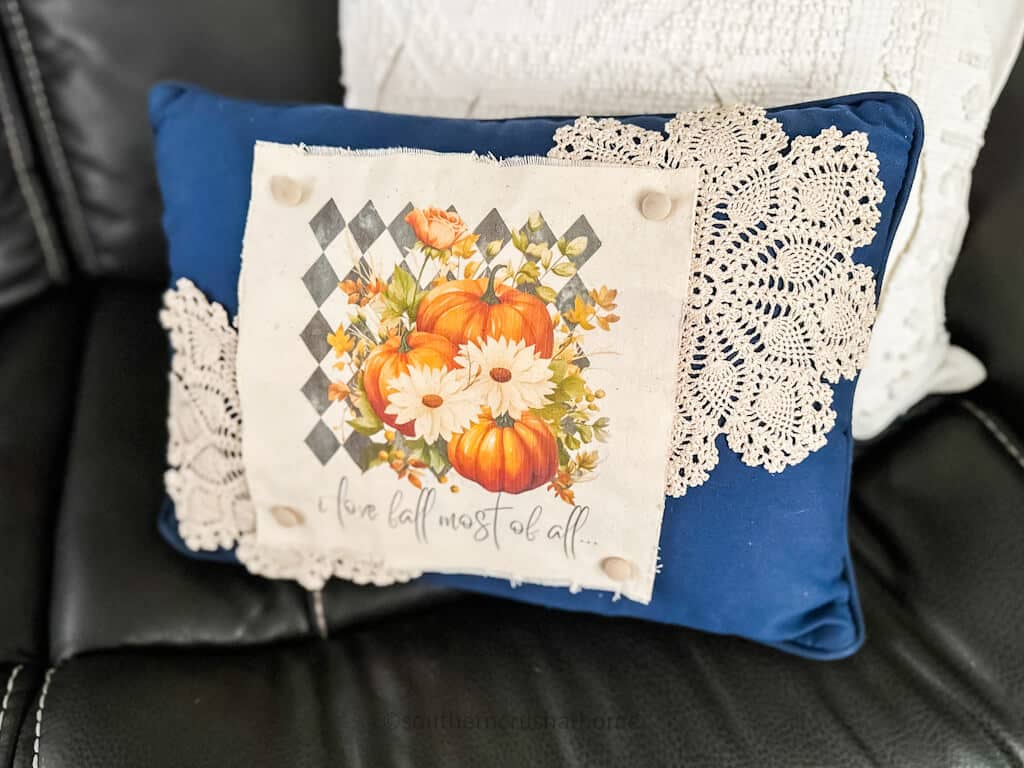
Display your new fall-inspired pillow cover!
Don’t forget that the pillow panel is interchangeable for the seasons! What should I print for Christmas?
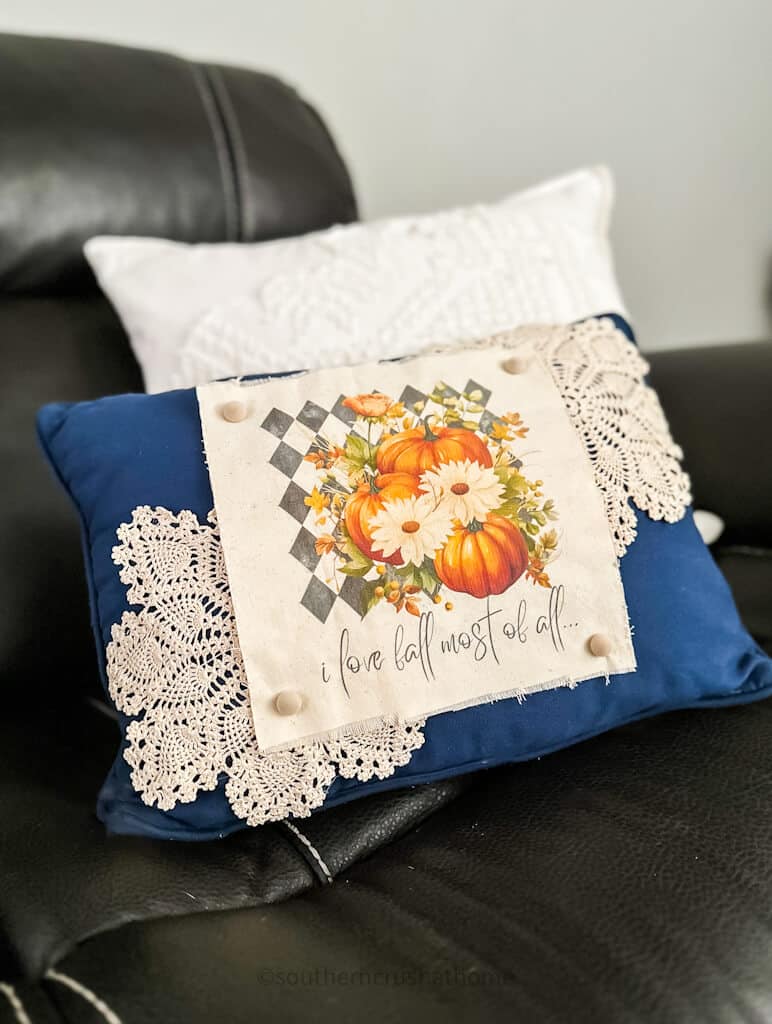
You could use any color pillow and any shape of a pillow. The possibilities are endless!
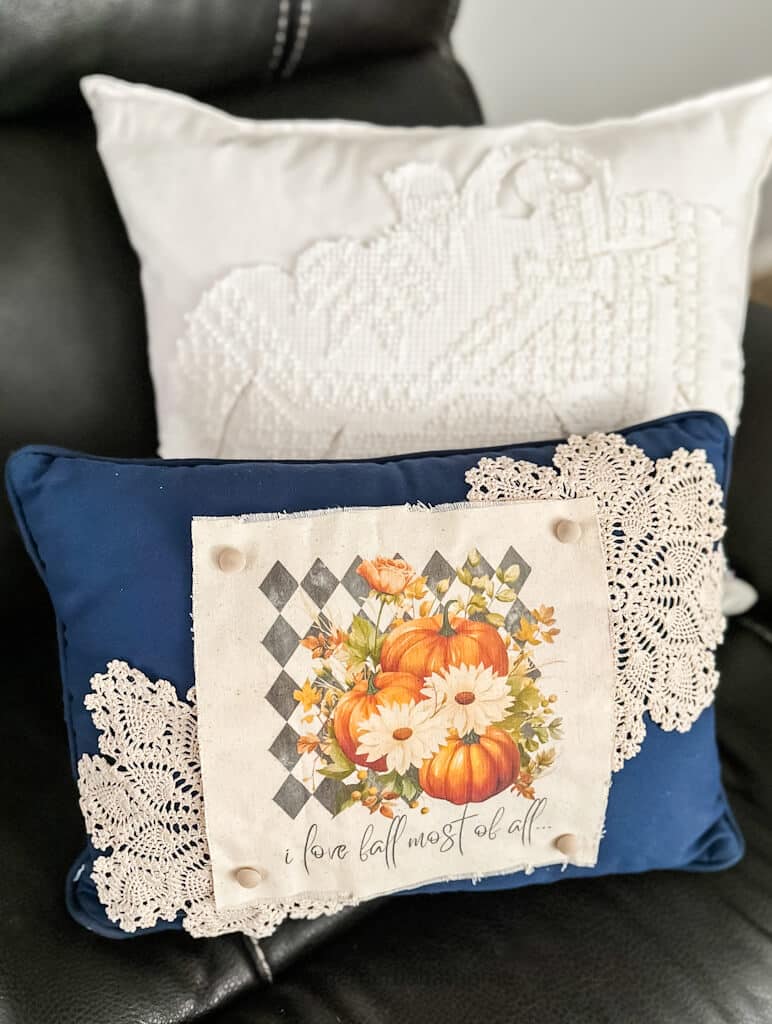
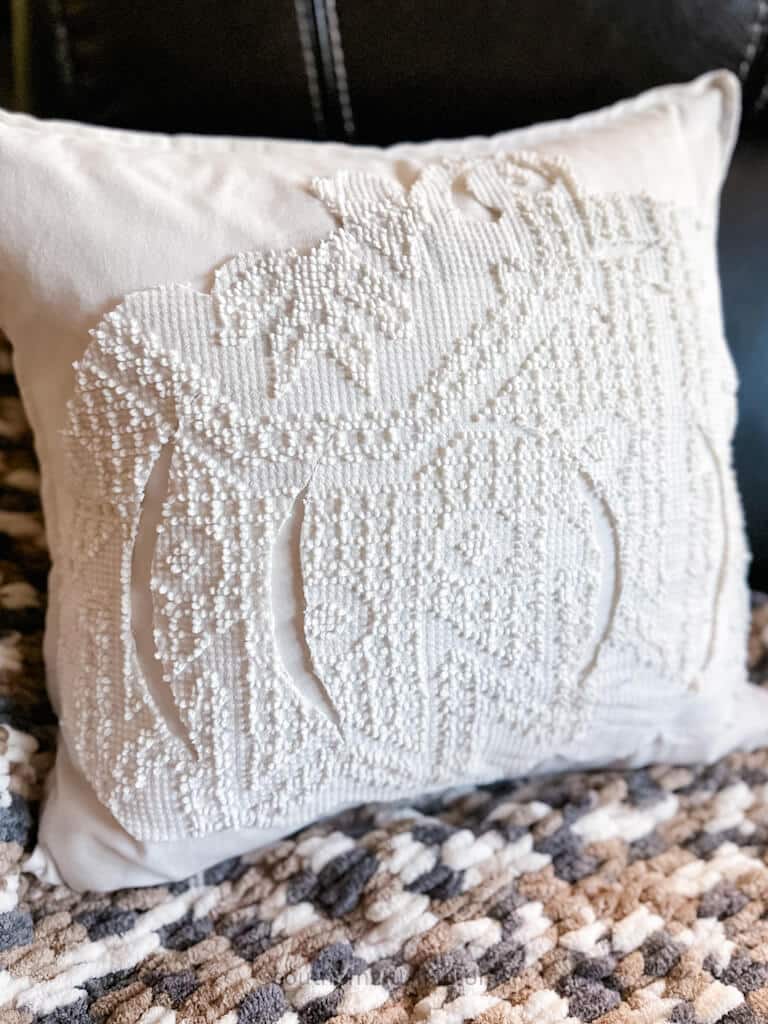
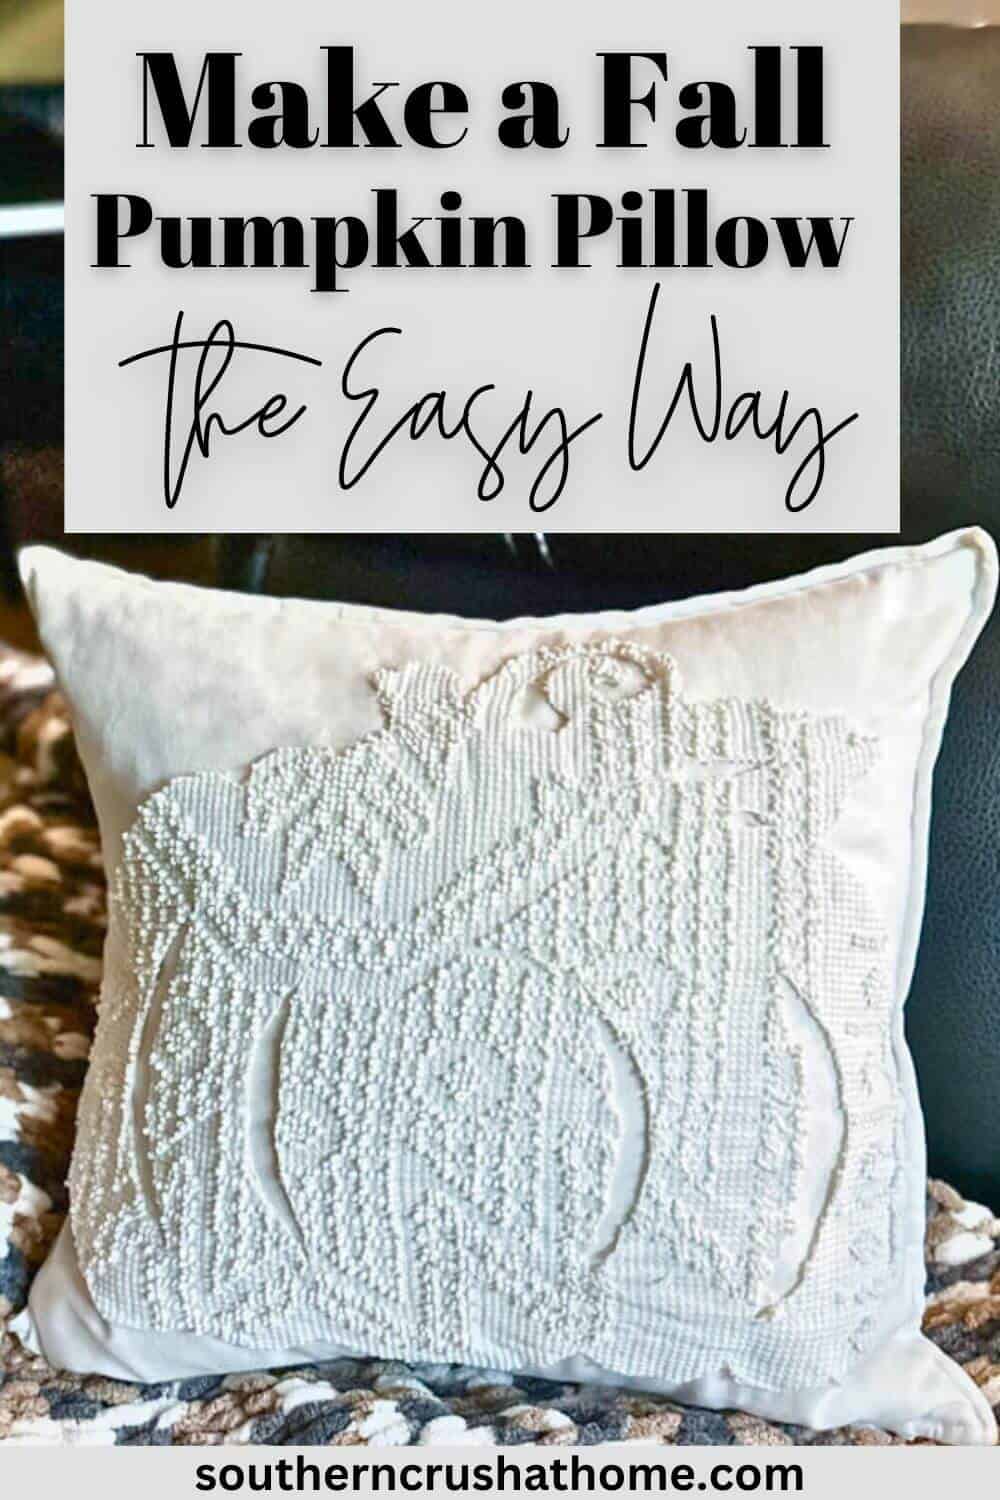
Mine is snuggled up next to THIS PUMPKIN PILLOW we made out of a chenille bedspread!
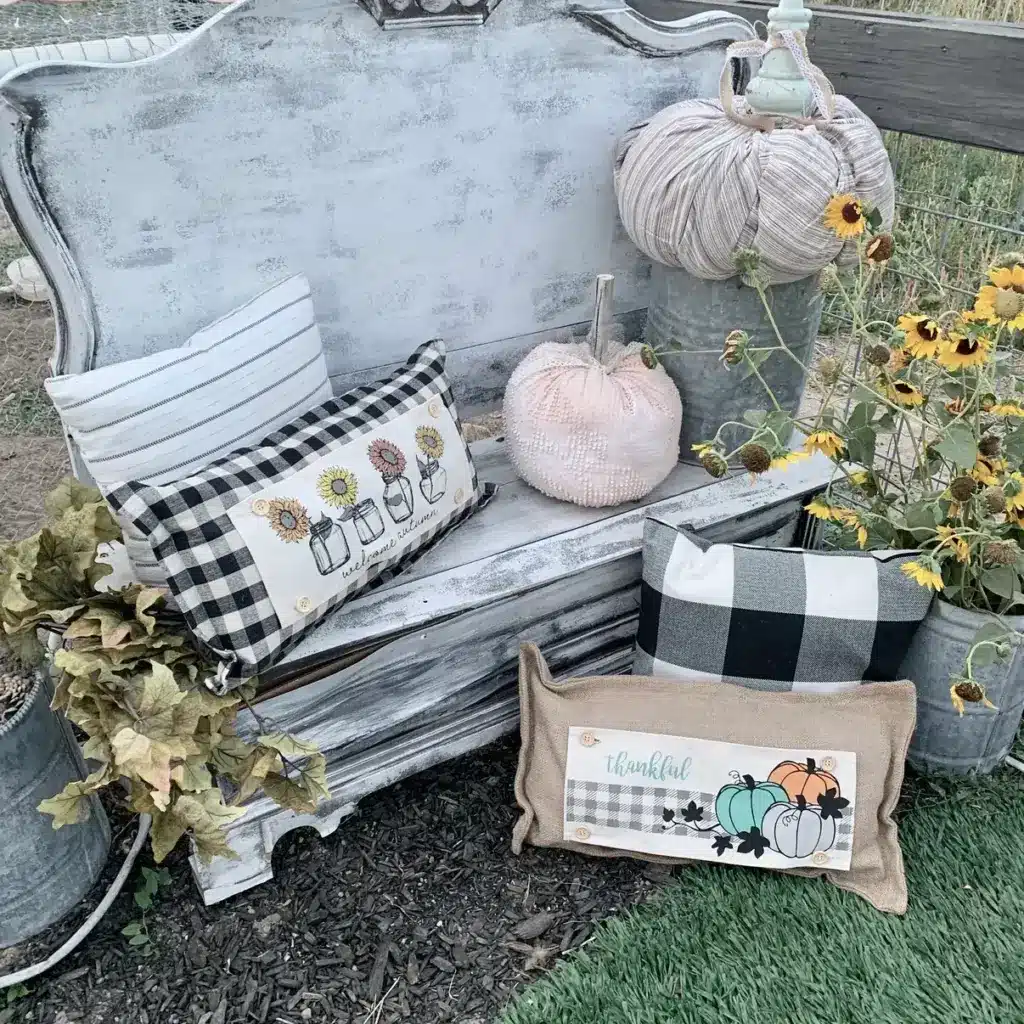
Ways to Display Pillows
- on top of a stack of throw pillows for your bed
- leaning on another neutral pillow in a chair
- tucked up on a shelf
- peeking out of a basket with cozy blankets inside
- as the centerpiece on a bench at the foot of the bed
- displayed on the porch
Pillow Panels for Every Season
Let me tell you, there’s nothing quite like adding a dash of your personal flair to your home decor. And what’s cozier than crafting your very own interchangeable throw pillow covers from just a scrap piece of canvas or drop cloth? It’s a cinch, I promise, and inexpensive too! You can effortlessly switch up your pillow game to match each season, keeping things fresh and delightful.
But hold on, it’s also an excellent gift idea for your loved ones. Trust me, they’ll be lining up, asking you to work your DIY magic on their pillows as well.
And, my friend, if you’re pressed for time or just prefer convenience, I’ve got a little secret to share. There’s this fantastic company that sells these adorable pillow cover panels. I’ve included an affiliate link for you, right below, where you can check them out. They come in various styles and colors to match your decor and the best part? You can swap them out faster than you can say “decor makeover.”
Whether it’s autumn, Christmas, or any other season you adore, your home decor will reflect your style effortlessly. Plus, these pillow panels are quite versatile, fitting snugly into various display spots around your home. From beds to chairs, shelves to porches, the possibilities are endless.
Now, go get creative! The world deserves to see your seasonal decorating skills! And don’t forget to explore the other fantastic DIY pillow projects I’ve mentioned at the top of this post– there’s always room for more pillow perfection in our lives. Happy crafting, my friend! 🍂🎨🛋️
Four Seasons Printable Collection
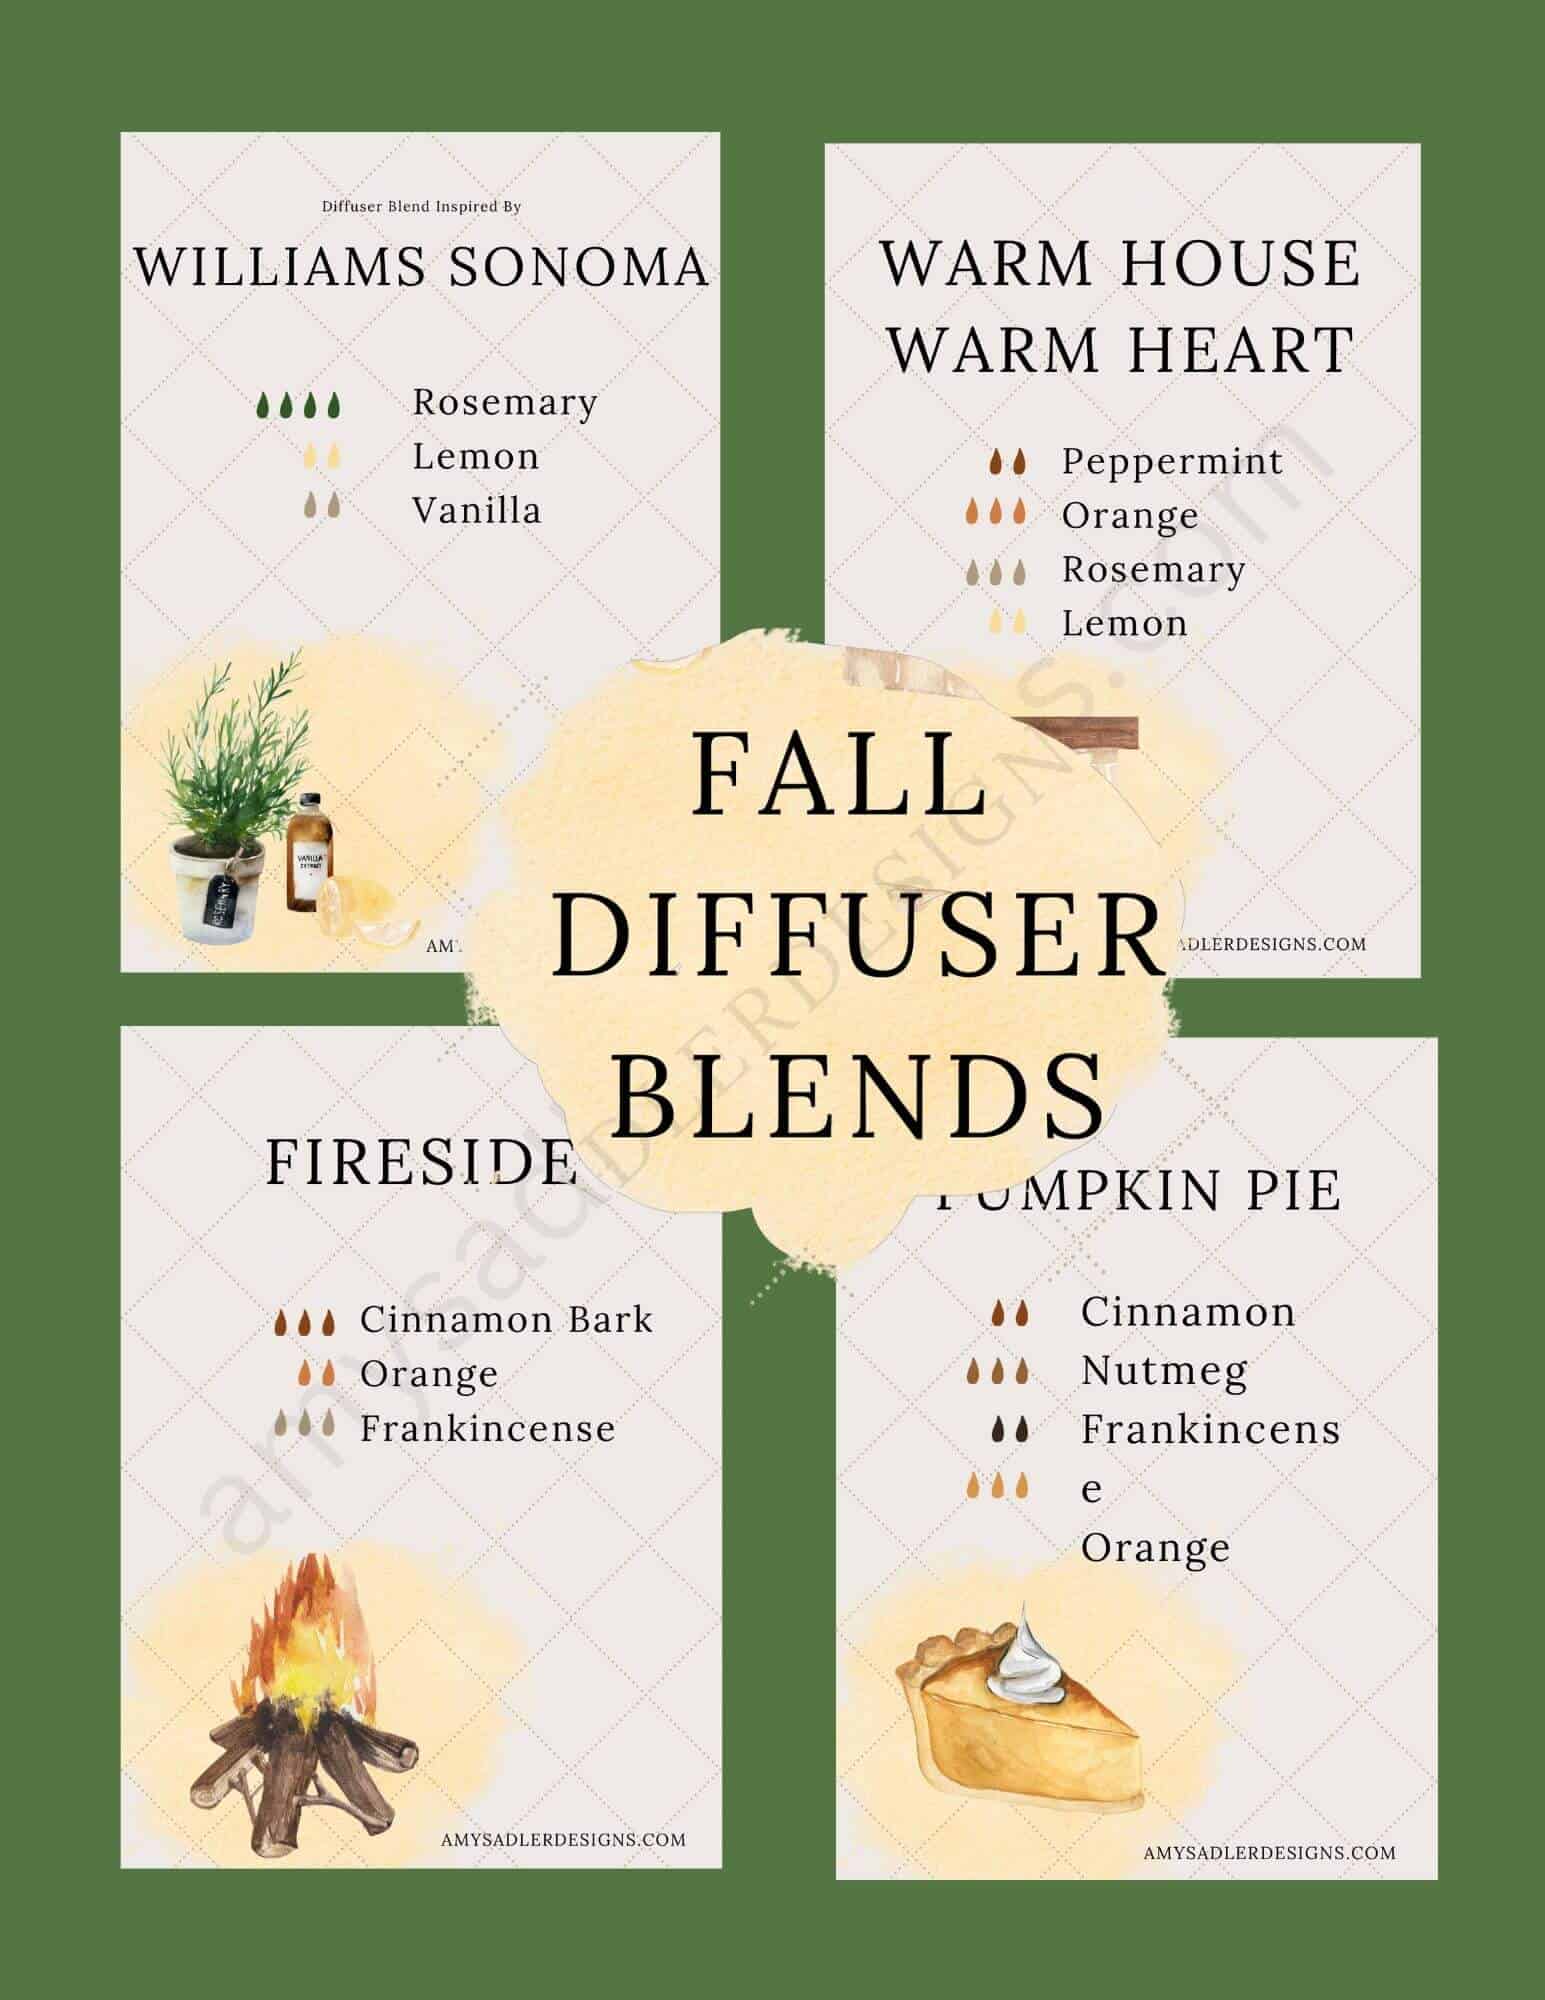
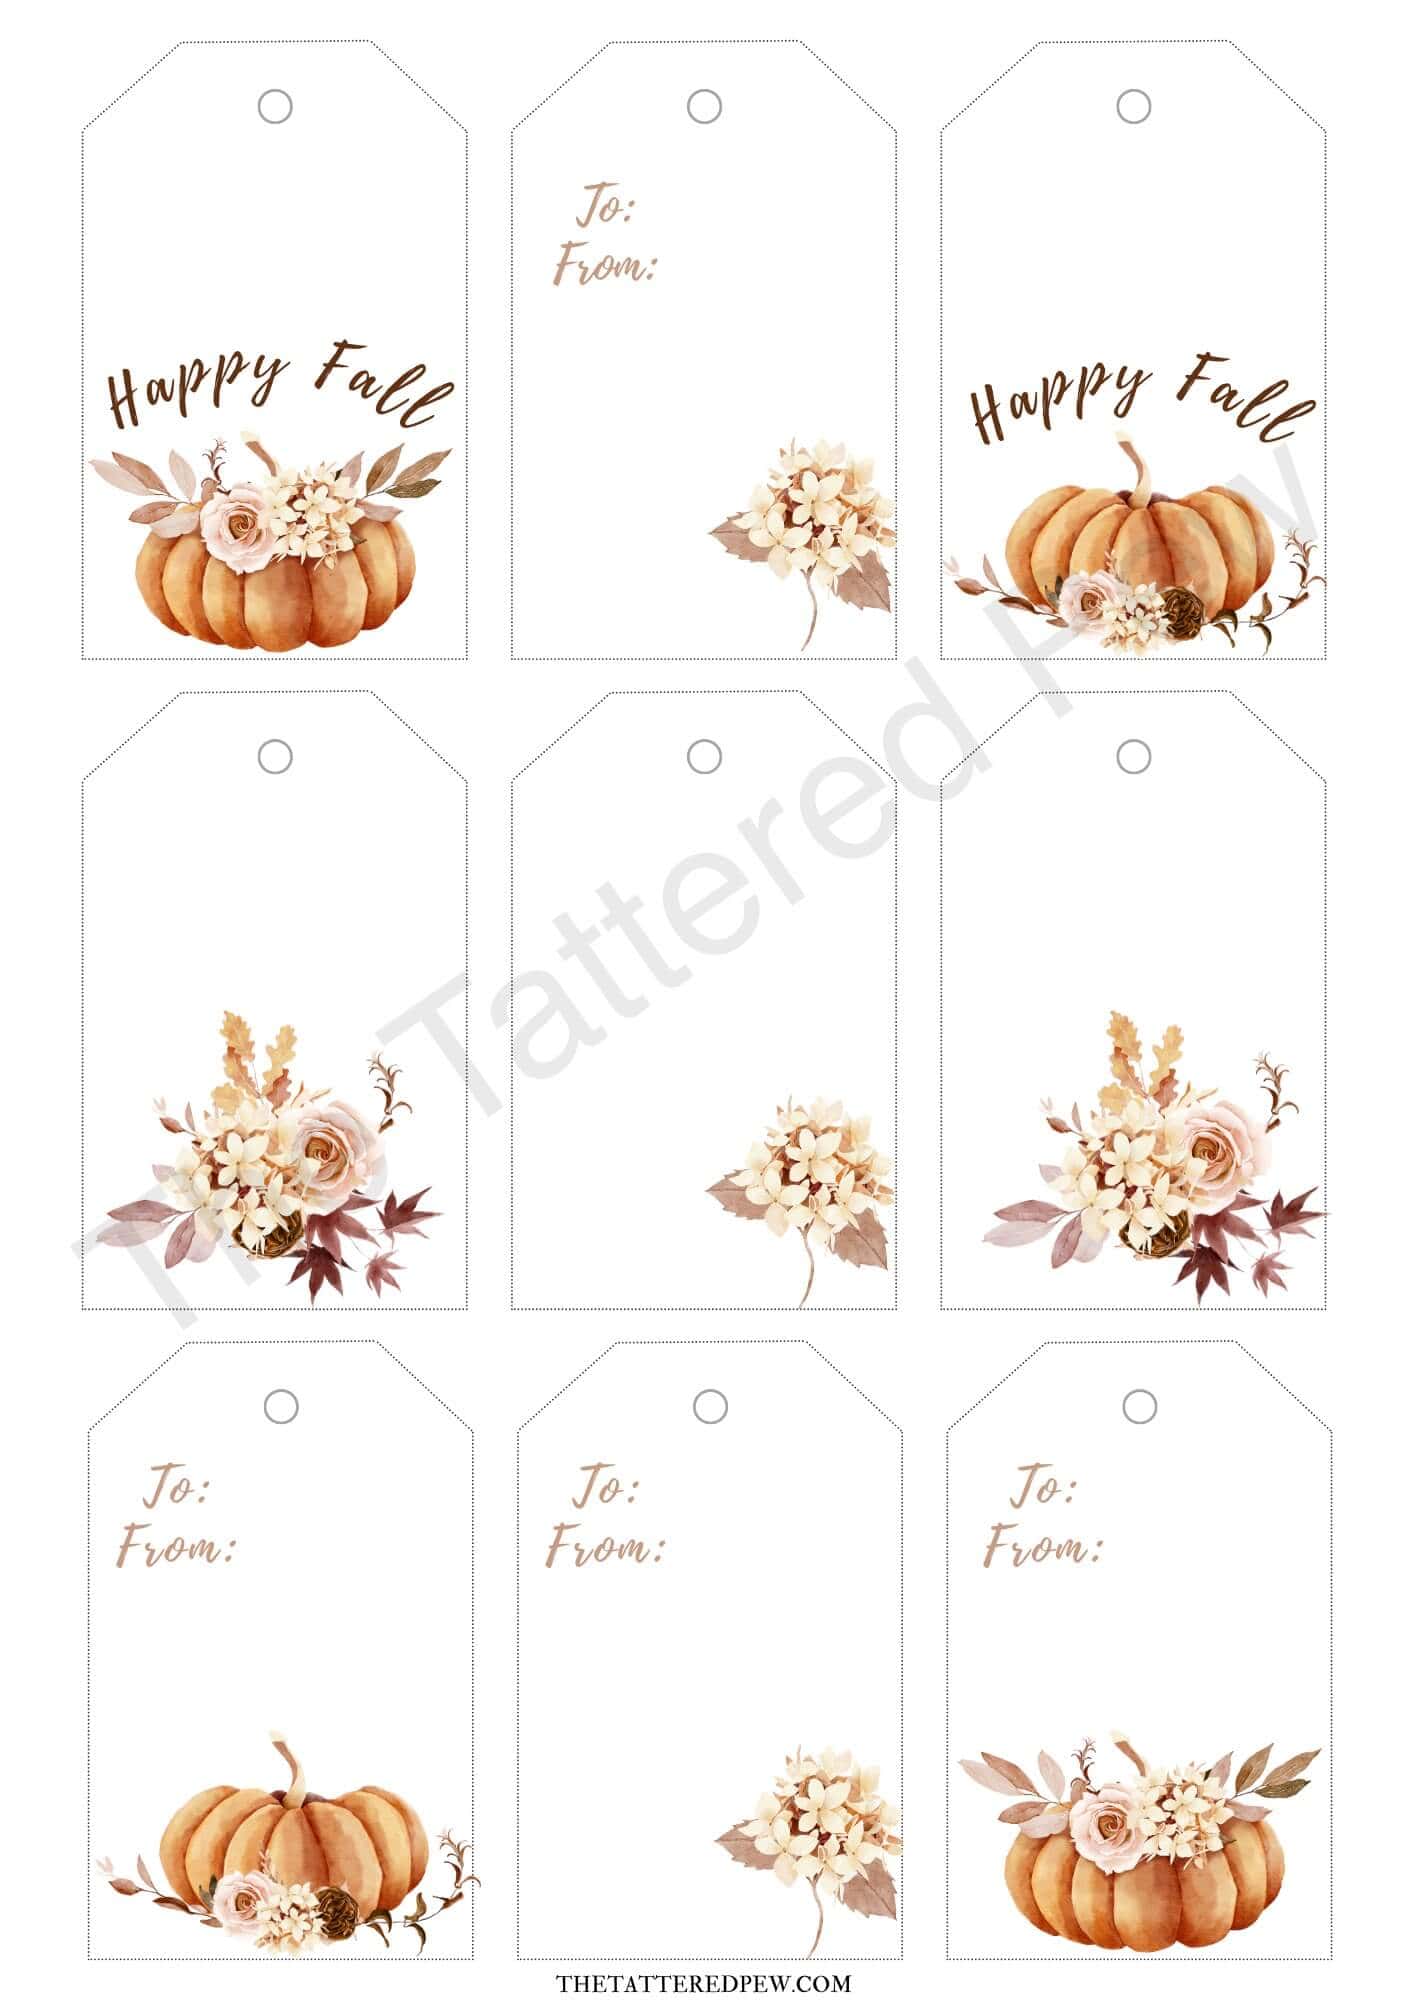
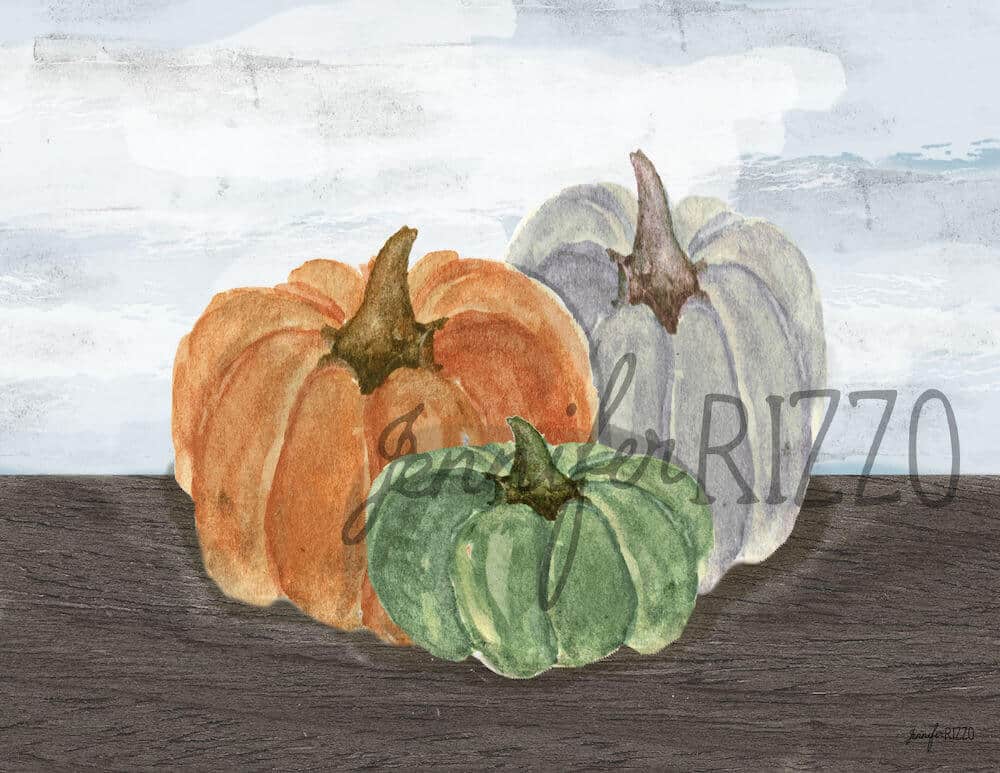
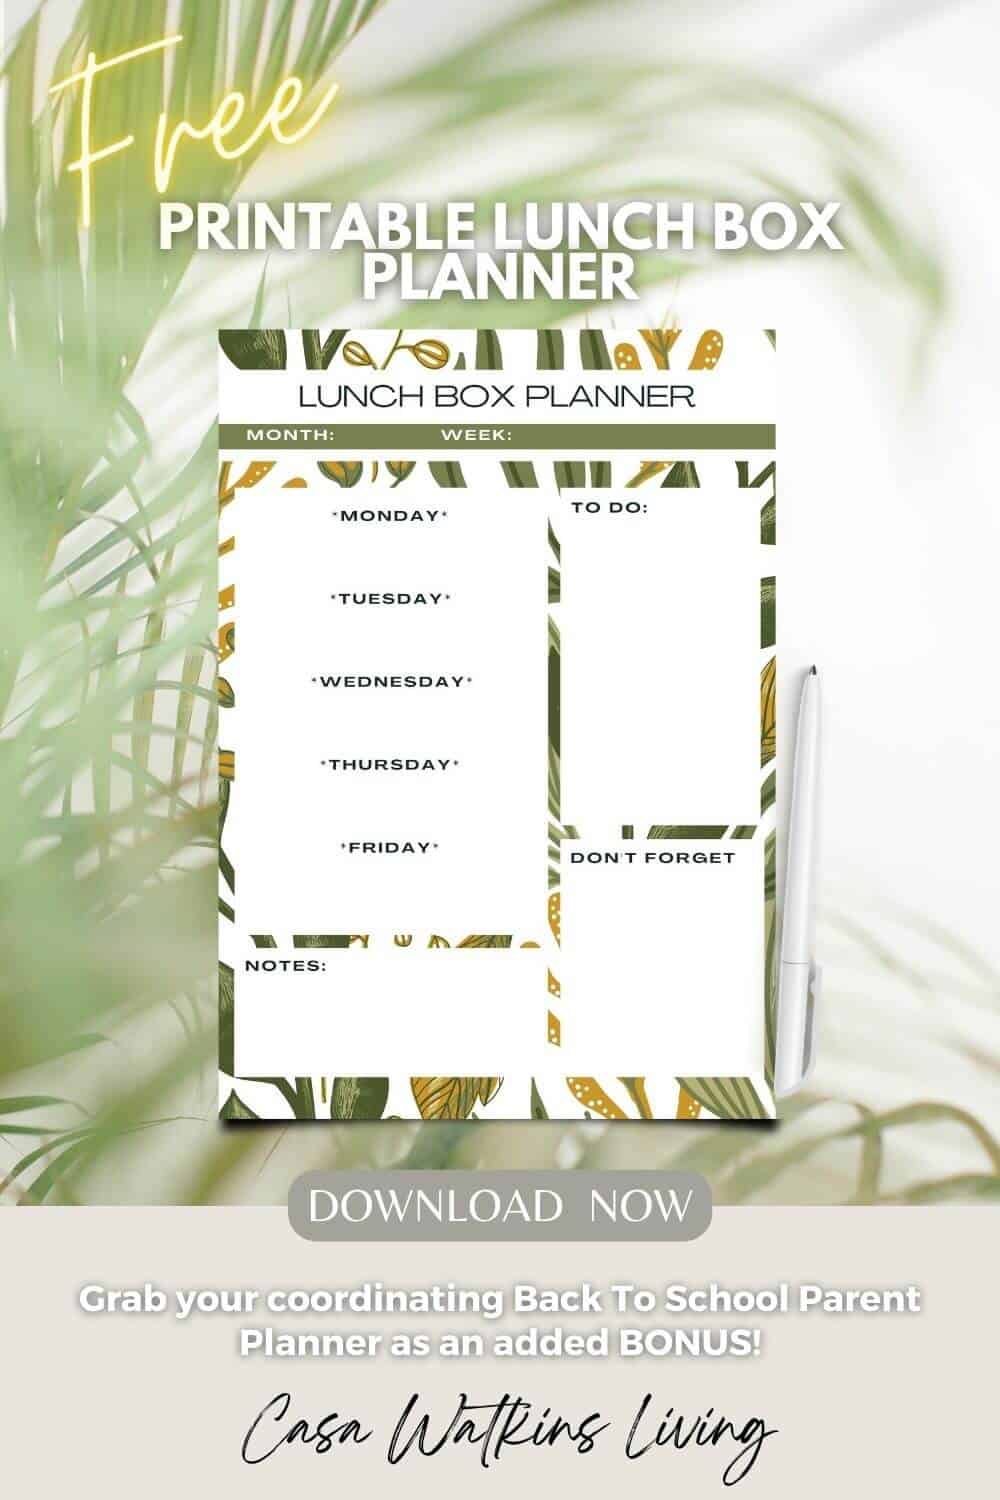
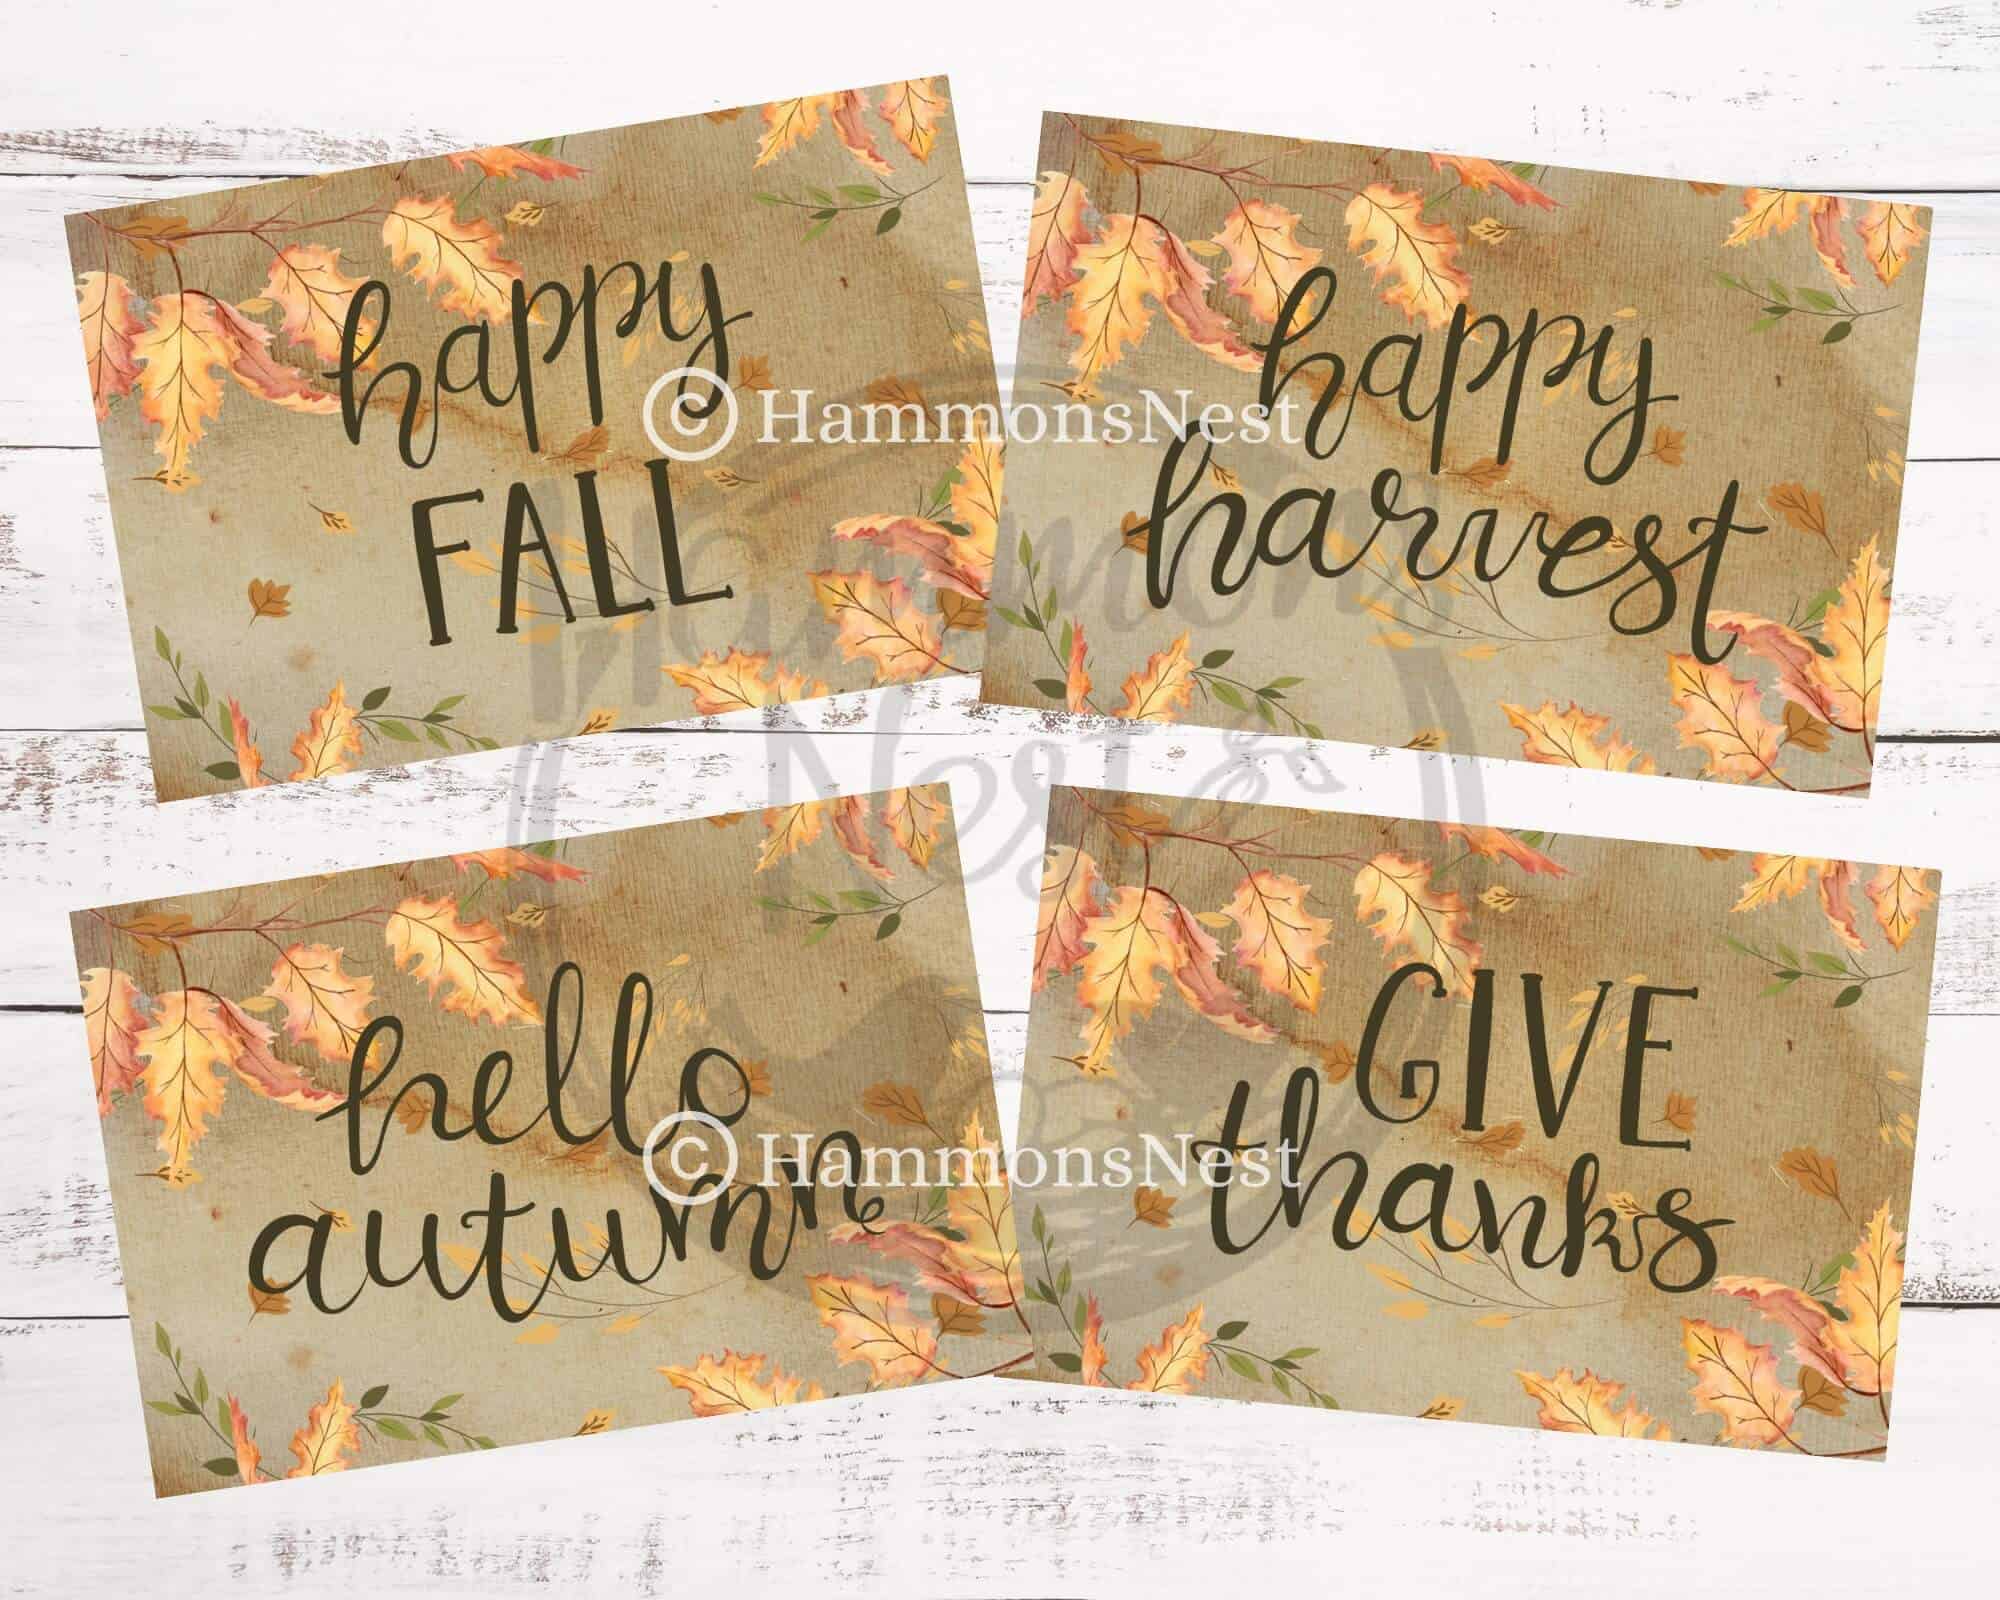
Enjoy this new quarterly collectible series of seasonal prints for you to display, craft with, or style as home decor. Be sure to visit each blogger’s site below to grab your free download!
Happy Fall Y’all!
Southern Crush at Home / Amy Sadler Designs / The Tattered Pew / Jennifer Rizzo / Mother Thyme
Salvaged Living / Cottage on Bunker Hill / Stone Gable / Casa Watkins Living / The Hammons Nest
DIY Throw Pillow Covers: How to Make Pillow Panels
Materials
- drop cloth
- scissors
- rotary cutting tool
- 4 buttons or velvet covered tacks
- ink jet printer
- 1 piece printer sticker paper
- fabric glue sticks
- doilies optional
- printable of your choice
Instructions
- Start by cutting out a piece of drop cloth or canvas approximately 8.5″x 11″ in size.
- To ensure your fabric is flat, you can use a fun little craft iron to smooth out any wrinkles.
- Next, adhere the sticker paper to the fabric and trim the edges to fit using a rotary cutting tool.
- Feed your paper-backed fabric into your inkjet color printer and print out your printable design.
- Remove the paper from the fabric and fray the edges of your drop cloth.
- Optionally, you can add pretty doilies to the corners of your pillow front using fabric glue.
- Attach the pillow panel using buttons or velvet tacks! (Remember, this is home decor for display only)






Thanks for letting me join in the fun for Fall!
Definitely! I appreciate you!
I just adore your DIY Pillow Panel and graphic design! I love printing on fabric too!
Thank you so much my friend! Thanks for stopping by!
Such a pretty printable! I love this idea of printing on fabric and putting it on a pillow!
I’m so glad you like it! Thank you for stopping by my friend!!!