How to Make & Feed Sourdough Starter the Easy Way
If you haven’t jumped on the homemade sourdough bread wagon there’s no time like the present. Use this recipe for a homemade sourdough starter so you can easily bake up fresh sourdough at home.
There’s nothing quite like the smell of bread baking in the oven and, of course, the taste but first you have to make and feed this sourdough starter so your homemade bread will rise.
Making bread from scratch has always seemed so complicated and difficult, but once you get this sourdough starter going you’ll see it really isn’t that tough.
All you need is some flour, water, and patience to get this sourdough starter off the ground.
PIN this for later!
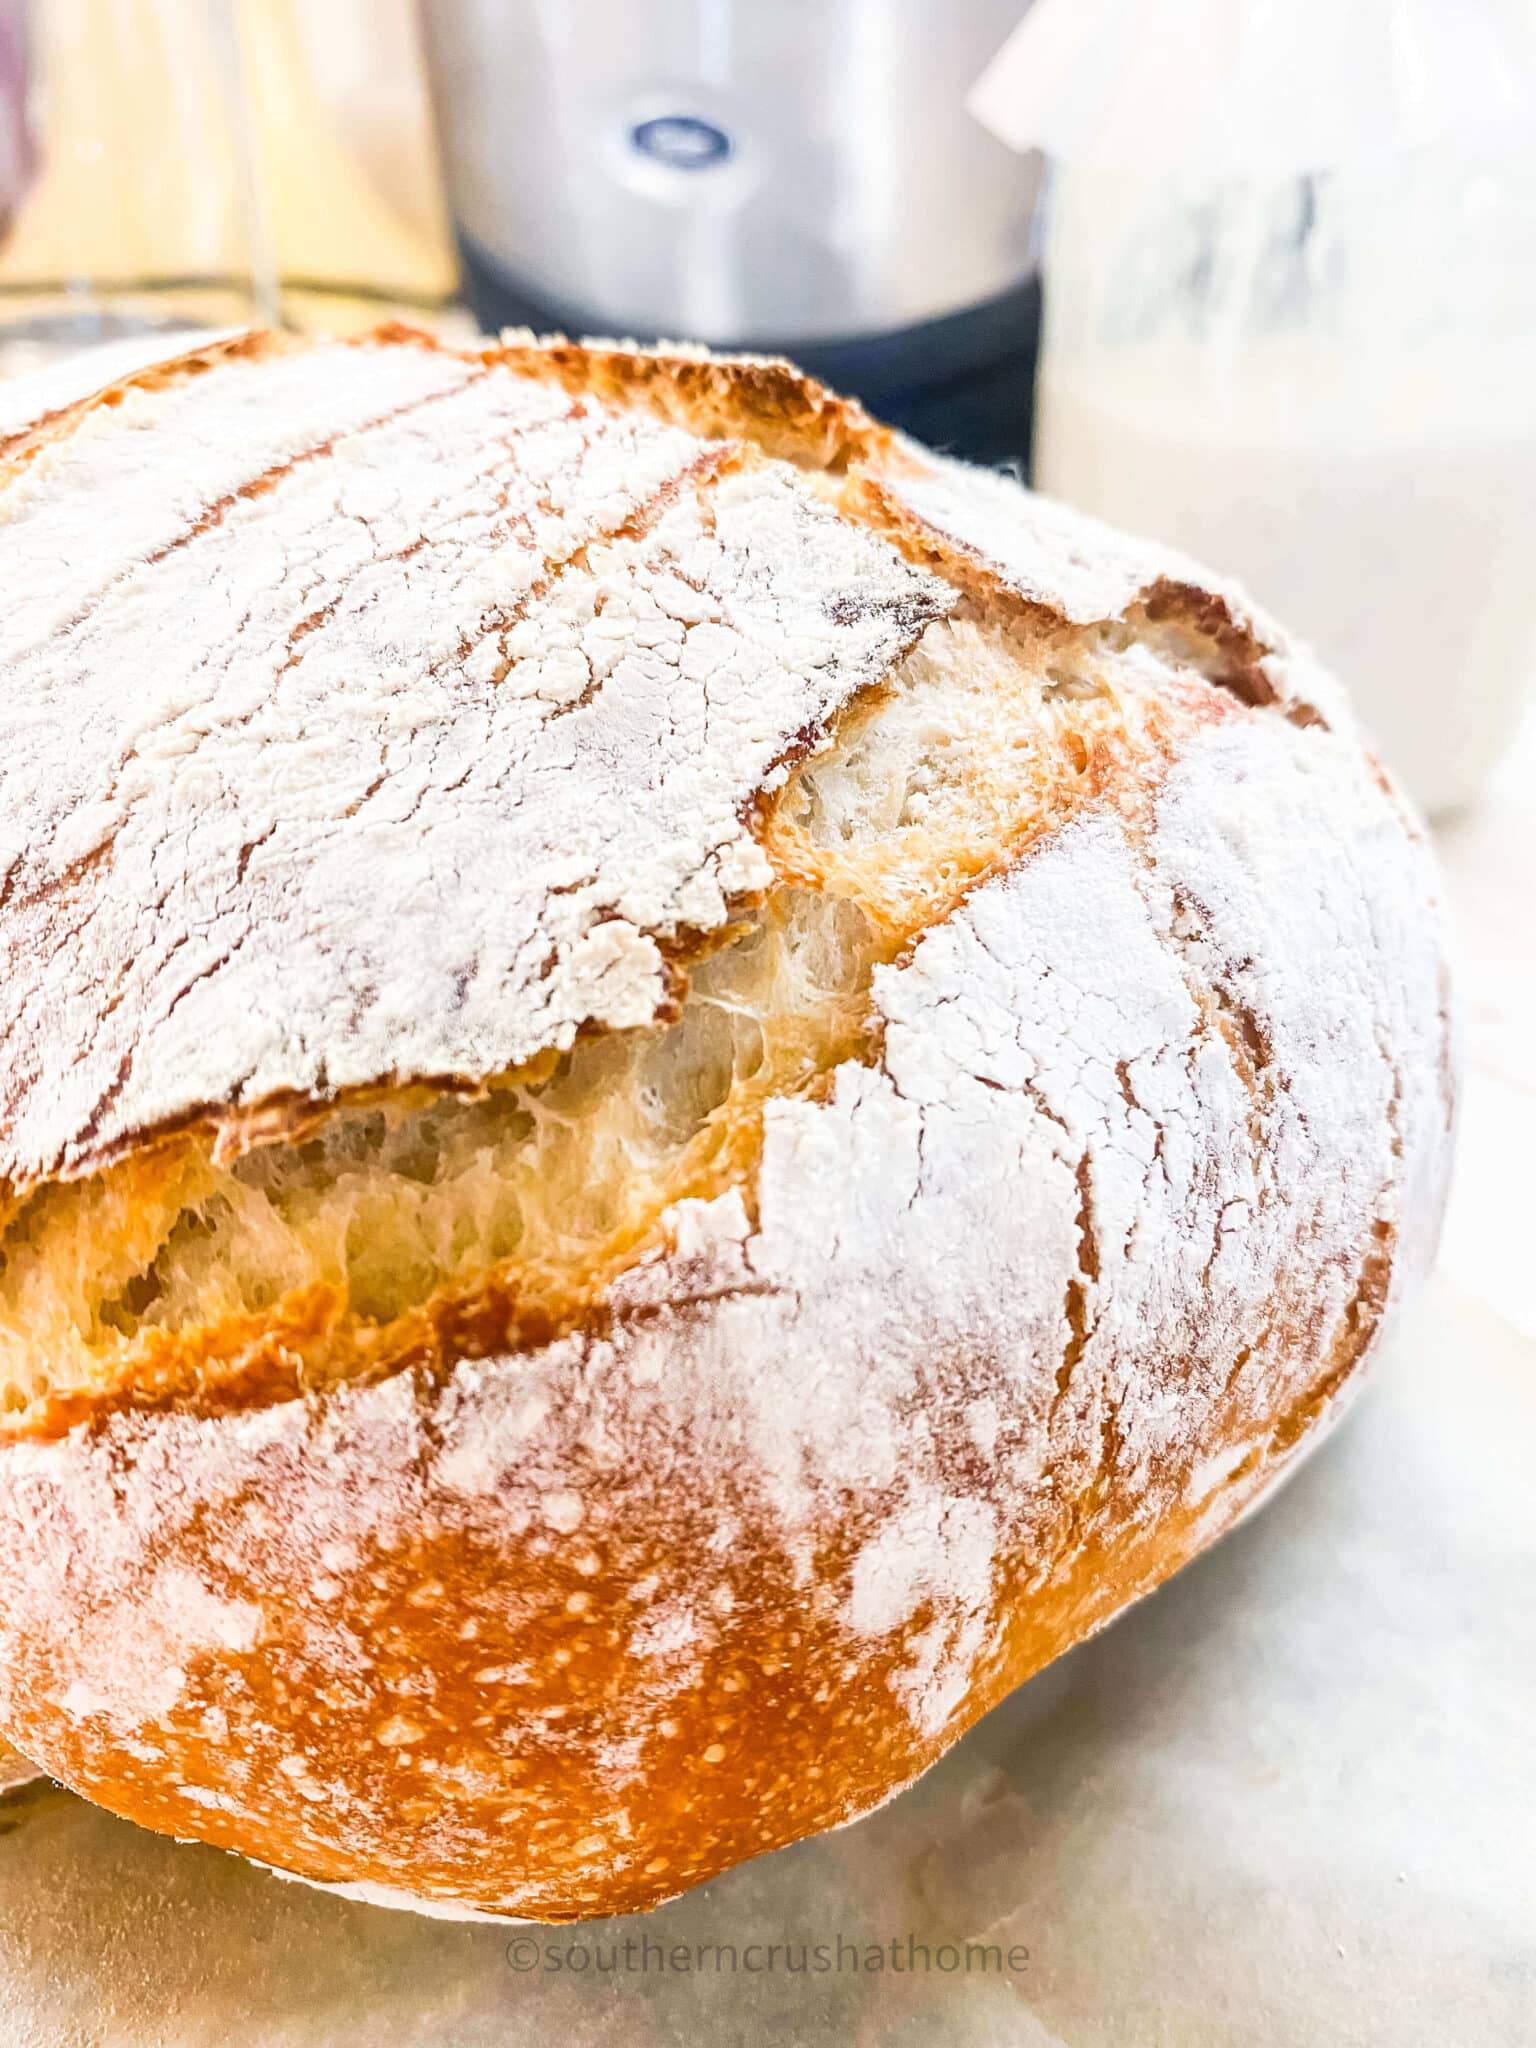
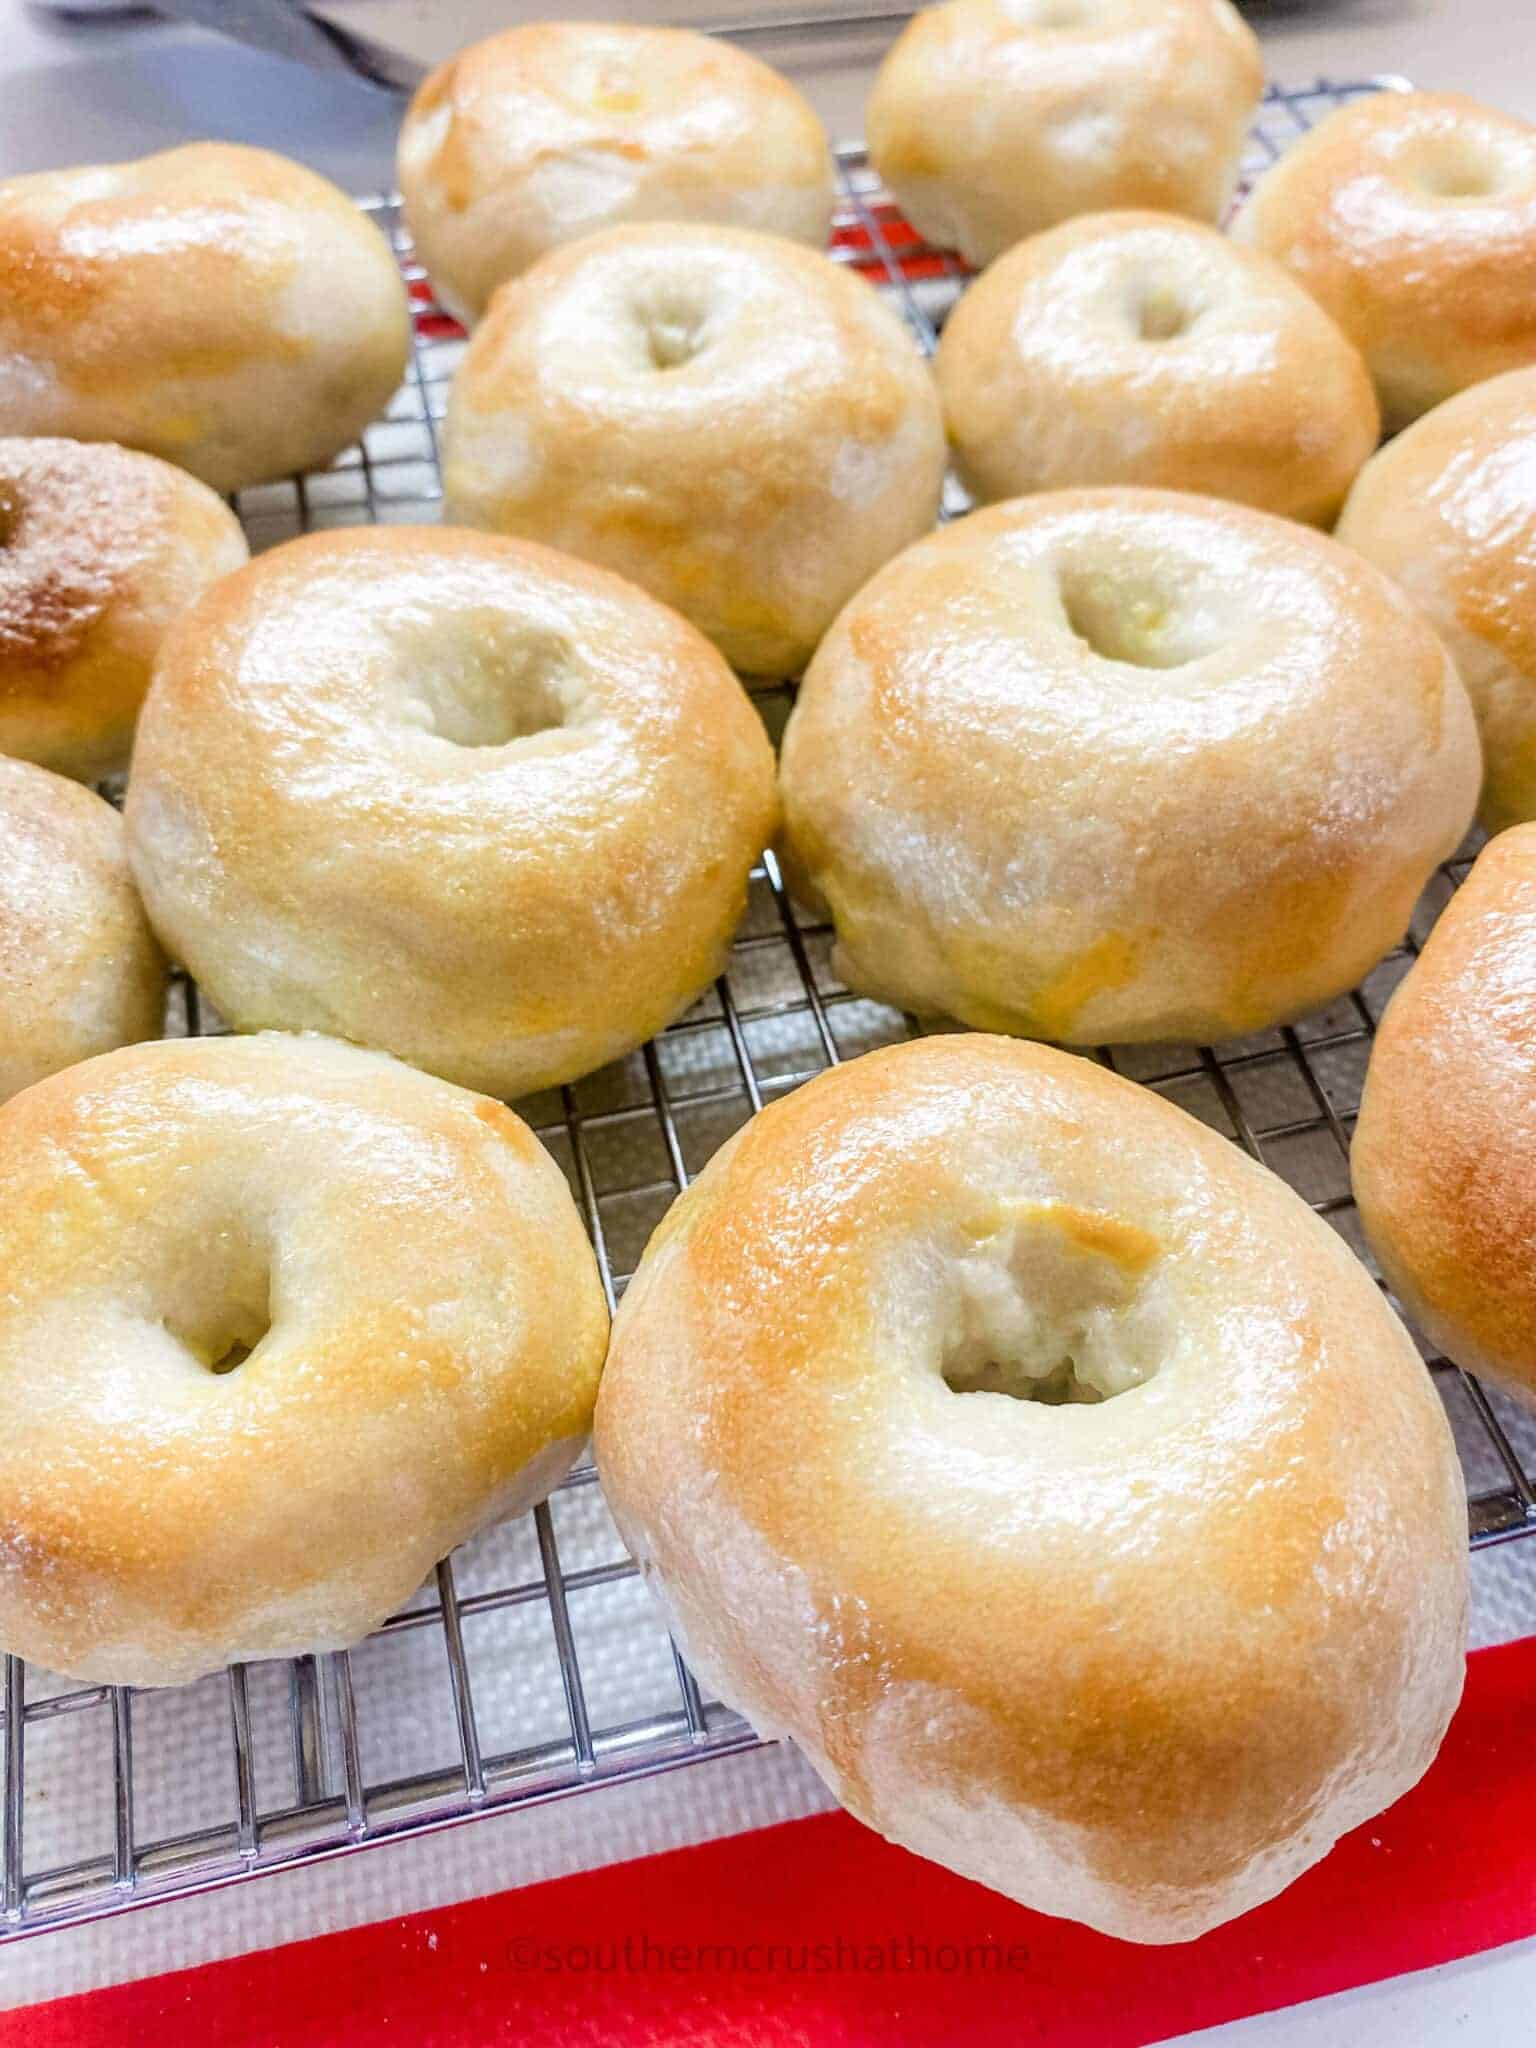
Once you’ve got the starter developed you can use it to make sourdough bread, muffins, cakes, and sourdough pizza crust. Sourdough has risen in popularity for its many health benefits. The thinking is that it is healthier than white bread due to the fact it is fermented which makes it easier to digest.
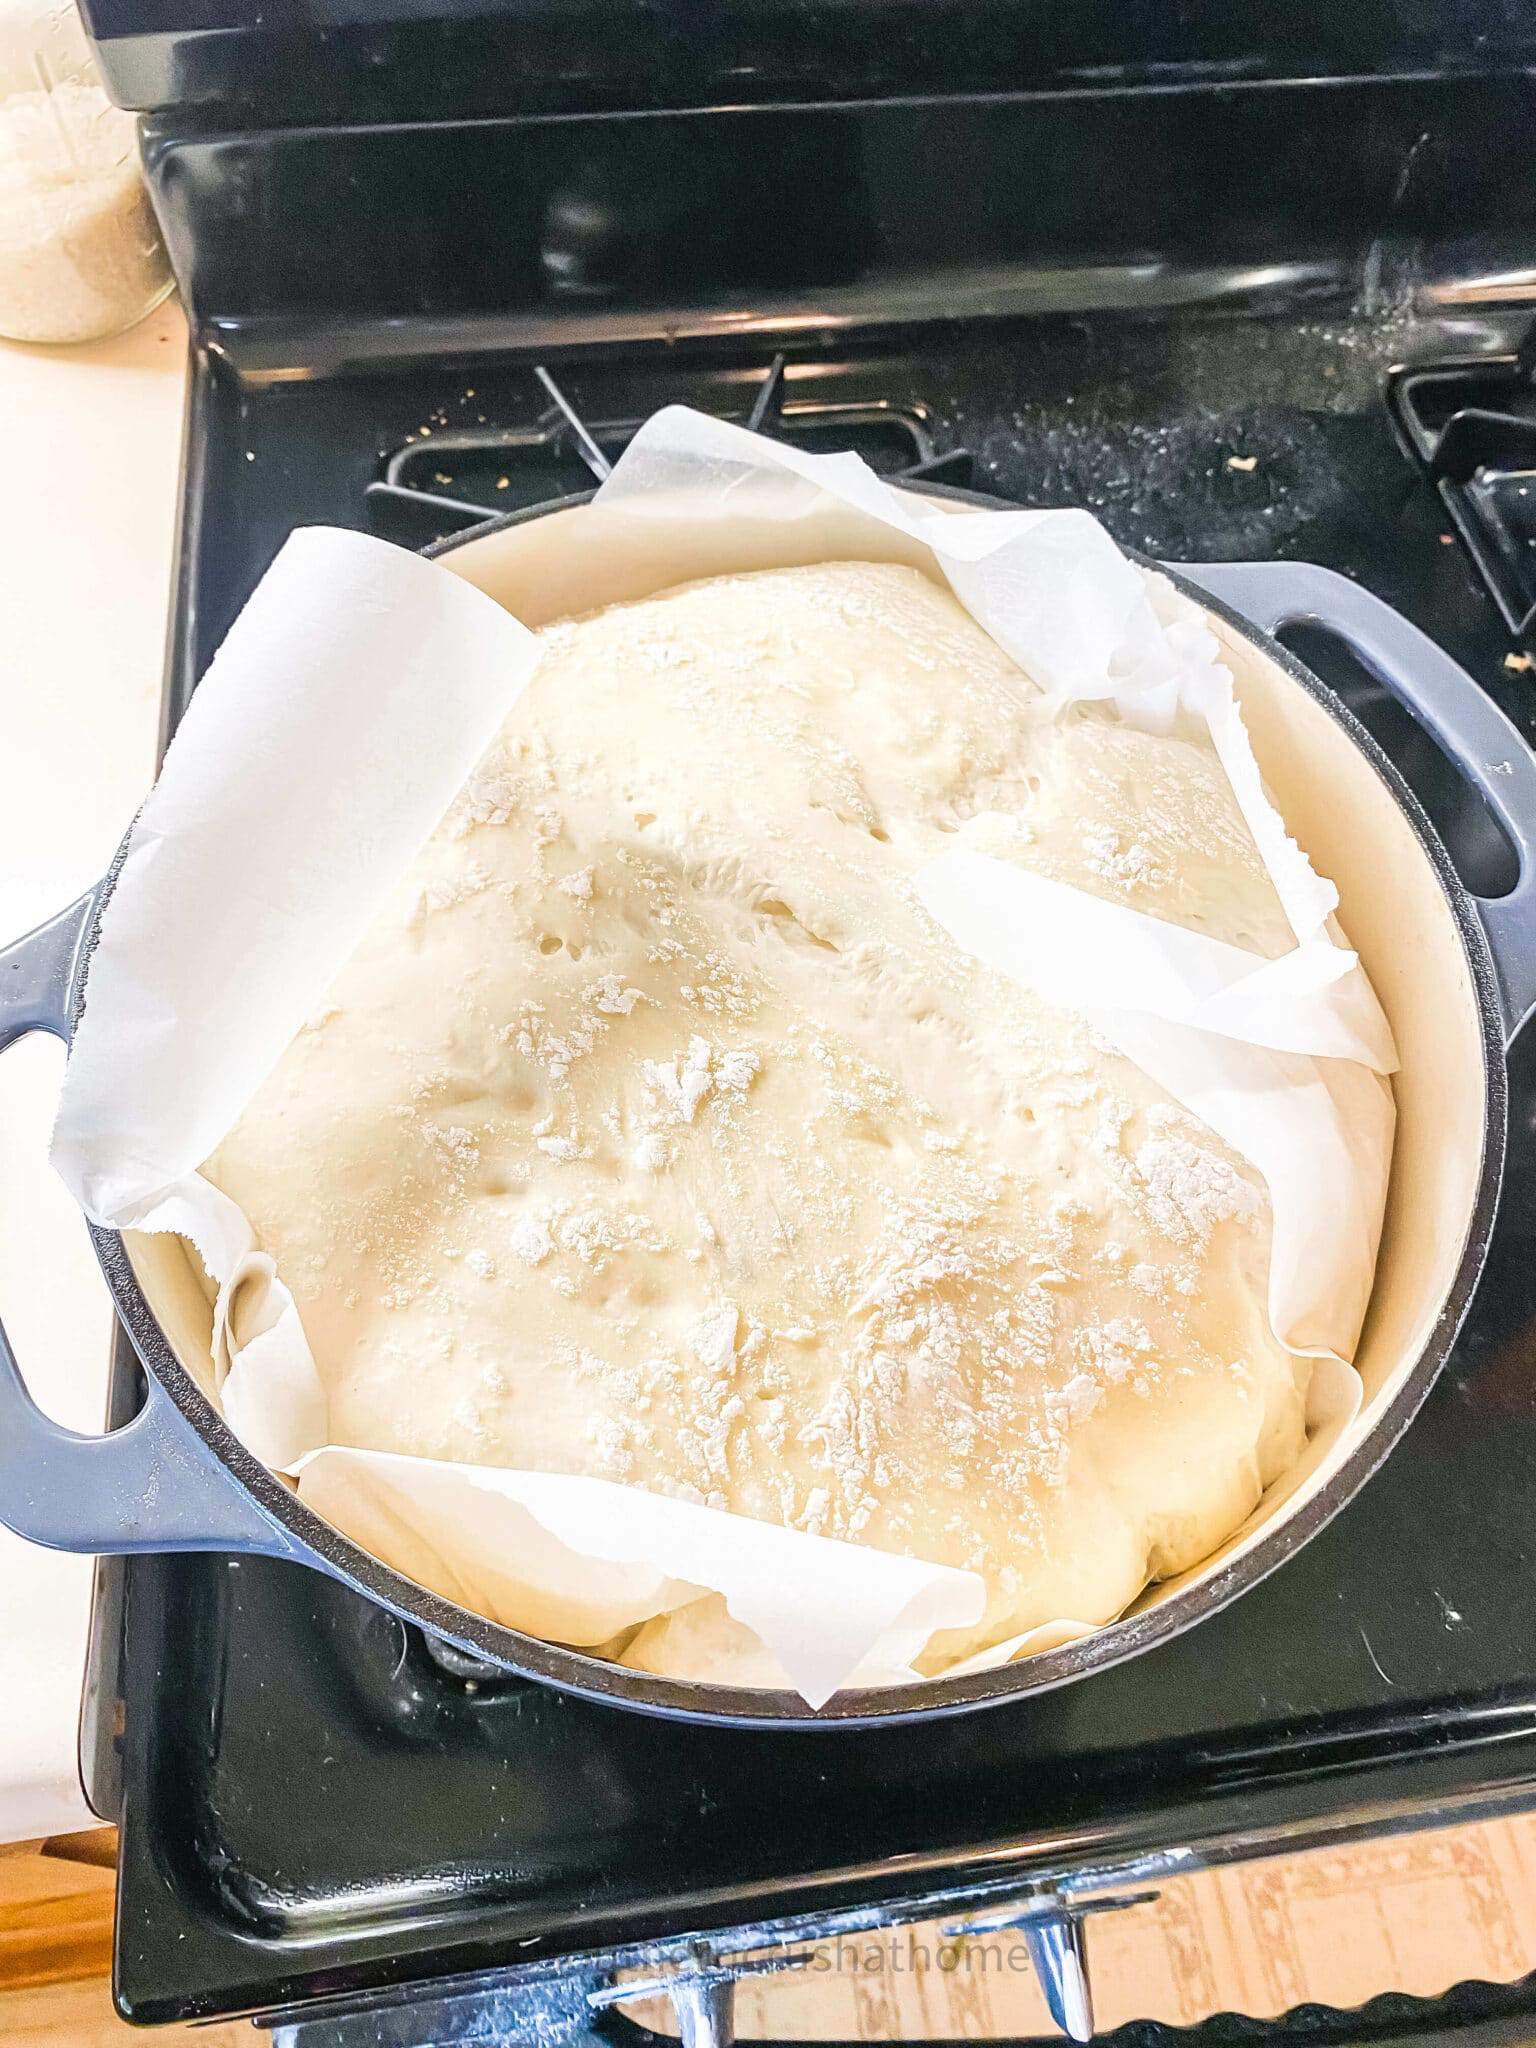
Looking for more bread recipe options? Try this Homemade Bread in the Dutch Oven, this Best Peanut Butter Bread Recipe or this Warm Texas Toast Garlic Bread.
Why You’ll Love This Recipe For Sourdough Starter
- Only 2 ingredients – You only need flour and water to get this sourdough starter going
- Simple, easy-to-follow instructions – You can’t go wrong following these steps. There’s not much to do really.
Equipment Needed
- Mason Jar
- Measuring cups
- Rubberband
Ingredients To Make Sourdough Starter
Ingredients
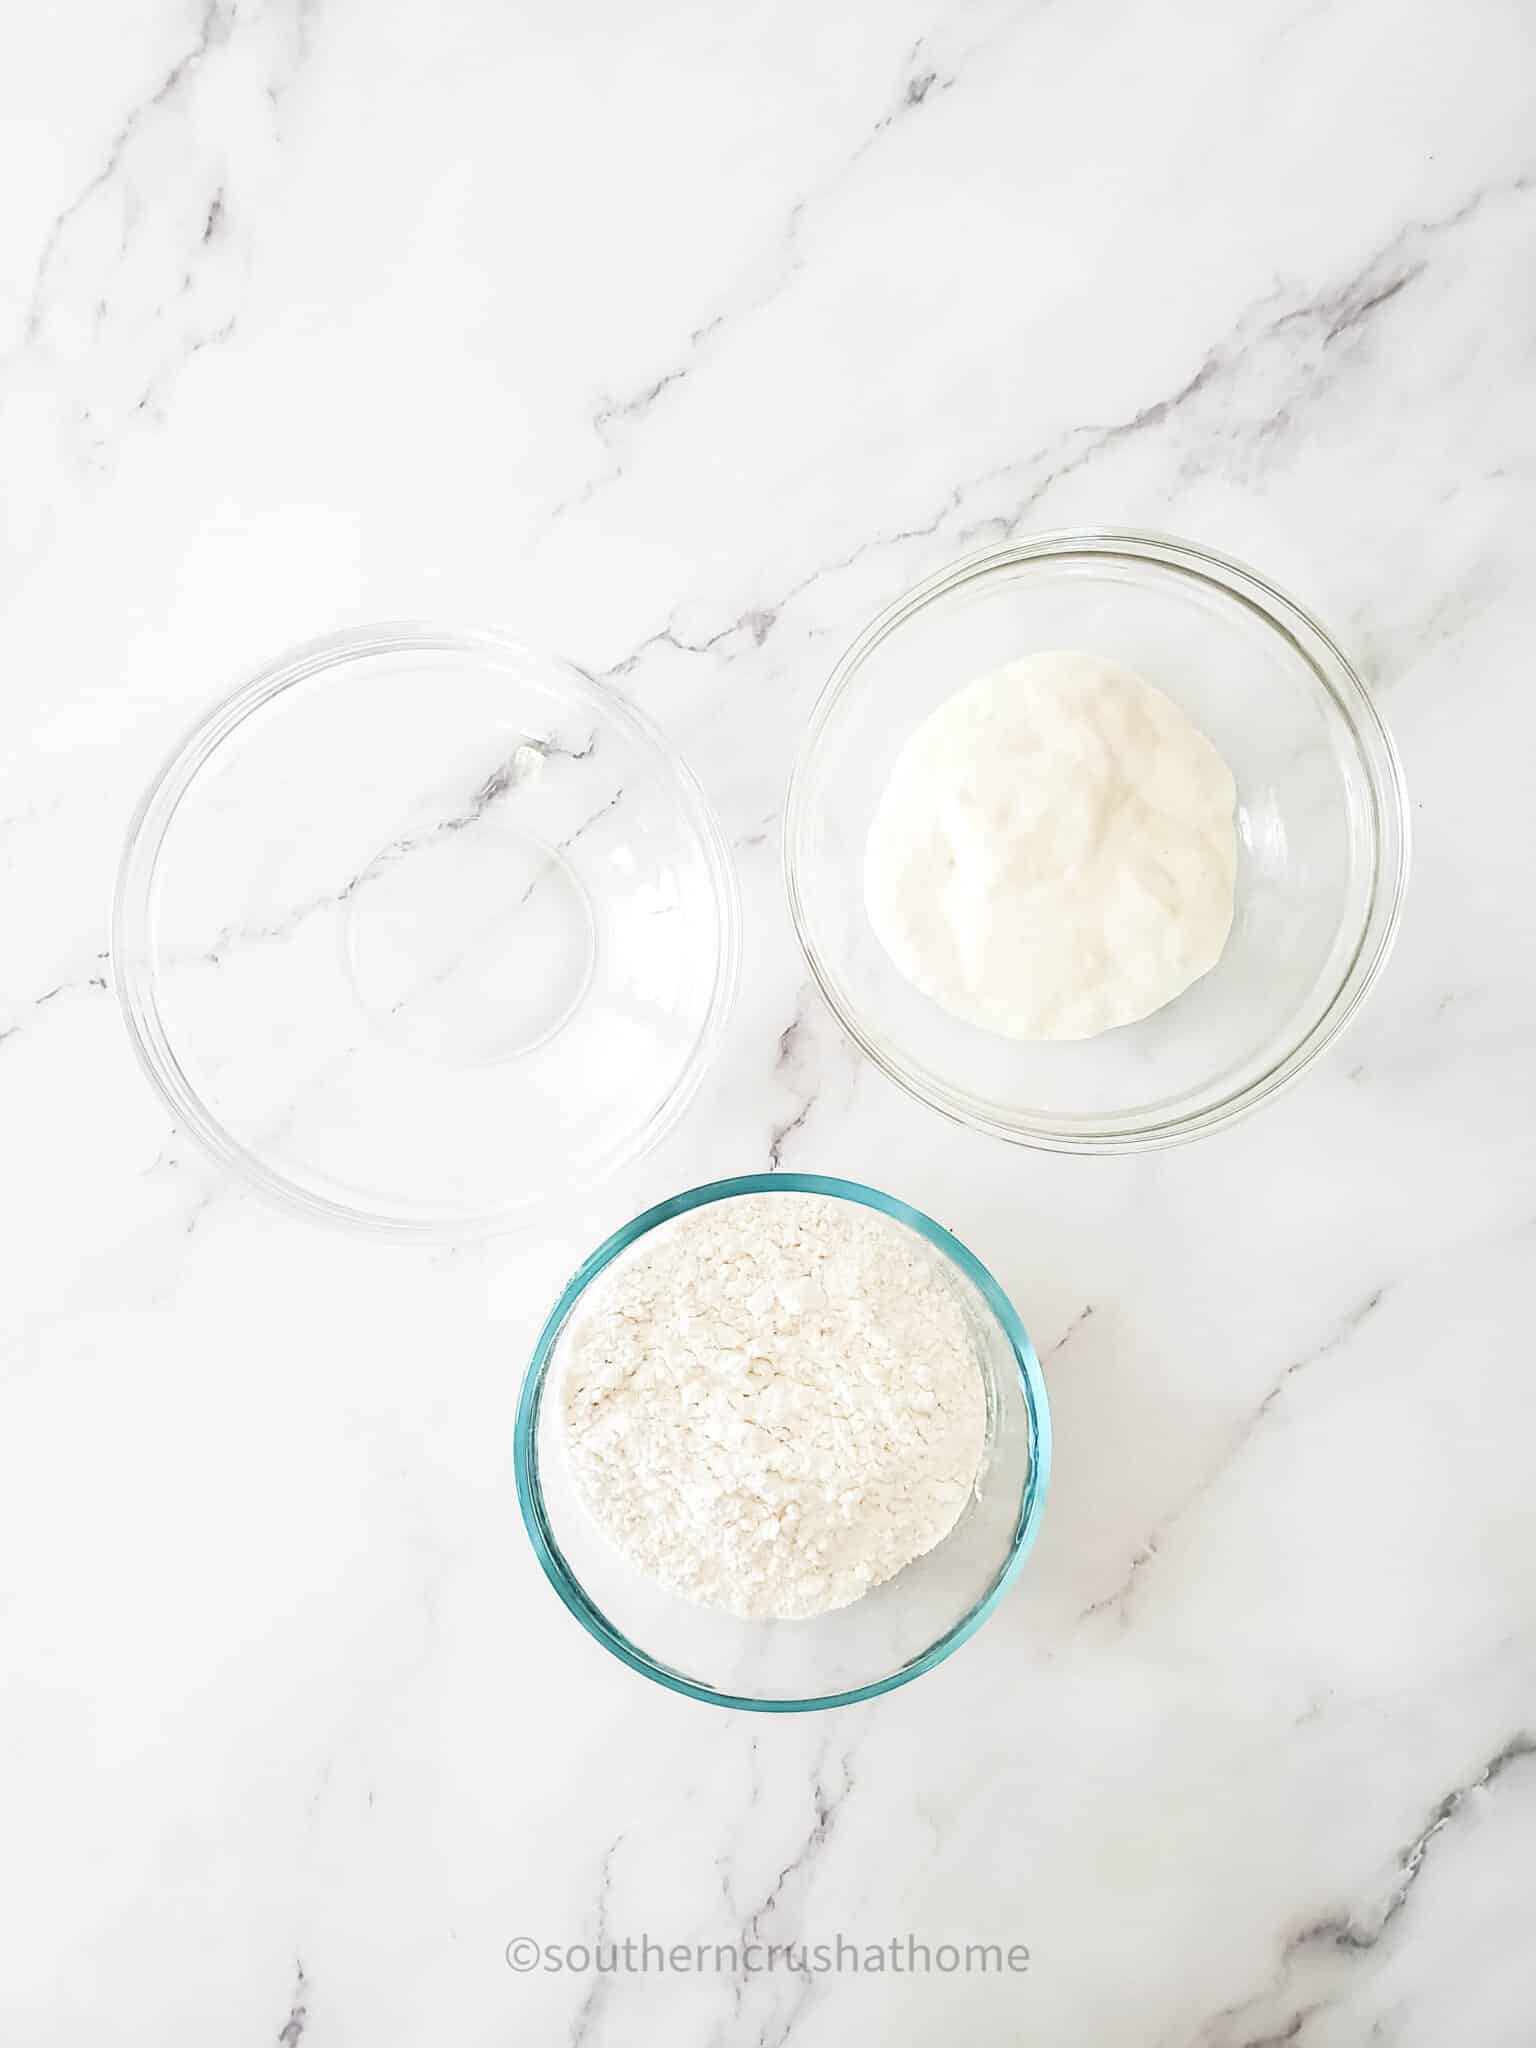
1st day: For the starter
- 60 g wheat flour (best) or all-purpose flour (okay)
- 60 g water
Days 3+:
- 60 g starter
- 60 g all-purpose flour
- 60 g water
How To Feed Sourdough Starter
Day 1:
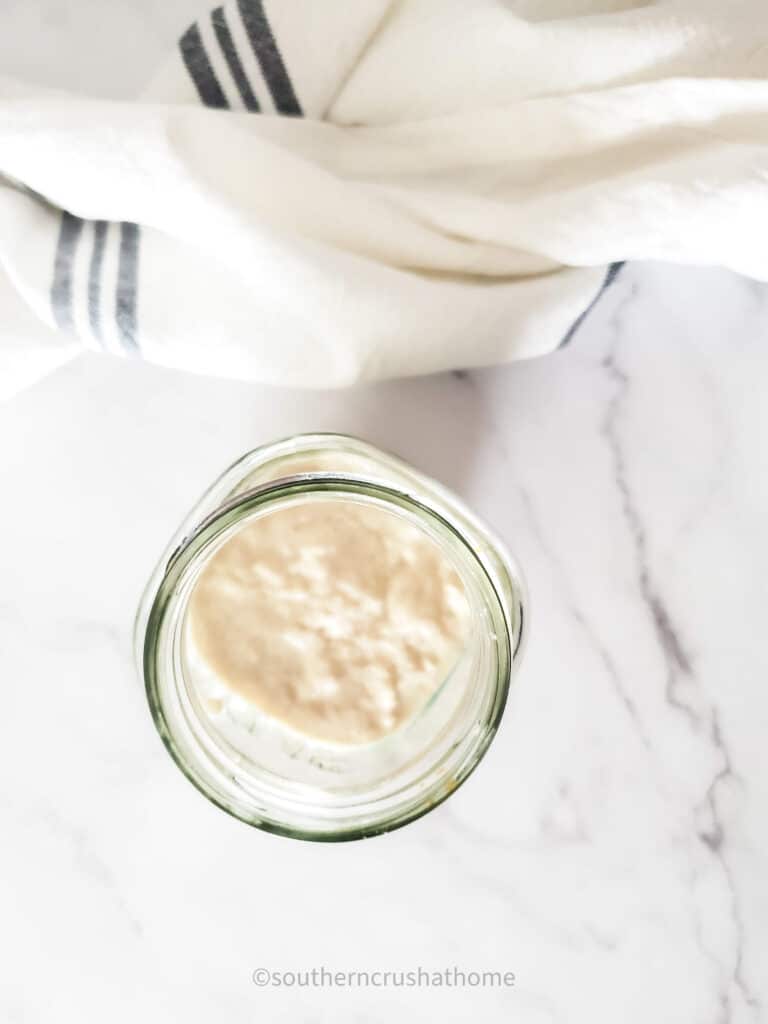
- Mix together the flour and water. Cover with a clean towel and place in a warm spot (75-80°F) for 48 hours. After 48 hours you may not see much going on.
Day 3:
- You should start seeing bubbles around day 2, but if you don’t see a lot of action, don’t worry. Pour off any of the dark liquid (hooch.) Stir the starter. Remove 60 g, and discard the rest.
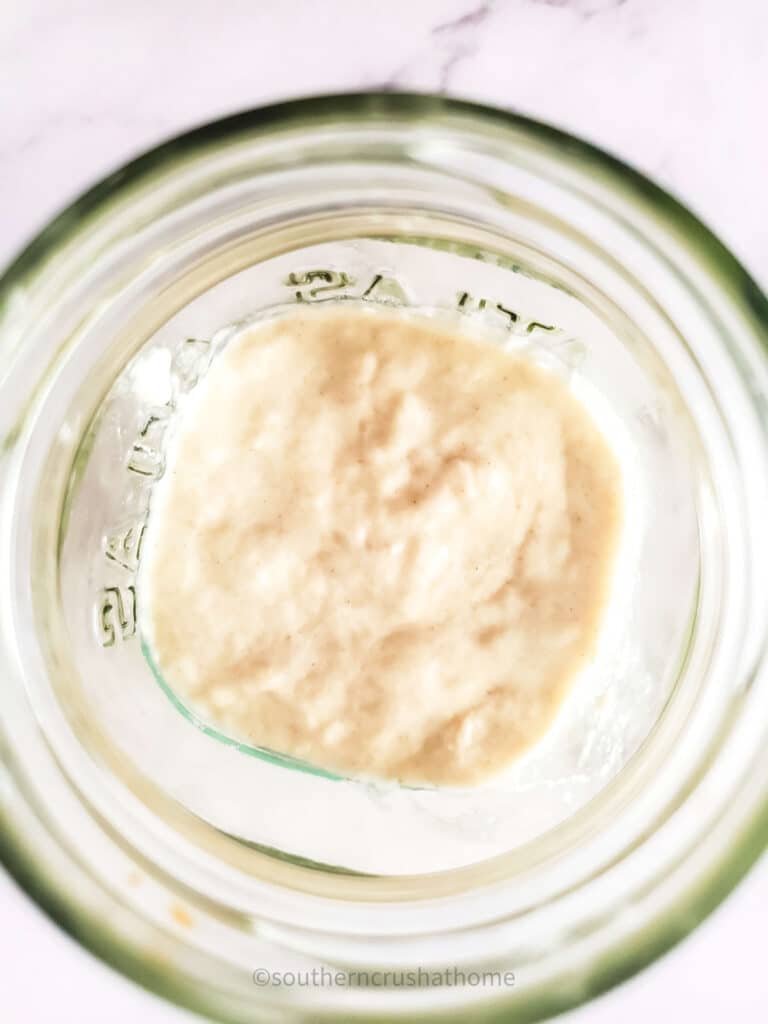
- Mix together the starter, flour, and water, and return to a clean bowl or jar. Cover with a clean towel and let it sit in a warm spot for another 24 hours.
Day 4+:
- Repeat the process from day 2. If the top “skin” is dried out, remove the skin and discard. If you have any hooch, you can discard that too. Stir the starter. Remove 60 grams of starter and discard the remainder.
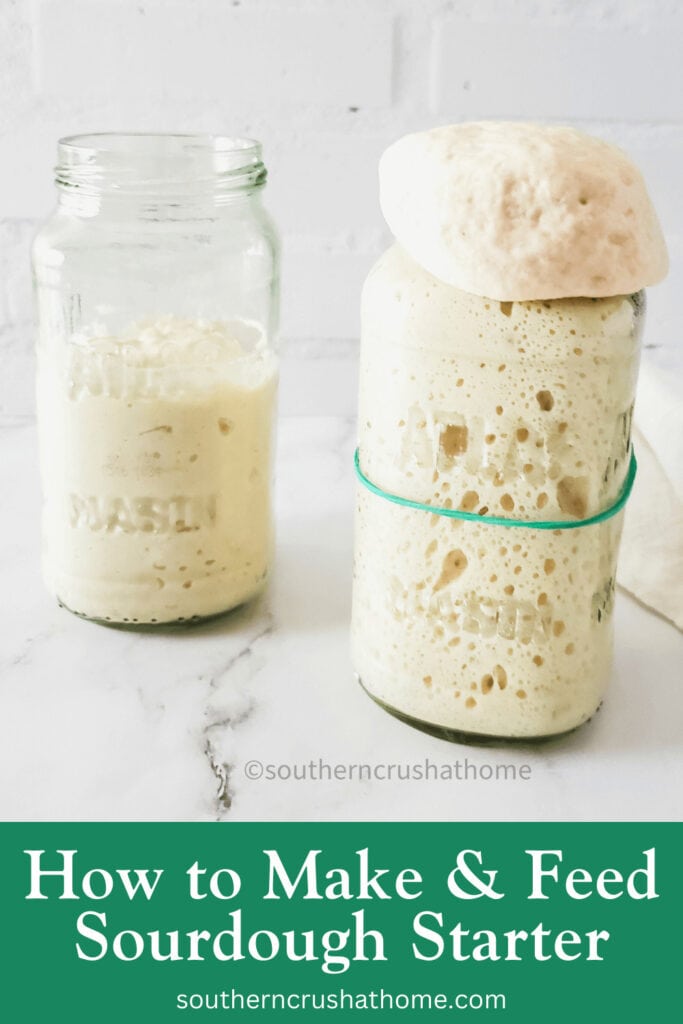
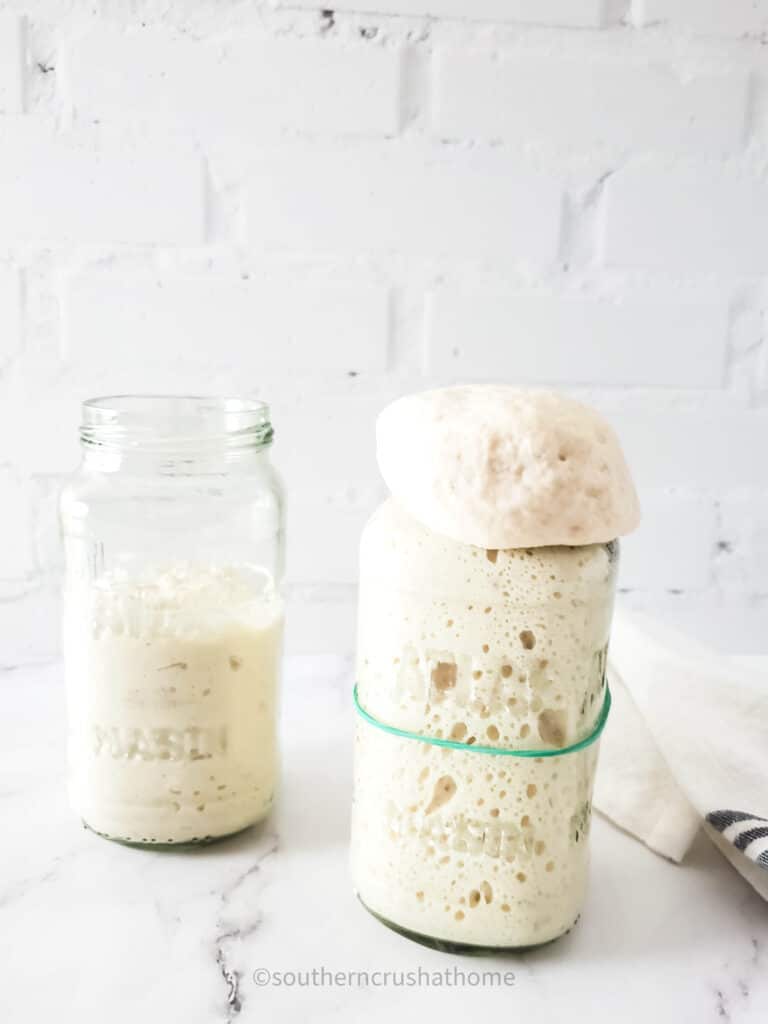
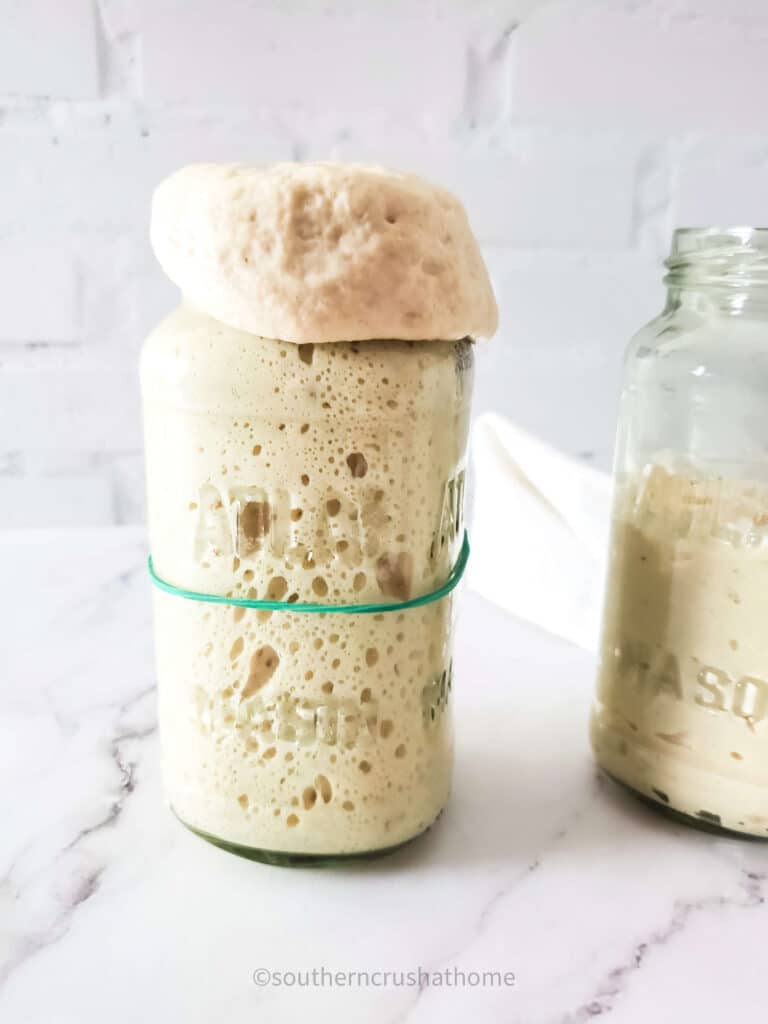
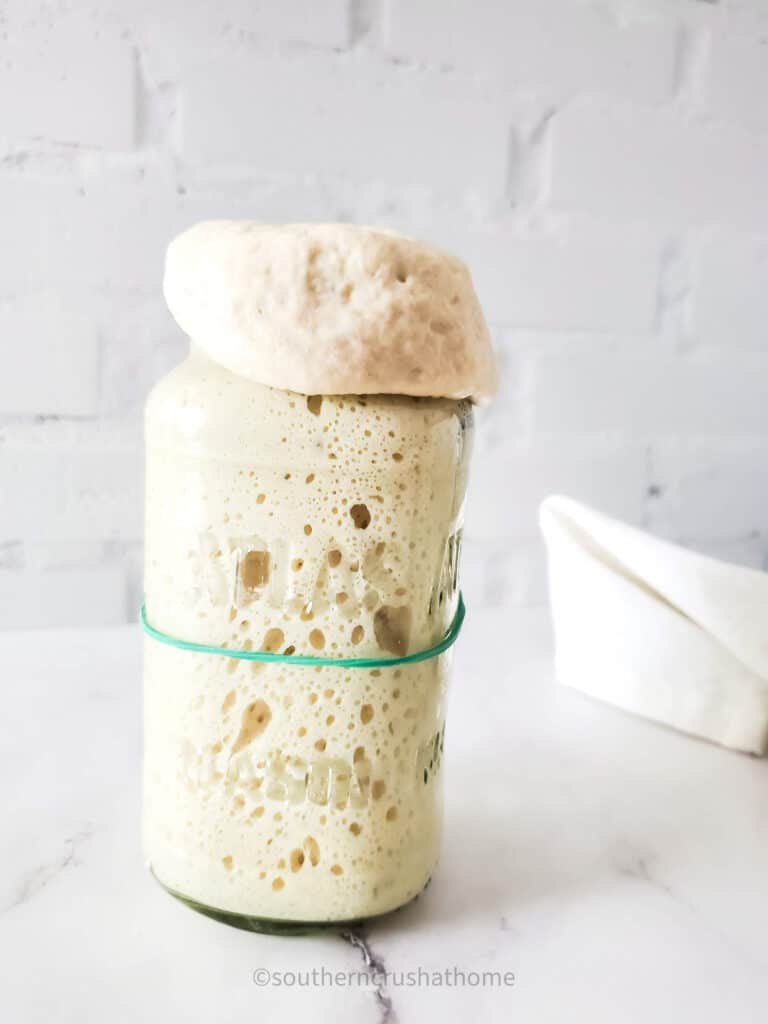
- Mix together the flour, starter, and water together. It is helpful to mark the top of the starter on the outside of the bowl or jar with a wet-erase marker or rubber band so you can see how much the starter rises throughout the day.
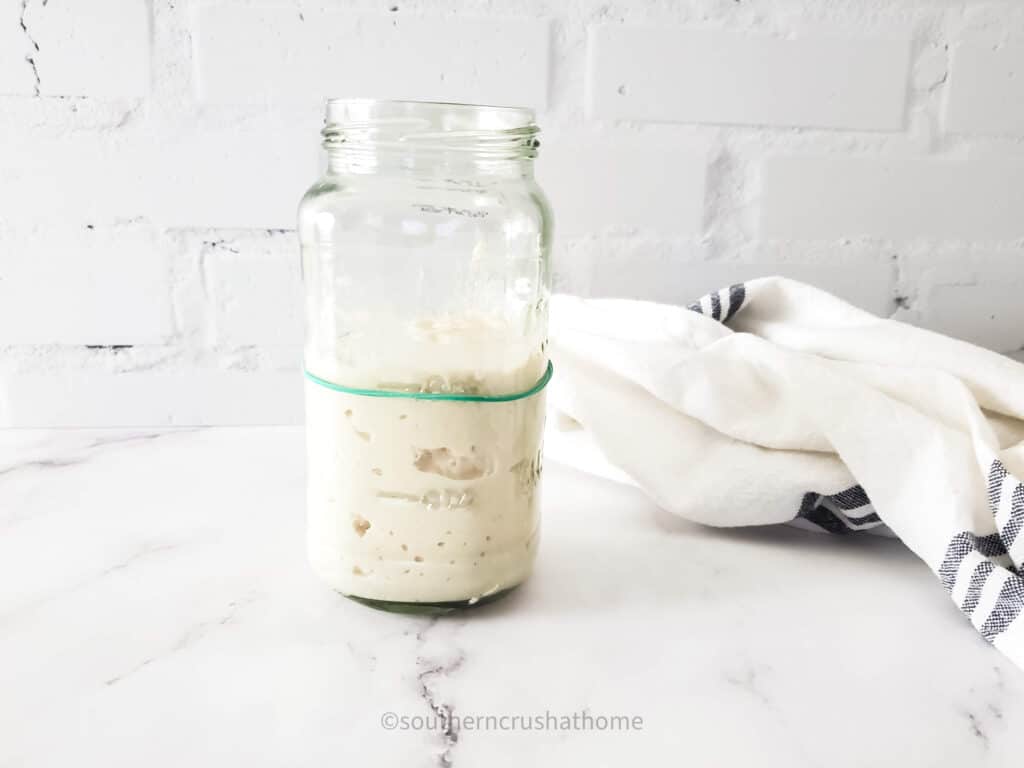
- Continue daily for 7 to 14 days. You will know your starter is ready to be used when it doubles in size within 4 hours and can pass a float test. (Place a teaspoon of starter in a cup of water. The starter should float if it’s ready to use.)
Variations
- Make a gluten-free sourdough using a gluten-free flour.
- If you don’t have all-purpose flour you can use whole wheat, spelt, or rye.
Tips and Tricks
- Patience is key when it comes to allowing a sourdough starter to develop so don’t give up.
- Keep the starter alive after you’ve started using it by placing it in the fridge and continuing to feed it once a week.
- If you are looking for a warm spot to place the starter you can place it in the oven with the light on for a few hours. Keep the starter away from drafty windows.
FAQs
What is a sourdough starter?
A sourdough starter is a combination of fresh flour and water that forms a live fermented culture. This live fermented culture is then used to bake bread or other baked goods.
What can I make with this sourdough starter?
Sourdough starters are used to make bread but can also be used in muffins, cakes, and pizza crusts.
What do the bubbles mean?
If you see bubbles forming on your water and flour combination it means that the fermenting process is happening. This is a good thing.
What is the brown liquid that is forming?
This brown liquid is called hooch and is part of the fermenting process. Pour it off and continue feeding your starter.
How to Make & Feed Sourdough Starter
Equipment
- Measuring Cups
- rubberband
Ingredients
1st Day For the Starter
- 60 g 60 g wheat flour (best) or all-purpose flour (okay)
- 60 g water
Days 3+
- 60 g starter
- 60 g all-purpose flour
- 60 g water
Instructions
Day 1
- Mix together the flour and water. Cover with a clean towel and place in a warm spot for 75-80°F for 48 hours. After 48 hours you may not see much going on.
Day 3
- You should start seeing bubbles around day 2, but if you don’t see a lot of action, don’t worry. Pour off any of the dark liquid (hooch.) Stir the starter. Remove 60 g, and discard the rest. Mix together the starter, flour and water, and return to a clean bowl or jar. Cover with a clean towel and let it sit in a warm spot for another 24 hours.
Day 4+
- Repeat the process from day 2. If the top “skin” is dried out, remove the skin and discard. If you have any hooch, you can discard that too. Stir the starter. Remove 60 grams of starter and discard the remainder. Mix together the flour, starter and water together. It is helpful to mark the top of the starter on outside of the bowl or jar with a wet erase marker or rubber band so you can see how much the starter rises throughout the day. Continue daily for 7 to 14 days. You will know your starter is ready to be used when it doubles in size within 4 hours and can pass a float test. (Place a teaspoon of starter in a cup of water. The starter should float if it’s ready to use.)

