8 Easy Steps to Declutter a Cabinet

>>>BE SURE TO PIN THIS FOR LATER!<<<
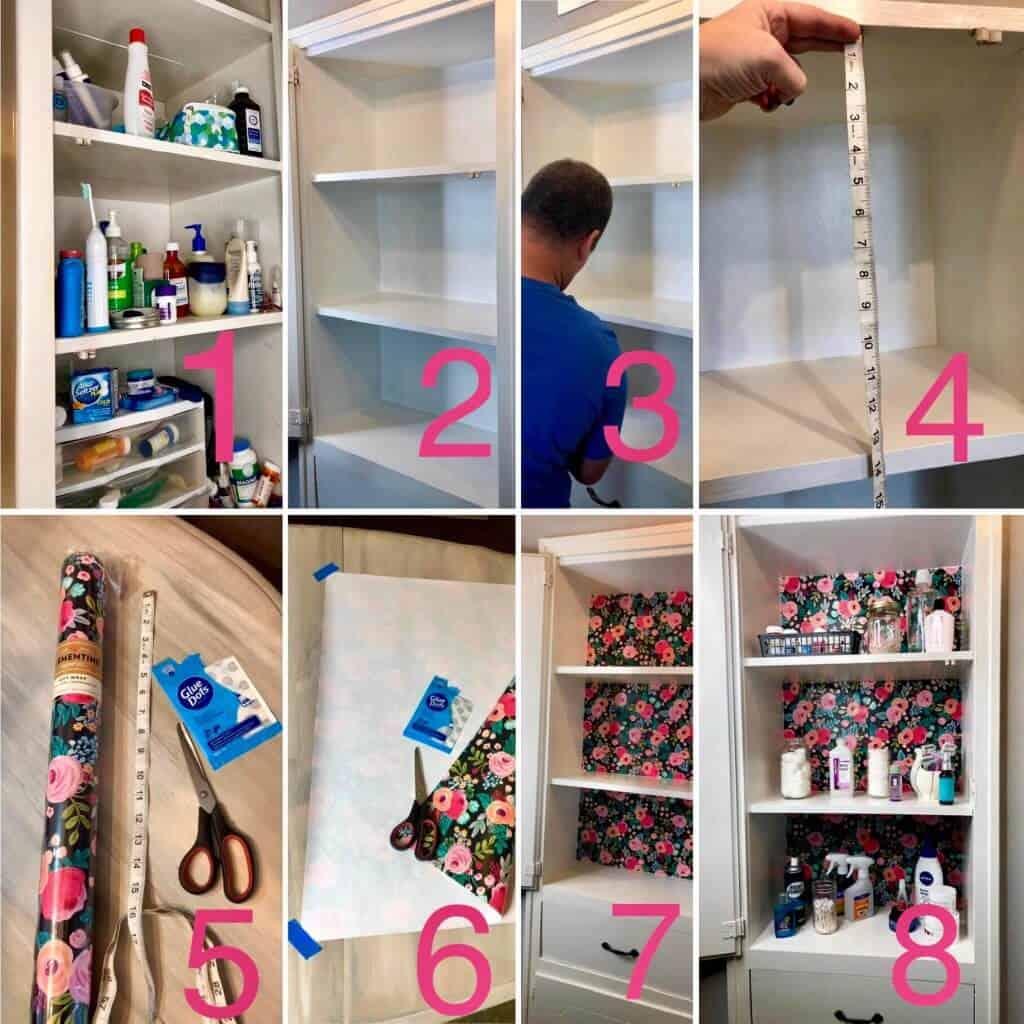
8 Steps to Declutter Your Cabinet
- Gaze inside the mess with a baffled look as to how it got that way…
- Empty the cabinet of every single item no matter what
- Have someone else paint—ha! (this was optional of course, but made the world of difference)
- Measure the shelf spaces each separately (mine were all different measurements—ugh) for liner or wallpaper and then measure again! You’ll be glad you did!
- Grab your favorite colorful gift wrapping paper & easy peasy glue dots <<<here
- Measure your paper twice & then bravely cut your pieces out of the wrapping paper.
- Attach cut-out wrapping paper to the back walls of the cabinet space with glue dots.
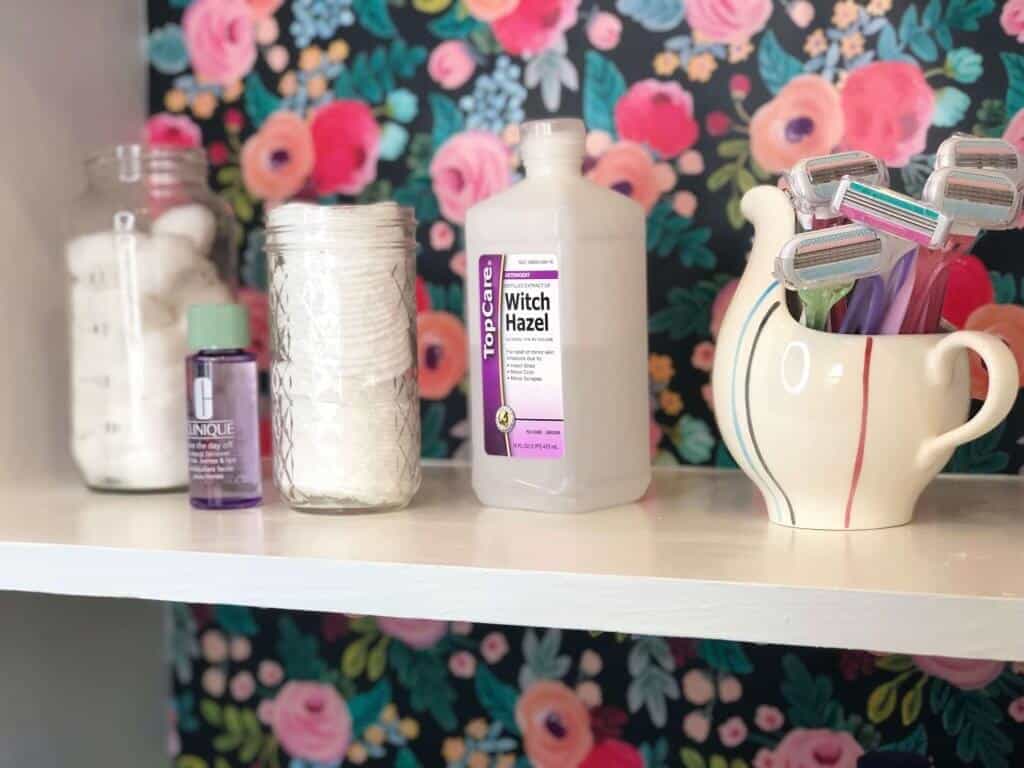
- Replace only half of the mess that was originally inside <<< now this is the hardest part!
Combine items, check expiration dates, and just simply get rid of things that haven’t been used in over last year.

That’s a Wrap! Literally.
Ahhh! Now my space looked better and I felt so much better too—almost like decluttering the medicine cabinet was a sort of ‘medicine’ itself…
This DIY project is so easy you won’t want to save it for your medicine cabinet. It works on kitchen cabinets and closets, and pantries, too! Ask me how I know? Don’t laugh. It becomes addicting once you really get into a groove and figure out how easy the process of decluttering your space can be. One thing leads to another and before you know it; you are looking around your house for more spaces to clean out!
Once more thought I had… this doesn’t have to be a “Spring only” project. You can always grab some cute wrapping paper and tackle any space any time at all!

If you love this kind of DIY project, you need to be getting my emails, friend! Each week I send out a couple of emails that include updates, crafts, shopping experiences, and decor inspiration. Be sure to get yourself signed up below. I can’t wait to meet you!
>>>Leave your thoughts below in the comments please… BTW— Life is short—Enjoy the mess!
If you like easy DIY projects like this, check this one out too >>> DIY Buffalo Check Painted Doormat
>>>Leave your thoughts below in the comments please… BTW— Life is short—Enjoy the mess! I hope you try this quick and easy diy project out for yourself, it can make any old pillows look beautiful! **P.S. Please join us over on our Facebook Page to see more fun projects “Live”.

Love the paper addition.